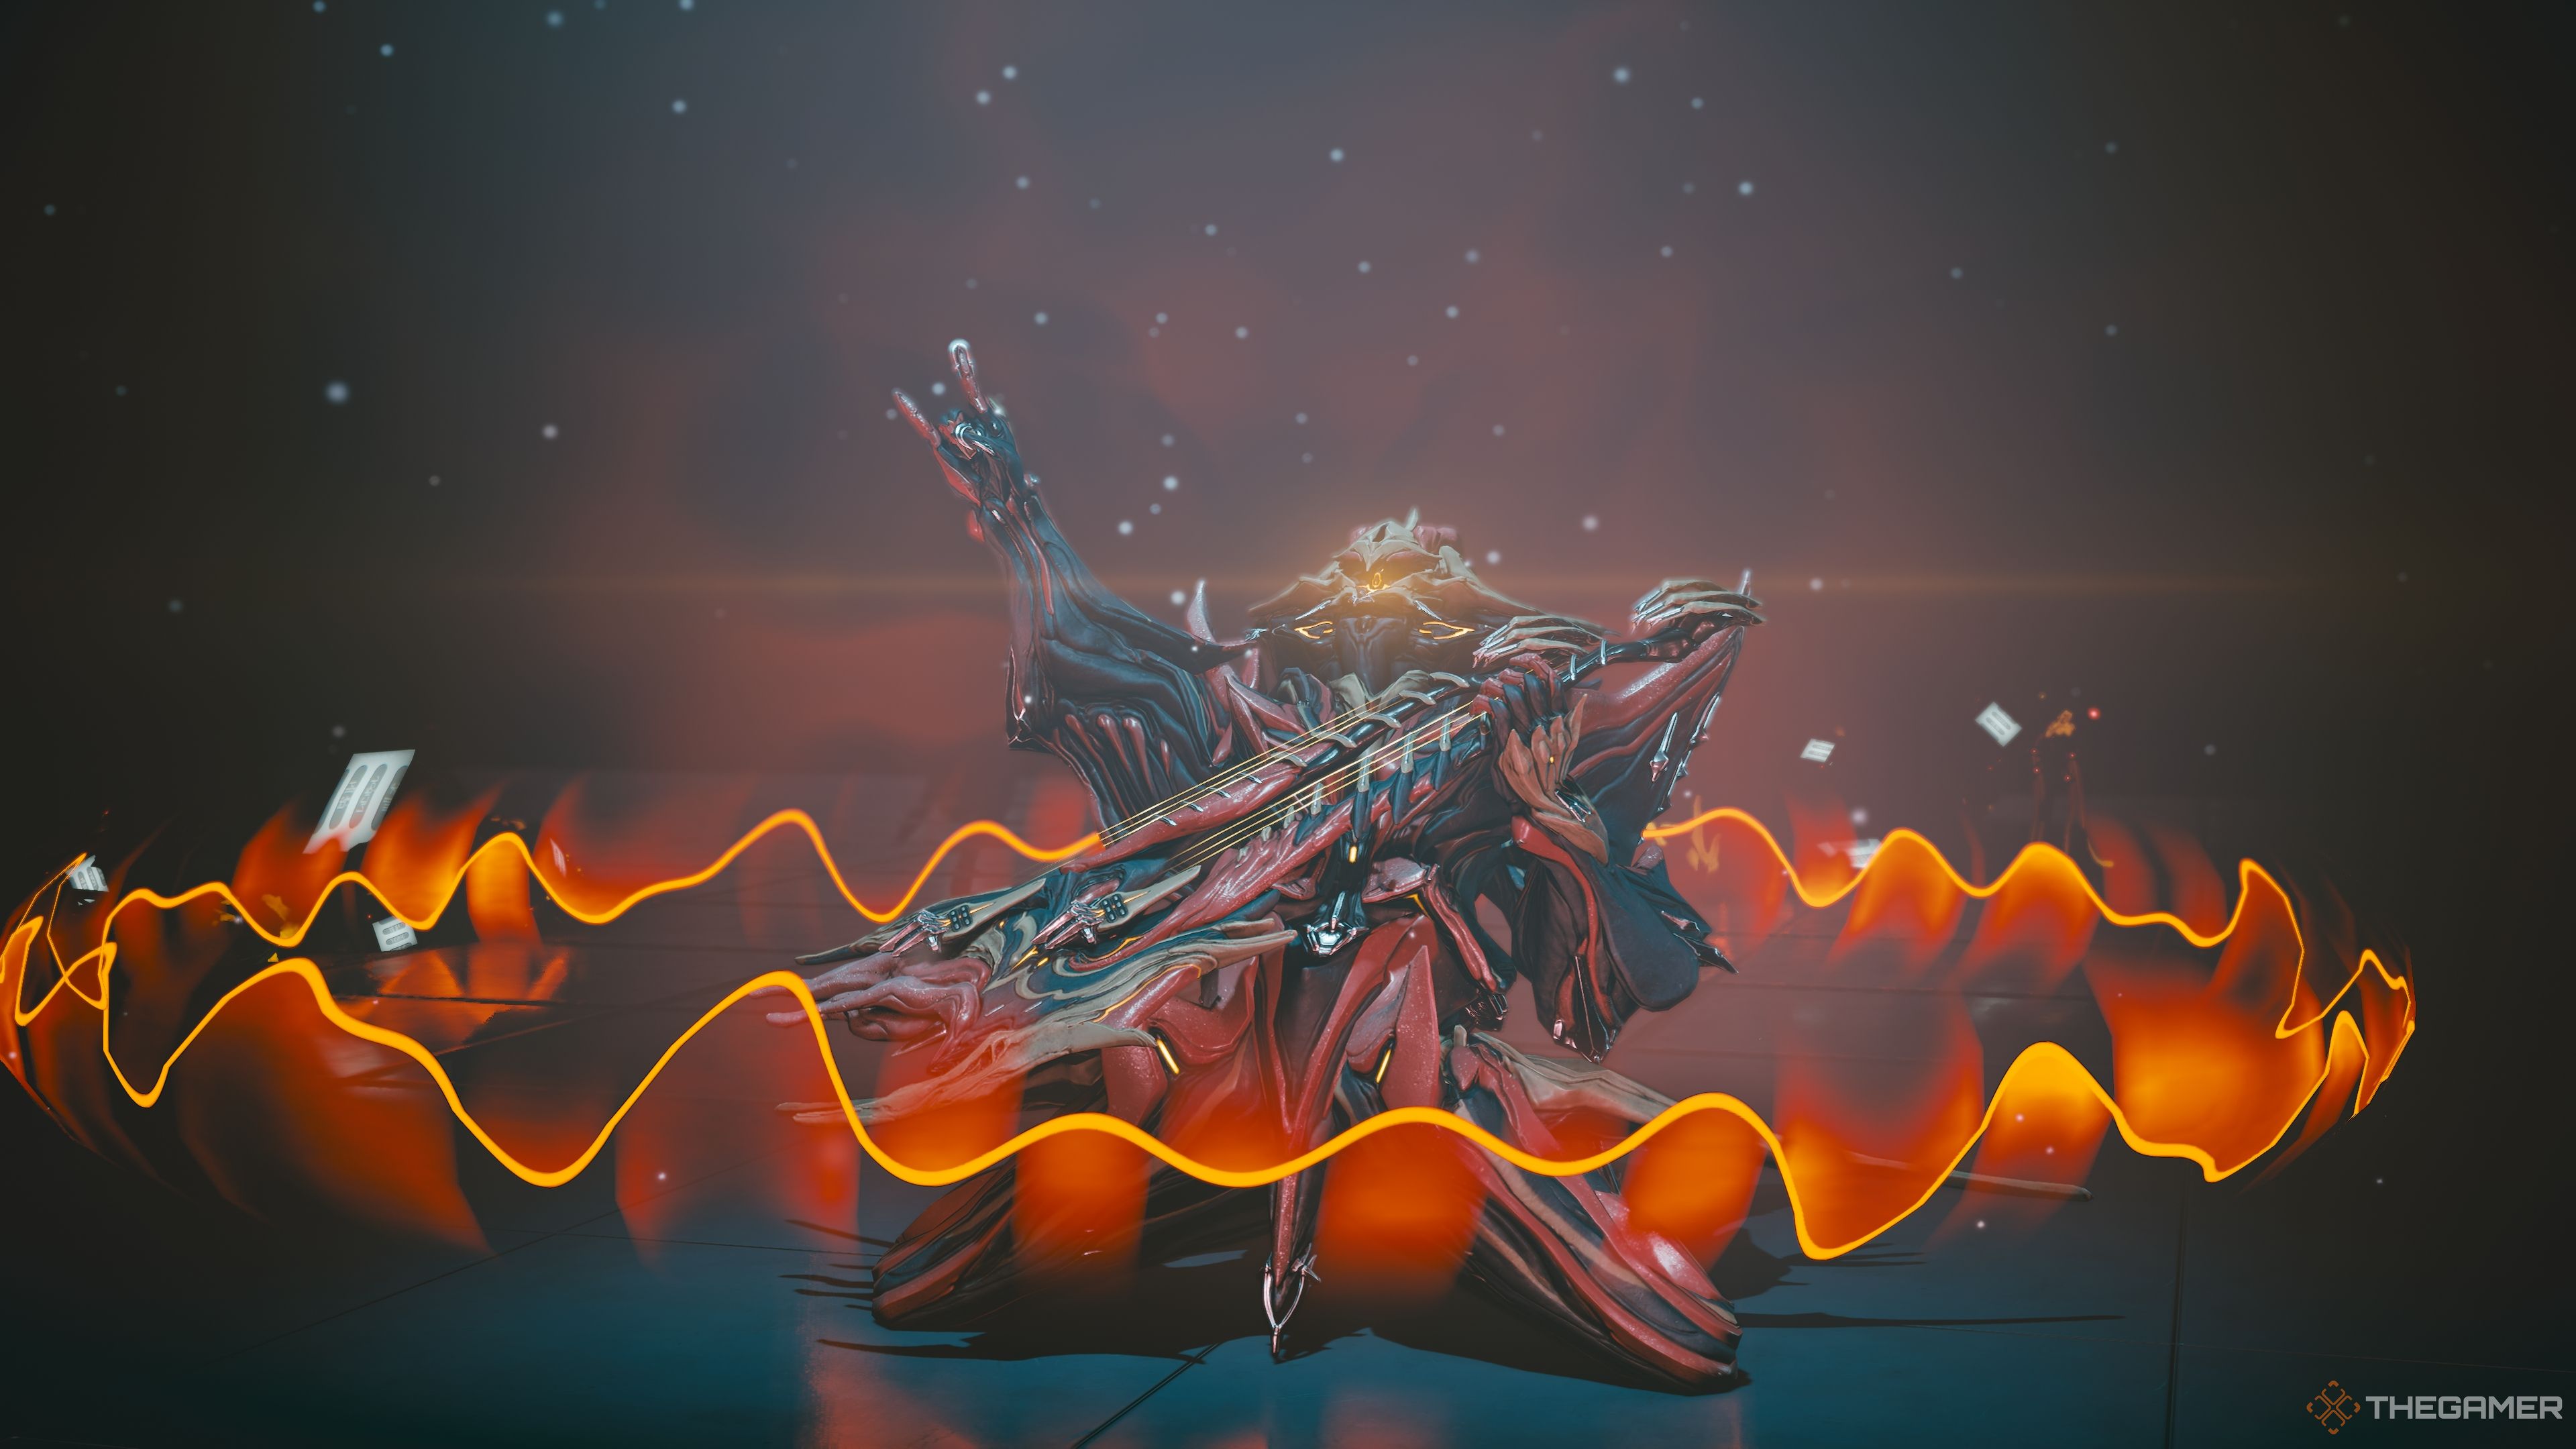
Temple uses the power of rock and roll to destroy their foes. This 1999-themed character is one of Warframe’s
most satisfying characters. While their kit is fairly easy to understand, their playstyle has a surprising amount of depth to it. Timing abilities, chaining the right powers together, and synergizing the right mods can take Temple’s DPS into the stratosphere.

Related
Warframe: How To Unlock The Protoframes In Techrot Encore
Here is how to unlock every new Protoframe in the Techrot Encore update.
If you’re looking to shred through your foes, it’s tough to beat this guitar-wielding Warframe. In this guide, we explain how to get your hands on Temple, explain how their abilities work, and give a rundown on some strong builds you can use for both Temple and their signature guitar, Lizzy.
How To Obtain Temple
Temple’s components may be acquired through the Solstice Square Defense mission in Hollvania. This content is unlocked upon completing ”
The Hex
” quest. You don’t need to be max rank within the Hex to farm this mission; it’ll be unlocked automatically. Components for Temple can drop at every reward rotation, with rotation C having the best drop rates.
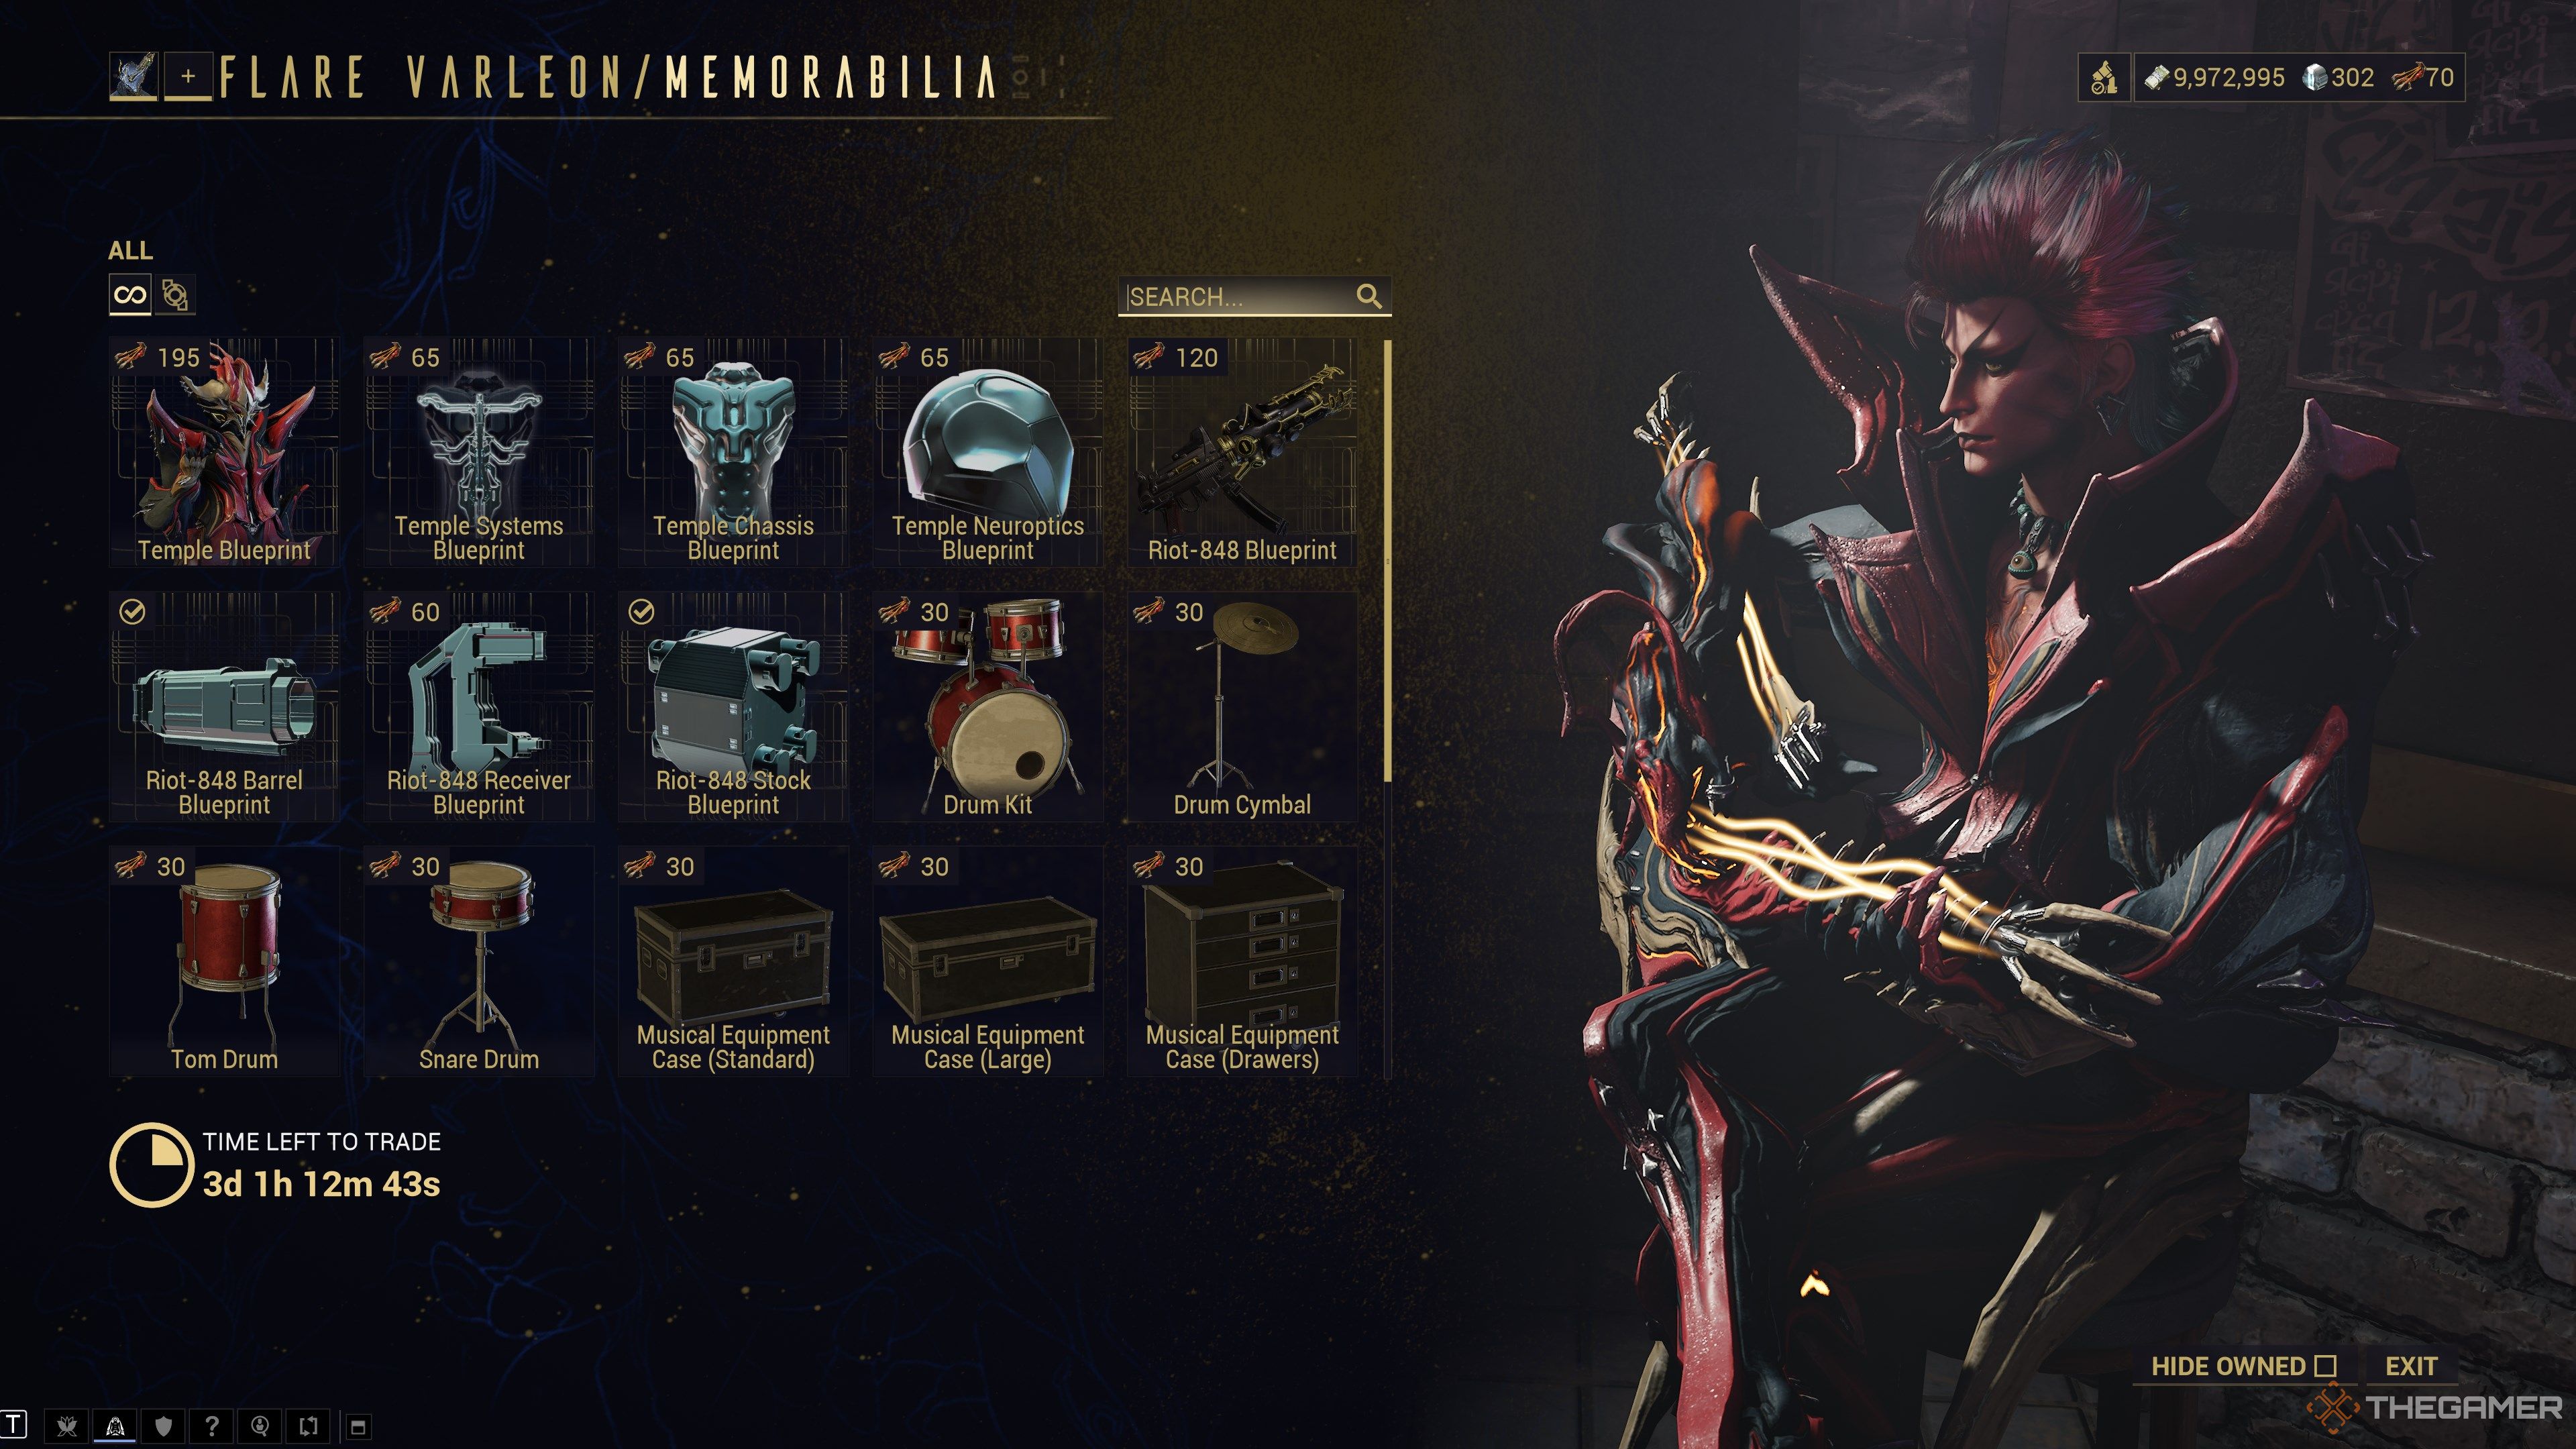
If you’re unlucky and can’t get a specific part to drop, you can trade Beating Hearstrings with Flare in the Hollvania hub to acquire any Temple components you’re missing. Heartstrings are acquired from the activity itself, so this works as a means of bad luck protection. Keep playing the activity, and you’ll eventually be able to craft Temple.
Temple Blueprint
| Drop Source |
|
|---|---|
| Crafting Costs |
|
| Crafting Time | 72 Hours |
Temple Neuroptics
| Drop Source |
|
|---|---|
| Crafting Costs |
|
| Crafting Time | 12 Hours |
Temple Chassis
| Drop Source |
|
|---|---|
| Crafting Costs |
|
| Crafting Time | 12 Hours |
Temple Systems
| Drop Source |
|
|---|---|
| Crafting Costs |
|
| Crafting Time | 12 Hours |
Temple Abilities
Stats
|
Temple |
|---|
|
Passive
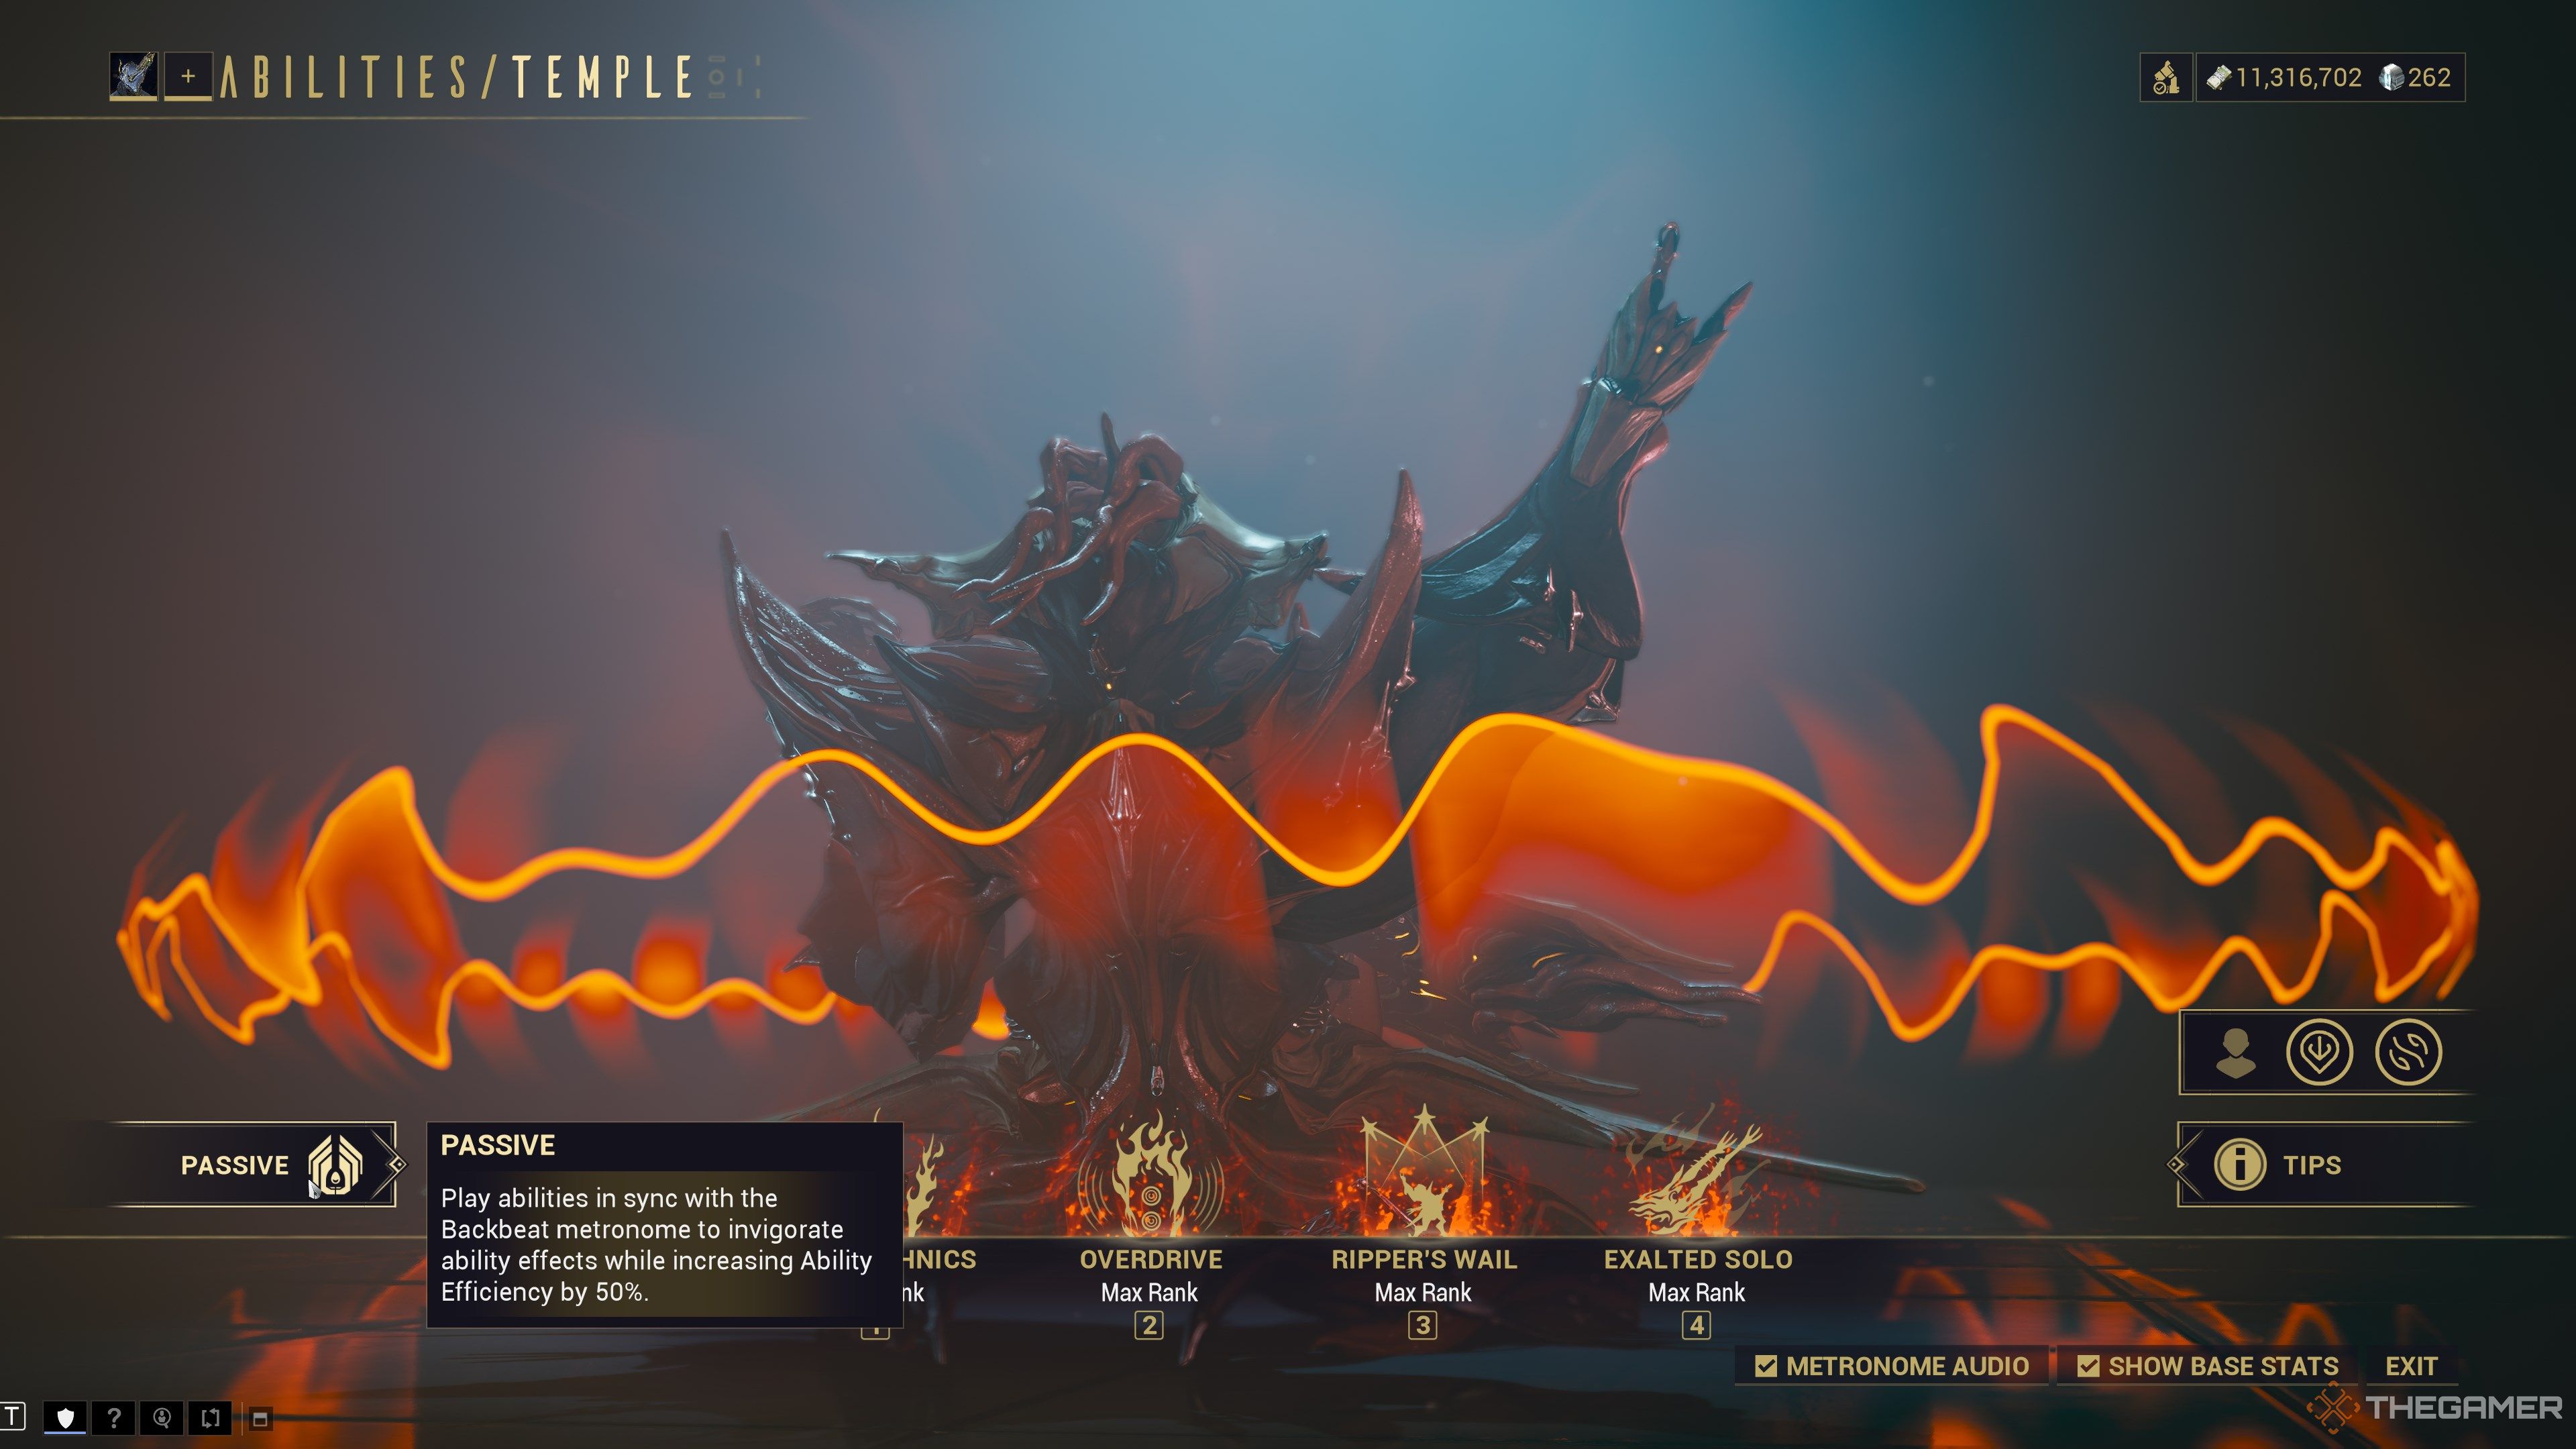
Play abilities in sync with the Backbeat metronome to invigorate ability effects while increasing Ability Efficiency by 50%.
Temple’s crosshair has a small metronome that will swing at a constant rate. If you cast an ability while the metronome is near the center, you’ll cast the ability with +50% Efficiency. Abilities cast in this sweet spot also trigger an additional effect:
- Pyrotechnics: Spawns twice as many pillars; damage now extends the duration of Ripper’s Wail.
- Overdrive: Critical chance debuff is doubled; damage now extends the duration of Ripper’s Wail.
- Ripper’s Wail: Invulnerability timer lasts an extra four seconds.
- Exalted Solo: Casting the ability costs zero energy.
This passive also applies to subsumed powers, although you won’t get any added effects from the subsumed power since it wasn’t part of Temple’s original kit; you just receive the Efficiency bonus.
Pyrotechnics
Blast targeted enemies with pillars of Heat damage.
Backbeat Timing: Ignite even more pillars. Increases the duration and Heat damage of Ripper’s Wail when it deals damage.
|
Pyrotechnics Stats |
|||
|---|---|---|---|
|
Drain |
25 Energy |
||
|
Range |
25 Meters |
||
|
Radius |
20 Meters |
||
|
Max Pillars |
Base: 5 Pillars |
||
|
Backbeat: 10 Pillars |
|||
|
Ripper’s Wail Bonus |
5 Seconds |
||
|
Damage |
1,000 Heat |
||
|
Applicable Mods |
|||
|
Duration |
Range |
Efficiency |
Strength |
|
Affects Ripper’s Wail extension. |
Affects pillar targeting range. |
Affects cast Energy cost |
Affects pillar count and damage. |
Pyrotechnics is Temple’s first ability, unleashing five flame geysers under nearby targets. Each flame pillar deals 1,000 Heat damage and can be scaled with Ability Strength. If you cast this ability with perfect metronome timing, it’ll spawn twice as many pillars, greatly increasing your damage output.
This ability is best used to fuel your ultimate, Exalted Solo. Successful metronome timings with this ability will infuse your metronome with a chunk of energy. When that’s full, you can cast Exalted Solo to dish out some absurd damage. Use this as a filler skill between other abilities.
Overdrive
Drive loudspeakers into epic distortion to create a damaging wave of Heat damage while also increasing vulnerability to critical chance.
Backbeat Timing: doubles critical chance; increases the duration and Heat damage of Ripper’s Wail when it deals damage.
|
Overdrive Stats |
|||
|---|---|---|---|
|
Drain |
25 Energy |
||
|
Range |
20 Meters |
||
|
Duration |
20 Seconds |
||
|
Critical Chance Debuff |
25% (doubled with metronome timing) |
||
|
Ripper’s Wail Bonus |
5 Seconds |
||
|
Damage |
750 Heat |
||
|
Applicable Mods |
|||
|
Duration |
Range |
Efficiency |
Strength |
|
Affects debuff and Ripper’s Wail duration. |
Affects blast range. |
Affects cast Energy cost |
Affects critical chance debuff and base damage. |
Temple lets out a violent riff with their electric guitar, launching a wave of energy that inflicts Heat damage. Enemies caught inside the blast radius are more susceptible to critical hits for the next 20 seconds, affected by Ability Strength and Duration, respectively. It’s important to note that this critical chance debuff is final critical chance, the same as Arcane Avenger and Harrow’s Covenant; it’s added as a flat value.
Since you can scale the critical chance debuff with Ability Strength, you can make Overdrive an absurdly strong DPS tool against bosses and tougher Eximus units. With just 200% Strength and a perfect cast, this will force the target to receive critical hits from all sources. Scale your Strength further, and you can easily land orange criticals with zero weapon investment.
Ripper’s Wail
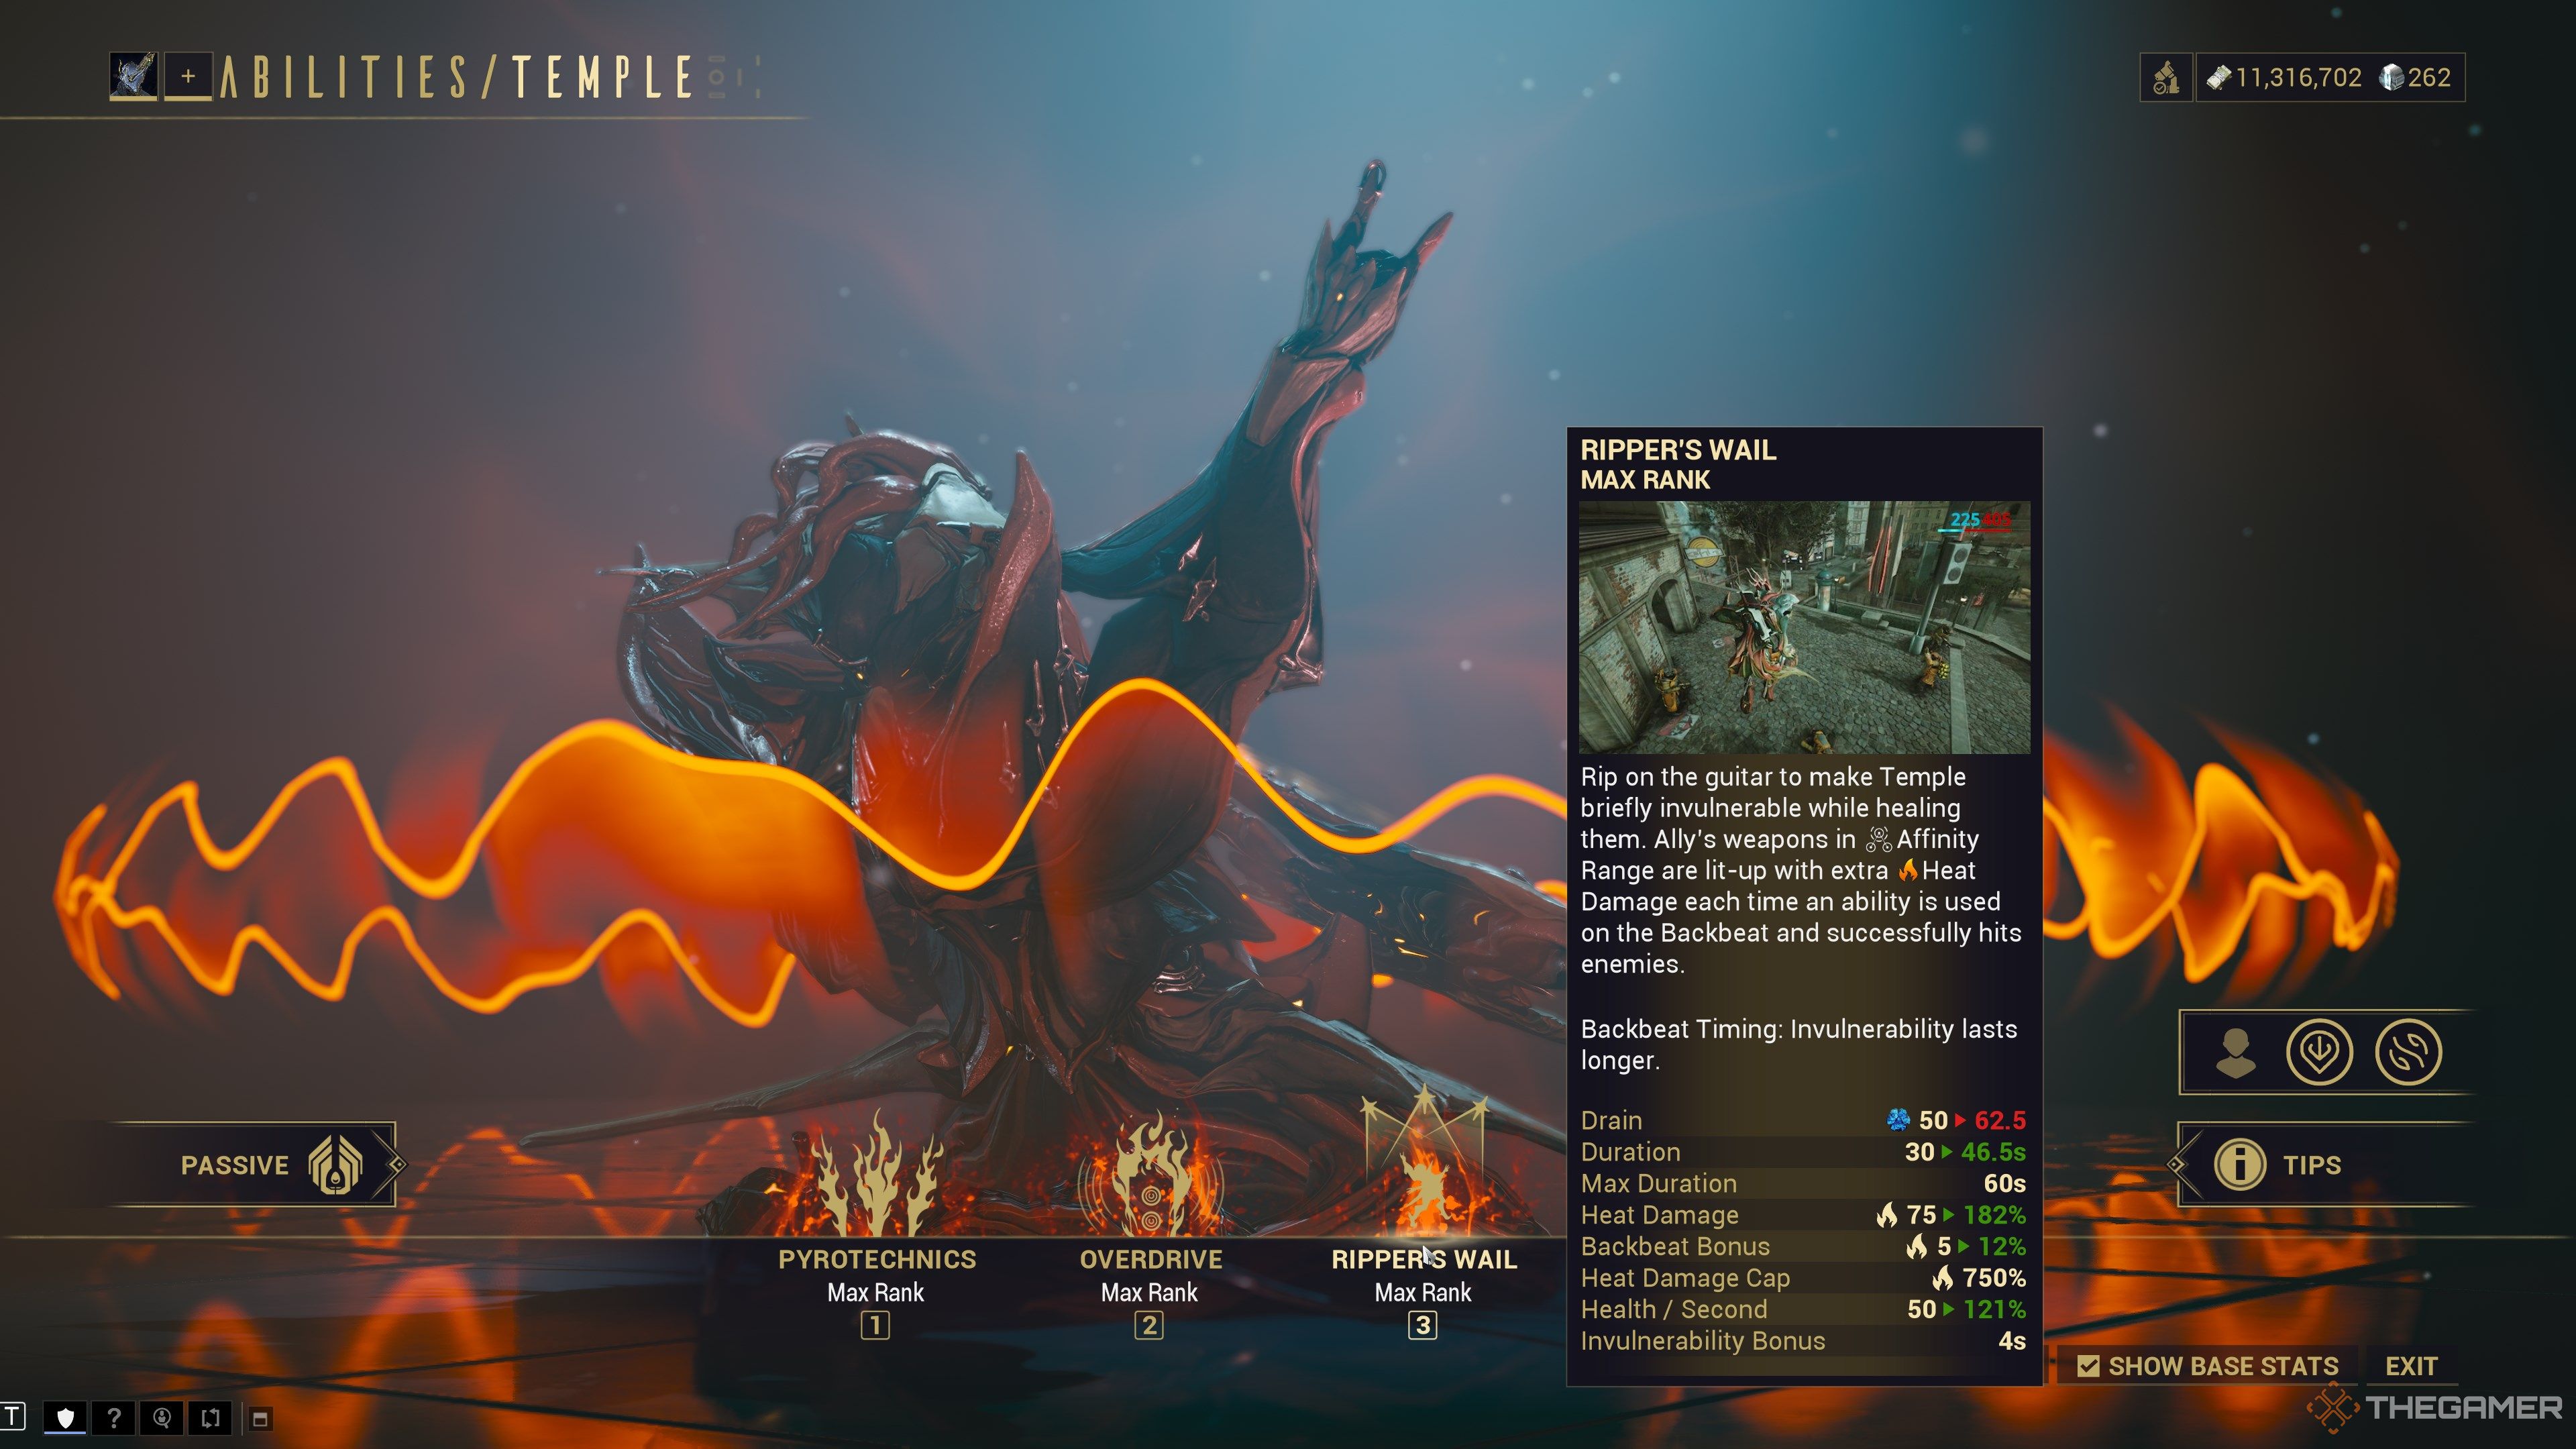
Rip on the guitar to make Temple briefly invulnerable while healing them. Ally’s weapons in Affinity Range are lit up with extra Heat damage each time an ability is used on the Backbeat and successfully hits enemies.
Backbeat Timing: invulnerability lasts longer.
|
Ripper’s Wail Stats |
|||
|---|---|---|---|
|
Drain |
50 Energy |
||
|
Duration |
Base: 30 Seconds |
||
|
Max: 60 Seconds |
|||
|
Damage Buff |
Base: 75% Heat |
||
|
Max: 750% Heat |
|||
|
HP Restored |
50% per second |
||
|
Applicable Mods |
|||
|
Duration |
Range |
Efficiency |
Strength |
|
Affects buff duration. |
N/A |
Affects cast Energy cost |
Affects initial damage buff. |
Temple performs a short guitar solo, granting them and all nearby allies a potent Heat damage bonus for a moderate duration. Using other abilities in Temple’s kit with perfect metronome timing can scale this damage buff, up to a maximum of 750% Heat damage. This max damage buff cannot be modified through mods. Using this ability will also heal you and nearby allies.
You are invulnerable while casting this skill. Consider using it whenever you’re surrounded or on the brink of death.
Exalted Solo
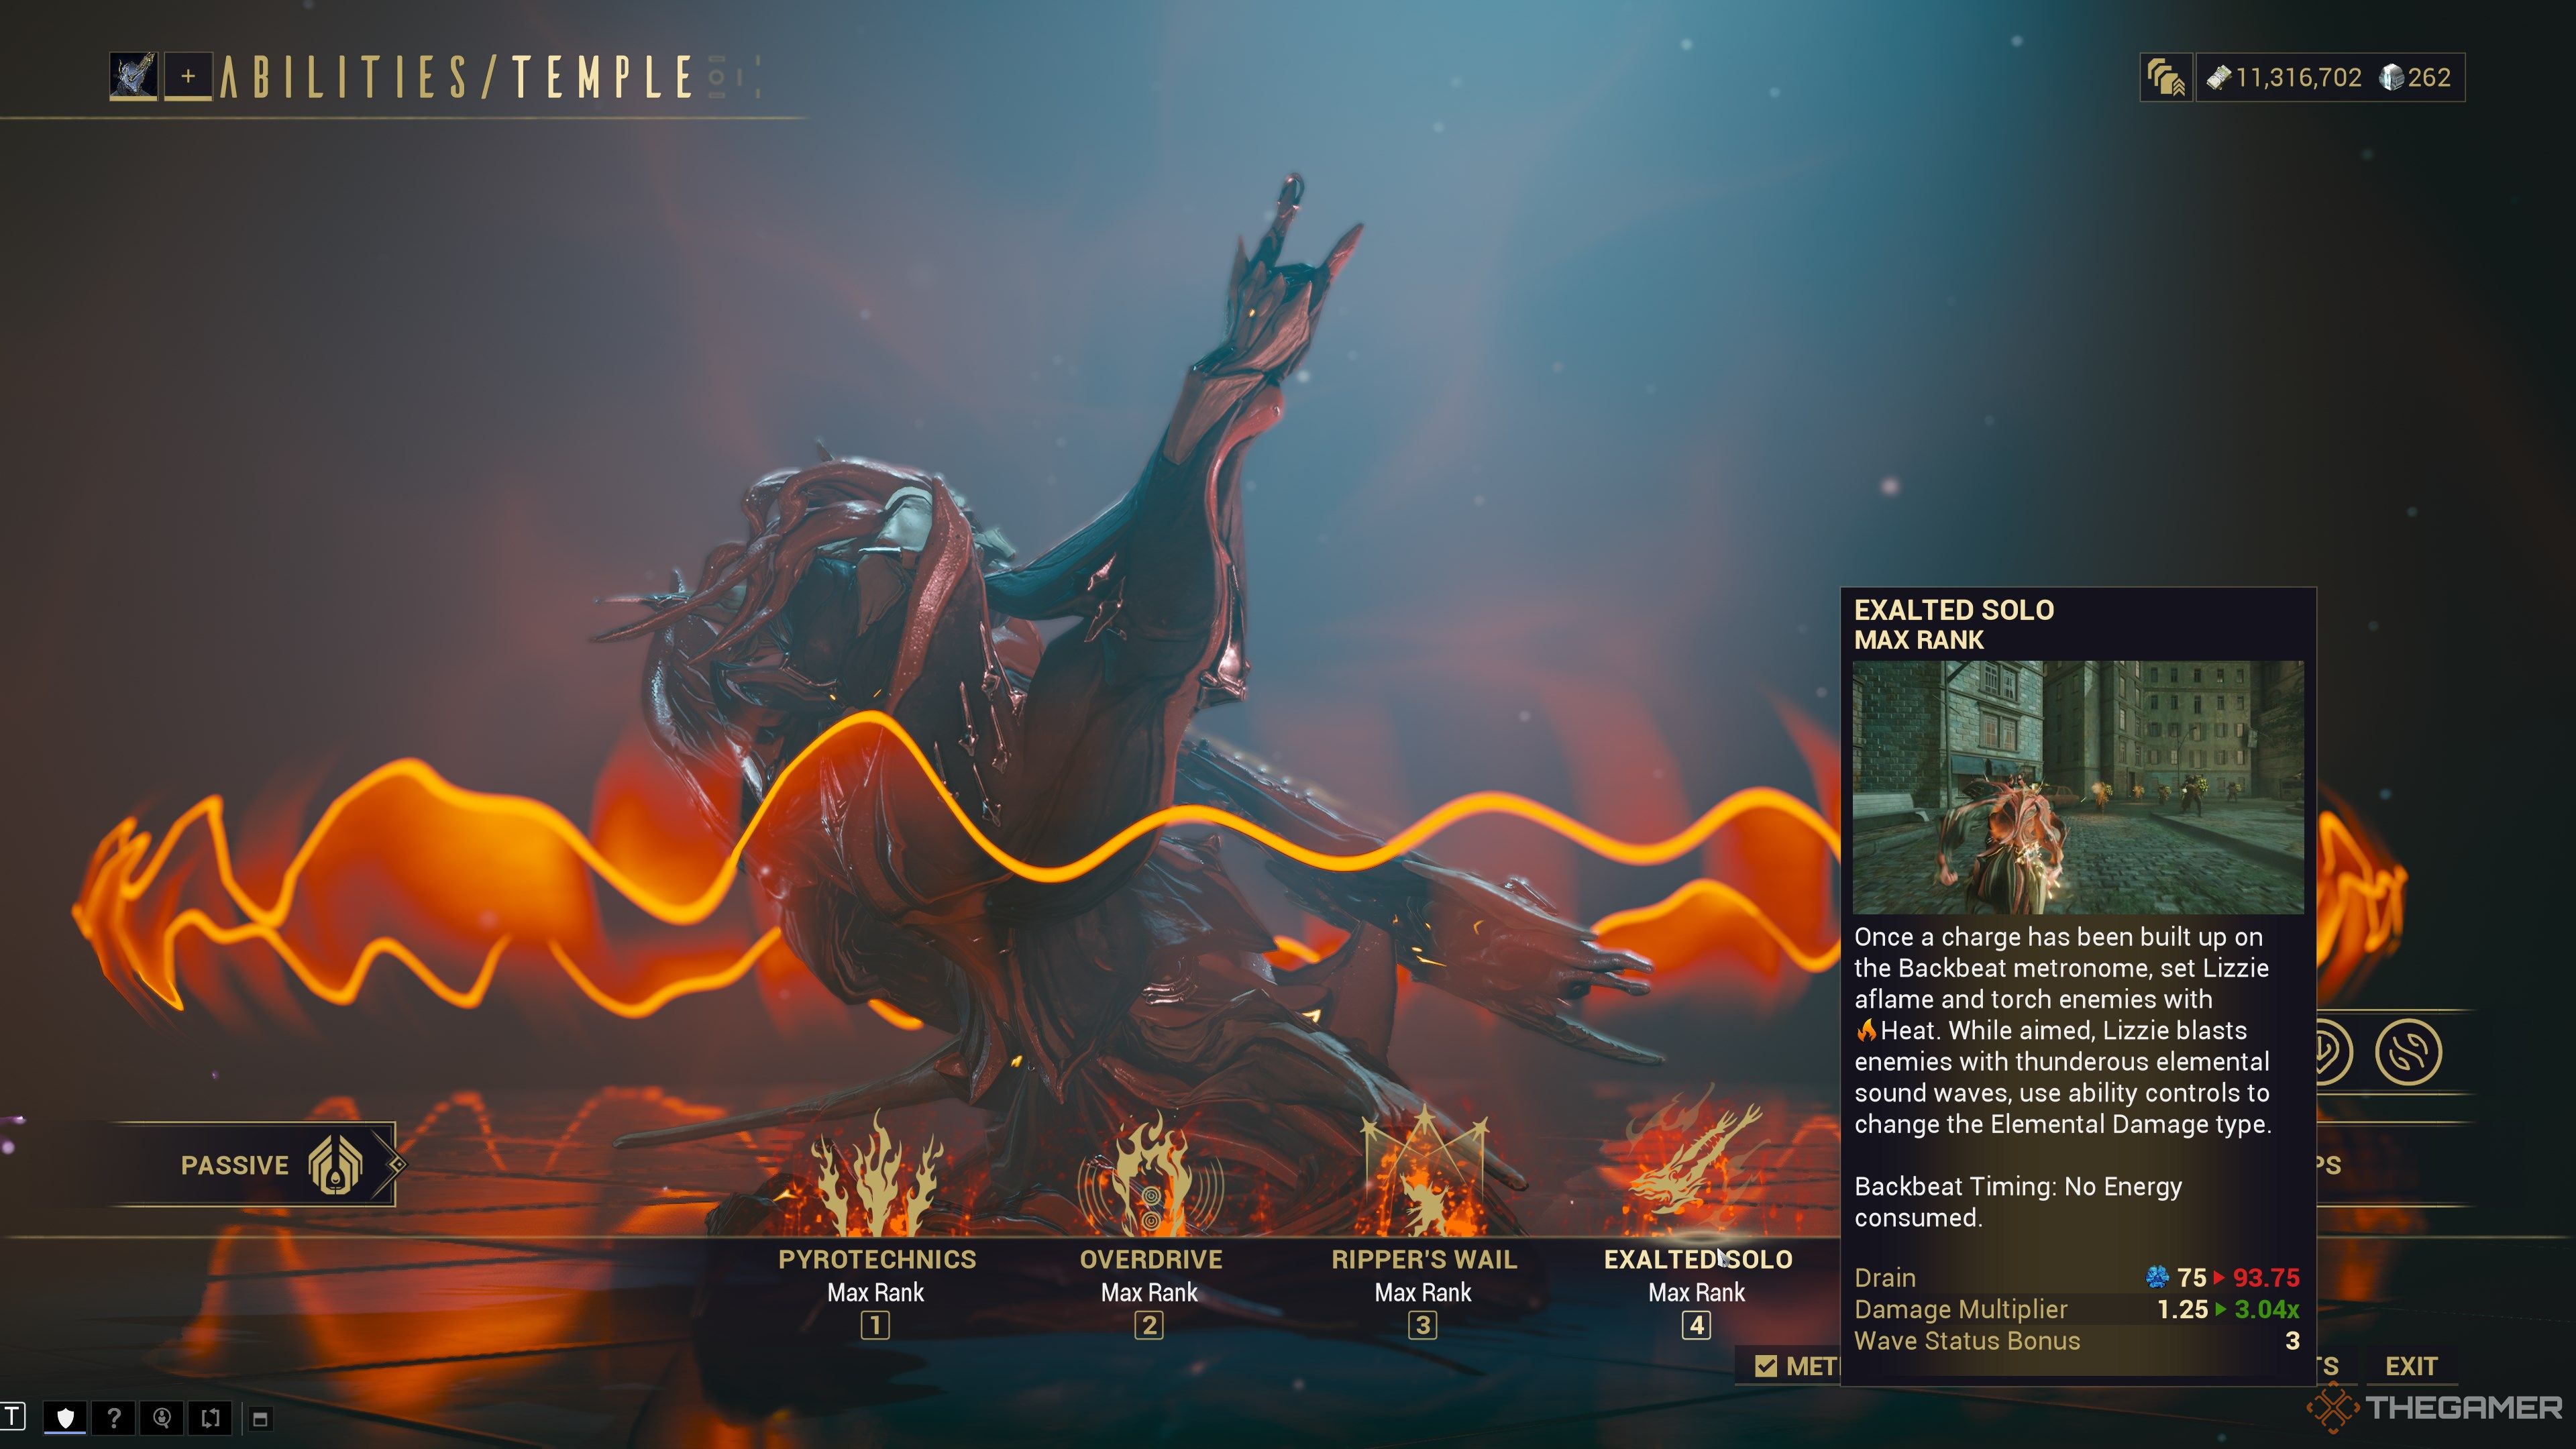
Once a charge has been built up on the Backbeat metronome, set Lizzie aflame and torch enemies with Heat. While aimed, Lizzie blasts enemies with thunderous elemental sound waves; use ability controls to change the elemental damage type.
Backbeat Timing: no energy consumed.
|
Exalted Solo Stats |
|||
|---|---|---|---|
|
Drain |
75 Energy |
||
|
Wave Status Bonus |
3 |
||
|
Damage Multiplier |
1.25x |
||
|
Applicable Mods |
|||
|
Duration |
Range |
Efficiency |
Strength |
|
N/A |
N/A |
Affects cast Energy cost |
Affects Lizzie’s base damage. |
Lizzie is Temple’s exalted weapon, an electric guitar that acts as a flamethrower. Holding the fire button unleashes a jet of fire that deals immense Heat damage. Lizzie features high base damage, critical stats, status chance, and has infinite ammo. Mod for hybrid stats, and you’ll demolish most endgame content.
Exalted Solo doesn’t drain any ability energy while channeled. Instead, this weapon uses fuel from your metronome. Casting abilities in sync with the metronome will grant fuel for this weapon.
While aiming Lizzie, your ability bar will be replaced with four alt-fire options for this ability. Casting an ability will unleash a wave of elemental damage at your crosshair. The element type is dependent on which ability you cast. Lizzie can fire Viral, Magnetic, Cold, and Corrosive projectiles.
Temple Builds
We’ll be looking at two builds for Temple in this guide, one that requires no Forma and another that’s tailored for endgame content. Temple is fairly easy to mod for and has an absurdly strong exalted weapon, so you can take this character into Steel Path almost immediately if you have the right mods.
For your Focus school, we recommend Zenurik. Despite the exalted status of your ultimate, it doesn’t constantly drain energy. That allows you to benefit from Wellspring’s energy regeneration even while using Lizzie.
Some good Archon Shard options on Temple include Ability Strength (Crimson), Ability Duration (Crimson), and Cast Speed (Amber).
No Archon Shards are used in the builds we recommend.
Starter Build
|
Forma |
|
|---|---|
|
Subsume |
None |
|
Archon Shards |
None |
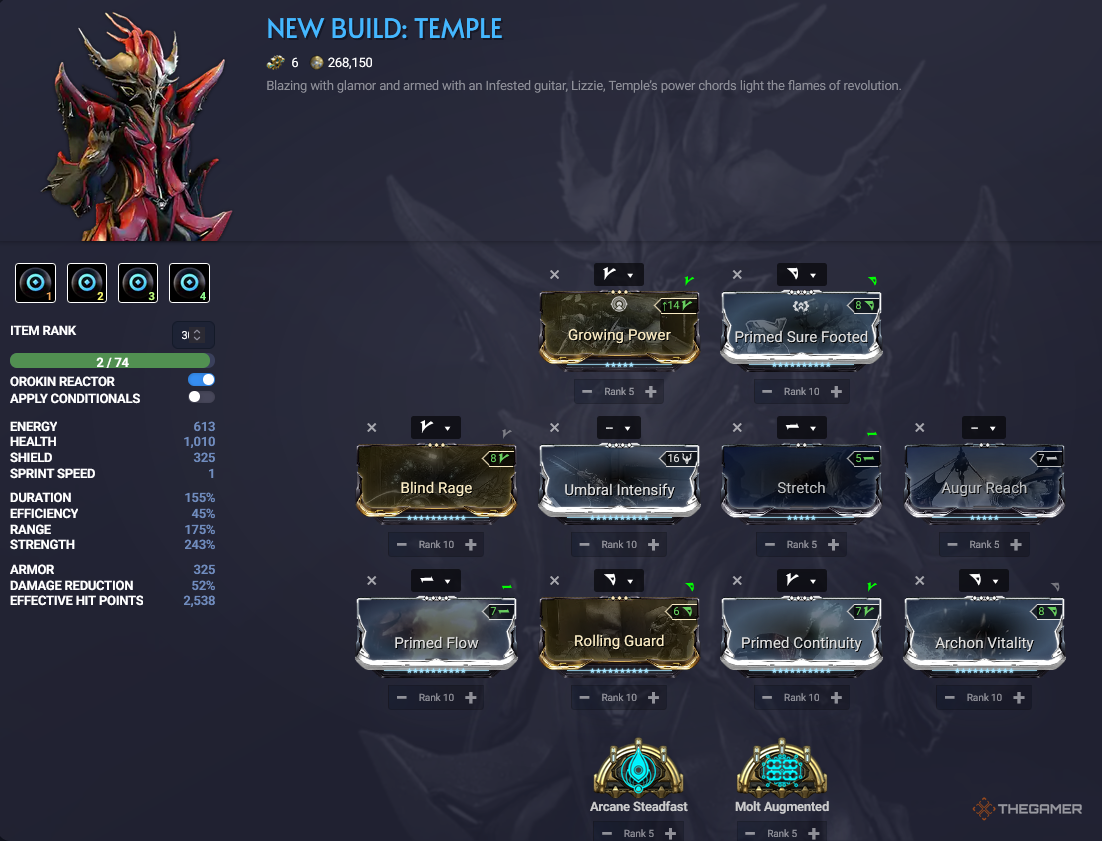
Temple is a fairly easy Warframe to mod for. You don’t need to worry about Efficiency thanks to their passive, so you can focus on speccing for the rest of your stats. Blind Rage is an obvious choice here, effectively doubling your Strength with no major downside. Umbral Intensify will give you a little more strength to push your critical chance debuff on Overdrive to 60%, which will increase to 120% if you hit the metronome timer.
Tagging enemies with your abilities is vital to charging your exalted guitar, so we’ll be scaling our Range stat with Stretch and Augur Reach. This is more than enough range to debuff targets with Overdrive, but feel free to use Overextended instead for larger tilesets. Primed Continuity will then increase the buff duration of Ripper’s Wail.
Our final mod is somewhat hard to obtain, but Archon Vitality is your best choice here. Lizzy inflicts a ton of Heat status, which is then doubled if you have Archon Vitality installed. If you don’t own this mod, we suggest using a survivability mod like Rolling Guard or Adaptation in its place.
As for Lizzie, our build is a fairly standard hybrid configuration that deals Viral and Heat damage. Galvanized Savvy with Primary Merciless should give you plenty of base damage. Galvanized Diffusion buffs your multishot. For critical stats, opt for Critical Delay and Vital Sense. Finish the build with Sinister Reach to double Lizzie’s effective range.
Endgame Build
|
Forma |
|
|---|---|
|
Subsume |
Silence (Banshee), Pillage (Hildryn), Breach Surge (Wisp), Nourish (Grendel) |
|
Archon Shards |
None |
Our endgame version of Temple is fairly similar to our zero-investment build. We’ve updated the build to include Primed Sure Footed as a means of avoiding knockdown effects, Growing Power for extra Ability Strength, and Primed Flow for a larger energy reserve. We also put on Rolling Guard as a panic button in harder content, although this could be any survivability mod.
Arcanes are also quite flexible here. Since Temple wants to spam their first two powers, Arcane Steadfast is a good option here. Using your abilities will sometimes give you a buff that makes your next ability cast free, helping with your energy economy. Molt Augmented then gives us some extra Strength for killing enemies.
For Lizzie, we suggest moving Sinister Reach into the Exilus slot and installing Vile Acceleration for a much-needed fire rate boost. Doing so will require two Forma.
While no subsumes are required for Temple to work, you could replace their first ability with a spammable power, something that offers utility and can hit your metronome timer with ease. Some good options include Grendel’s Nourish, Hildryn’s Pillage, Wisp’s Breach Surge, and Banshee’s Silence—you can’t spam Silence, but it’s invaluable for countering Eximus targets.
Next
Warframe: Excalibur Complete Guide – Drops, Abilities, And Builds
Become a master of gun and blade with Excalibur, one of three starter Warframes.








Leave a Reply