
Related
Atelier Yumia Is Already The Coziest Game I’ve Played This Year
The latest entry in this long-running JRPG series feels like a nice, warm blanket.
There are still a couple of these scattered across the royal capital of Aladiss, and finding them all not only increases your overall exploration but will also give you those Energy Cores you’re still missing for some of the final upgrades, ensuring you’ll be ready for the final confrontation.
All Shrine Of Prayer Locations In Lacuna

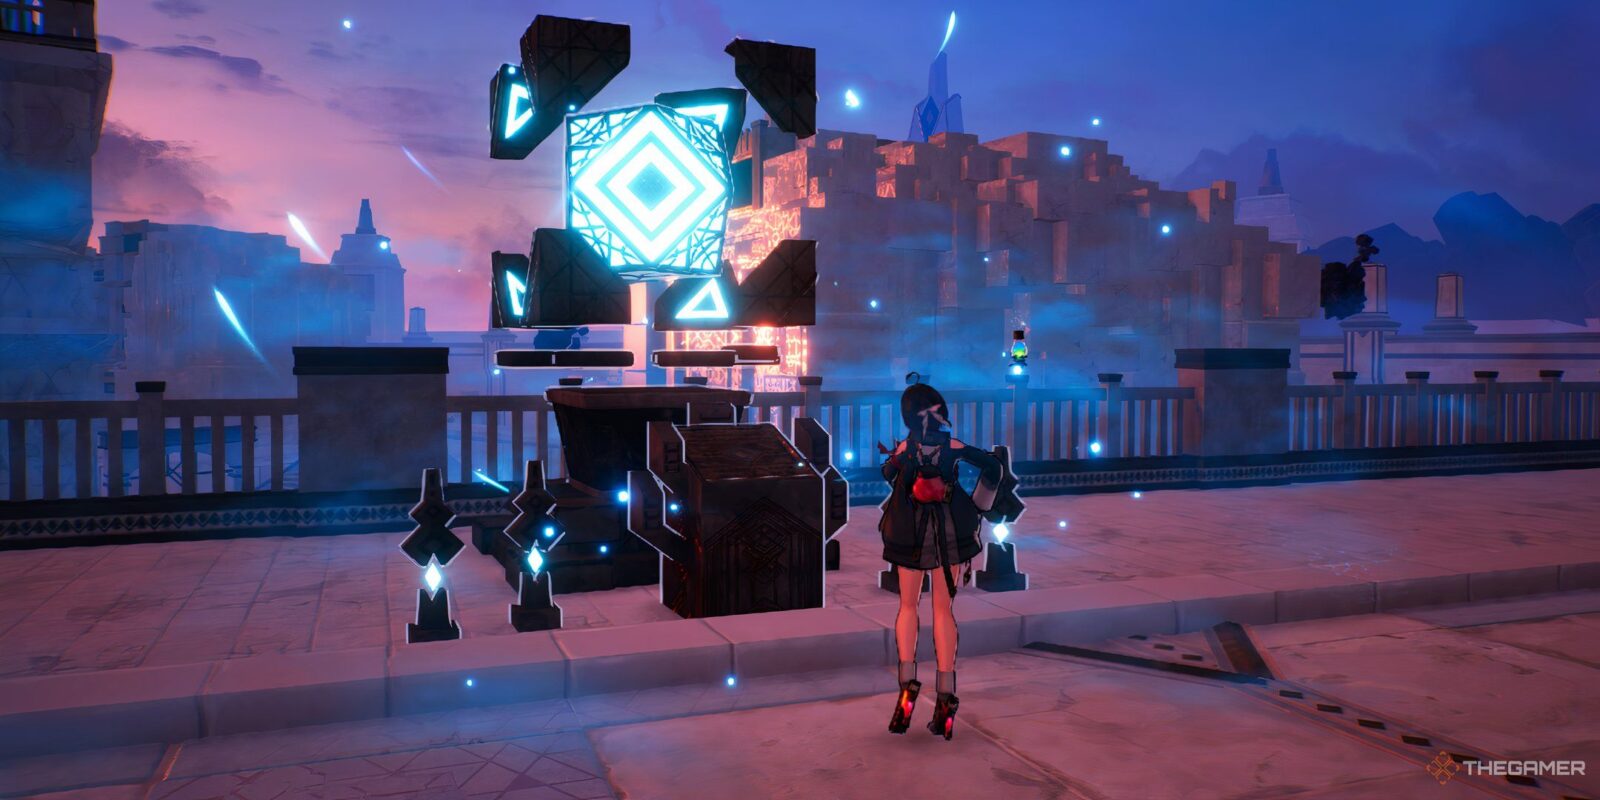
You’ll be able to find up to ten Shrines in the fourth region of the game. They initially appear as an “?” symbol on the map, receiving their unique icon once you approach them for the first time. The icon has a checkmark, which is colored pink once you fully complete the Shrine’s puzzles and receive its rewards. All Shrines here have three devices.
Just like in previous regions, each Shrine has three devices for you to complete, easily found by following the red lines across the ground. Completing them and interacting with the main device rewards you with a random amount of Energy Cores, used to enhance certain abilities at the Shrines themselves.
Lacuna has no “hidden” areas, so you can unlock all of its Shrines as soon as you reach the capital.
Calumna West Gate
Head to the Calumna West Gate teleport and drop down directly to your left. The Shrine will be immediately visible, ready for unlocking.
Castle Town Market
Also on Calumna West Gate, but drop to your right instead to easily spot the Shrine.
Walkway Of Cheers
Go to the Walkway of Cheers teleport point and keep walking straight, then jump up the walls to reach the Shrine.
1st Laboratory Entrance
From the 1st Laboratory Entrance teleport, head right and keep walking until you see the stairs. Climb them down to see the Shrine.
Patrol Road
Take the Patrol Road teleport and head north until you find it. If you haven’t reached this teleport yet, the closest you can come from is the 1st Laboratory Entrance and walking to your left. Jump down as soon as you pass the bridge.
This Shrine in particular has one device that’s not a puzzle. You need to shoot it with the gunstaff instead.
Imperial Graveyard
After teleporting to Garden of Recollection, turn your back and start heading northwest. You’ll find the Shrine to the west of the Imperial Mausoleum ruins.
Garden Of Recollection
Directly to the right of the Garden of Recollection teleport, with no need to drop.
Great Tree Of Creation
After heading to the Great Tree of Creation teleport, head north and cross the lake to find it, a bit past its devices.
Administrative District
Right next to the Ordinance Campsite. If you haven’t unlocked it yet, teleport to Calumna East Gate, go downstairs, and take the elevator to your right. Jump down to the left to find the Shrine.
Calumna East Gate
Head to the Calumna East Gate teleport and look for the giant tree to the north. The Shrine is right next to the tree, so head there by jumping down, and then going upstairs to reach it.

Next
Atelier Yumia: The Alchemist Of Memories & The Envisioned Land – How To Get Particles
We cover Particles in Atelier Yumia: The Alchemist Of Memories & The Envisioned Land.