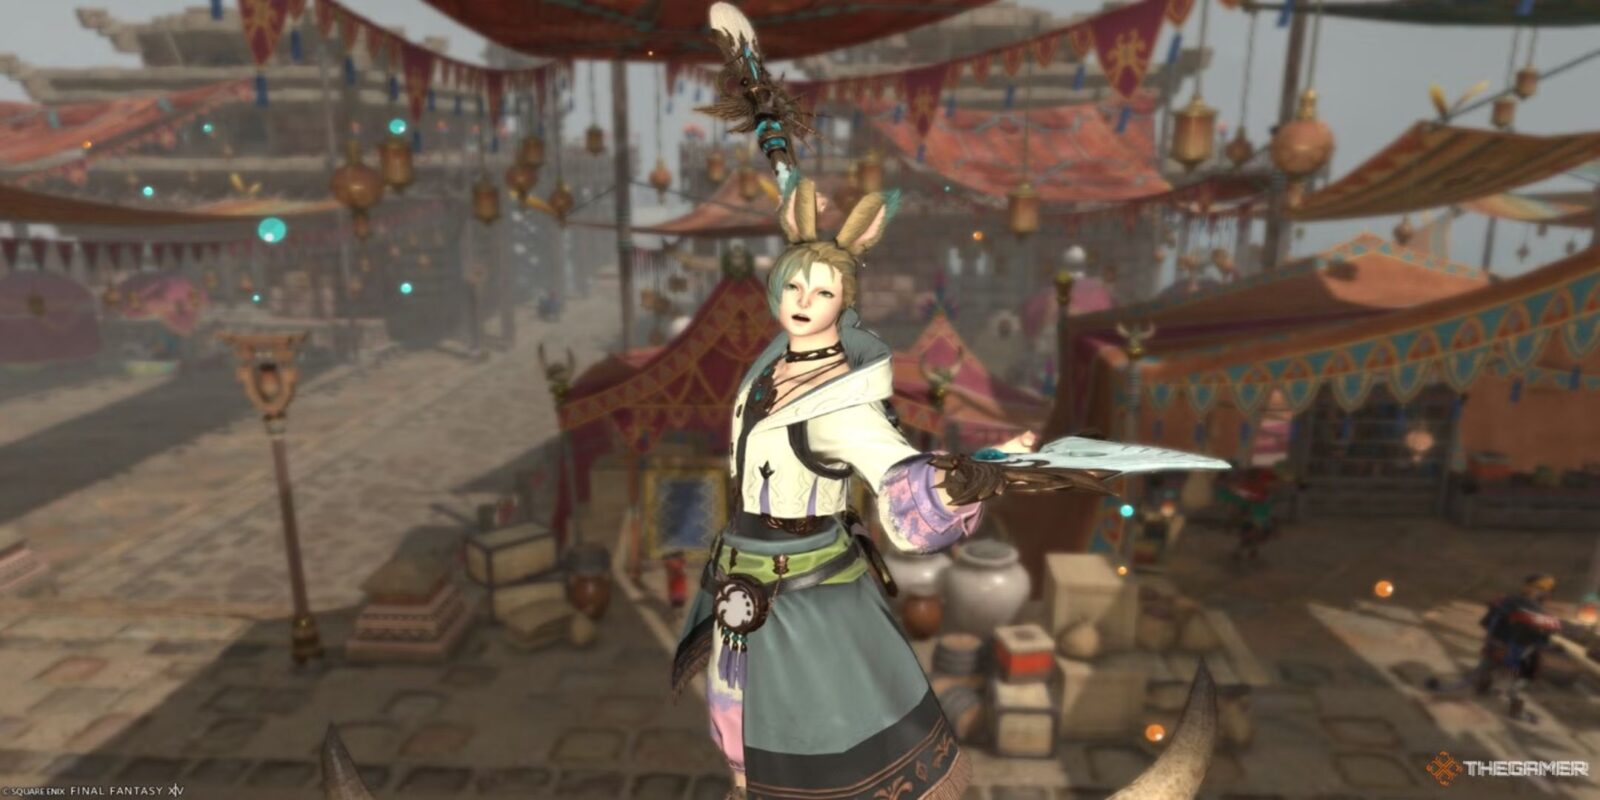
Pictomancer is the new colorful and whimsical caster brought to the world of Eorzea in Final Fantasy 14: Dawntrail. Pictomancer harnesses the art of painting to pull unique motifs off the page to do some serious AEO damage.

Related
Final Fantasy 14: Dawntrail – Jeuno: The First Walk Alliance Raid Walkthrough
The Echoes of Vana’diel Alliance Raid series includes four boss fights and other encounters. Learn how to defeat them all in FF14: Dawntrail.
Besides AOE damage, this job has a unique class identity. It’s certainly the only job that allows you to create a cartoon hammer that you can use to knock out your enemies. While this class isn’t the hardest caster to play, putting the brush to canvas can still be tricky. Continue reading to learn what your rotation will look like and more.
The Birth Of An Artist

You’ll need to unlock the class before you can start painting your way through Eorzea. To do this, head to Old Gridania (X:8.0 Y:10.3) and talk to the Cheerless Hearer. However, before taking on the “Joy of Pictomancy” quest, you will have to meet a few prerequisites. Luckily, they’re nothing too difficult.
Requirements
- Have at least one of your combat jobs at level 80 or higher.
- Own the latest expansion, Dawntrail.
Once you wrap up the quest, you’ll be the proud owner of a new job stone and your starting gear!
Pictomancer Rotations

Like most jobs in Final Fantasy 14, getting the hang of your rotation will be a great boon when it comes to dealing damage. Since there’s so much to manage, Pictomancer’s rotation can seem a little intimidating at first, but it’s pretty simple once you get the hang of it. Let’s break it down into parts, starting with your single-target rotation.
Single-Target Rotation
Aetherhues is the Pictomancer’s basic mechanic that starts with casting four simple spells:
Fire in Red > Aero in Green > Water in Blue > Holy in White
Kicking things off with Fire in Red will cause it to turn into Aero in Green, and Aero in Green will become Water in Blue. As you use these abilities, you’ll notice your Aetherhue bar filling up. Once it reaches 50, you’ll be able to use Subtractive Palette.
Subtractive Palette
After doing your basic rotation, you’ll see your Subtractive Palette light up. This grants you the ability to use monochrome tones. What this means is that you now have access to stronger spells.
These spells are Blizzard in Cyan, Stone in Yellow, Thunder in Magenta, and Comet in Black. Your rotation from here on out will look the same as above, just with different abilities. Blizzard in Cyan becomes Stone in Yellow, and Stone in Yellow will turn into Thunder in Magenta. You’ll end this rotation with Comet in Black, much like you ended your basic one with Holy in White.
AOE Rotation
Your AOE rotation will look a lot like your single-target one. It will begin with Fire II in Red and lead into Aero II in Green, and Water II in Blue. Just like with your single-target rotation, this will eventually cause your Subtractive Palette to light up.
From there your rotation will be: Blizzard II in Cyan > Stone II in Yellow > Thunder II in Magenta > Comet in Black.
Creature Motif Rotation
As a Pictomancer, you’ll see that you have three canvas spots. This is where you’ll store your beautiful masterpieces. There are three different types of motifs that you should familiarize yourself with. The first is your creature motifs.
Your creature motifs will go in the first slot with the Pom Motif. Using your Pom Motif will grant you your Pom Muse. From there, you’ll paint your Wing Motif, which will grant you a use of Winged Muse. Winged Muse will combo right into the ability, Mog of Ages. Mog of Ages is pretty flashy, but it’s not the end of the combo by any means.
Next is the Claw Motif, which will grant you the Claw muse. The final creature motif is the Maw Motif. This will grant you the Fanged Motif, and that will combo into Portrait of the Madeen.
Weapon Motif Rotation
The rotation for your Weapon Motif rotation will be a little less involved than the Creature Motif because there’s only one that you’ll have to manage. Using the Hammer Motif will slot into the second spot of your canvas, and will give you the ability to use your Striking Muse.
The Striking Muse will combo into the following spells: Hammer Stamp > Hammer Brush > and Polishing Hammer. The best part about these spells (besides the comedy involved with hitting your enemies with a giant cartoon hammer) is that using this spell combo grants you a guaranteed critical hit.
Landscape Motifs
Like the Hammer Motif, there’s only one Landscape Motif that you’ll need to worry about. It is called the Starry Sky Motif, and it will go in the third slot of your canvas. Using your Starry Sky Motif will grant you the ability to use your Starry Muse ability.
Starry Muse is a buff that will increase the damage dealt by you and your nearby party members by five percent. It will also allow you to use a powerful ability called Star Prism and will give you a free use of your Subtractive Pallet.
If you stand within the bounds of your Starry Muse, you’ll notice that you’re able to cast your next five spells a lot faster than you would normally. Once you cast these five spells, you’ll be granted an instant cast of your Rainbow Drip ability.

Related
Final Fantasy 14: All Ultimate Raid Weapon Sets, Ranked
Final Fantasy 14’s Ultimate Raid Weapons are always the coolest-looking and best-performing weapons in the game, but which set was the best?
Pictomancer Off-GCD Actions

Rainbow drip is a powerful ability that you should try to weave into your rotation by Swift Casting it when a boss is either about to hit a phase transition or they’re on their last legs. It’s a good idea to load up your canvas in between packs of enemies or when you’re gifted with a little bit of downtime during a boss fight.
If you try to cast them during a fight, it takes about as long as casting a standard Black Mage spell without the pay-off of a big boom afterward, because they have zero potency. Of course, there may come a time when you have no choice but to load up your pallet during a fight, but you should avoid doing so as much as possible.
Pictomancer comes with two defensive spells. The first one is Tempera Coat. It will grant you a shield that’s equal to 20 percent of your total HP. If the shield is broken, it will reduce the cooldown of the ability from 120 seconds to 60 seconds.
The second defensive ability you have access to is Tempera Grassa. Tempera Grassa will grant a shield to the entire party that’s equal to 10 percent of their total HP. Like with Tempera Coat, if the shield is broken, it will reduce the cooldown.
Best Pictomancer Opener In FFXIV Dawntrail

Now it’s time to take everything we’ve taught you and bring it together for your level 100 opener. Again, before the fight starts, go ahead and load up your canvas for maximum damage right out of the gate. From there, your rotation will look a little like this:
Swift Cast > Rainbow Drip > Striking Muse > Holy in White > Pom Muse > Wing Motif > Starry Muse > Hammer Stamp > Winged Muse > Hammer Brush > Mog of Ages > Polishing Hammer > Subtractive Palette > Blizzard in Cyan > Stone in Yellow > Thunder in Magenta > Comet in Black > Star Prism > Rainbow Drip > Holy in White > Swift Cast > Claw Motif > Clawed Muse
Remember for faster casting during your opener, stand within the bounds of your Starry Muse.
Best Gear For Pictomancer In FFXIV Dawntrail

As a Pictomancer, the three main stats that you need to prioritize are Weapon Damage, Intelligence/Vitality, and Critical Hit. Pouring your resources into weapon damage and equipping gear/Materia with a high Critical Hit stat will increase the potency of your attacks. Intelligence is the main stat that every caster should be focused on, and vitality will allow you to stay alive a little longer.
|
Equipment |
Materia |
Stats |
How to Obtain |
||
|---|---|---|---|---|---|
|
Weapon |
Dark Horse Champion’s Round Brush |
Savage Might Materia XII Savage Might Materia XII |
DMG+146 INT +628 VIT +600 DET +275 CRT +393 |
Drops during AAC Light-heavyweight M4 (Savage) or can be purchased from Hhihwi in Solution Nine (X:8.7, Y:13.7) for x8 AAC Illustrated: LHW Edition IV. |
|
|
Head |
Augmented Quetzalli Hood of Casting |
Heavens’ Eye Materia XII Savage Might Materia XII |
INT +371 VIT +352 DET +165 CRT +236 |
Upgraded by giving x1 Surgelight Twine and the corresponding Quetzalli Armor to Theone in Solution Nine (X:8.5, Y:13.6). |
|
|
Body |
Dark Horse Champion’s Coat of Casting |
Heavens’ Eye Materia XII Savage Might Materia XII |
INT +588 VIT +559 DH +262 CRT +374 |
Drops during AAC Light-heavyweight M3 (Savage) or can be purchased from Hhihwi in Solution Nine (X:8.7, Y:13.7) for x4 AAC Illustrated: LHW Edition II. |
|
|
Hands |
Augmented Quetzalli Gloves of Casting |
Savage Aim Materia XII Savage Aim Materia XII |
INT +371 VIT +352 DET +236 DH +165 |
Upgraded by giving x1 Surgelight Twine and the corresponding Quetzalli Armor to Theone in Solution Nine (X:8.5, Y:13.6). |
|
|
Legs |
Augmented Quetzalli Hose of Casting |
Savage Aim Materia XII Savage Aim Materia XII |
INT +588 VIT +559 DH +374 CRT +262 |
Upgraded by giving x1 Surgelight Twine and the corresponding Quetzalli Armor to Theone in Solution Nine (X:8.5, Y:13.6). |
|
|
Feet |
Dark Horse Champion’s Shoes of Casting |
Heavens’ Eye Materia XII Savage Might Materia XII |
INT +371 VIT +352 DET +165 CRT +236 |
Drops during AAC Light-heavyweight M3 (Savage) or can be purchased from Hhihwi in Solution Nine (X:8.7, Y:13.7) for x4 AAC Illustrated: LHW Edition II. |
|
|
Earrings |
Dark Horse Champion’s Earring of Casting |
Heavens’ Eye Materia XII Savage Aim Materia XII |
INT +292 VIT +277 DET +186 CRT +130 |
Drops during AAC Light-heavyweight M3 (Savage) or can be purchased from Hhihwi in Solution Nine (X:8.7, Y:13.7) for x3 AAC Illustrated: LHW Edition II. |
|
|
Necklace |
Augmented Quetzalli Necklace of Casting |
Savage Might Materia XII Savage Might Materia XII |
INT +292 VIT +277 DH +130 CRT +186 |
Upgraded by giving x1 Surgelight Twine and the corresponding Quetzalli Armor to Theone in Solution Nine (X:8.5, Y:13.6). |
|
|
Bracelets |
Dark Horse Champion’s Bangle of Casting |
Savage Aim Materia XII Savage Might Materia XII |
INT +292 VIT +277 DH +186 CRT +130 |
Drops during AAC Light-heavyweight M3 (Savage) or can be purchased from Hhihwi in Solution Nine (X:8.7, Y:13.7) for x3 AAC Illustrated: LHW Edition II. |
|
|
Left Ring |
Augmented Quetzalli Ring of Casting |
Heavens’ Eye Materia XII Savage Might Materia XII |
INT + 292 VIT +277 DET +130 CRT +186 |
Upgraded by giving x1 Surgelight Twine and the corresponding Quetzalli Armor to Theone in Solution Nine (X:8.5, Y:13.6). |
|
|
Right Ring |
Dark Horse Champion’s Ring of Casting |
Savage Aim Materia XII Savage Might Materia XII |
INT +292 VIT +277 DH +186 CRT +130 |
Drops during AAC Light-heavyweight M3 (Savage) or can be purchased from Hhihwi in Solution Nine (X:8.7, Y:13.7) for x3 AAC Illustrated: LHW Edition II. |
Eating a nice hot meal before queuing up for a dungeon or raid will increase your stats even further. For a Pictomancer, we recommend stocking up on Vegetable Soup. It’s packed full of the nutrients and tender veggies that your WoL will need to increase their Direct Hit Rate, Vitality, and Determination in battle.
Sadly, you can’t buy this item. To obtain it, you’ll have to complete the main scenario quest, “The Resilient Son”. You can also craft it if you’re a Culinarian. To do so, you’ll need Mountain Salt, Broccoli, Yyasulani Garlic(2), Alien Onion, Carrot of Happiness, Giant Popoto, Fire Crystal(8), and Water Crystal(8).
