
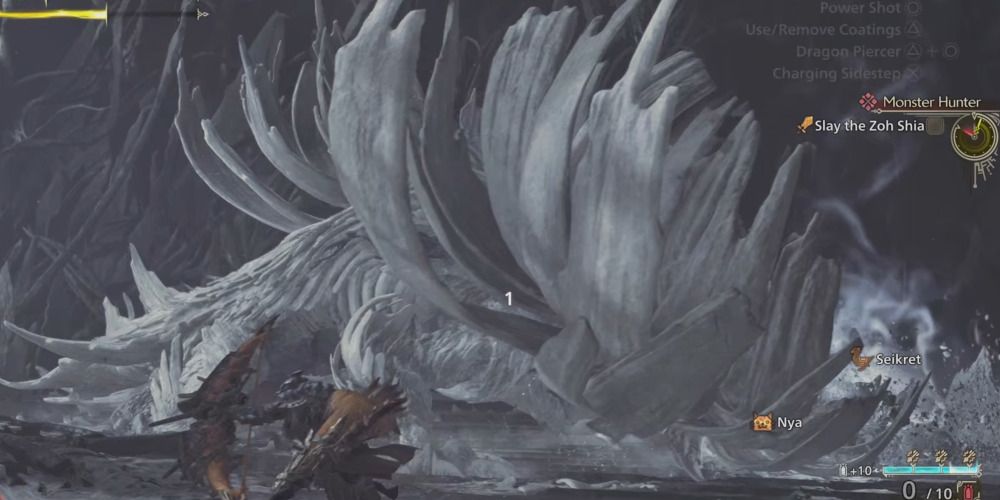
Zoh Shia is the final boss of Low Rank in Monster Hunter Wilds. This challenging fight has four phases, and it has a mid-fight move that can really set you on fire if you are not prepared.
Lucky for you, this article contains all of this challenging Monster Hunter monster‘s moves, weaknesses, drops, and more. You’ll also learn how to dodge each of its massive attacks and defeat final boss battle once and for all.

Related
Monster Hunter Wilds: How To Catch Regal Jewel Scarab
Finding a Regal Jewel Scarab in Monster Hunter Wilds isn’t as hard as it may seem. Here’s where players must go in order to catch them.
Zoh Shia Moveset in Monster Hunter Wilds
Zoh Shia has several sets of moves that change as the fight progresses and you knock more of its armor off, unlike most of the monsters in Monster Hunter Wilds. Below are all of its moves and when you will see these moves, how to avoid them, and what to look for. But first, here are the four phases of this fight.
- Phase 1: This is the beginning phase before any of Zoh Shia’s armor is knocked off. It will only attack with the two Phase 1 Attacks in Monster Hunter Wilds.
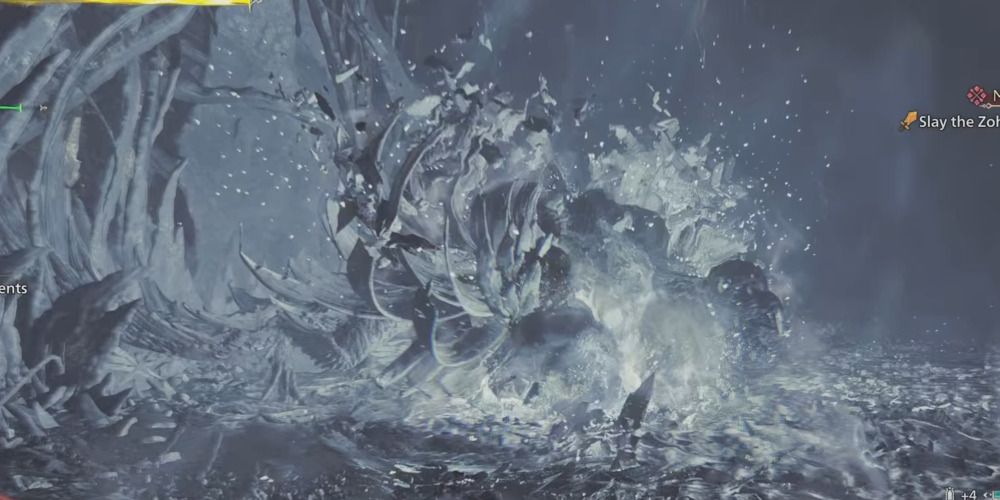
- Phase 2: The wyvren milk has been destroyed from Zoh Shia’s head and left it black-colored and exposed. In Phase 2, it can attack with both Phase 1 and 2 attacks.
- Phase 3: Both the wingarms and head are exposed. Zoh Shia can attack with Phase 1, 2, and 3 attacks.
- Phase 4: The entire body is armorless, black, and exposed. This will have all Phase 1 through 4 attacks.
Phase 1: Swipe
-
-
The Zoh Shia will lift one arm or wing up, then sweep it down toward you. In order to dodge this attack, you should roll backwards or under its body. If you are close to the monster, it can also do a variation of this attack that is a tail swipe or a bite. It will lift its claw, mouth, or ready its tail to swing at you. After it has its arms exposed, or it is fully exposed, this move will cause additional fire damage.

Phase 1: Ground Explosions
-

-
When Zoh Shia raises a wing, it will crash it down into the ground to create a line of explosions. If it lifts its right wing, it will create a diagonal line of explosions from its right hand, across its body, and in a line to the right of the player. In order to dodge this, roll toward the raised wing. There is a variation where it charges the move first, lifting its wingarm higher, and this will hit just the ground in front of it. It can do this with either hand, and you should roll backwards to avoid it hitting you. It can also do a horizontal explosion line, which is done by raising both hands, and you need to roll backwards for this attack too. During the wing exposed Phase 3, it will do these moves with fire damage added.

Phase 2: Small Fireballs
-

-
During Phase 2, Zoh Shia gains several fireball moves. This one, the small fireball, will be preceded by its wings lifting on either side of its body and fire being built up in its mouth. In order to avoid this attack, you need to dodge roll to either side. Move horizontally from the fireball. The Ajarakan set is great for this fight as it has high fire resistance and Part Breaker.

Phase 2: Big Fireballs
-

-
When the Zoh Shia stands on its back feet and roars, gathering fire in its mouth, it is about to do a big fireball. This covers the ground in front of it in a puddle of fire and will deal quite a bit of damage. The best way to get away from this is to wait until it shoots the fireball, then roll to Zoh Shia’s left or right side to get out of the way of the flames. Roll away as it hits the ground to ensure your i-frames keep you safe from the spreading flames.

Phase 2: Bouncing Fireballs
-
-
The bouncing fireball move is another you will have to worry about as soon as Zho Shia’s head is exposed. This move looks a lot like the other fireball moves, but as it is gearing up to ignite the area around it, you will see several red spots appear in random places on the ground. These are all the places the fireballs will bounce to. You will need to avoid its mouth and the surrounding area, but also those fiery spots on the floor. Dodge away from Zho Shia and the spots on the floor. Then roll away to the monster’s left or right and back after the spots explode, as the fireballs will bounce around, and the fireball from its mouth will bounce forward.

Phase 2: Fire Breath
-

-
There is another fire attack that Phase 2 Zho Shia will use. This one is a fire breath attack that floods the floor directly in front of it with flames. It will look like all the other fire attacks, but its mouth will be facing the ground instead of facing toward you. The AOE of this attack is fairly small, so you just need to get away from Zoh Shia’s immediate area.

Phase 2: Fire Cone
-

-
During Phase 2, Zoh Shia can do a mini version of its massive inferno attack. It will surround itself with a ring of crystals and then will throw out a cone of flames around itself, but will leave a spot behind it with no flames. Run behind it to avoid the attack.

Phase 3: Charge
-

-
Once both its head and wingarms are exposed, Zoh Shia will do its charge attack. It will first lift its arm, growl at you, then it will charge with its whole body, stomping over you if you aren’t careful. You can avoid this one by quickly getting to the left or right of the monster to avoid damage. The move doesn’t seem to have any tracking, so just move one way or the other.

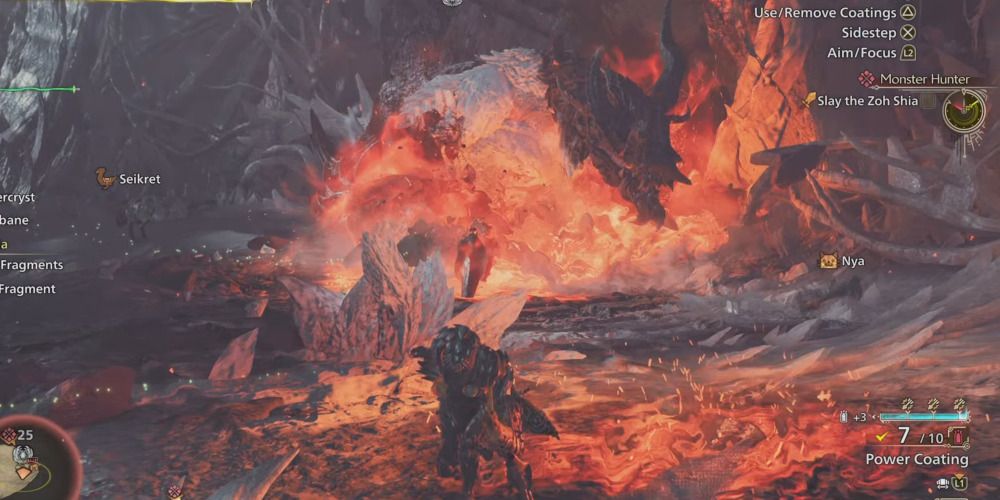
The Halfway Point: The Inferno
-
-
During the halfway point of the fight, Zho Shia will do a massive attack. Your character will say “It’s doing something to the area… Not good!” This attack will cause a massive inferno to flood the ground with fire. It will bring up a whole bunch of crystals on the ground. The crystals amplify the fire’s power, so you do NOT want to hide behind them. You want to get to the other side of the arena from it, or you will die from the inferno. Get as far away as you can and avoid all the fireballs it throws as it gets ready for this attack.

Phase 4: Lighting Attack
-

-
There are two forms of Zoh Shia lightning attacks: a ground circle that it does at the beginning of Phase 4 and a lightning line attack. For the former, it will stand up and roar, then lightning circles will form on the ground. To avoid these, just make sure you are not standing in the circles. The second type of lightning attack is a line of lightning. To avoid it, either dodge forward or backward because the line will run horizontal to your character between you and the monster.

Zoh Shia Weaknesses and How to Fight It in Monster Hunter Wilds

Zoh Shia is a very challenging boss. It will move quickly and slam you with lightning and fire attacks as you slowly break away its armor. If you want to complete the story, get the Monster Hunter Bringer of Hope achievement, and unlock High Ranking mats, you will want to take these details into account:
- Both the left and right wings are weak to sword and hammer damage.
- The head of Zoh Shia is weak to all three types of damage.
- It has no specific elemental weaknesses.
- This monster can inflict the status ailments called Fireblight and Thunderblight.
- Zoh Shia has three different stages of its fight with different attacks and a different look to its body.
- Dragon Pods are an excellent way to make Zoh Shia flinch.
- Break the surrounding area to drop it onto Zoh Shia and deal some damage.
Zoh Shia Drops in Monster Hunter Wilds
Currently, you can only fight Zoh Shia once. It doesn’t drop as much stuff as many of the other monsters do, and it has no High-Rank drops. Zoh Shia will most likely become a monster you can farm later on as updates and Monster Hunter Wilds DLC are dropped, but that is not currently the case. Here are all the drops you can get from Zoh Shia:
|
Low-Rank Mats |
Item |
Drop Rates |
|
Target |
30% |
|
|
Tough Guardian Bone |
20% |
|
|
Guardian Blood |
20% |
|
|
Guardian Scale |
15% |
|
|
Guardian Pelt |
15% |
|
|
Guardian Blood |
50% |
|
|
Guardian Scale |
50% |
|
|
Break (Head) |
Guardian Blood |
100% |
|
Break (Either Foreleg) |
Guardian Scale |
100% |
|
Break (Either Wingarm) |
Guardian Pelt |
100% |

- Released
-
February 28, 2025
- ESRB
-
T For Teen // Violence, Blood, Crude Humor