Barrow-Dyad is a hidden Exotic SMG released in Destiny 2’s
Heresy episode, adding a new Exotic mission aboard the derelict Dreadnaught. Unlocking the mission is somewhat difficult due to its secrecy, but thankfully, the mission itself is fairly easy to clear solo. So long as you have a decent Heavy weapon for DPS, you’ll crush this activity in a few tries.
Related
Destiny 2: Heresy – The Nether Activity Guide
Learn how to overcome The Nether’s unique roguelite mechanics with this in-depth guide.
If you have unlocked the Derealize mission already, then completing it on your first run shouldn’t take much effort. This guide will give a brief overview of how to unlock the Derealize Exotic mission and give an overview of each encounter, including the No Escape puzzle and jumping sections.
How To Unlock Derealize
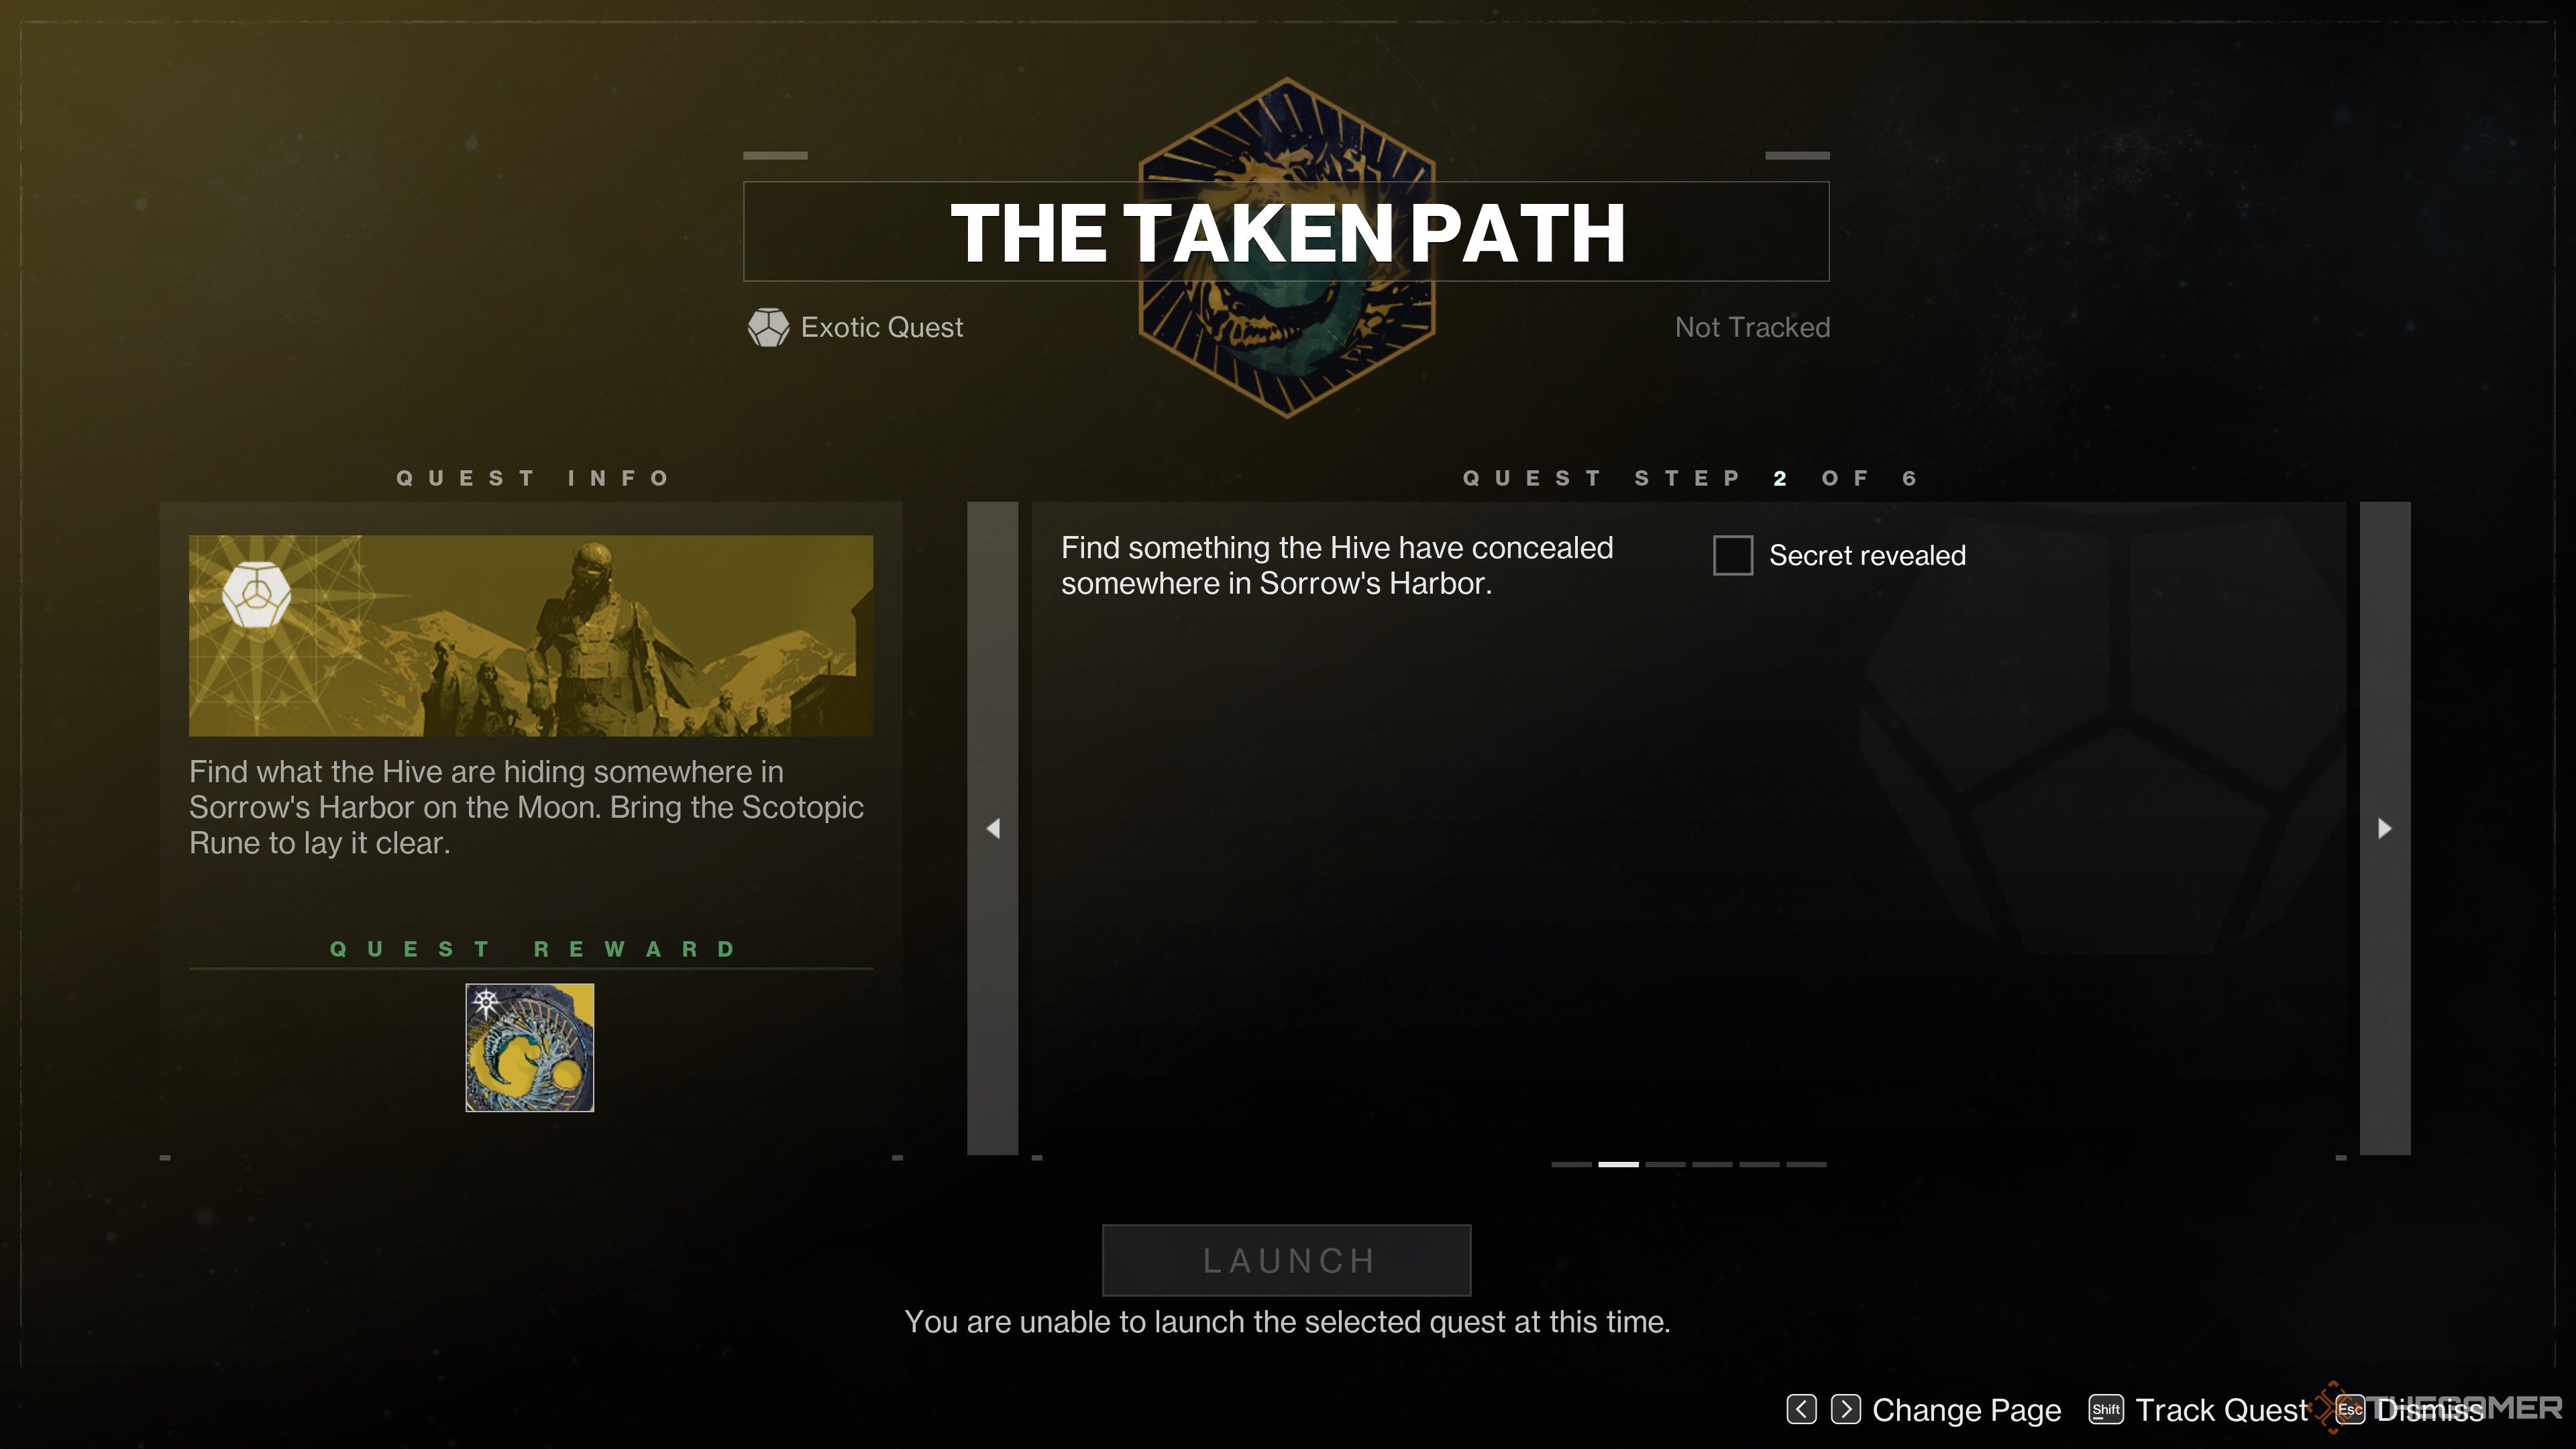
Derealize is an Exotic mission introduced in Episode: Heresy. However, unlike past Exotic missions, this activity is locked behind a hidden Exotic quest that’s easy to miss. We have a thorough breakdown of the
Barrow-Dyad Exotic quest
if you want a step-by-step guide, but here’s a quick summary of how to get started:
- While in The Nether activity, look for an errant Taken Portal in any patrol zone. Jump into it, then move in the direction the text prompt states.
- Bring the fragment back to Eris’ apartment to start the quest chain.
- Uncover hidden fragments in Lost Sectors.
- Complete three curse challenges.
- Light Hive altars inside the Dreadnaught to complete each curse.
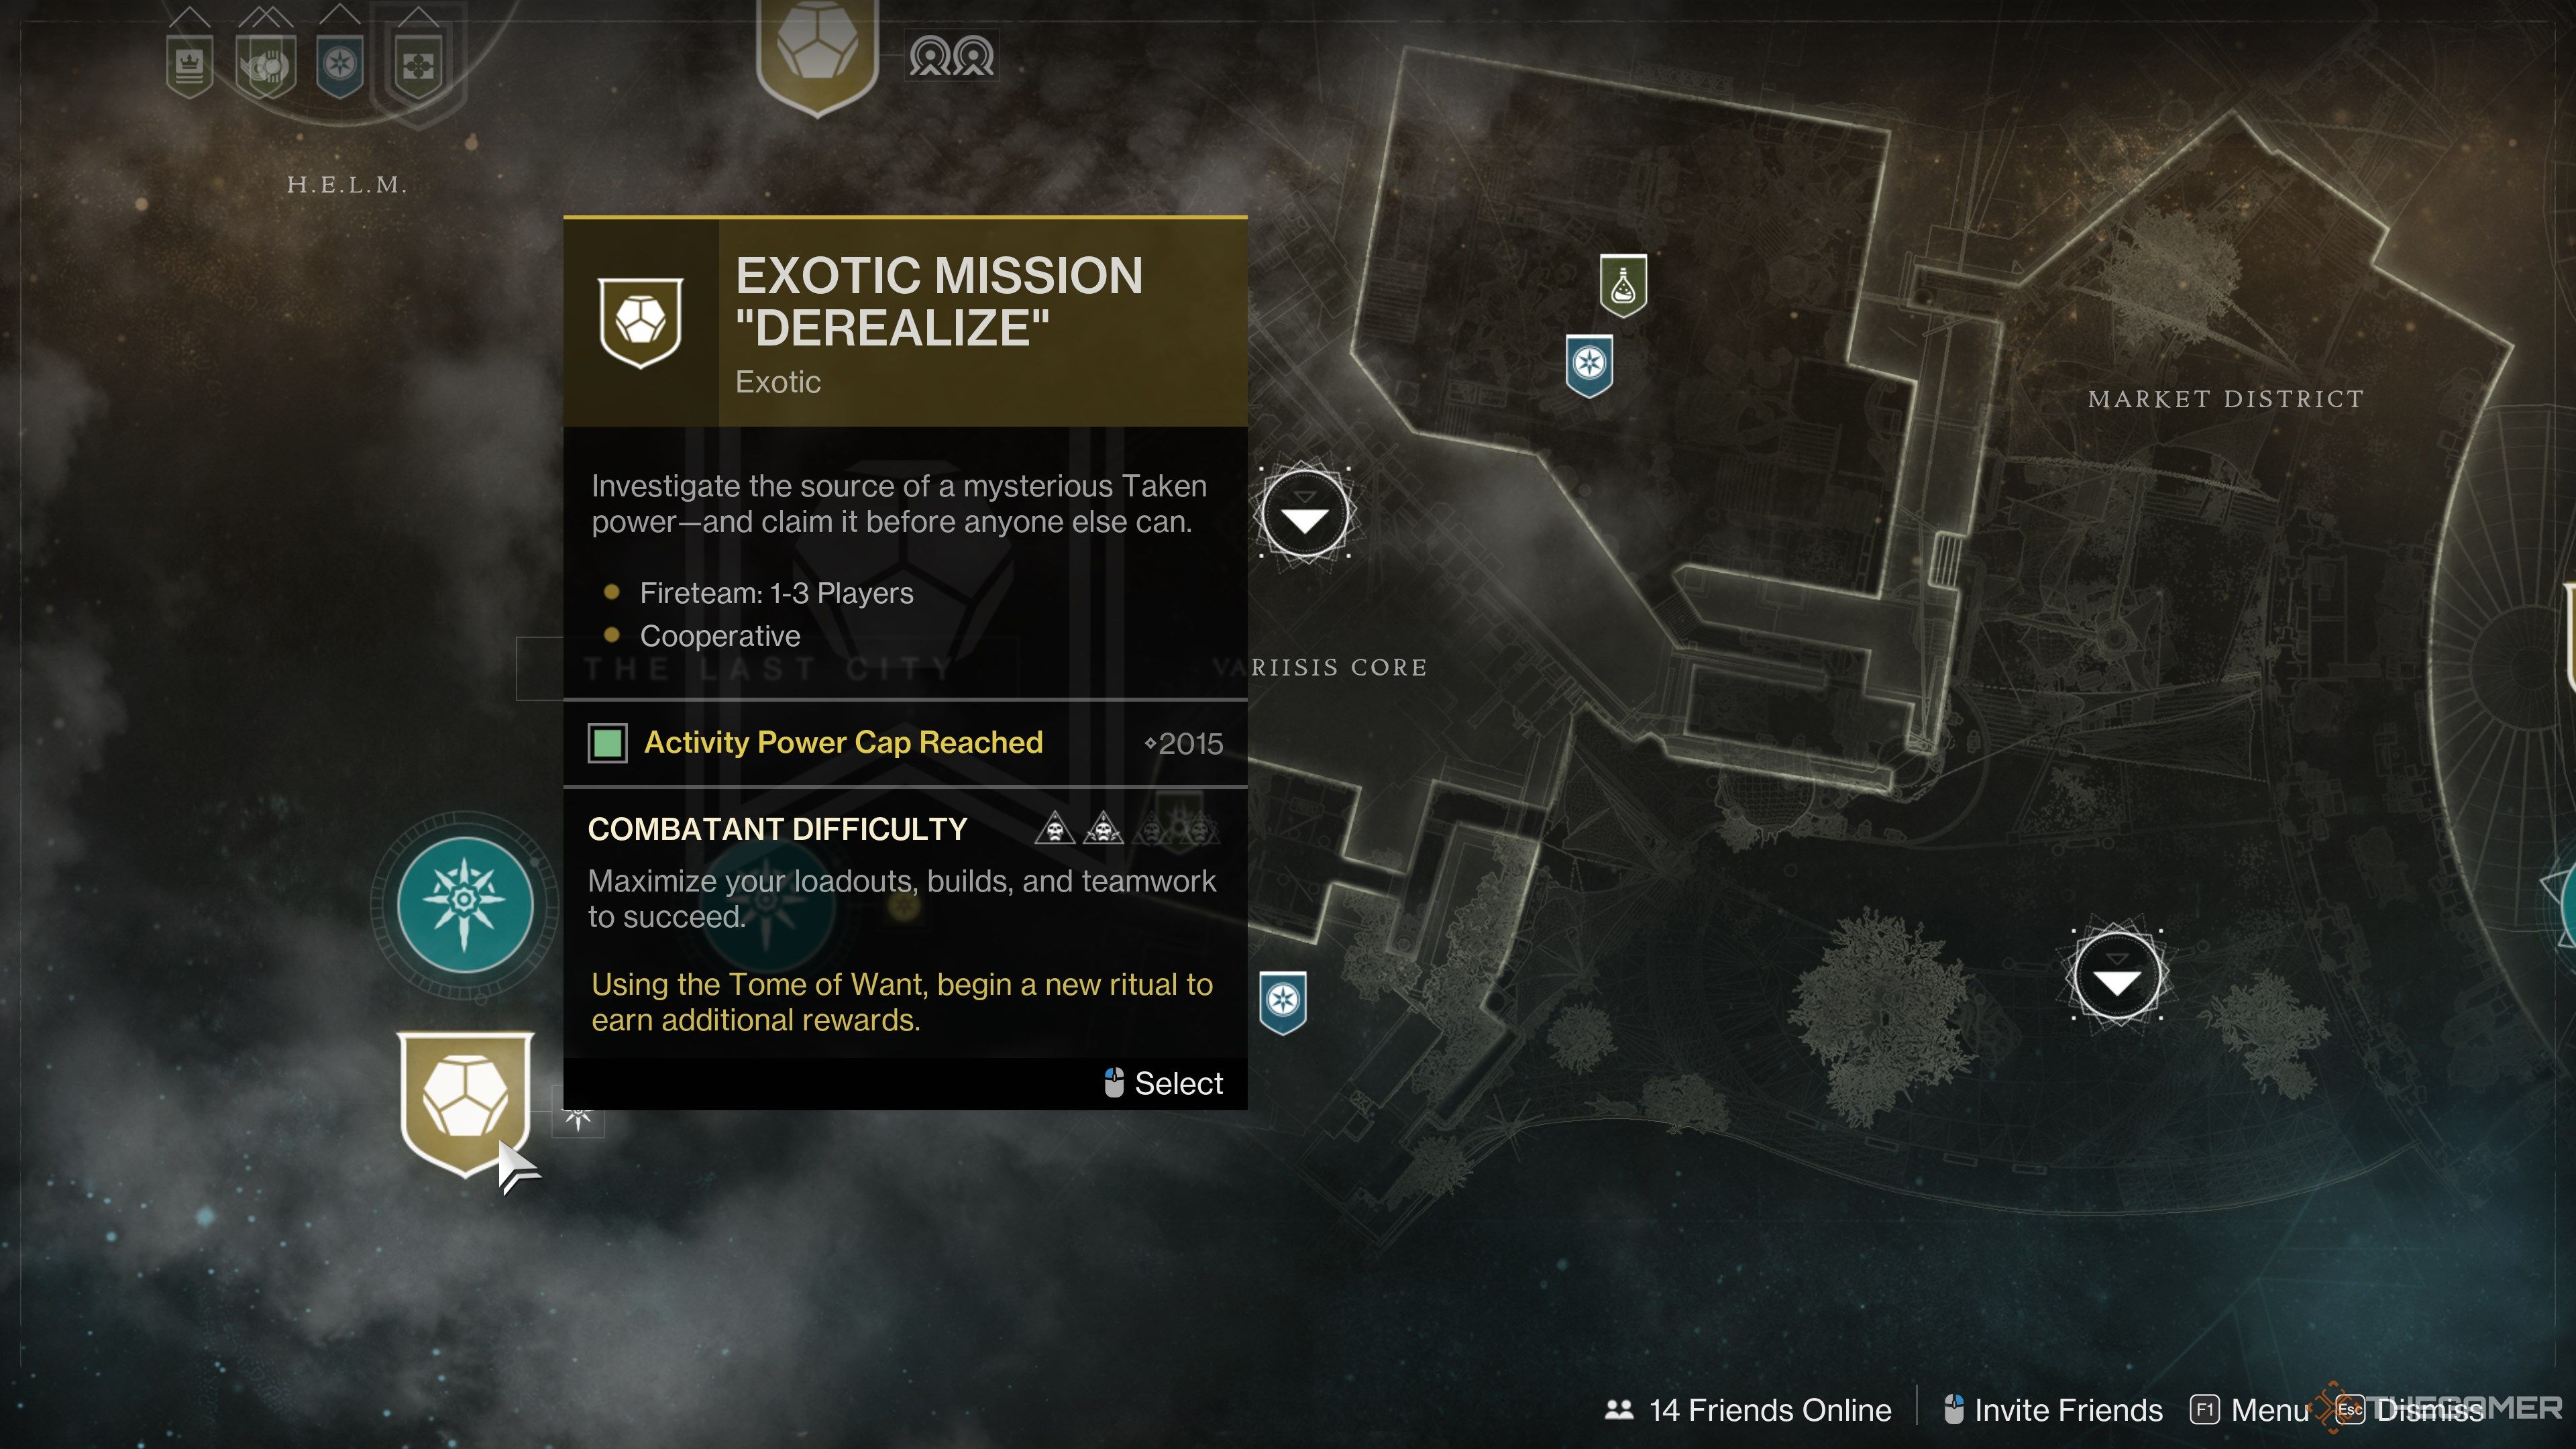
Once complete, you’ll be able to boot up Derealize from your Director. The playlist is located under The Nether: Explore within The Last City map.
Derealize Modifiers
|
Advanced Difficulty |
|
|---|---|
|
Modifiers |
|
|
Power Level |
2,015 |
|
Overcharge |
Enabled; SMGs included |
|
Surges |
Arc, Strand |
|
Champions |
None |
|
Combat |
|
|
Threats |
Arc |
|
Shields |
Arc, Solar, Void |
|
Extra Shields |
Knights and Acolytes have shields. |
|
Epitaph |
Taken combatants generate blight geysers when defeated. |
The standard version of Derealize is set to 2,015 Power and has no Champions, although Overcharge and Surges are enabled. If you have any Overcharged weapons through the artifact or the activity itself, they will deal 25% more damage. All damage types, abilities, and weapons that match the listed surges also deal 25% more damage, although this doesn’t stack with Overcharge.
In terms of difficulty, Derealize is slightly easier than an Expert-tier Lost Sector. While the enemies aren’t overleveled in this activity, there is high enemy density and a handful of high-damage targets you’ll need to fight here. Bring a loadout that can deal with Tormentors, Subjugators, and have some form of HP regeneration.
Get There First
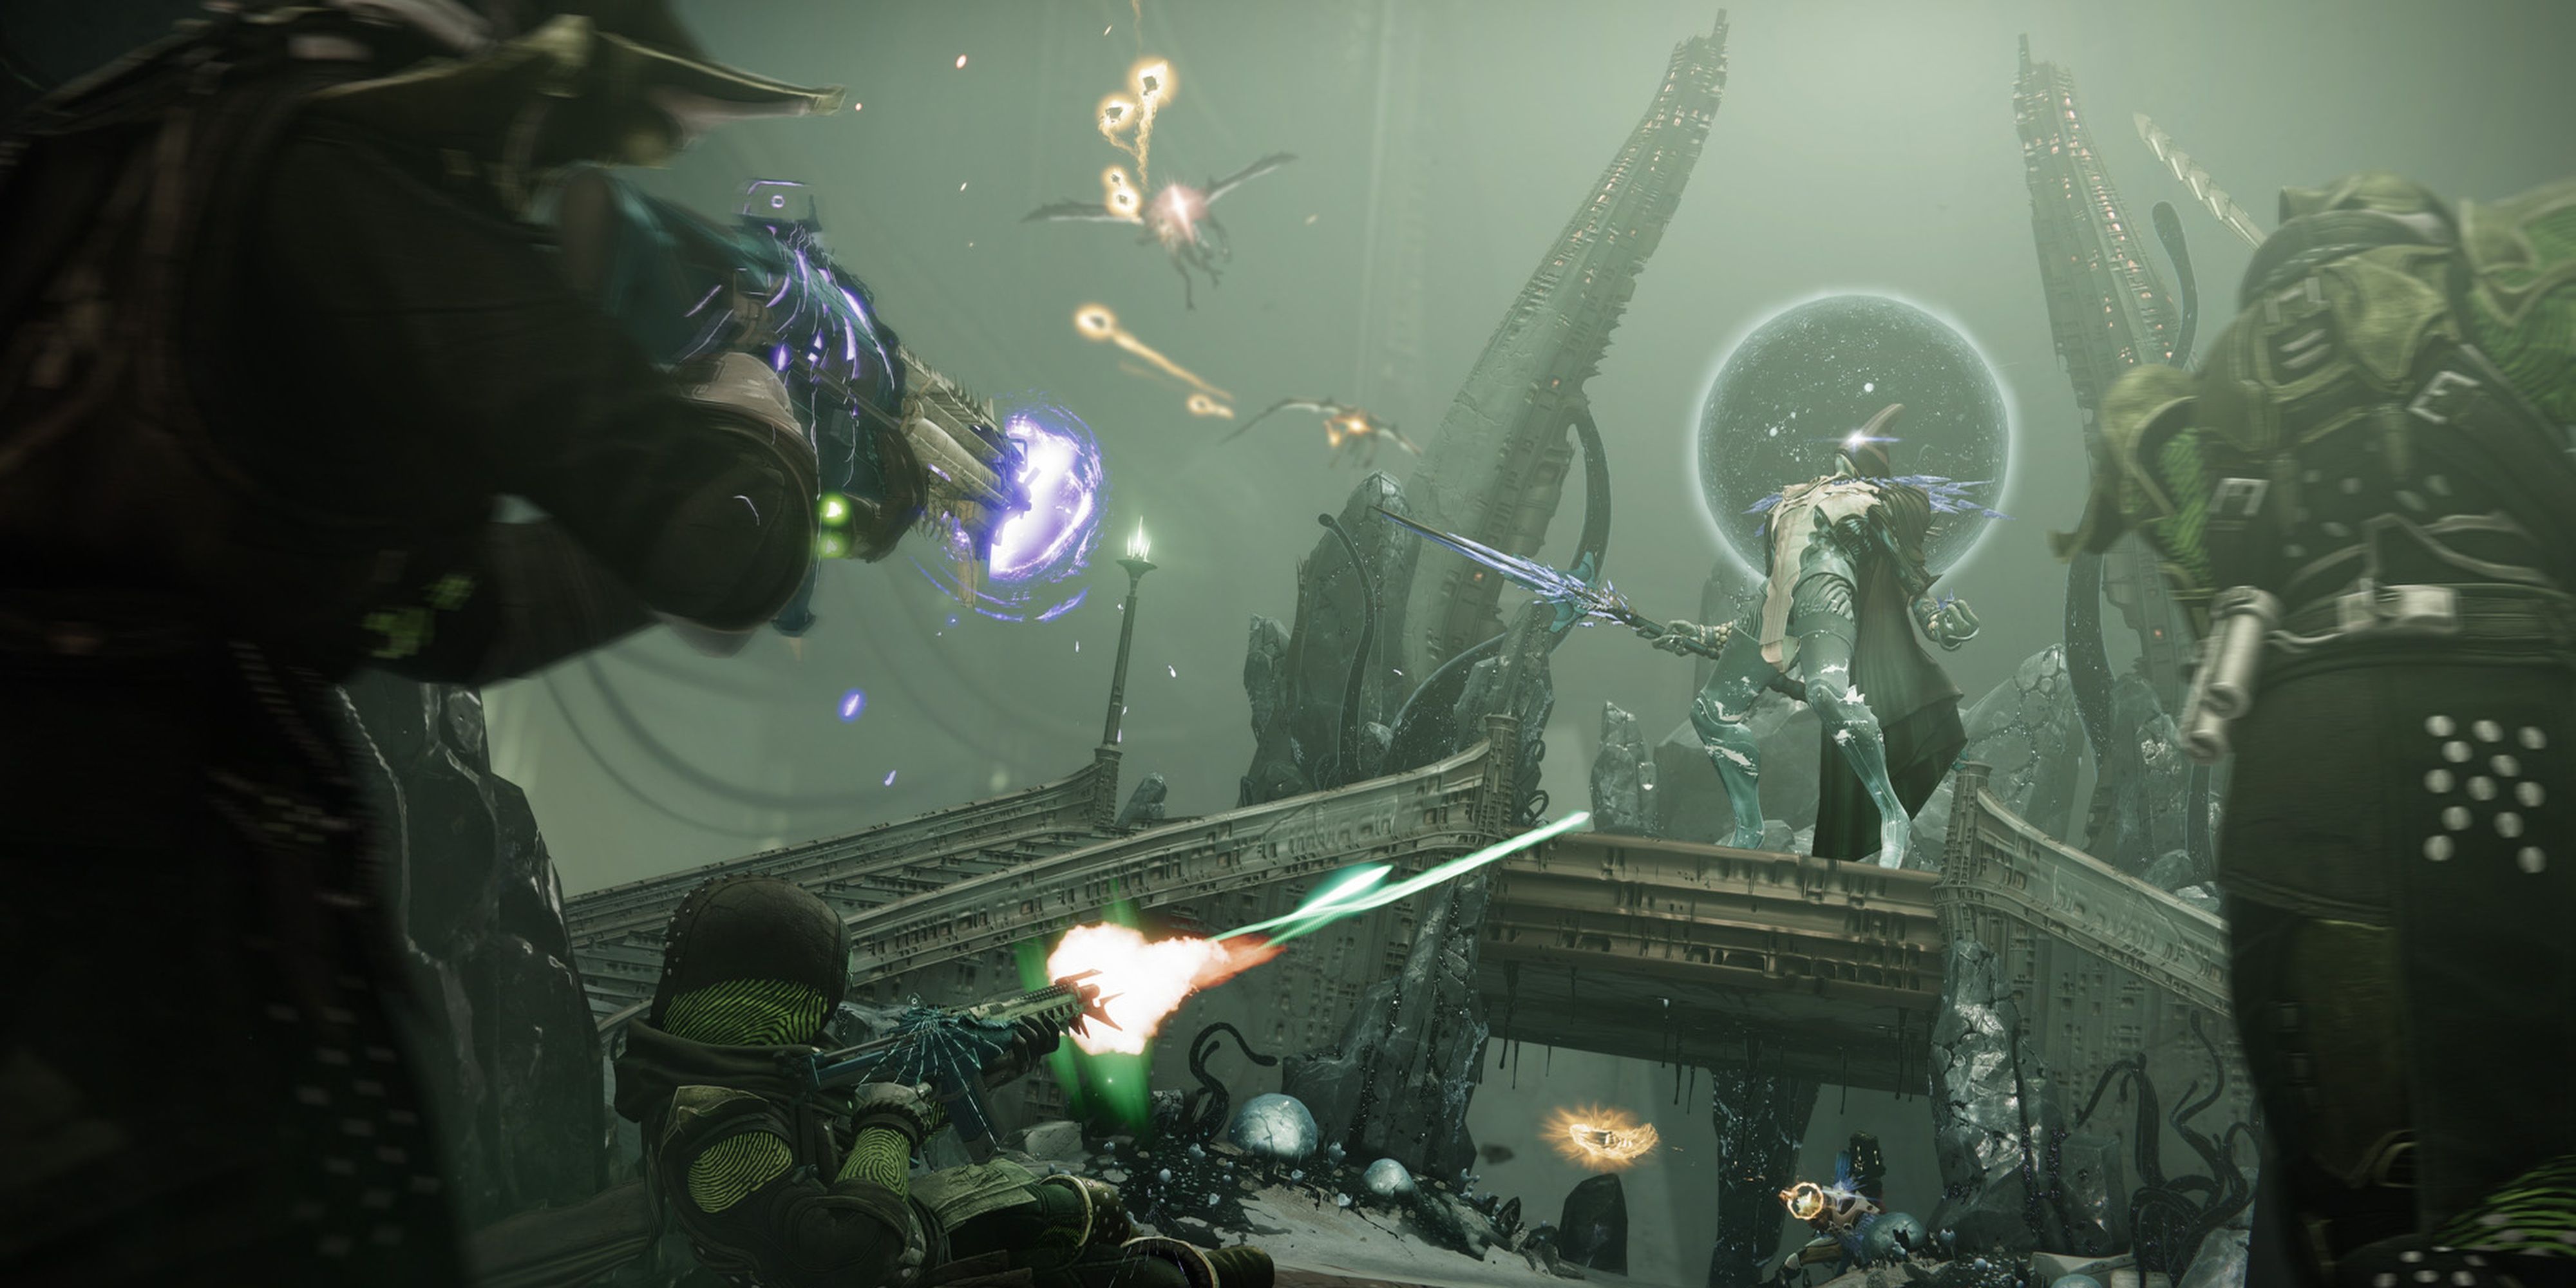
You’ll start the Exotic mission at the floor bed of The Mausoleum aboard the Dreadnaught. The first section is a simple combat encounter, requiring you to eliminate a few Subjugators, Tormentors, and other Dread forces. There’s no timer or limited revives here, so take your time.
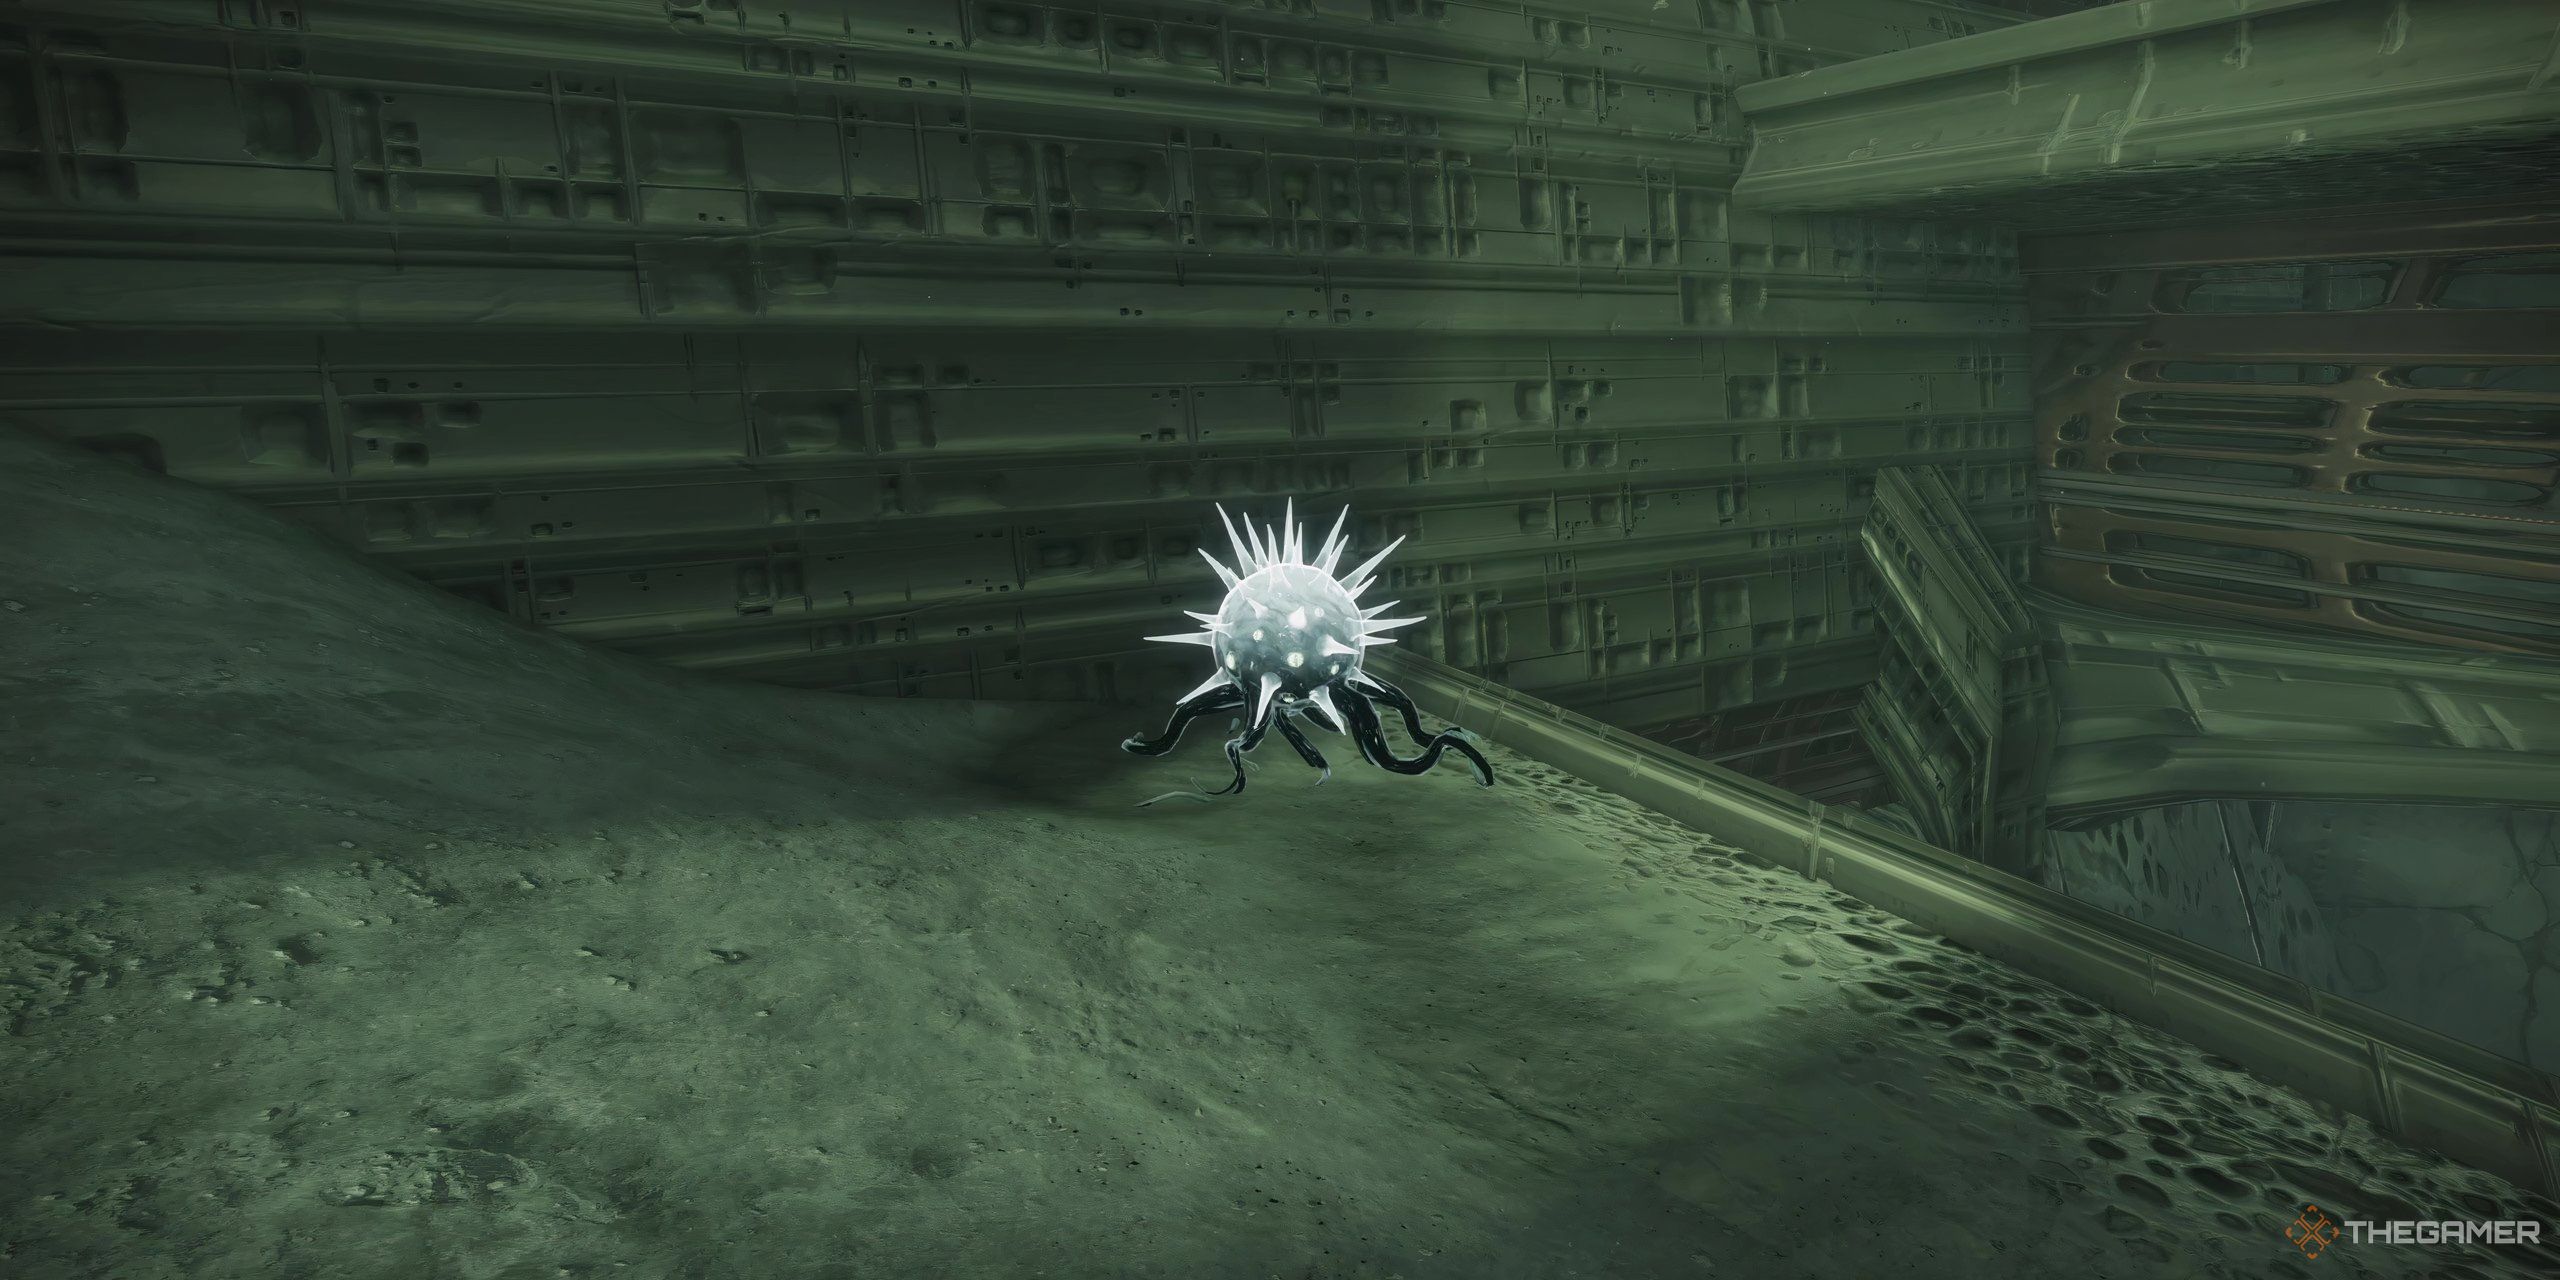
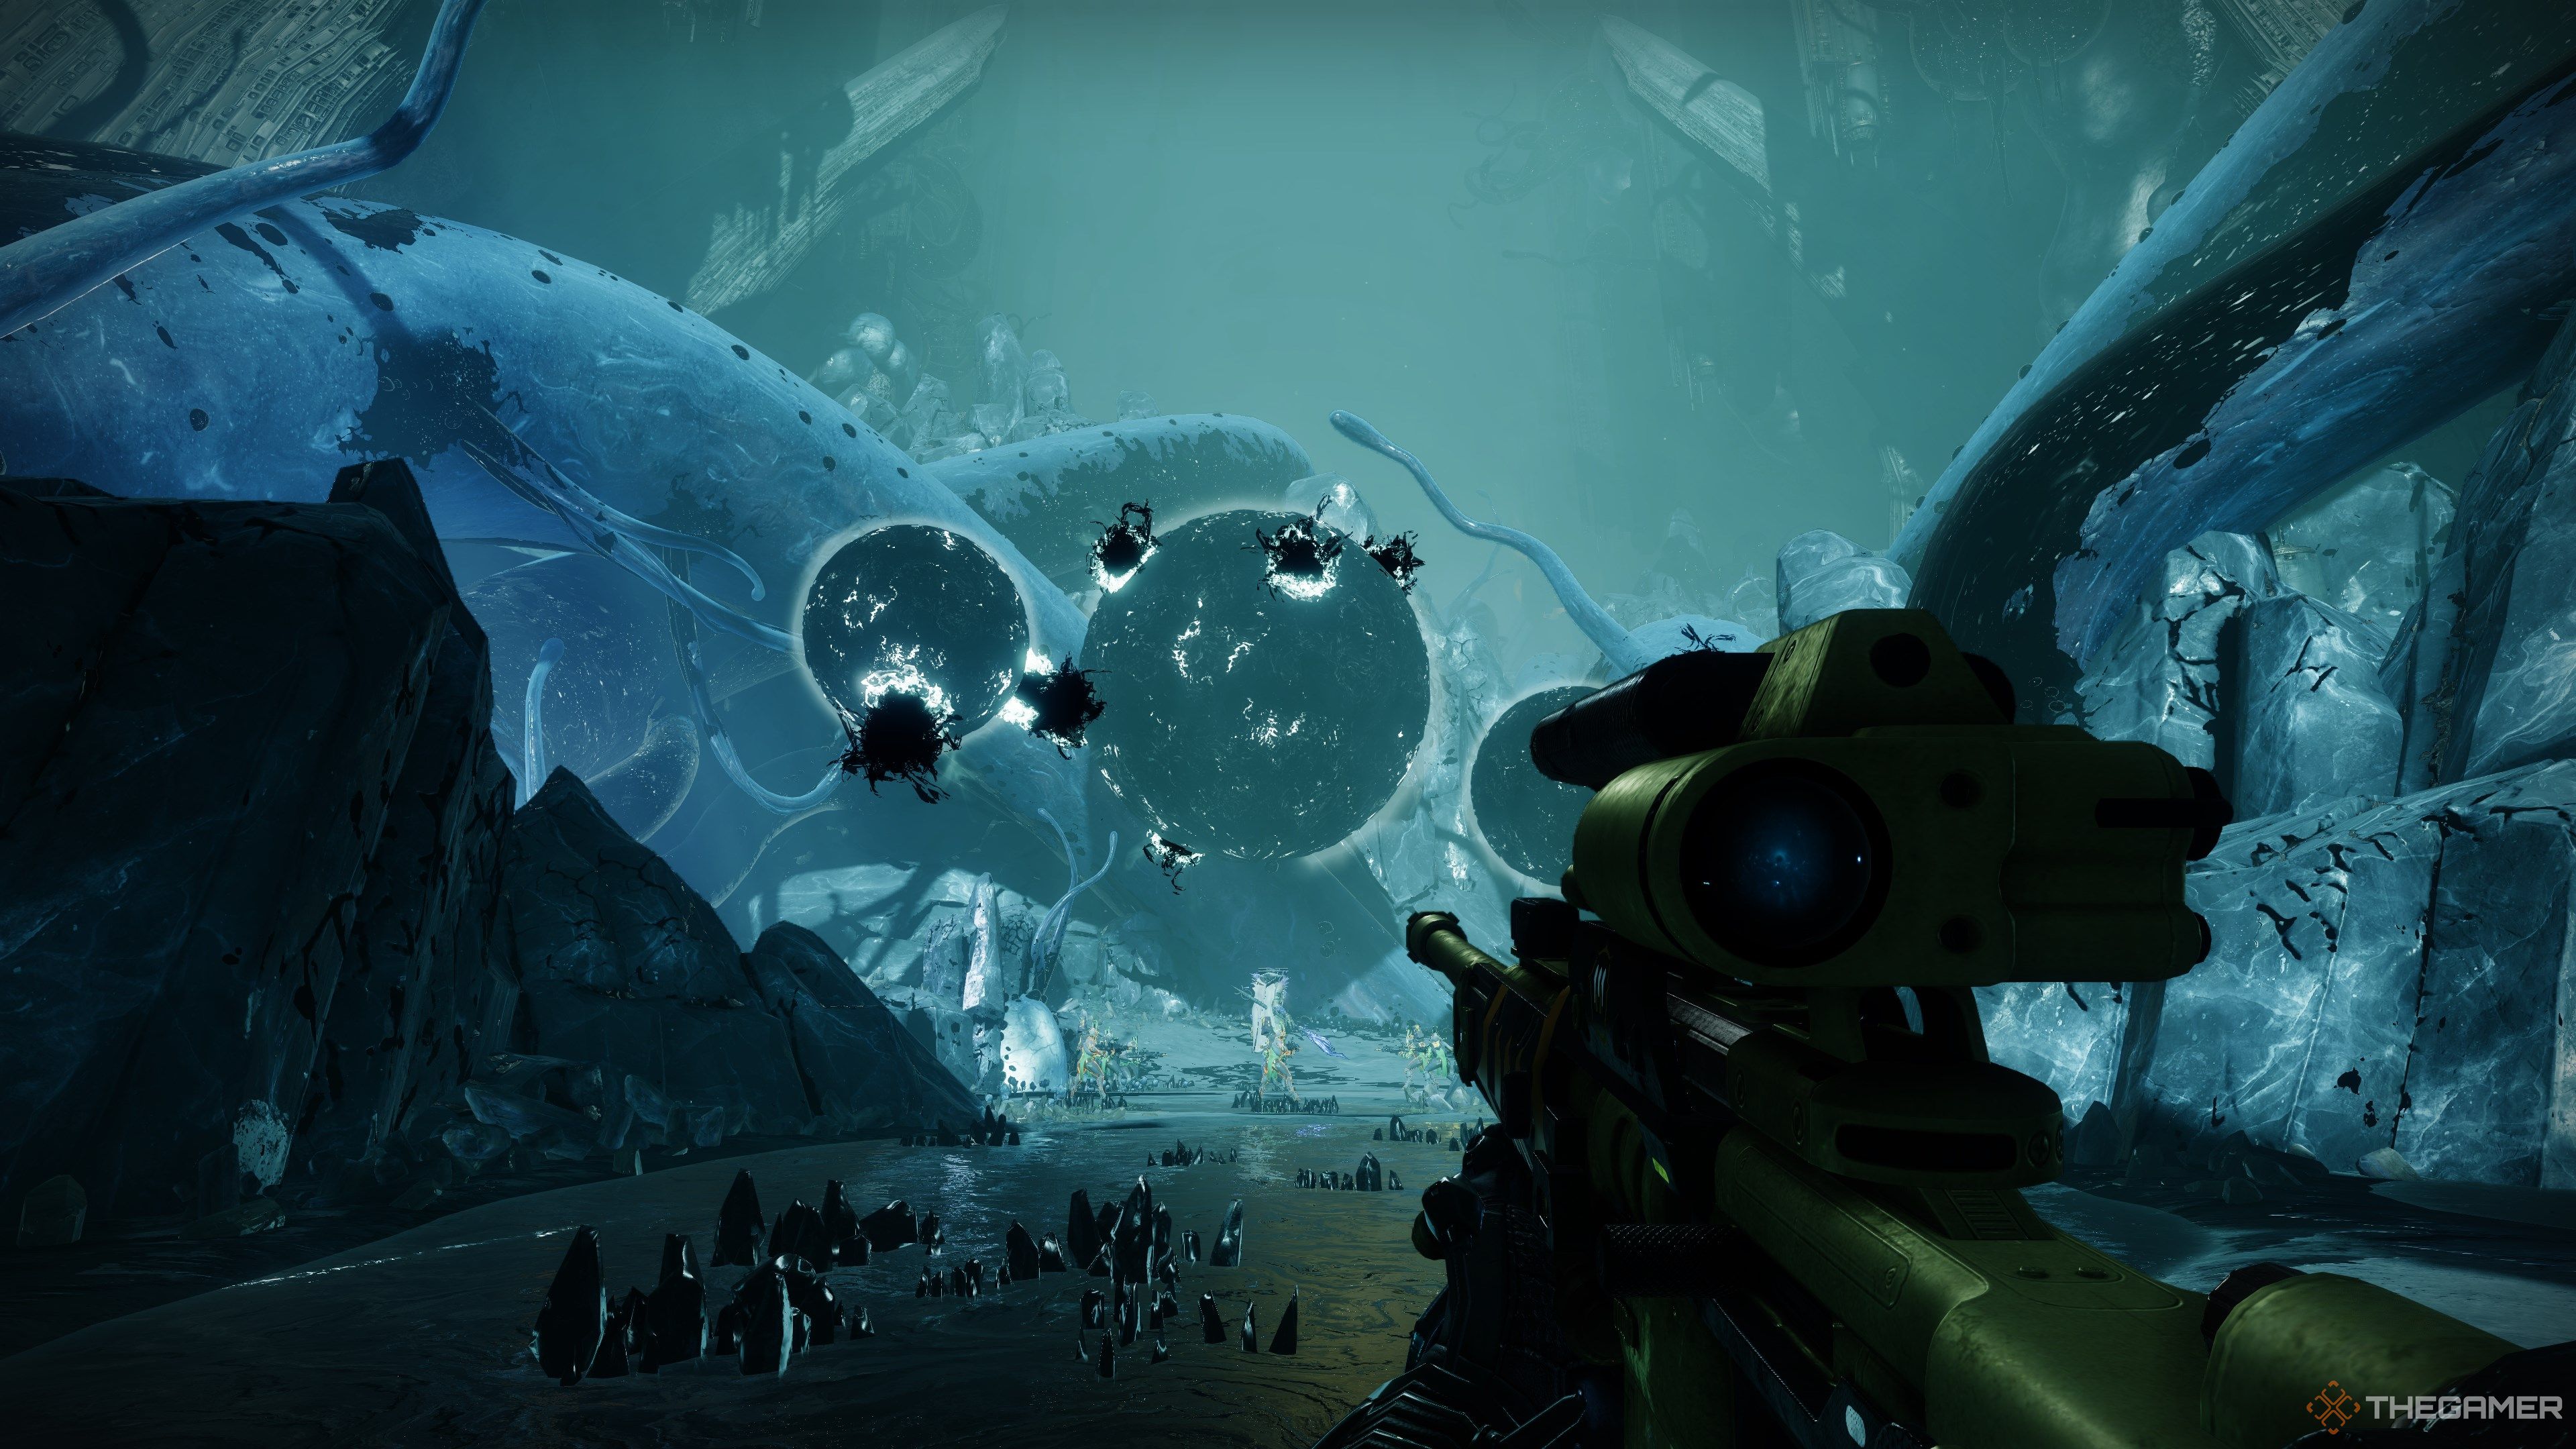
Floating eyes will inflict Suffocating Darkness if you’re within their line of sight. At x20 stacks, you will fall to your knees and die. Find cover to remove any stacks you’ve accumulated.
Up the path will be more Dread and a portal protected by Darkness resonance. Clear out the nearby Dread and the subsequent Subjugator miniboss to remove the resonance field. Hop through the portal and follow the path to reach the first encounter.
Related
Destiny 2: How To Get And Use Metastasized Essentia
Here’s how to get Metastasized Essentia in Destiny 2!
Defeat Vrhiisk, Seeker Of Power
Vrhiisk is a Subjugator with a fairly large health pool and a small army of Taken fighting by its side. Most of this encounter is add management, so bring a good add clear loadout before you rally. Start the encounter by damaging the boss or any of its Taken minions. You’ll need to remove roughly 10% of the boss’ HP to phase it.
Damaging Vrhiisk will force them to project an immunity barrier, spawning a small Taken army shortly thereafter. Two of the minions will be Ogres. Kill them to spawn a Taken relic. You must grab this relic and clear the next pack of adds to charge it. The person holding the weapon doesn’t need to land the kills; the adds just need to be eliminated.
Once charged, an area will be marked on your HUD for deposit. Walk up to the area to destroy your relic. You will now be Torn Between Dimensions, the same debuff from
King’s Fall
but without any downsides. Grab the second relic, charge it, and then deposit it atop a Blight to remove Vrhiisk’s shield.
The final phase will teleport you to an enclosed space with no cover. Have a close-range DPS weapon or a Super at the ready.
You’ll repeat this process once more to eliminate the Subjugator, juggling adds and relics throughout the encounter. Play it safe, remember to use your Super, and focus the boss the instant they’re vulnerable.
No Escape Puzzle
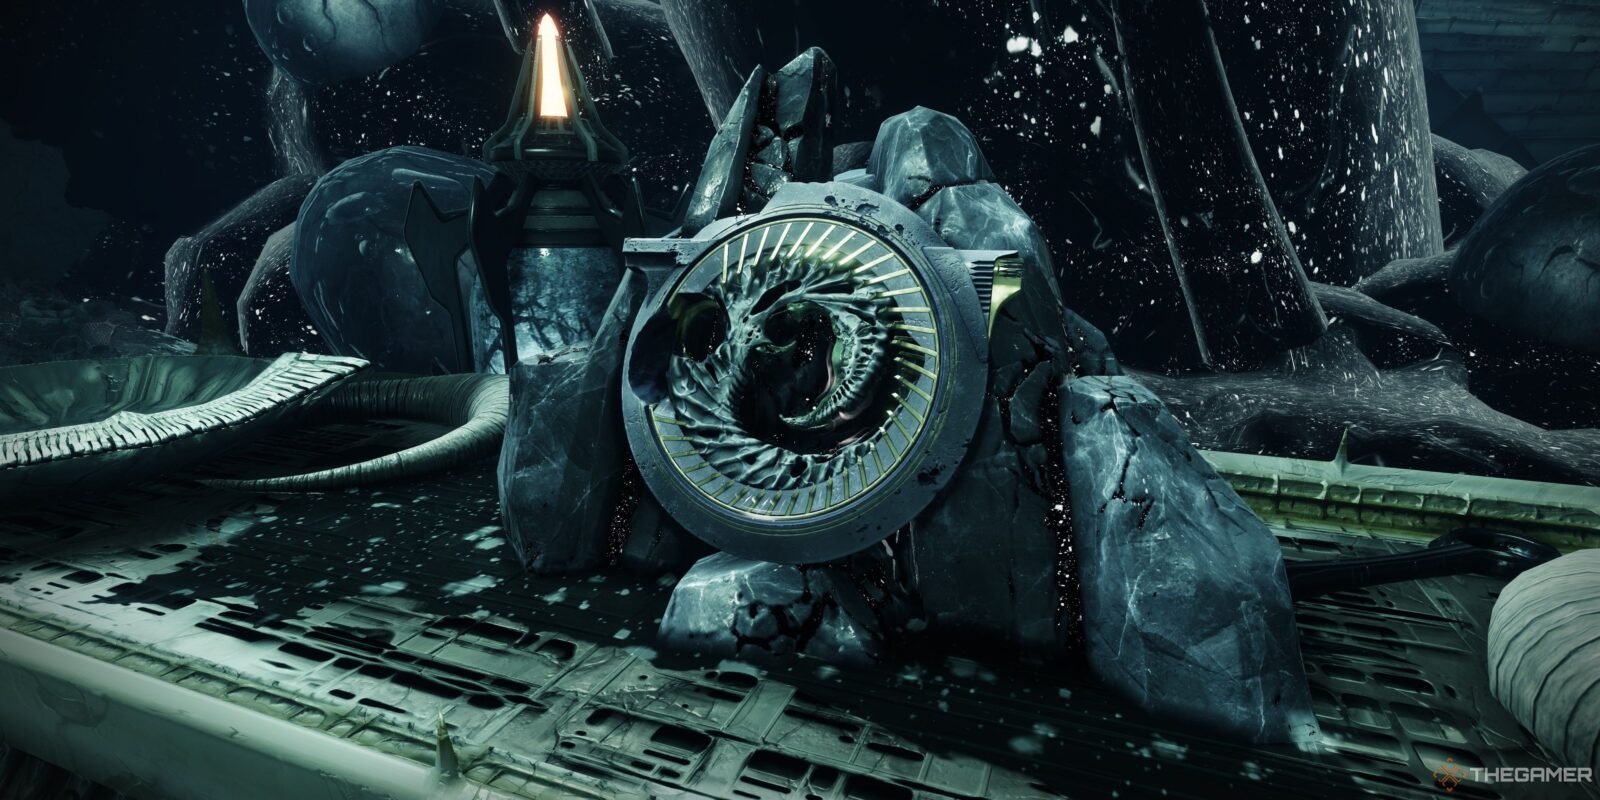
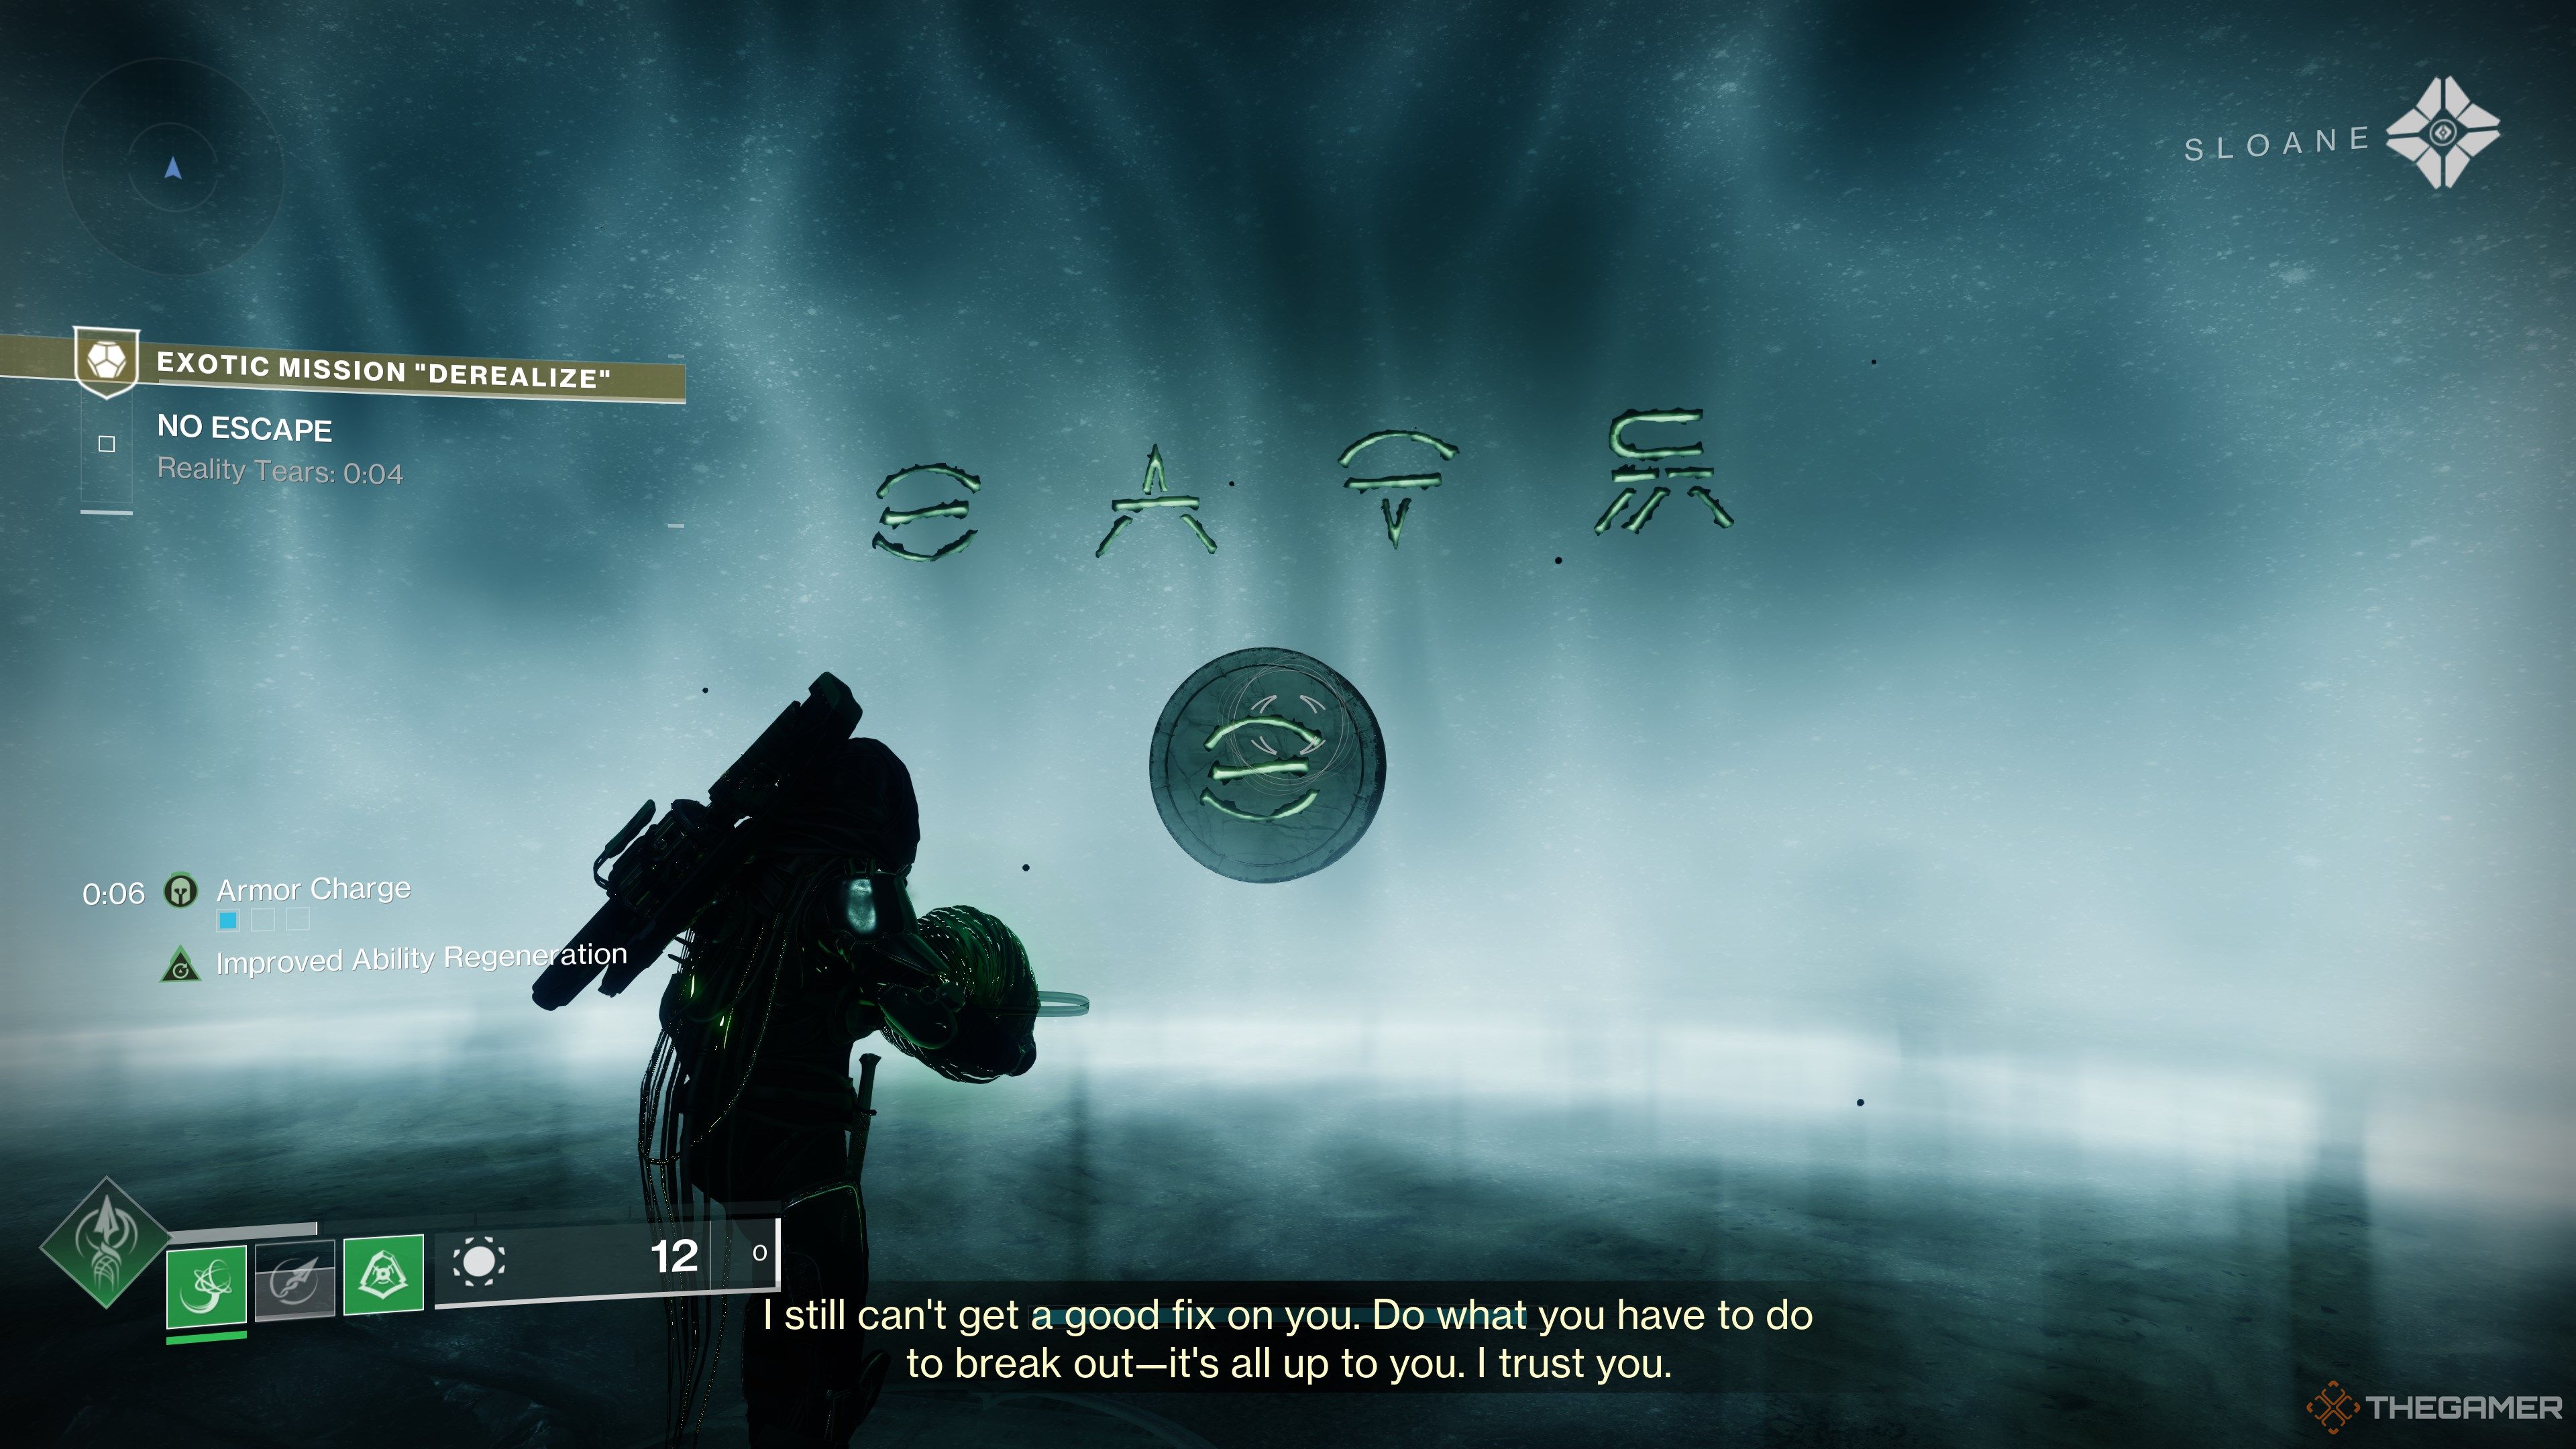
Eliminating the Subjugator seems to place you into a Hive trap that you can’t escape from. The good news is that you can, and doing so is surprisingly easy. If you remember the plate at the start of the Barrow-Dyad quest, this puzzle works the exact same but with four plates instead of one.
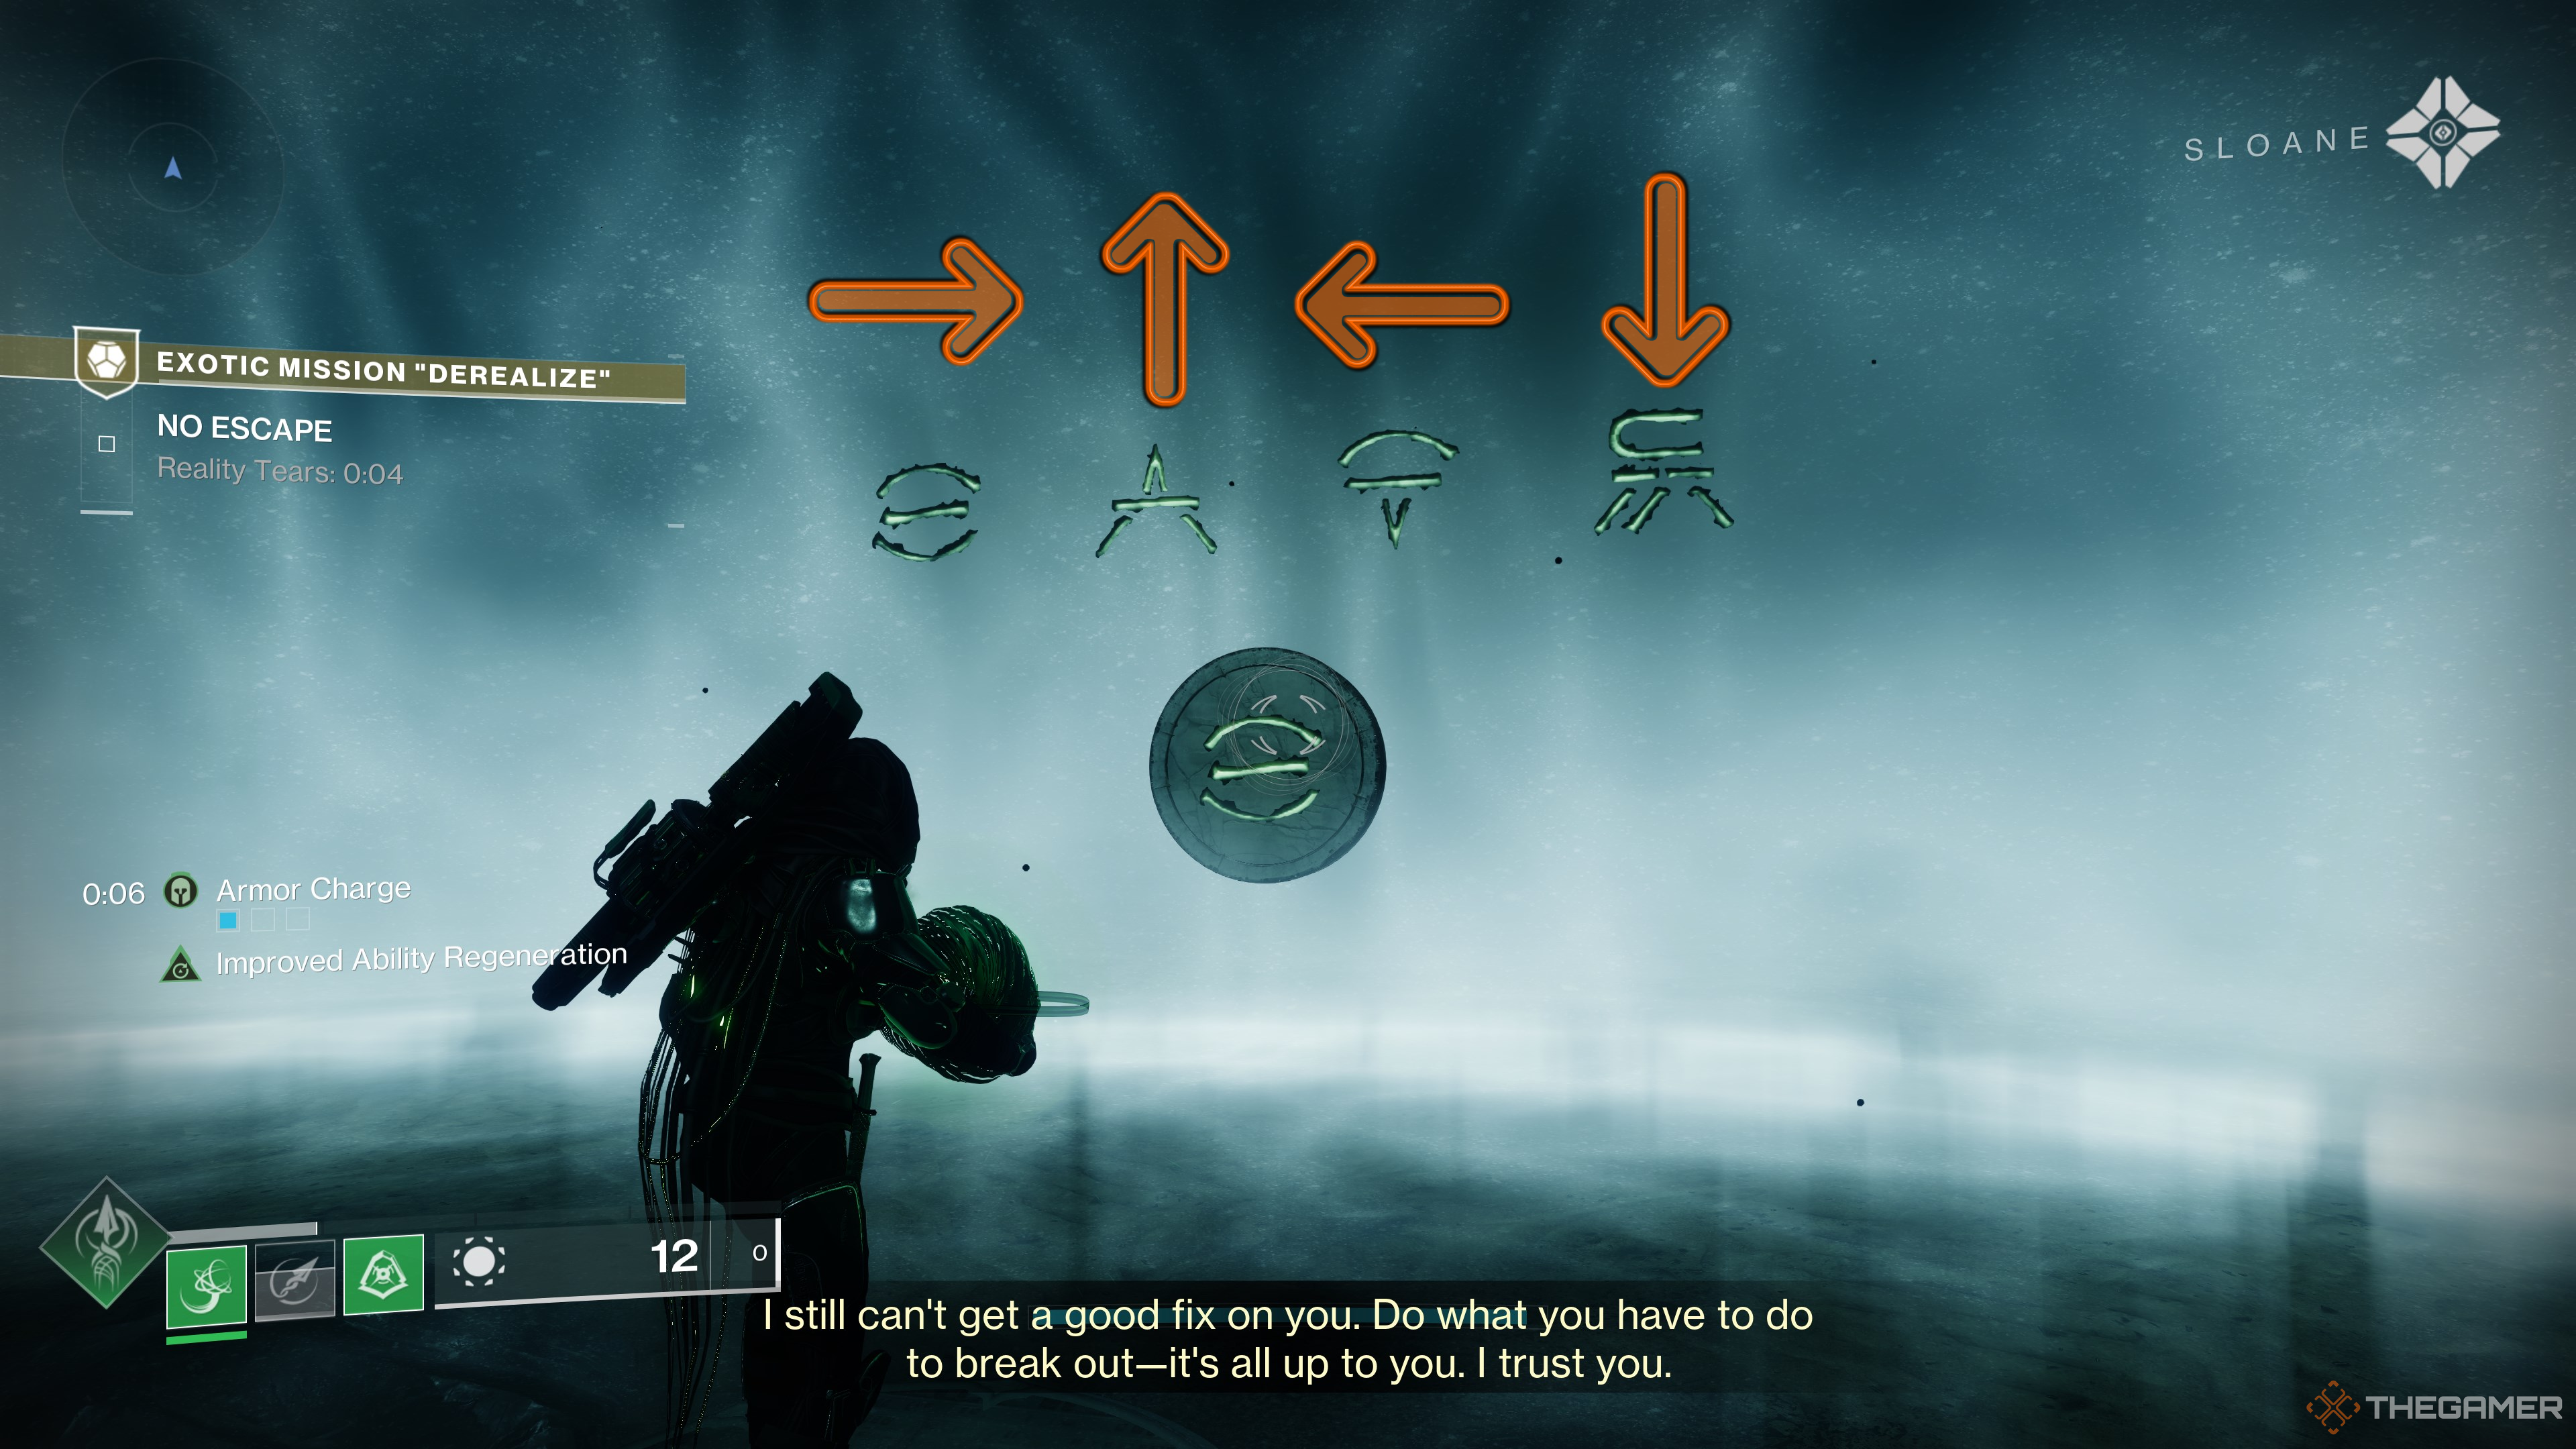
You will be presented with four Hive runes in order from left to right. Each room you teleport to will correspond with a rune, which you can deduce by standing on that room’s plate. Your goal is to activate all four runes in the correct order. For our run, the order was counter-clockwise, starting from the right.
The chevron on the floor plate tells you which direction to walk in. For example, the plate showcased above points to the right of the rune, so you would strafe to the right. You’re activating the runes in order from left to right. If the room you get is for a rune later in the sequence, sit still and wait to be teleported.
If done correctly, you’ll see the rune dissipate from the escape code. Repeat this process for all four runes until you’re freed from jail. The next section is a fairly straightforward jumping puzzle, at least the first potion.
Taken Energies Whisper…
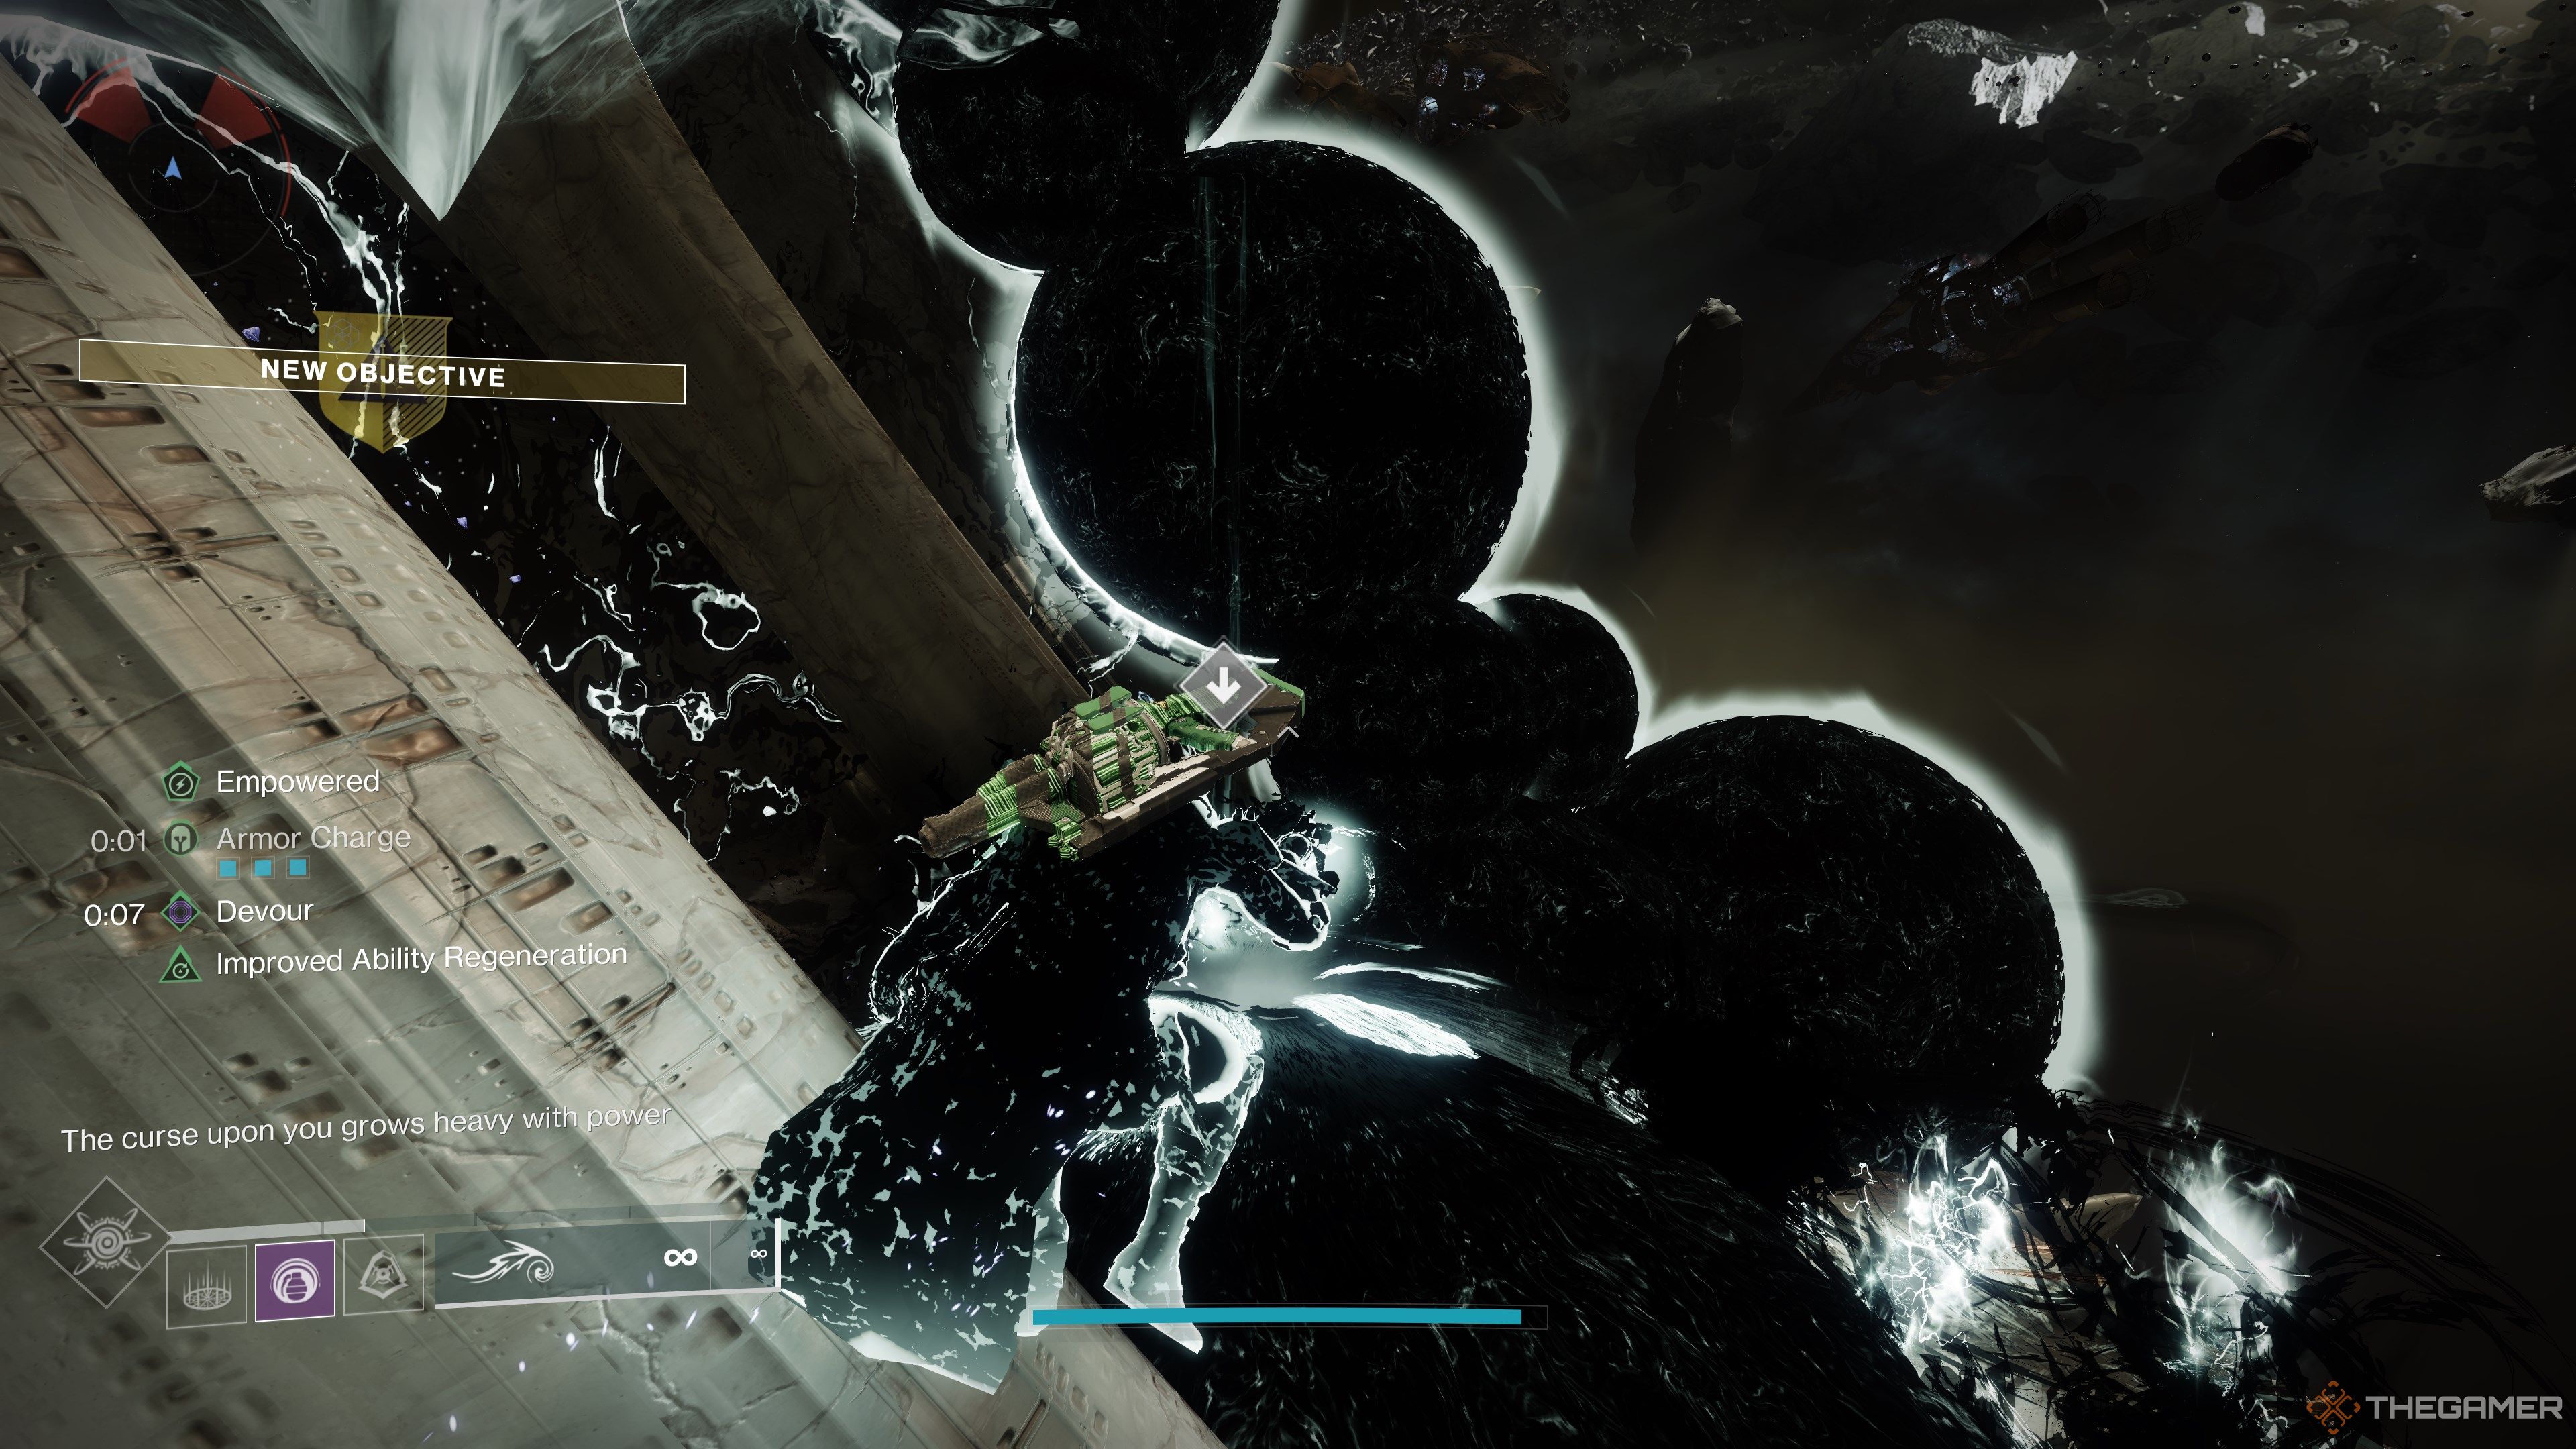
Oryx’s Dreadnaught has been outfitted with piston traps and dormant Hive structures. For this section, you’re looking for gaps in the sack-infested walls you can jump through. These holes will have lights in them to help guide you. Some of these are rigged to push you back from pistons, so be careful before you jump.
The end of the path will be blocked by a Taken forcefield that you’ll need to destroy. There are three Hive crystals hidden on both sides of the chasm. Breach through each wall and destroy any crystals you find. There’s one crystal on the left side and two on the right. Once broken, a seal will break on the right-most wall near the top of the path. Climb up to the top of the path and proceed. Follow the tentacles on the other side of the chasm to reach the boss arena.
Defeat Xir-Kuur
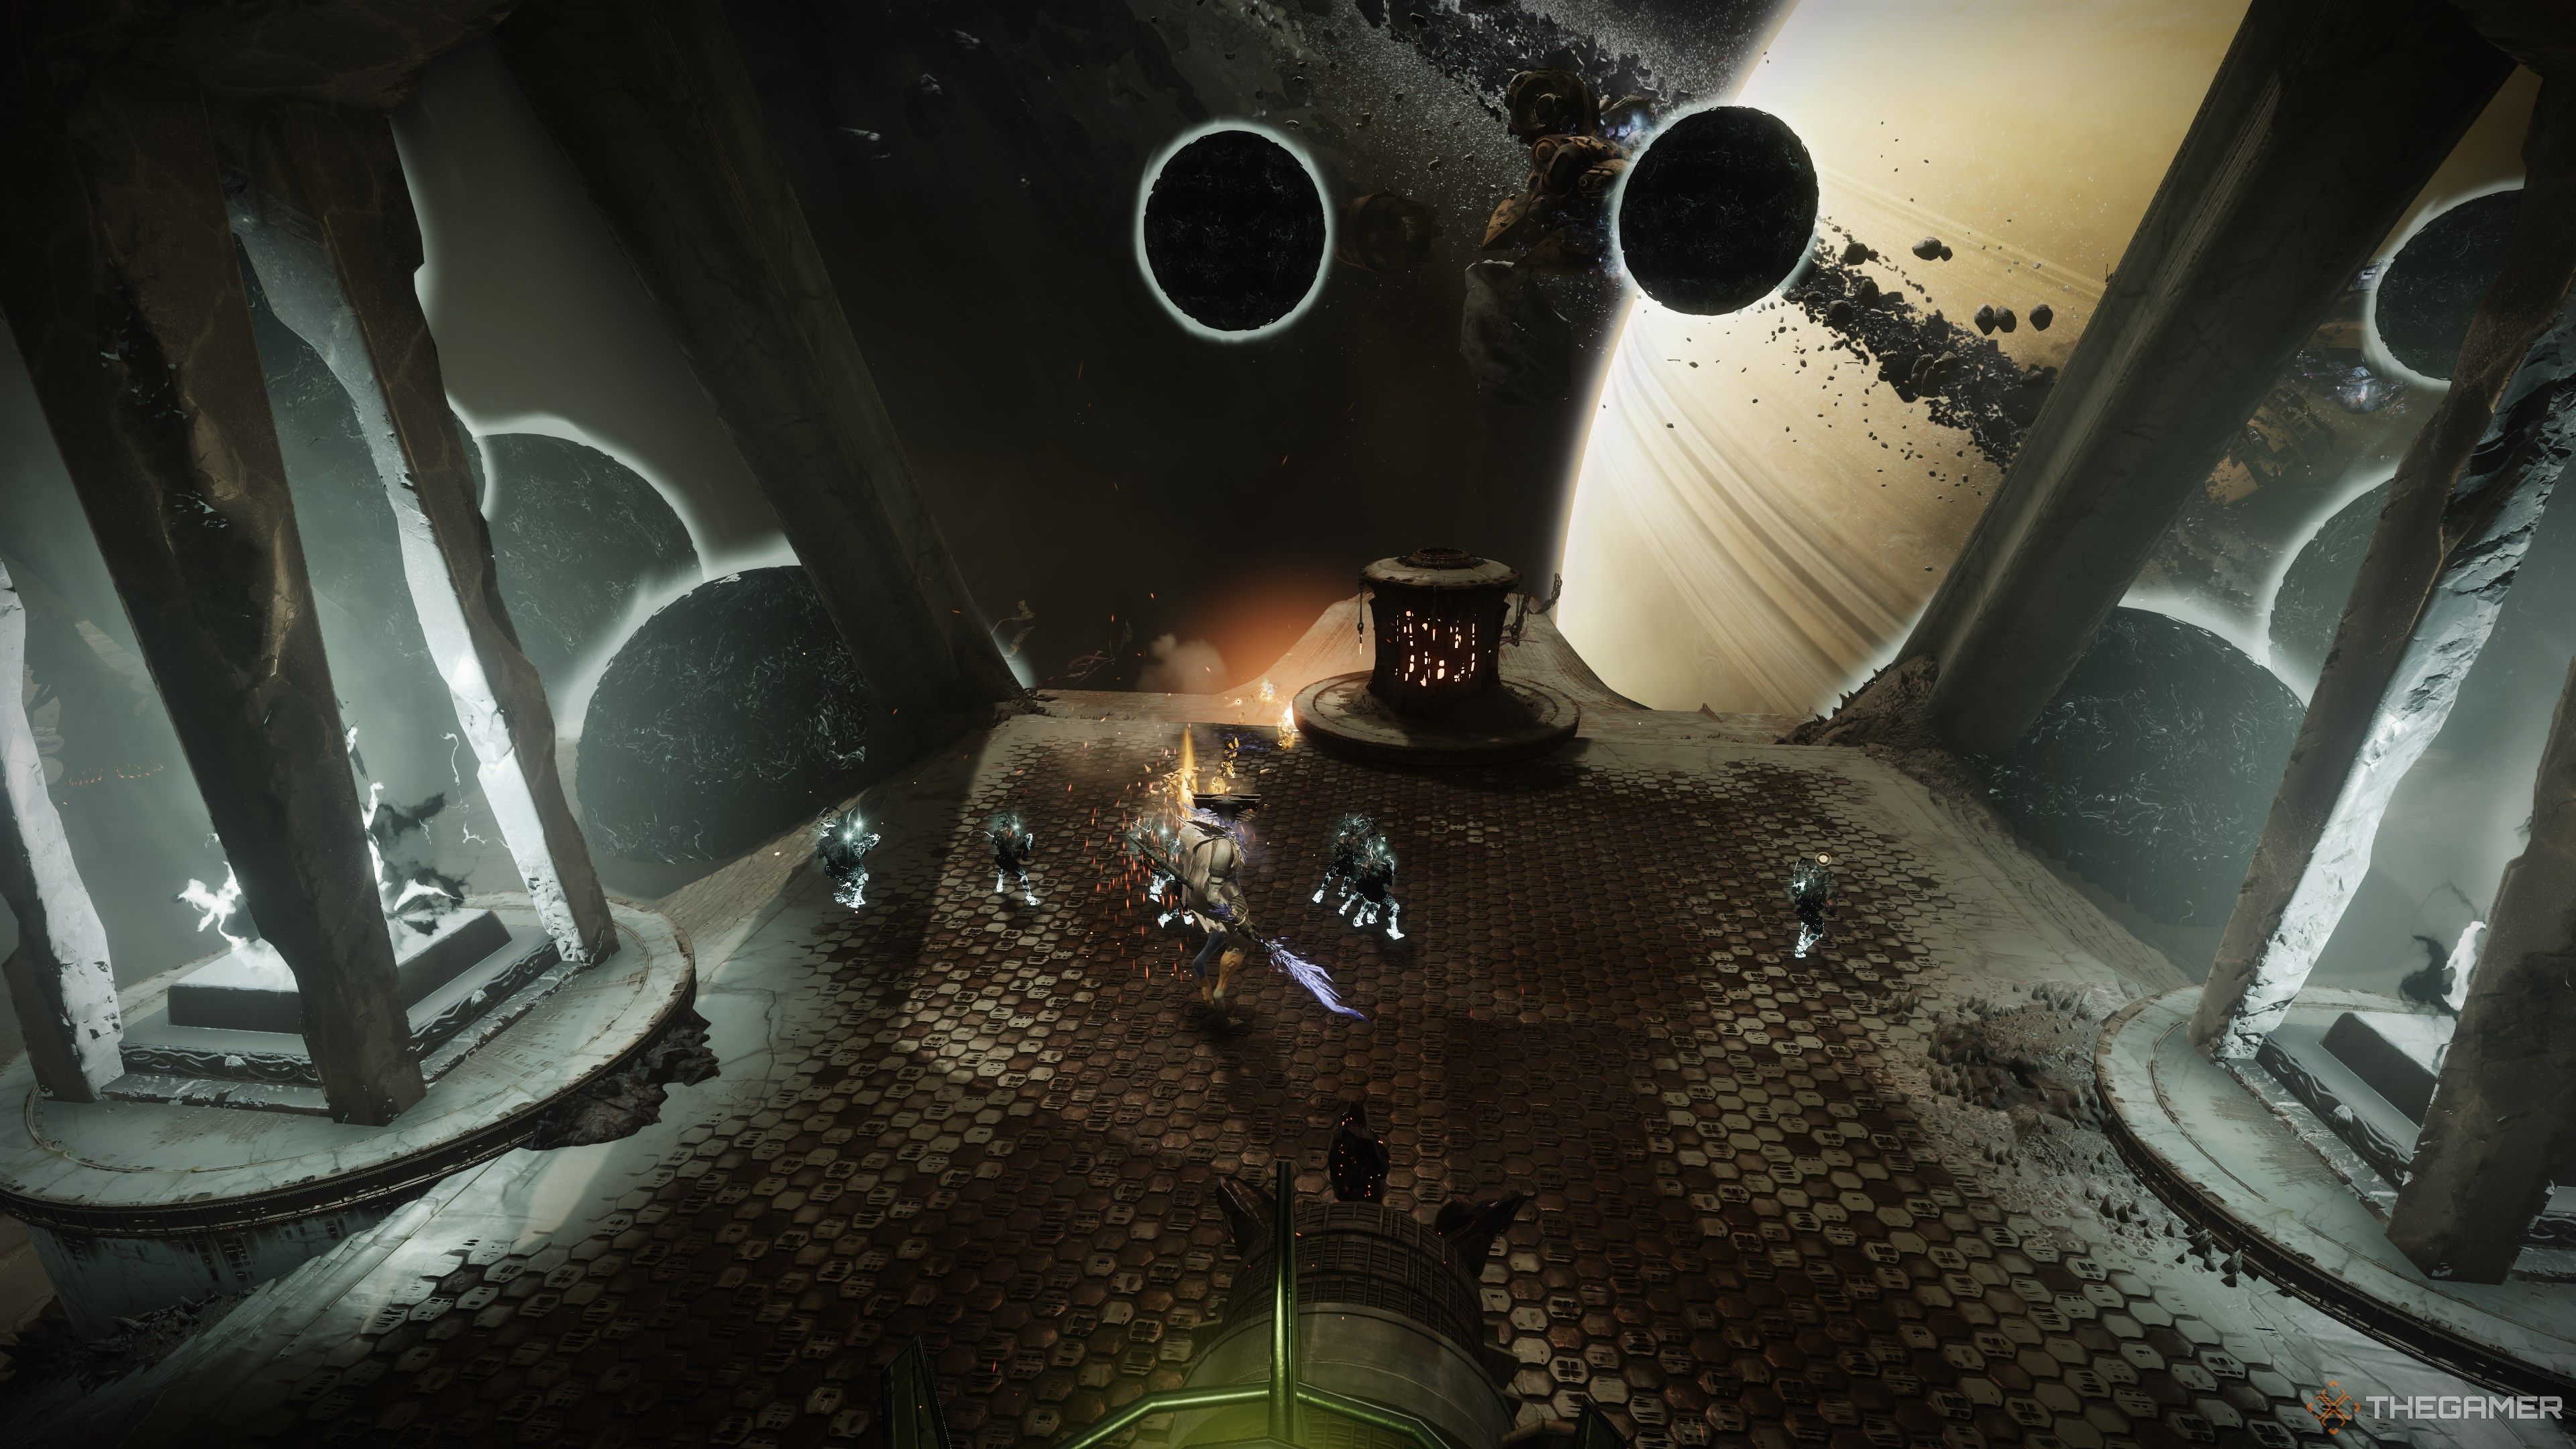
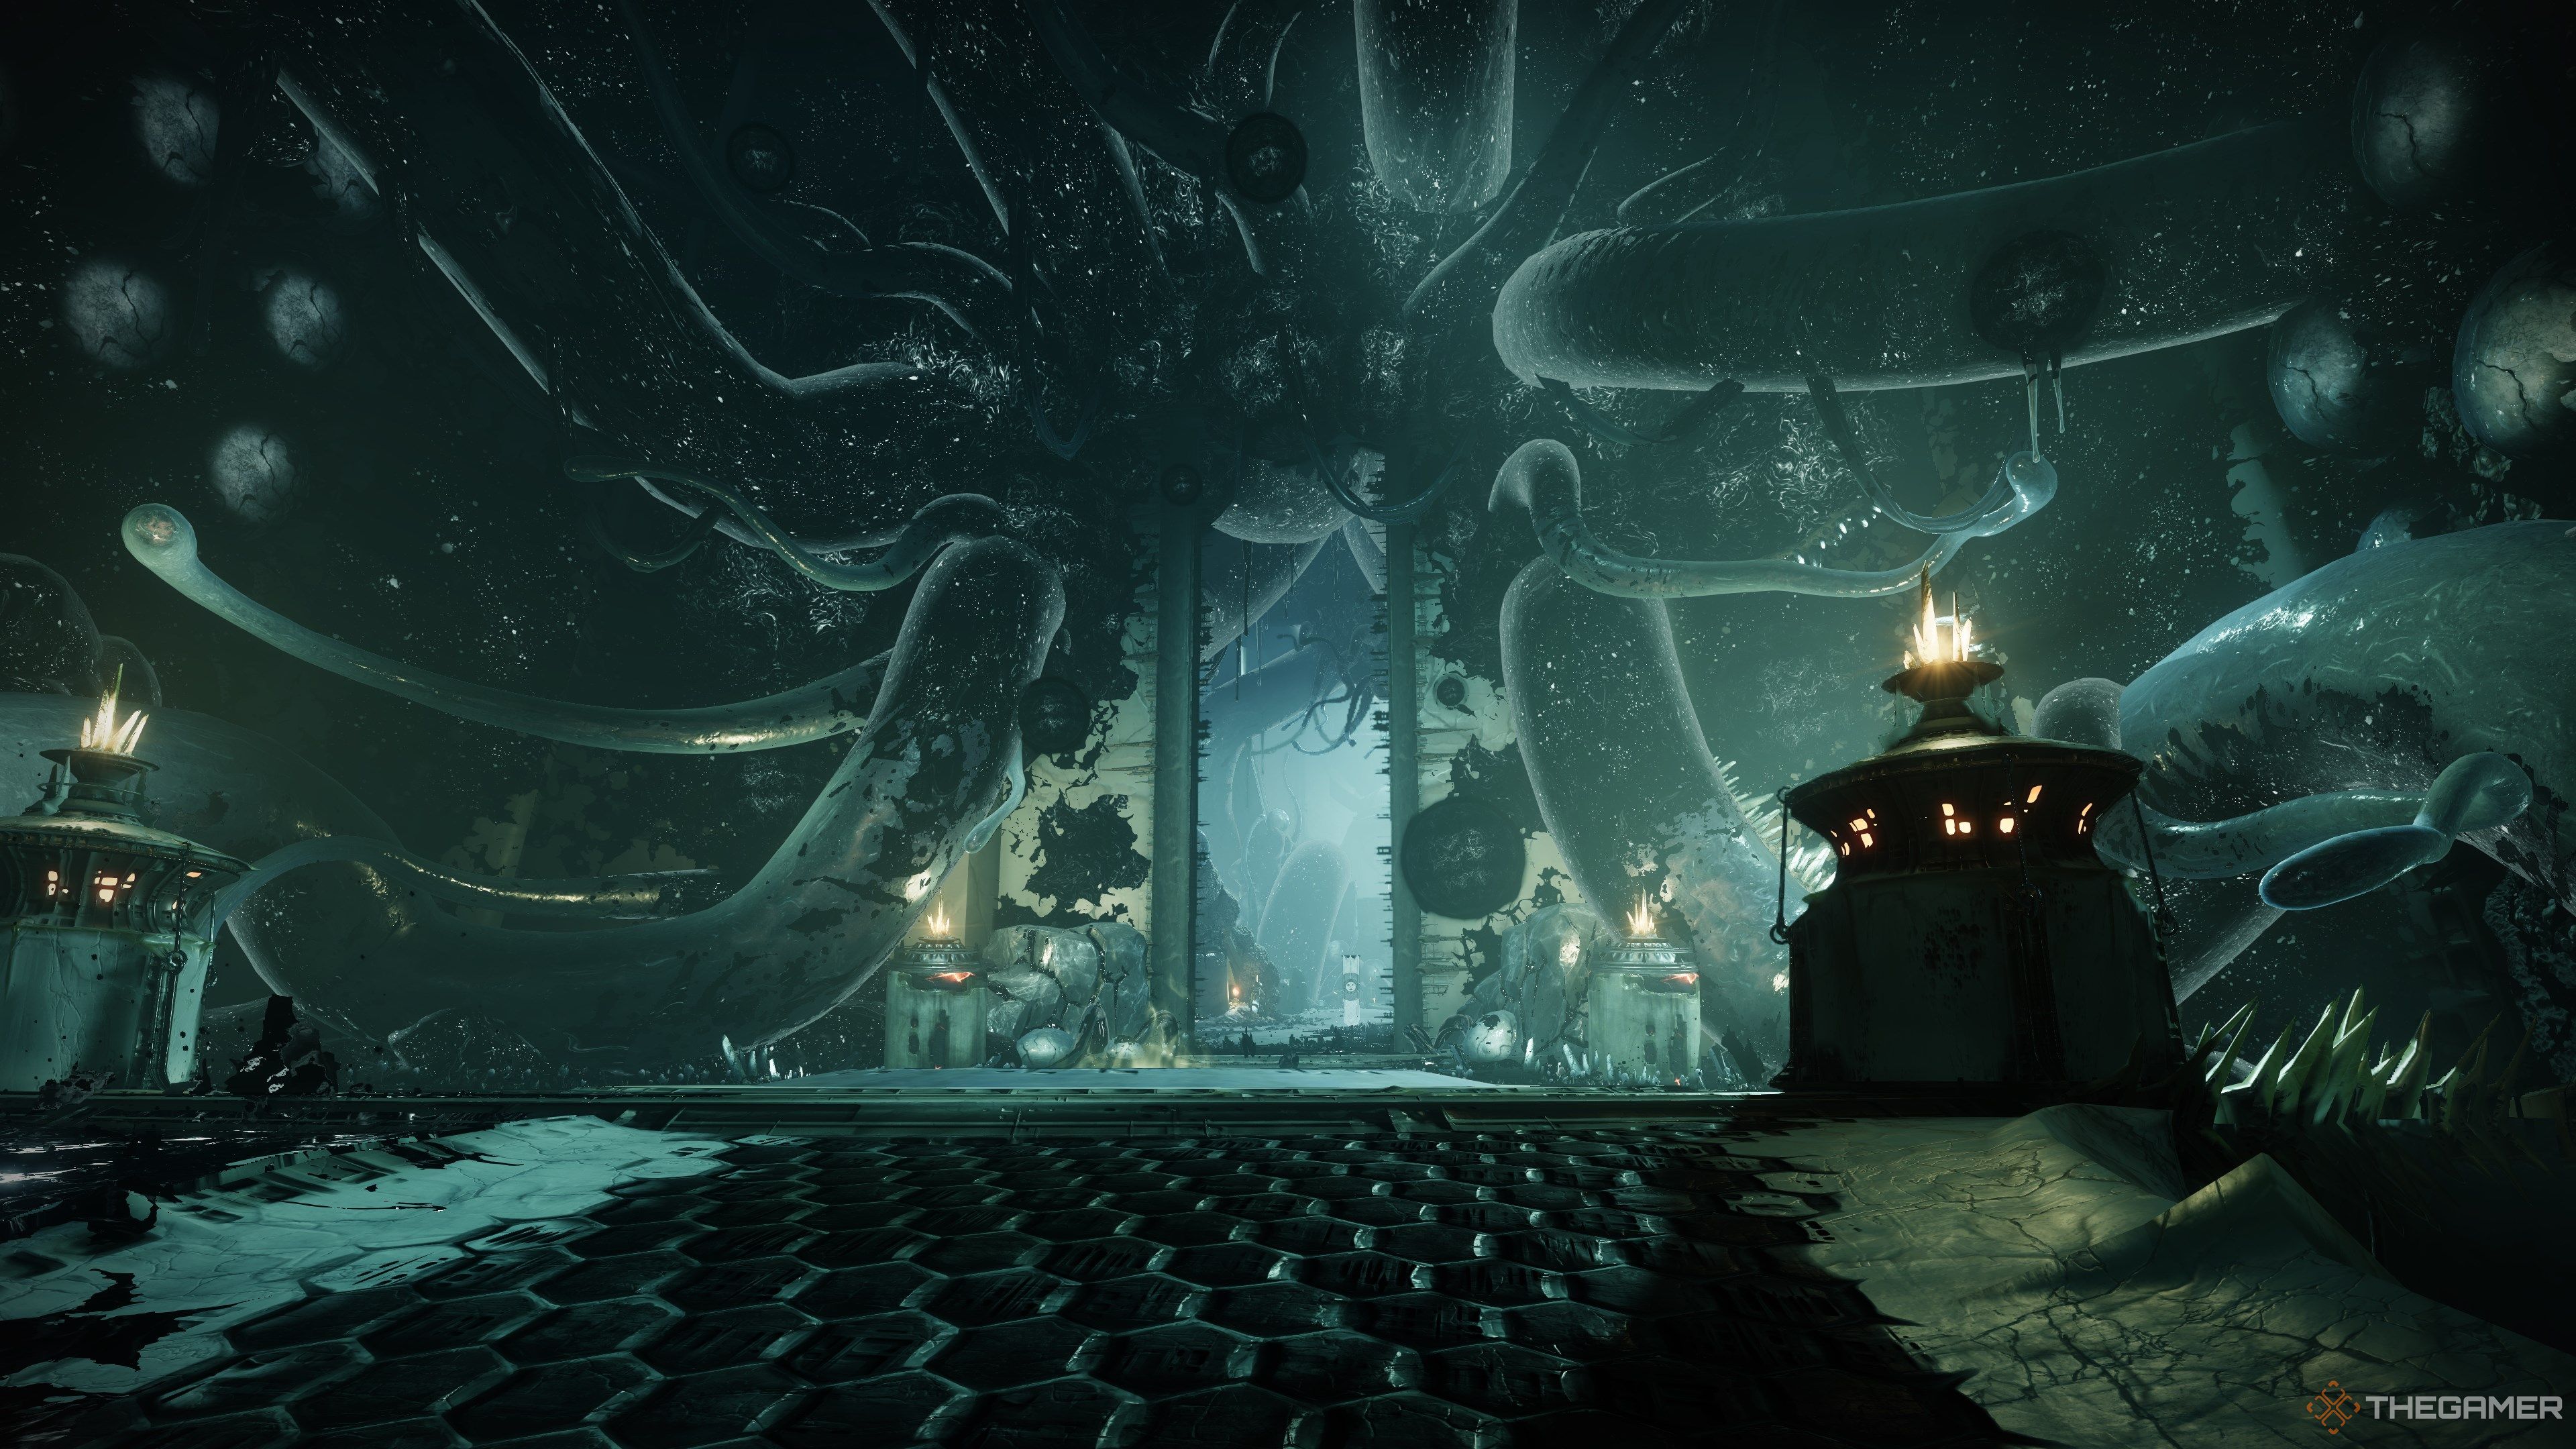
Guarding Barrow-Dyad is a pair of Hive Knights, one torn and another in the material realm. You’ll be alternating DPS phases between each Knight. Despite just grabbing Barrow-Dyad, we discourage you from using it here. Use Queenbreaker or any high single-target DPS build for this encounter. Constant healing, such as Restoration on Solar, is also highly recommended.
You’ll be damaging each Knight throughout the entire encounter, damaging Blights on occasion to remove their immunity shields. The Knight on the ground level is always the vulnerable one. Each time the Knights rotate, part of the arena will become infested with Taken energy, causing you to take damage over time while standing within it. Fight on the upper floors near cover or near the boss to avoid it. Beyond that, this is a simple DPS check.
Once both Knights are heavily damaged, you will be forced to retreat and seal the boss arena. Run into the Hive capture plate and stand inside for a few seconds. You’ll accumulate Suffocating Darkness as you’re doing this, but you should be able to close the door well before you hit x20 stacks. The mission will finish once you seal the door. Return to the slab in Eris’ Apartment to claim Barrow-Dyad’s second Exotic quest, which is tied to unlocking this weapon’s additional crafting options.
Next
Destiny 2: The Best Rolls For The New Sundered Doctrine Weapons
Here are the best rolls you can find on the Sundered Doctrine dungeon weapons in Destiny 2.






Leave a Reply