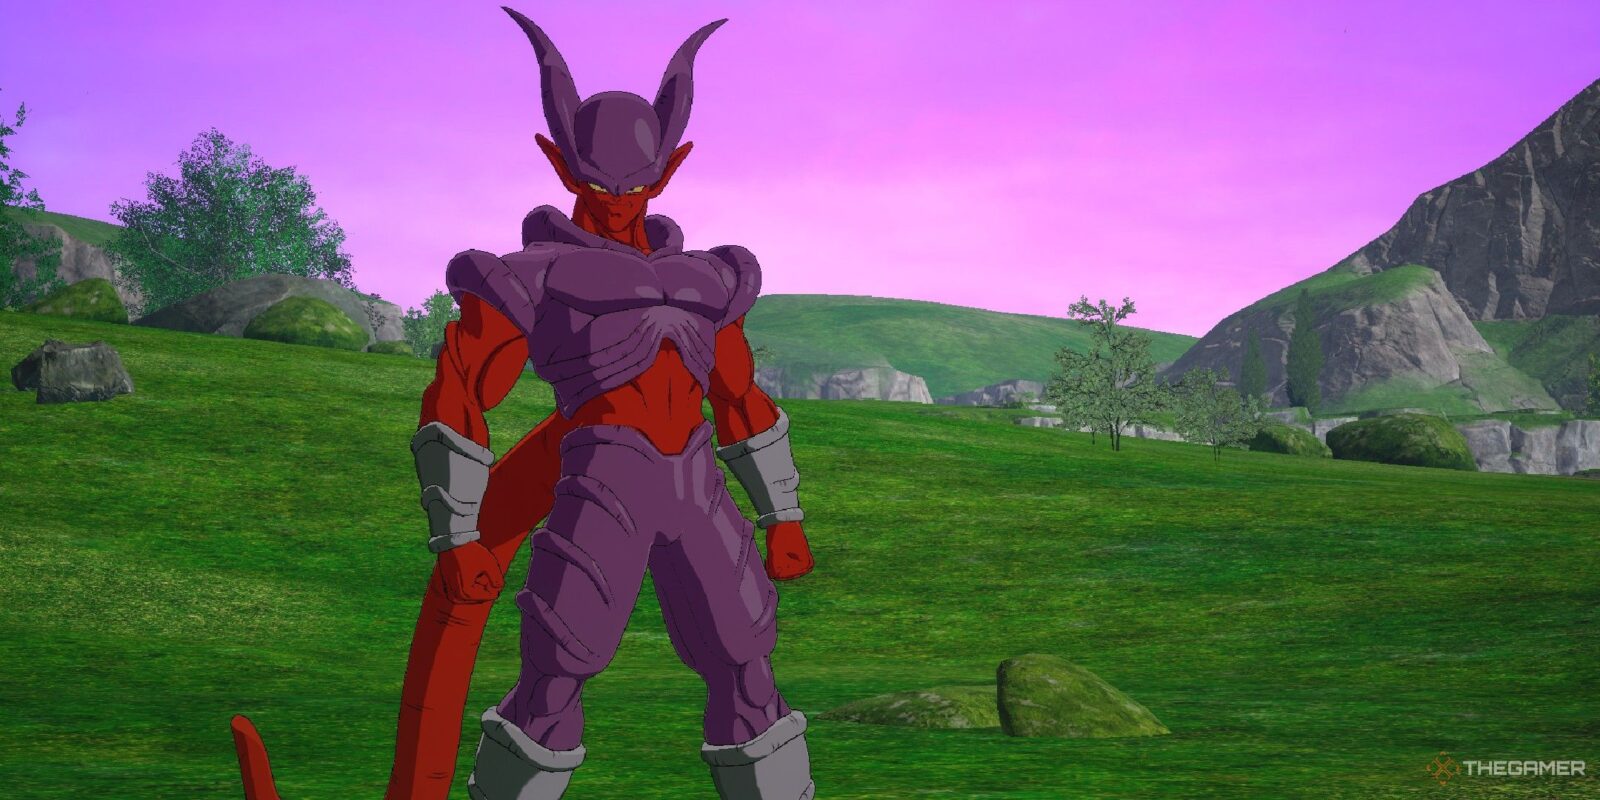
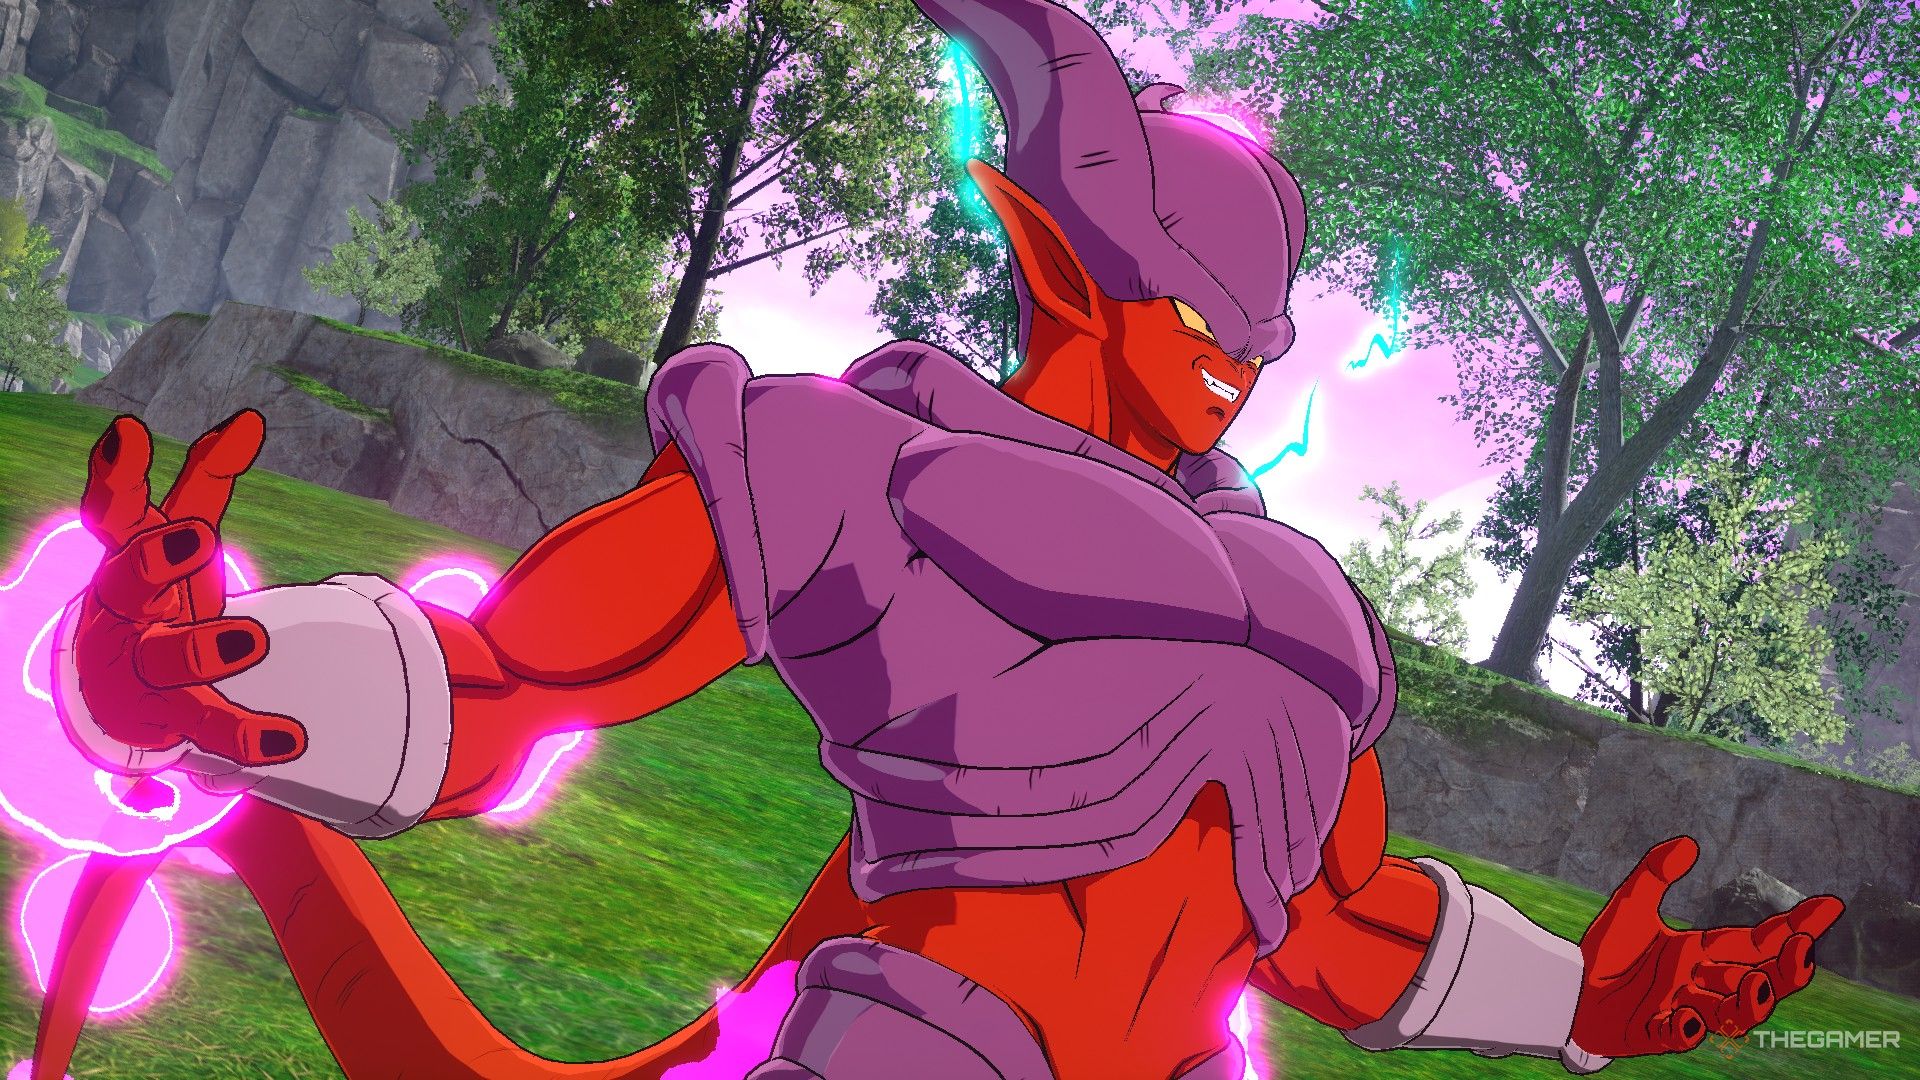
Janemba, the embodiment of pure chaos and evil, brings a unique blend of overwhelming power and unpredictability to Dragon Ball: Sparking Zero. Known for his reality-warping abilities and devastating attacks, Janemba excels at keeping opponents on their toes with a mix of ranged and melee techniques.
Related
Dragon Ball: Sparking Zero – Yajirobe Character Guide
The man, the legend. Yajirobe is no joke character; he’s actually quite powerful in Dragon Ball: Sparking Zero. Learn more about him here!
His teleportation and distortion powers make him a tricky and versatile fighter, capable of controlling the battlefield with ease. In this guide, we’ll break down Janemba’s abilities, strategies, and how to utilize his distinctive fighting style to dominate matches and take full advantage of his chaotic power, while also covering his less-used giant form.
Janemba
|
Move Name |
Input |
Cost |
Effect |
|---|---|---|---|
|
Mystic Breath |
R2/RT + Up on the D-Pad |
1 Skill Count |
Fires an unblockable, short-range blast that pushes enemies away. |
|
Howl |
R2/RT + Left on the D-Pad |
3 Skill Count |
Enter Sparking Mode and gain offensive buffs. |
|
Chou Makouhou |
R2/RT + Square/X |
3 Ki Bars |
Fires a Beam Super that does a bar of damage. |
|
Rapid Cannon |
R2/RT + Triangle/Y |
3 Ki Bars |
Fire several projectiles that can deal up to a bar of damage. |
|
Illusion Smash |
R2/RT + Circle/B (when in Sparking Mode) |
Full Ki Bar |
Unblockable grab Ultimate that does two bars of damage. |
Janemba In Versus And Online Matches
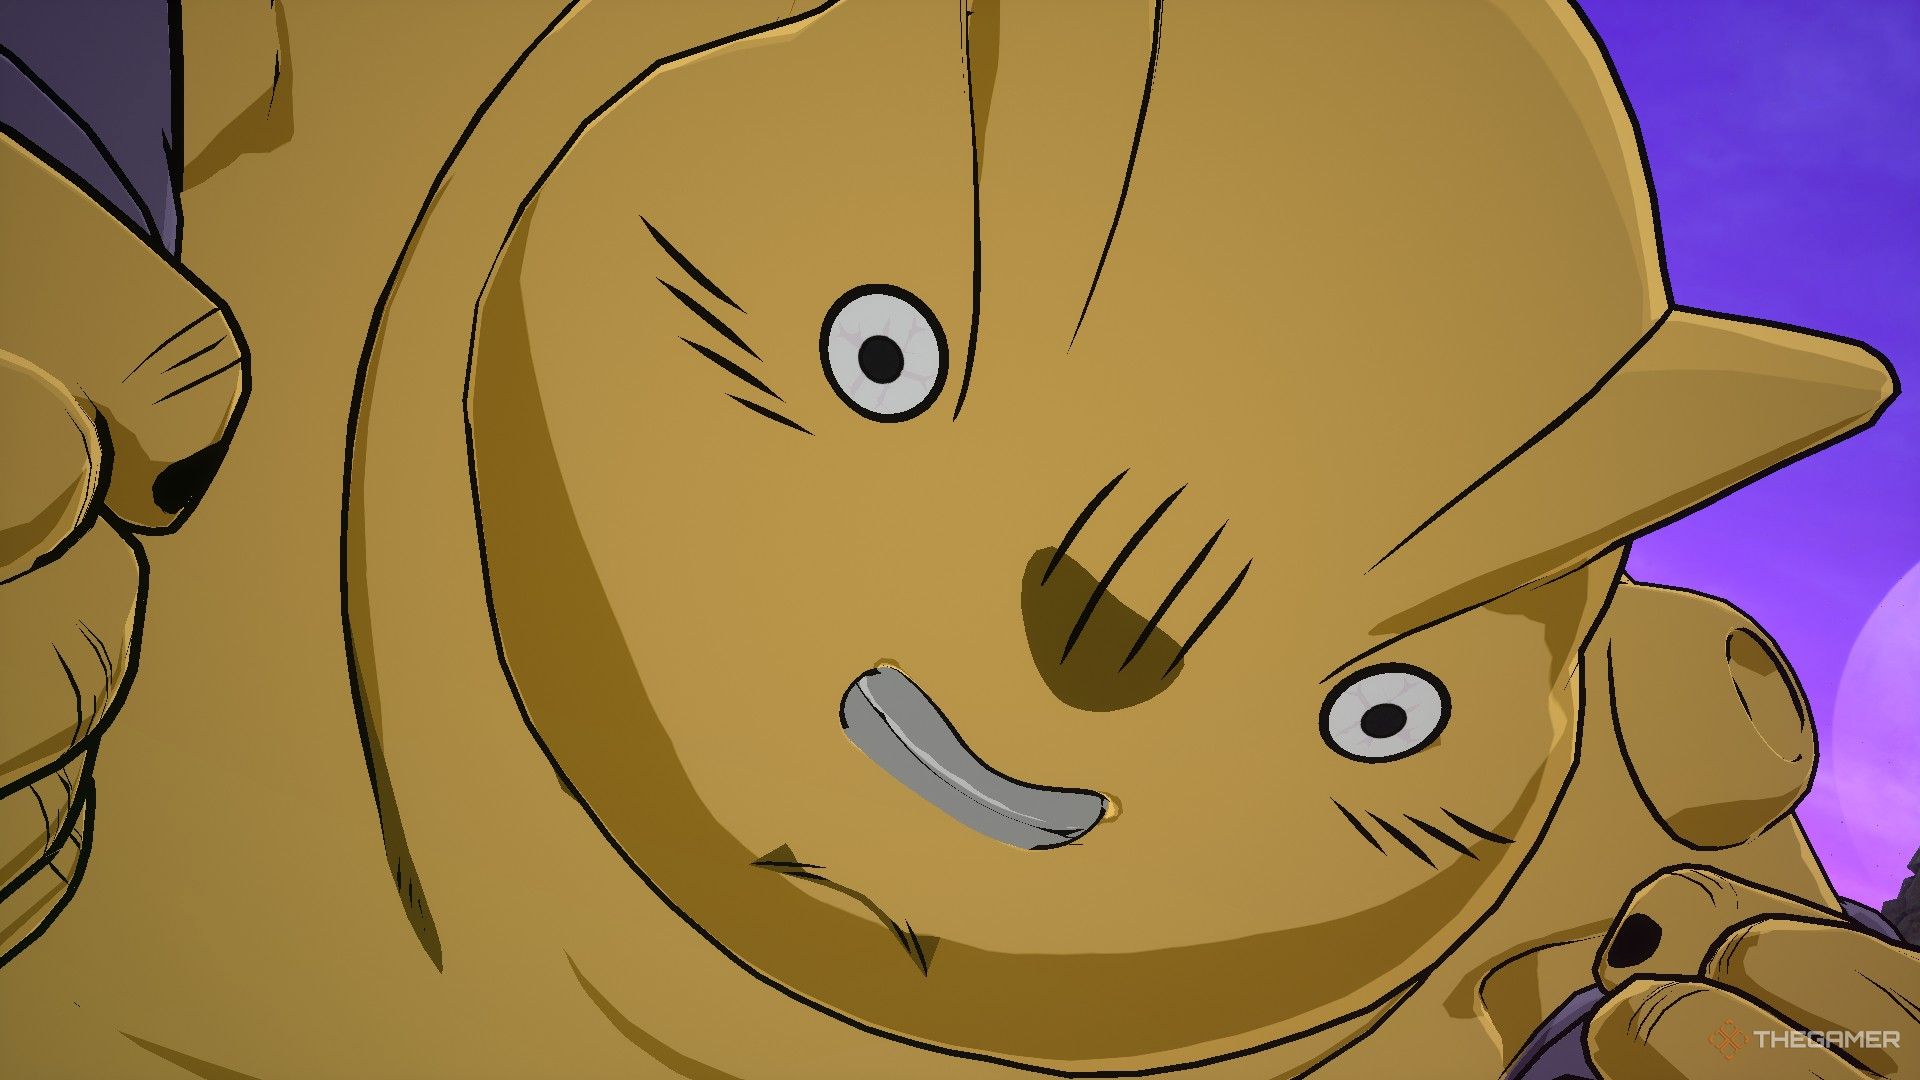
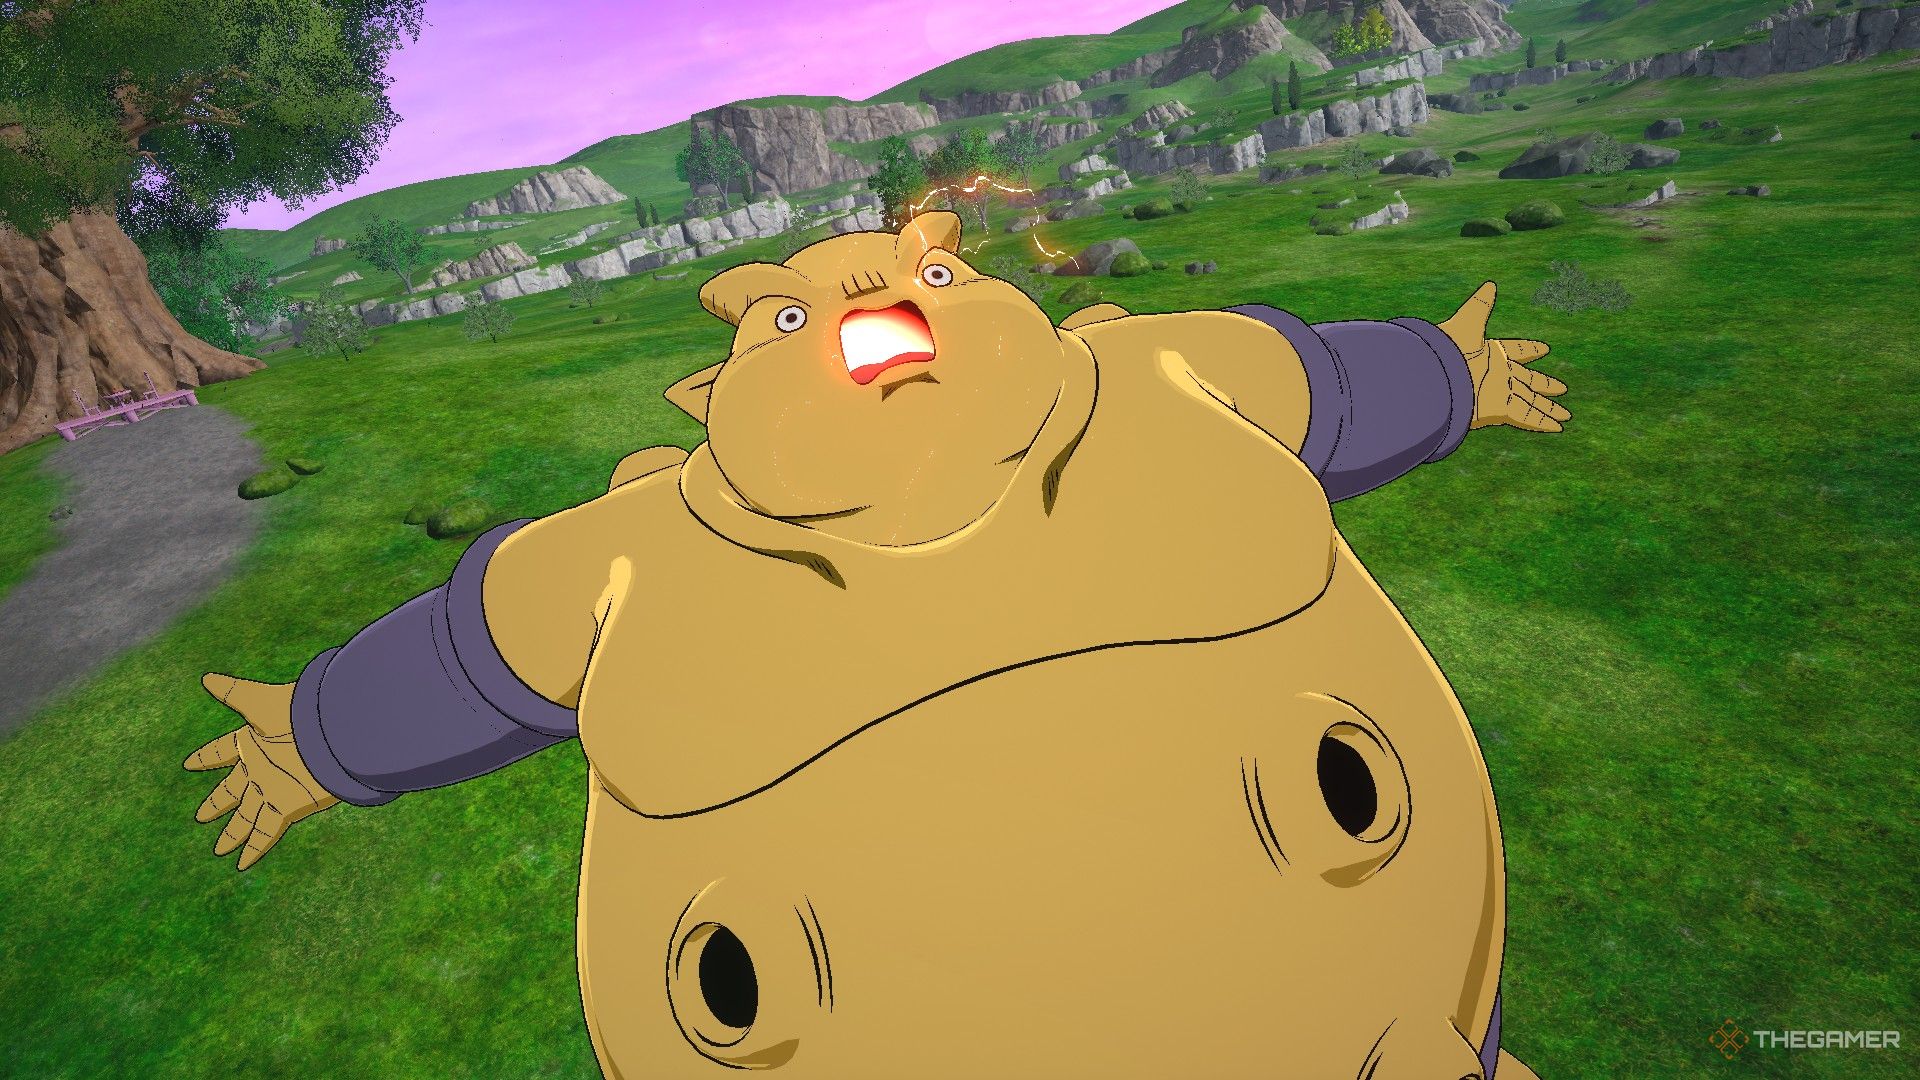
Janemba starts off as a giant character, immune to grabs and Rush Supers while also having an extra health bar. Overall, this is the lesser version of the character, since giants are all clunky to use, and the combo potential is rather lacking, not to mention how easy it is to miss his Ultimate attack.
If you and your opponent are both standing on the ground, you’ll miss the grab nearly every time.
However, this extra health bar shouldn’t be ignored, although you can’t take that extra health with you when you transform. It makes sense to pick the giant version of Janemba in most modes, using it until you lose your first health bar, and then transforming into Super Janemba.
This makes Janemba shine when used in DP Battle in particular since he costs only five DP and can later transform into a seven DP character. While using the giant, your focus should be on ignoring most of his Supers and only use Rapid Cannon, since it has quite the decent tracking.
You can also Howl to instantly enter Sparking Mode, but that will also lower your defenses for 15 seconds.
Super Janemba
|
Move Name |
Input |
Cost |
Effect |
|---|---|---|---|
|
Mystic Breath |
R2/RT + Up on the D-Pad |
1 Skill Count |
Fires an unblockable, short-range blast that pushes enemies away. |
|
Dimension Shift |
R2/RT + Left on the D-Pad |
3 Skill Count |
Teleport behind your opponent. |
|
Evil Cannon |
R2/RT + Square/X |
3 Ki Bars |
Fires a Beam Super that does a bar of damage. |
|
Lightning Shower Rain |
R2/RT + Triangle/Y |
3 Ki Bars |
Fire several projectiles that can deal up to a bar of damage. |
|
Dimension Sword Attack |
R2/RT + Circle/B (when in Sparking Mode) |
Full Ki Bar |
Rush Ultimate that does two bars of damage. |
Super Janemba In Versus And Online Matches
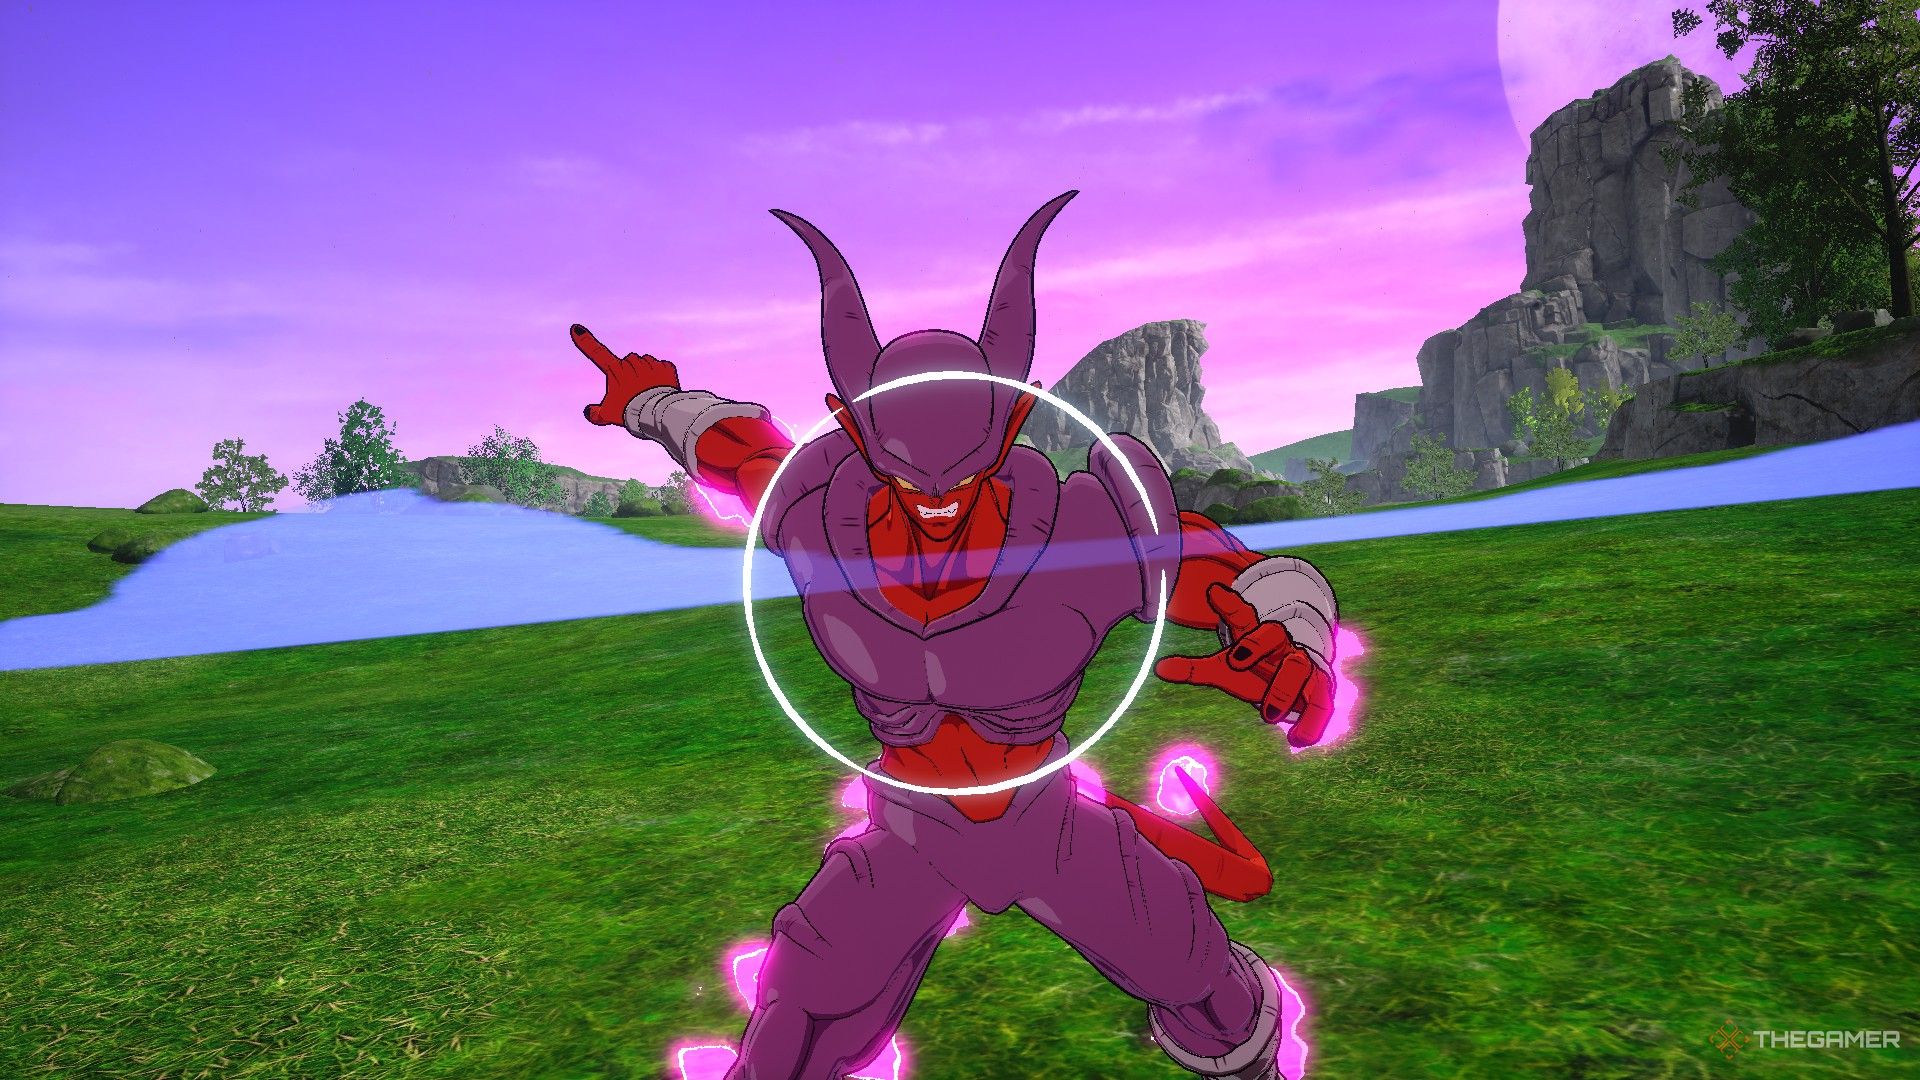
Super Janemba is a highly competitive character with the stats and moves set to challenge nearly every other character in the game. The one thing that sets him back from other big contenders is his (comparably) low health pool, something you can work around by starting the match in his giant form.
Mystic Breath makes the character a great choice for beginners since it is a cheap defensive tool that you can use to answer Rush Supers. Some of those moves can be blocked, while nearly all of them can be dodged, but if you’re still getting used to the timings, having an extra tool can’t hurt.
Dimension Shift works just like Goku’s Instant Transmission, a move you want to use sparingly to maximize its effect. It tends to be ideal to get the drop on your opponent while they are firing a large Beam Super.
His two regular Supers might seem similar, but they each have a distinct role. Evil Cannon is your regular Beam attack, the old reliable that you can use in most situations, while Lightning Shower Rain is a series of projectiles that have decent tracking; good for harassing your opponent, but they don’t have the longest range, so use Evil Cannon when they are too far away.
Finally, Dimension Sword Attack is your go-to to close out the game, but it is an ability that can be easily blocked. Against opponents that block too often, try to have them lower than defense with your charged Ki blast, since it fires an unblockable sword slash if you are standing still.
Next
Dragon Ball: Sparking Zero – Gogeta Character Guide
Some of the most broken characters in the series are back in Dragon Ball: Sparking Zero. Learn all about Gogeta’s moves and transformations.
Source link







Leave a Reply