Citadelle des Morts is the new Zombies map introduced after the release of Season One Reloaded in Call of Duty: Black Ops 6. Set in an ancient gothic castle, it’s large, eerie, and full of challenges. If you’re planning to complete the main Easter egg quest for this map, be prepared – it’s likely the longest Easter egg in Black Ops 6. But don’t worry, the rewards for your efforts are exclusive and worth it.
Related
Call Of Duty: Black Ops 6 Zombies – Liberty Falls Easter Egg Walkthrough
Unlock an exclusive Ray Gun skin by completing this elaborate easter egg quest in Liberty Falls.
In this comprehensive guide, we provide a thorough walkthrough on how to complete the main Citadelle des Morts Easter egg. From recommended loadouts and Easter egg prerequisites to detailed steps for successfully completing each stage, we’ve got you covered. Plus, we include tips on how to easily defeat the final boss. So buckle up and get ready for the journey of a lifetime!
Loadout Recommendations
Weapon
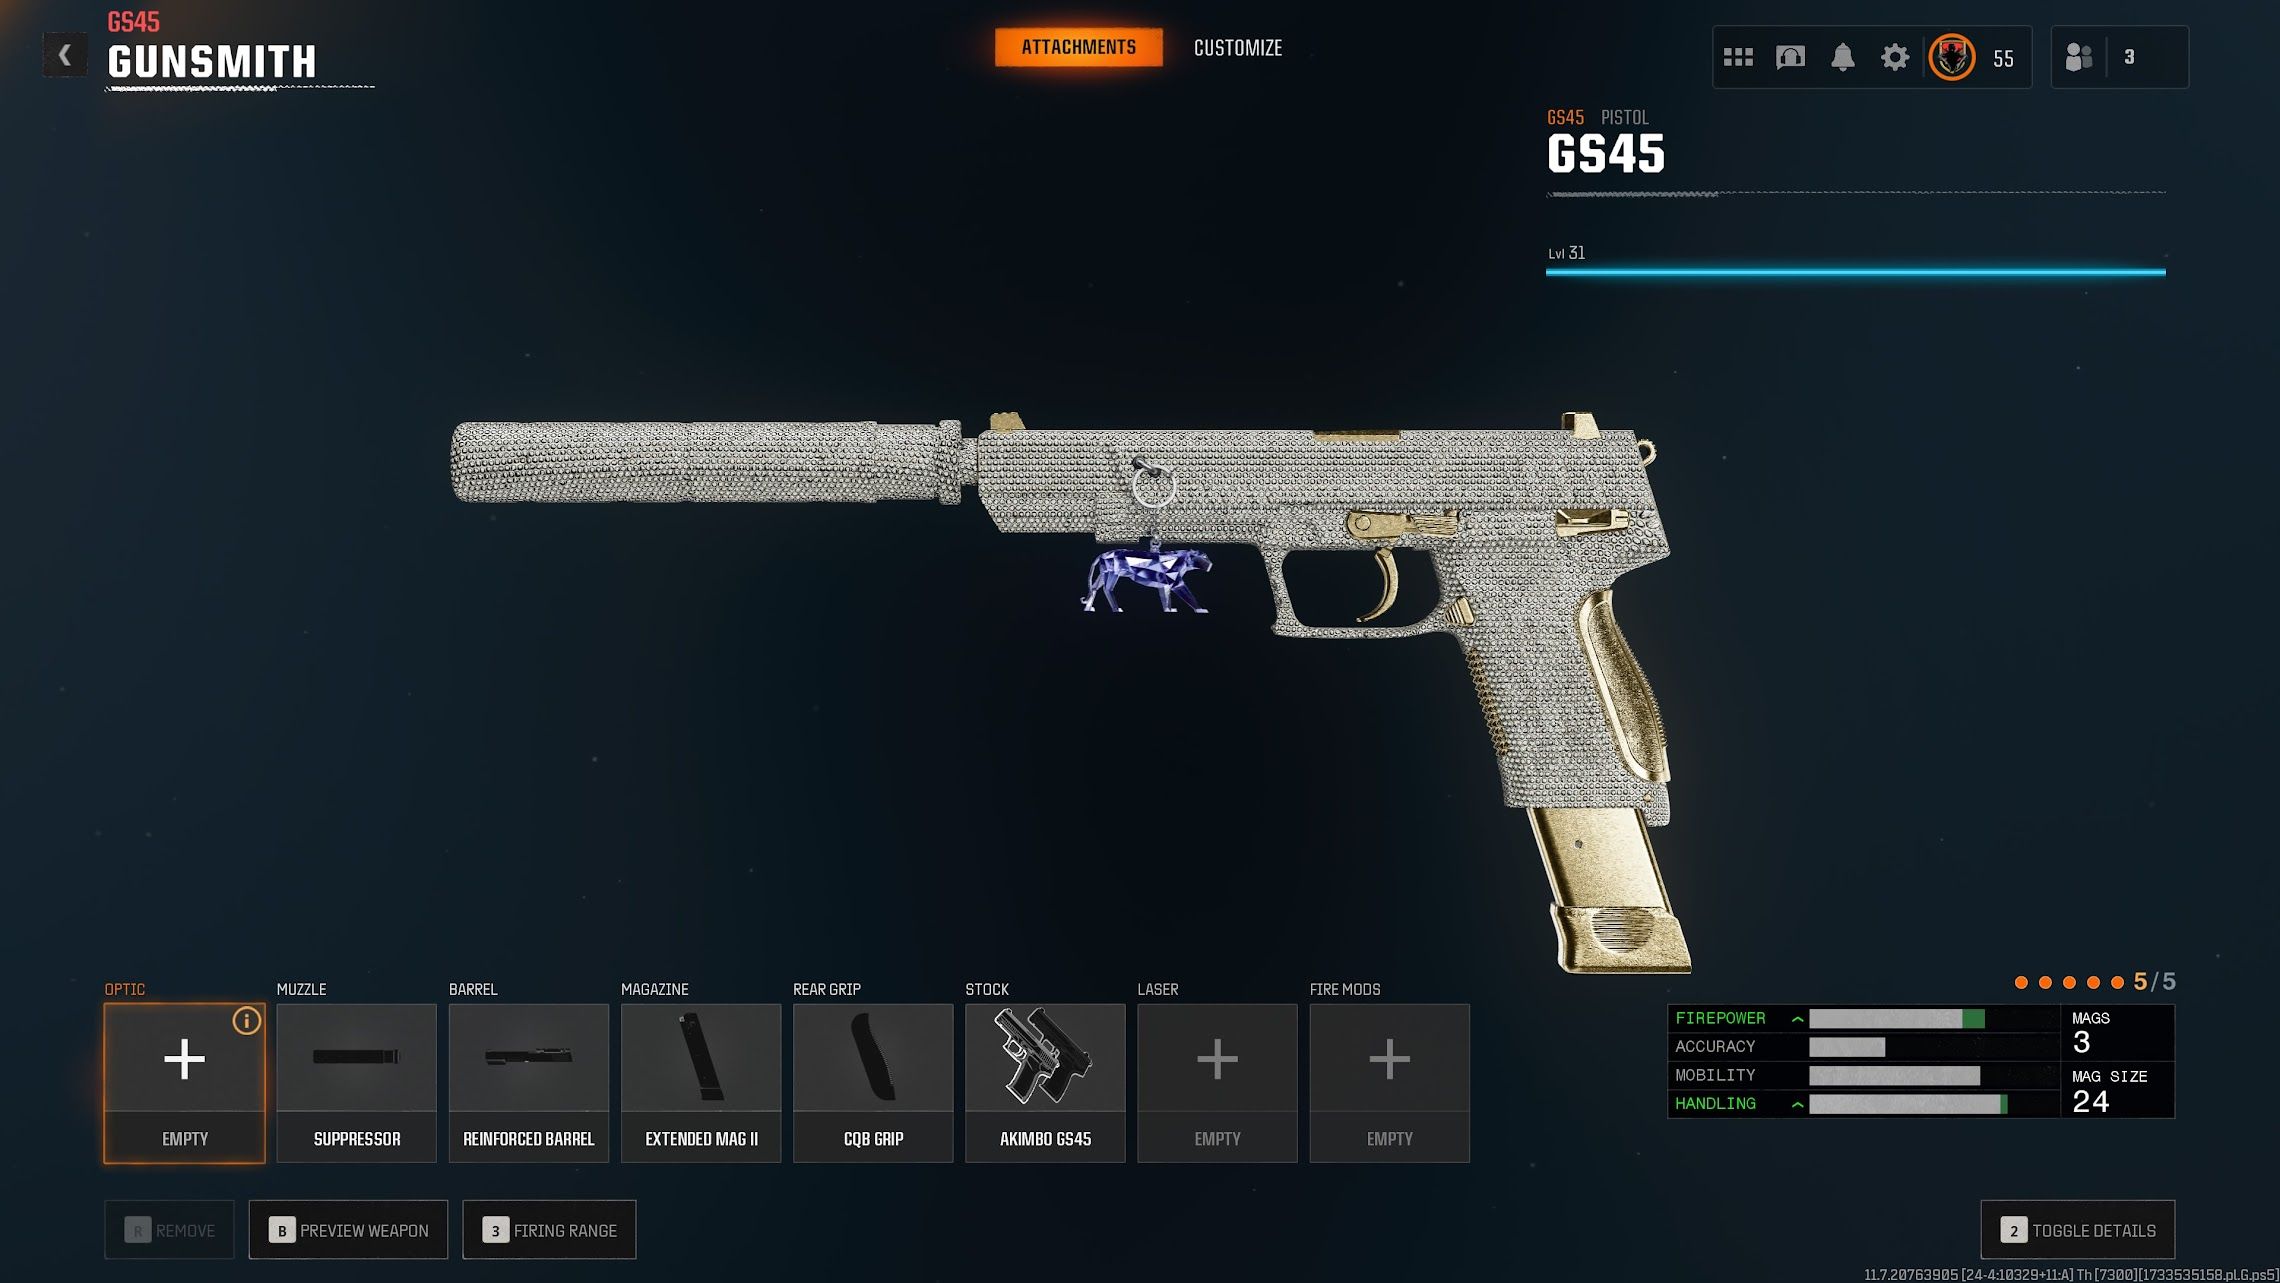
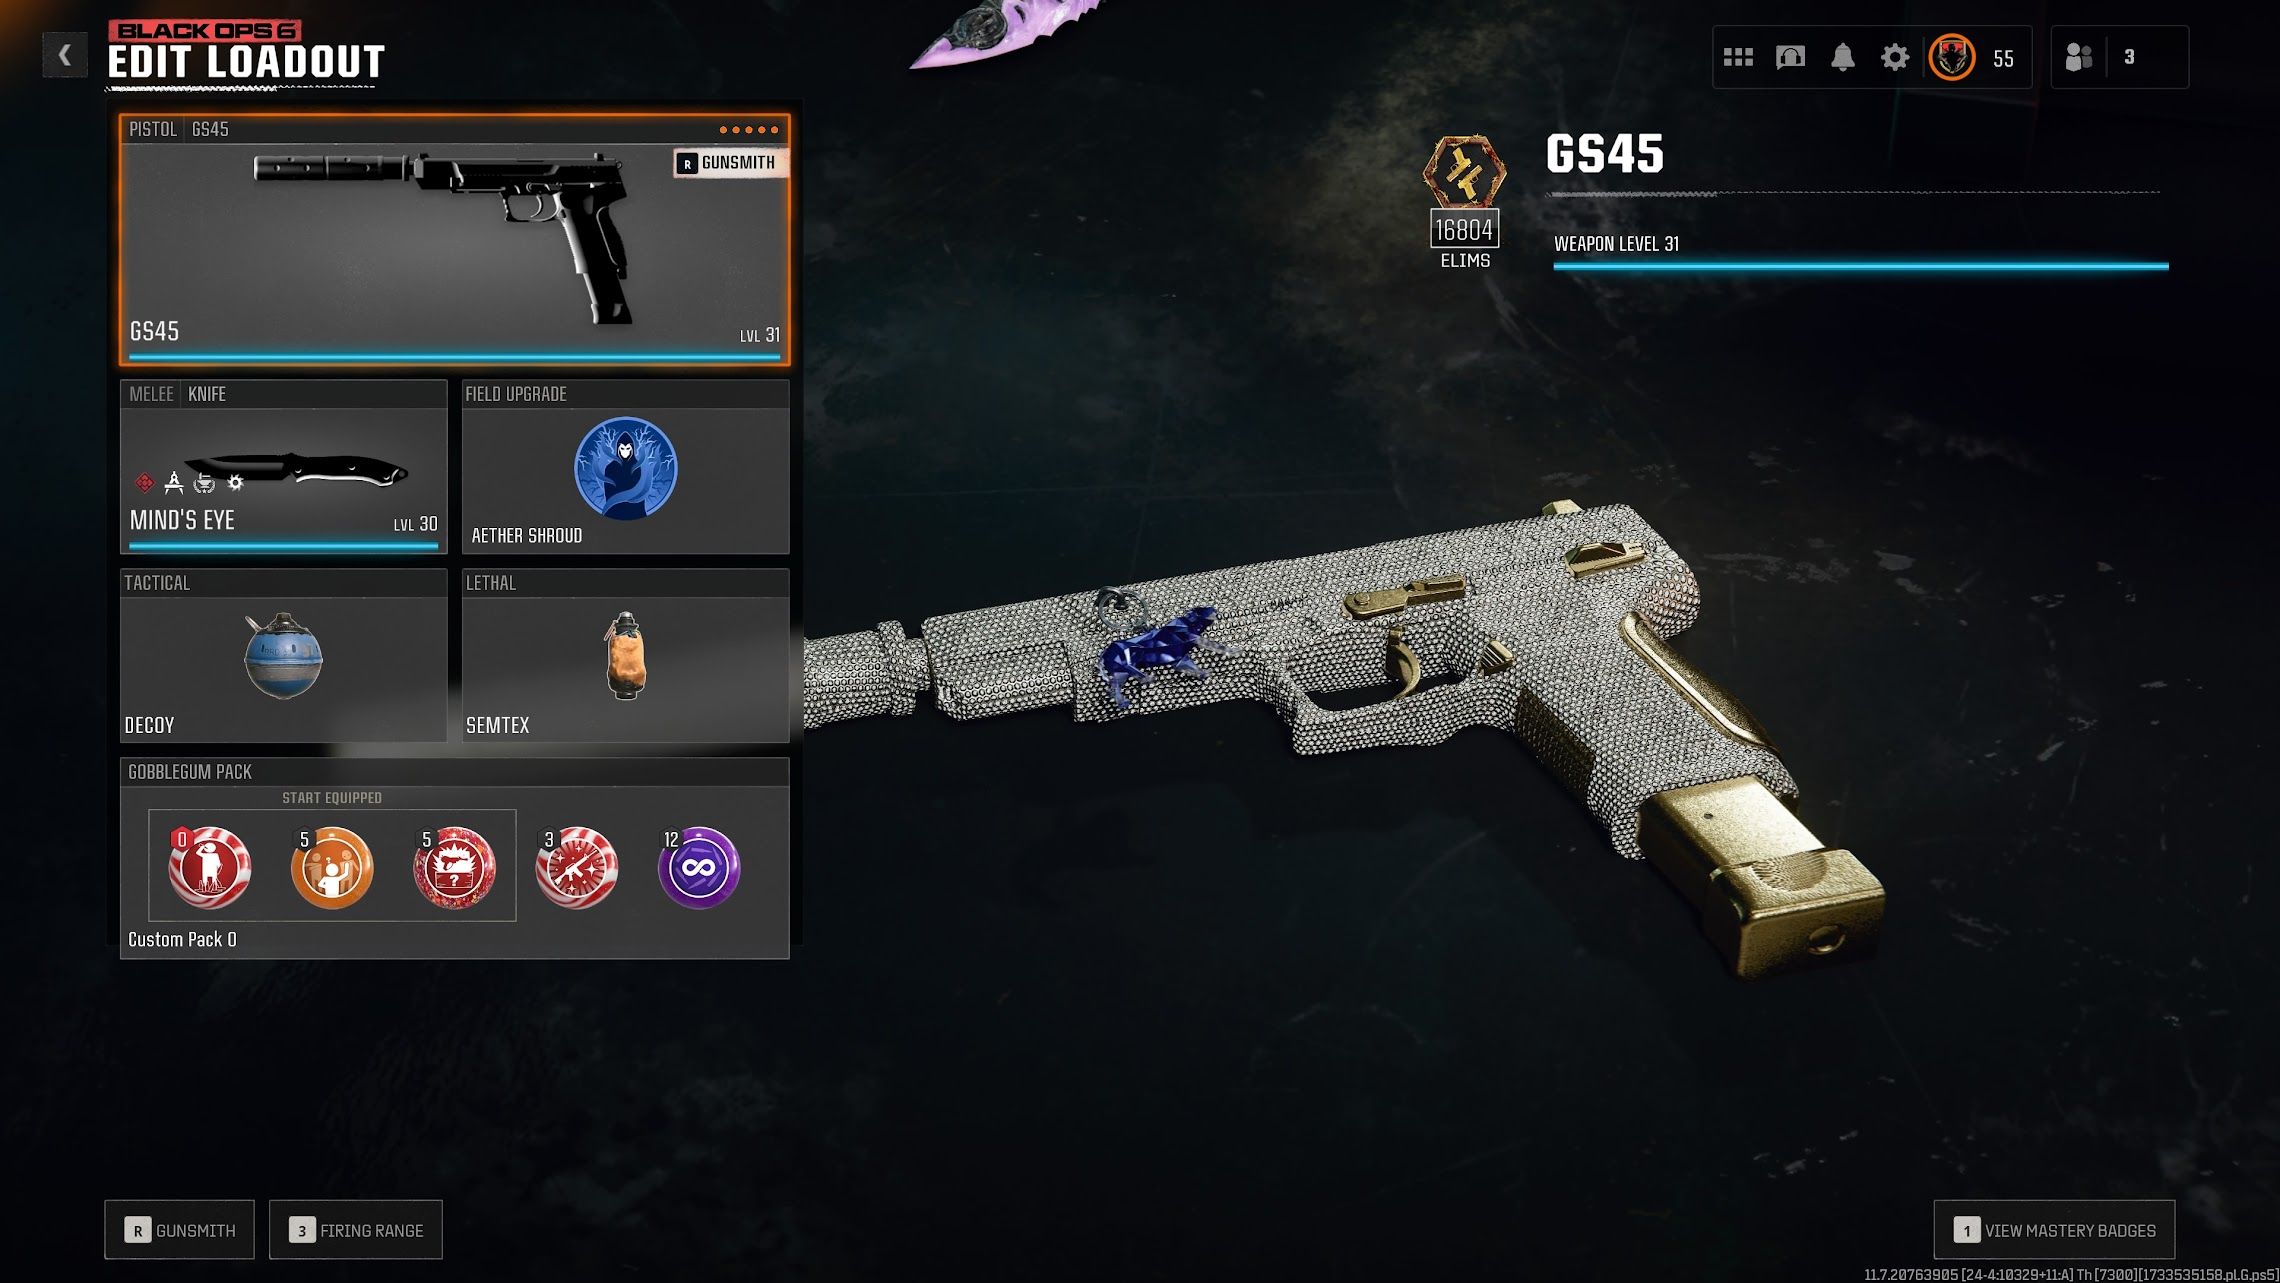
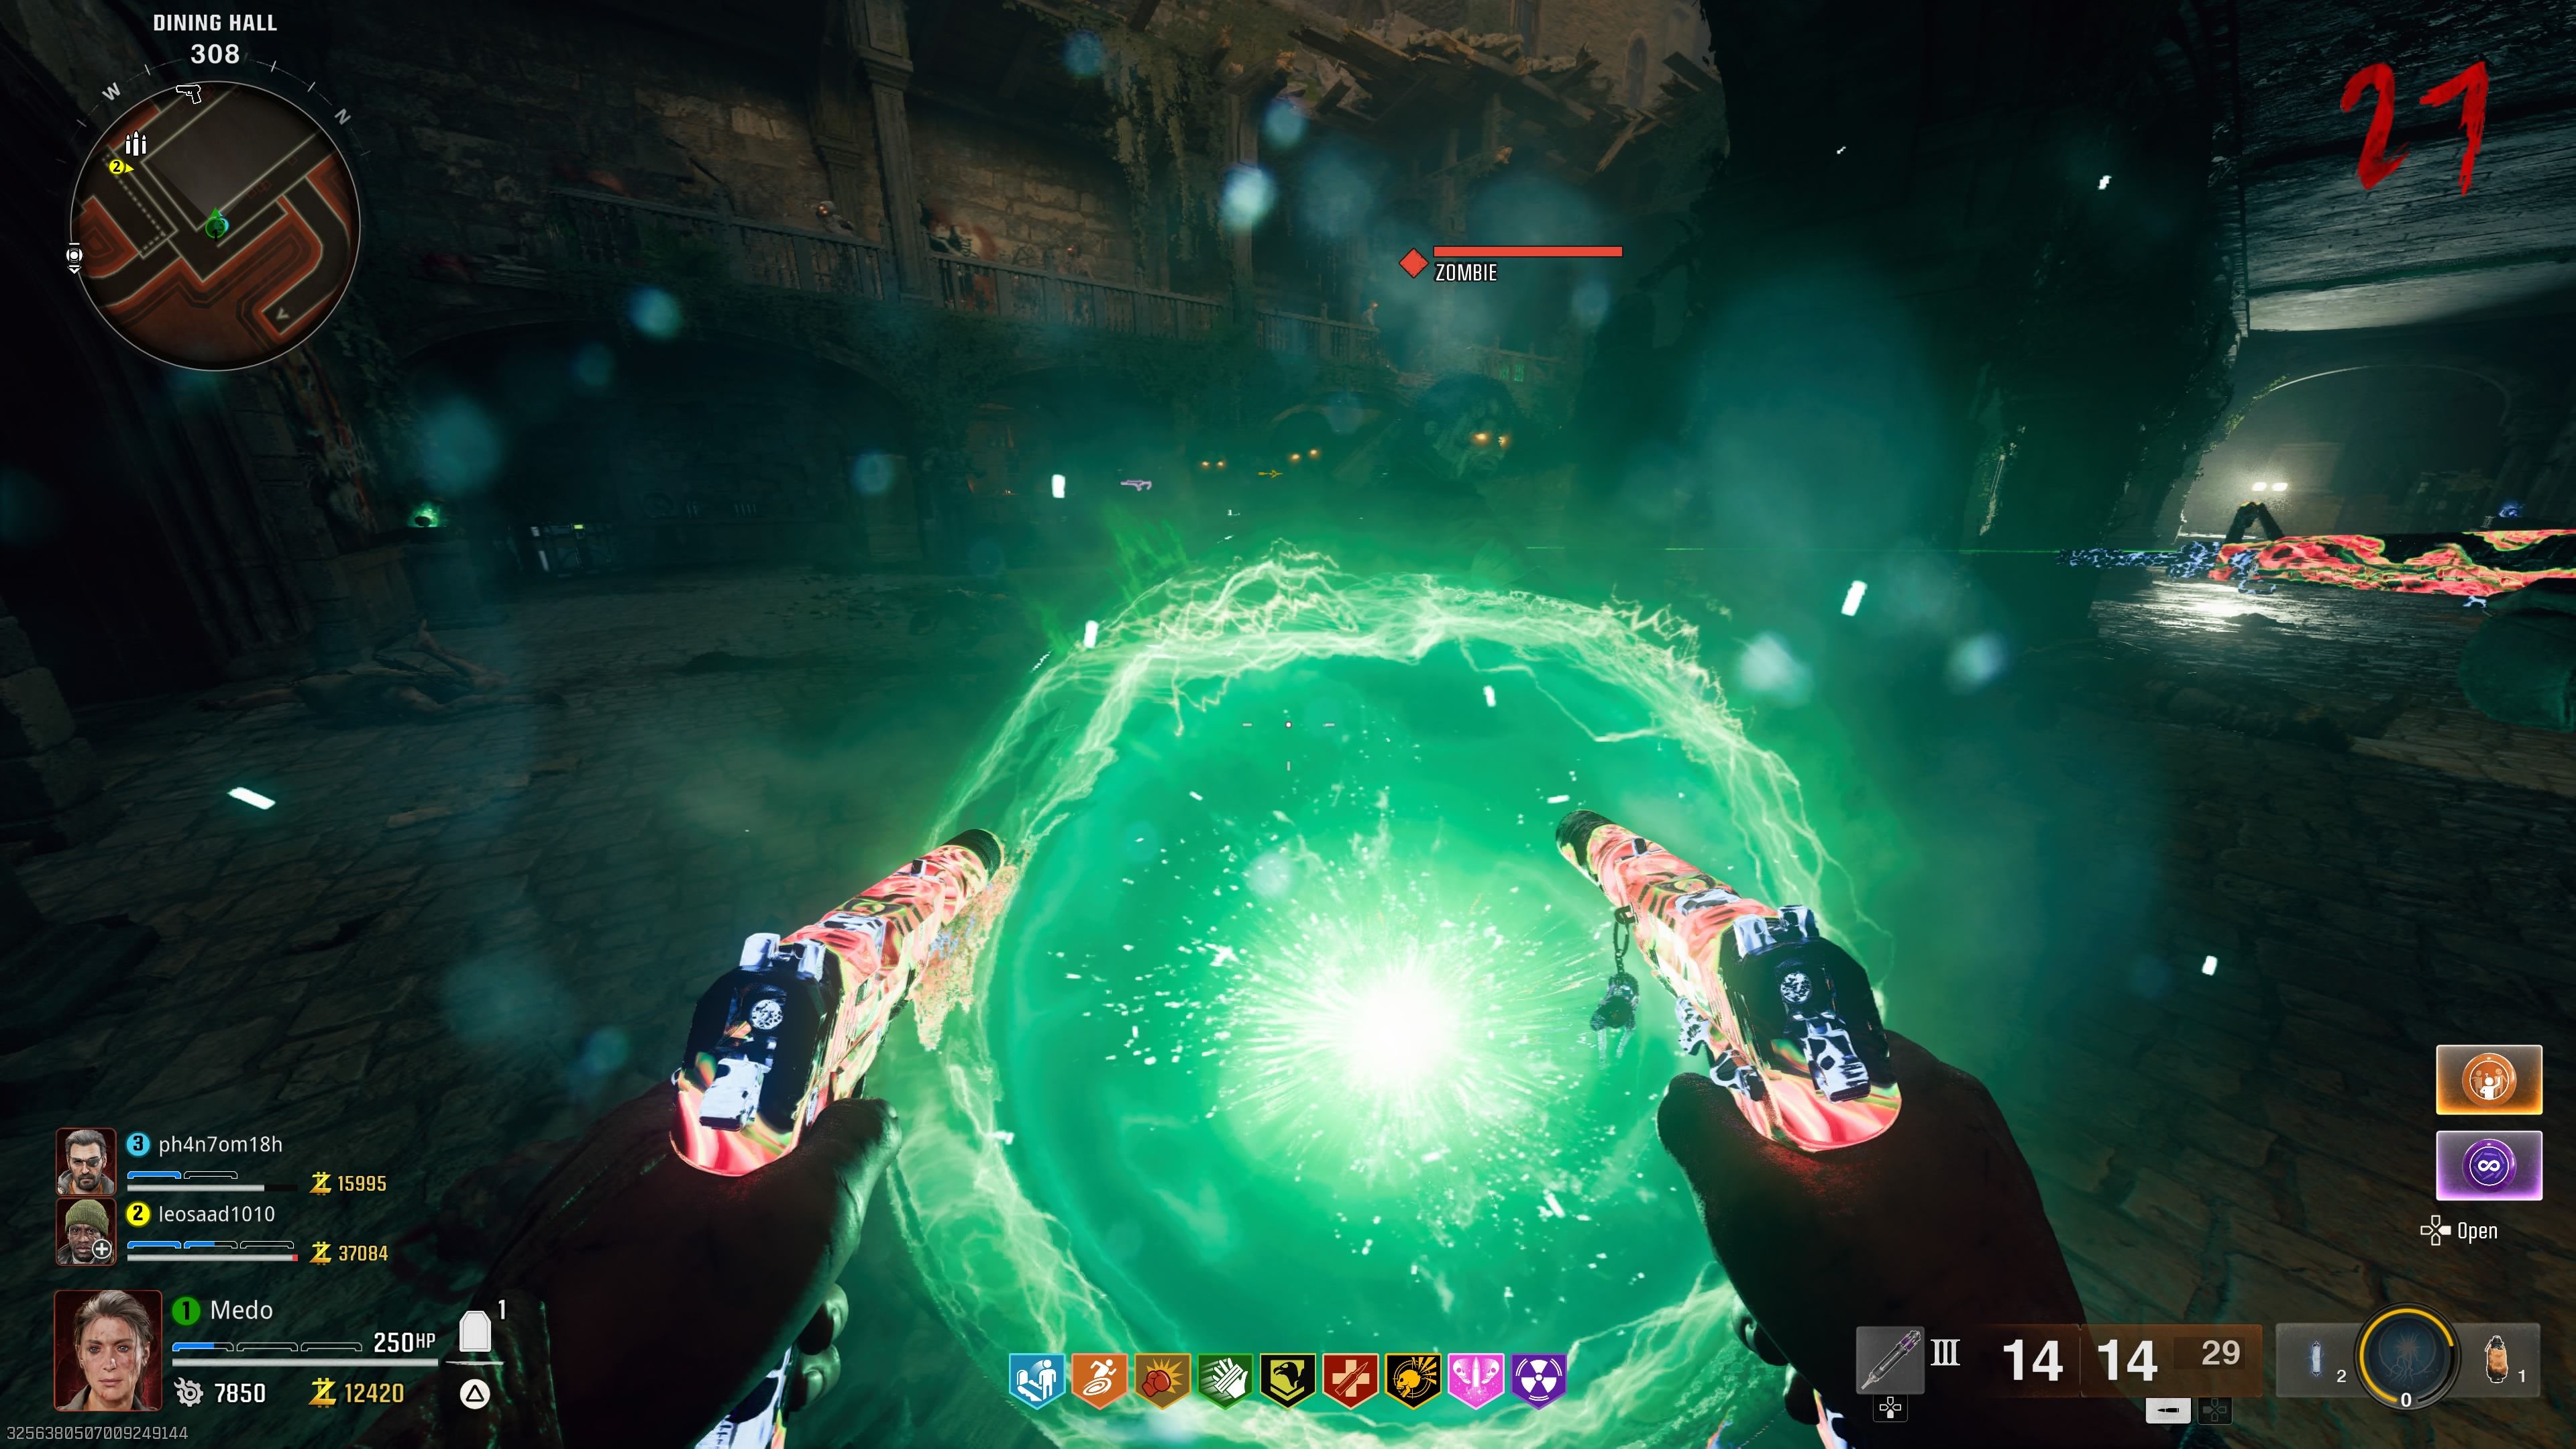
You probably know by now, but the Akimbo GS45 is arguably the best weapon to use in Zombies once it’s Pack-A-Punched.
It transforms into an explosive weapon, making it an excellent crowd-control tool and a strong single-target DPS option for almost any situation.
The only two downsides are:
- Without the PhD Flopper perk, you’ll also take damage from the explosions.
- You’ll find yourself constantly needing to buy ammo.
However, its usefulness far outweighs these drawbacks. It will make the entire Easter egg process much easier, especially those rituals and challenges where you need to deal with multiple zombies at once.
The second important thing you should equip is the Aether Shroud field upgrade, as it’s arguably the best.
It allows you to escape when needed and become hidden from enemy detection, especially when paired with the Extension augment that increases the duration of its activation.
When it comes to equipment, it really doesn’t matter much, as you can craft whatever you need from the Crafting Table.
Gobblegums
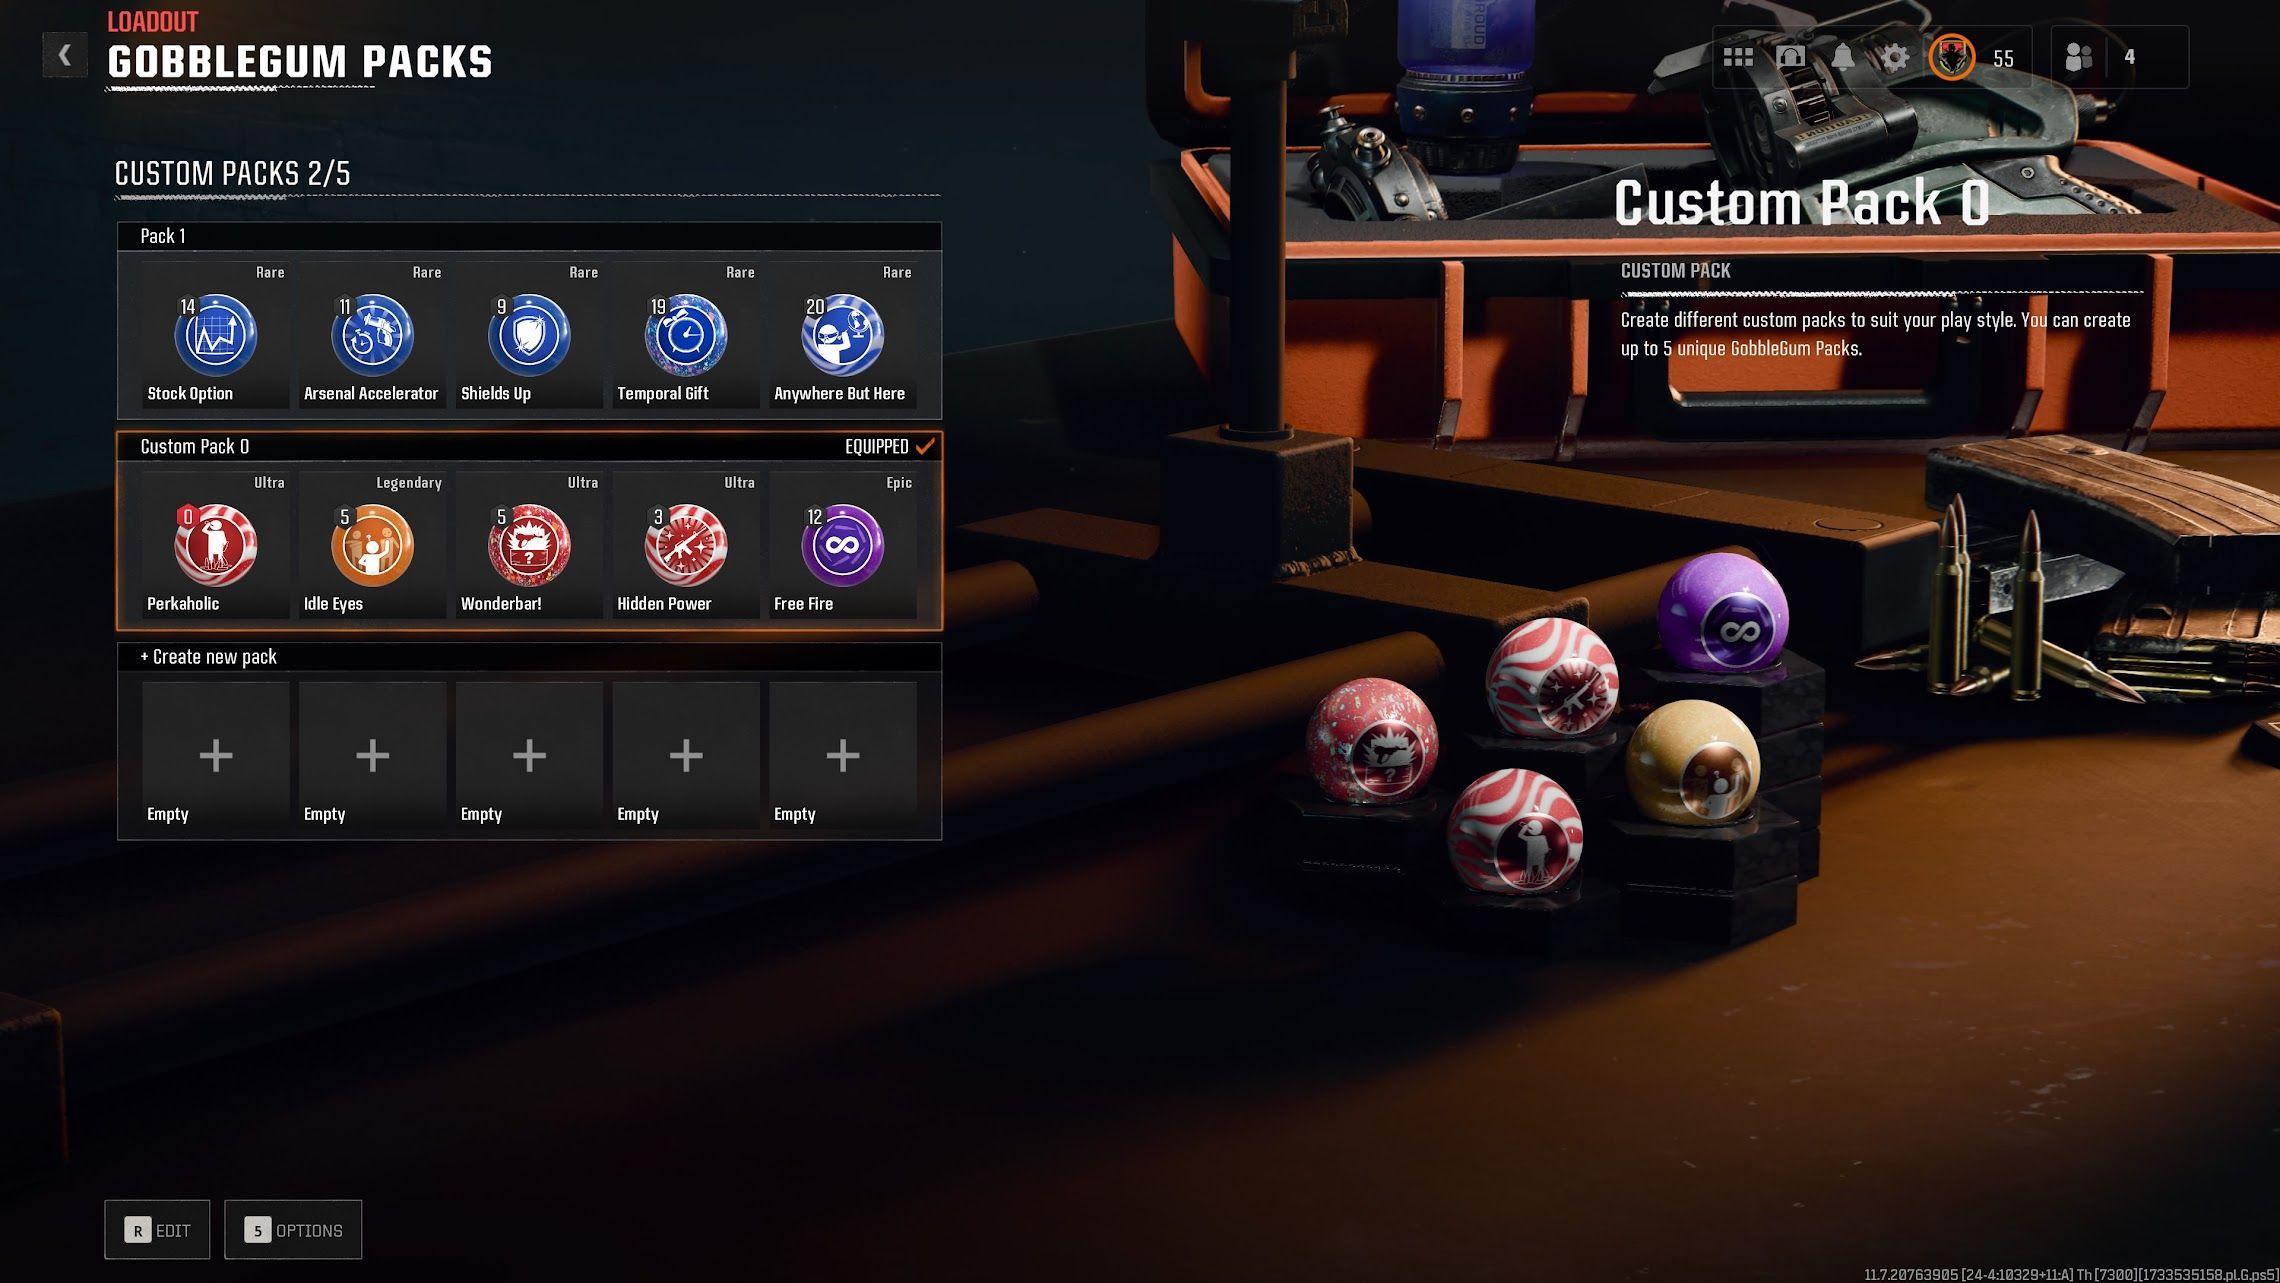
Gobblegums are incredibly helpful for this Easter egg, and we have a few recommendations to make the process more manageable:
- Perkaholic: You can use this gum at the start of the match to save on Essence, allowing you to fully Pack-a-Punch your weapon and upgrade your armor plates to three quickly. Alternatively, you can save it until the boss fight or if you’re down and have lost your perks to get them all back, but we went for the first option since we had plenty of Essence.
- Idle Eyes: This is particularly helpful during the boss fight, as it causes enemies to stand still for 30 seconds. It can be useful for reducing their numbers or repositioning.
- Hidden Power: This is useful, as it can save you salvage, which can be used for killstreaks or a self-revive if needed.
- Free Fire: Not essential, but it can be useful when you can’t afford to buy more ammo or want to reserve your magazines for later.
- For the last one, Wonderbar! was our personal choice. We needed a second weapon option that was just as powerful, so we wanted to secure a Raygun at the start of the match.
Of course, you can use any other Gobblegums you want, but at least make sure you have a Perkaholic and Idle Eyes.
Easter Egg Prerequisites
Reach Krafft Location
Before diving into the main quest Easter egg in Citadelle des Morts, there are a few prerequisites you must complete first.
The first requirement is reaching the castle and unlocking the Pack-a-Punch.
To do this, breach the castle door using the lion cannon, then head into the castle’s underground section.
In this area, you’ll find Krafft in the room where Quick Revive is located. Speak to him, and he’ll inform you that you need to find the special amulet.
Obtain All Four Swords
The next step in preparing for the Easter egg is to obtain all four elemental swords, each of which we have a detailed guide for:
Once you’ve completed these steps, you’re fully ready to tackle this lengthy Easter egg. So, make sure you don’t have any other plans, as it will take time.
It’s always easier to do this with friends, at least two, but it is still possible to complete solo.
Find All Torn Pages
The first task of the main easter egg is to find four torn pages on the west side of the castle, specifically in the room where the Stamin-Up machine is located.
In this room, you’ll spot four pages with red-eyed drawings on them. These pages are easy to identify due to their glowing red markings.
However, sometimes the pages can be hidden on a bed or inside a box in sneaky spots, so be sure to thoroughly search the room.
Once you have all four torn pages, it’s time for the next step.
Keep in mind that the locations of these pages are random in each match, so just keep searching the area until you find them.
Find The Secret Symbol Wall
If you’ve already used a Perkaholic at the start of the match, you’re good to go. However, if not, you’ll need to acquire the Melee Macchiato perk.
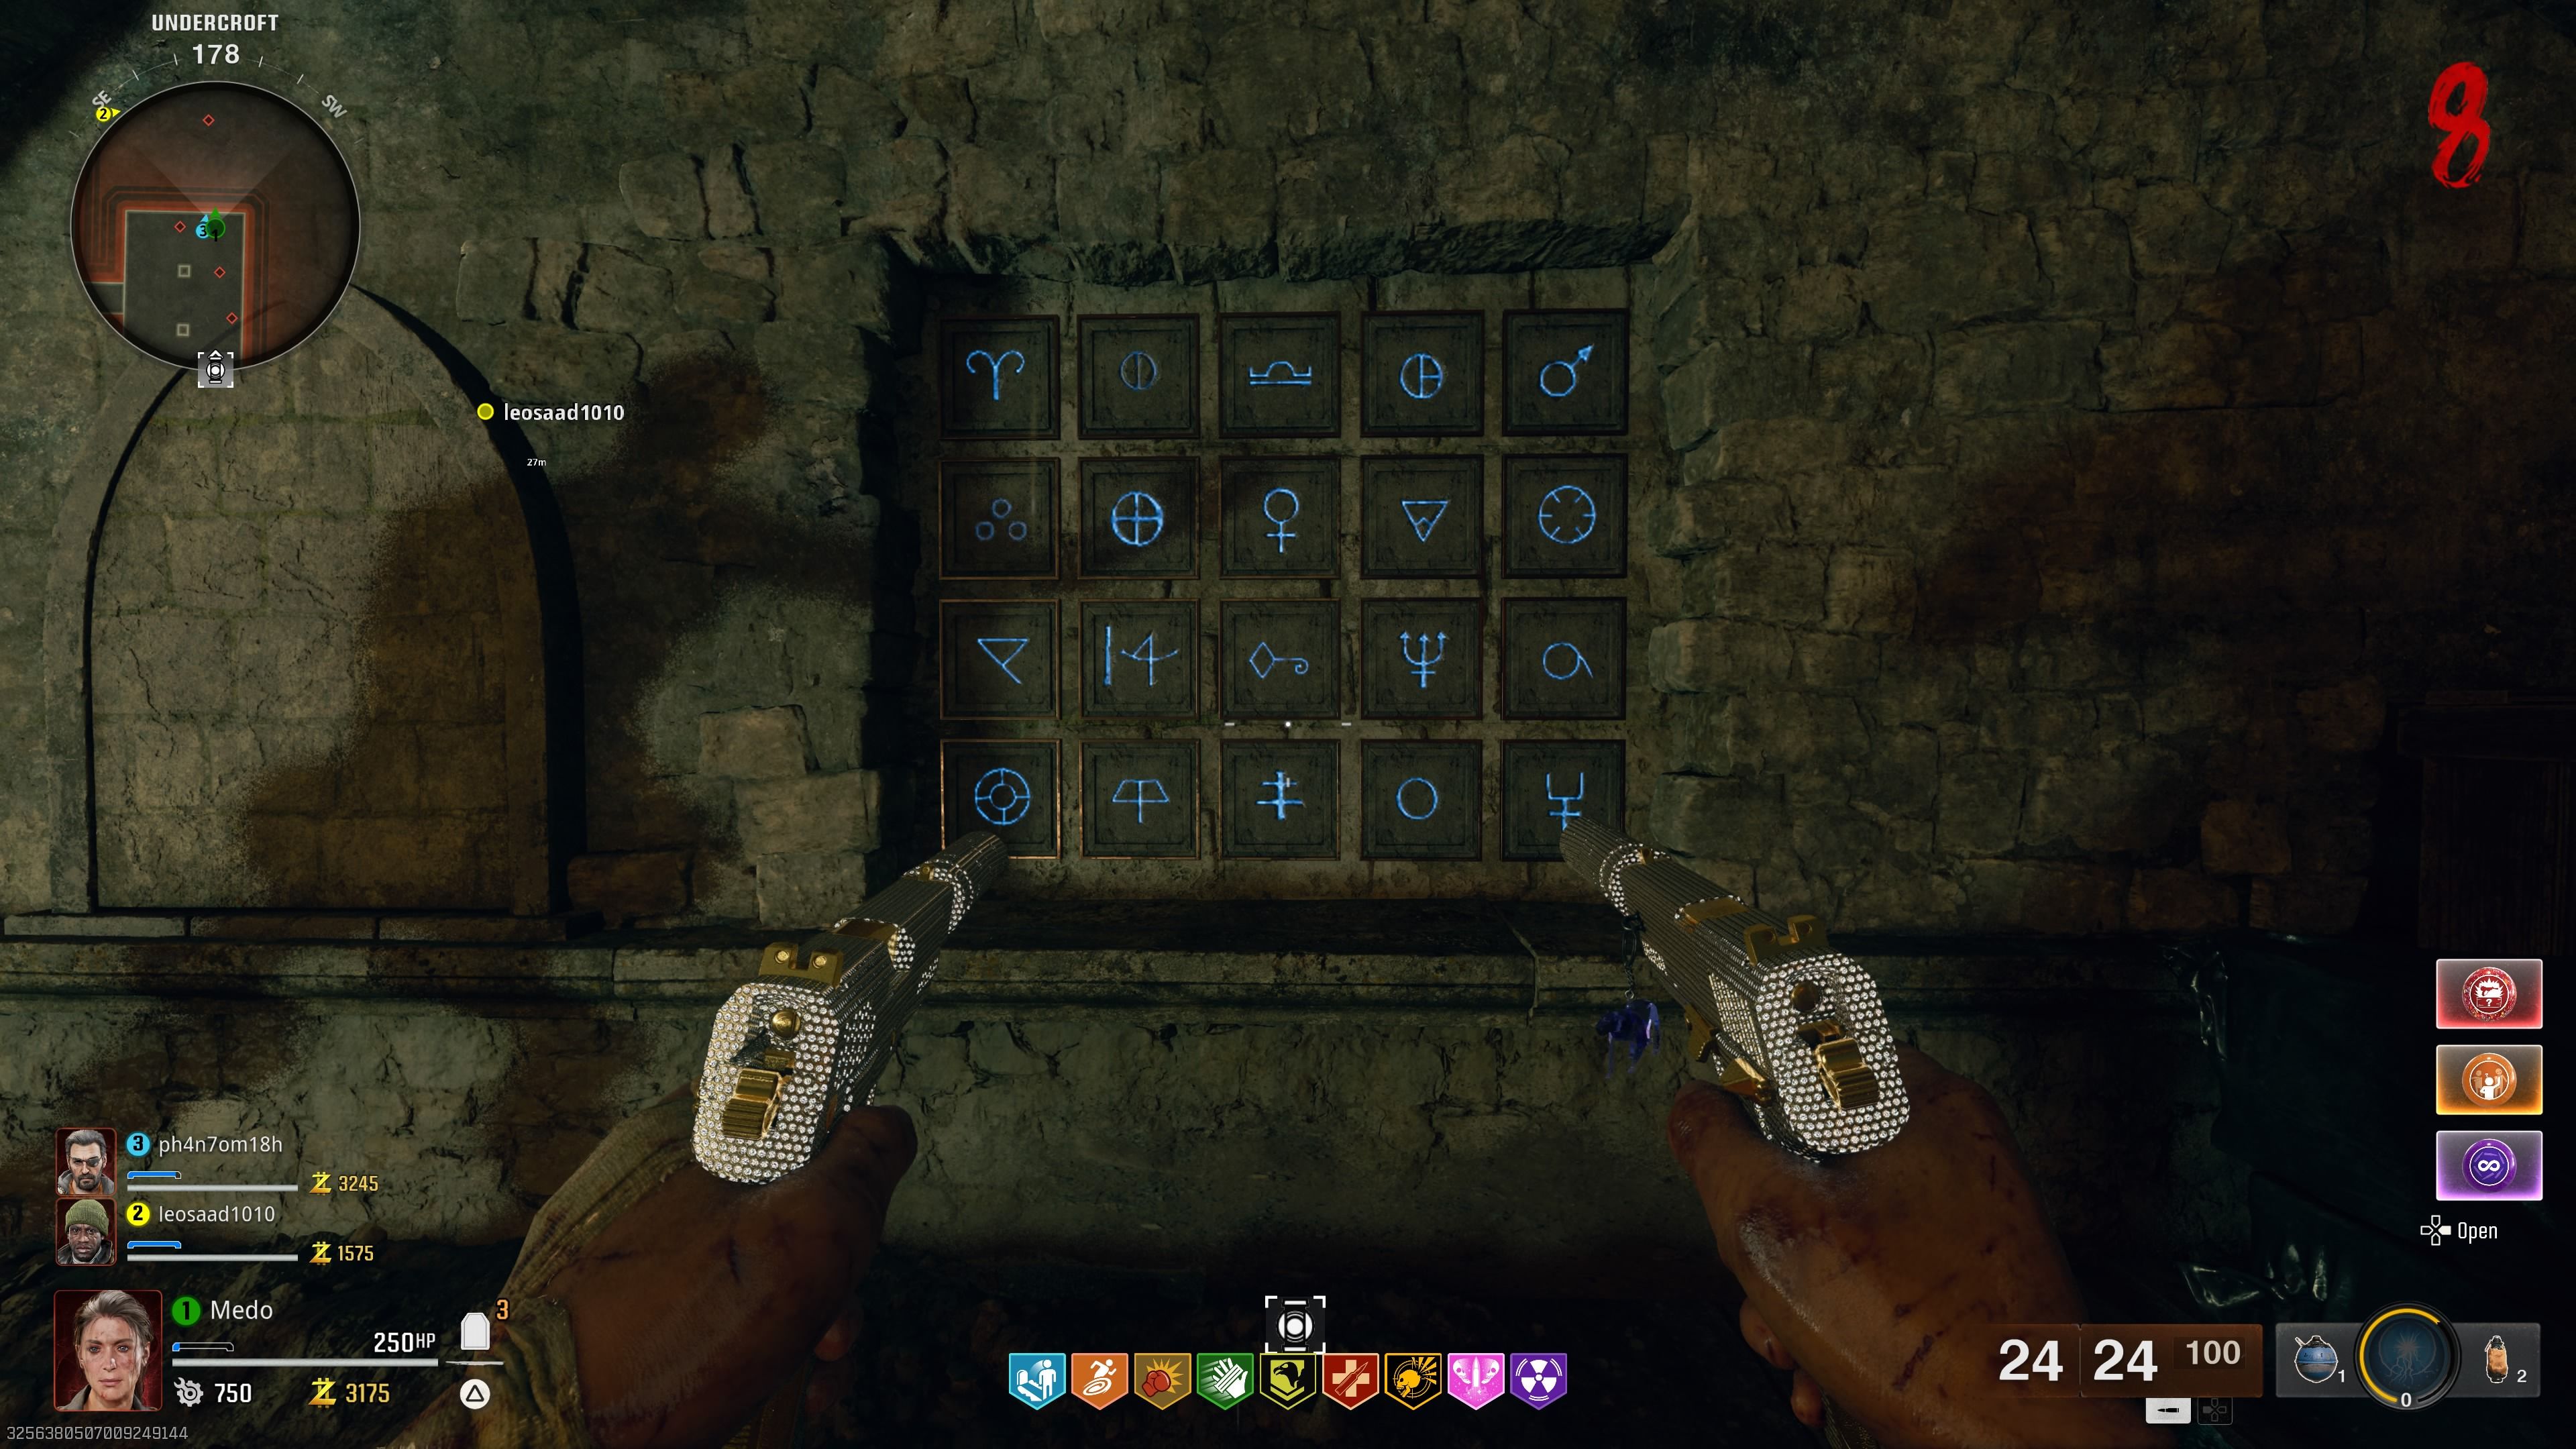
Once you have that, the next task is to find a hidden rune wall in the Undercroft area of the castle. There, you’ll notice a part of the wall that looks suspicious. Melee it, and it will reveal blue symbols on the wall.
Now, what you need to do is shoot the symbols in a specific order. But how do you know the correct order? This leads us to the next step.
Shoot The Symbols In Order
Head back to the spawn area and make your way to the bar inside the tavern. You’ve probably already noticed some bottles with romantic numbers on them.
Interact with all of them, and doing so will reveal a blue symbol similar to the one you saw earlier on the secret wall.
Here are the locations of all six bottles around the bar:
- I: Left side of the bar counter.
- II: On the table just to the left of the Arsenal machine.
- III: On the table to the right side of the bar counter.
- IV: Upstairs, on a wooden table near the pool.
- V: On the booth table in front of the bar counter.
- VI: In the far corner, just behind the front door to the bar.
Memorize the symbols in their numerical order on the bottles. To make it easier to remember, you can take screenshots of them or have a friend give you their details.
Once you’ve noted all the symbols, head back to the secret wall. You now need to shoot the symbols on the wal in the correct order.
After each shot, the other symbols will begin randomizing, so you’ll need to wait until they stop before shooting the next symbol in the sequence.
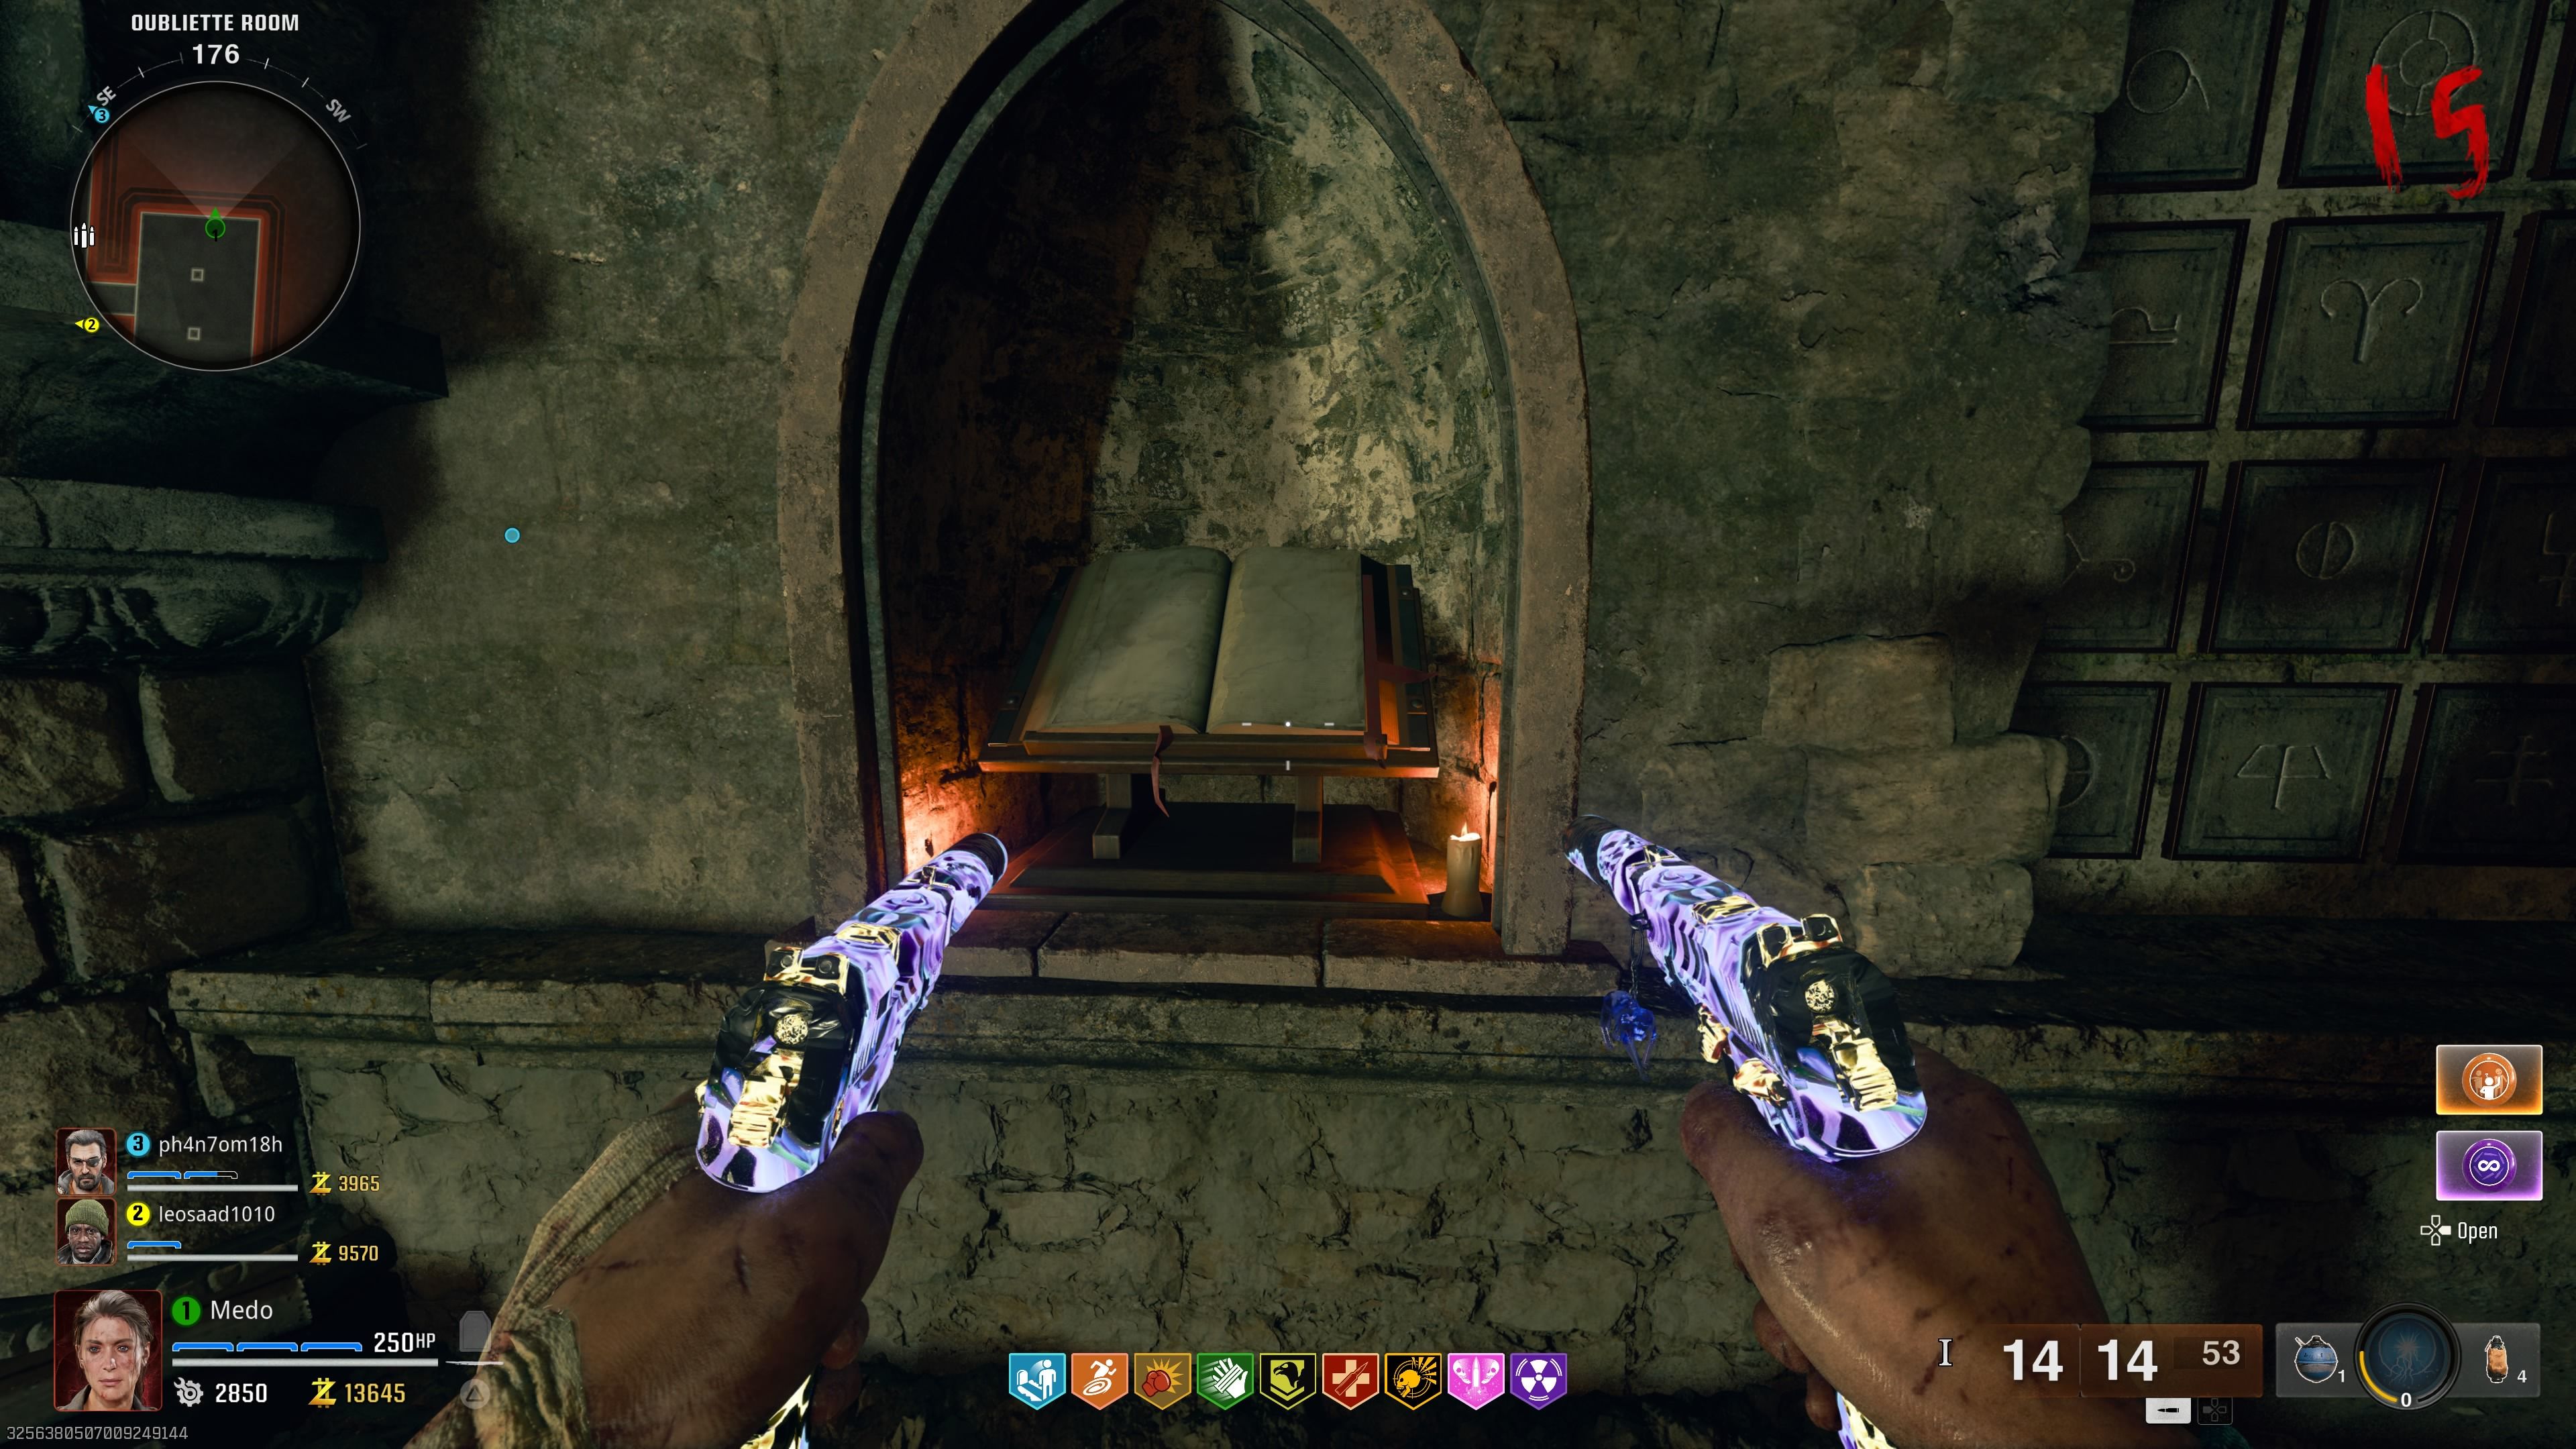
If done correctly, a red orb will appear, revealing another secret wall. Here, you’ll find an open book next to the wall.
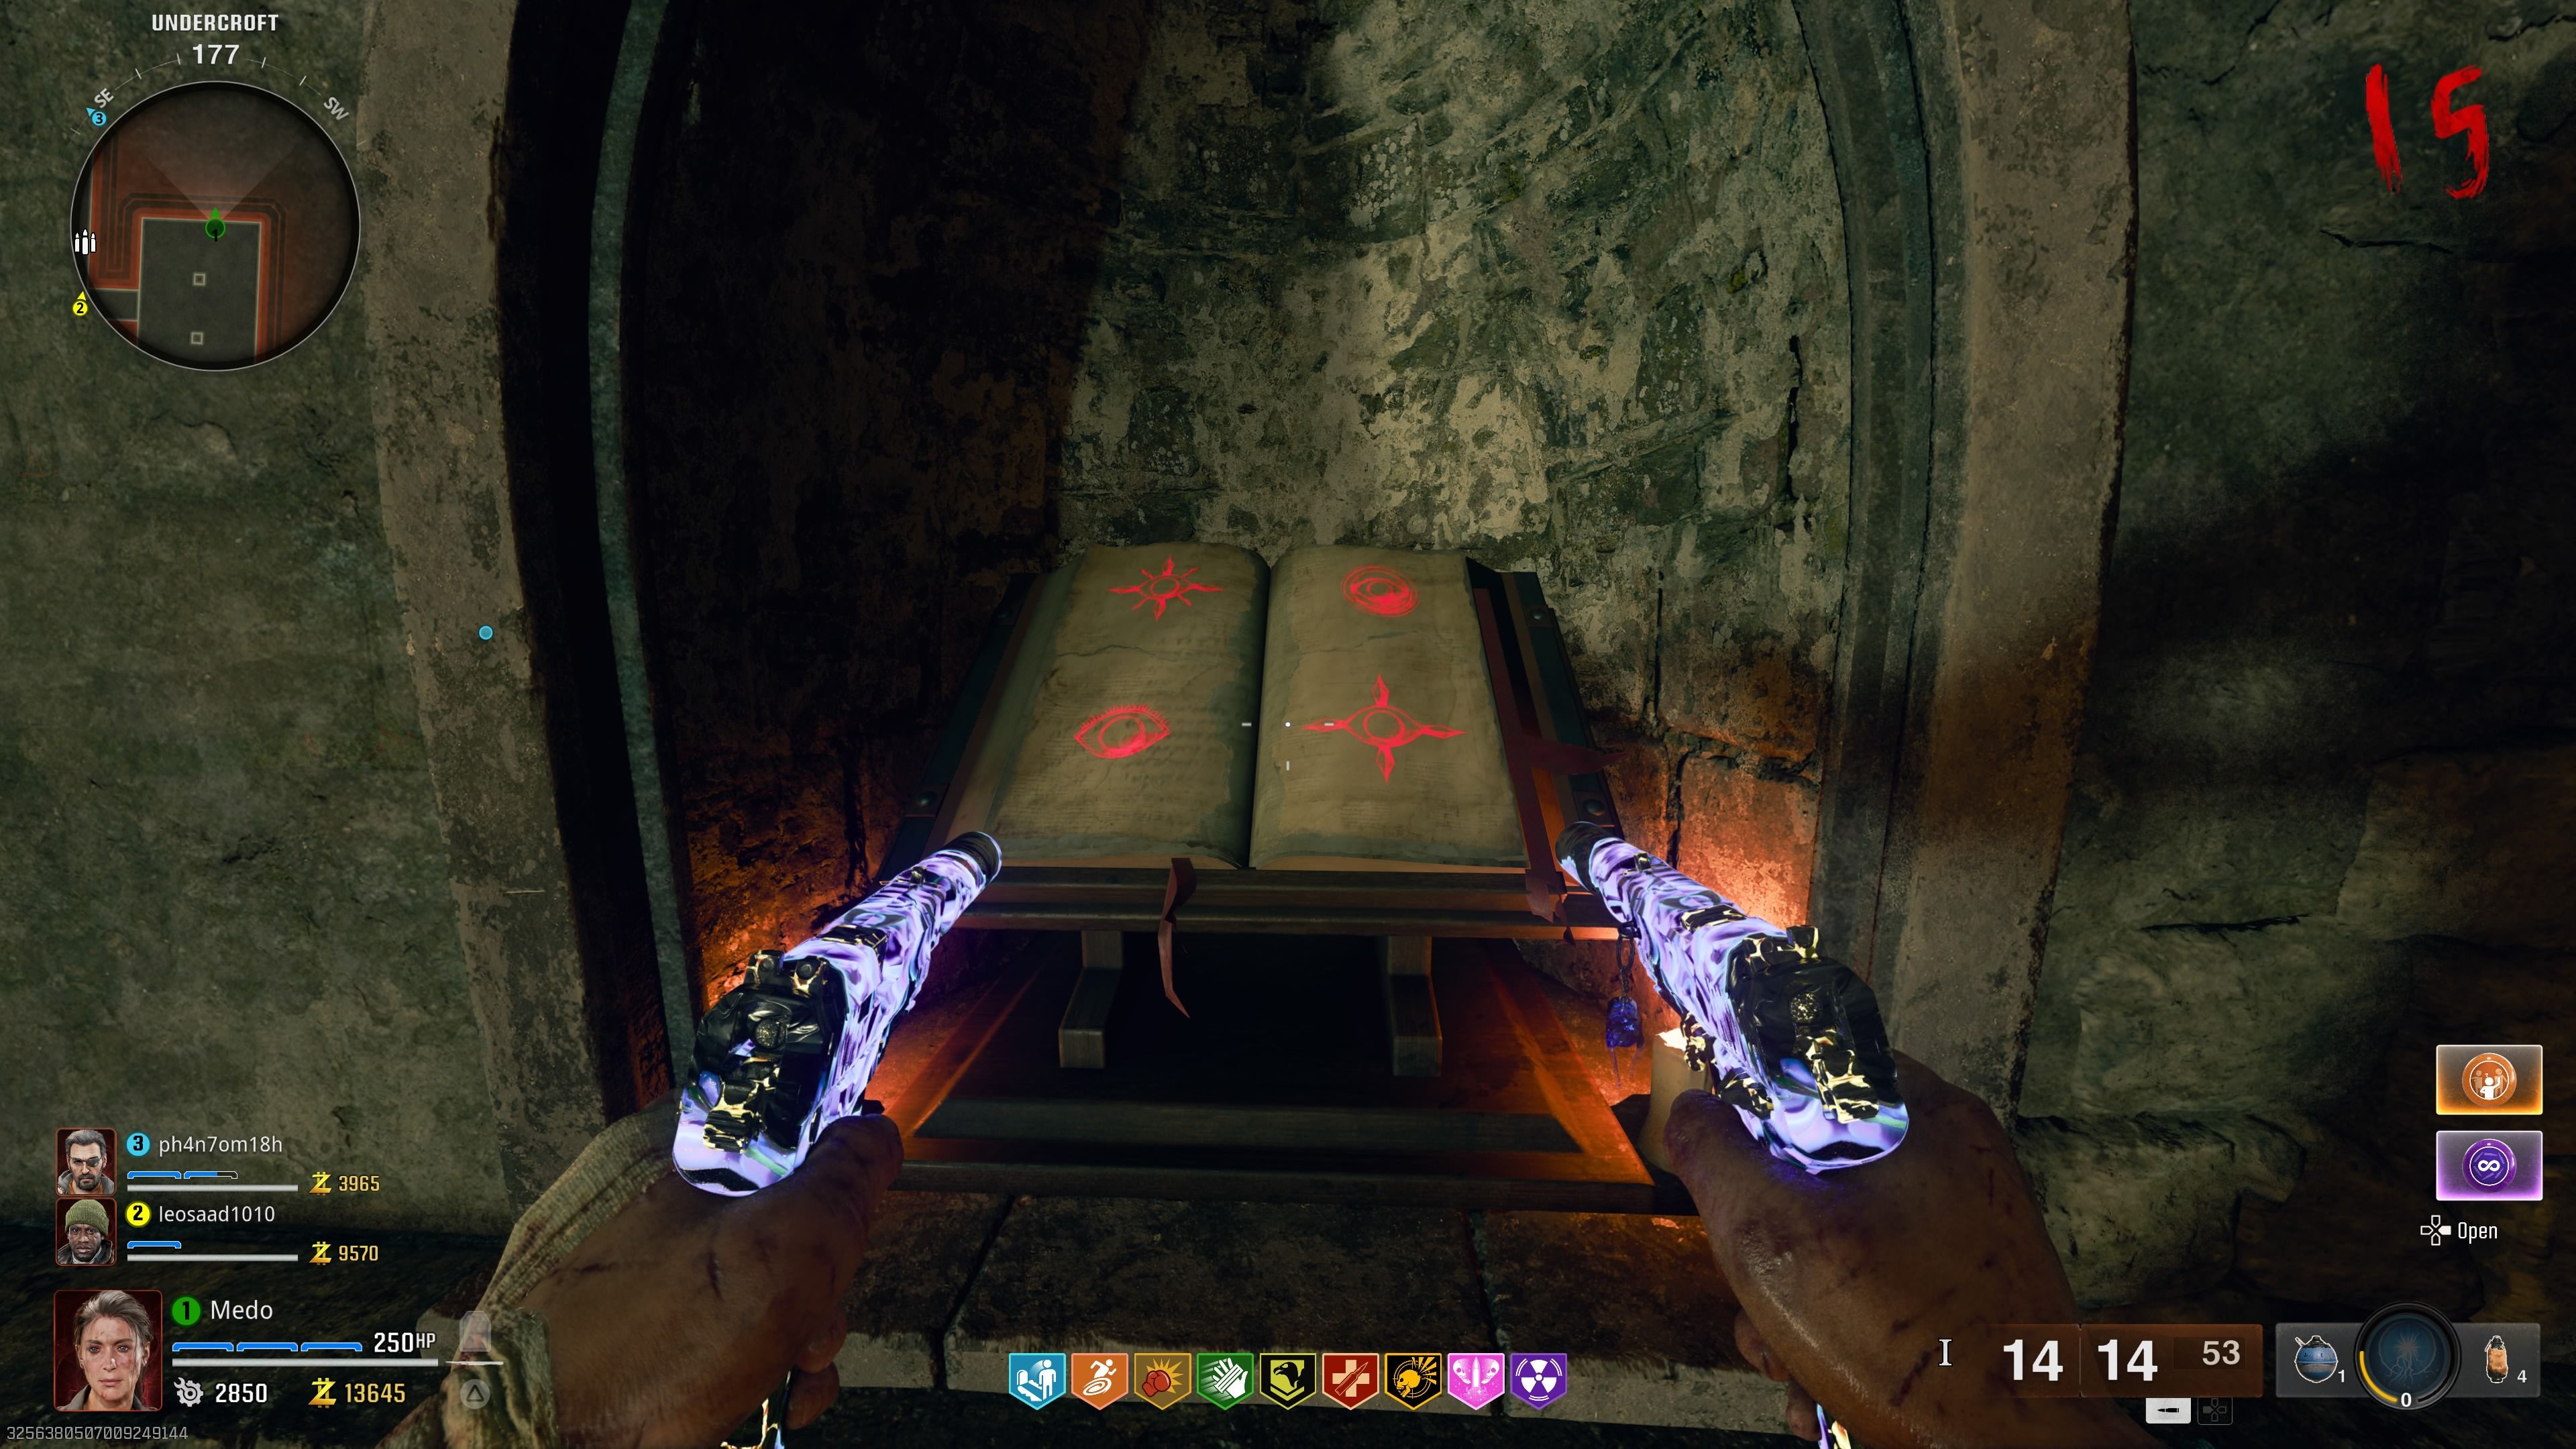
Since you’ve already collected all four pages, it’s time to insert them into the book. Simpy interact with it to put them.
Complete The Traps In Order
Each of the pages you’ve found corresponds to one of four different symbols, which represent four traps around the map known as the Points of Power traps.
However, you’ll need to activate and complete these traps in a specific order, which can be determined by looking at the book after assembling the pages.
The order is as follows:
- Top Left
- Bottom Left
- Top Right
- Bottom Right
Keep in mind that the symbols and their order are randomized in each game, so you’ll need to check the book for your specific sequence.
Your task is to go around the map, activate the first trap, stay inside its red circle, and defeat enemies until the trap deactivates.
Then, repeat this process for the remaining three traps.
There are six Points of Power traps on the map, but you only need to activate four of them, which means you’ll have to check each one to find the correct traps.
Here’s where you can locate all six:
- Trap 1: In the same room as the Pack-a-Punch machine.
- Trap 2: In the same room as the Quick Revive machine.
- Trap 3: Just outside the castle.
- Trap 4: Near the Deadshot machine.
- Trap 5: On the east side of the spawn area, near the wishing well.
- Trap 6: In the same room as the Stamin-Up machine.
Each trap costs 1,600 Essence to activate, so you’ll need a total of 6,400 Essence to complete all four.
If you’ve done a trap correctly, its corresponding symbol in the book will stop glowing, indicating you’re on the right track.
Once you complete all four, you’re ready for the next step.
After completing each trap, you can return to the book location to verify your progress.
The next step involves locating four different ritual items and upgrading them to obtain the incantations corresponding to each sword.
By now, you should already have all four swords acquired, so you’re ready to proceed.
This next step can be completed in any order, so there’s no need to worry about a specific sequence.
Find All Four Ritual Items
How To Get Pegasus’ Horseshoe
The first and probably the easiest ritual item to obtain is Pegasus’ Horseshoe, which can be found in the stable near the Deadshot machine on the west side of the map.
At the stable entrance from inside, look up, and you’ll see the horseshoe hanging. Shoot it down, then pick it up.
With the Horseshoe in hand, head to the cannon you used earlier to breach the castle entrance and use it to shoot yourself back to the spawn area.
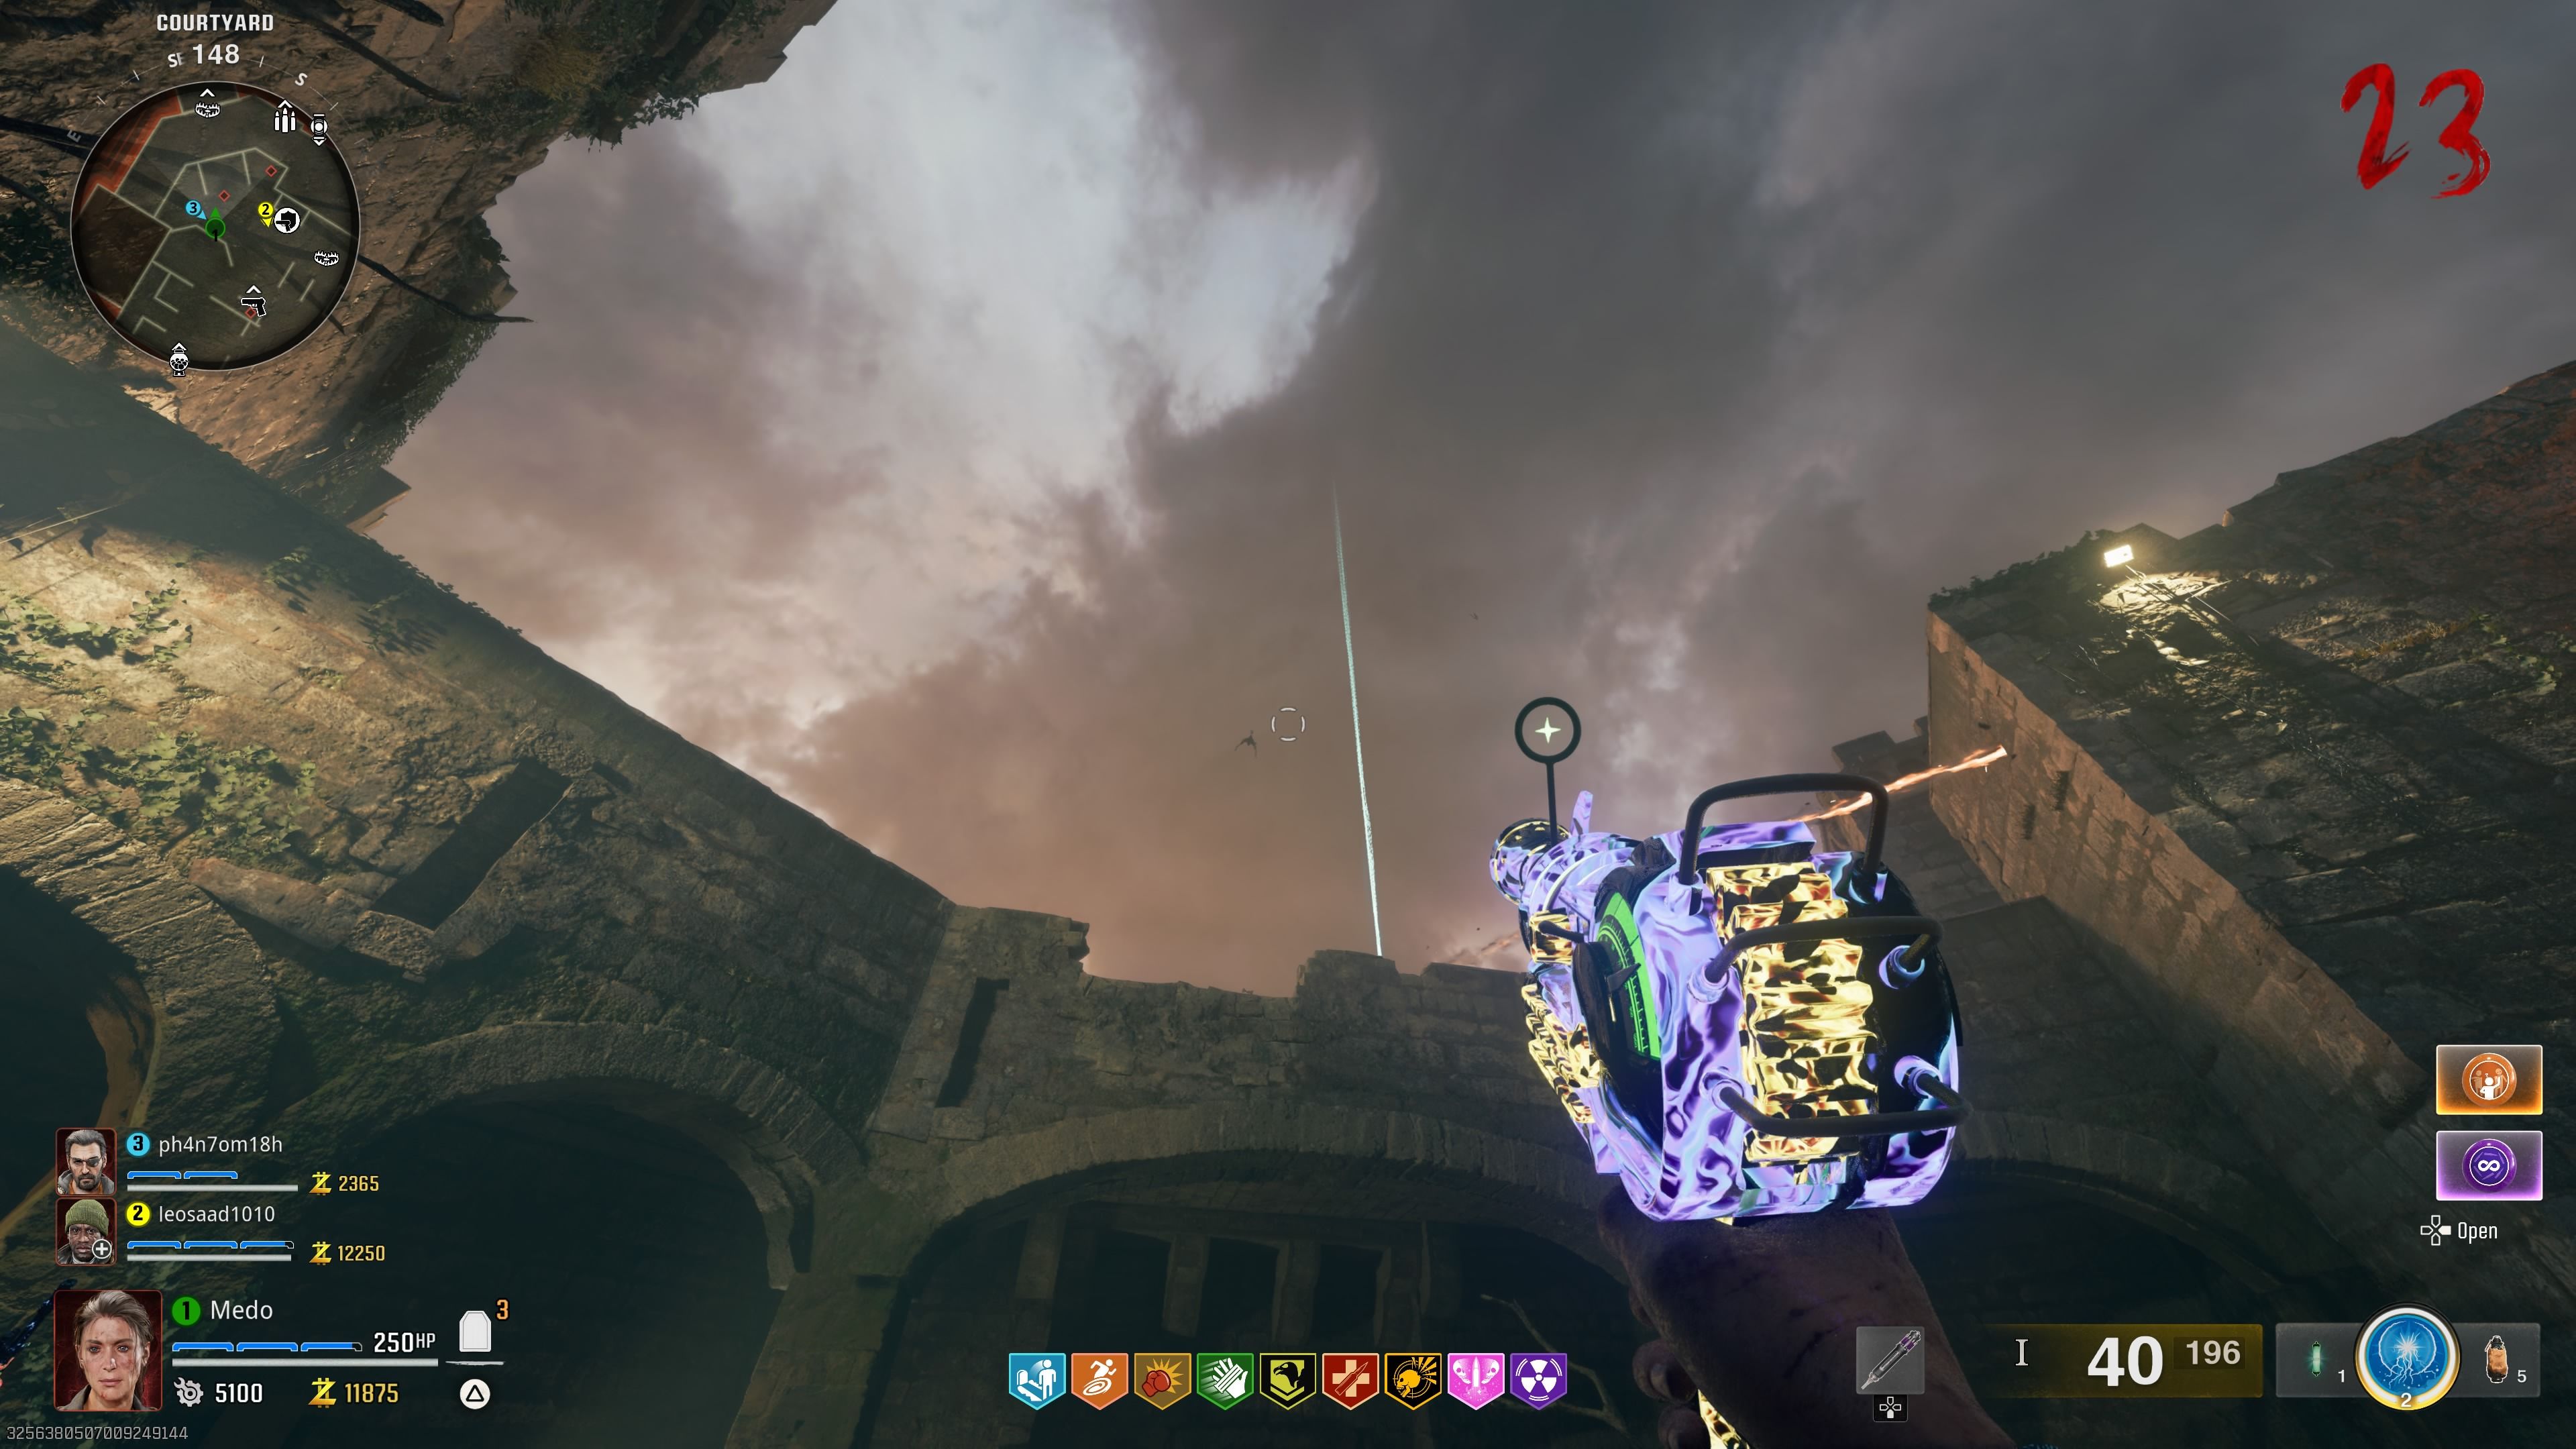
During the travel animation, you’ll notice a lightning strike. After landing, look up into the sky to spot a dark cloud.
Make your way toward it, and you’ll find an item beneath it. Pick it up, and the Horseshoe will be upgraded to Pegasus’ Horseshoe.
How To Get Ra’s Ankh
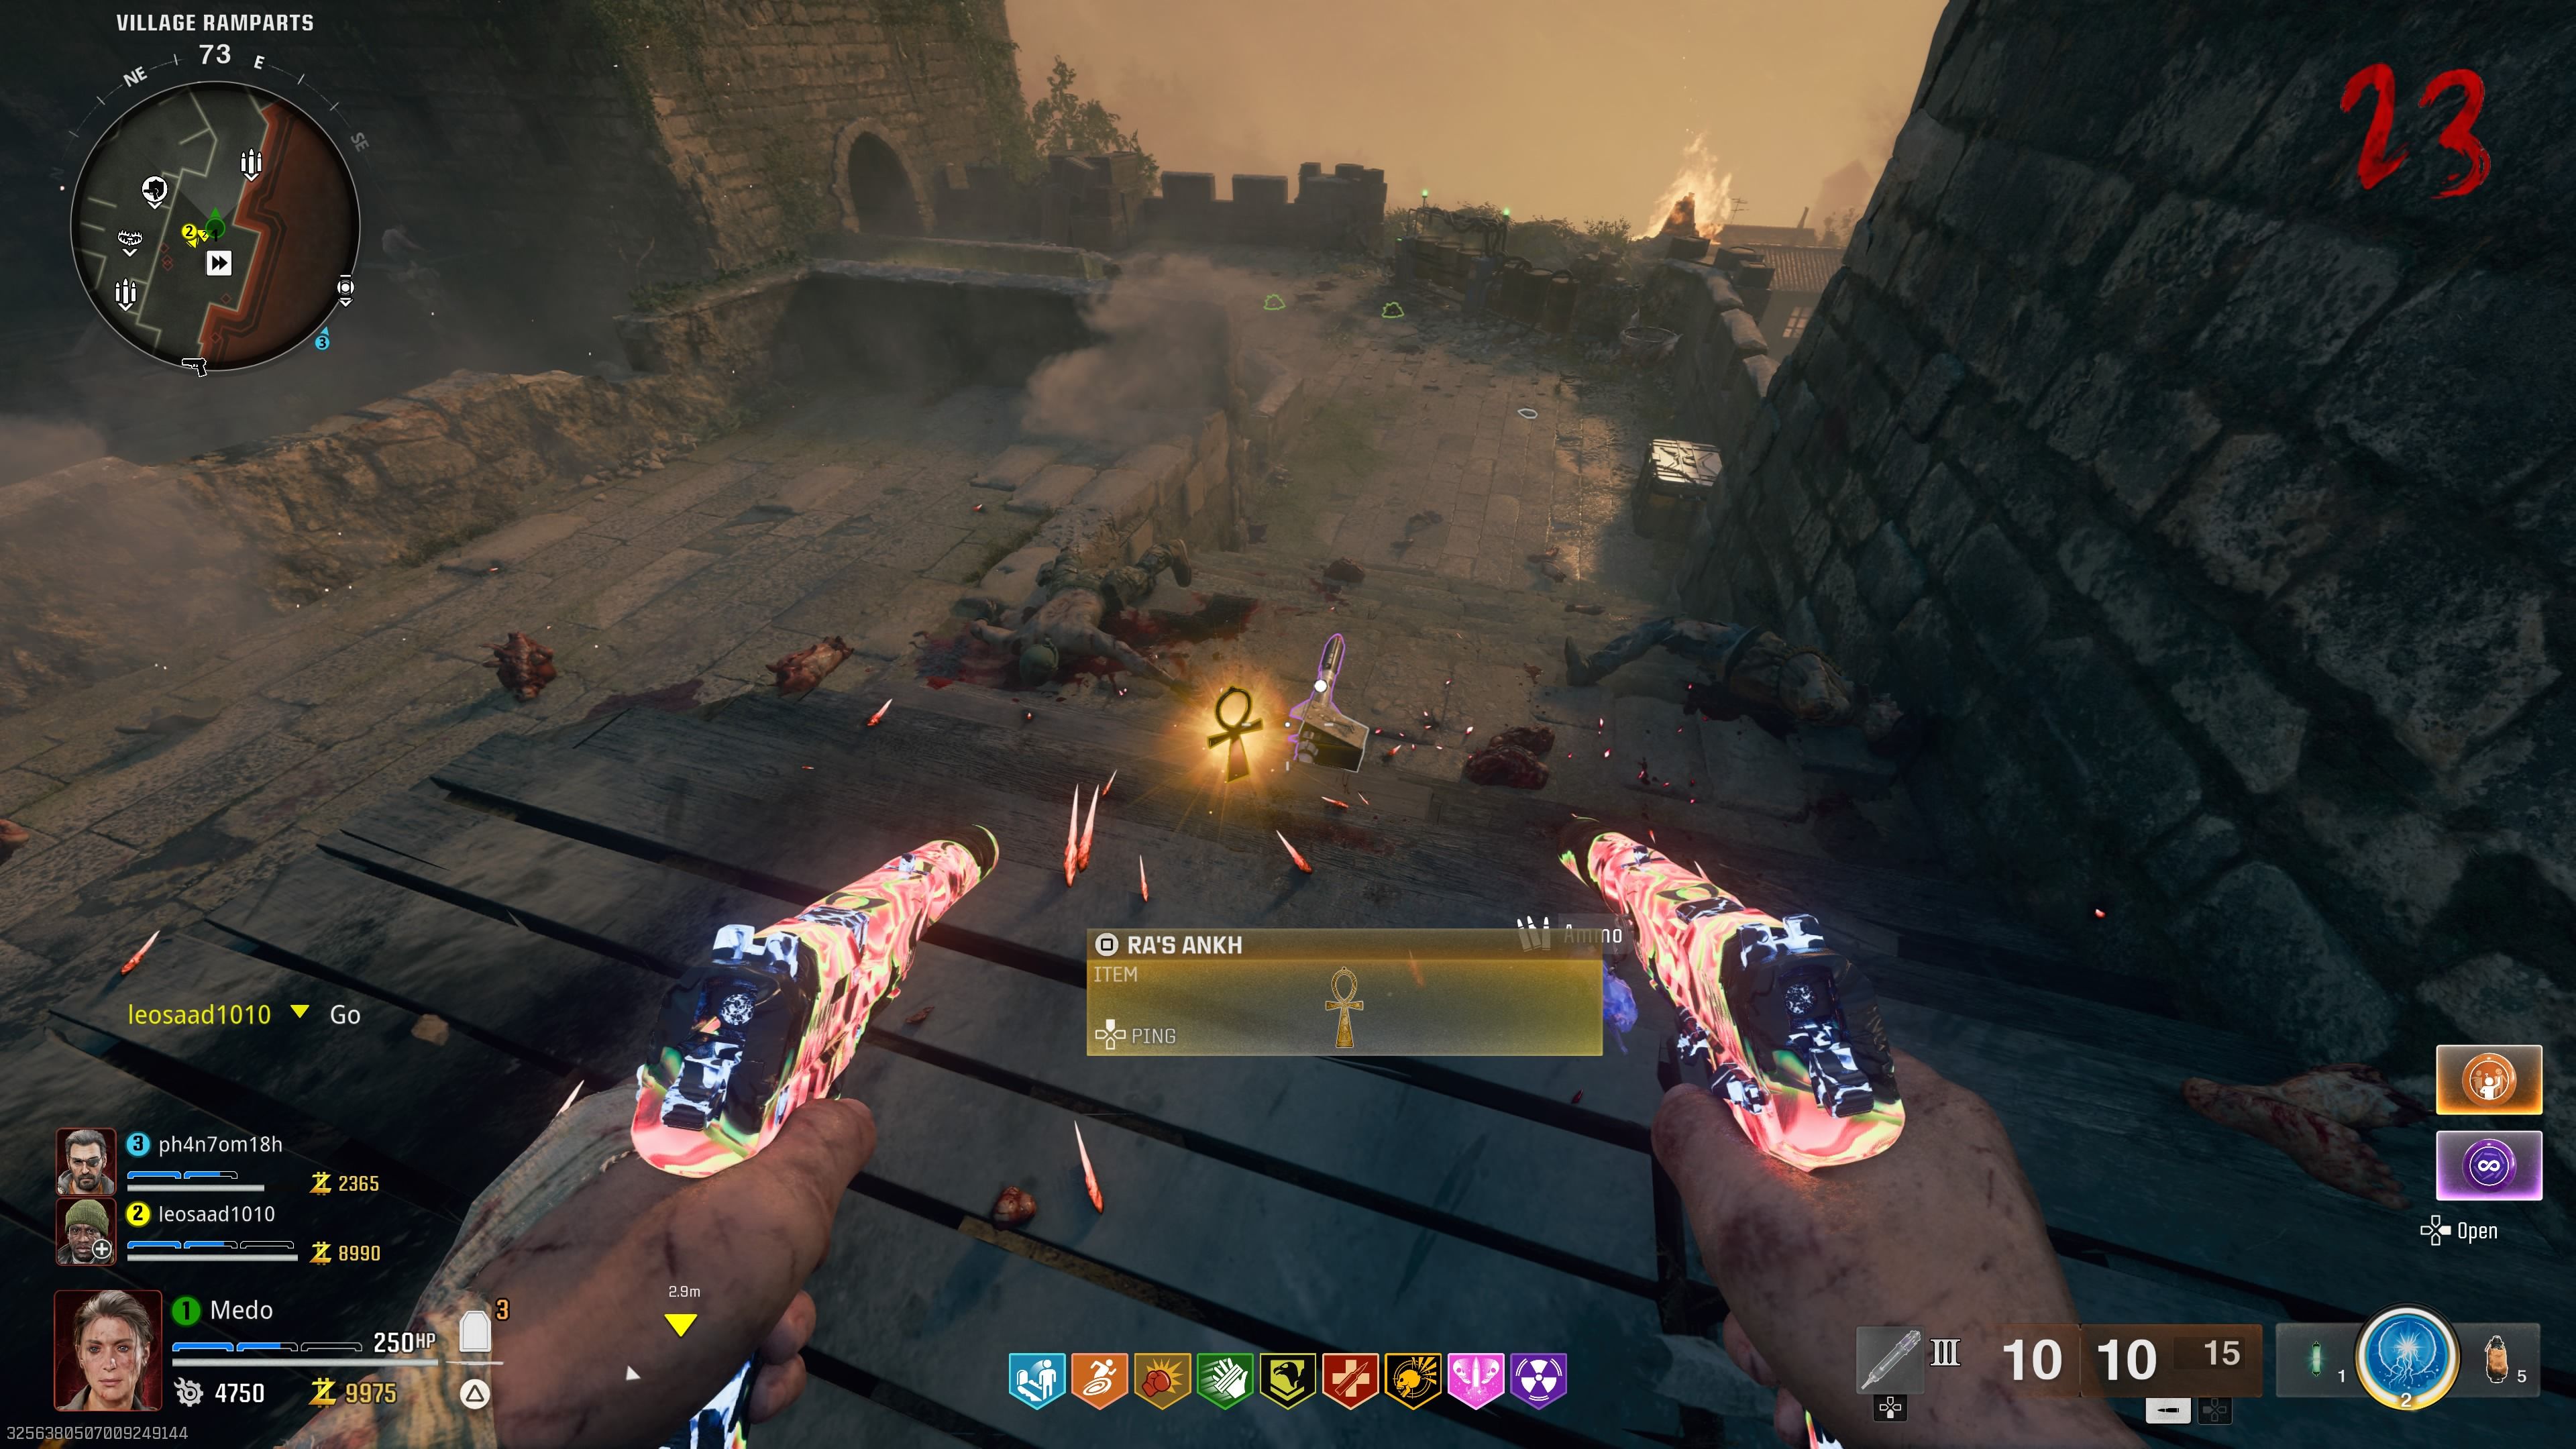
The second ritual item you need is the Ra’s Ankh, which is dropped by an elite zombie that spawns after setting three piles on fire.
In order to ignite the piles, you can either use the special attack of the Fire Sword Caliburn or throw a regular Molotov, both of which will work.
Head to the cannon location, and around this area, you’ll find the three piles:
- The first pile is directly in front of the cannon.
- The second pile is on the rooftop of the Elemental Pop machine.
- The third pile is just to the left of the Acid Trap, toward the Speed Cola machine.
Once all three piles are set on fire, an elite zombie will spawn. Defeat the zombie, and it will drop the second ritual item, Ra’s Ankh.
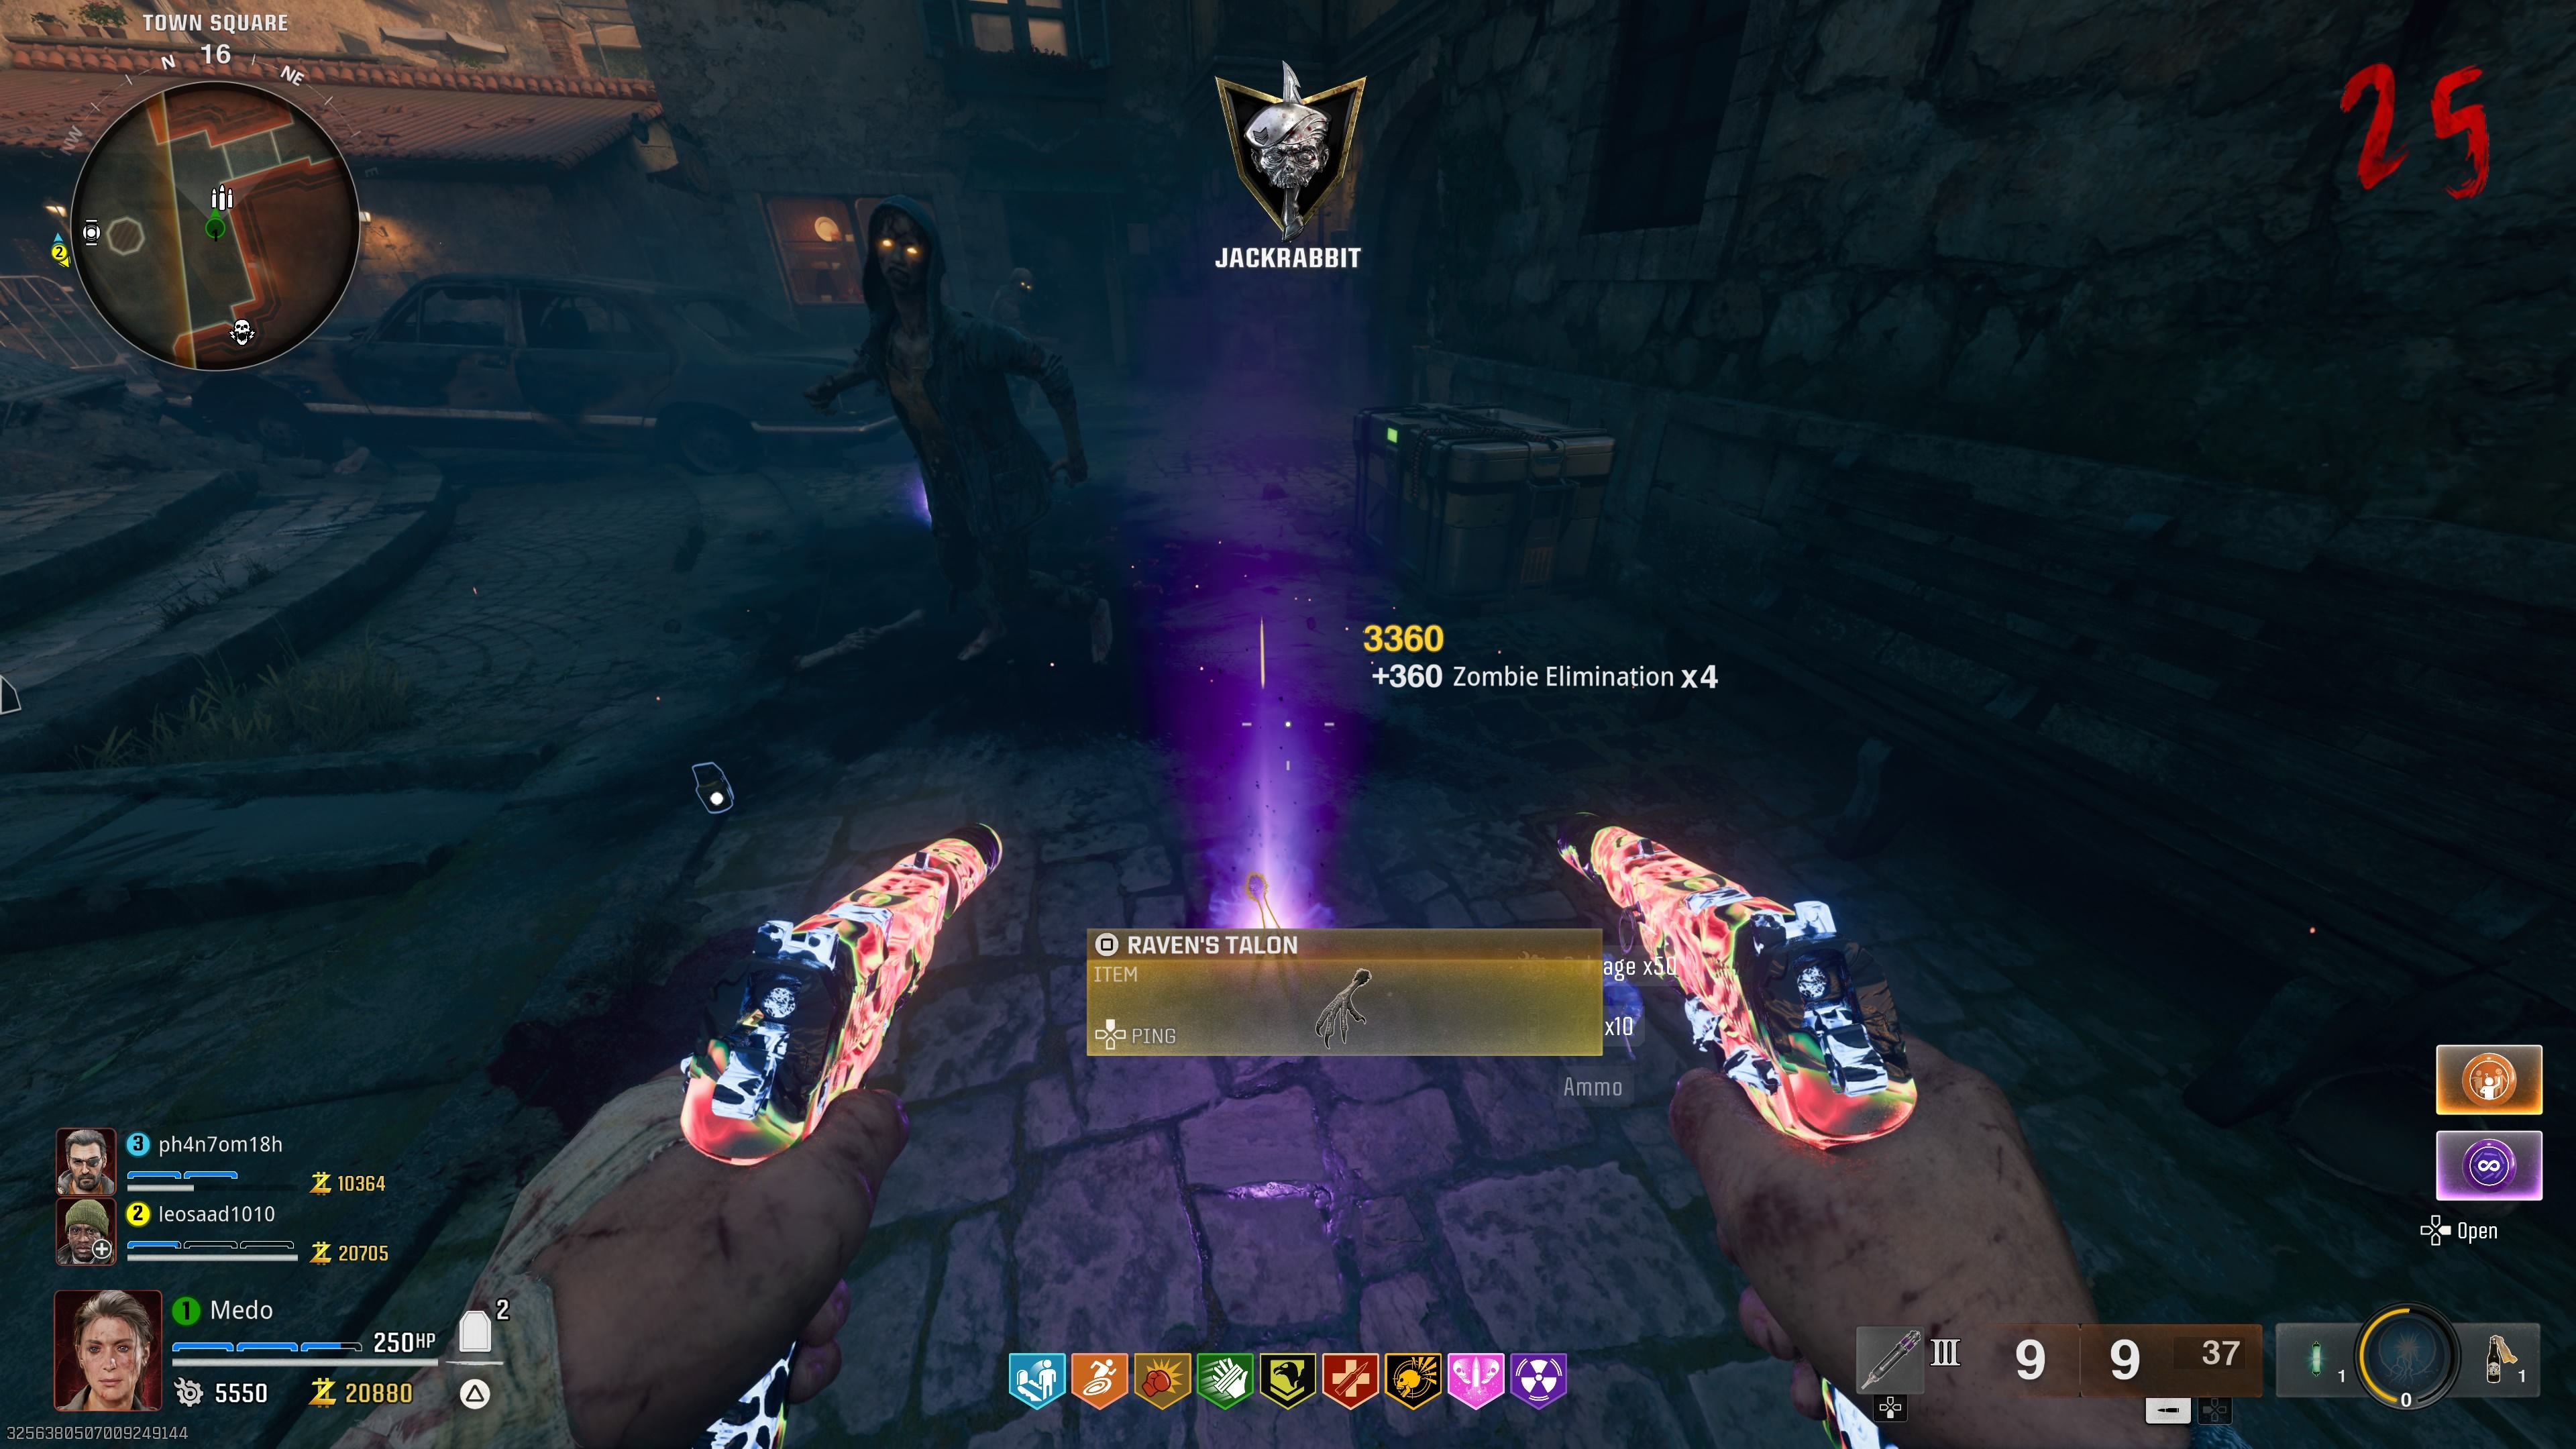
How To Get Raven’s Talon
In order to obtain the Raven’s Talon, head to the room where the Pack-a-Punch machine is located and use the shortcut leading back to the spawn area, known as the Cave Slide. This will cost you 500 Essence.
While sliding, you can control your character. Keep an eye out for a raven sitting on the right side as you near the end of the slide.
If you miss it, don’t worry – you can go back and try again.
Alternatively, you can try throwing an explosive from outside into the slide, hoping it will reach the raven.
Once you successfully shoot the raven and exit the slide, you’ll see it fly away. Quickly take aim and shoot it down.
After shooting it, the raven will drop the Raven’s Talon.
The raven will circle the map, and you’ll hear its distinct noise if you missed it, so keep your eyes on the sky.
How To Get Paladin’s Brooch
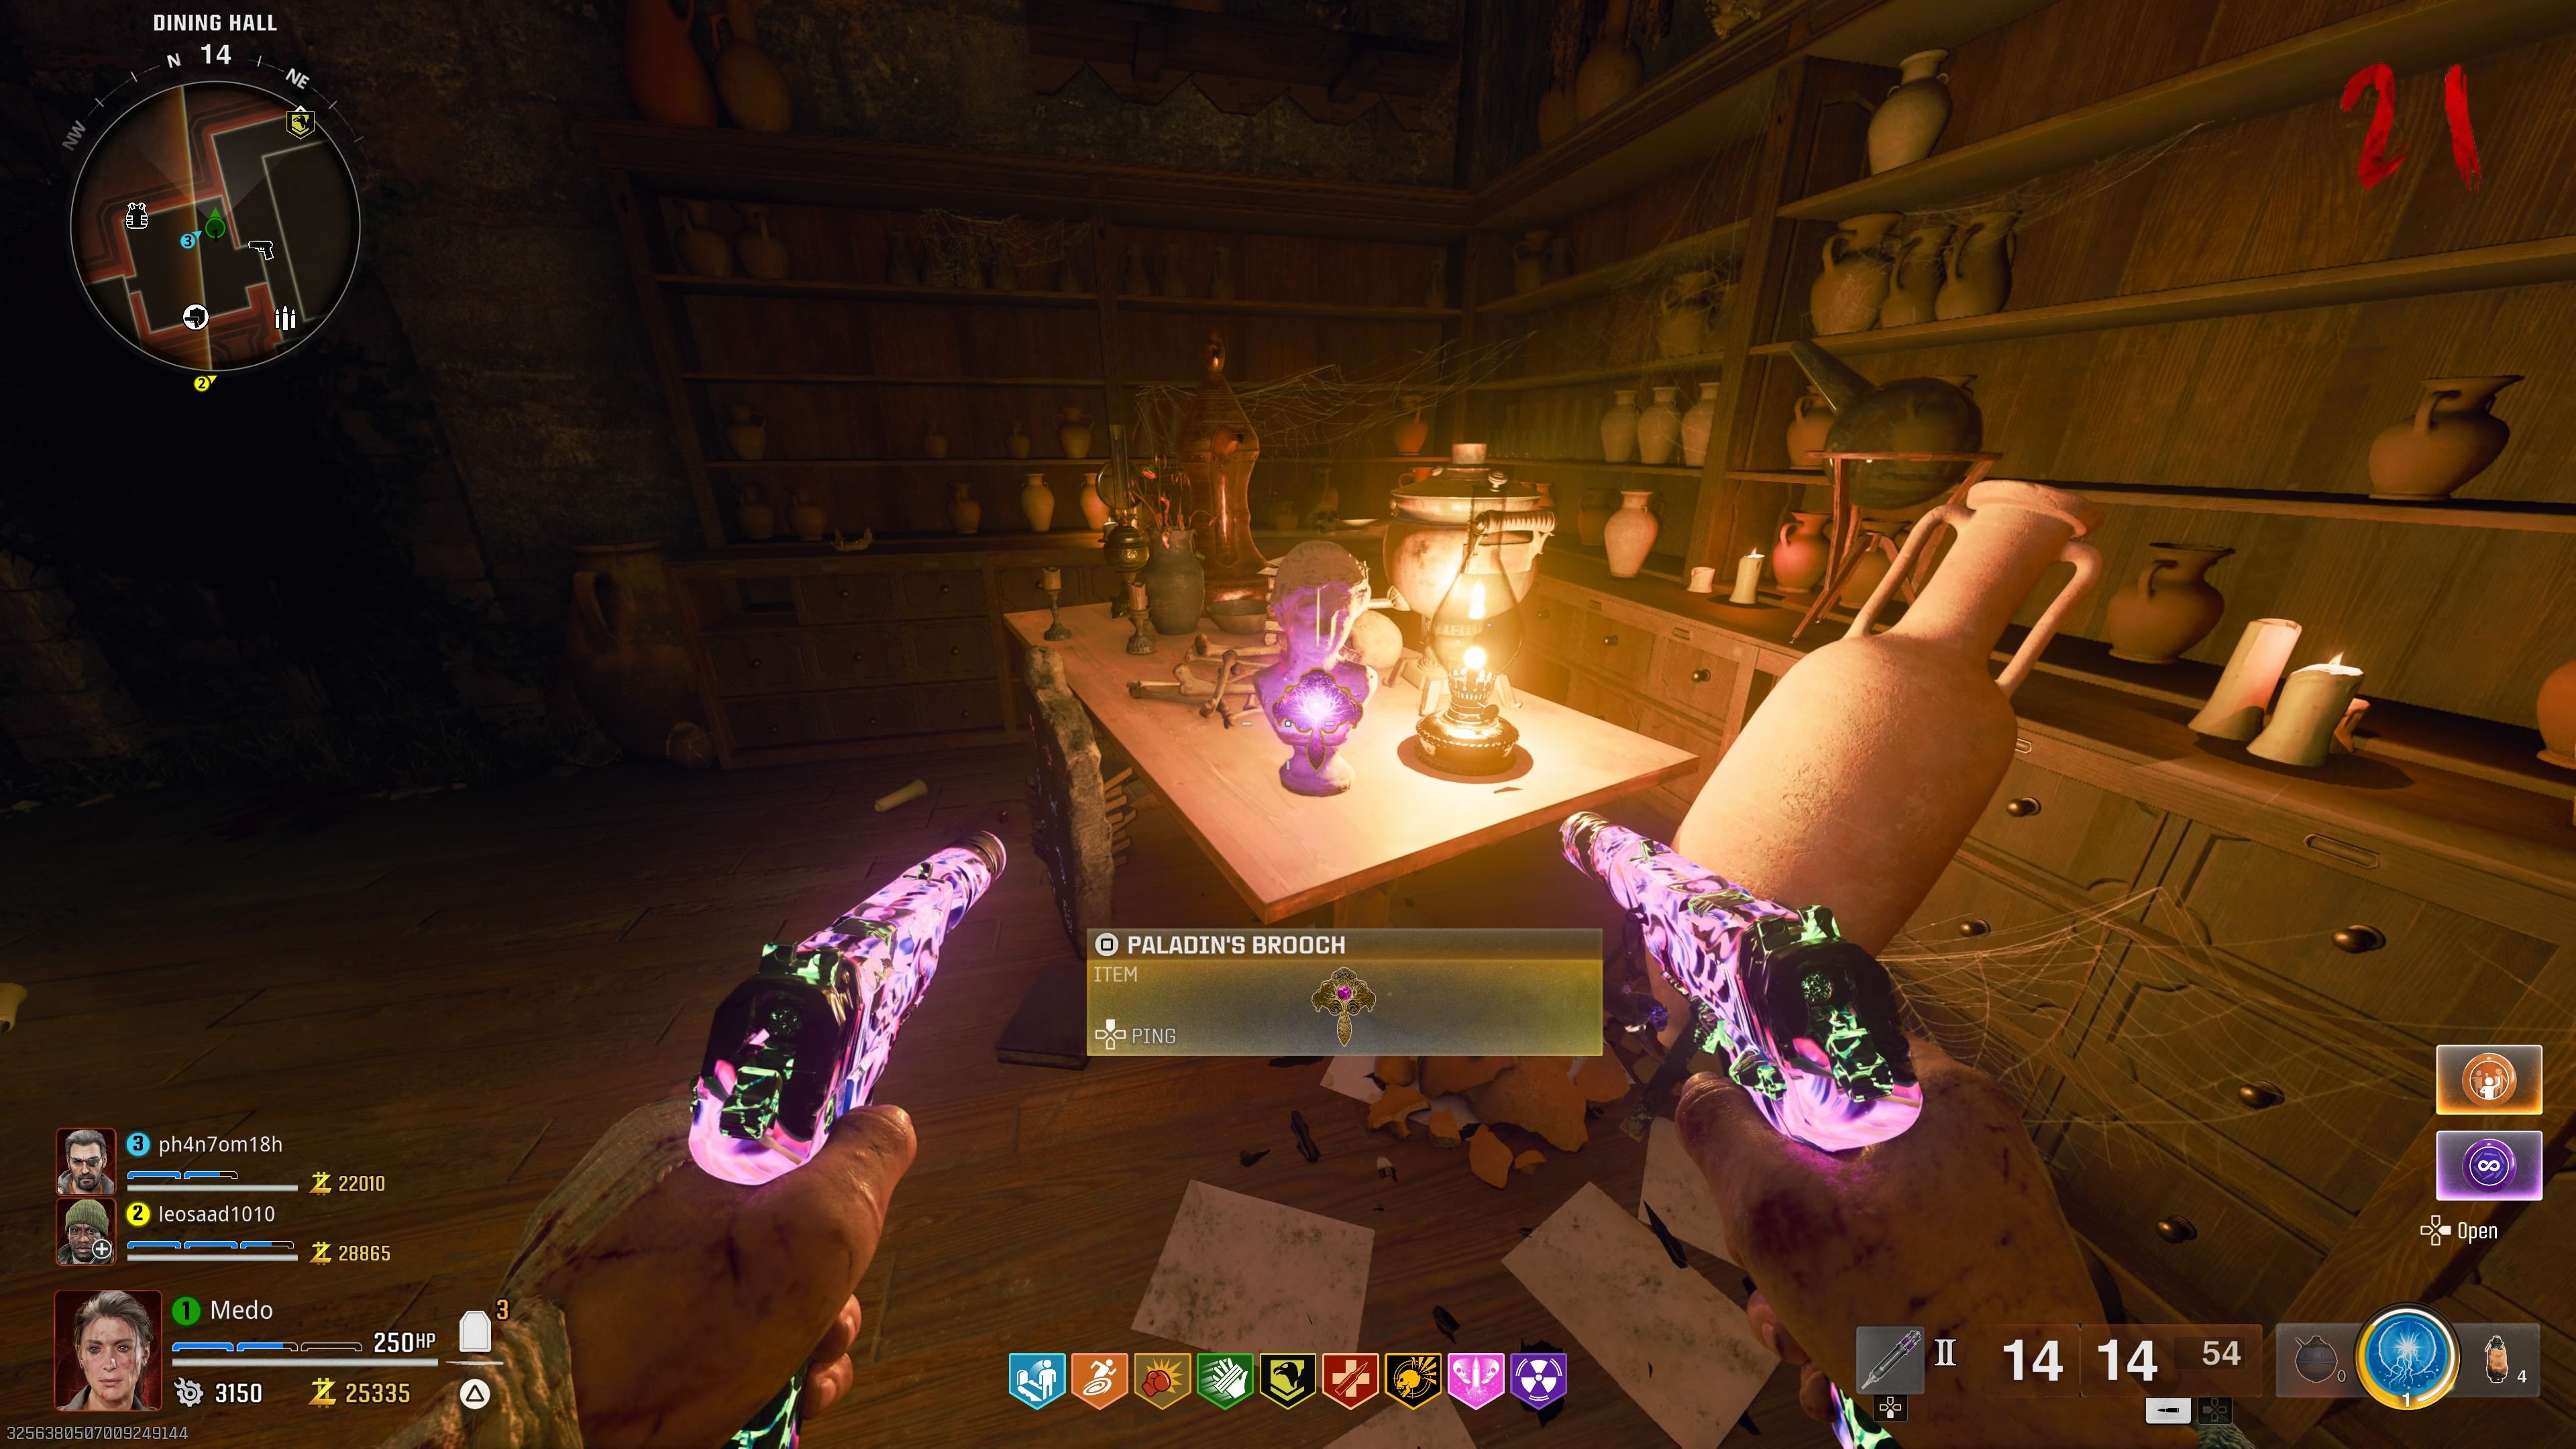
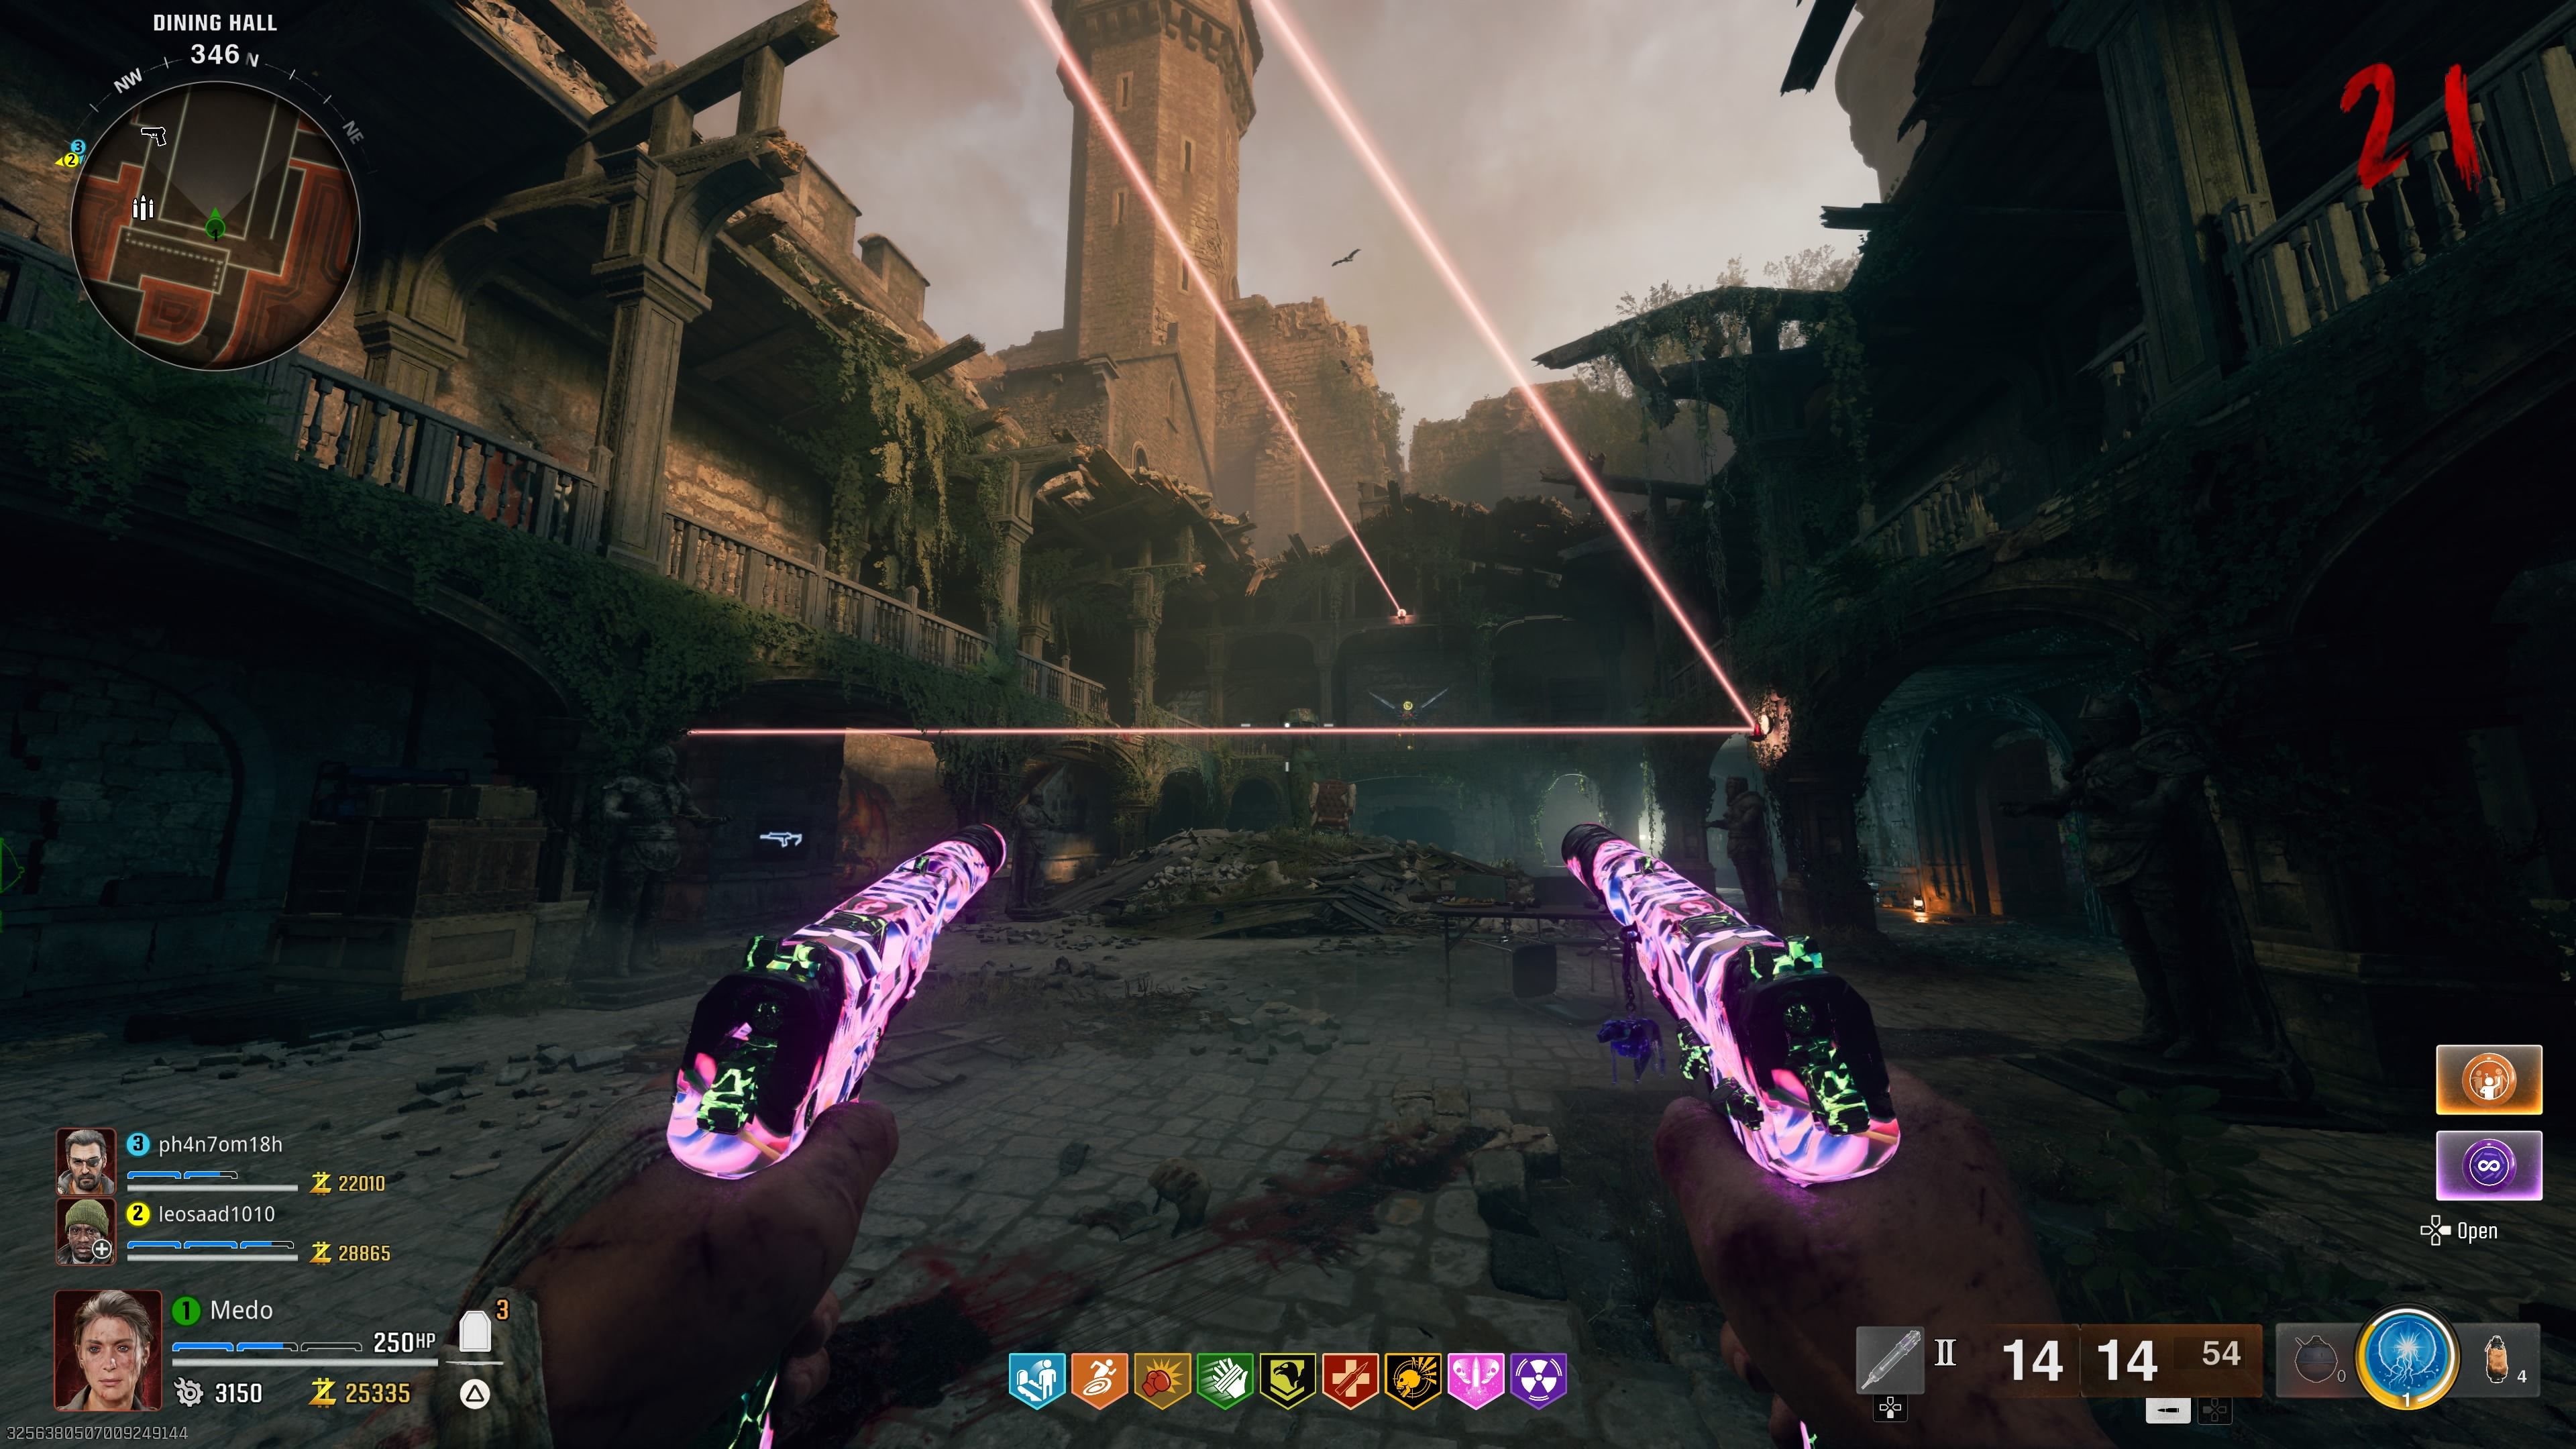
The final ritual item is called the Paladin’s Brooch, and it can be obtained by completing the light puzzle in the Throne Room, where the knight statues are located.
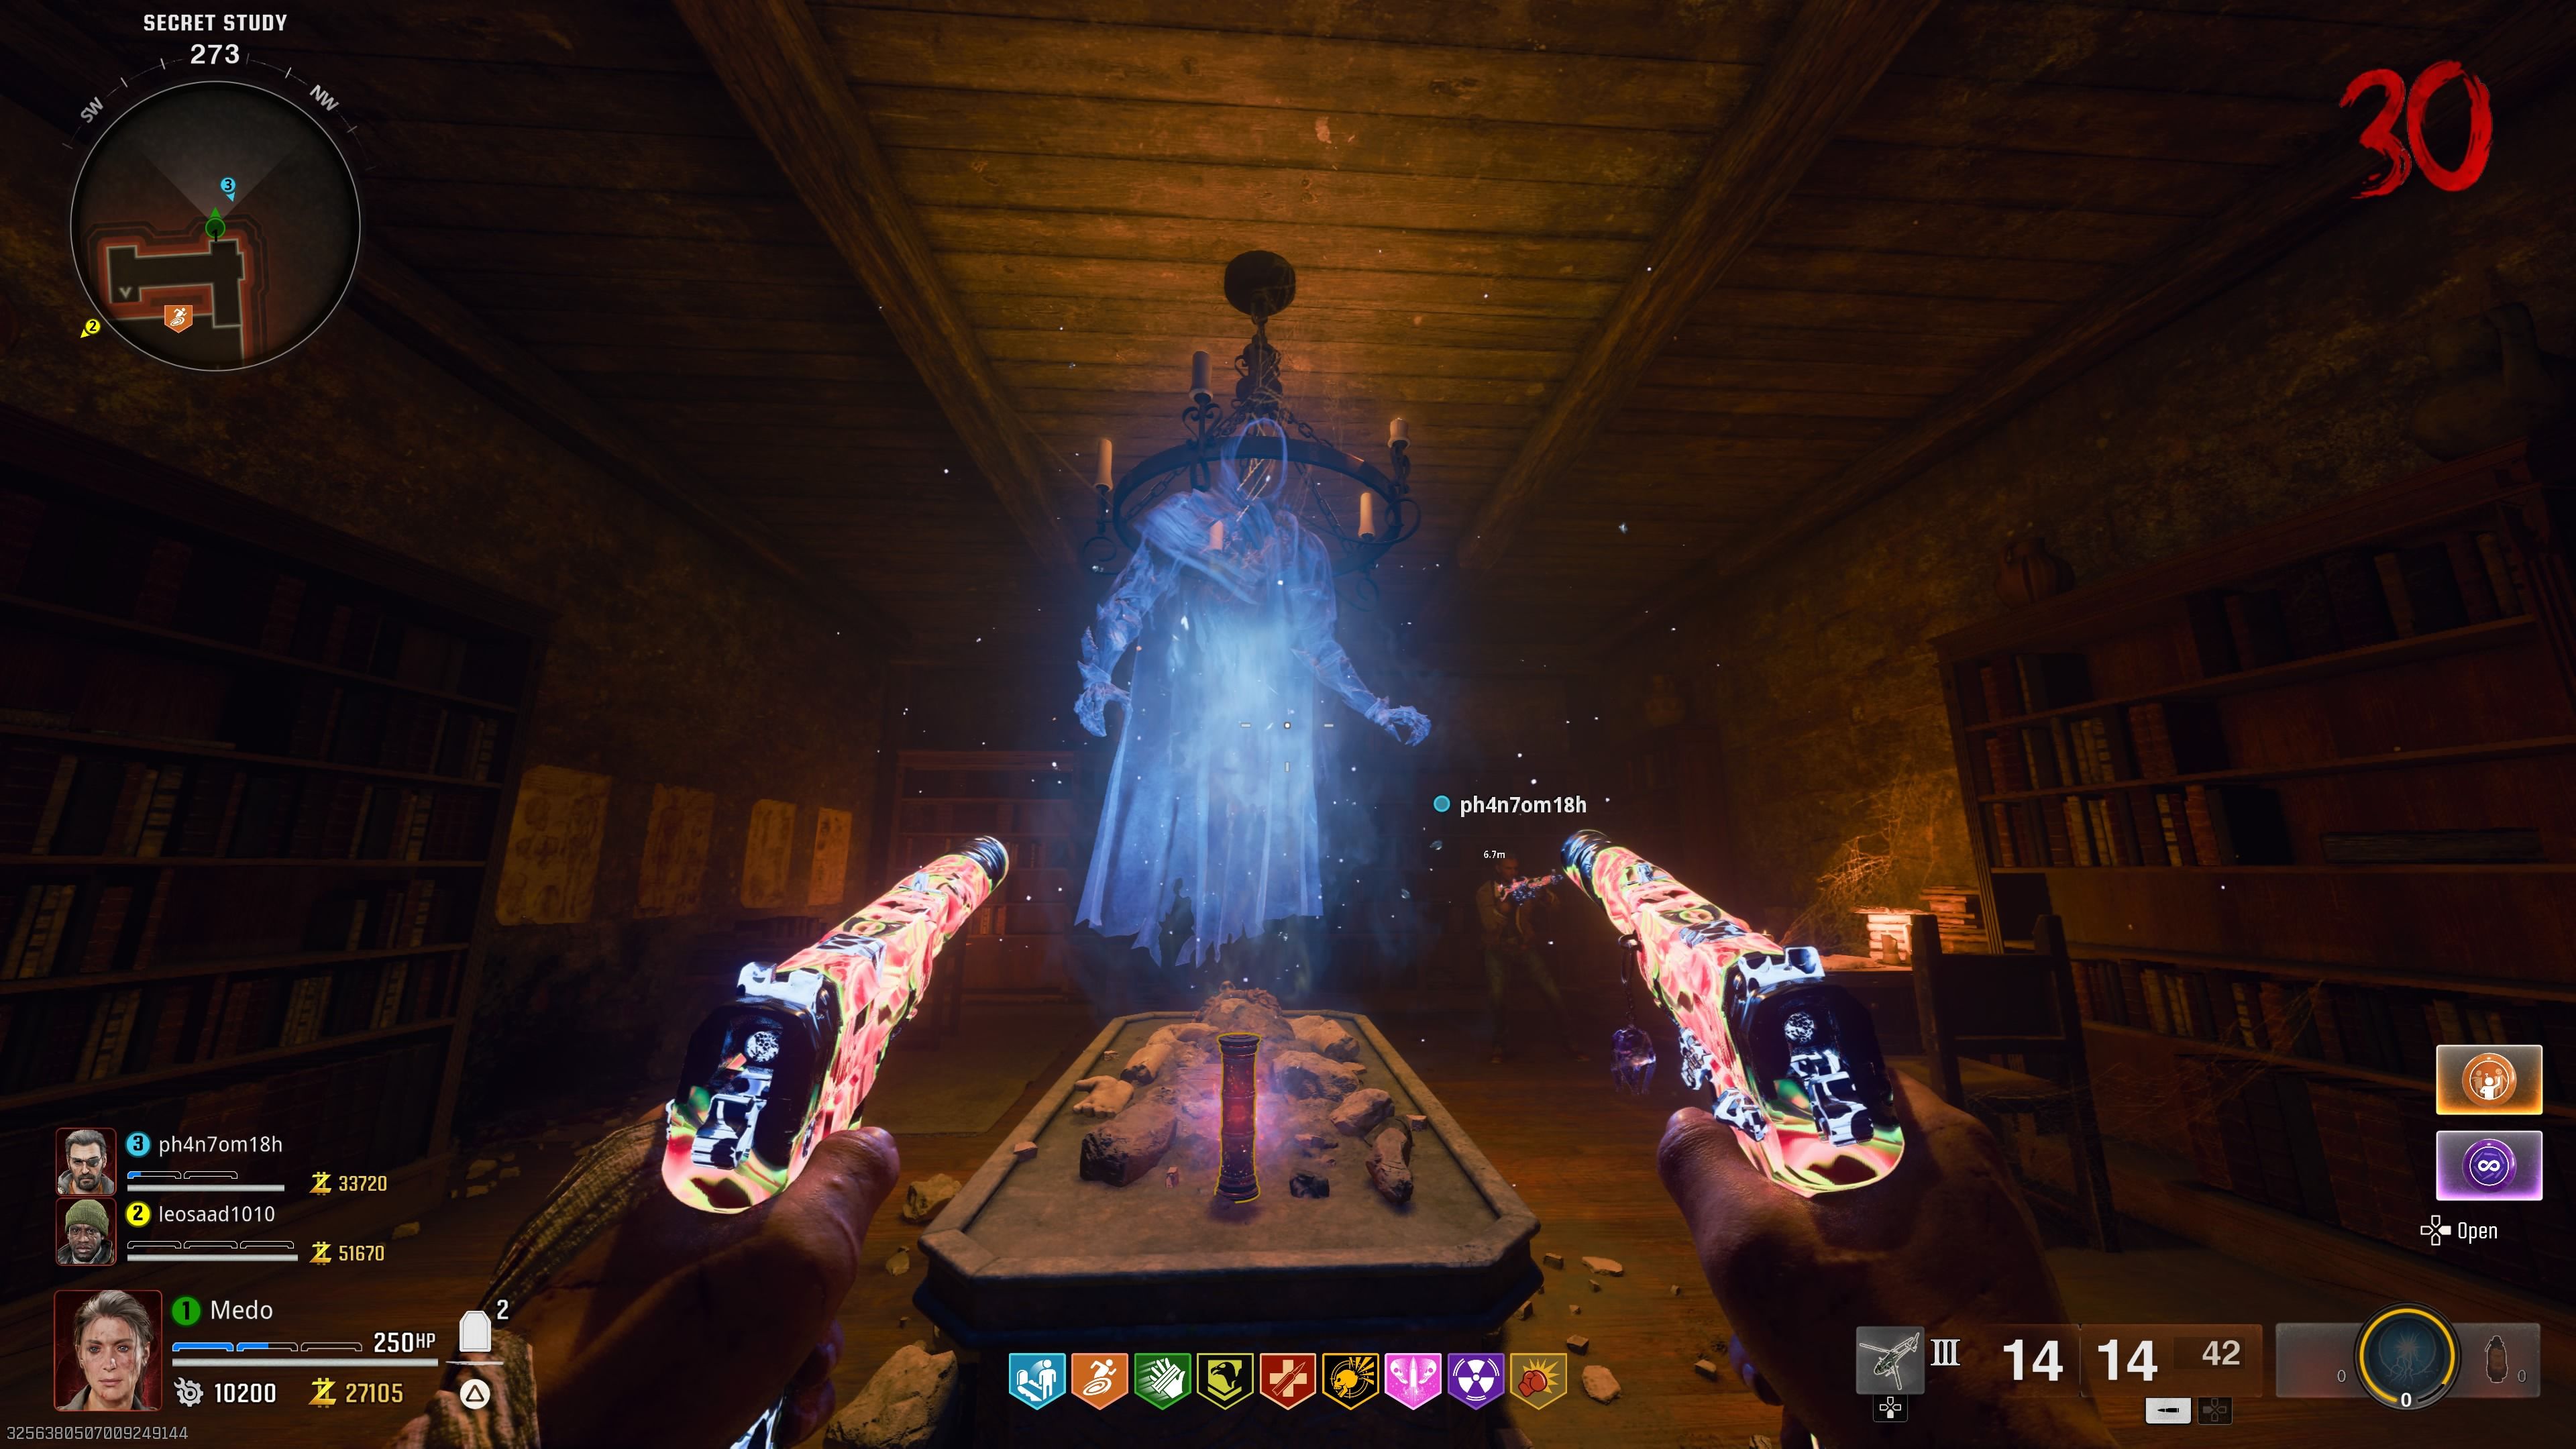
To start the puzzle, look above the Vulture Aid machine, and you’ll spot a red crystal. Shoot it, and it will emit a beam of light.
Next, align the light to the next red crystals nearby until it reaches the Alchemical Lab room, specifically the face statue on the table in the corner.
You can adjust the light’s direction by shooting the red crystal to the right or left.
Once the light reaches the head statue, you’ll be able to pick up the Paladin’s Brooch ritual item.
Now that you have all four ritual items, it’s time to upgrade them and acquire the corresponding incantation for each one.
Each ritual item requires its corresponding sword to open its incantation chest. This can be done in any order.
Get All Four Incantations
How To Get The Light Incantation
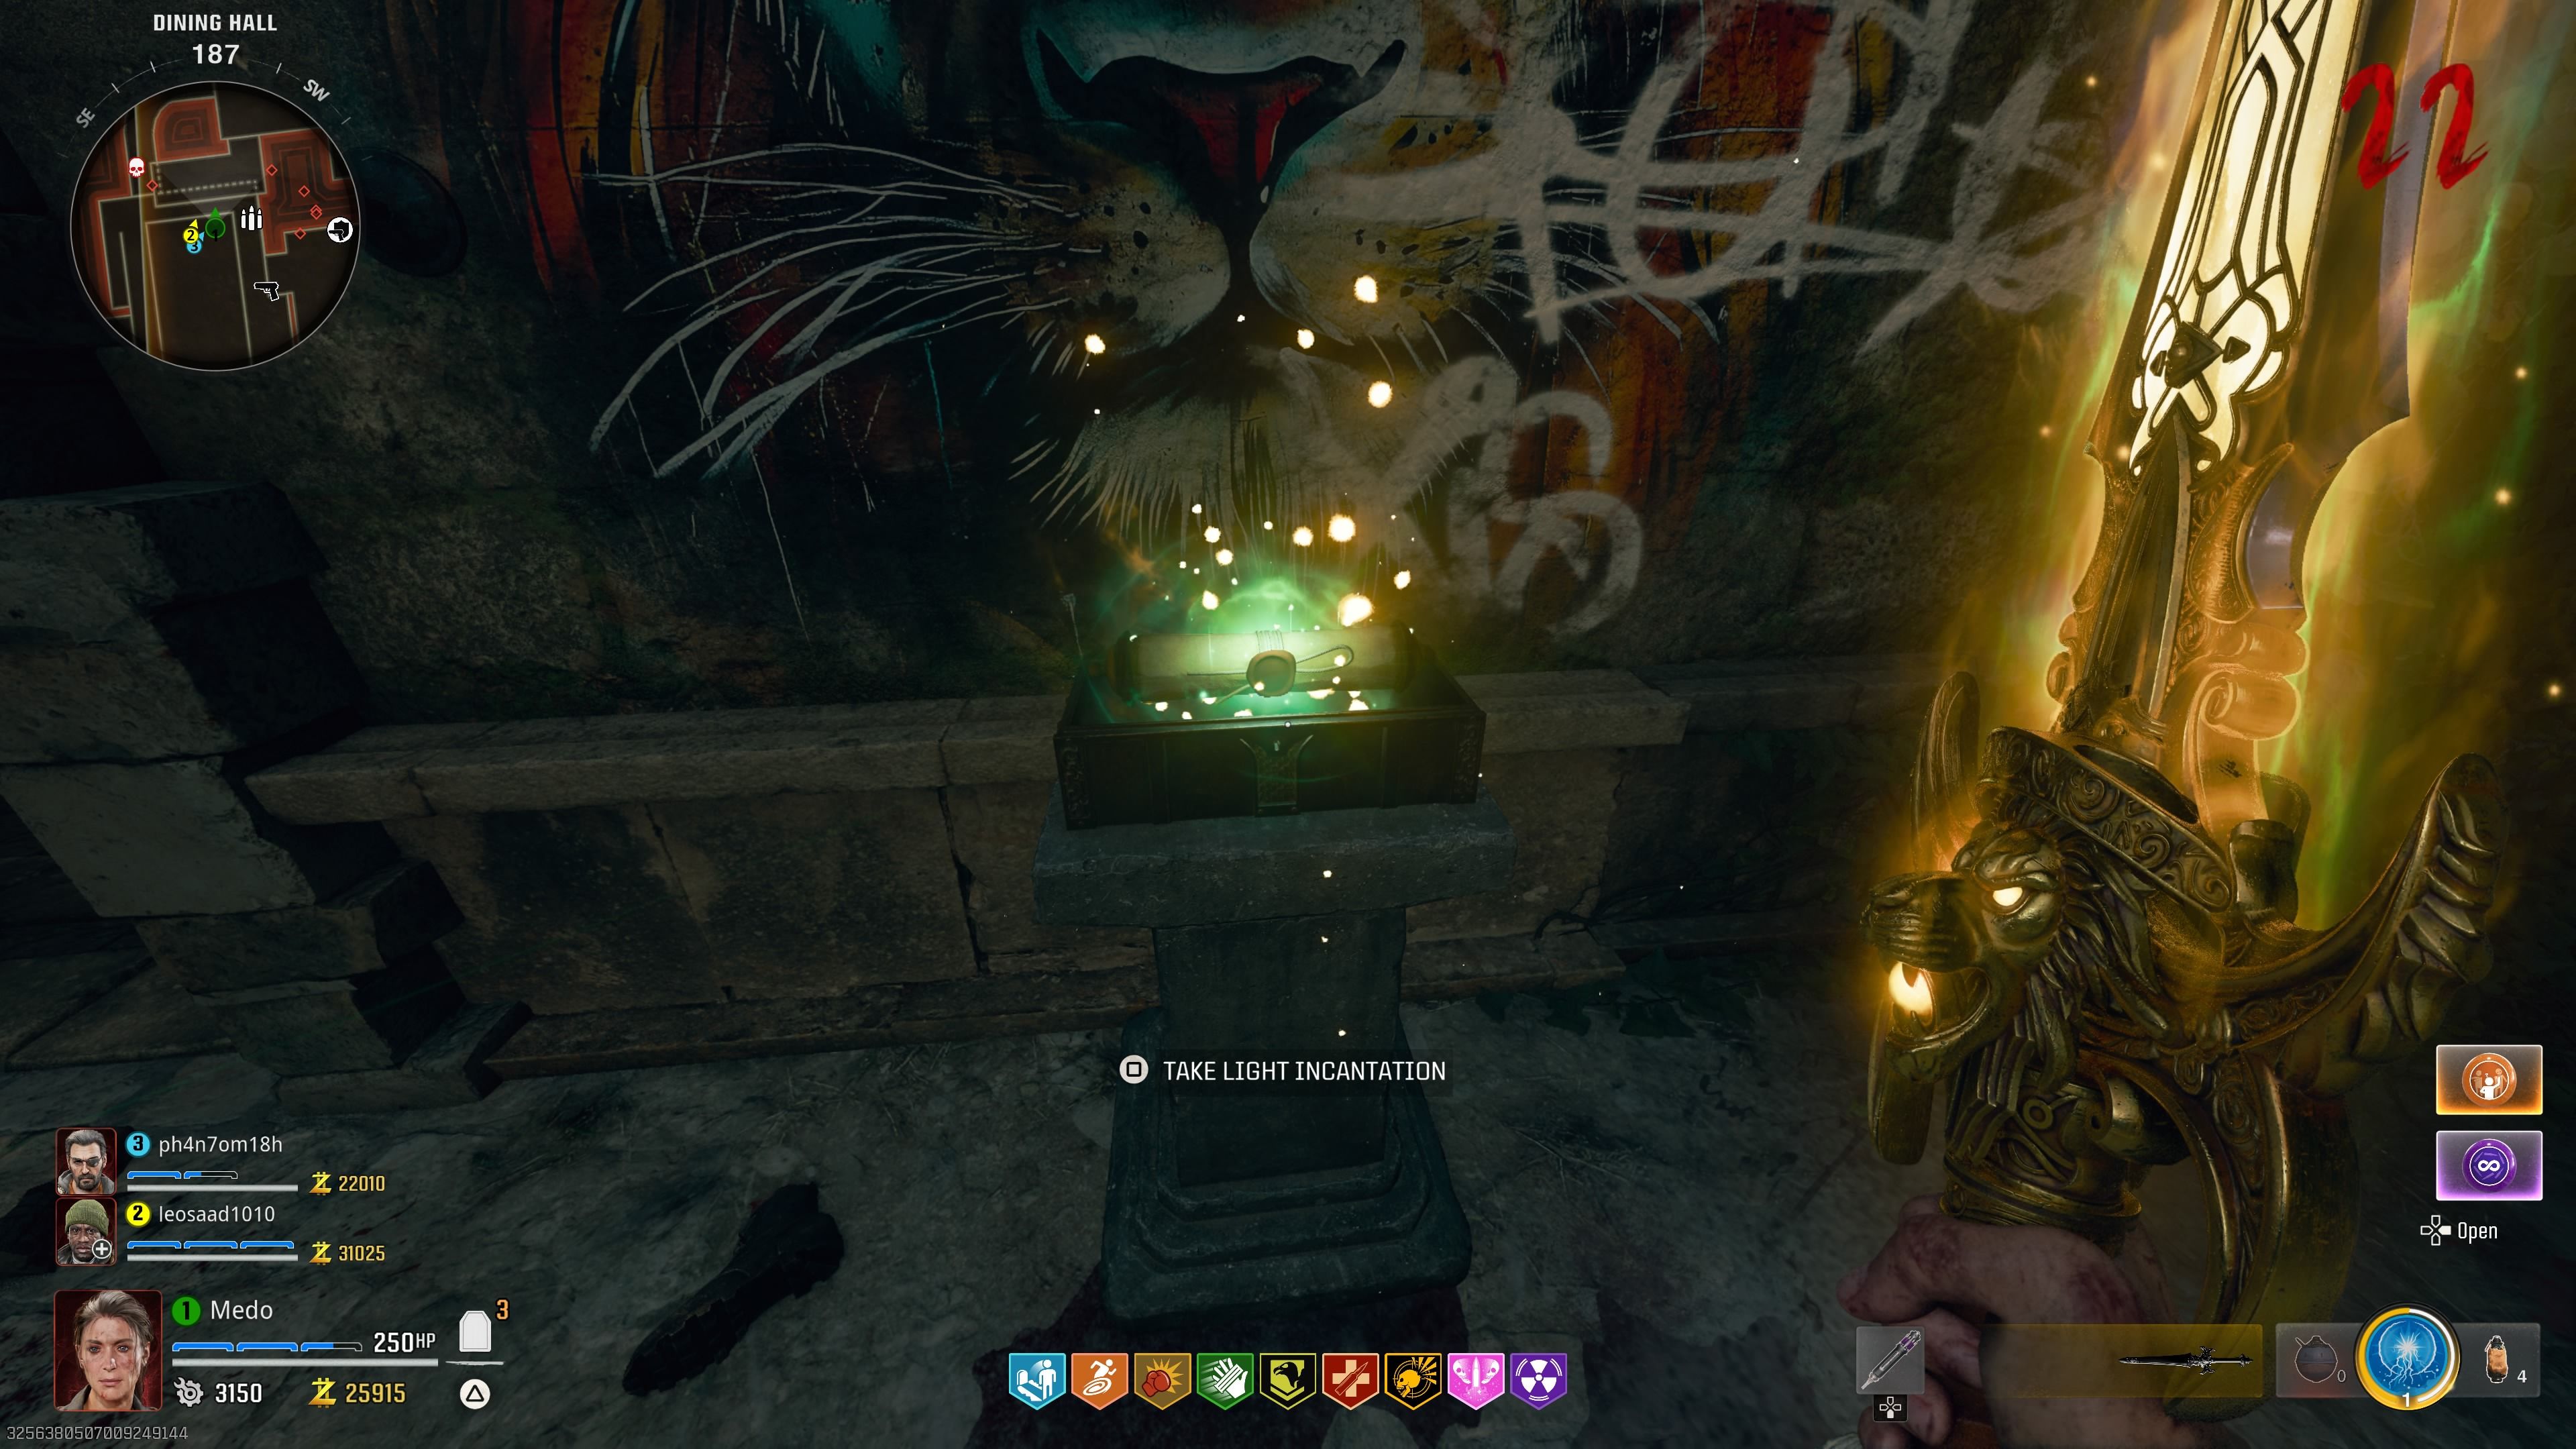
With the Solais sword and the Paladin’s Brooch in hand, head to the Throne Room. On the wall where the lion graffiti is, approach it, and you’ll notice a golden circle.
Interact with it, and the Paladin’s Brooch will be placed. Now, kill zombies to collect souls, which will fill up the circle.
Once you’ve filled it, a golden chest will spawn, but you won’t be able to open it.
This is because you need to equip the Solais sword and melee the chest. This will unlock it and give you the Light Incantation, ready to be picked up.
How To Get The Fire Incantation
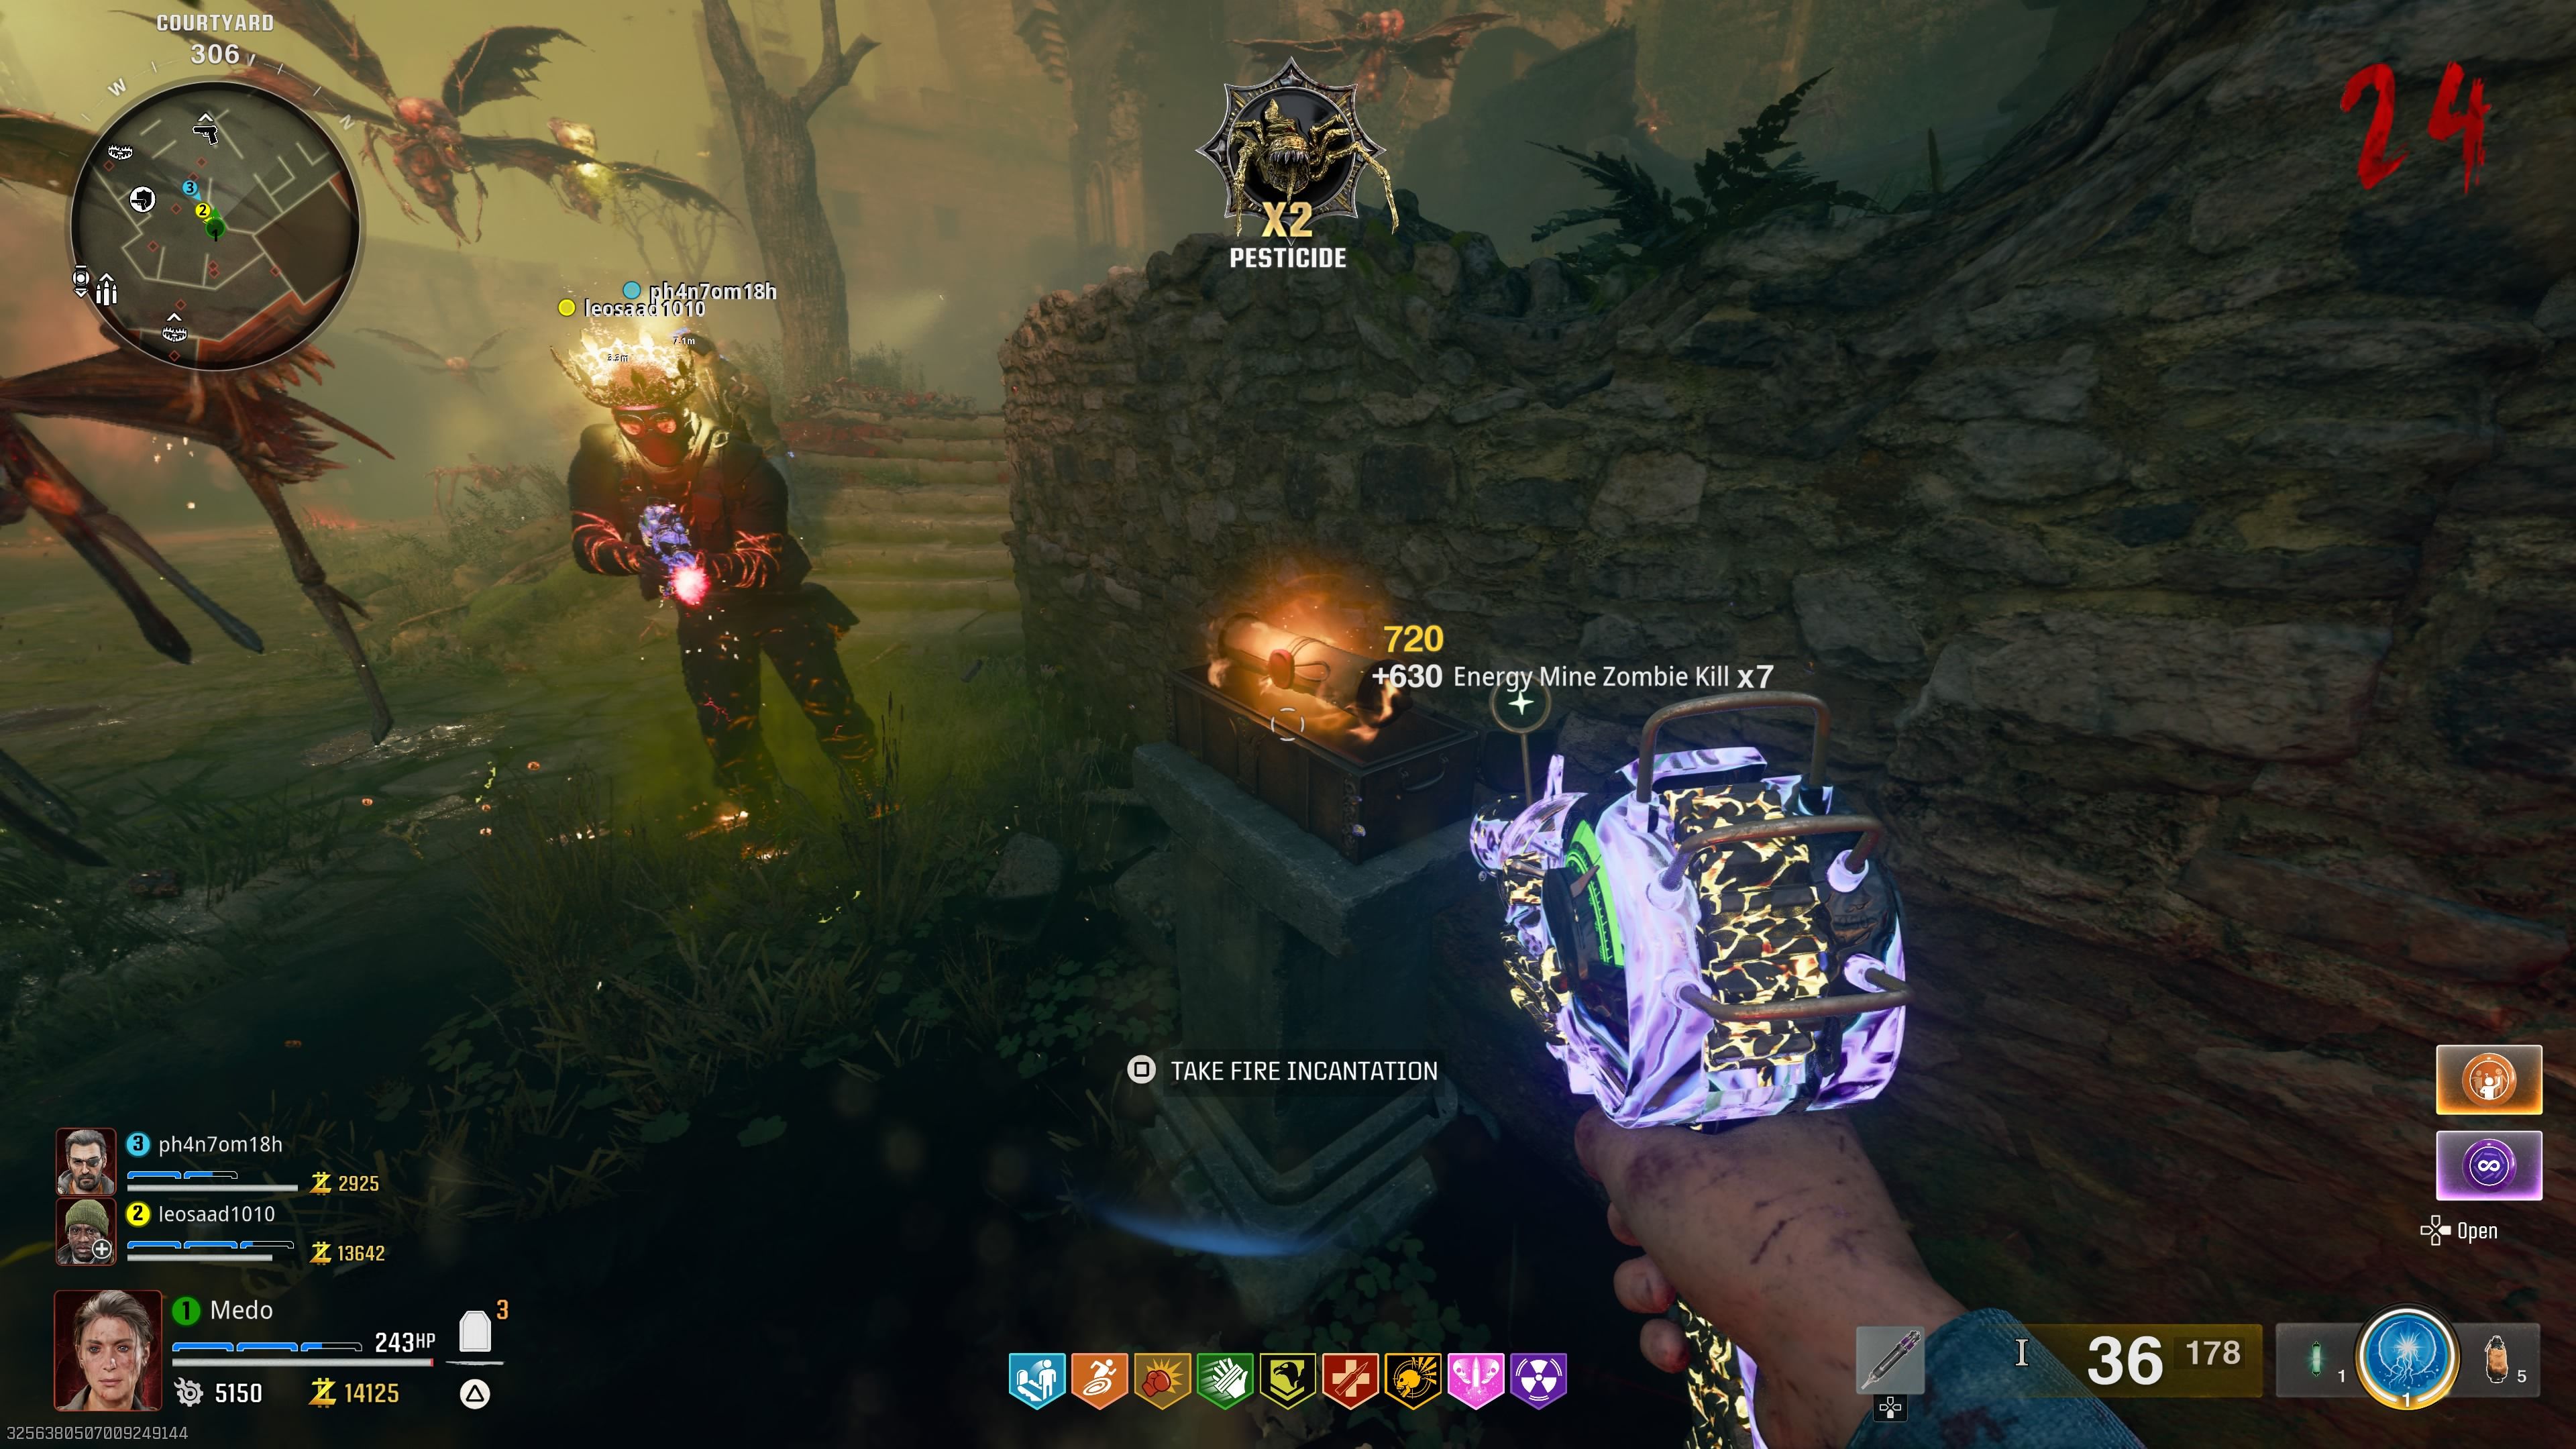
With the Caliburn sword and Ra’s Ankh in hand, head to the entrance of the castle. Just to the east, you’ll find a golden circle similar to the one you’ve encountered before.
Interact with it to place the Ra’s Ankh. The process is the same: defeat zombies to collect souls and fill up the item. Once it’s complete, the chest will appear.
This time, use the Caliburn sword to melee the chest, unlocking the Fire Incantation.
How To Get The Lightning Incantation
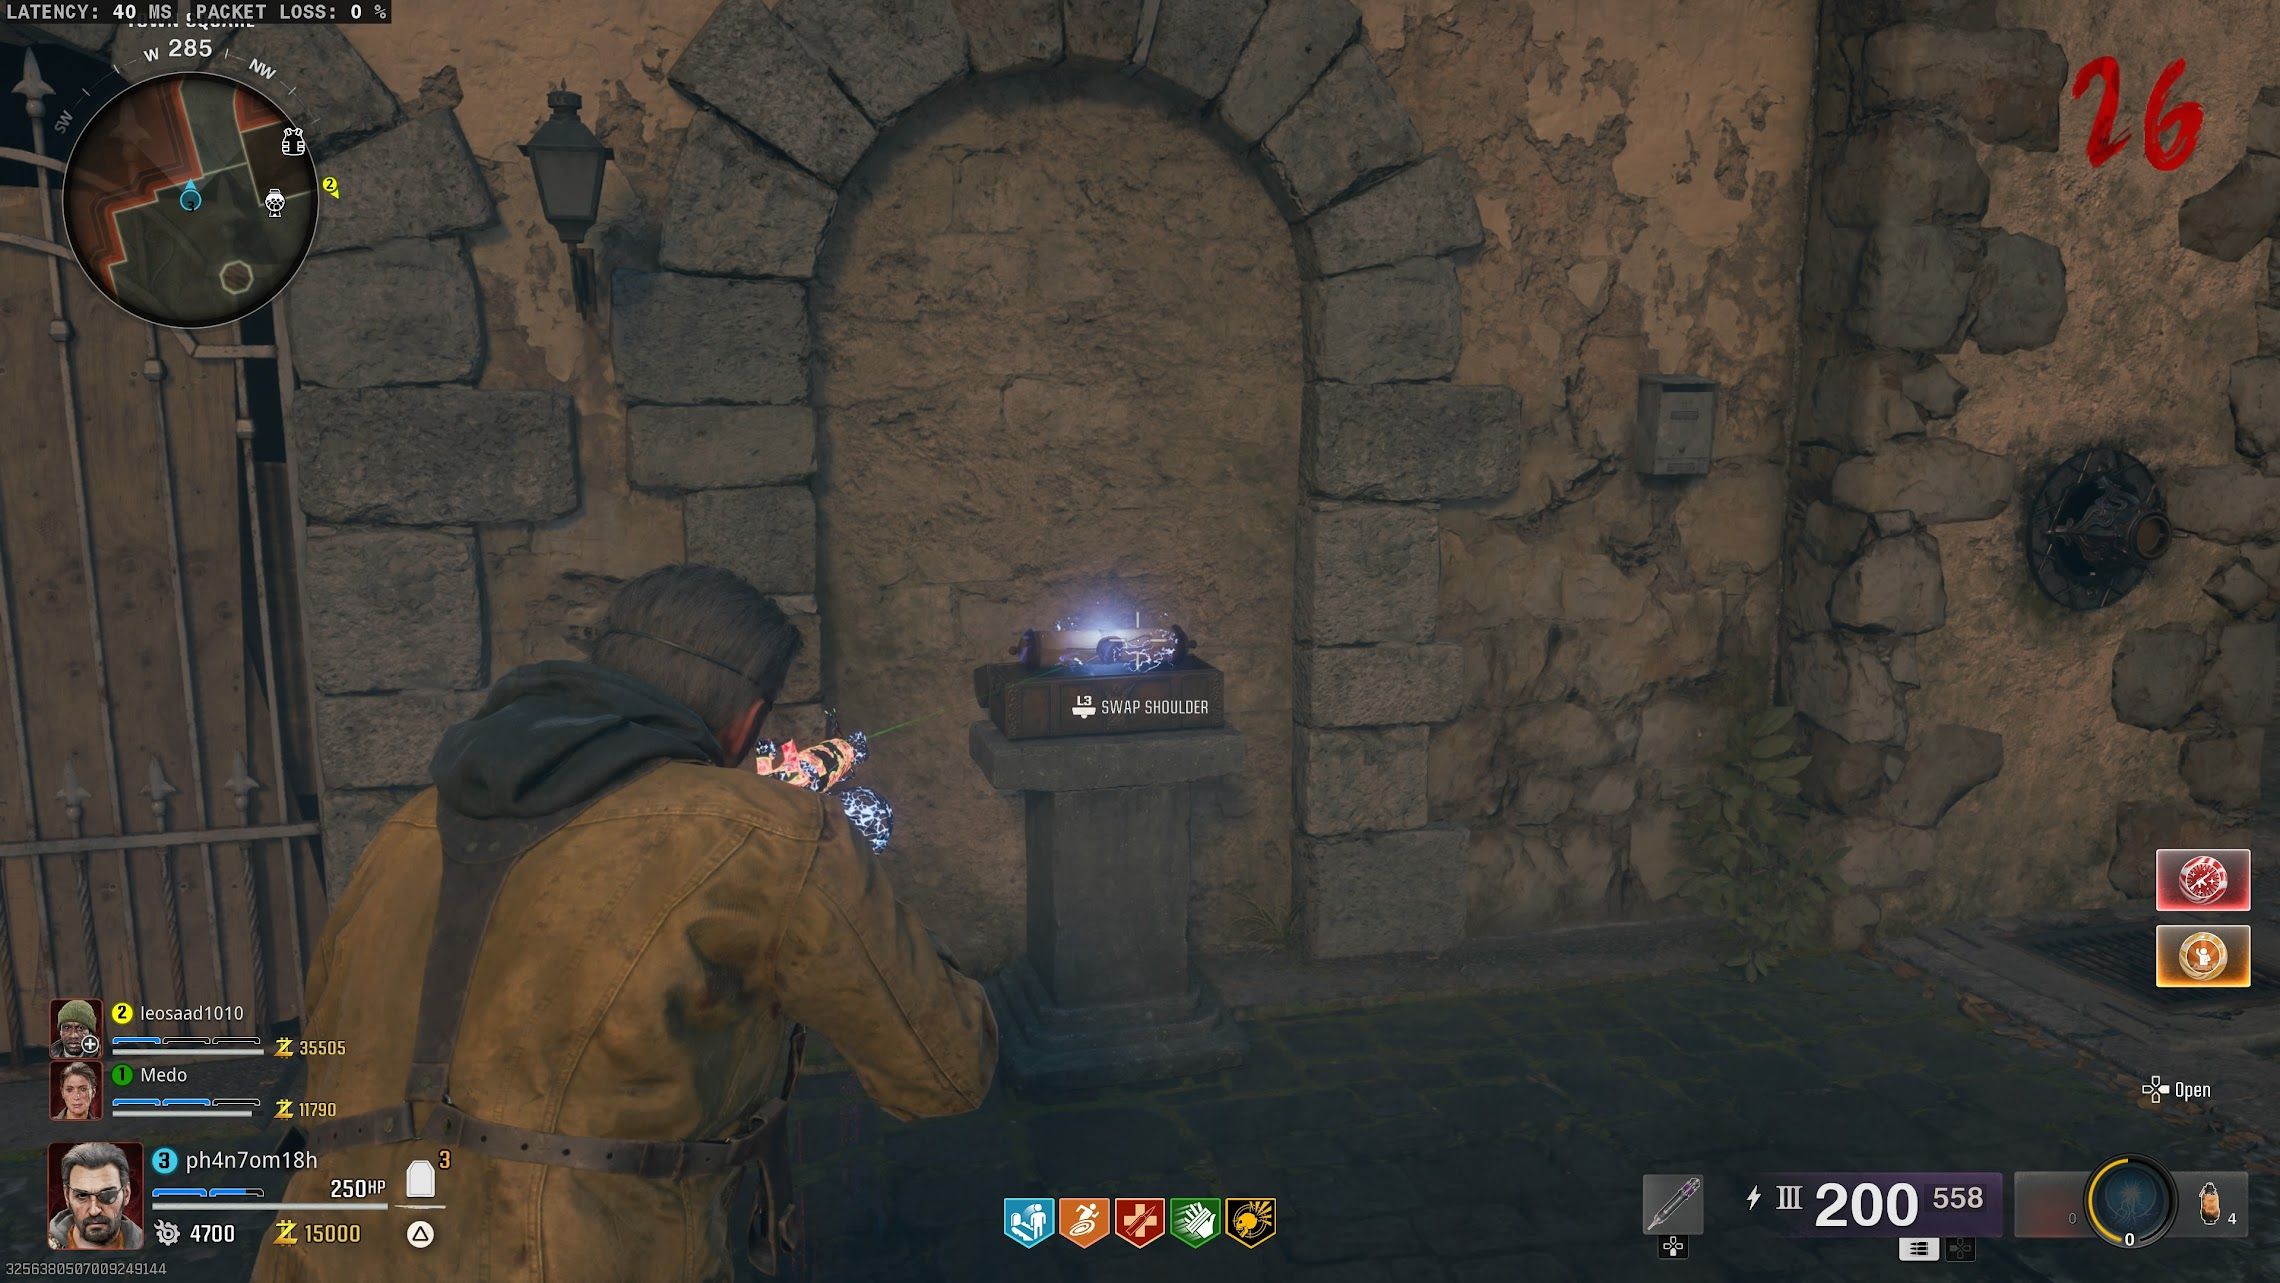
With the Durendal sword and Pegasus’ Horseshoe in hand, make your way back to the spawn.
To the left side, you’ll find a golden circle.
Just like before, insert the item, kill zombies to collect souls, and fill it up.
Once the chest appears, use the Durendal sword to melee it and unlock the Lightning Incantation.
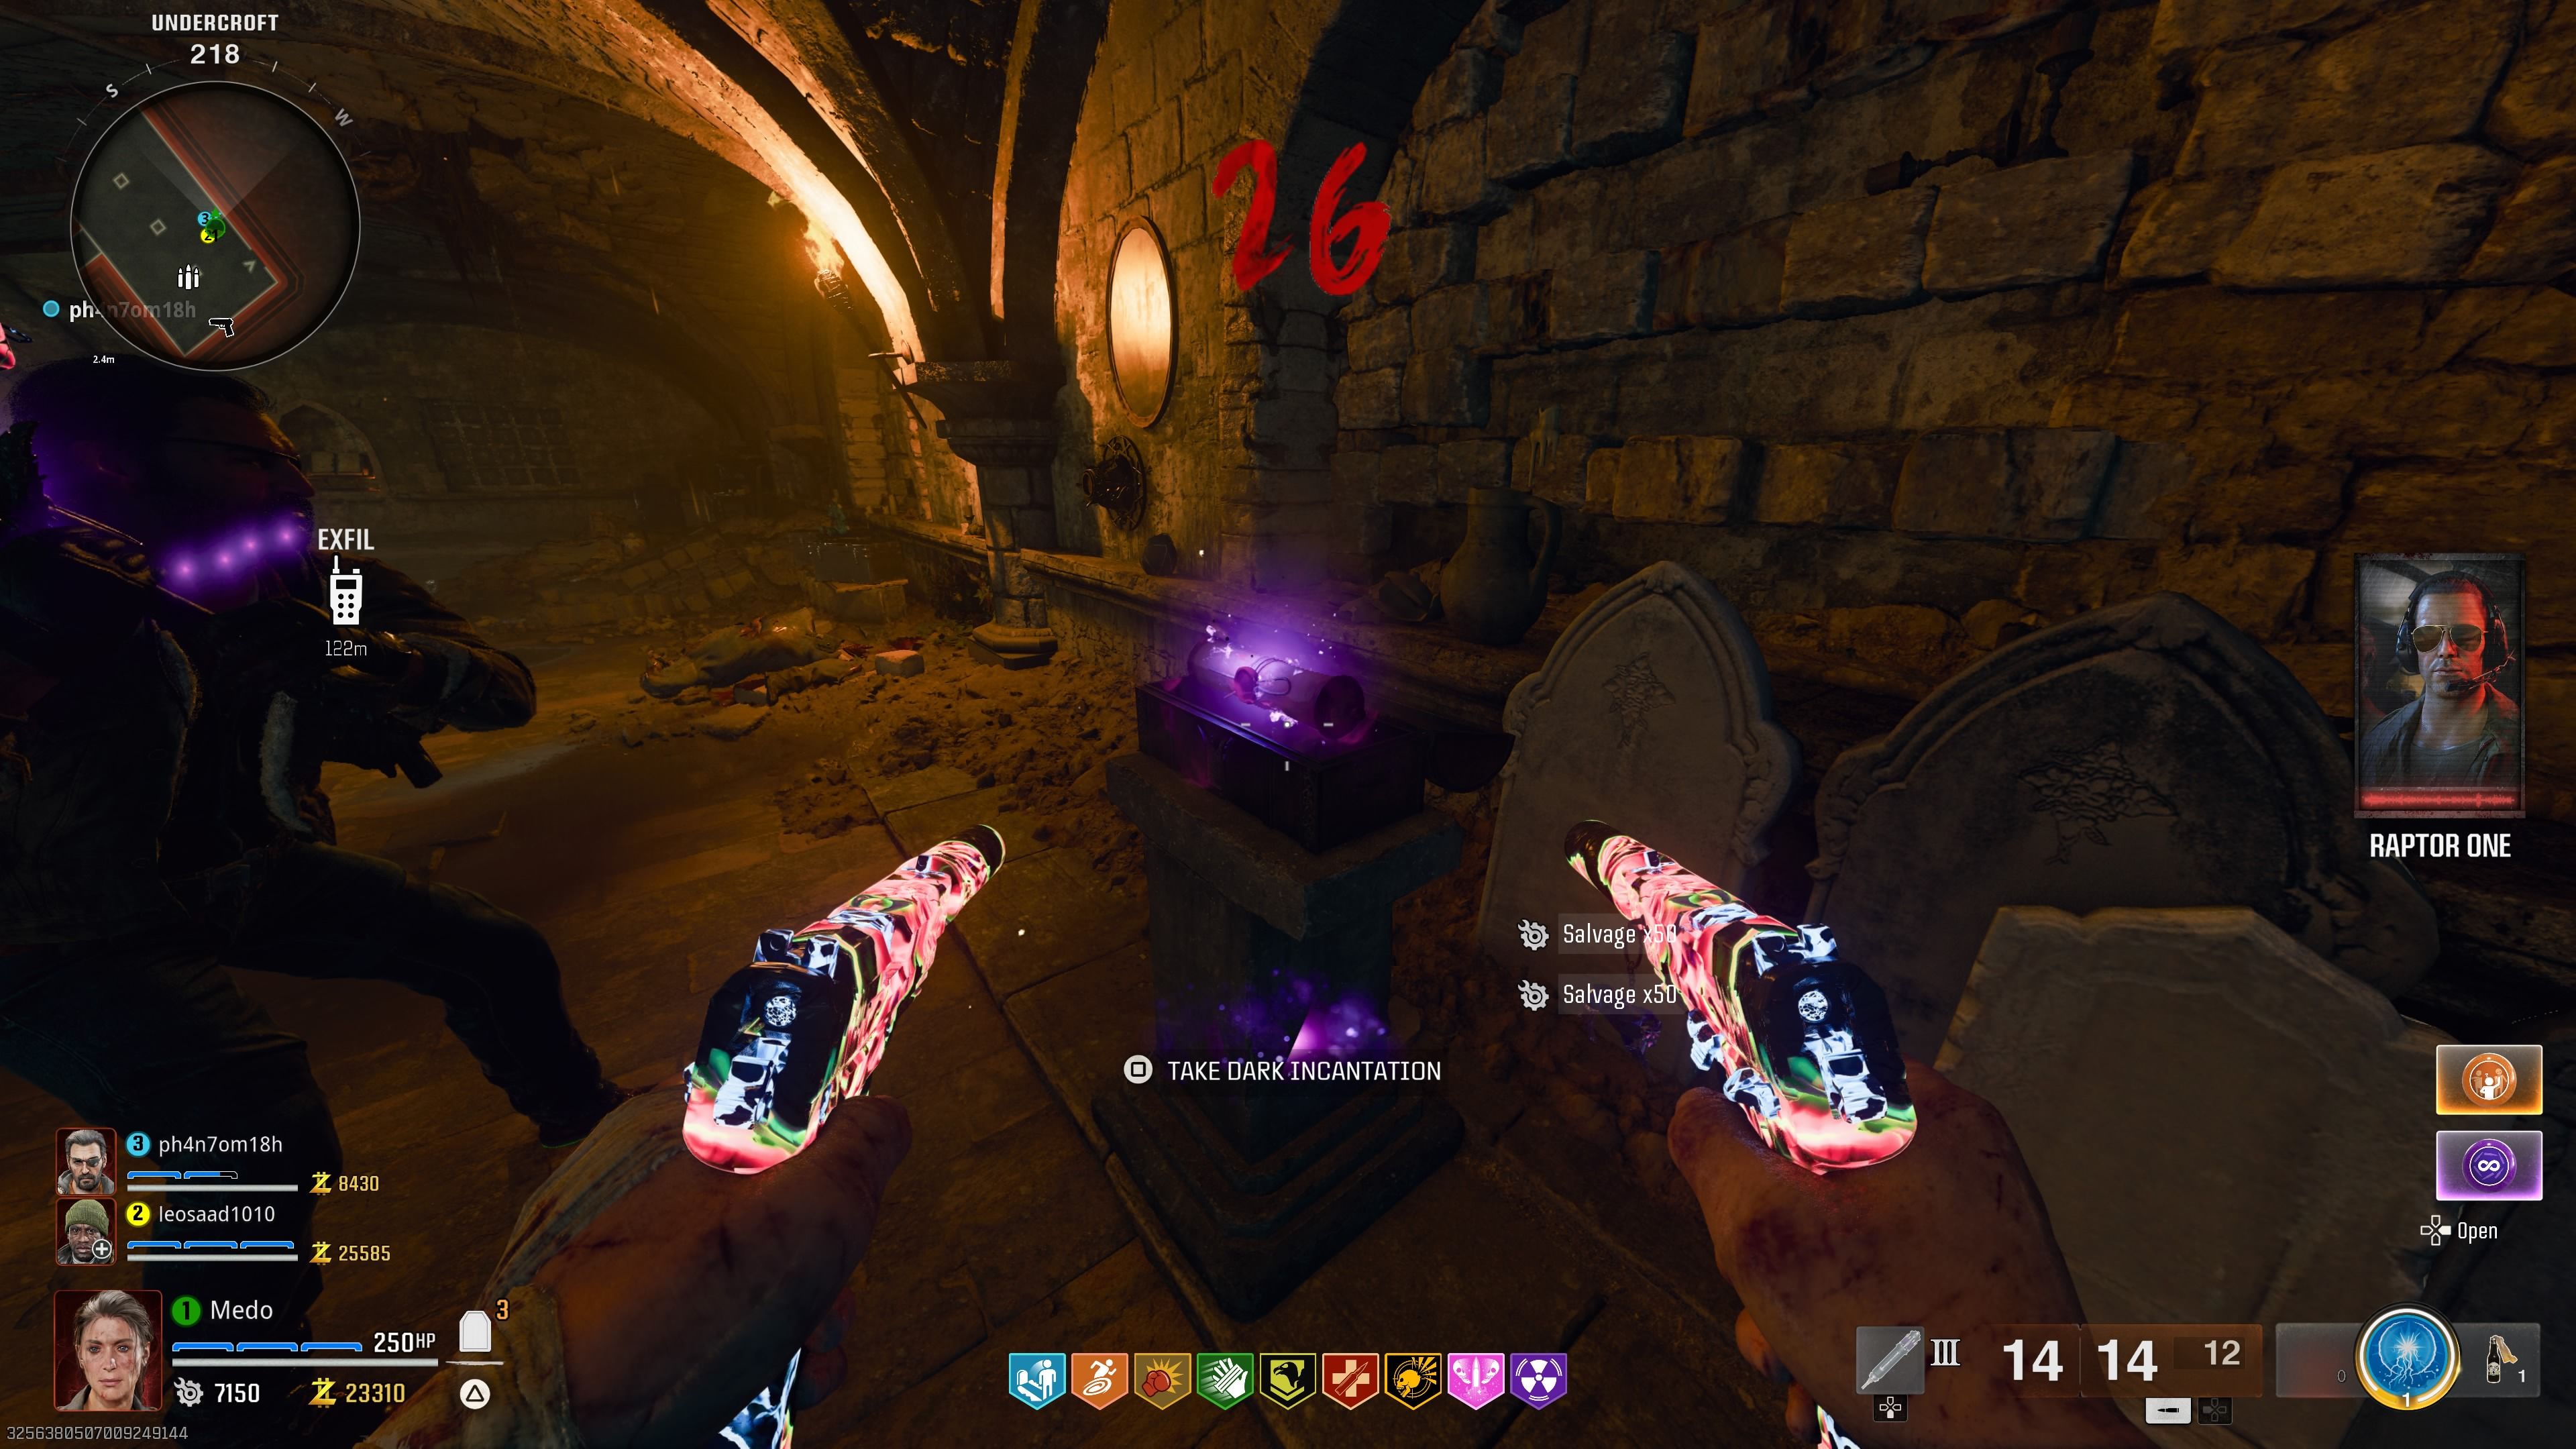
How To Get The Dark Incantation
For the final one, you’ll need the Balmung sword and the Raven’s Talon. This time, head to the Undercroft, where the secret wall is located.
There, you’ll find a similar golden circle where you can place the Raven’s Talon. Defeat zombies to collect souls and fill it up.
Once the chest appears, simply melee it with the Balmung sword to unlock the Dark Incantation.
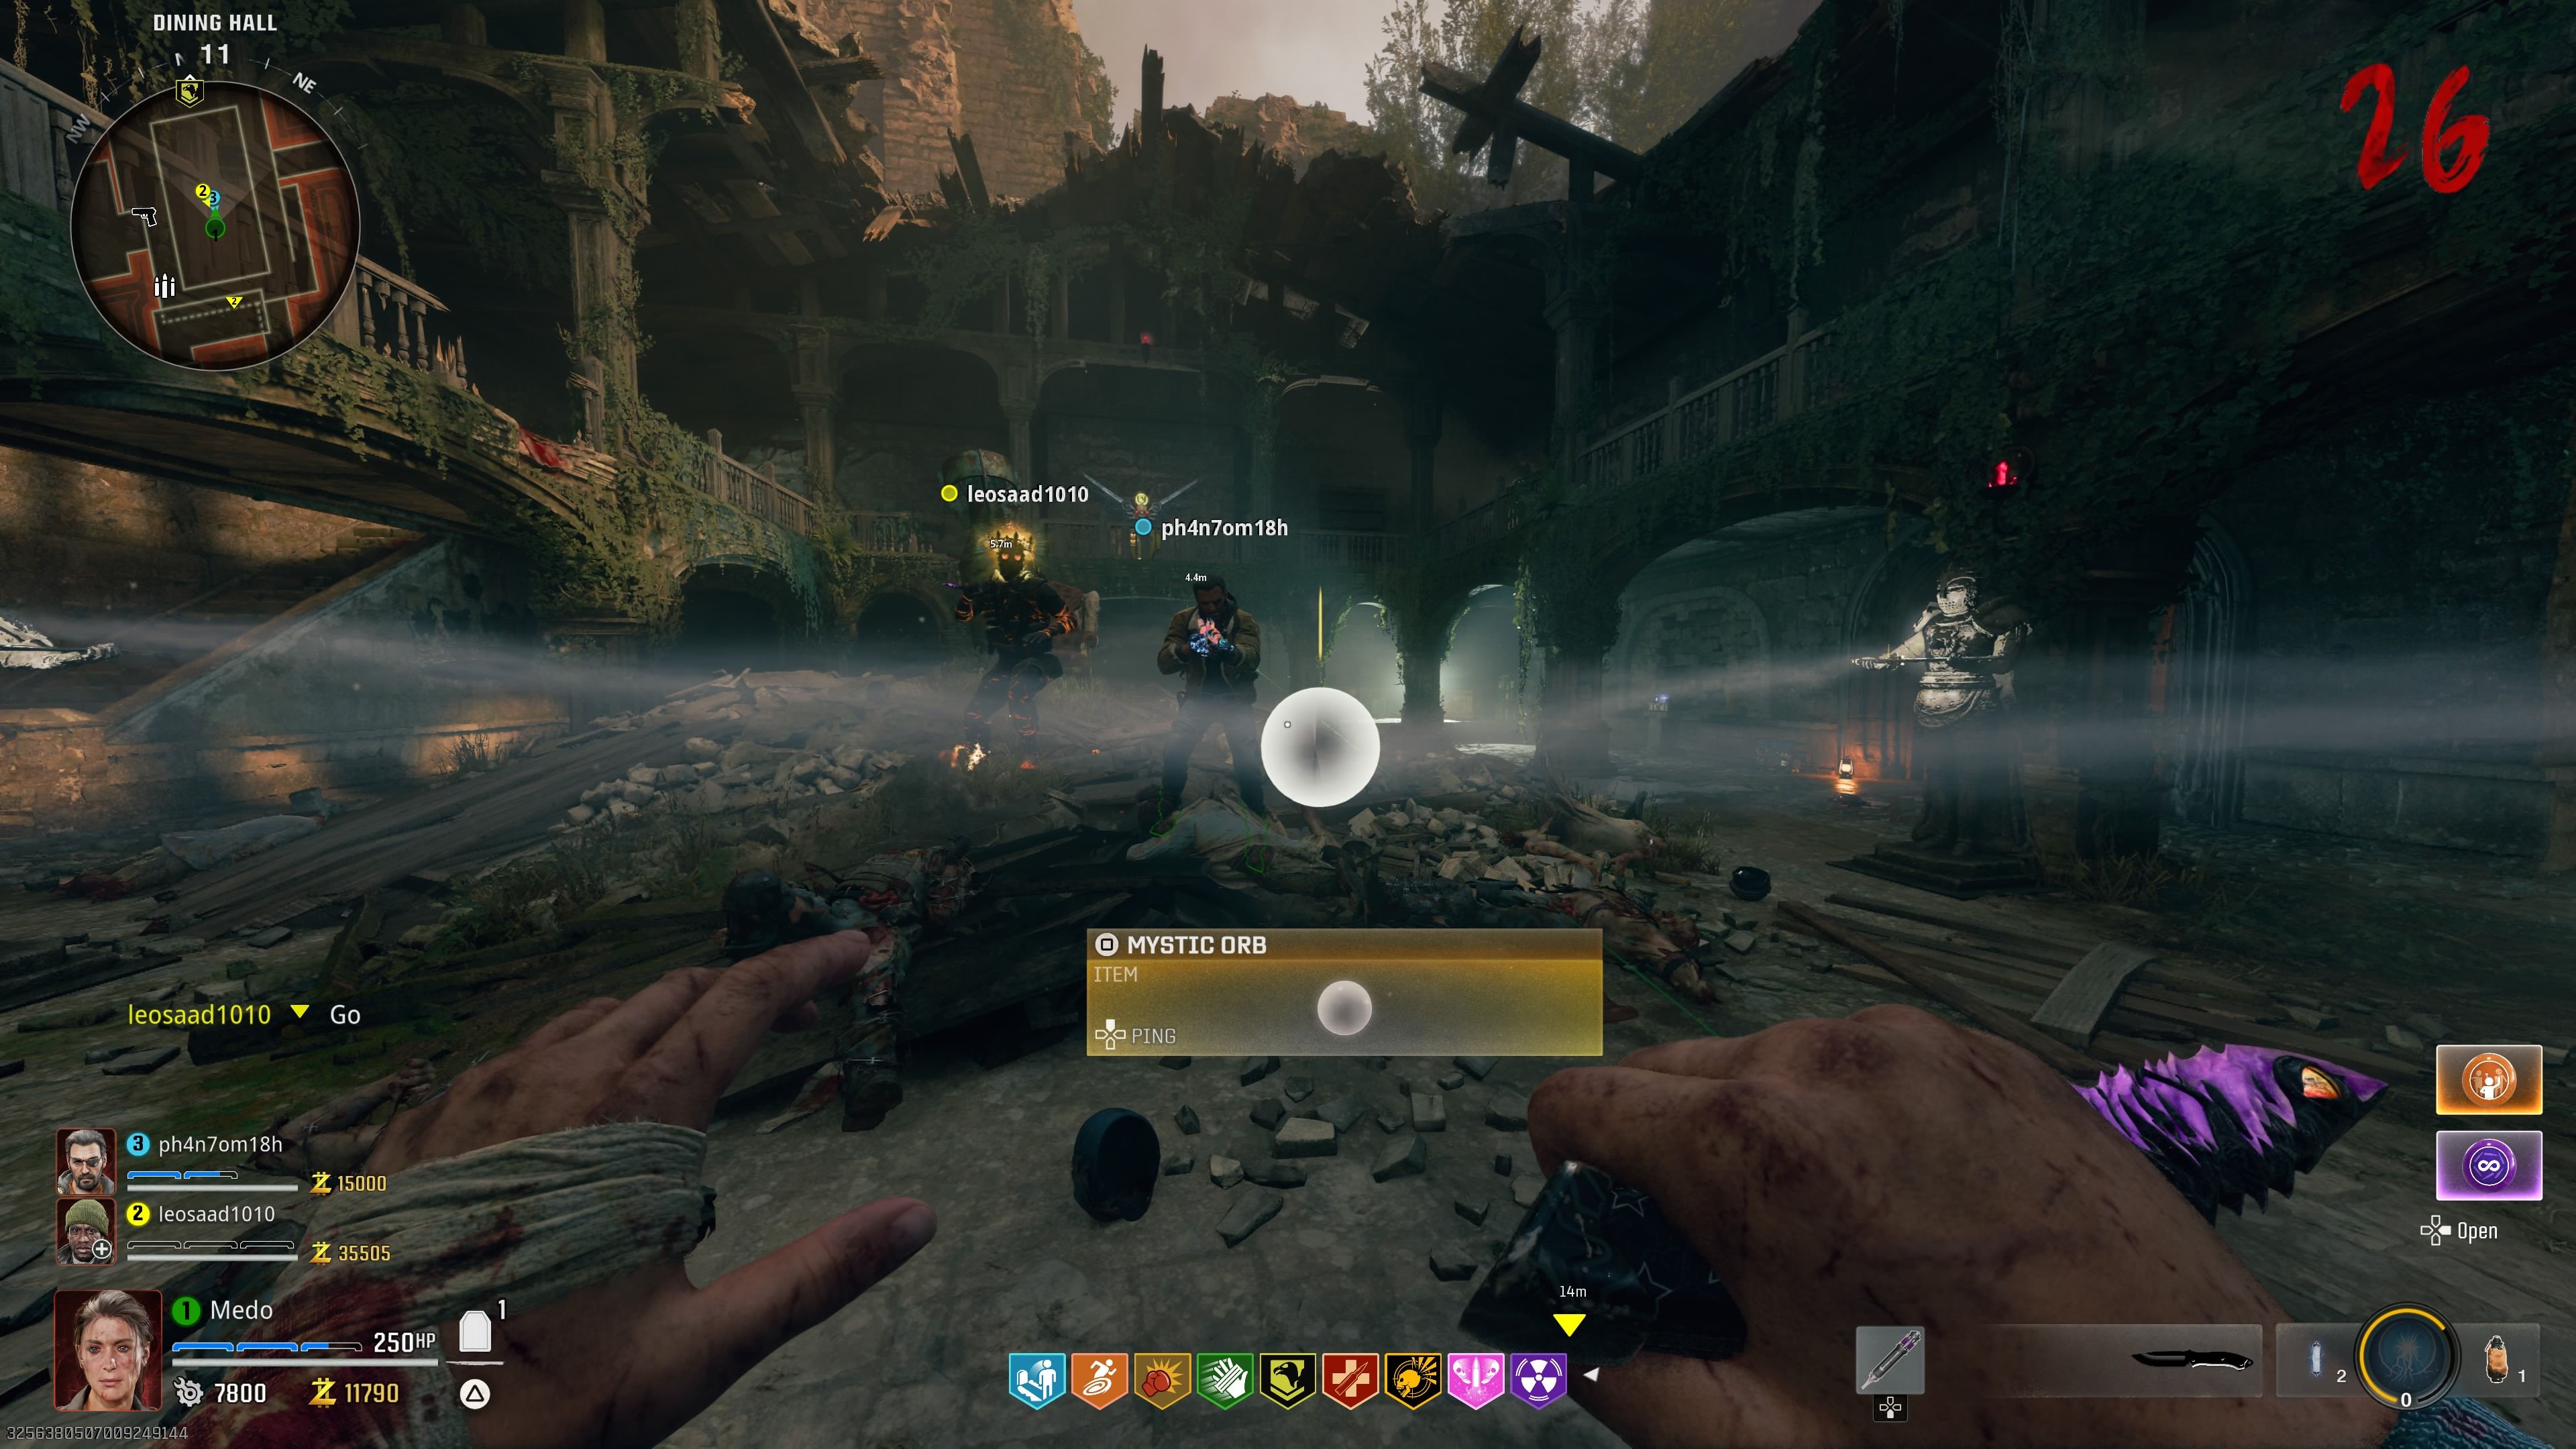
Obtain The Mystic Orb
With all four swords and incantations in hand, head to another secret wall located just past the Alchemical Lab.
Make your way down the first set of stairs, and you’ll find a diagram with four symbols on the wall in order.
The order goes clockwise as follows:
- First Symbol = Up
- Second Symbol = Right
- Third Symbol = Down
- Fourth Symbol = Left
Take note of this order, as you’ll need it to interact with the four knight statues.
The order of the four symbols on this wall is random for each match, but it will always start from the up symbol and move clockwise.
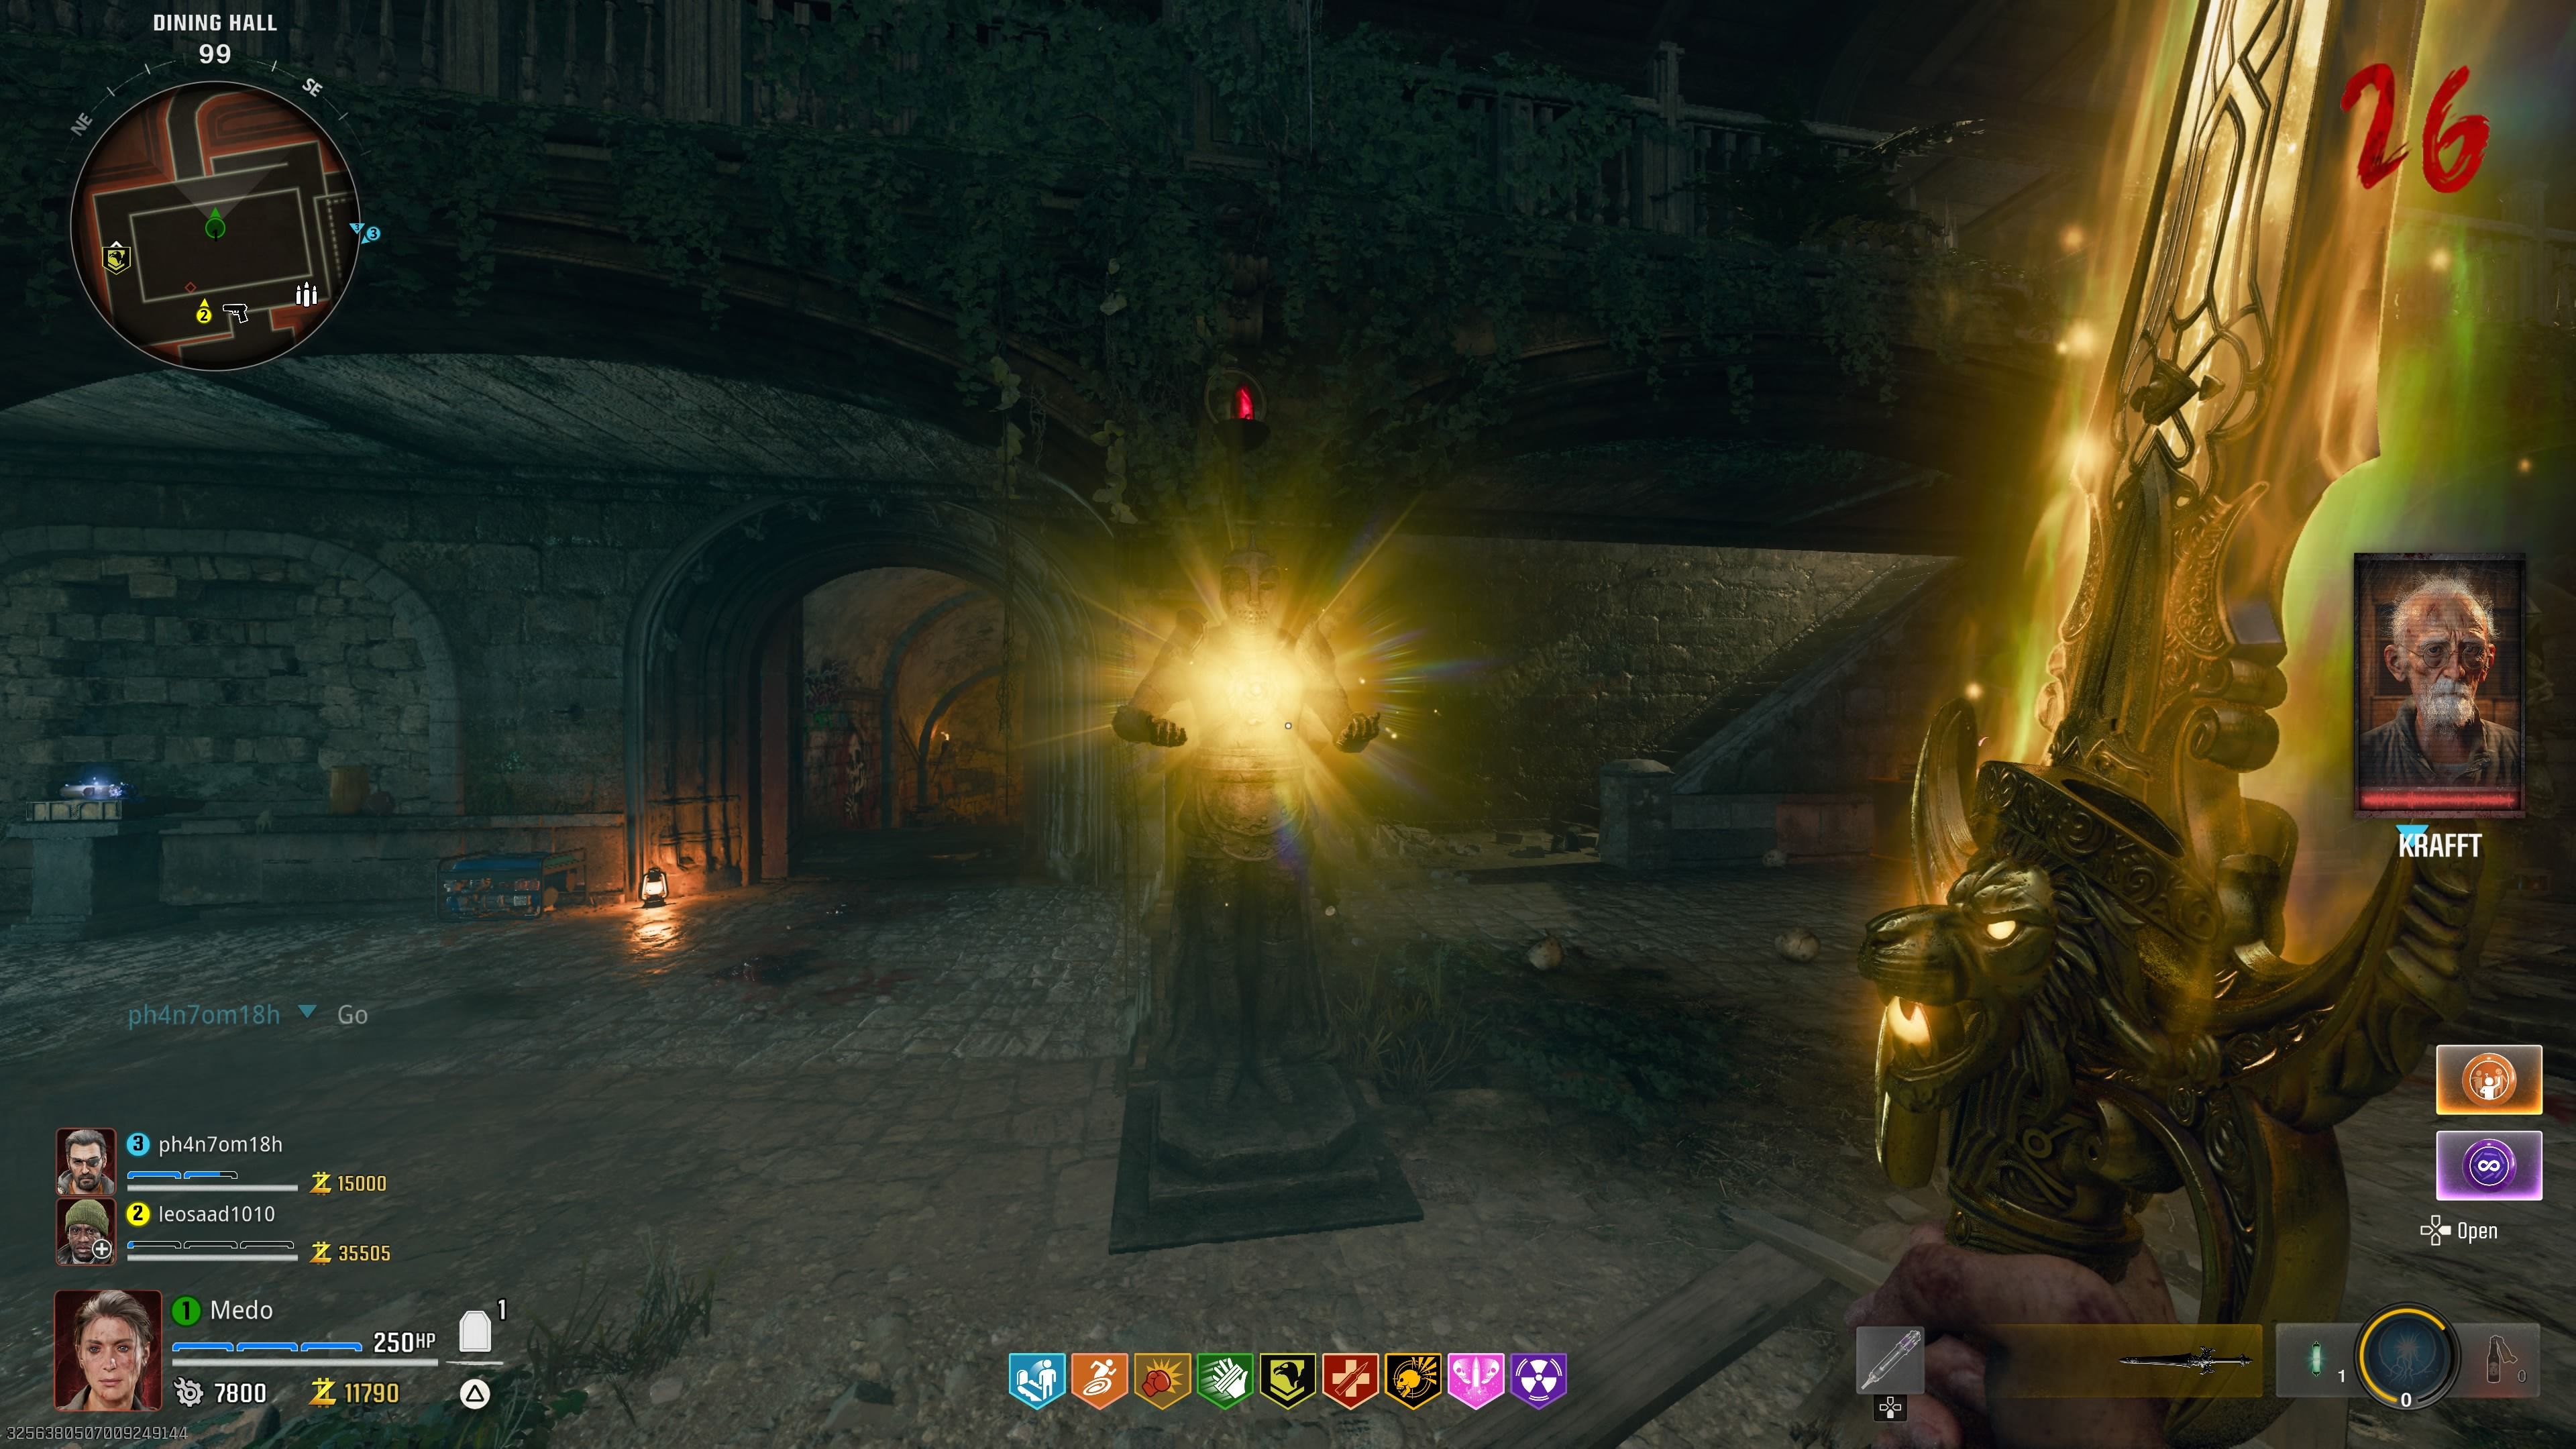
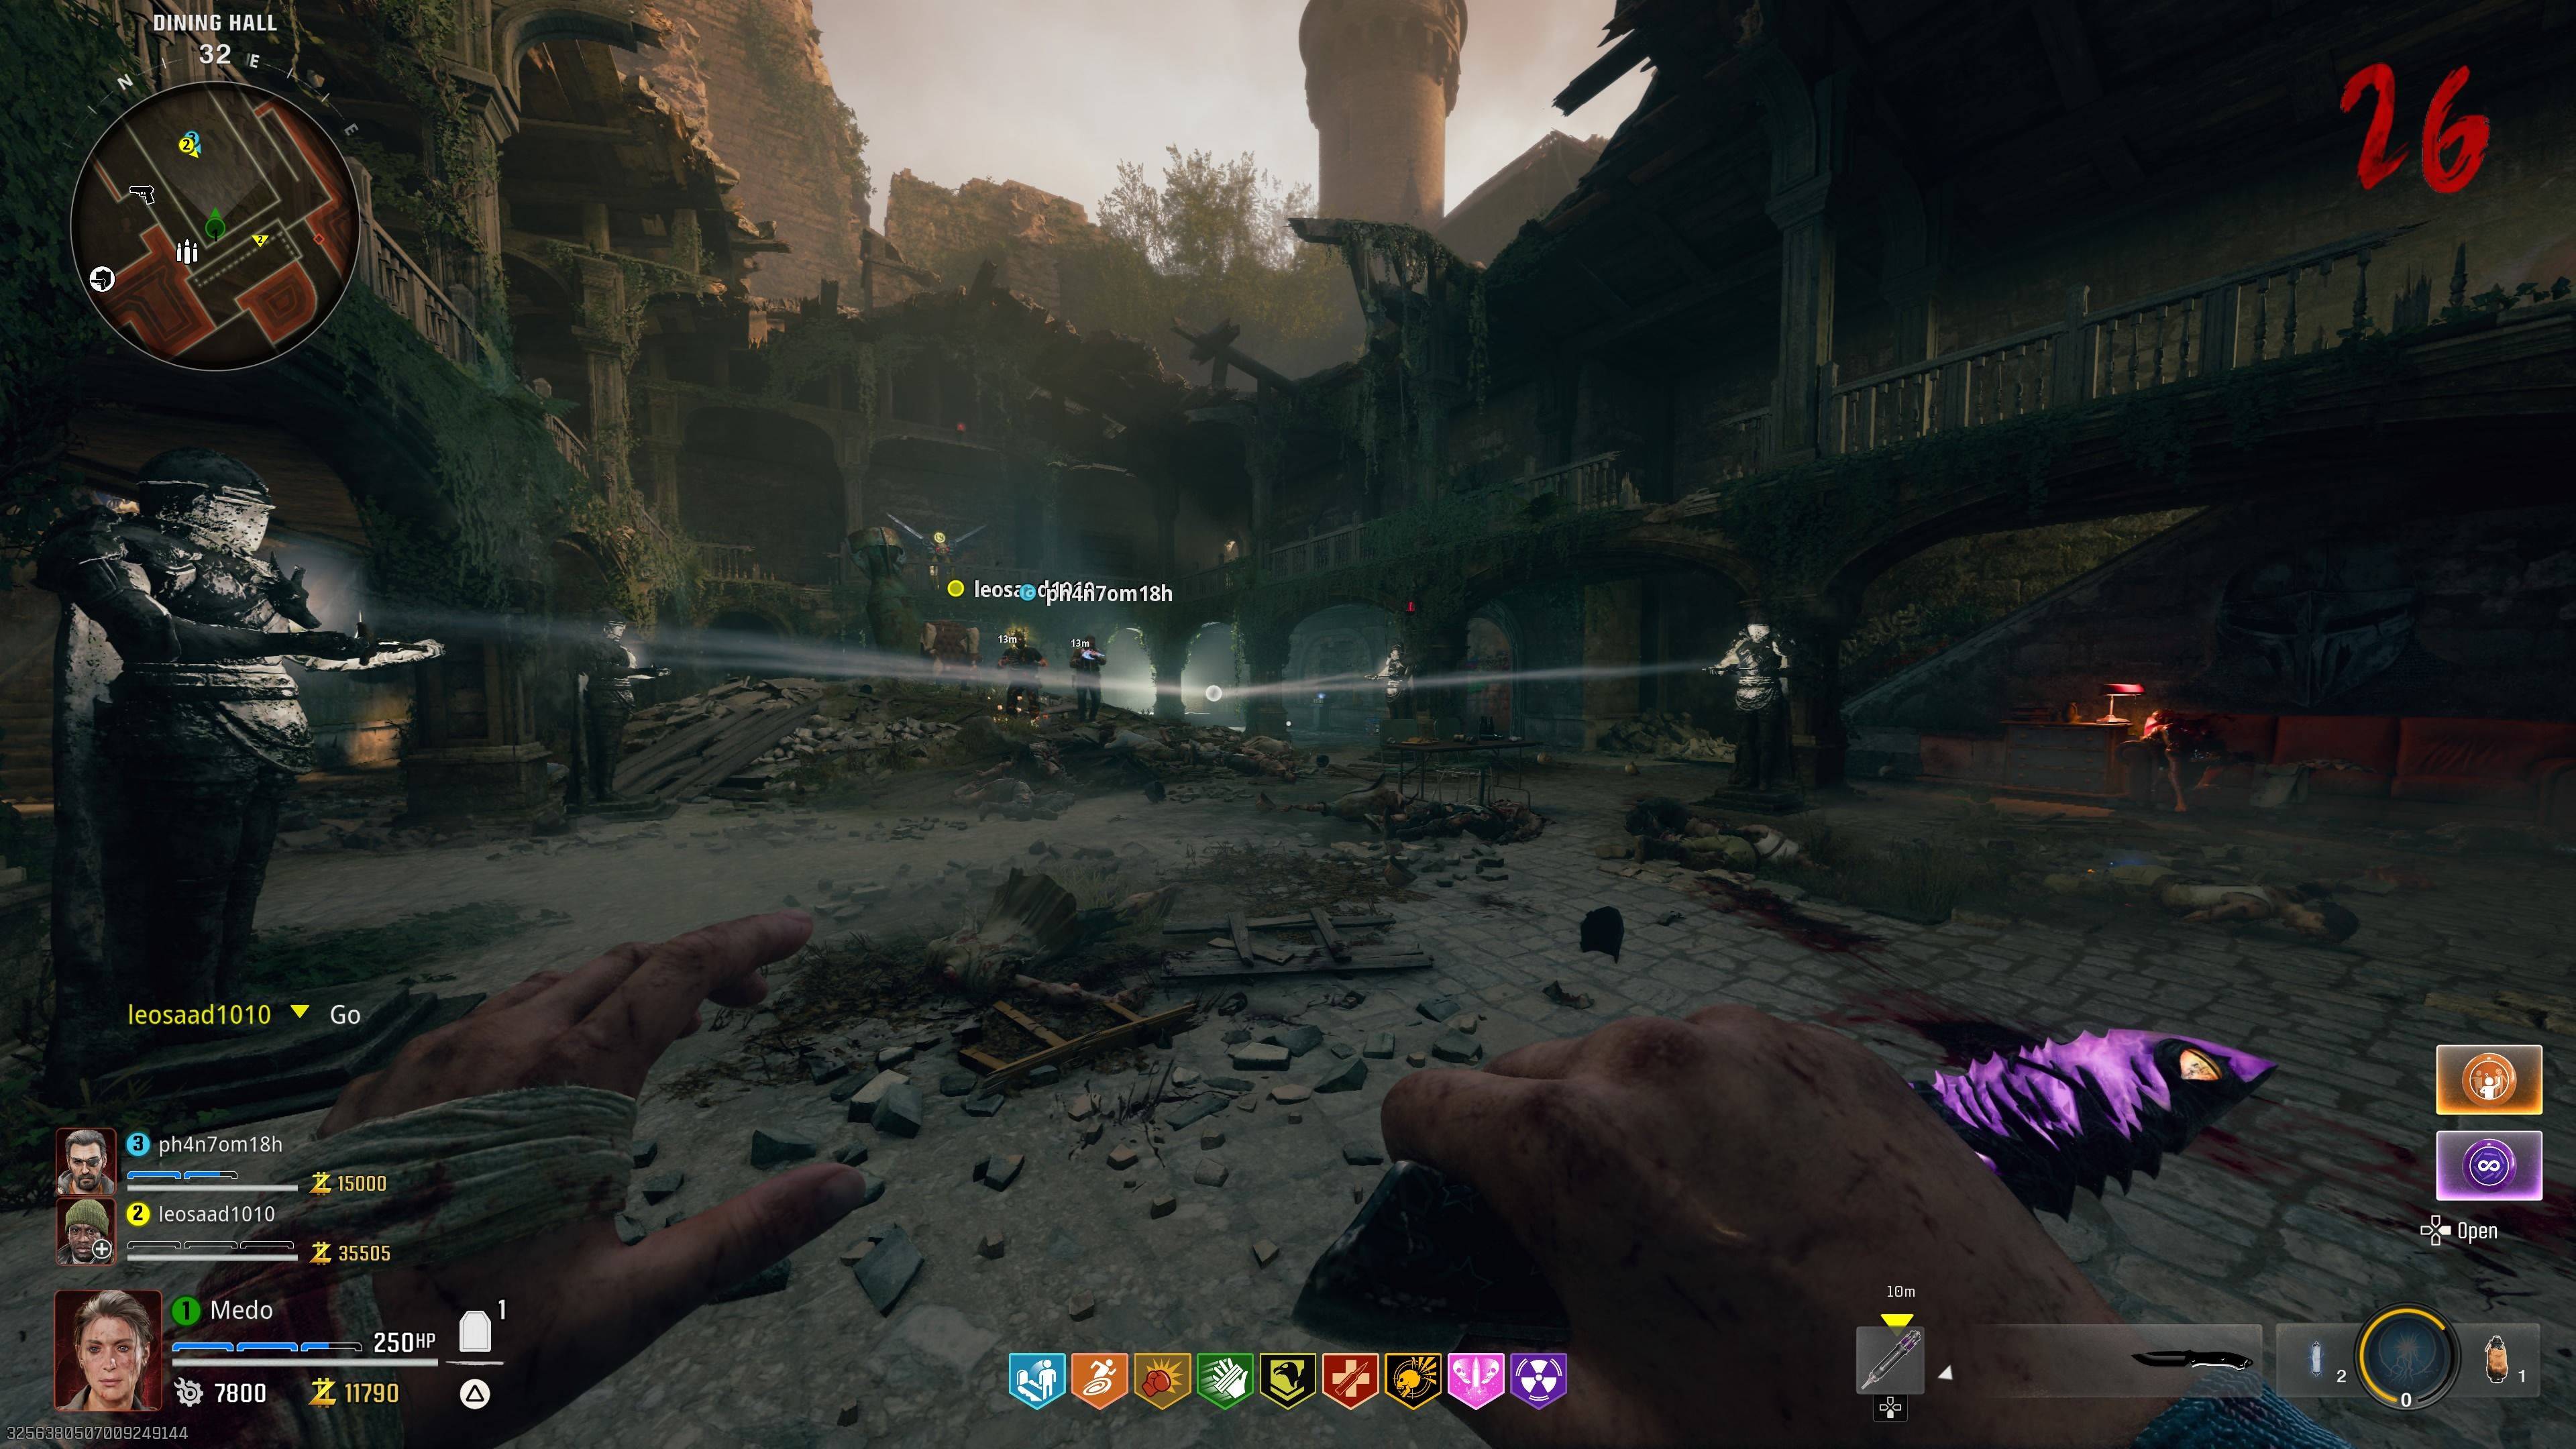
- The idea is to use the corresponding incantation and sword inspection animation in front of the correct knight statue in the right order.
For example: if the raven symbol is at the top (number one), you’ll need to equip the Dark Incantation and the Balmung sword. Then, make your way to the knight statue with a raven on its shoulder (second left). Perform the incantation in front of it (using the button for your tactical) and then inspect the Balmung sword in front of the statue.
If done correctly, you’ll see the knight glowing, and it will either take your sword or you can place it there.
Repeat this process for the other three statues, depending on the order you have in your game.
- Use this table for reference:
|
Statue |
Position |
Sword |
Incantation |
Symbol |
|---|---|---|---|---|
|
Dragon Knight Statue |
First right |
Caliburn Sword |
Fire Incantation |
Red Dragon symbol |
|
Stag Knight Statue |
First left |
Durendal Sword |
Electric Incantation |
Blue Stag symbol |
|
Lion Knight Statue |
Second right |
Solais Sword |
Light Incantation |
Yellow Lion symbol |
|
Raven Knight Statue |
Second left |
Balmung Sword |
Dark Incantation |
Purple Raven symbol |
After lighting up all the statues, a beam of light will emanate from them and align in the middle, revealing the final secret item needed for the Easter egg: the Mystic Orb.
With the Mystic Orb, there are four challenges you need to complete under specific conditions, and don’t worry; you can tackle these challenges in any order you prefer.
Complete The Four Elemental Challenges
Light Elemental Challenge
The first and closest challenge is the Light Elemental Challenge, which you can start on the upper floor of the room with the knight statues, directly opposite where Vulture Aid is located.
On the wall, you’ll find a spot to place the Mystic Orb. Doing so will start the challenge immediately, so be prepared.
For this challenge, multiple green orbs will spawn in the room. Your task is to stand in the orbs for enough time until they disappear, but keep in mind that zombies will spawn endlessly, so stay alert.
If you’re playing with friends, each of you can tackle an orb, which will speed up the process.
Keep repeating this for all the orbs that spawn until you hear Krafft talking; that’s your cue that the challenge is complete.
Pick up your Mystic Orb, and you’re ready to head to the next location.
Fire Elemental Challenge
For the Fire Elemental Challenge, make your way outside the castle, where you’ll find a spot to insert the orb just in front of the ammo crate.
For this challenge, you’ll need to get kills using the Caliburn Sword’s special attack or Fire Incantations, while zombies spawn infinitely.
You can use your regular weapons if you find yourself overwhelmed, but be careful not to take too long, as taking too much time can fail the challenge.
We only failed the Fire Elemental Challenge once, so we’re not sure what would happen if more failures occur. However, we were able to repeat the challenge without any penalties after the first failure.
Once you complete the challenge, pick up the orb and get ready for the next challenge.
Lightning Elemental Challenge
The third challenge is the Lightning Elemental Challenge, and it can be done in the spawn area. You’ll find the spot to insert the orb just to the left side of the west entrance. Insert it when you’re ready to tackle this challenge.
This challenge is similar to the previous one, but this time, you’ll need to get kills using the Durendal Sword’s special attack or Lightning Incantations.
Once you complete the challenge, don’t forget to pick up the orb for the fourth and final challenge.
Dark Elemental Challenge
The fourth and final challenge is the Dark Elemental Challenge, and it’s similar to the previous two. You’ll need to get kills using the special attack of the Balmung sword or Dark Incantation.
For this challenge, make your way to where you found the Dark Incantation. The spot to insert the orb will be just to the left of the incantation chest.
Once you complete the challenge, you’ll be ready for the final step.
Obtain The Guardian Key
With all four challenges completed, head back to the wall where the order of the elemental symbols was displayed. Insert the Mystic Orb there, and this will reveal a hidden room. Inside, you’ll find a red item to interact with, triggering a dialogue scene.
Once the scene concludes, you can pick up the red item called the Guardian Key. With that, the final step of the Easter egg is complete, and you’re ready to face the final boss.
Prepare To Face The Guardian
Preparations
Before we tell you where to use the Guardian Key, make sure you and your squad are fully prepared.
This means you should get all the perks you want, upgrade the rarity of your weapon to Legendary, and triple Pack-a-Punch at least one weapon. Fully upgrade your shield armor to its maximum (three levels), obtain a self-revive, and don’t forget to bring a Mutant Injection.
These preparations will help you survive longer, as the boss fight will be a lengthy one, and you need all the help you can get to be ready for it.
If you need to play more rounds to gather more essence or salvage, feel free to do so. You don’t need to use the Guardian Key immediately after obtaining it, but be sure not to let yourself get killed after all this preparation.
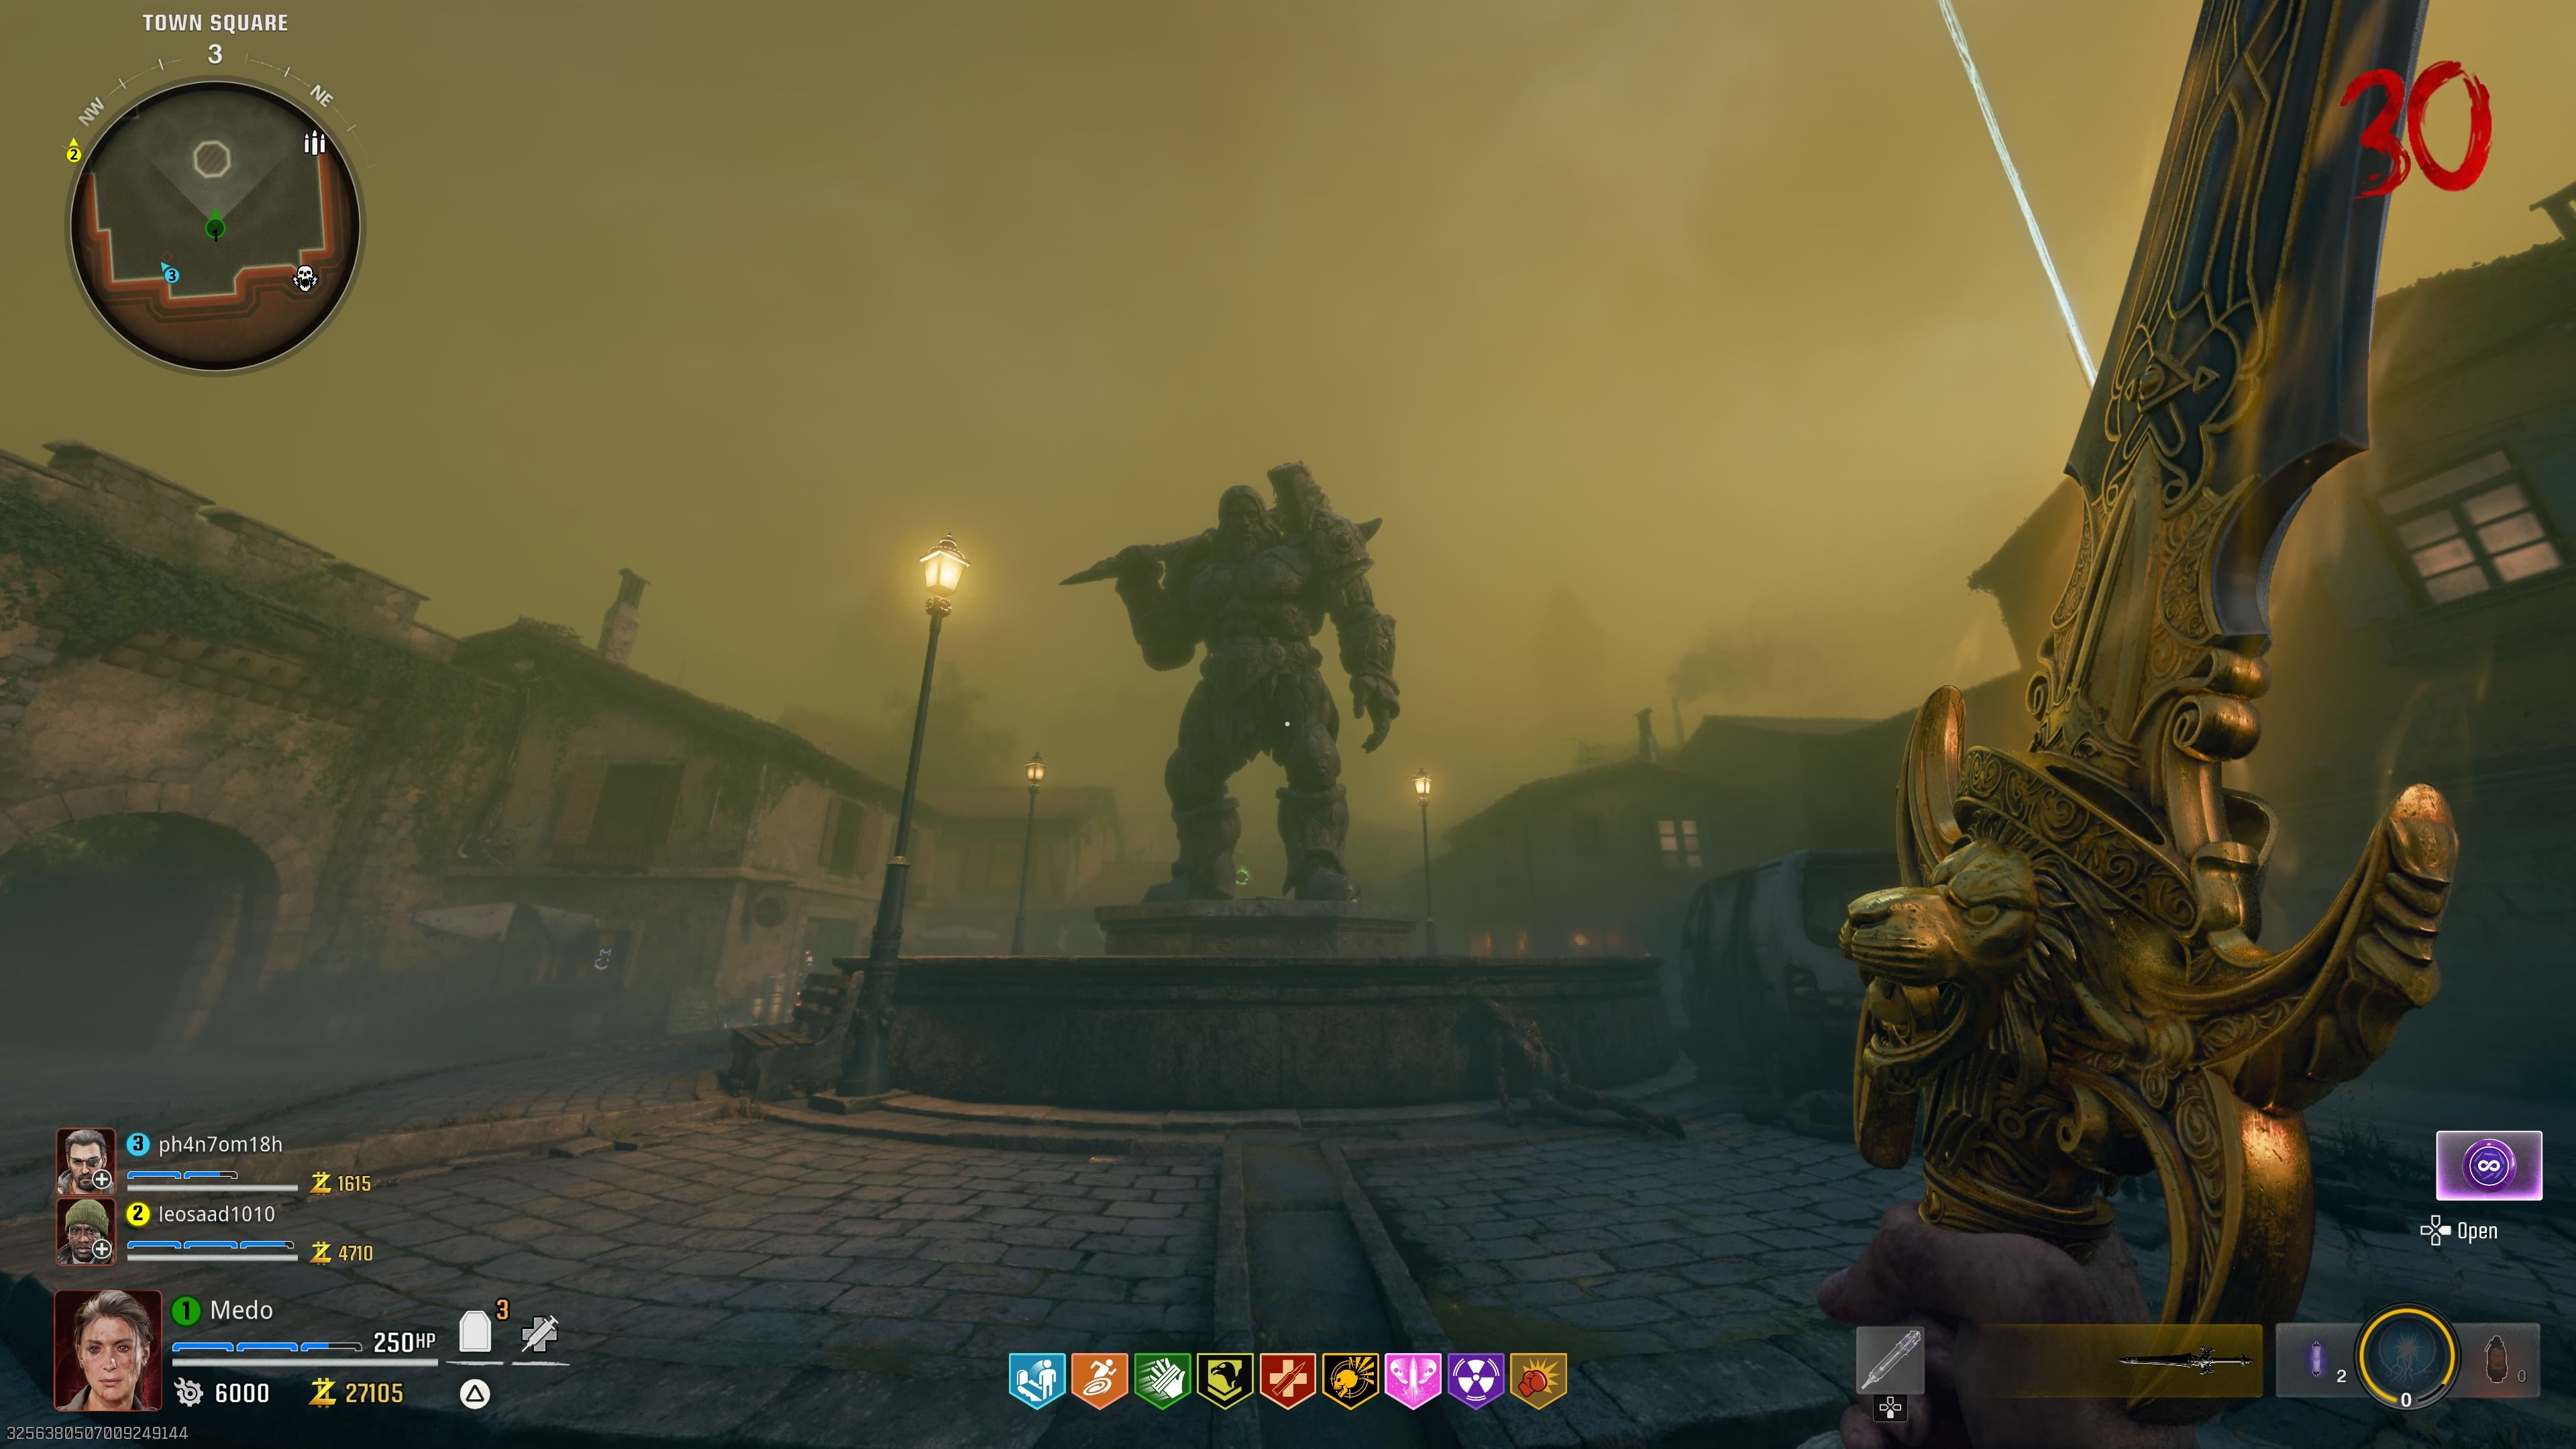
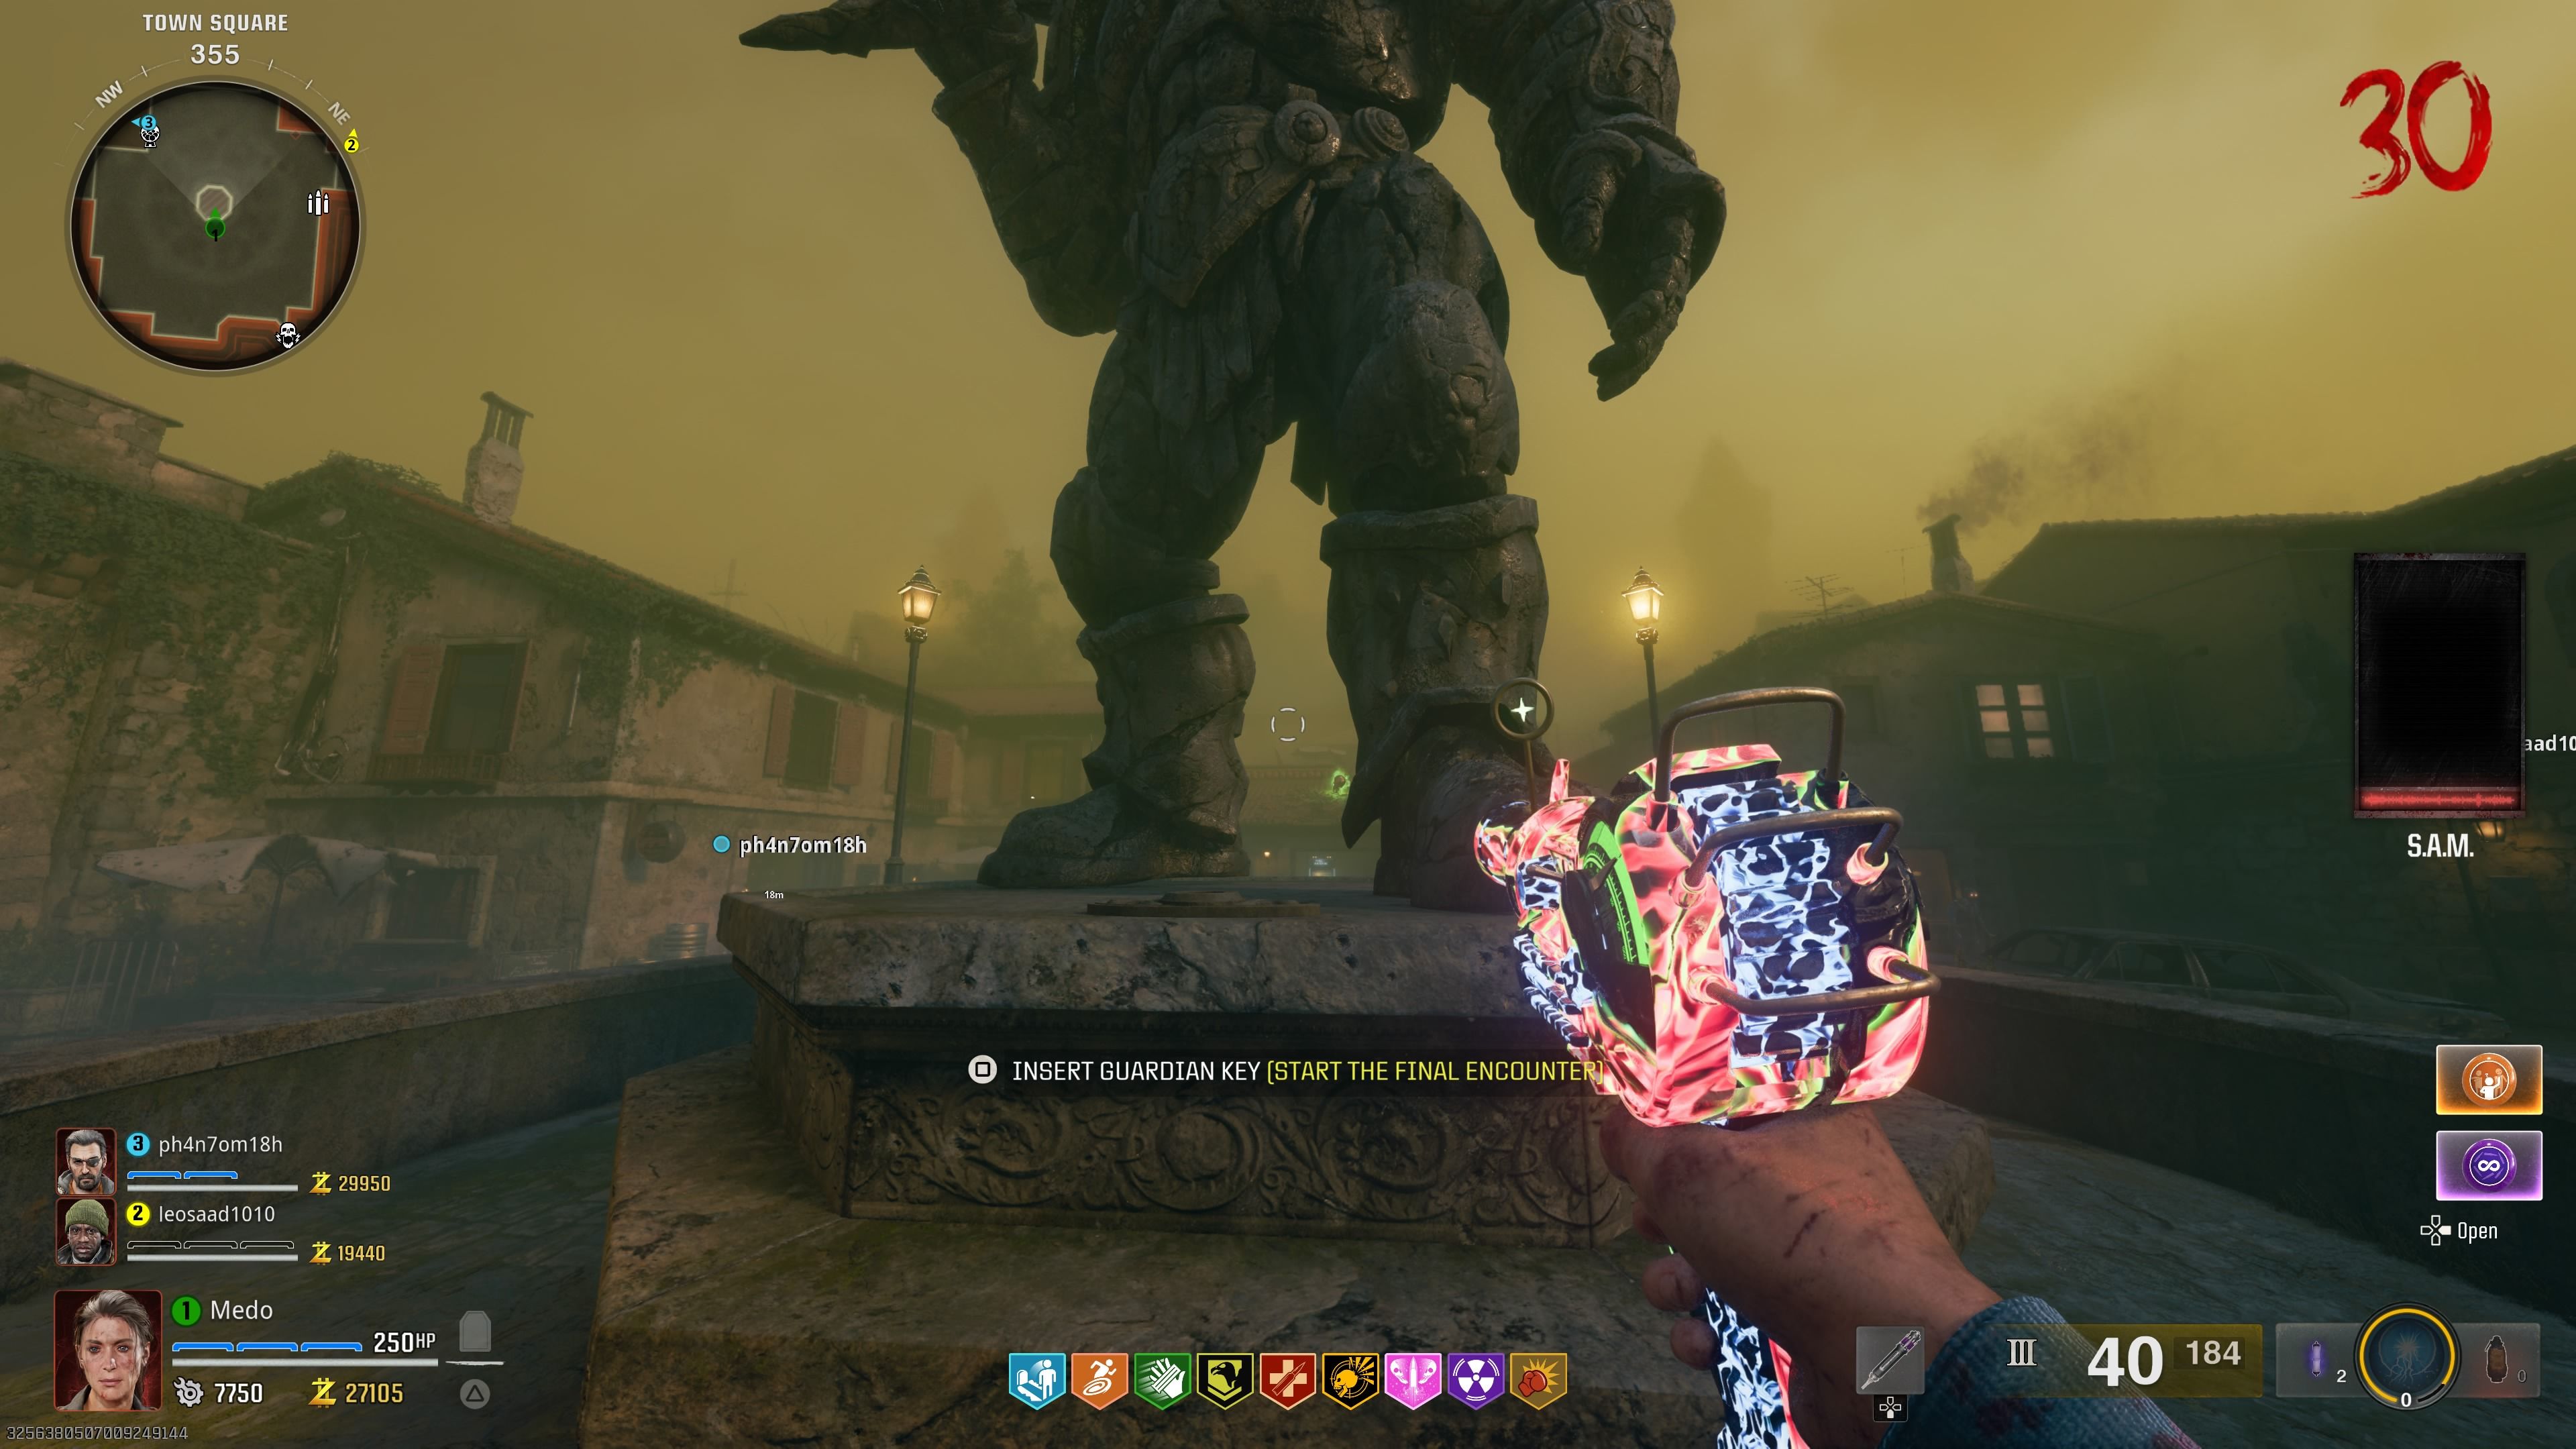
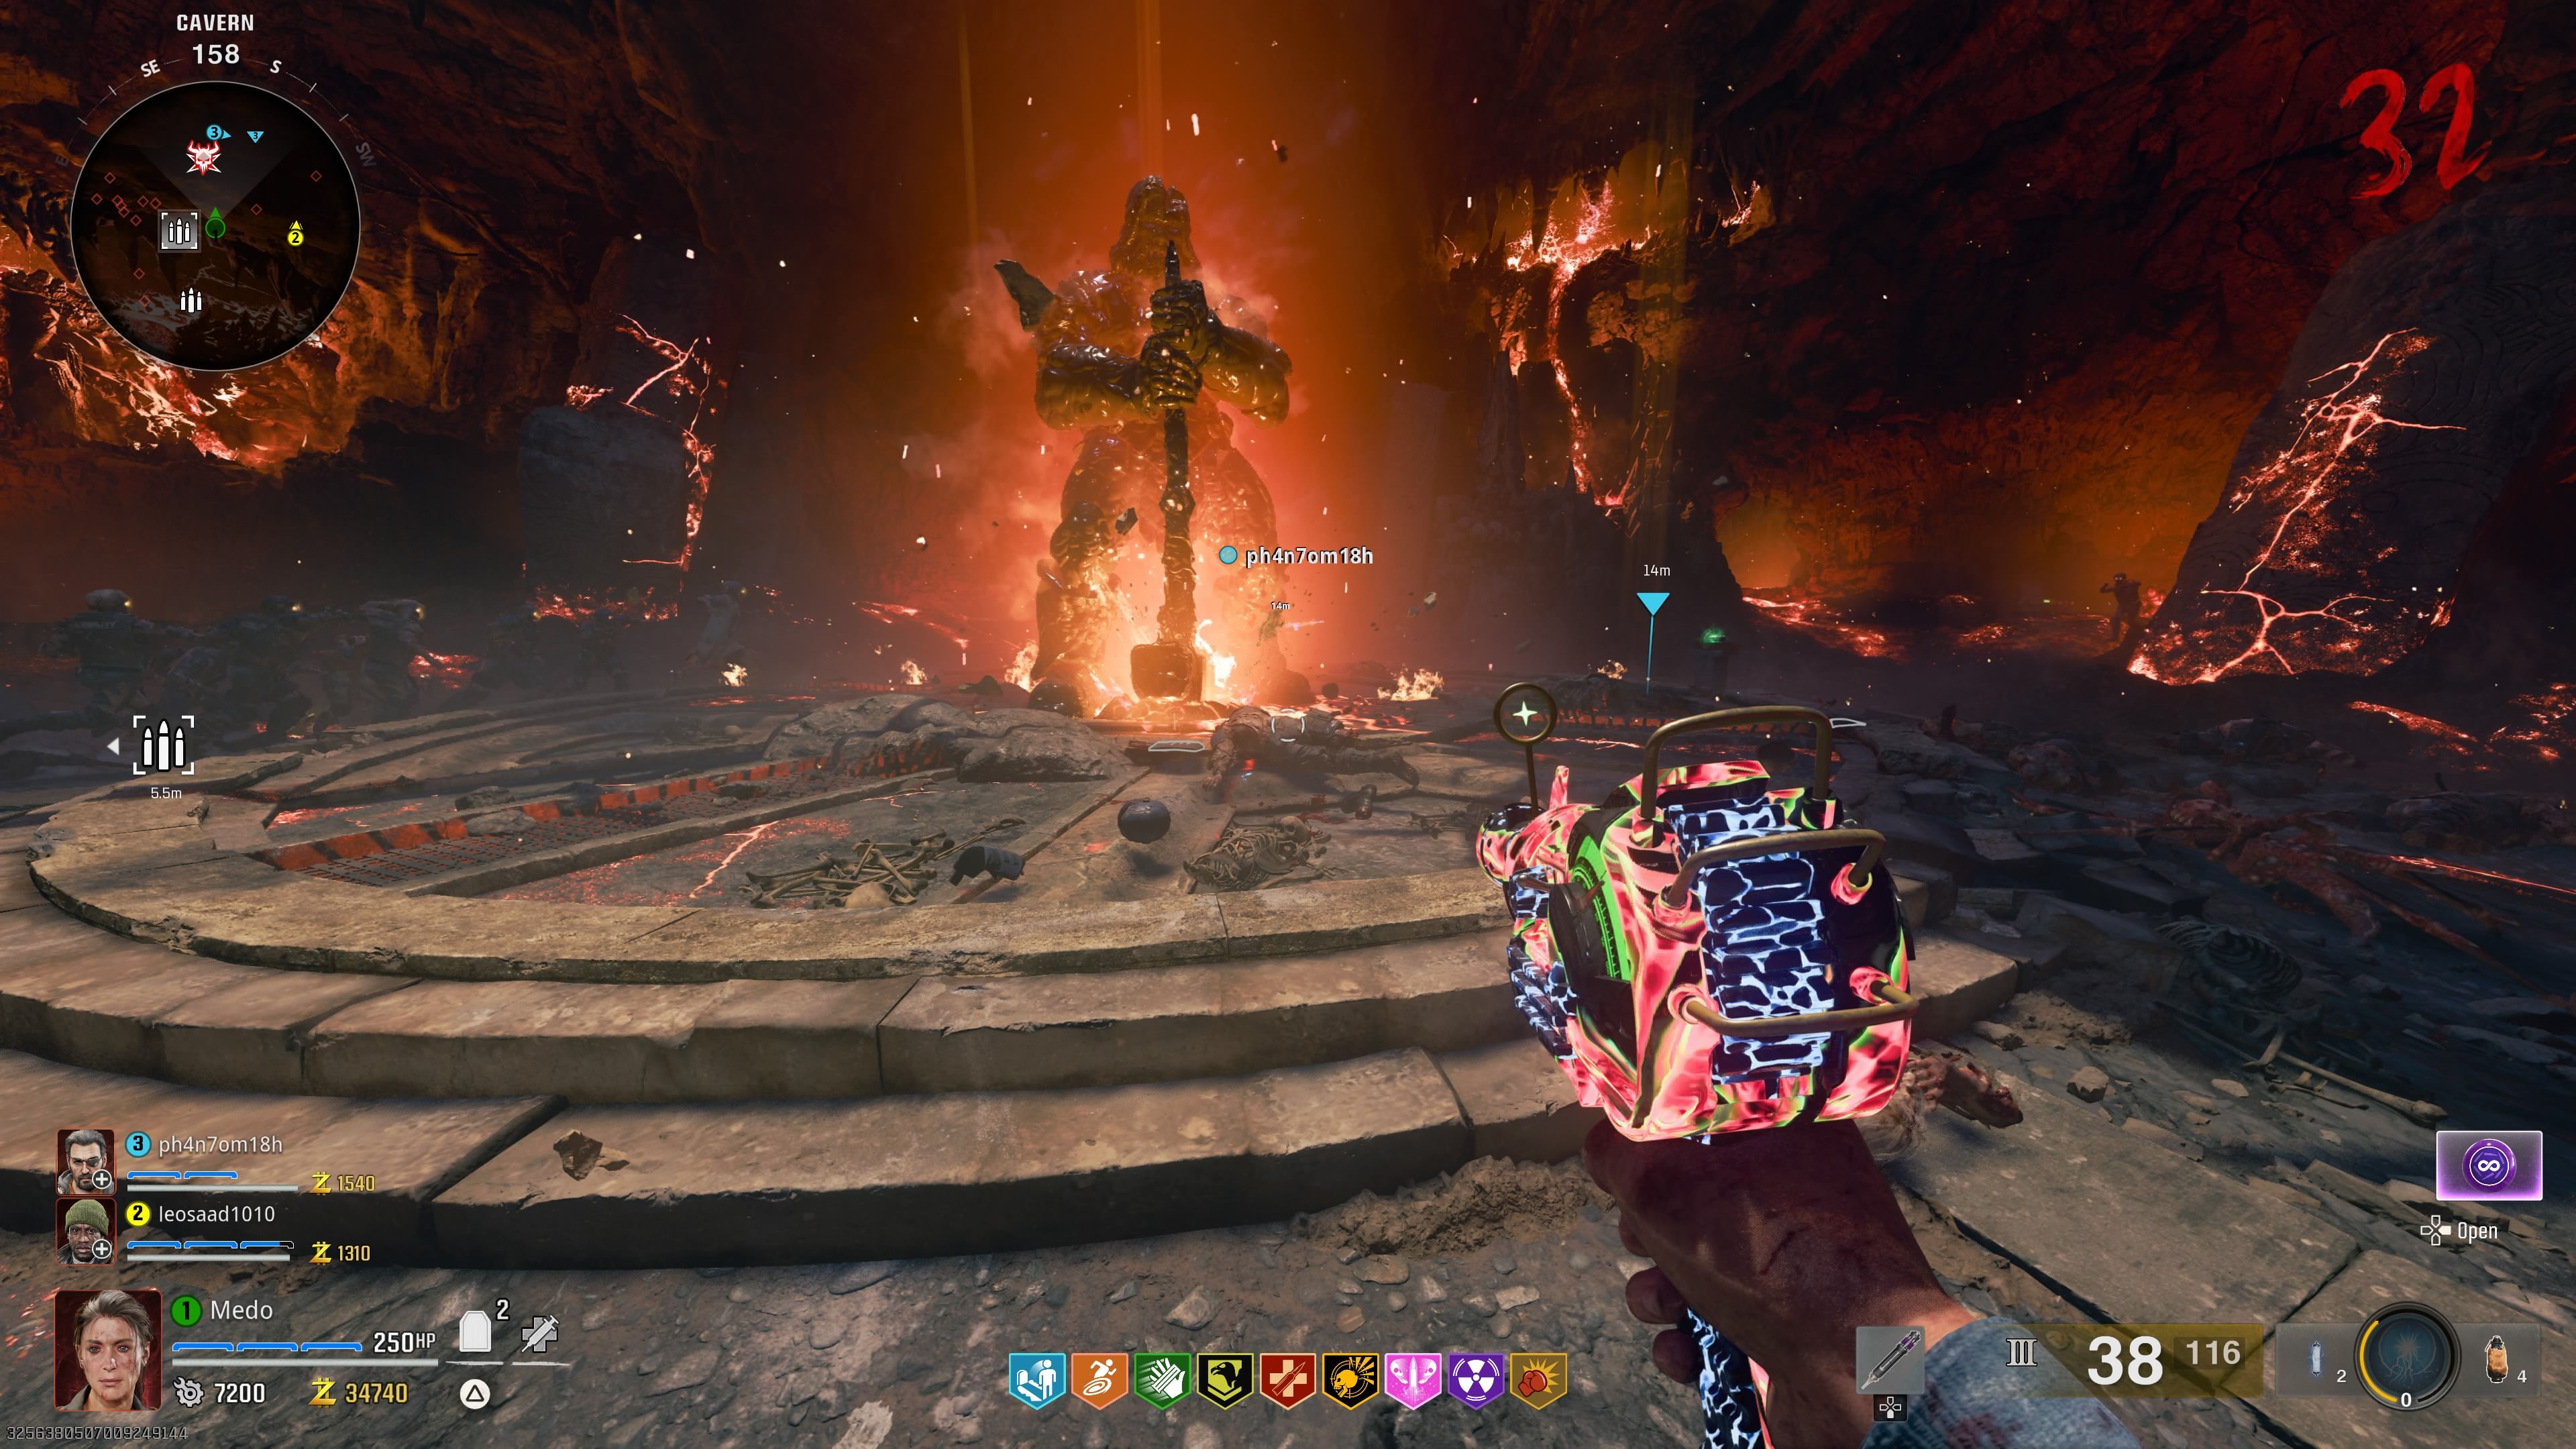
Once you think you’re ready, head to the spawn area. In the middle, where the large statue is, you’ll find a spot where you can interact to insert the Guardian Key.
Doing so will cause the statue to move and smash the ground, teleporting you to a separate arena where you’ll face off against the statue, known as the Guardian.
Things to keep in mind before you get in:
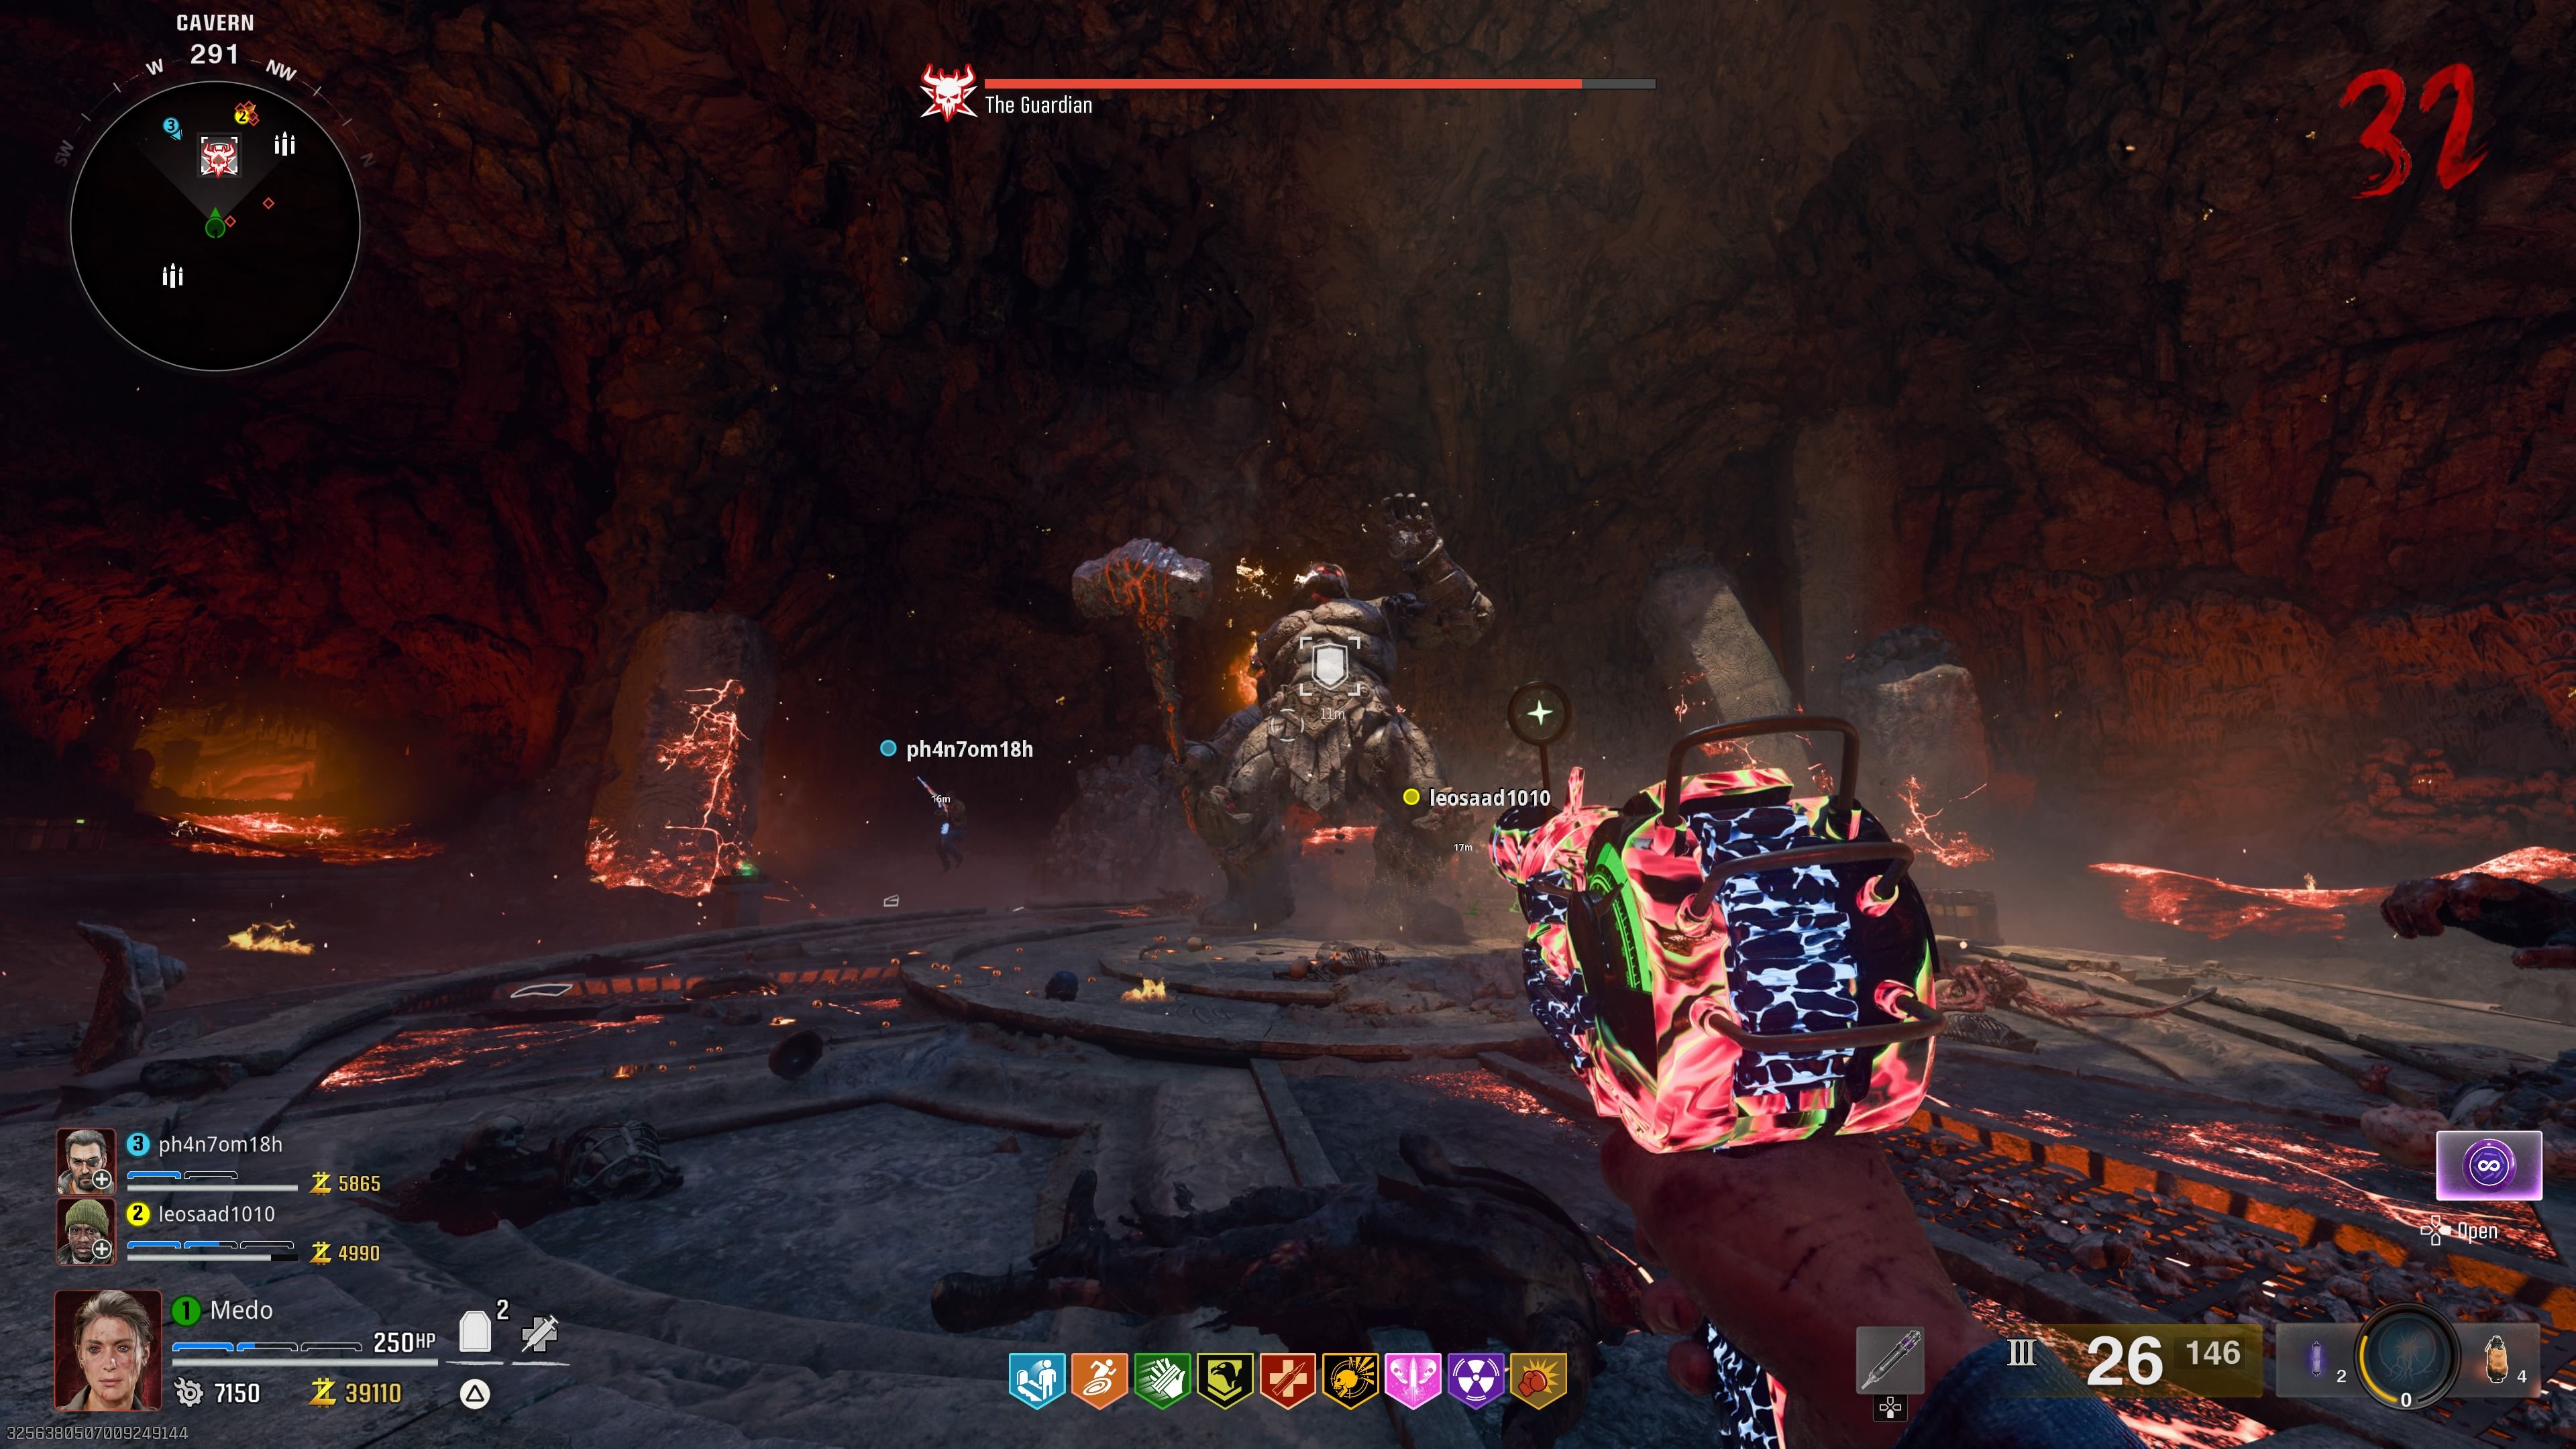
- Much like Patient 13 from Terminus, the Guardian is a three-phase boss with an absurd amount of health, making it a bullet sponge. Expect to spend a lot of time shooting and avoiding its attacks and buying ammo.
- Luckily, around the arena, you’ll find four chests, each containing one of the four incantations that you can use during the boss fight.
- Zombies will continue spawning endlessly, so stay focused on the boss and don’t get distracted to avoid getting downed.
The Guardian Attacks And Strategy
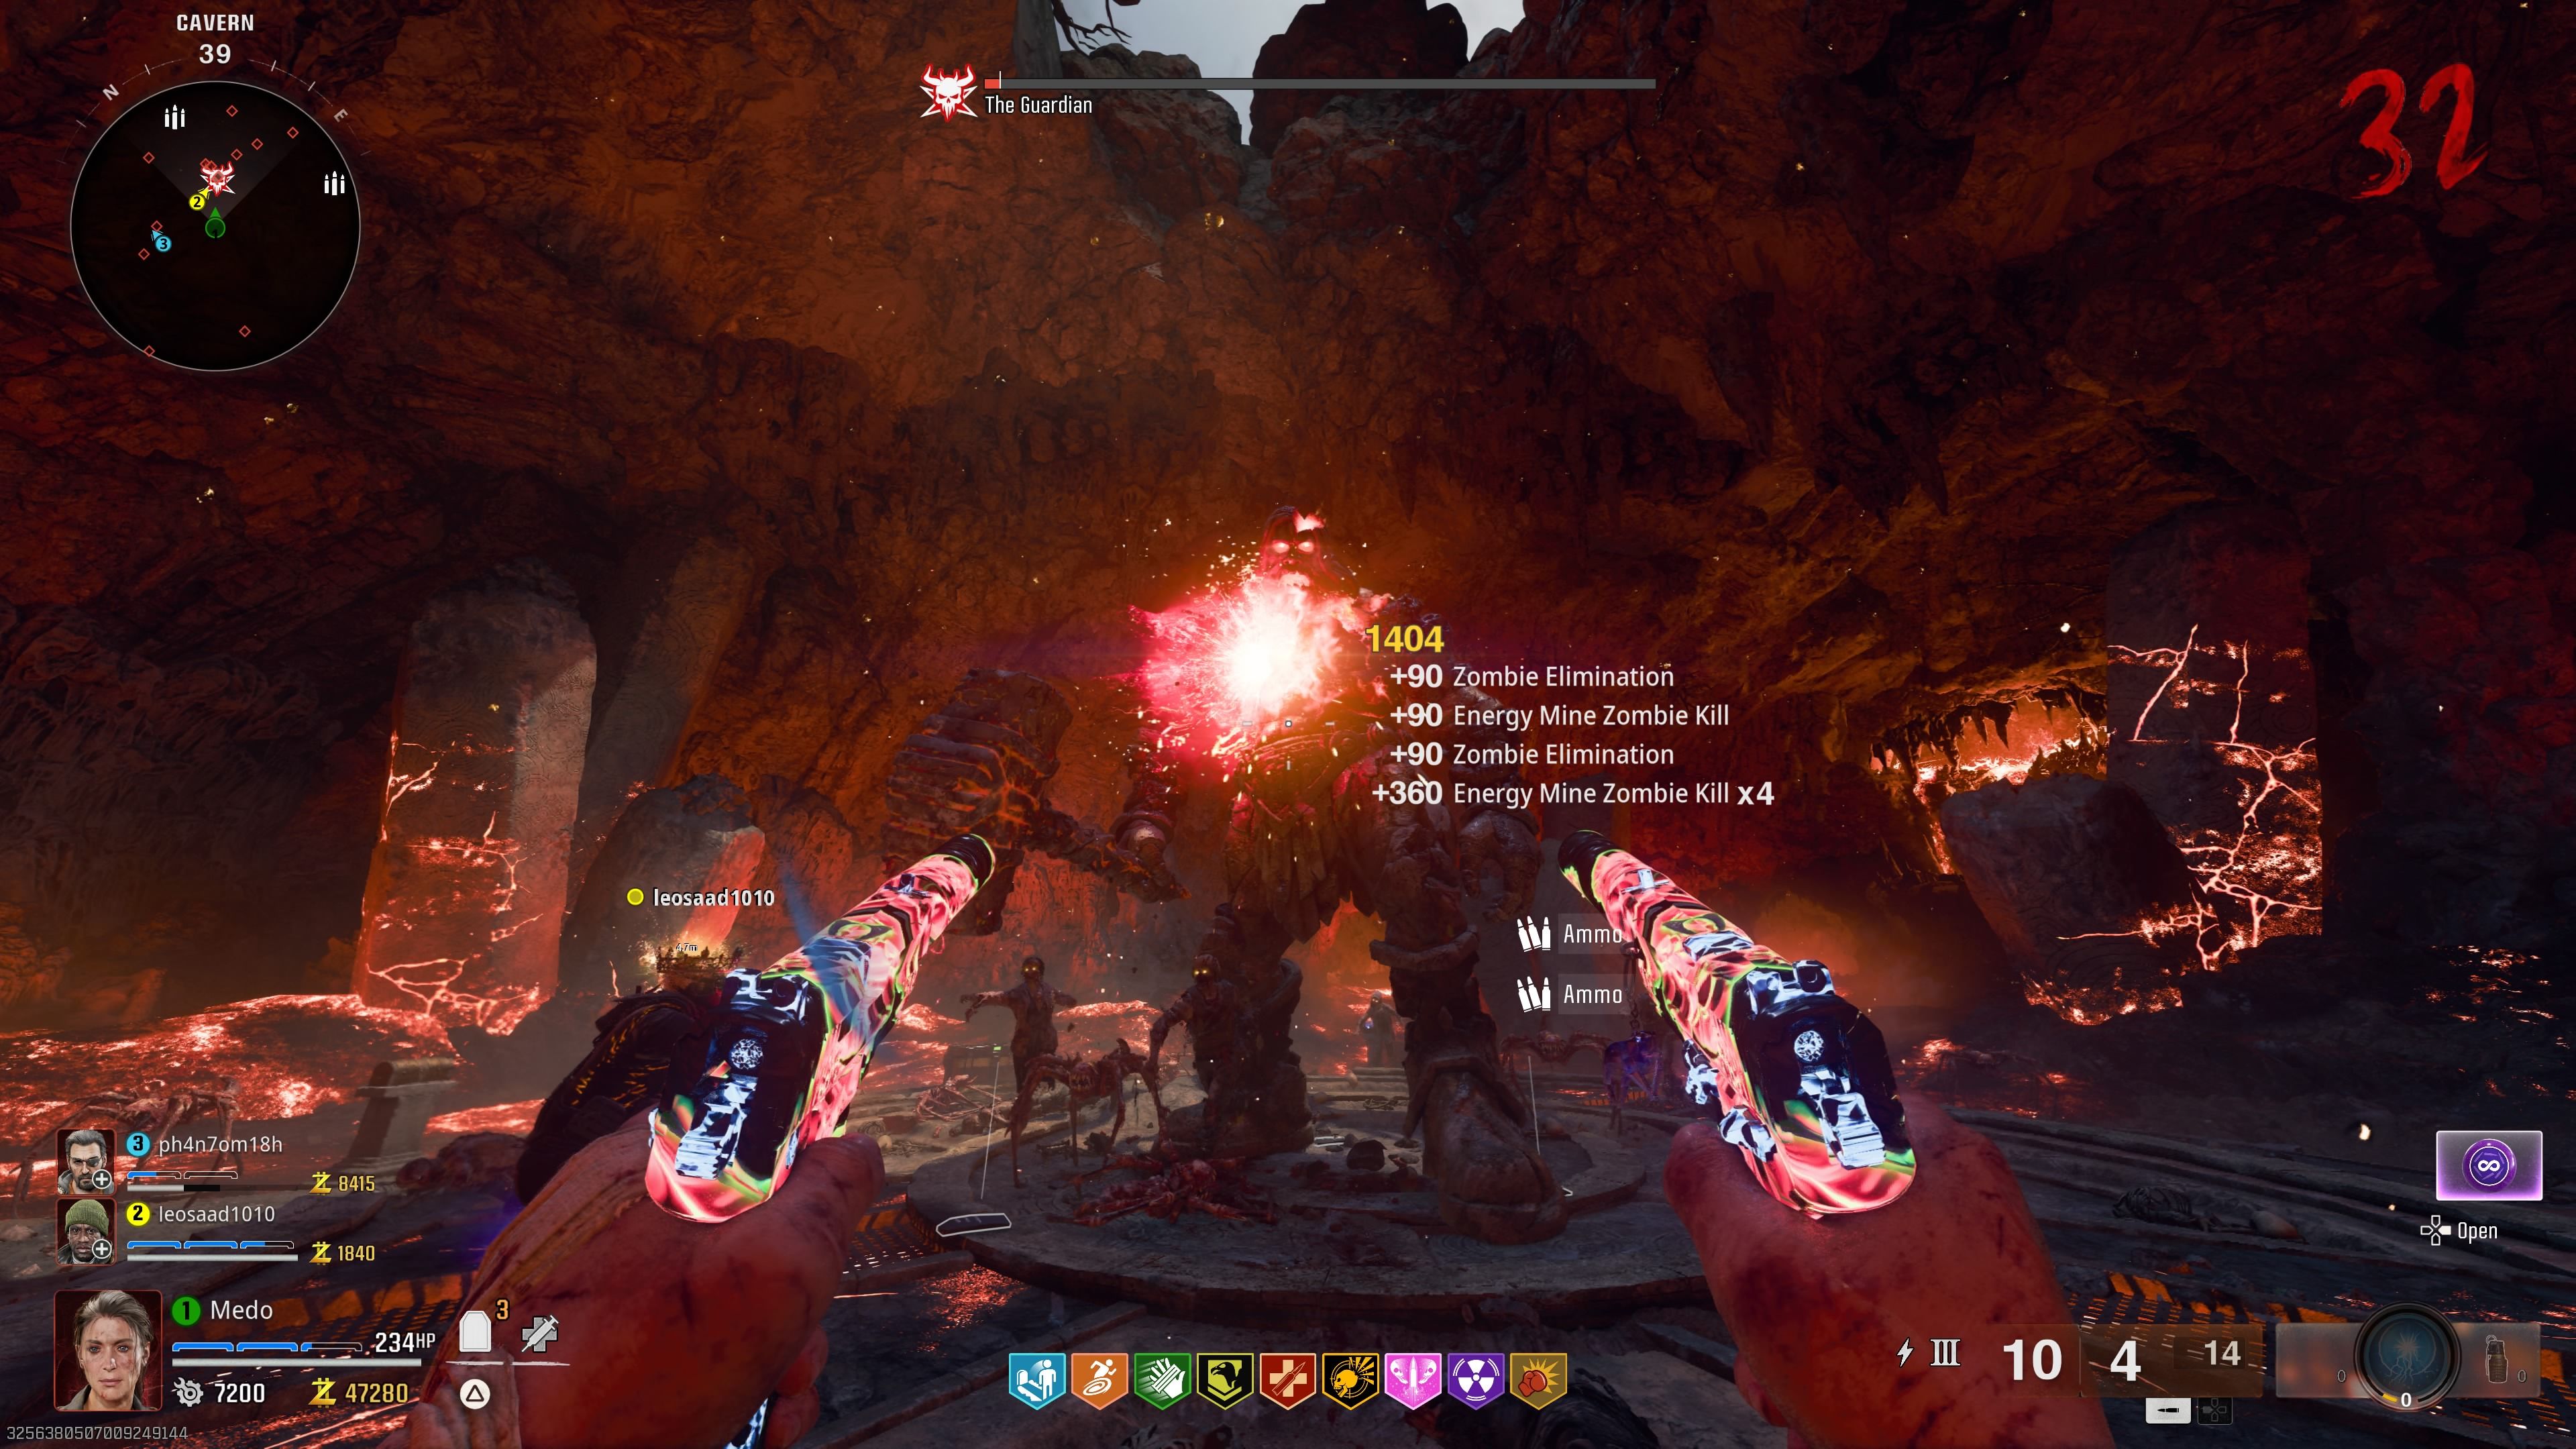
The Guardian has an armor that you need to break before you can deal significant damage. Once you break his shield, his weak points will be exposed, allowing you to do much more damage.
After you deal enough damage, you’ll notice parts of his body start to glow. These are the spots where you need to focus your shots, as hitting these areas will deal critical damage.
The Guardian’s shield will regenerate at the beginning of each phase, and you’ll need to break it every time before you can deal significant damage to him.
Phase One:
During phase one, the Guardian has a hammer slam attack that sends several fiery chunks in different directions. He also has a melee attack where he walks toward you and stamps on the ground.
Throughout the fight, you’ll need to be constantly running in circles. Only stop for a few seconds to shoot the boss, then keep running. The Guardian can deal significant damage, so staying mobile is key.
Don’t forget about the incantations; they can be very helpful for managing the zombies that spawn and reducing the number of threats chasing you.
During the Guardian’s immune phases, he will stamp his hammer in the middle of the arena, turning into a statue while a wave of zombies spawns. So, you’ll need to deal with the zombies before proceeding.
Phase Two:
In phase two, the Guardian becomes more mobile and gains a new attack: a homing slam that targets you.
He also gains the ability to shoot more lava spots, so be sure to avoid them, as they can cause significant damage if you’re not paying attention.
Like in phase one, continue running and shooting, avoiding his attacks as best you can.
If you need more shield, feel free to defeat zombies for more Essence for more ammo.
After dealing enough damage, the Guardian will enter his immune state again, preparing for the final phase.
Phase Three:
This phase is essentially a more intense version of the first two. Continue the same strategy – stay patient, keep moving, and focus on breaking the Guardian’s shield and hitting his glowing weak points.
Rushing or getting greedy will only cost you, so be patient and strategic.
For the final phase:
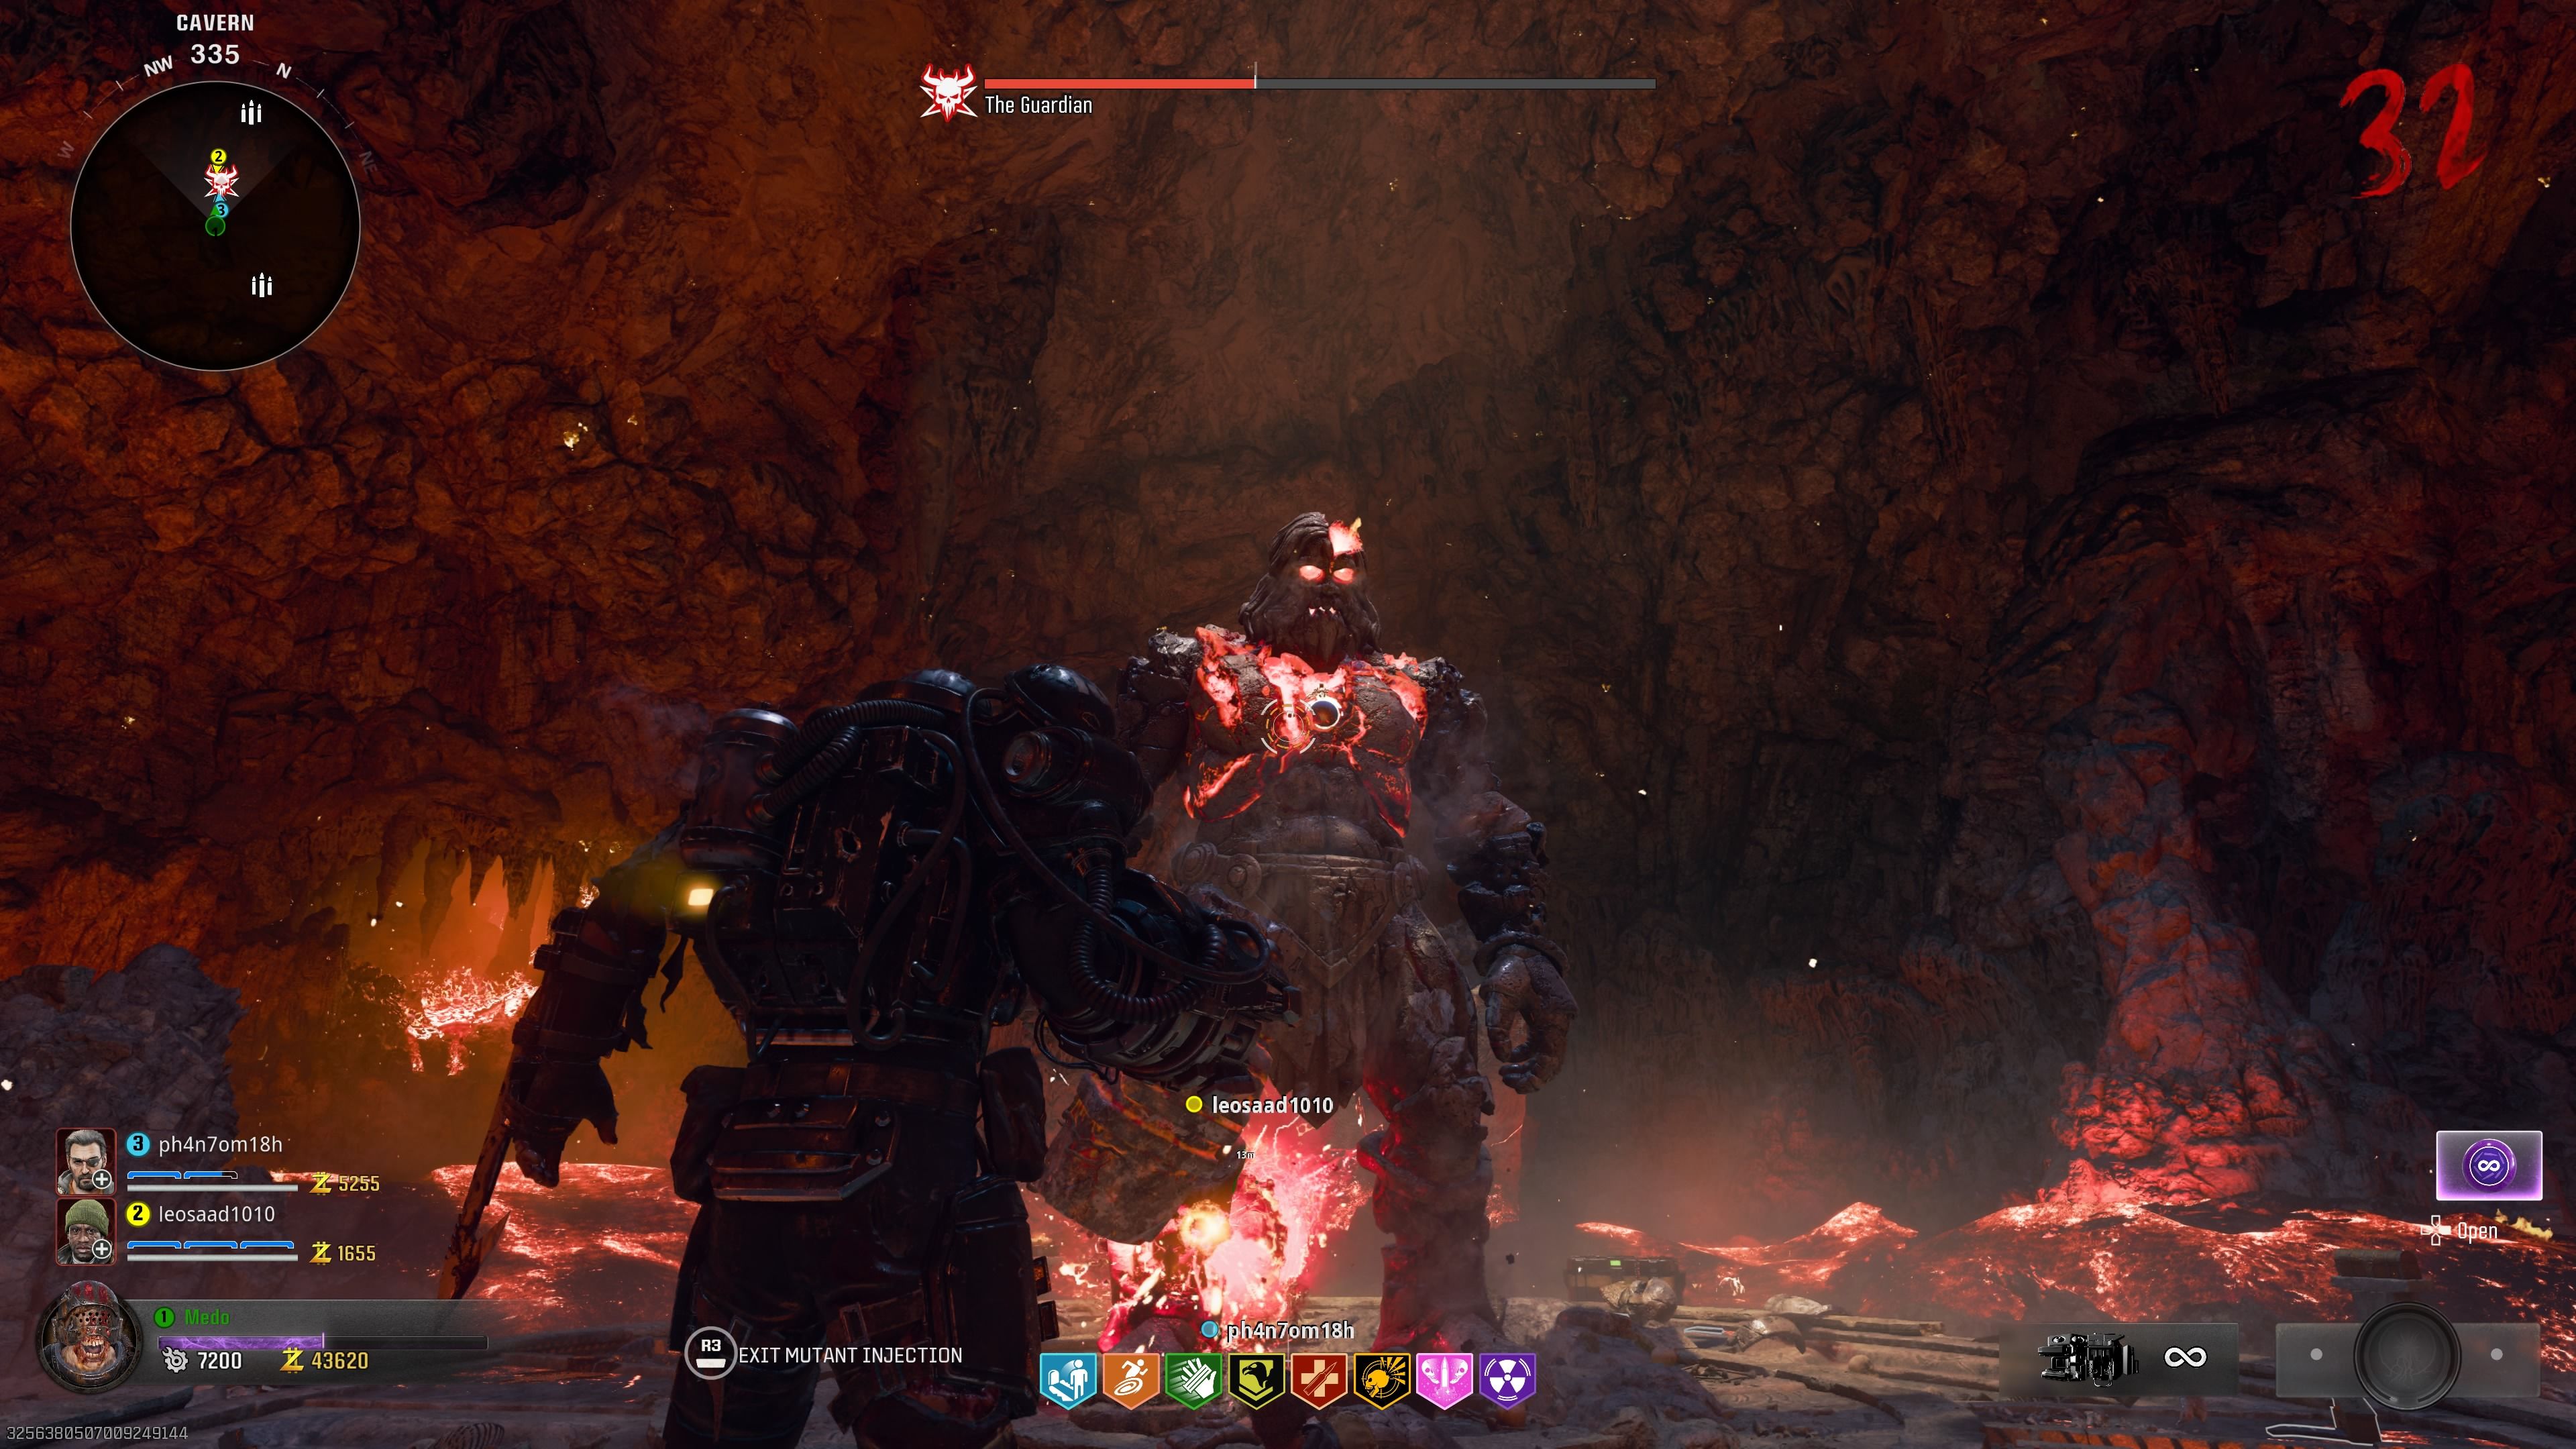
- Keep your Mutant Injection in mind. It can deal substantial damage after exposing the Guardian’s shield, and it’s highly recommended to use it during this phase.
- Additionally, the Mutant Injection can serve as a second chance when you’re about to die.
- Self-revive should always be saved as a last resort to avoid losing your perks.
Final Step:
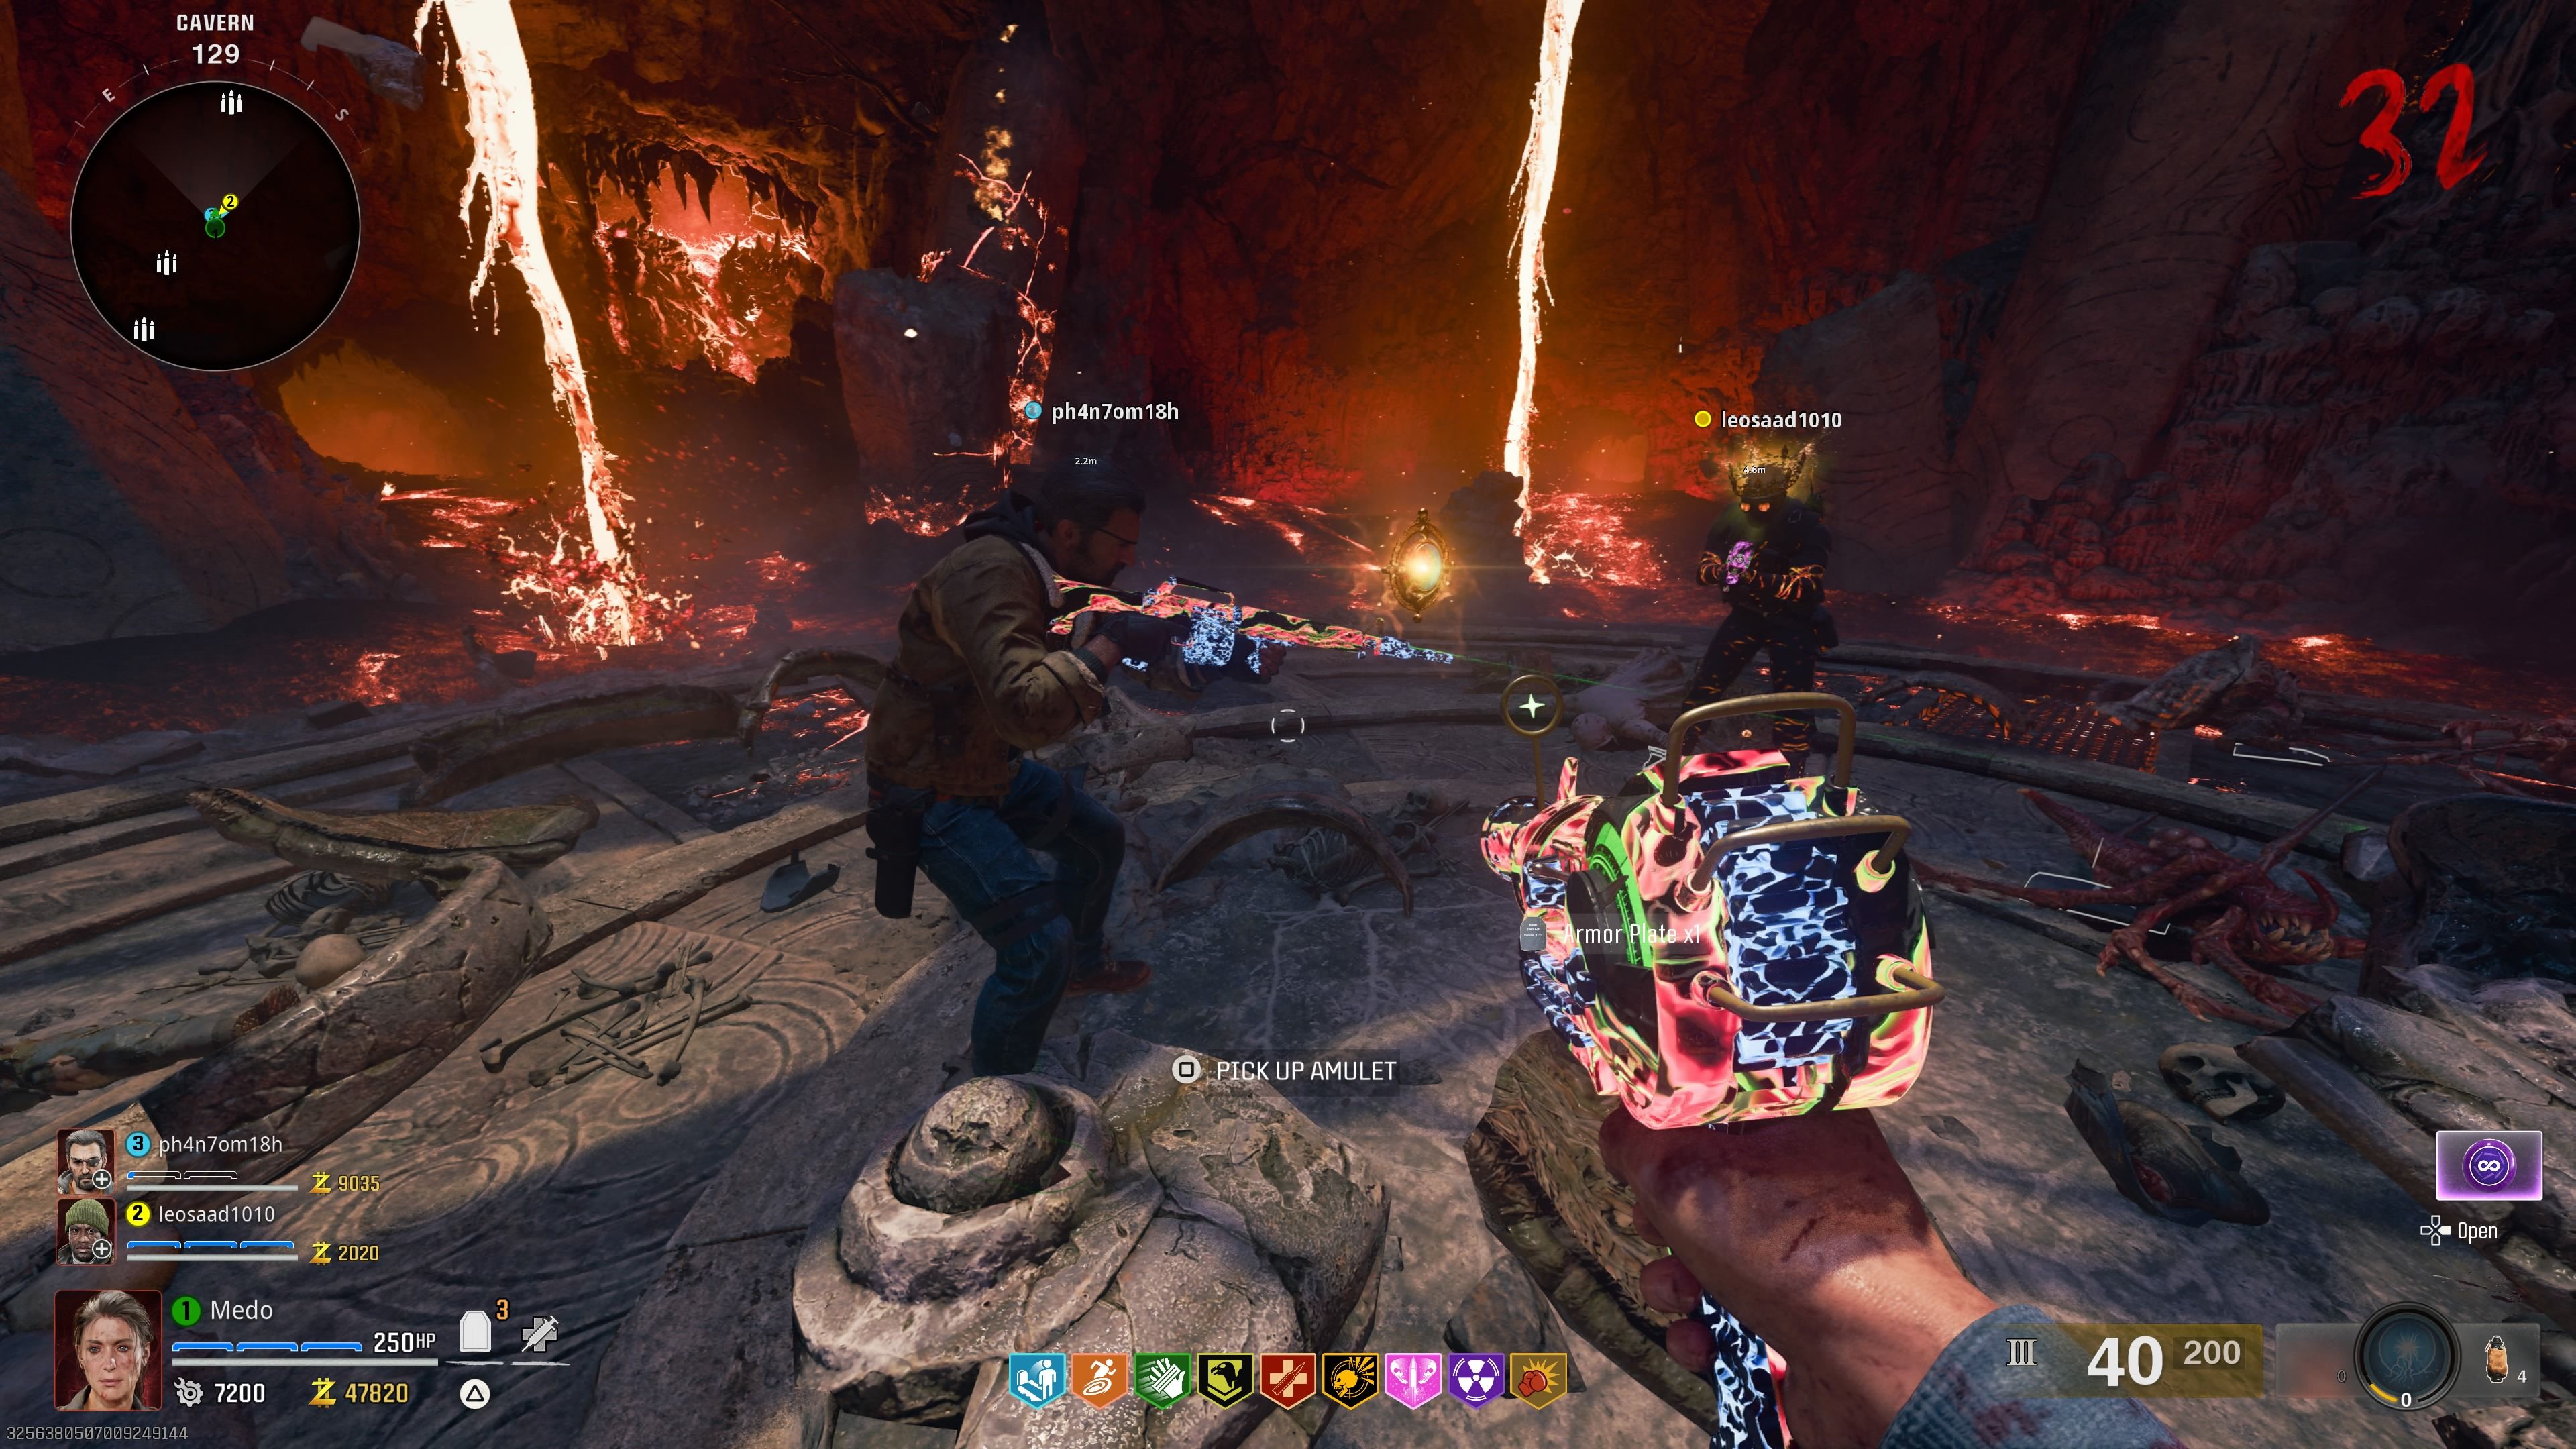
After successfully defeating the Guardian, head over to his corpse. You’ll find an item called the Amulet that you can pick up.
Citadelle Des Morts Easter Egg Boss Hacks
For those really struggling with this boss fight, you can make things easier by using Aether Shroud, a fully Pack-a-Punched Legendary Power Drill, and the Melee Macchiato perk with the Expresso and Stick ‘N Move augments. By simply meleeing the boss’s leg, you’ll see its health rapidly melt.
However, you’ll need a total of three Aether Shroud charges to fully defeat the boss, as it has two immune phases where zombies spawn. During these phases, you’ll need to kill zombies with your primary weapon and charge up the Aether Shroud field upgrade.
If you’re still having a really tough time and really want to complete the Easter egg, currently, there’s a bug you can use at your own risk. After inserting the Guardian Key, you can activate Idle Eyes during the statue animation.
If done correctly, even after being transported to the arena and the effect of Idle Eyes wears off, the boss will remain frozen, allowing you to easily damage it. However, zombies will still spawn and target you. Keep in mind that this seems to be a bug and may be patched soon, so that’s that.
Citadelle Des Morts Main Easter Egg Rewards
Upon completing the main Easter egg in Citadelle Des Morts, you have the option to either leave the game or continue the match to earn bonus rewards.
Completing the Citadelle Des Morts Main Easter Egg rewards you with the following, regardless of whether you choose to leave or continue:
- Jacknife Operator Skin for Weaver
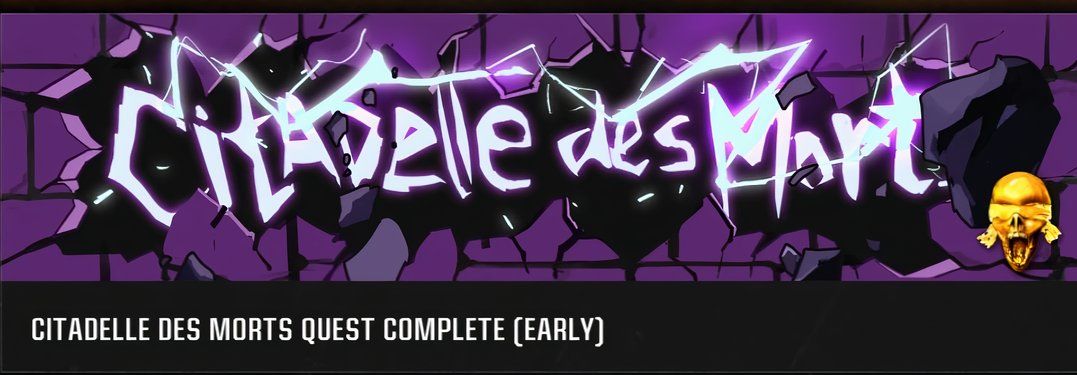
- Citadelle des Morts Quest Complete Calling Card
- Doppelghast Weapon Charm
If you complete this Easter egg before Directed Mode for this map is unlocked, you’ll also earn an exclusive variant of the Citadelle Des Morts Quest Complete calling card labeled “Early.”
If you’re still up for more and decide to stay in the game, you’ll receive a cache of Legendary weapons, multiple Bonus Points, a Perkaholic, a possible Wonder Weapon, and all perks in the game.
However, we highly suggest you take a break after completing all these steps – you’ve definitely earned it!!
Next
Call Of Duty: Black Ops 6 Zombies – Terminus Easter Egg Walkthrough
Here is a step-by-step guide to the Terminus main easter egg in Black Ops 6 Zombies.










Leave a Reply