Dungeons are a classic element of any good RPG, though this applies especially to older RPGs. Dragon Quest 3 Remake, being such a faithful recreation of the original game, will have you feeling nostalgic for a time long past, it’s first dungeon showing this off.
Related
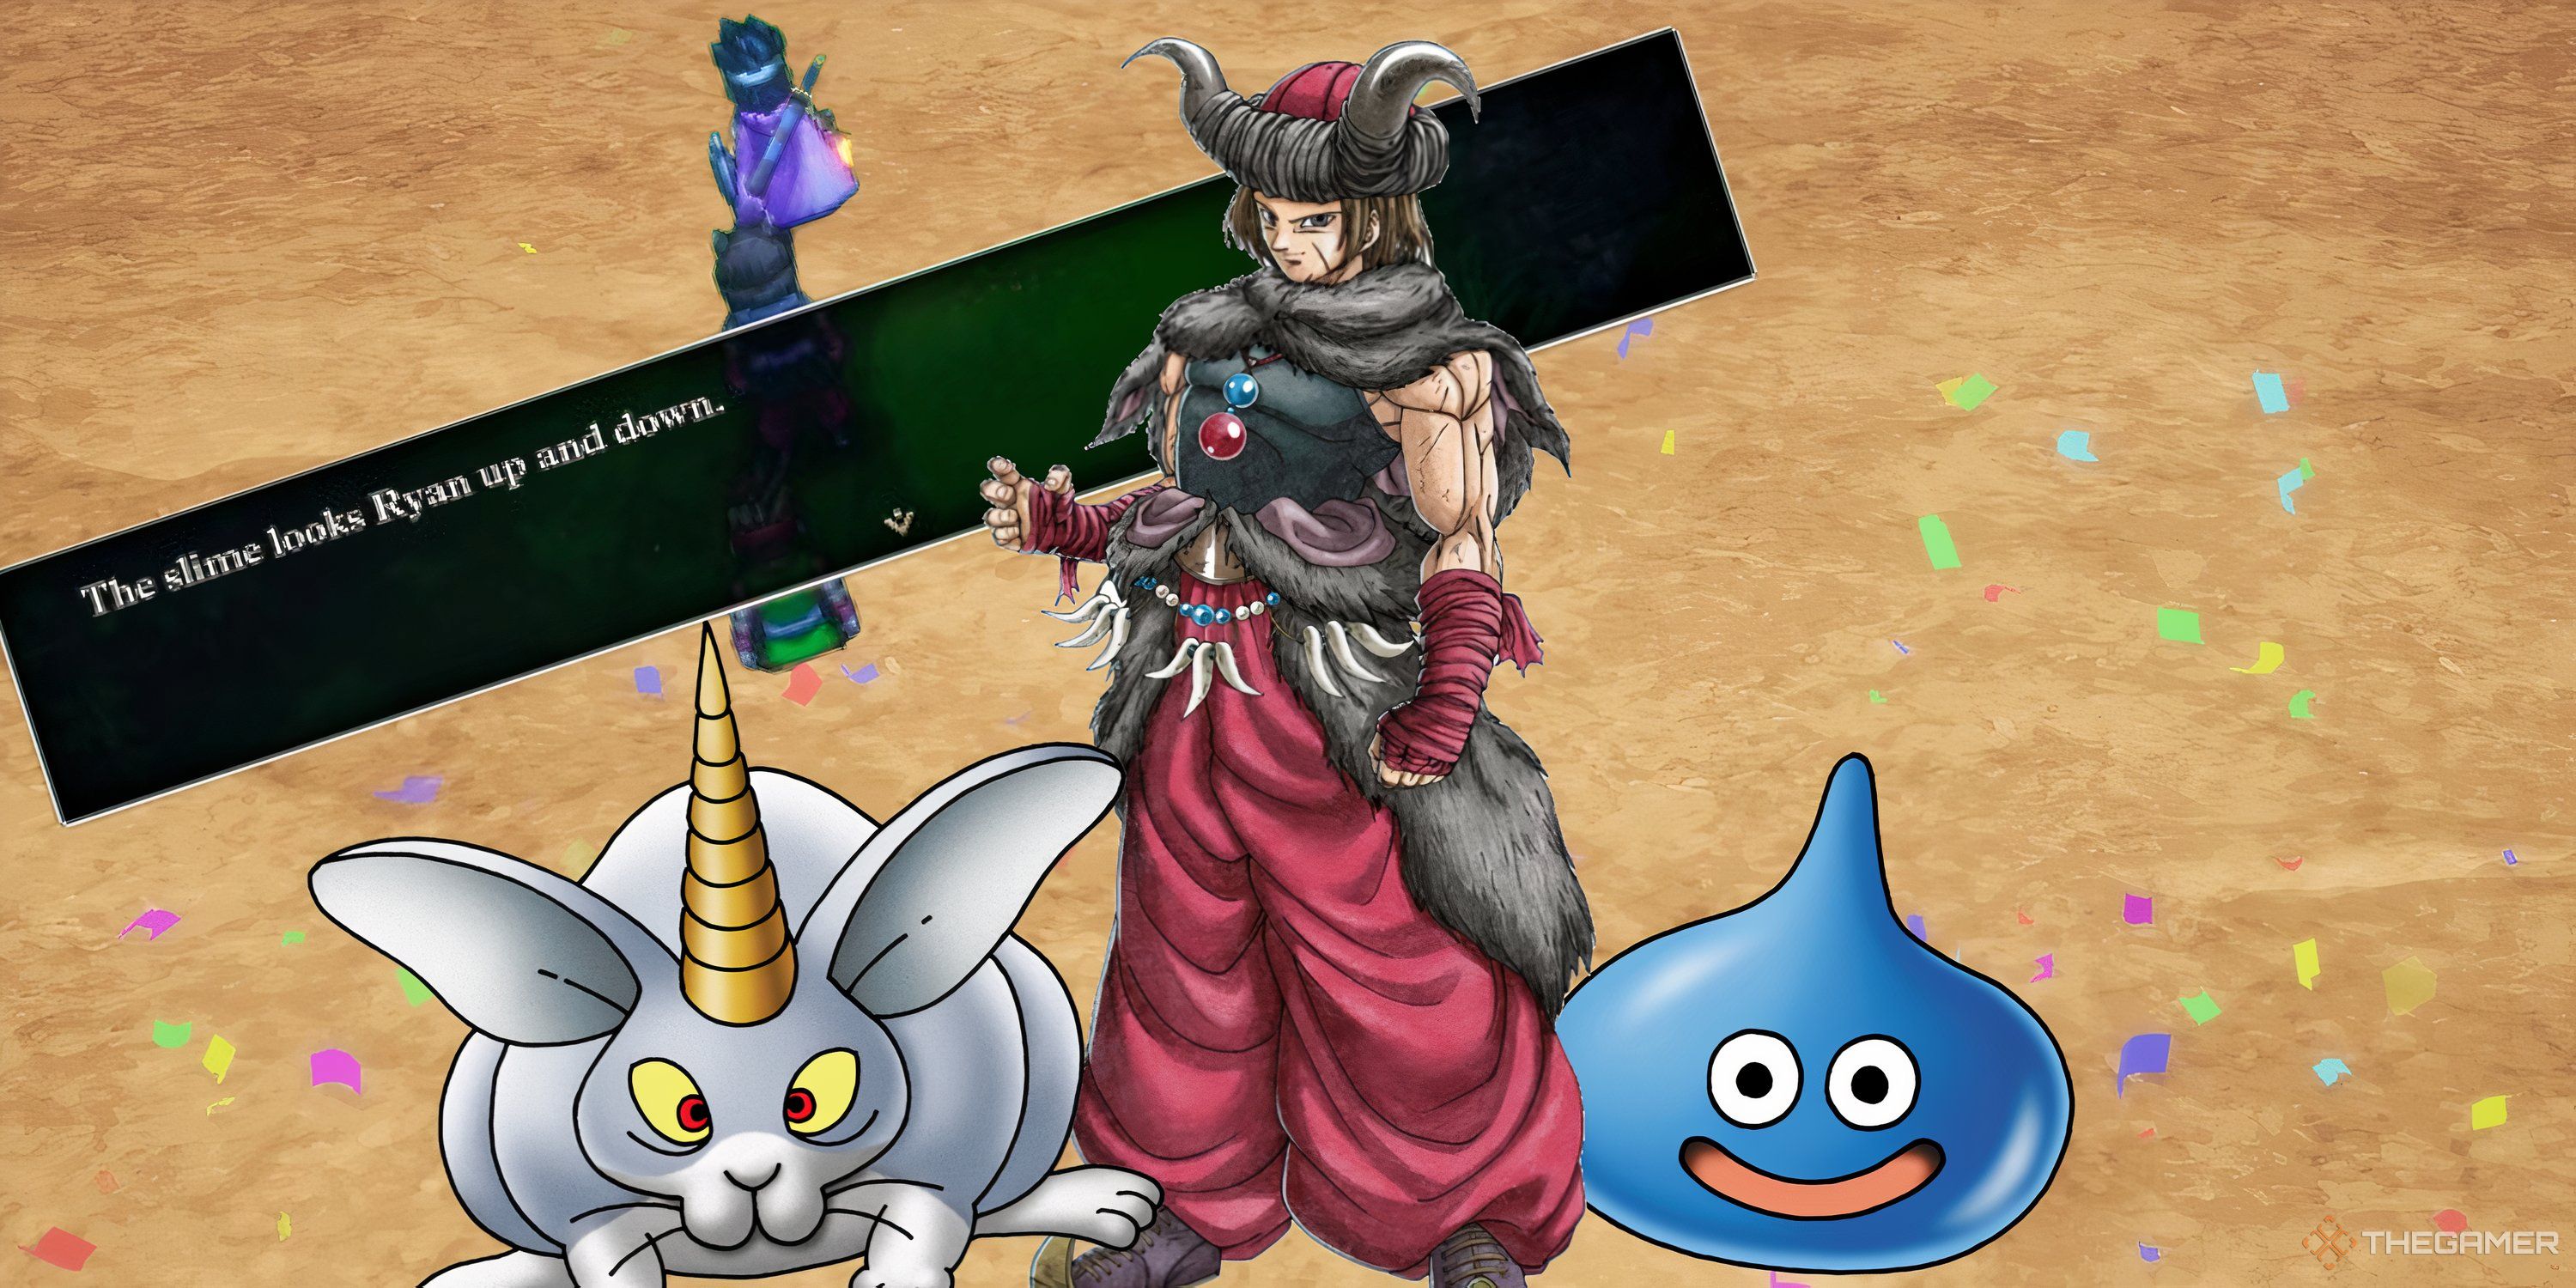
Monster Wrangling Breathes New Life Into Dragon Quest 3
Dragon Quest 3 is already a fantastic game, but how much does the new class and associated side quest affect things in the remake?
Skyfell Tower is found not long after getting to Romaria, with the king tasking you to get get his crown from the villainous Robbin’ ‘Ood. This isn’t the most complex dungeon in the game by any means, though it can definitely throw you for a loop the first time you run through it. Here’s everything you’ll need to succeed.
Recommended Level And Party For Skyfell Tower
Skyfell Tower acts as an introductory dungeon for the game, though that doesn’t mean it’s going to go easy on you. By time you reach it, you’ll likely have done a decent amount of journeying around the new continent. This is a crucial step, as you want to gain a few levels beyond what you land in Romaria with.
Ideally, you’ll want to be somewhere around level 10 for Skyfell Tower if you’re playing on the normal ‘Dragon Quest’ difficulty. This should give you a decent challenge but never make you feel like you’re in desperate need of reconfiguring your build.
In terms of party, the dungeon isn’t too demanding, either. We brought a Mage, Thief, and Merchant alongside our Hero, later swapping out the Merchant for a Monster Wrangler. That’s quite the odd smattering of Jobs, which is just proof that you can succeed with any party you set your mind too.
In terms of actual Jobs, we would recommend you bring a Mage, Priest, and a Monster Wrangler. This will give you access to healing, magic, and physical attacks.
Navigating Skyfell Tower
You start Skyfell Tower at the very bottom, and have to slowly weave your way to the very top towards the sky. It’s mostly linear, though it has a few paths that lead to dead ends, so make sure to keep an eye on your map before wandering into a dangerous enemy encounter.
Be extra careful while moving around the exterior parts of the tower. Any edges without a guard rail will have you plummet back to the very bottom of the tower. You won’t take any damage, but you will have to make the climb again. These can be identified on the map by the white-coloured edges.
Conversely, you can also use these edges to quickly bring yourself back to the bottom level if you want to make a quick exit.
There are no other major tricks going on here for you to be aware of. As you move up the tower, keep wary of the edges and make sure you stay healed. Once you reach the top floor, you’ll have a quick chat with Robbin’ ‘Ood before he leaps out the window with his henchman. Loot the chests in the room, and then jump out the window after him to start the boss battle.
Where To Find Every Optional Item
There is a series of items hidden around Skyfell tower as you spiral up it, and plenty of them are very good items to have this early in the game. While the majority of them are found in treasure chests, some smaller items can be found in wooden barrels and pots. Any pot without a lid is fair game, so always make sure to investigate.
Wooden Barrels with items tend to be a lighter shade, making them stand out more against the background.
Here are all the noteworthy items you can find in Skyfell Tower:
|
Item |
Directions |
|---|---|
|
Chain Sickle |
A chest on the right side of the first floor. You can get here through the south entrance. |
|
Bubble Slime |
The second floor by a statue. This is on the right side of the area. |
|
Wizard’s Staff |
In a chest in the same area as the Bubble Slime, in the left corner of the room. |
|
Bronze Shield |
In a chest on the right side of the third floor. The area can be reached by circling around the outside. |
|
Prayer Ring |
In a chest on the right side of the interior on the fourth floor. |
|
Mini Medal |
In a chest on the left side of the interior on the fourth floor. |
|
Musk |
In a barrel on the exterior of the fourth floor, left side. |
|
Ruby Wristband |
In a chest on the right side of Robbin’ ‘Ood’s room on the sixth floor. |
|
Skull Ring |
In a chest on the right side of Robbin’ ‘Ood’s room on the sixth floor. |
All of these items are helpful to have, but the Ruby Wristband and Skull Ring are the most precious with both of them having applications across the whole length of the game.
If you’re ever uncertain if you’ve found every item in an area, you can use the ‘Nose For Treasure‘ ability of Thieves to see if any are remaining.
How To Beat Robbin’ ‘Ood
The big bad at the end of this dungeon, and the first proper boss you will fight in the game, is Robbin’ ‘Ood. Aside from having a phonetically-written name that is an awful hassle to type, he’s not the biggest threat and has quite a limited selection of abilities.
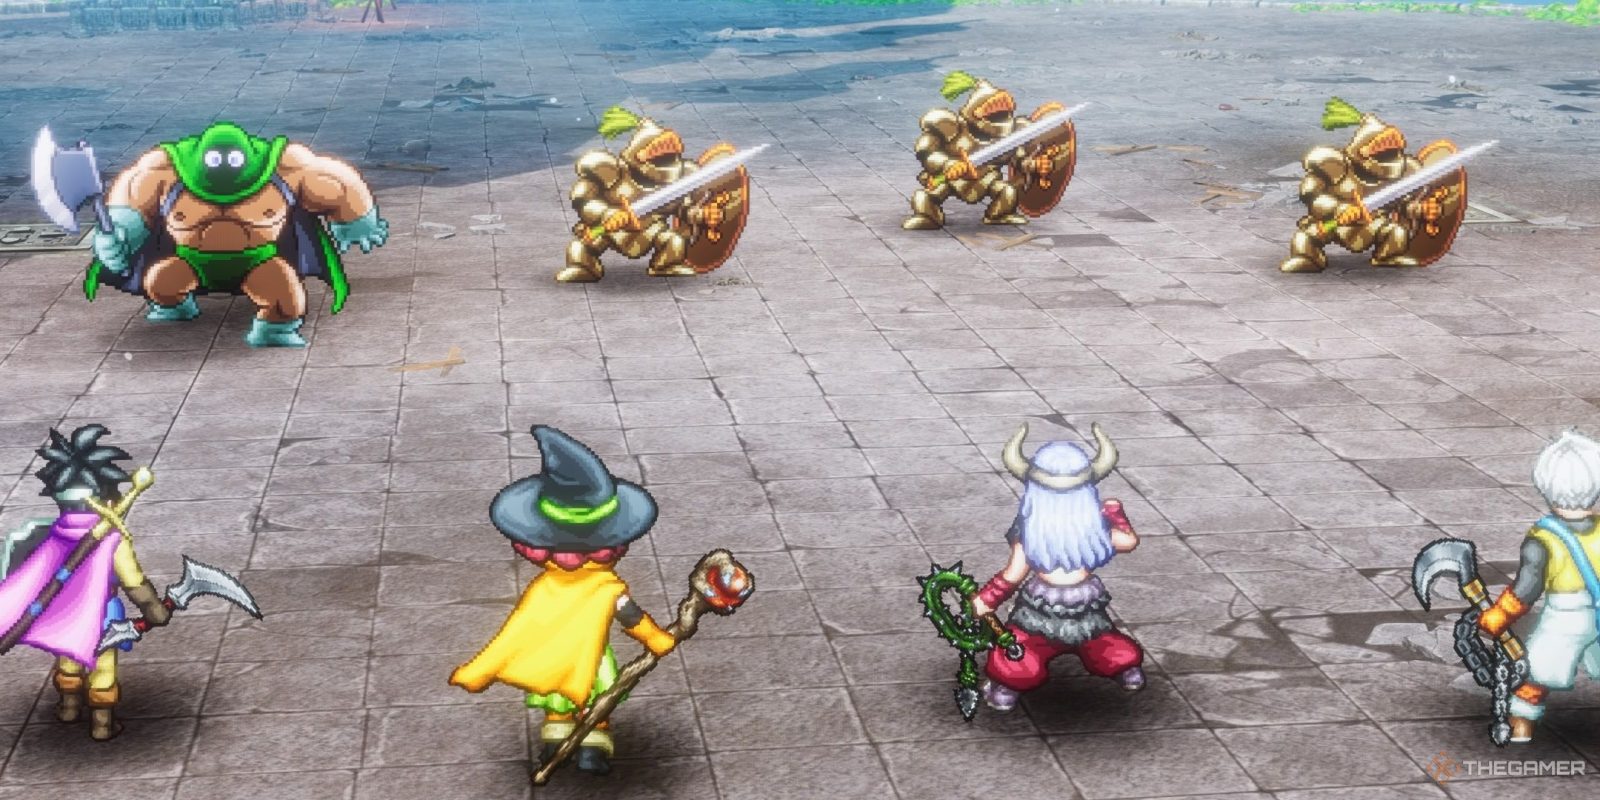
The main thing to look out for in this fight are his henchmen. Unlike other encounters, they are each counted as individual enemies, rather than being part of a group. That means unless you have a Boomerang or the spell Bang, they must be attacked one-by-one. This also means you can choose to focus all your attacks on a single enemy.
We would recommend you take out the henchmen first. They are weak to blast damage, so a Mage with Bang can deal with them quite quickly. If you brought a Monster Wrangler, they should have the Call of the Wild ability. This can attack every enemy like Bang, and deals decent damage.
Make sure you have someone who can do healing as well. The Mage being able to use Kabuff is a great help, but you don’t want to be caught in a scenario where you can’t heal. The Priest and Monster Wrangler both get healing skills early on, so make sure you have one of them for the battle.
Robbin’ ‘Ood himself is weak to Wind and Fire damage, so either Propeller Blade from the Thief, or Woosh from a Priest can do some good extra damage here. Your Hero should already have learned Flame Slash and Frizz at this point, which can deal some strong damage depending on your stats.
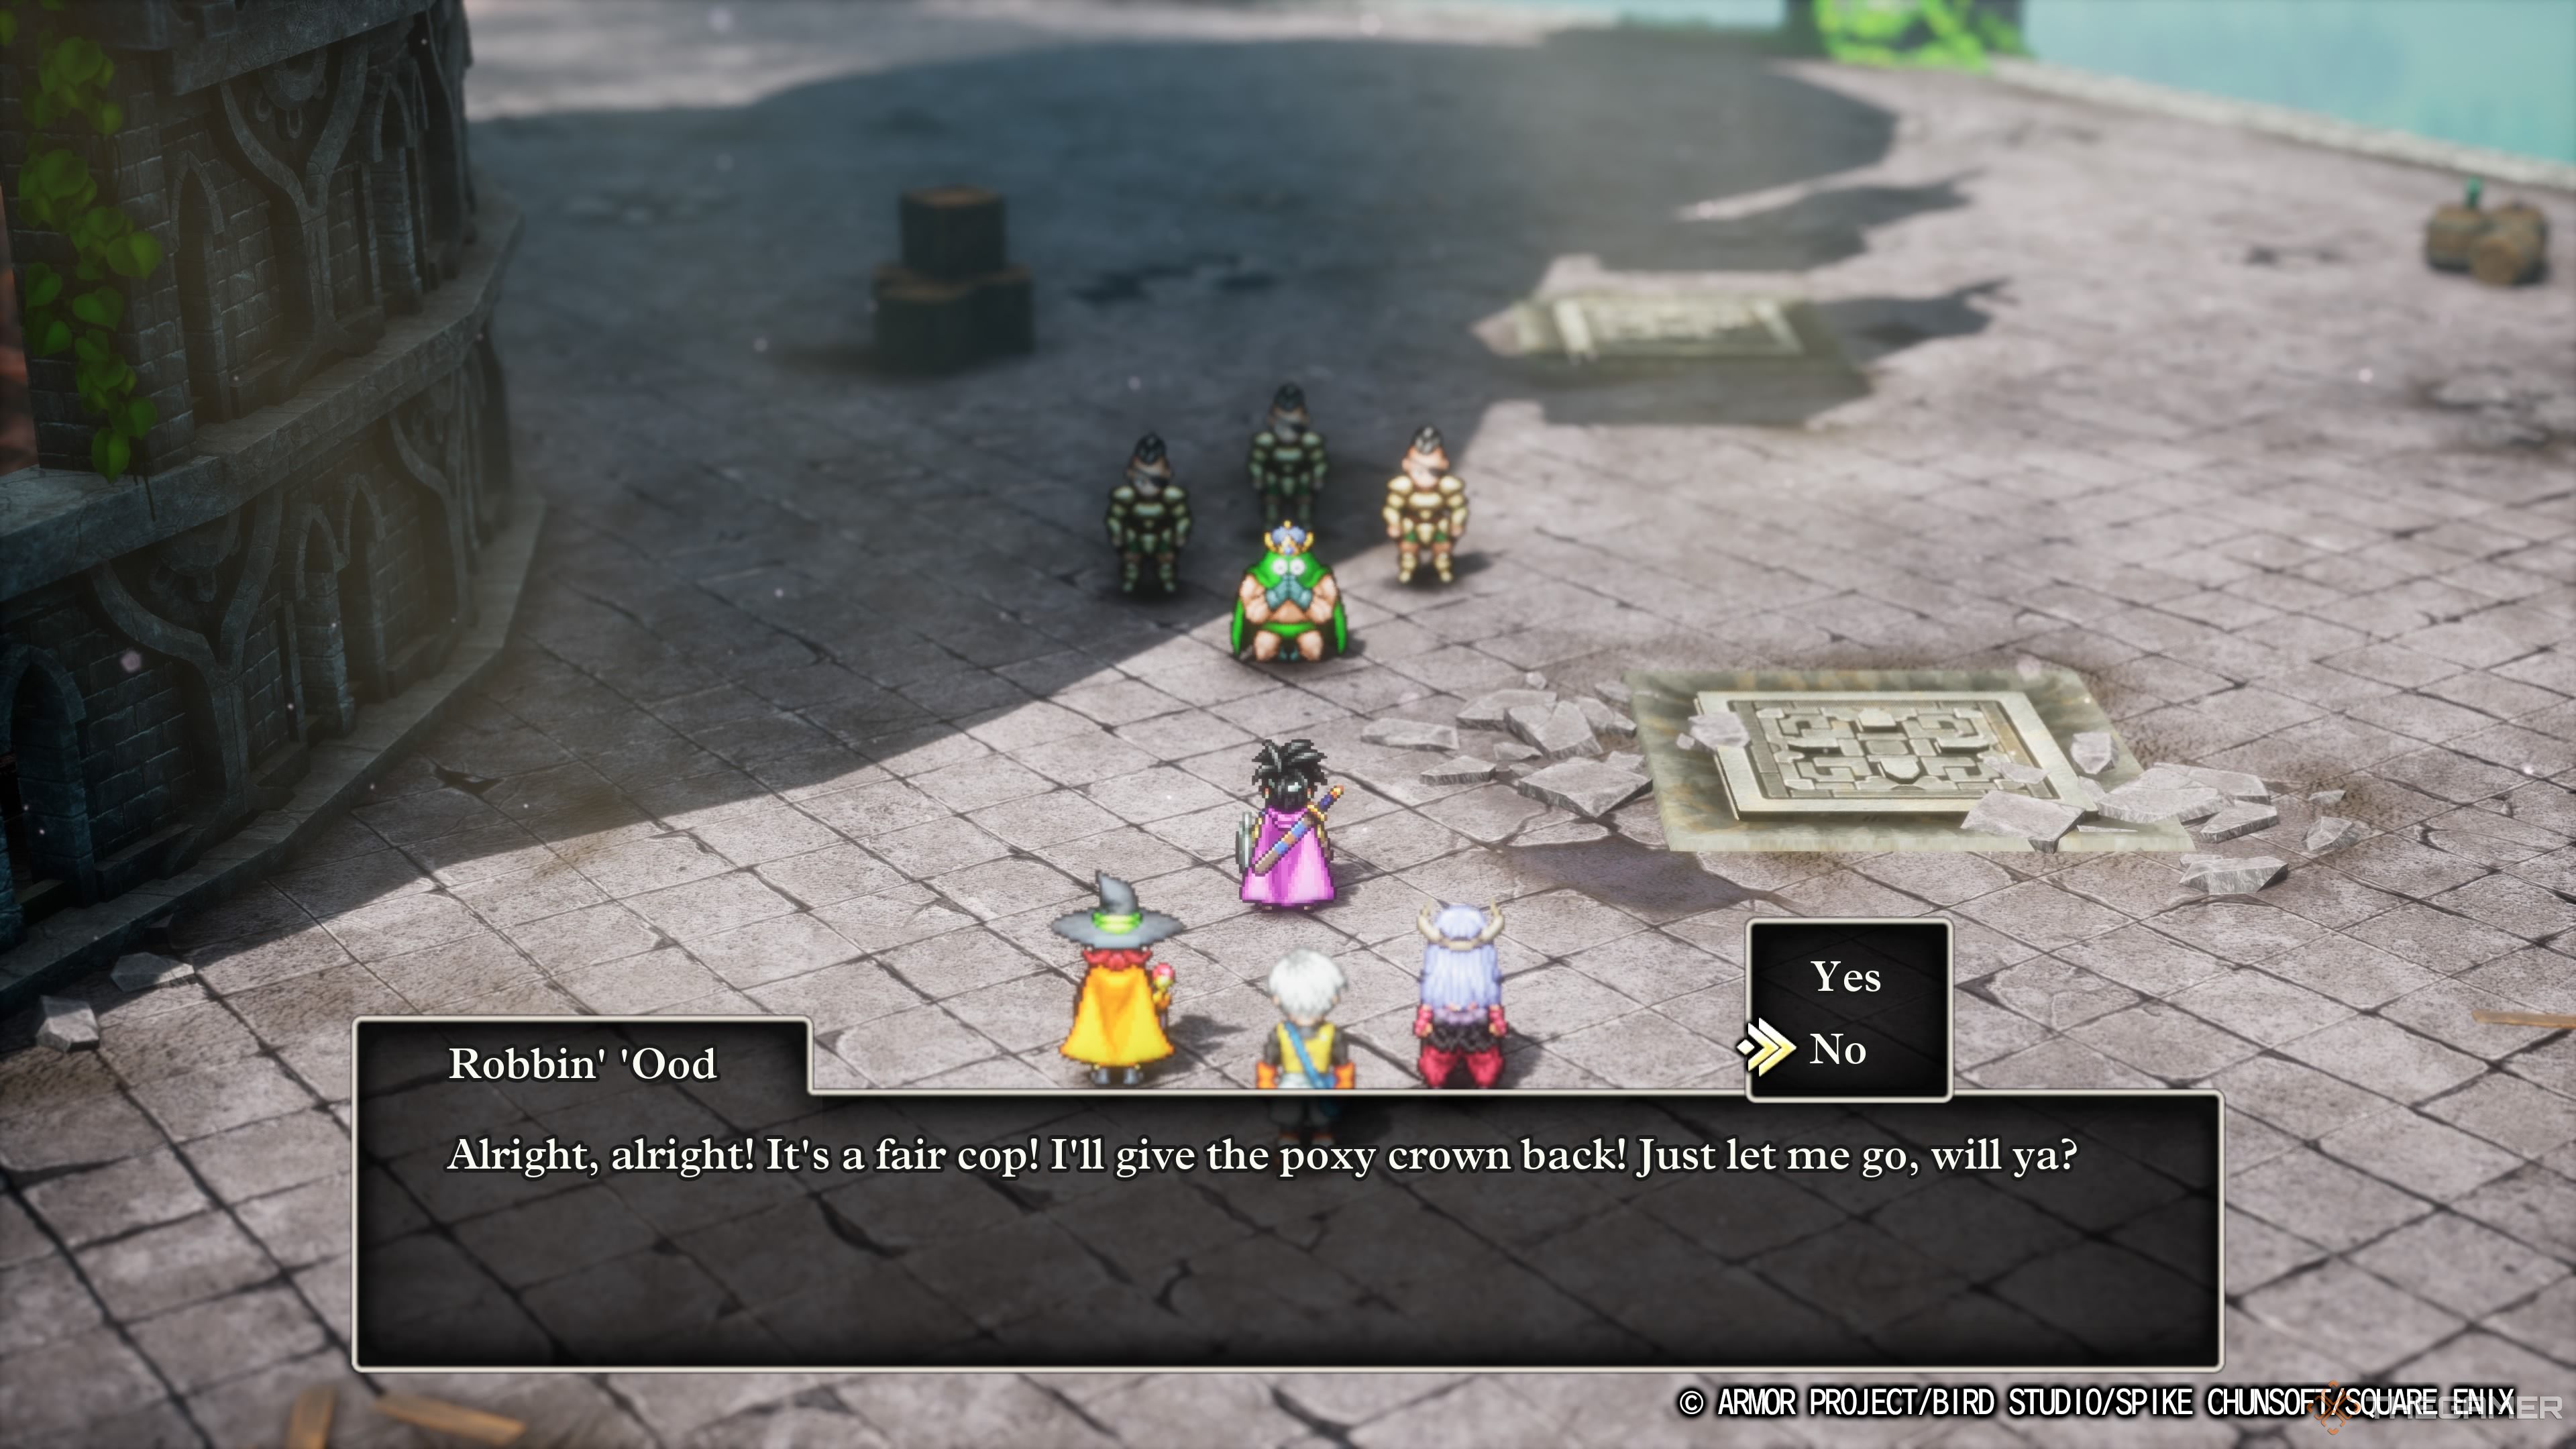
Beyond this, there are no big secrets. Robbin’ ‘Ood doesn’t whip out any special moves after his henchmen are defeated, nor when he is low on health. He never does more than a single attack per turn, though he does hit hard. Once you’ve laid him to rest, feel free to take the crown and be on your merry way.
The choice you make with Robbin’ ‘Ood at the end doesn’t actually matter. If you say no, he’ll just keep begging until you forgive him. Bleeding heart.
Next
Dragon Quest 3 Remaster Preview: Prepare To Be Insulted
Wonder how being a raging narcissist will help me on my quest…







Leave a Reply