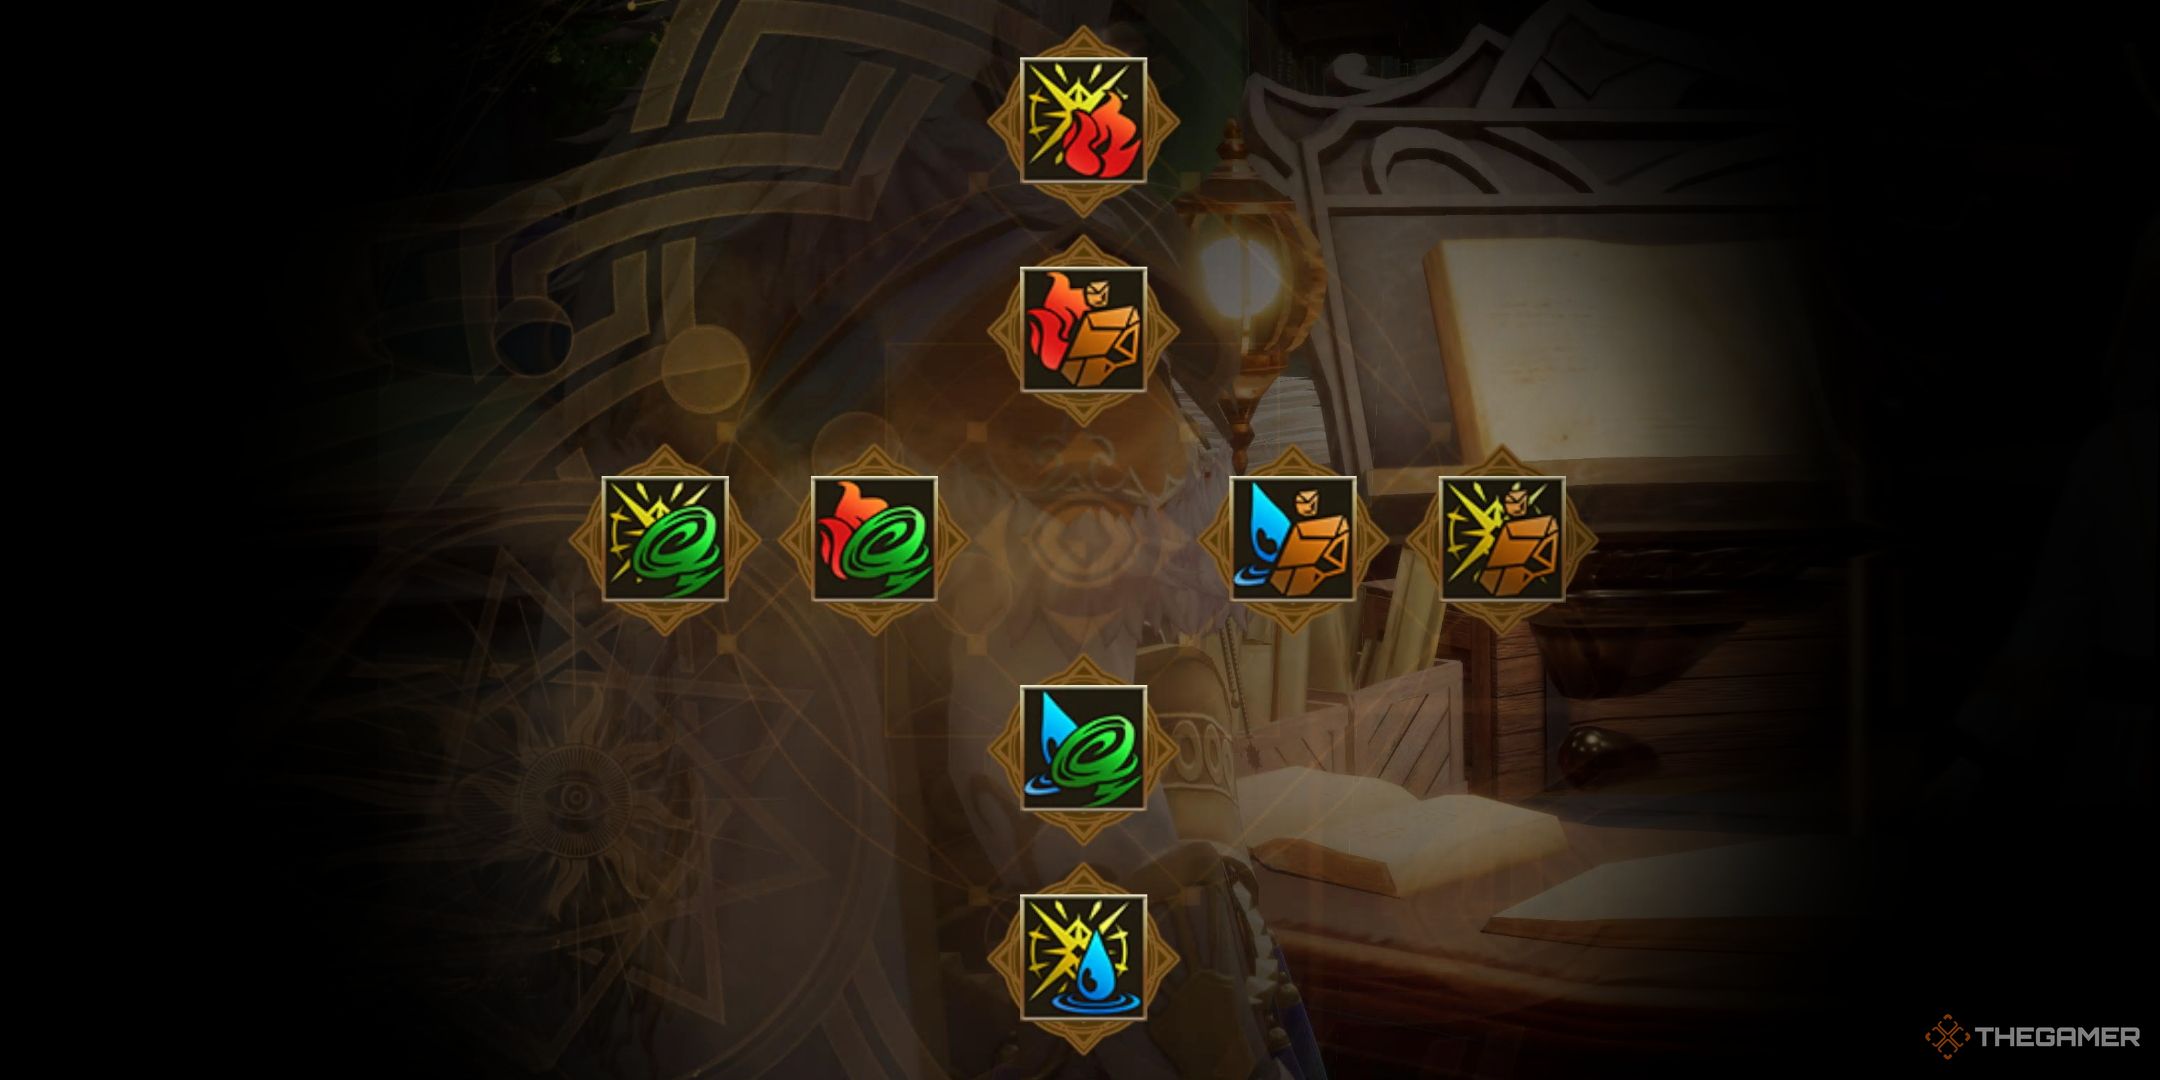
Romancing Saga 2: The Revenge of the Seven features six schools of magic. Each is tethered to a different element. As you build affinity for magic types, you’ll gradually unlock new spells. However, there is another form of spell you’ll encounter: synthesis spells.
Related
What Is Your Favorite Class In Romancing Saga 2: Revenge Of The Seven?
For me, it’s a toss-up between Crusader and Imperial Blacksmith. I unlocked Diver too late in the game to really do anything with them, but if I do a second playthrough I think she could be a really strong addition to my team.
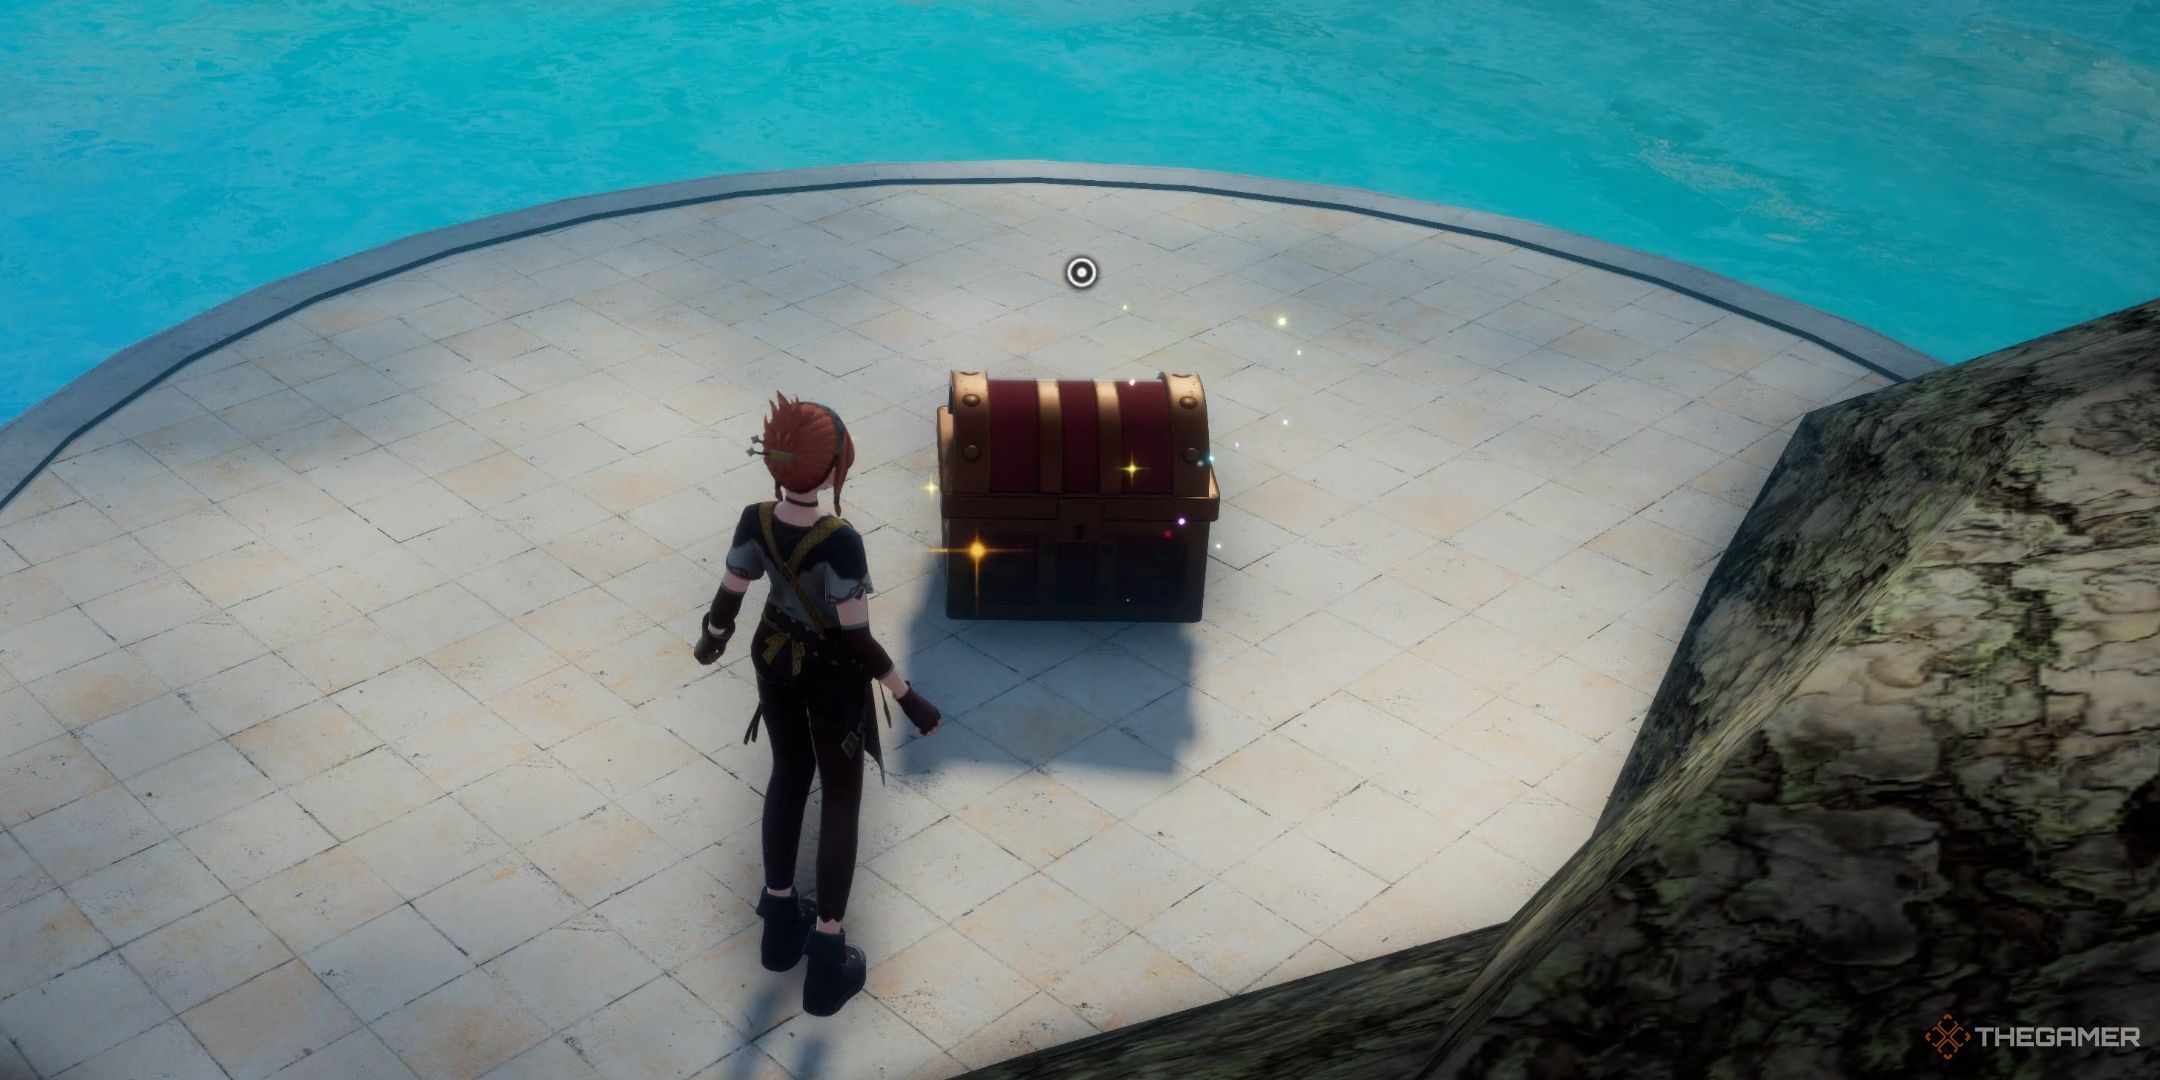
Unlike regular magic, these spells are learned by way of special magical tomes you’ll find hidden in treasure chests spread out around the world. These spells run the gamut from being potent attacks to being some of the most powerful defensive spells in the game. Even more exciting, if you are looking for a spell that will heal every party member, you’ll find that spell here.
All Synthesis Spell Tome Locations
Below you’ll find a list of every spell book, the spell associated with them, and the location of each. Typically, the way it works is that you’ll find one of these tome in every location that houses enemies. If the location is a dungeon, then the chests that hold them are typically found just before, or just after, the boss of the dungeon.
If you are specifically looking for a spell that will heal all your party members, you’re looking for the Restoration spell that is learned from the Book of Light & Wind III. Other spells you should make a priority are the Light & Earth II’s Light Wall and the Book of Fire & Earth I’s Fire Wall.
|
Book Name |
Spell |
Location |
Directions |
|---|---|---|---|
|
Book of Light & Water I |
Diamond Dust |
Nazelle Strait |
The chest that holds this tome is found in a chest next to the exit of the Nazelle Strait. |
|
Book of Light & Water II |
Prism Light |
Salamat |
South of the save point in the center of the area, you will be able to climb a massive fallen tree to get into the upper area. You’ll find the chest with the tome up here. |
|
Book of Light & Wind I |
Faerie Glow |
Toba |
After you have collected the Swallow’s Nest from the top of this mountain during the mermaid quest, you’ll find this chest on your way back to the entrance. |
|
Book of Light & Wind II |
Solar Wind |
Melu Desert |
Found in the Melu Desert – West section of the map. |
|
Book of Light & Wind III |
Restoration |
Gelid Ruins |
You’ll obtain this book after defeating The Giant at the end of the Gelid Ruins. |
|
Book of Light & Fire I |
Saint Fire |
Cape Chalier |
Near the end of the dungeon, shimmy across the ledge instead of leaving through the cave exit. You’ll find the chest that holds this book in the section that follows. |
|
Book of Light & Fire II |
Crimson Fire |
Nival Ruins |
Found in the chest you’ll be able to access after defeating the dragon in the basement of the Nival Ruins. |
|
Book of Light & Fire III |
Flashfire |
Castle Hakuro |
Found in the Castle Hakuro Grand Tower 2F section. |
|
Book of Light & Earth I |
Arc Thunder |
Messina Mine |
You’ll find the chest with this tome inside in the second part of the mines. Make sure to complete this quest when it first becomes available. If you progress too far into the game, you will not be able to enter the Messina Mines. |
|
Book of Light & Earth II |
Light Wall |
Avalon Gardens |
The game will force you to build the Avalon Gardens in the introductory section of the game. As generations pass, it will level up. Once it is fully leveled up, the tree will grow wide enough that you will be able to reach a chest that was previously unreachable. |
|
Book of Fire & Earth I |
Fire Wall |
The Steppe |
Near the center of the map, next to the cluster of ladders. |
|
Book of Fire & Earth II |
Heat Hand |
The Steppe |
The chest that contains this tome is in the southeast room of the second floor of the Landship Fortress. |
|
Book of Fire & Wind I |
Heatwave |
Imperial University |
The chest that holds this Tome is found on the second floor, just above where you find Mr. S. |
|
Book of Fire & Wind II |
Firestorm |
Torrid Ruins |
This is your reward for defeating the boss of the Torrid Ruins. |
|
Book of Water & Wind I |
Cyclone Squeeze |
Gemstone Mine |
In the first section of the Gemstone Mines, you’ll find the chest with this tome in the northeast corner of the map, near the end of the first area. |
|
Book of Water & Wind II |
Call Lightning |
Floating Castle |
You’ll find the chest that holds this book in the Floating Castle 1F section of the stage. |
|
Book of Water & Earth I |
Elixer |
Sunken Tower |
In the section of the dungeon where the ground crumbles underneath your feet, you’ll drop down into the Sunken Tower 2F (this is the area with the Water Dragons). You’ll find the chest in the northeast corner of this room. |
|
Book of Water & Earth II |
Dragon Pulse |
Wandering Lake Ruins |
This is in one of the rooms just before you face off against Noel. |
All Dark Elemental Synthesis Spell Tome Locations
You will have access to all magic types right from the beginning of the game with one exception: Dark Magic. While you will still be able to collect the tomes that house these forbidden spells, you won’t be able to utilize any of them unless you complete a specific quest. Thankfully, we’ve got a guide that goes into detail about all of that here.
You will need to choose whether you want to be able to recruit the Salamander class or be able to use Dark Magic. The Salamander class does hold the class ability that will allow you to be immune to fire, so choose wisely!
|
Book Name |
Spell |
Location |
Directions |
|---|---|---|---|
|
Book of Dark & Fire I |
Hellfire |
Eastern Subterrane |
You’ll find this tome in a cavern near the center of the Eastern Subterrane. |
|
Book of Dark & Fire II |
Ghost Light |
Witch’s Sanctum |
Found in the cavern south of the witch’s cottage |
|
Book of Dark & Earth I |
Sand Storm |
Savannah |
Found in the northeast corner of the map, near the town that had been destroyed by termites. |
|
Book of Dark & Earth II |
Wraith Form |
Seer’s Citadel Secret Room |
You’ll need to solve the puzzle in the Seer’s Citadel to obtain this book. You can follow our guide on how to do so here. |
|
Book of Dark & Earth III |
Landslide |
Minstrel’s Cave |
Naturally, you will need to complete the Mistrel’s lengthy quest before you will be able to obtain this Tome. |
|
Book of Dark & Wind I |
Dark Sphere |
Teretuva Tower |
Found in Corridor 3-4 F. |
|
Book of Dark & Wind II |
Vortex |
Castle Chonto |
Found in the Tertiary Outworks 1F section. |
|
Book of Dark & Water I |
Poisonous Blow |
Termite Den |
You’ll find this book in the chest just before you fight the Termite Queen. |
|
Book of Dark & Water II |
Ill Storm |
Eirunep Tower |
Found in the Eirunep Tower 2F section. |
|
Book of Dark & Water III |
Rain of Death |
Sunken Ship |
You will obtain this tome after defeating the Ghost Pirate Garon. |
Next
Romancing Saga 2: Revenge Of The Seven – The Location Of Every Memory Of The Seven
If you’re looking to get the full story behind Romancing Saga 2: Revenge Of The Seven’s seven heroes, you’ll find the location of their memories here.
Source link






Leave a Reply