Ok. So you got a new PC, or your current one is sucking, here are my top tips for making sure that your PC is optimized and ready for gaming. Some will require paying money (yes, that thing you continuously waste during the game-play), and some will be easy and free. Skip to #5 for the advanced tips.
At the end of the article, I’ll also add a list of my favorite accessories to make the PC Gaming experience fun (and not boring, like your face).
Tip #1 – Turn Off Active Programs
Cost: Free
Time: 2-mins
Brain Cells: Easy
Before I start a game (like Lords Mobile on Emulator), I will first close all the stupid and unnecessary background applications. It’s a simple step that makes a massive difference in how well the game works. Background apps like web browsers, streaming services, and even some chat programs can eat up valuable resources that my game needs.
Chrome, especially with a million tabs open, will grind even my Alienware down to a bloody halt. It will cause my game to run slower, with annoying lags or lower frame rates.
Open the Task Manager (I press Ctrl + Alt + Delete) to see what’s running in the background. It shows me which apps use the most CPU, memory, and network resources. If I see something that I don’t need while gaming, I right-click it and choose “End Task.” It only takes a few seconds, but it can make a big difference.
Tip #2 – Delete Garbage Programs
Cost: Free
Time: 15-mins
Brain Cells: Medium
This is a required step for every computer, especially if you want it to work. For those using Apple, ignore this section because your computer is already trash. In fact, ignore this entire article and throw your computer into the toilet.
Computers are packed with garbage programs. The more you remove, the better the experience. Obviously, there are some programs that you cannot remove. Use your brain cells before you start deleting programs. If in doubt, DO NOT DELETE.
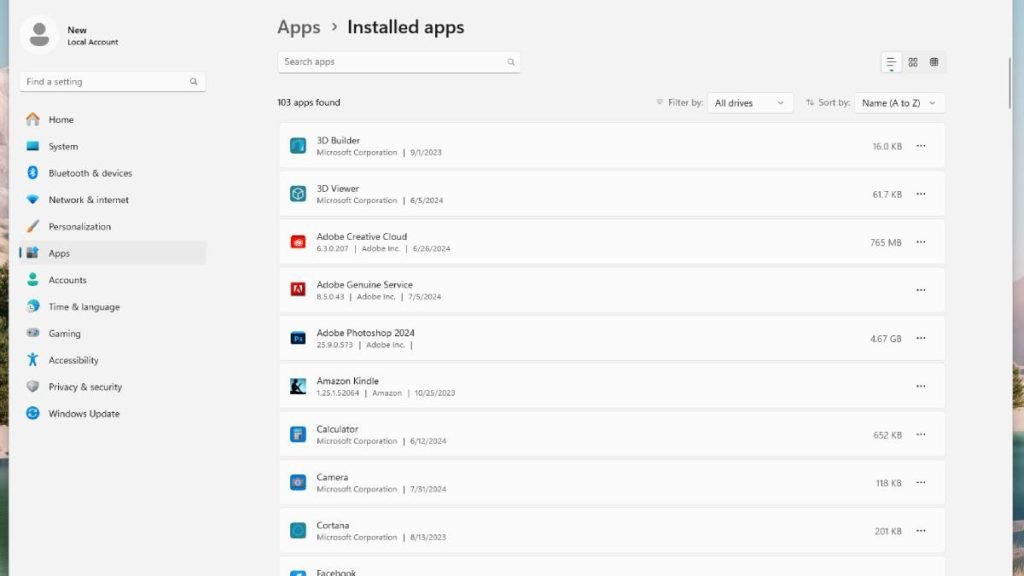

Go to the “start” area and type “applications.” You should see a pop-up that says “Add and Remove programs.”
There is so much garbage that you can remove. Yes, even on a brand-new PC.
Tip #3 – Turning on Game Mode
Cost: Free
Time: 1-min
Brain Cells: Easy


This is a great trick for newer computers, but it will save you a lot of manual work.
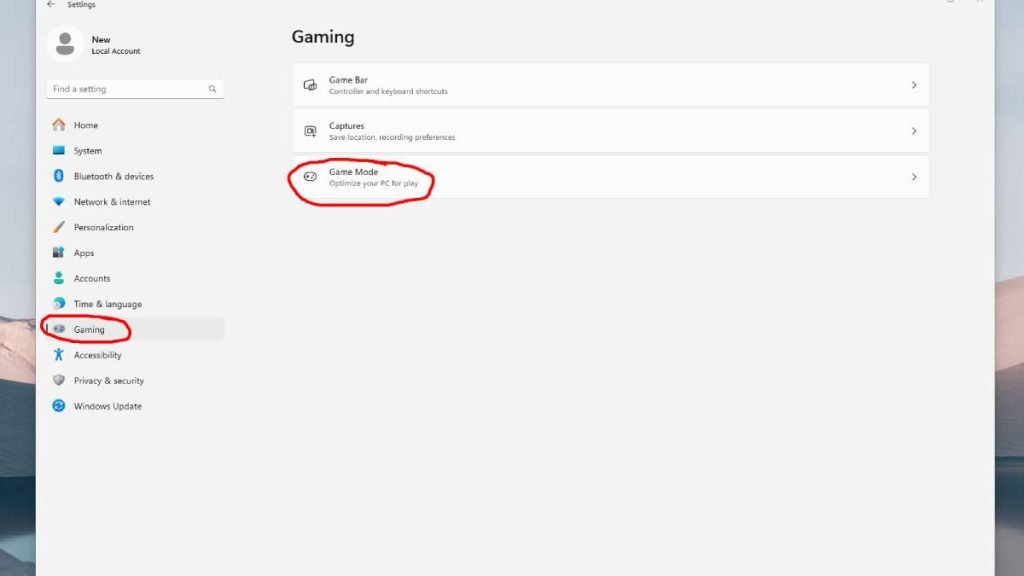
Click “start” and type “gaming.” Then click “Game Mode” and turn it on.
It’s that bloody simple, but it works wonders.
If you have a life and you use your computer for other purposes besides gaming, make sure that you turn game mode off when you’re finished gaming. Game Mode turns off some very important features that you want to keep active, like Windows Updates, etc…
Tip #4 – Update Drivers
Cost: Free
Time: 15-mins
Brain Cells: Medium
Make sure to update your drivers regularly. No, a driver is not the person who drives your limo for you, or the poor unfortunate soul who pairs up as your Uber.
Updating the driver is one of the easiest ways to keep the PC running smoothly, especially for gaming. The most important drivers to update are for the graphics card. These updates often include performance boosts for new games and fix bugs that could cause issues during gameplay.
Graphics card manufacturers like NVIDIA and AMD release driver updates frequently, especially when major new games are released. Keeping the drivers up to date ensures that you get the best possible performance from the hardware.
Updating drivers is simple. I usually use the software the manufacturer provides, like GeForce Experience for NVIDIA or Radeon Software for AMD. These programs notify me when a new driver is available and make the installation process easy. I can also check for updates through Windows Update, which sometimes includes important driver updates for other parts of my system.
You may need to create free accounts for some of the drivers to download. Do it.
Here’s how to do it: Go to the driver’s actual program, and they’ll give you prompts. That’s it. Work out the rest yourself.
Gosh.
Do I have to teach you everything? How about you brush your teeth without a freakin tutorial?
Tip #5 – Tweek the PC Settings
Cost: Free
Time: 15-mins
Brain Cells: Harder
Here’s a list of my favorite micro-settings to change on the computer that will enhance the gaming experience. Some are easy, some are hard, and some are bloody impossible.
- Enable XMP Profiles for Faster RAM: XMP (Extreme Memory Profile) allows your RAM to run at its advertised speed. You can enable this in your BIOS settings or manually overclock your RAM to go even faster.
- Try Light Overclocking: Slightly increase the speed of your CPU or GPU to get a small performance boost in games. Be careful not to push it too far, which can cause overheating.
- Set Power Settings to High Performance: In Windows, ensure your power settings are set to “High Performance” to give your PC the most power for gaming. This can prevent your system from slowing down to save energy.
- Turn Off Fancy Windows Animations: Disable unnecessary visual effects in Windows, such as animations and transparency. This frees up system resources that your game can better use.
- Stop Unneeded Background Tasks: Turn off background tasks in Windows that aren’t necessary while you’re gaming. These tasks can slow down your PC without you even realizing it.
- Disable Unused Startup Programs: Some programs automatically start when you turn on your computer, even if you don’t use them. Disabling these can speed up your PC and free up resources for gaming.
- Turn Off Unneeded Windows Services: Windows runs many services in the background, some of which you might not need. Disabling these services can improve performance, but be careful not to disable something important.
- BIOS Updates: Regularly update your BIOS. These updates often include fixes and improvements that can boost game performance.
- Optimize Your Page File: The page file is extra memory on your hard drive that Windows uses when you run out of RAM. If you have enough RAM, ensure the page file isn’t being used unnecessarily. You can move it to a faster drive or a RAM disk (if you have enough RAM) for better performance.
- Manage Program Priorities: If you need to keep certain programs running while gaming, lower their priority so they don’t take up too many resources.
- Assign Games to Specific CPU Cores: If you’re playing a game that only uses one or two CPU cores, you can assign it to the least-used cores or prioritize it. This can sometimes improve performance.
Tip #6 – Upgrade Your RAM
Cost: $40 – $500
Time: 20-mins for installation
Brain Cells: Harder
Always make sure your PC has enough RAM for gaming. Don’t just nod your head. Make sure.
RAM, or memory, is what my computer uses to keep things running smoothly while playing. Games can freeze, crash, or slow down if there isn’t enough RAM. Just like what your brain does when I ask you a simple question… That’s why upgrading the RAM is one of the most important things to boost performance.
When I first started gaming, I did not have enough RAM. It worked fine for web surfing and blogging, but games and streams lagged. I decided to upgrade to 16GB of RAM, and the difference was huge.
With 16GB of RAM, my games load faster, and I can run more things at once without my PC slowing down. This is especially important for newer titles, which are more demanding. Some games today even recommend having more than 8GB of RAM to run properly. Upgrading to 16GB gives me the extra cushion to ensure everything runs smoothly.
At this point, I’m even considering going larger…
Tip #7 – Upgrade Your Graphics Card GPU
The graphics card, or GPU, is one of the most important parts of my gaming PC. The GPU handles all the visuals in my games, from the detailed environments to the smooth animations. If my GPU can’t keep up, my games will lag, stutter, or just not look as good as they should.
(Do you want to know the difference between GPU and RAM? Well, I’m not going to tell you. That’s not what this bloody article is about.)
When I first built my PC, I chose a GPU that was good for the games I played at the time. But as new games came out, I noticed my GPU struggling. The graphics settings I enjoyed on high or ultra had to be lowered to medium or low. My frame rates dropped, and the games didn’t look as sharp or run as smoothly. That’s when I knew it was time to upgrade.
Upgrading my GPU made a huge difference. I chose a higher-end model that could handle the latest games without hyperventilating. Now, I can play on higher settings with better frame rates, and everything looks amazing. The upgrade also future-proofed my PC for upcoming games, so I won’t have to worry about upgrading again for another two years.
The upgrade process was straightforward. I did some research to find a GPU that fits my budget and would give me the performance boost I needed. After that, it was just a matter of installing the new card and updating the drivers, and I was ready to go. The improvement in my gaming experience was immediate and noticeable.
Here’s an example of a GPU from Amazon that’s above average but also an awesome price.
Tip #8 – Monitor High Temperatures
Keep an eye on your CPU and GPU temperatures. Overheating can lead to throttling, which reduces performance. If necessary, invest in better cooling solutions.
Alternatively, you can blow on your computer as your gaming.
Tip #9 – Regularly Clean Your PC


Dust buildup can cause your PC to overheat and run less efficiently. To maintain optimal airflow, regularly clean the inside of your PC, including fans and filters.
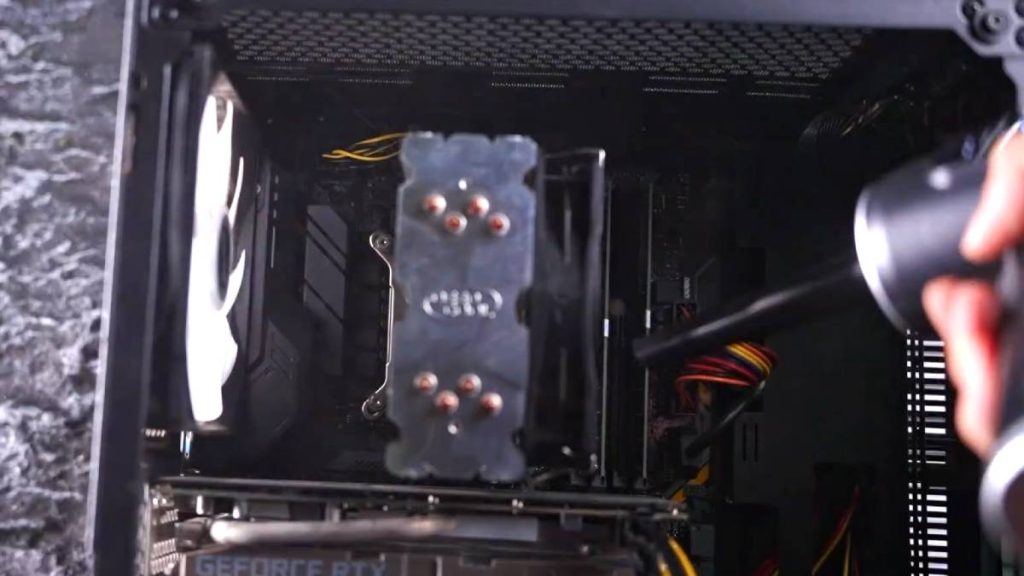
I know that getting off your fancy computer seat might be too much to ask for, but occasionally, get some exercise, open up your computer, and use an air-blowing gun (for $30) on it.
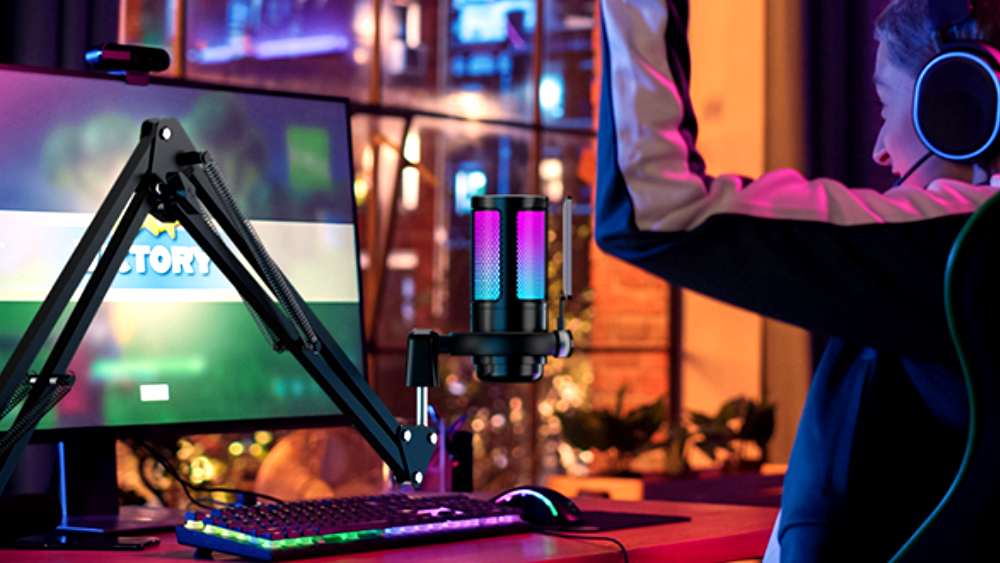
Accessories to Make PC Gaming More Fun
Here’s a list of 7 accessories for PC gaming that can make your gaming experience easier and more enjoyable:
- Mechanical Gaming Keyboard: A responsive keyboard with customizable RGB lighting and programmable keys for better control and a more immersive experience.
- Gaming Mouse with Extra Buttons: A high-precision mouse with customizable buttons for quick access to in-game commands and faster reaction times.
- Ergonomic Gaming Chair: A comfortable chair with adjustable settings to support long gaming sessions without back pain or discomfort.
- Surround Sound Gaming Headset: A headset with surround sound to enhance in-game audio, giving you a competitive edge and making the experience more immersive.
- Extended Mouse Pad: A large mouse pad covers your mouse and keyboard area, providing a smooth surface and extra space for comfortable movements.
- Cable Management Kit: A set of tools to organize and hide cables, keeping your gaming setup neat and reducing clutter.
- RGB Lighting Kit: Customizable RGB lights add style and atmosphere to your gaming setup, making it more fun and visually appealing.
You really don’t need anything on this list, but most people are suckers for garbage and will probably buy everything.
Source link




Leave a Reply