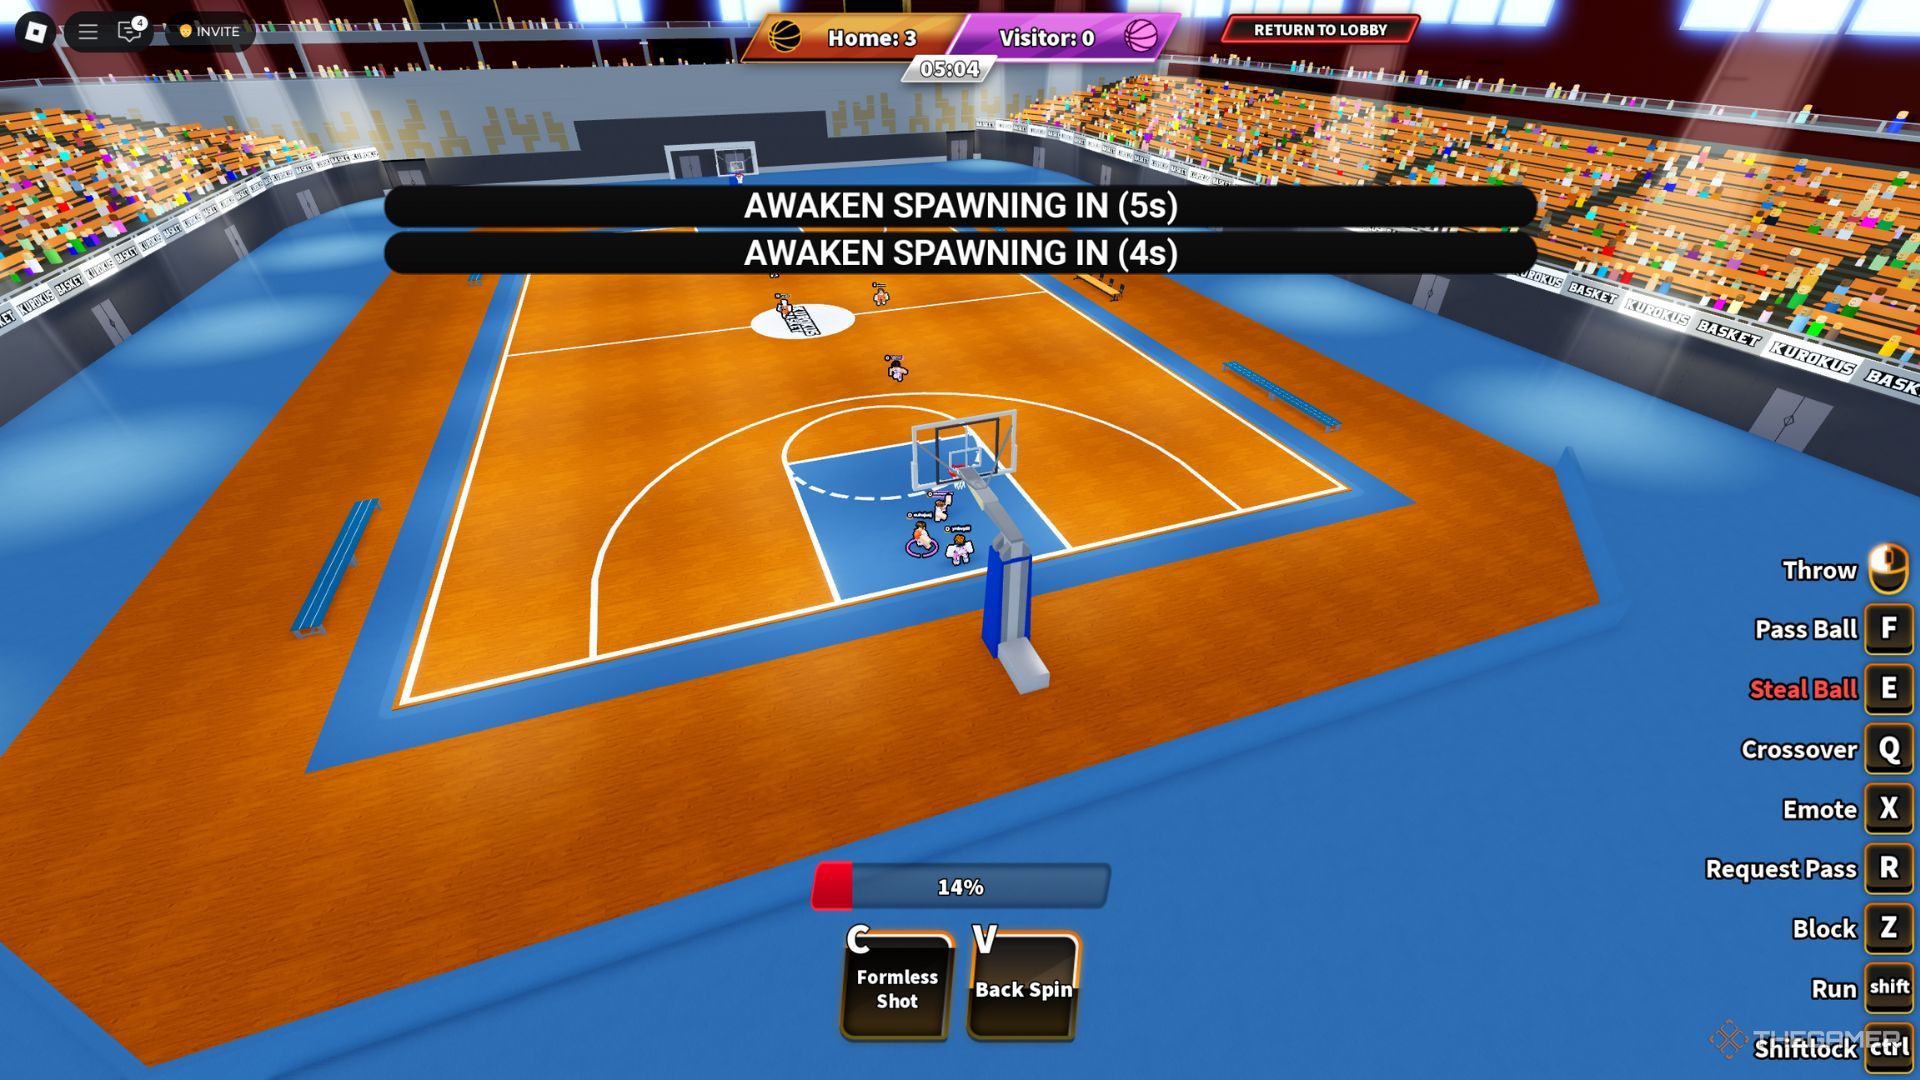
In Roblox’s Basketball Showdown, Zones play an important role in improving your abilities on the court. While styles provide the foundation for a character’s skills, zones offer additional customization, allowing players to enhance their strengths or mitigate their weaknesses. Whether you’re looking to improve your dribbling, shooting accuracy, or defensive maneuvers, choosing the right Zone can make a big difference in your gameplay.
Related
To help you make the best choice, we’ve created a complete tier list that ranks all available Zones according to their effectiveness. Our ranking system evaluates the usefulness of each zone in different positions, its impact on gameplay, and its overall value in competitive matches. Below you will find a detailed breakdown of each zone in categories from the most powerful to the least useful.
All Zones Tier List
Zones, like Styles, are an essential aspect of Basketball Showdown, allowing players to refine their playstyle with specialized abilities. Some Zones improve movement speed, while others enhance shooting precision or defensive capabilities. Knowing the difference between them and using them effectively can make the difference between dominating the court and getting crushed.
To give you a detailed look at the effectiveness of each zone, here are the grades by which we will evaluate them:
- S-Tier: The best Zones in the game, providing major advantages in multiple aspects of gameplay.
- A-Tier: Strong Zones that offer valuable benefits but may not be as universally powerful as S-Tier Zones.
- B-Tier: Decent Zones that can be useful in specific situations but are generally outclassed by higher-tier options.
S Tier Zones
|
Tier |
Style |
Reason |
|---|---|---|
|
S |
Focused |
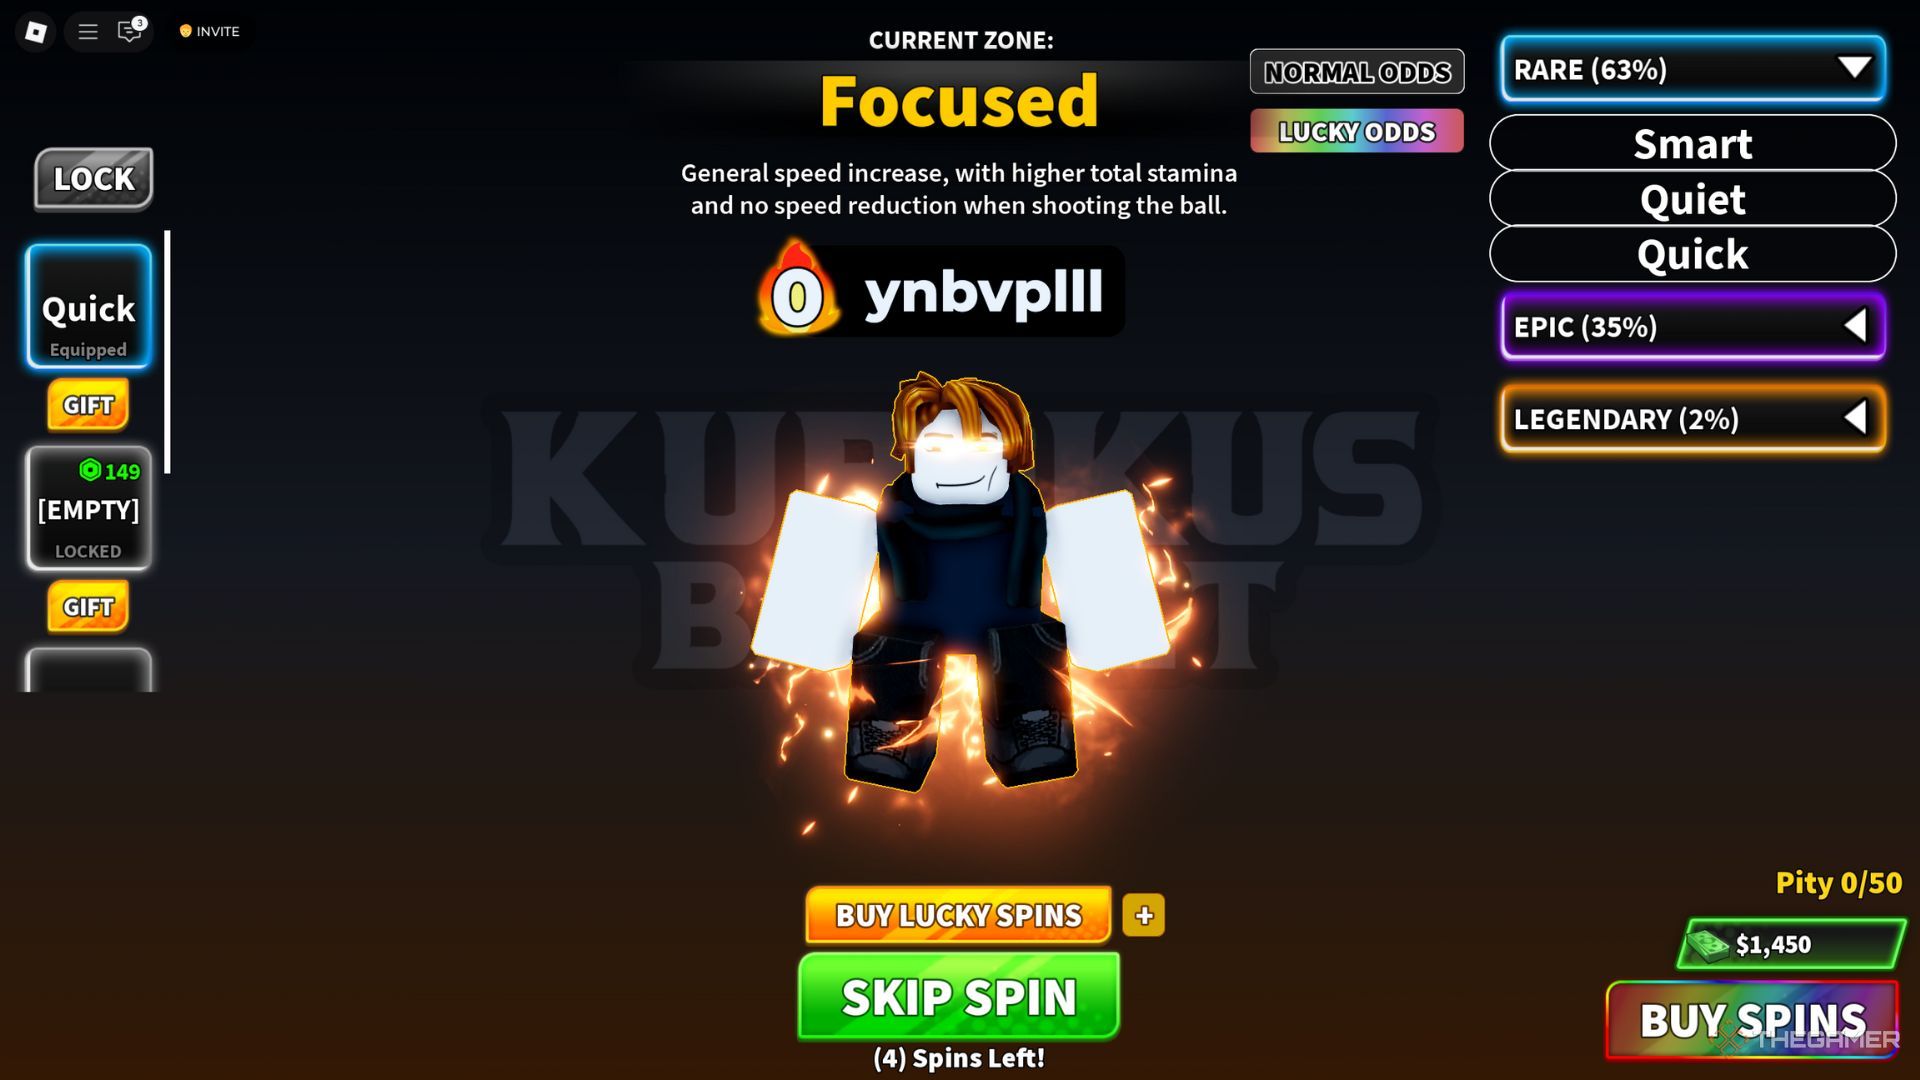
Provides an overall speed boost, increases stamina, and speed reduction when shooting the ball. This makes it one of the best zones for guards and versatile players. |
|
Furious |
Improves jumping height, extends dunk distance, and reduces speed reduction when dribbling or walking. A top-tier choice for center players, but not so easy to obtain due to the legendary rarity of this Zone. |
|
|
Shooter |
It offers increased shooting range, improved accuracy, and higher shot trajectory, making it invaluable for shooting guards and small forwards. |
A Tier Zones
|
Tier |
Style |
Reason |
|---|---|---|
|
A |
Skilled |
Lowers crossover cooldown, allowing for faster dribble moves, and speeds up shot release, making it ideal for quick scorers. While highly effective for offensive plays, it doesn’t offer much in terms of defense or versatility compared to S-Tier Zones. |
|
Giant |
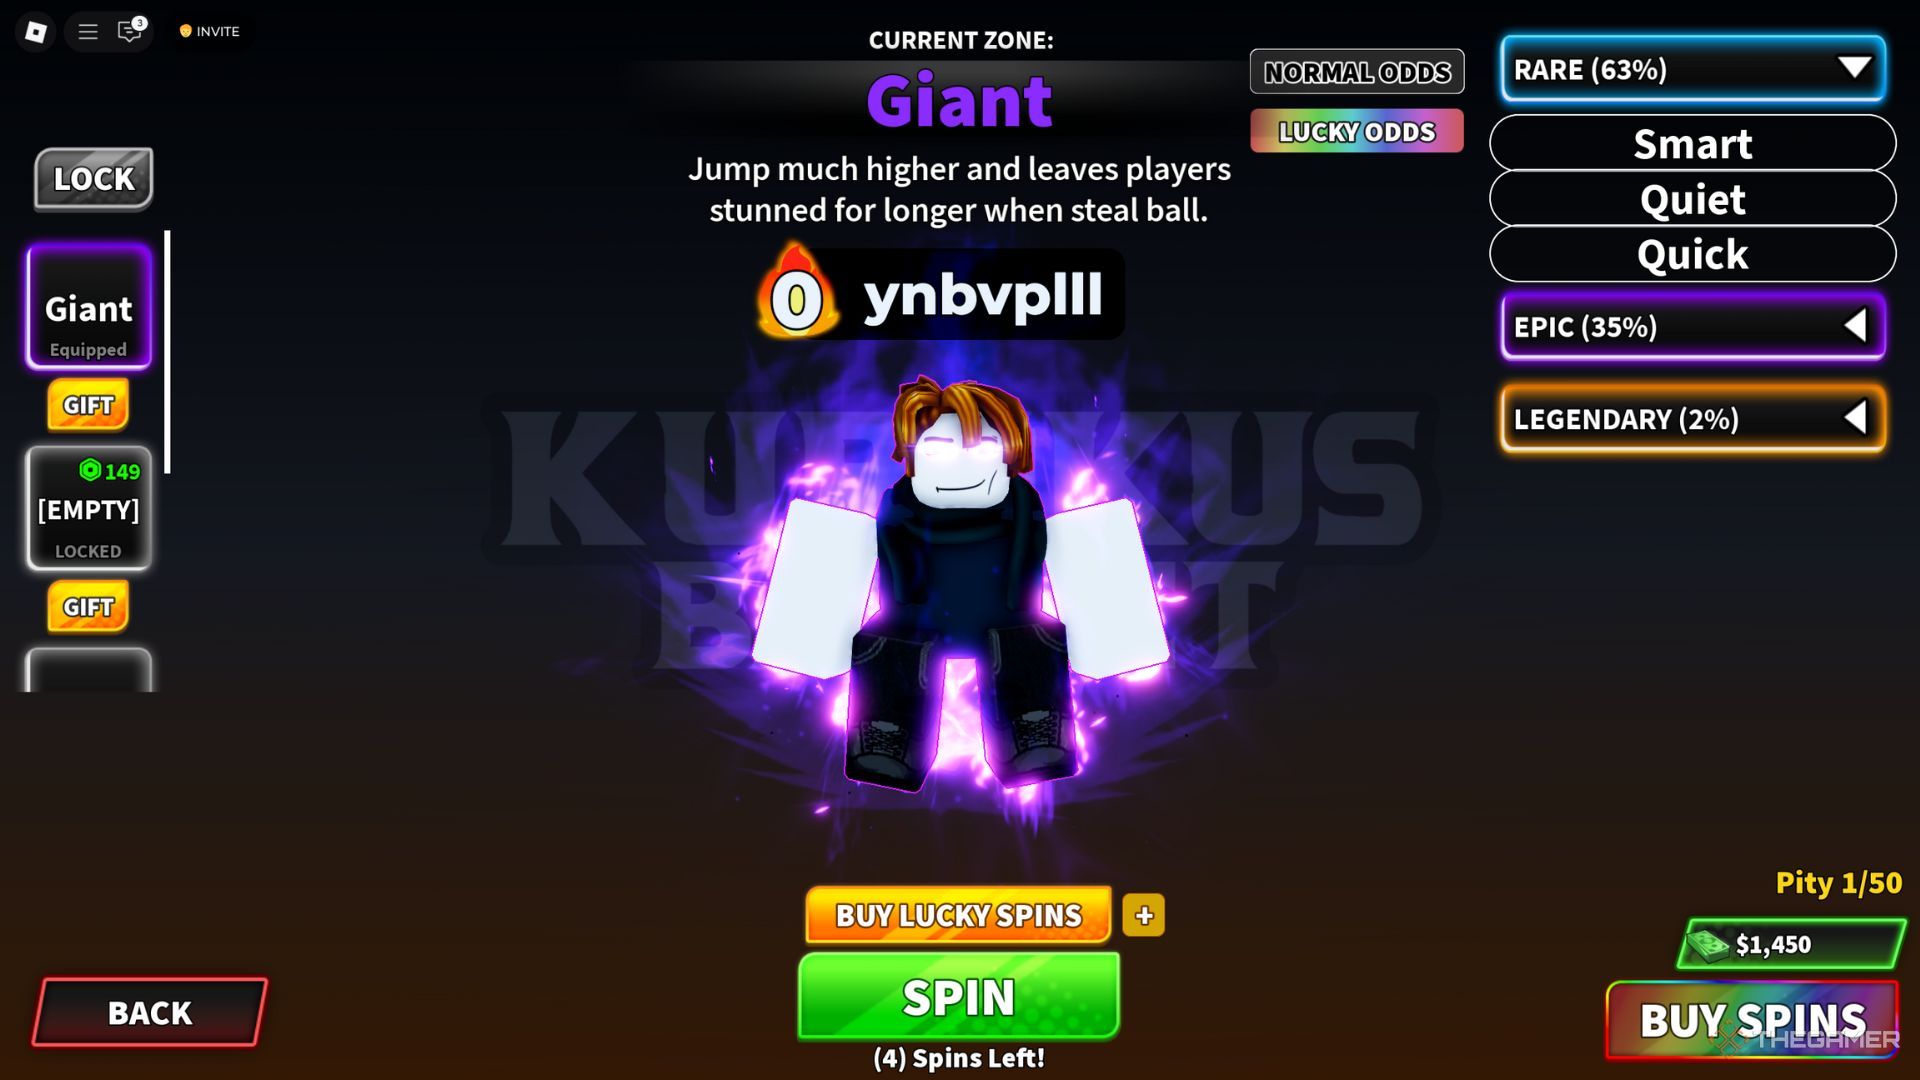
Significantly boosts jumping height and increases the stun duration when stealing the ball. It is excellent for centers and power forwards but not as universally effective as S-Tier Zones. |
B Tier Zones
|
Tier |
Style |
Reason |
|---|---|---|
|
B |
Quick |
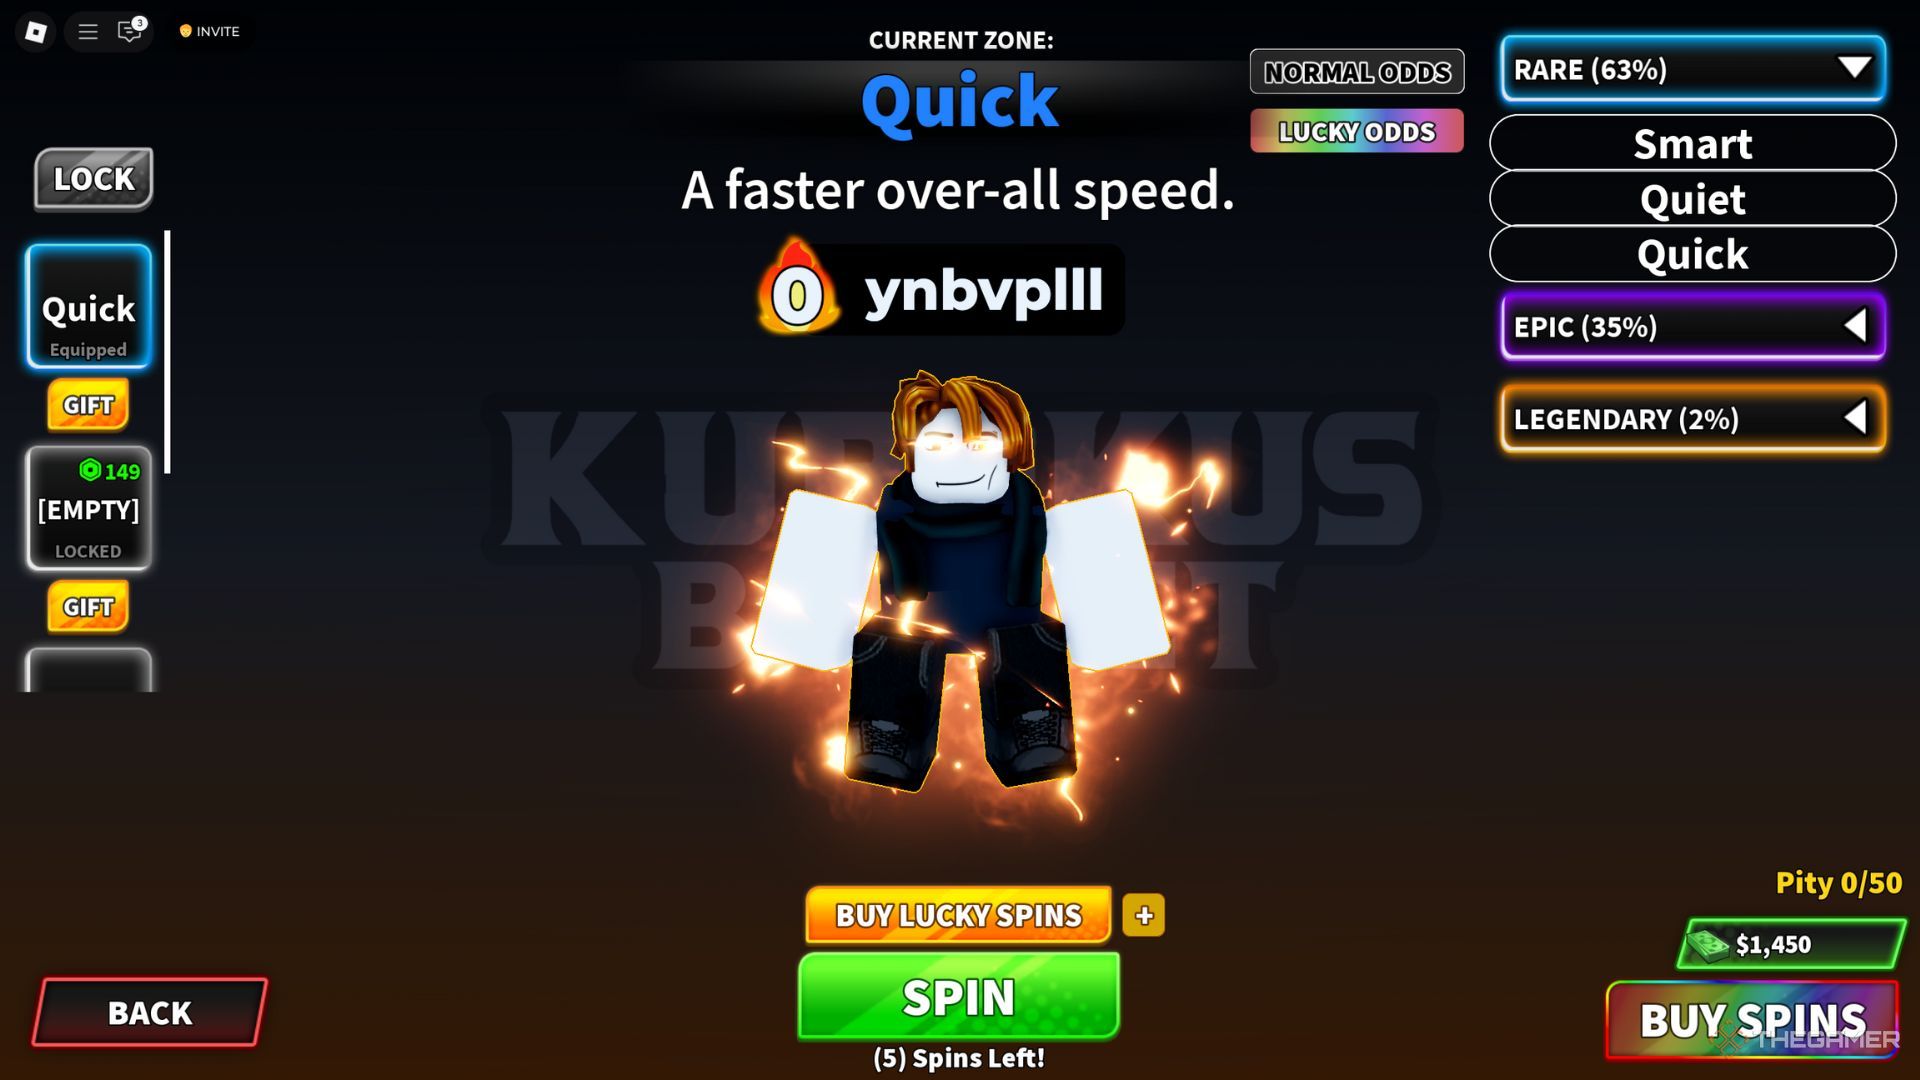
It increases the speed of movement, which is useful, but does not provide additional benefits compared to the higher tier Zones. If you are a beginner, the Quick Zone is a great choice if you have nothing else. |
|
Quiet |
Improves passing speed and strength, making it a niche choice primarily for point guards. However, apart from that, it has nothing else to offer, but it will be good for starters. |
|
|
Smart |
Helps recover faster after falling and reduces steal delay, but its benefits are situational. Among the others, Smart is probably the worst of the Zones, so it is better to avoid it and choose others |

Next
If you’re looking for the best Roblox games that let you drive a car, look no further than these amazing racing titles.








Leave a Reply