You can take on the undead hordes in Call of Duty: Black Ops 6‘s Zombies without upgrading your character, but every Perk-a-Cola you drink vastly improves your chances of survival. Problem is, they’re not all created equal. The best perks make reaching the next round more likely, and as a result, the mode becomes significantly more enjoyable to play.
Related
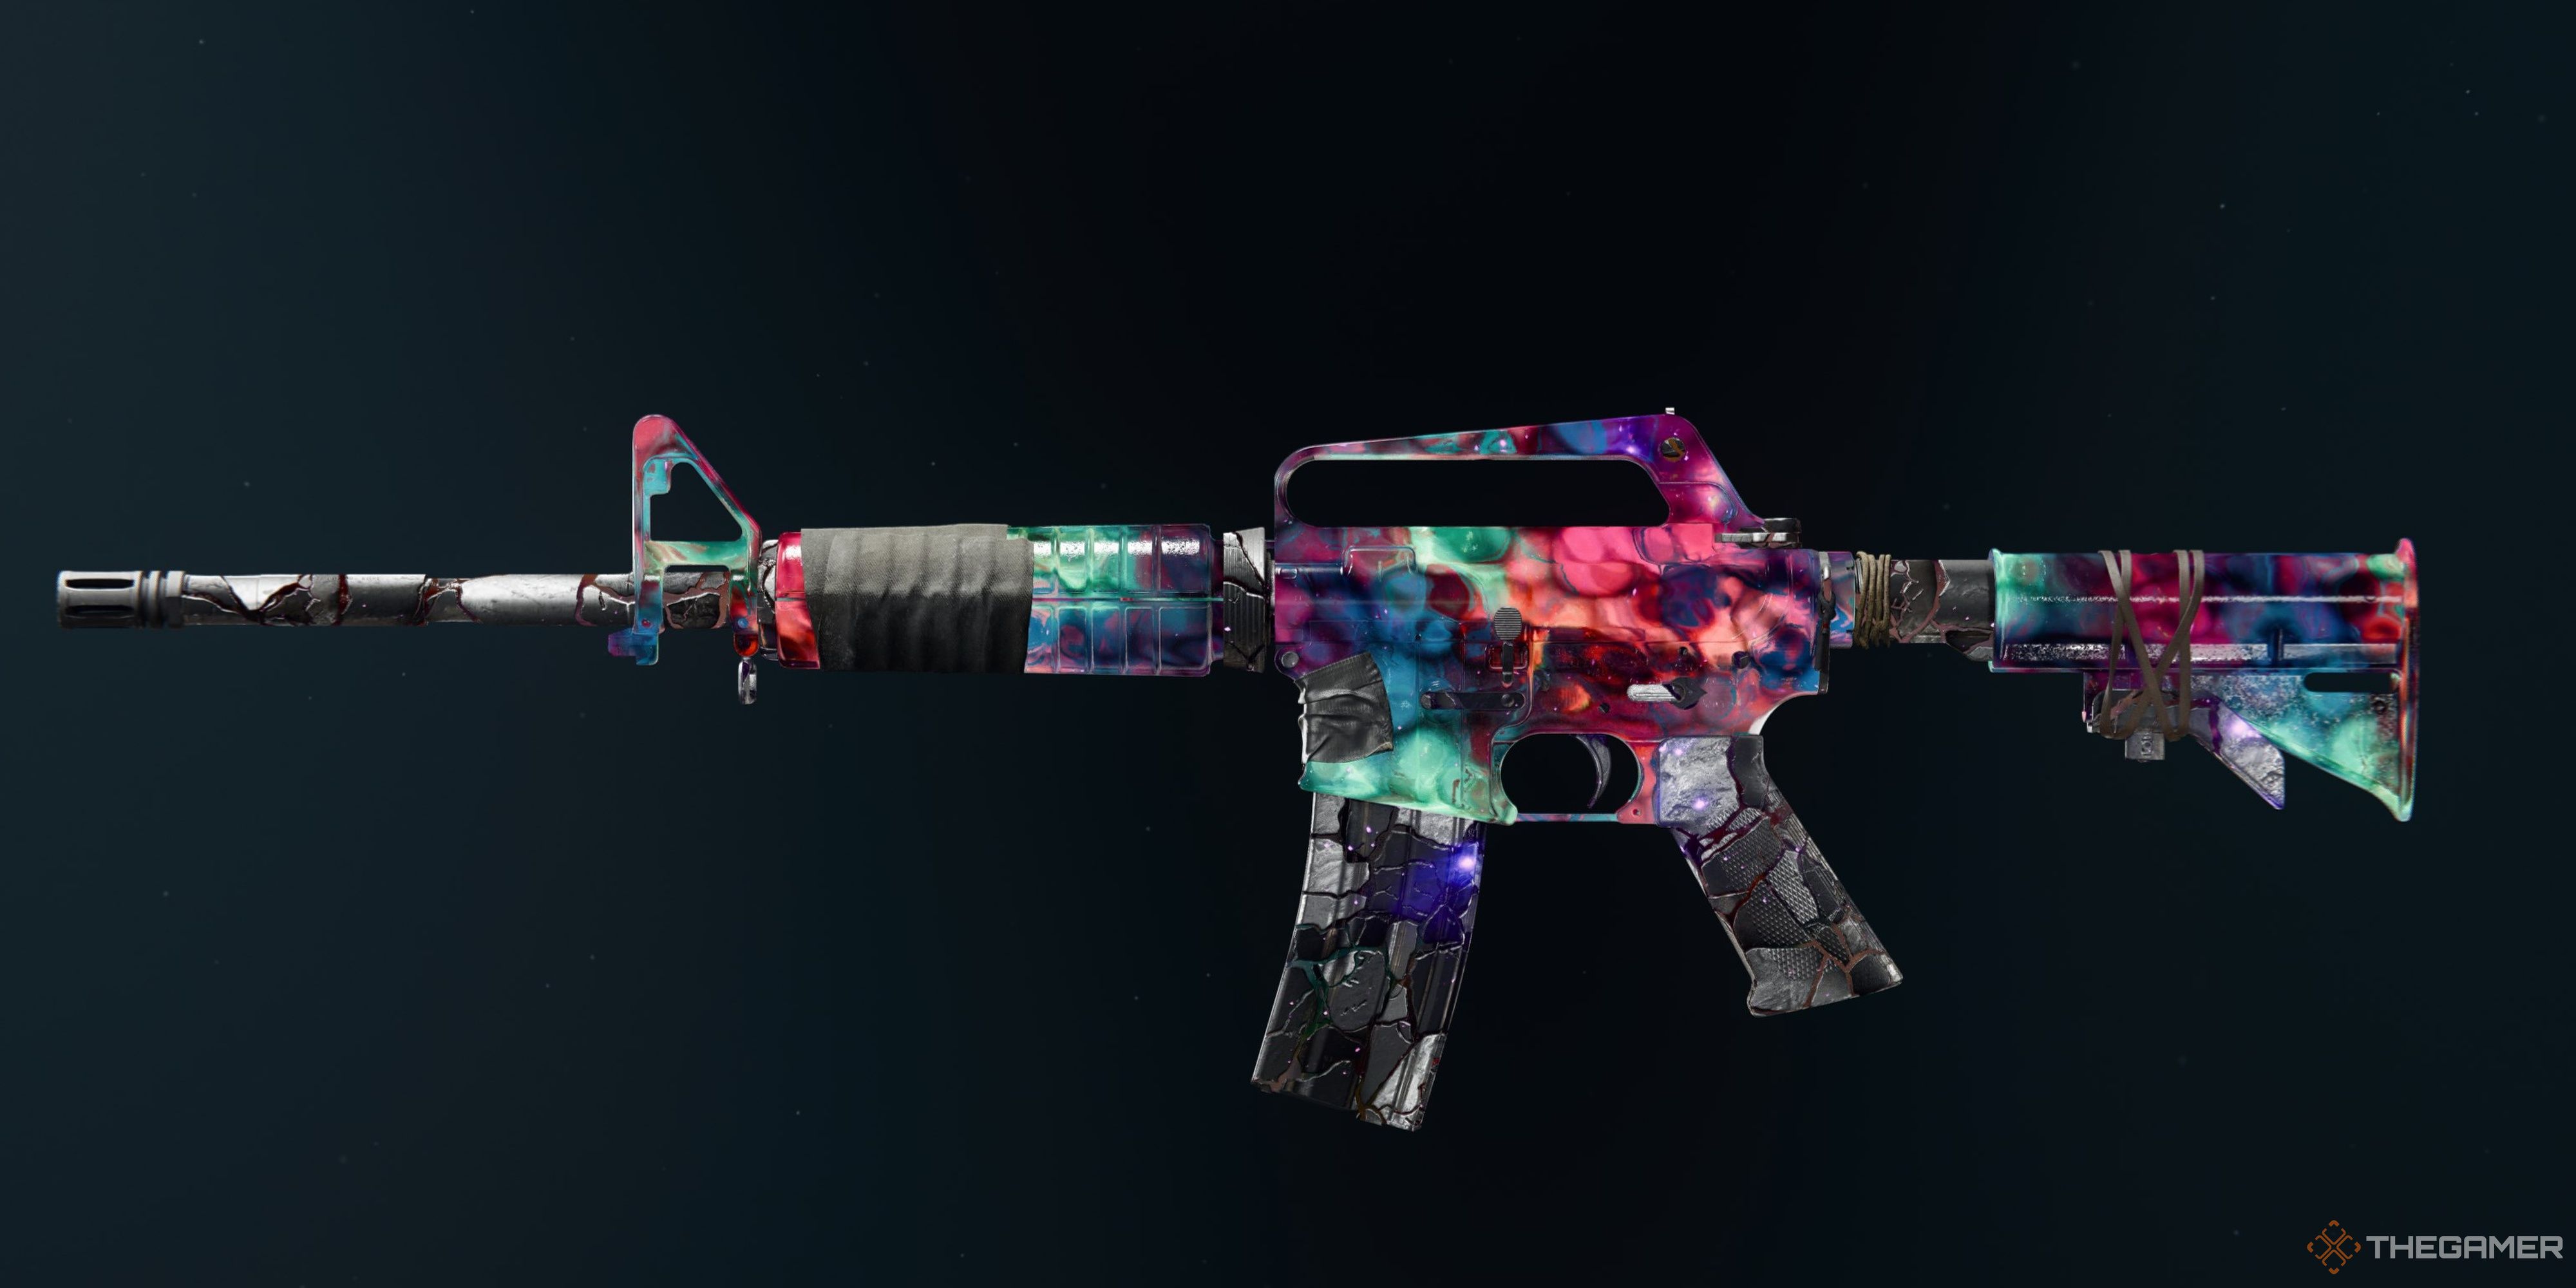
Call Of Duty: Black Ops 6 – How To Unlock Every Zombies Weapon Camo
Complete these Zombies challenges to unlock the prestigious Nebula camo in Black Ops 6.
This tier list ranks every perk available in Black Ops 6 Zombies, based primarily on how much easier and more comfortable they make fighting the forces of darkness. Let’s check which ones made it to the top.
What Each Tier Means
We’re grading each Perk-a-Cola perk based on a few factors:
- How much stronger or effective they make your character.
- How easy to use and useful are their effects.
- How they affect the fun factor of a match.
We’re not considering how fun a particular Perk-a-Cola is to use, as most of them are straight buffs to your character’s abilities or provide bonuses that don’t require much input from you.
Additionally, most of the more active Perk-a-Cola abilities tend to put you in dangerous situations. Their effectiveness also tends to either fall off quickly or take too much work to get good results.
S-Tier Perk-A-Cola Perks
|
Perk-a-Cola |
Effect |
Reason for Ranking |
|---|---|---|
|
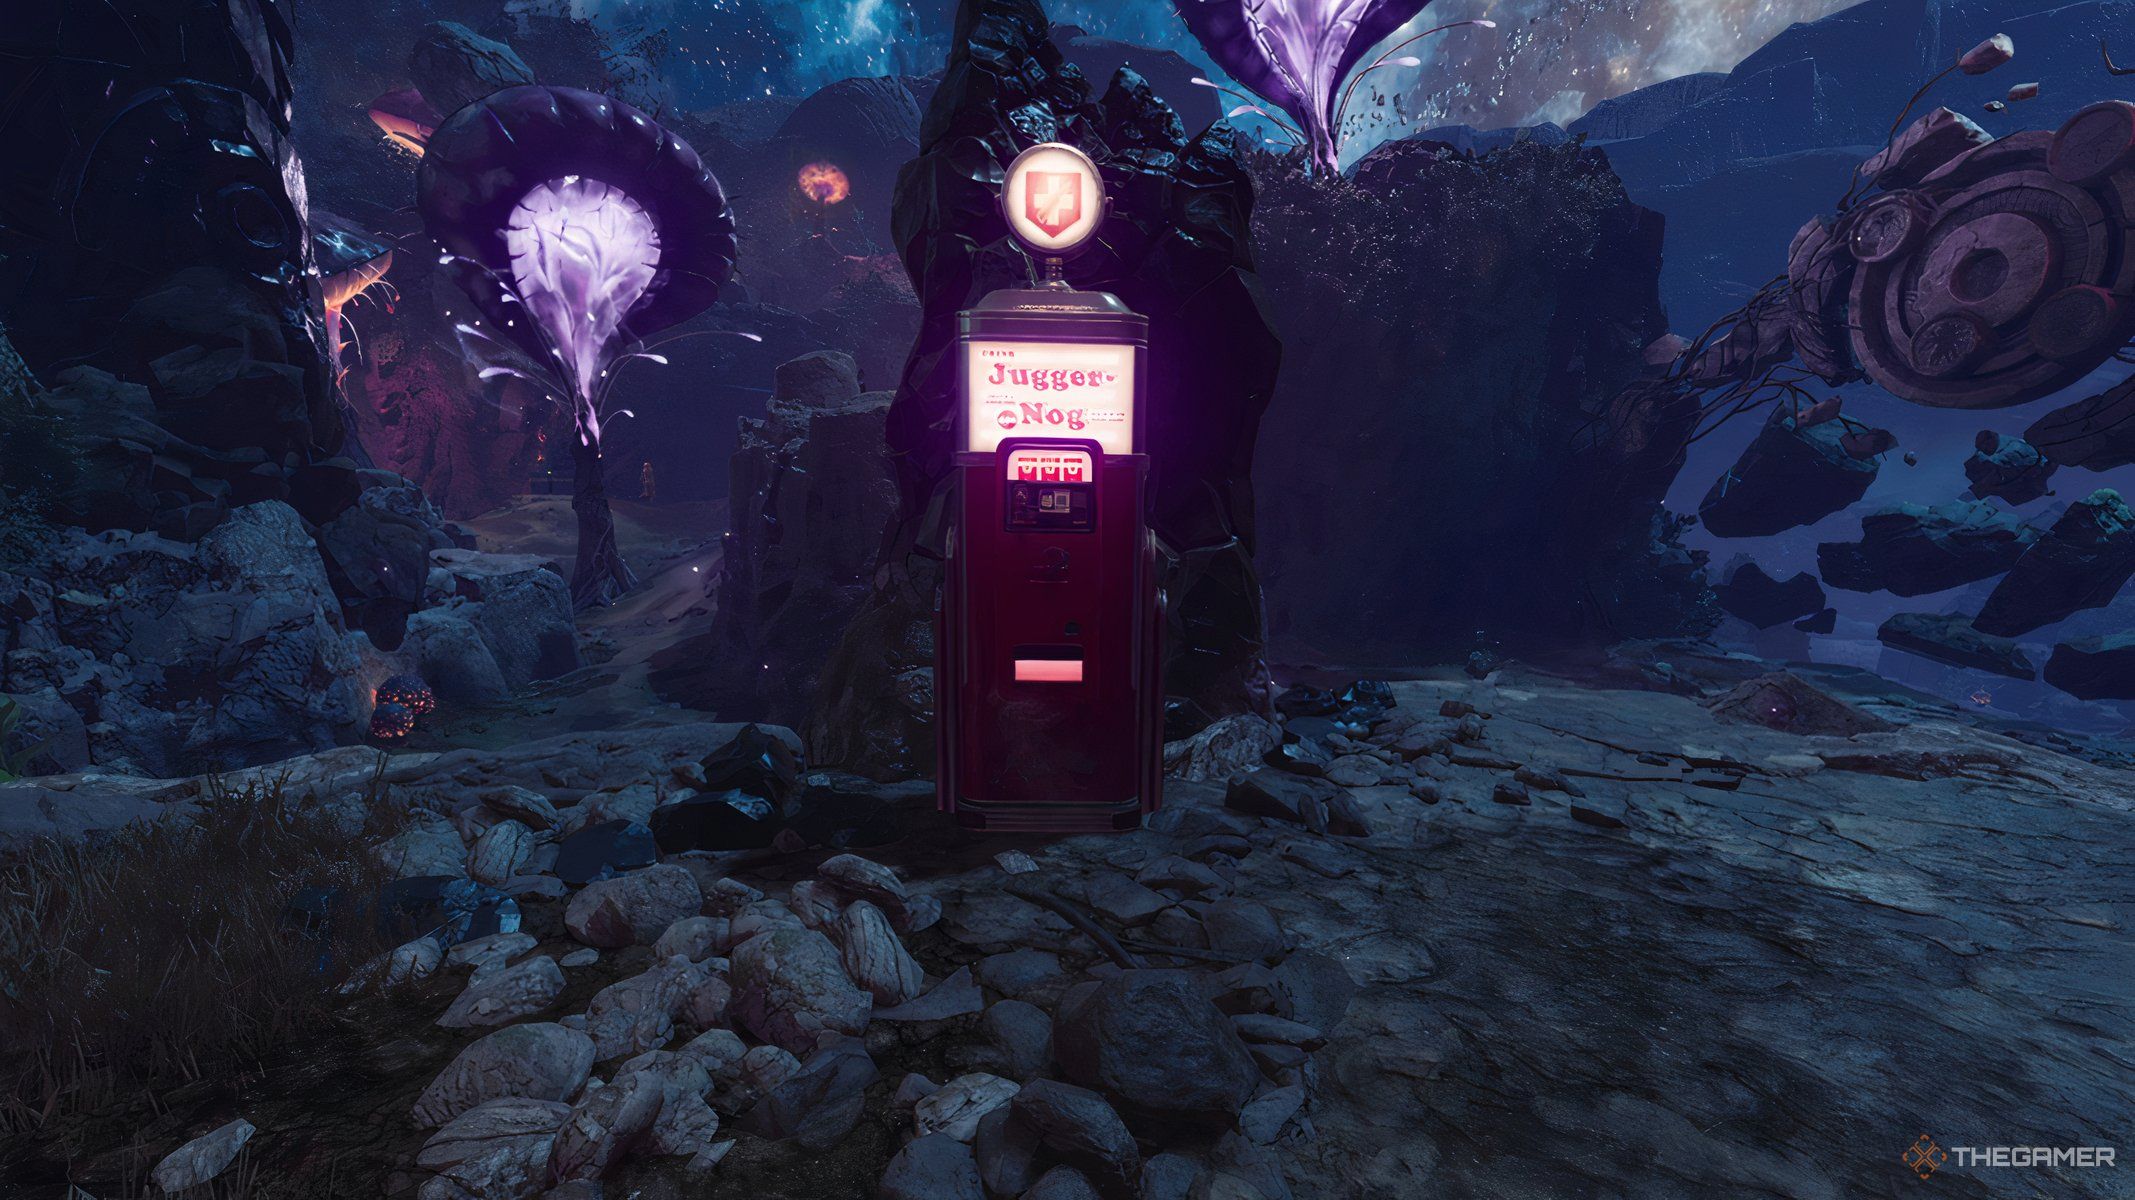
Juggernog |
Increases your character’s health by 100 to 250. |
Even with armor, zombies in Black Ops 6 hit hard — harder as the rounds increase. The extra 100 hit points it provides let you take hits from multiple undead, and it gives you precious seconds to make a decision if and when things go bad. |
|
Speed Cola |
Increases the speed of reloading and fixing your armor. |
An empty gun kills no zombies, and broken armor can’t protect you. Without Speed Cola, remedying either problem takes much longer, wasting precious seconds you might not be able to spare. With Speed Cola, you’re back at full combat potential in much less time with much less fuss. |
|
Deadshot Daiquiri |
Increases the critical damage you do, and aiming down your sights immediately moves your crosshairs to a critical point. |
The higher the round in a Zombies match, the more health the zombies have. Deadshot Daiquiri is a passive buff that keeps your weapon competitive for many more rounds if you can consistently hit crits. And with some boss zombies having harder-to-hit crit spots, the auto-aim to their weak points is a nice bonus. |
|
Quick Revive |
Increases your health regeneration and teammate revive speed. |
Having your health regenerate in half the time can be a welcome relief in higher rounds, where things can descend into chaos in an instant. Playing with others can easily multiply the mayhem, and being able to get a teammate up and shooting zombies faster will be a relief to everyone. |
Every entry in the S-Tier Perk-a-Cola selection makes a Zombies match more fun and comfortable to play. They’re also incredibly stress-inducing if you lose them.
A-Tier Perk-A-Cola Perks
|
Perk-a-Cola |
Effect |
Reason for Ranking |
|---|---|---|
|
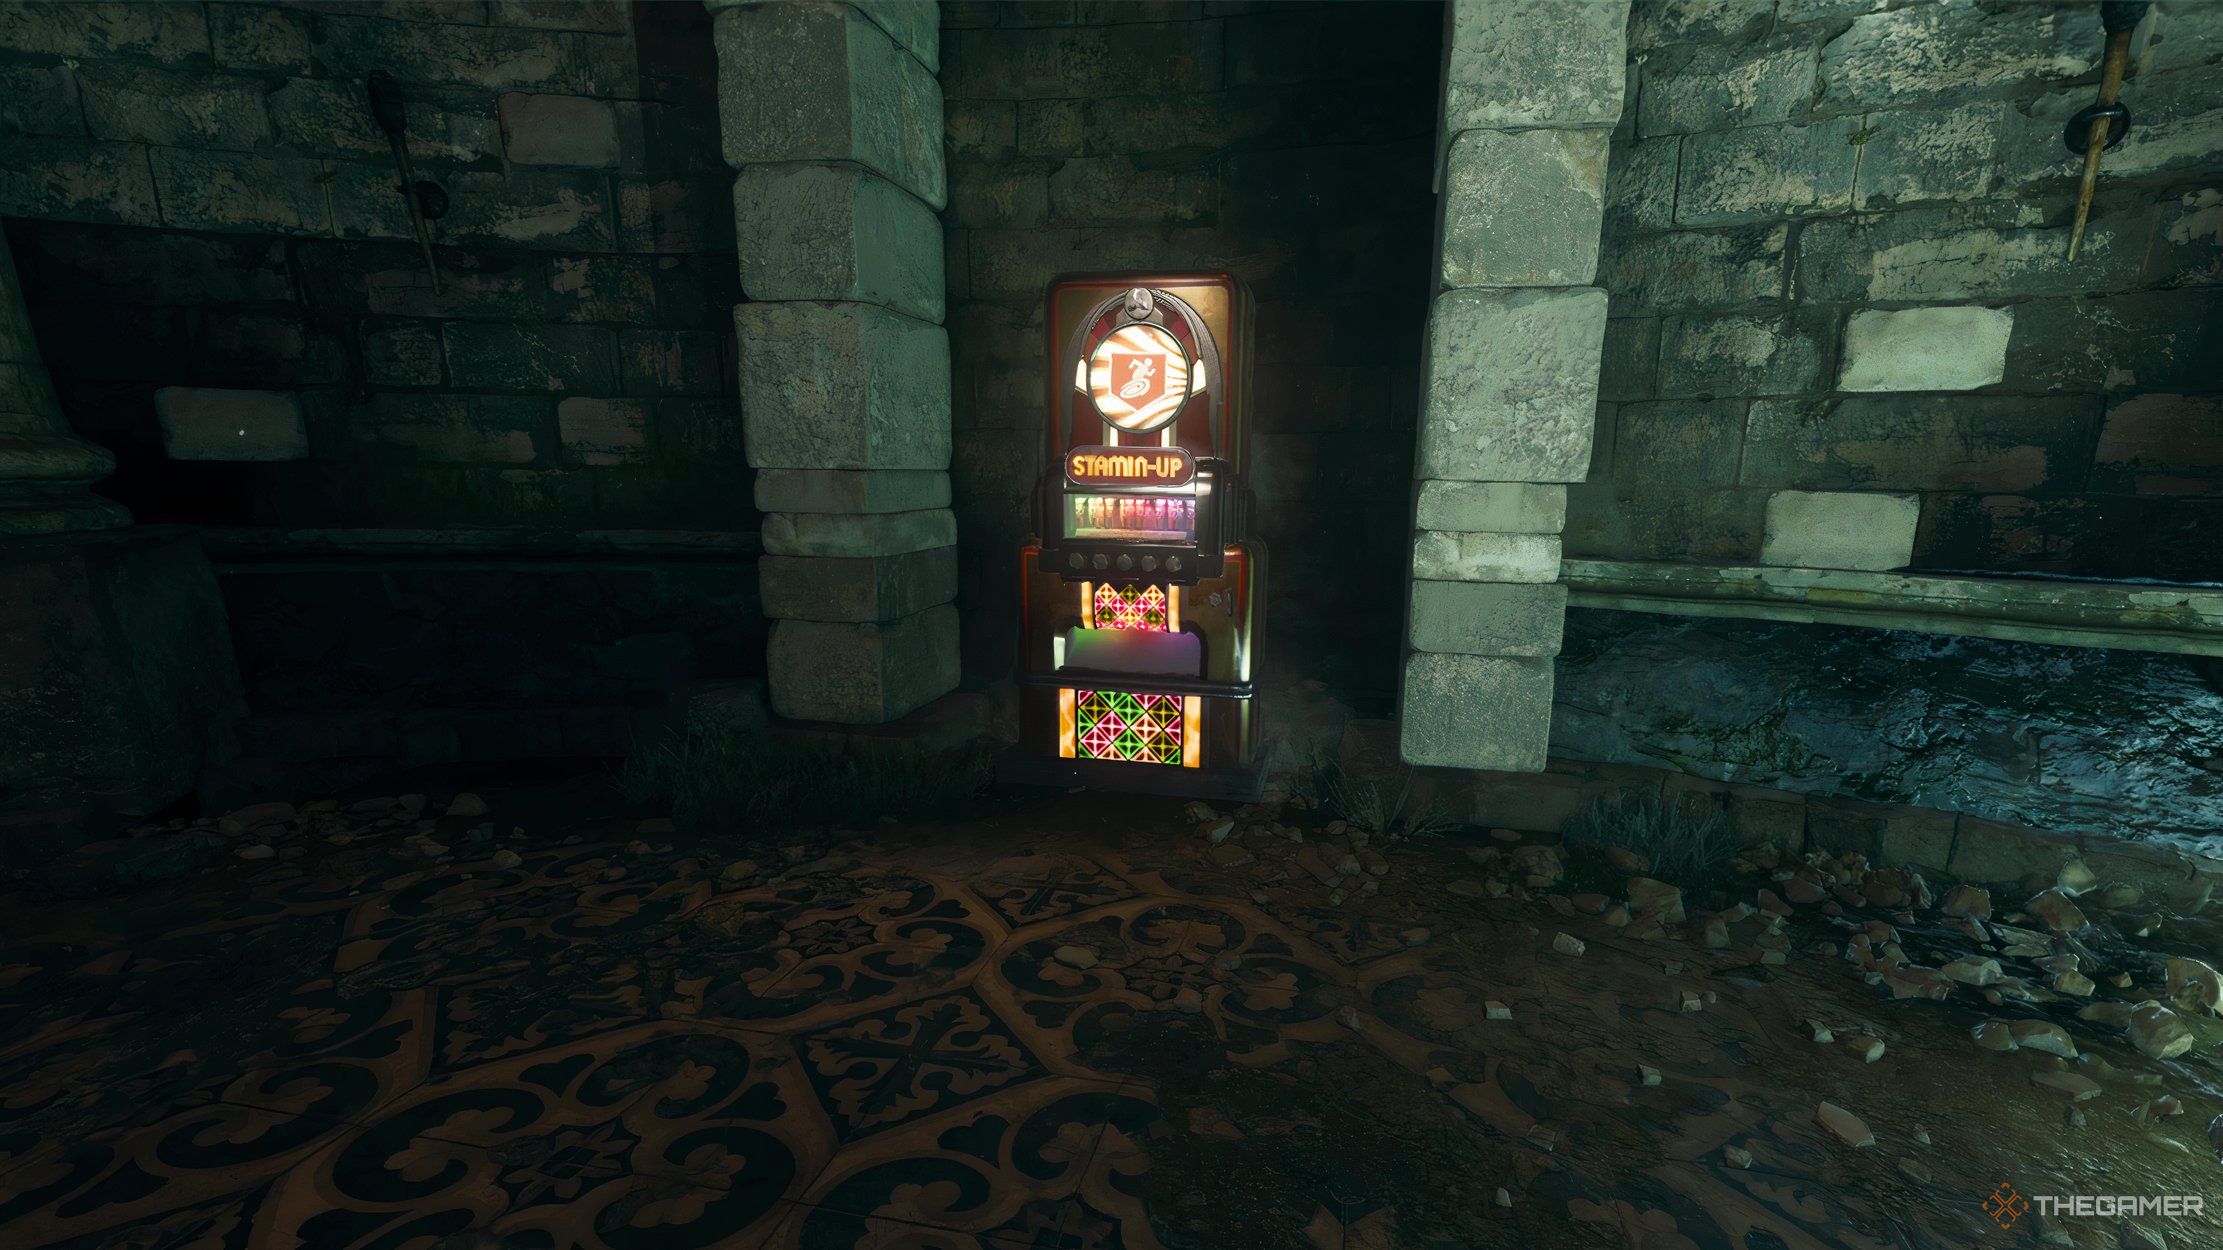
Stamin-Up |
Increases your movement speed. |
Higher movement speed is nice to have, especially if you need to get away from a horde quickly, or make it through a gap in a grouping of undead. It doesn’t make you deadlier and doesn’t improve your survivability as much, though, so it’s more a luxury than a necessity. |
|
Elemental Pop |
Hitting zombies has a chance to trigger a random ammo mod. |
The ammo mods in Black Ops 6 Zombies add a bit of extra utility to your attacks, but they won’t drastically change how fast you can mow down a mob of zombies. They can thin the herd or otherwise provide just enough crowd control to change the tide of an otherwise unwinnable situation. |
|
Vulture Aid |
Lets zombies drop additional ammo or Essense. |
Ammo and Essence aren’t as tough to come by in Black Ops 6 Zombies, so the extra few bullets and ten Essence you get from this perk’s drops are nice-to-haves. In the early rounds, the extra Essense can let you open doors and buy other Perk-a-Colas a touch faster. Then, in the later rounds, the extra ammo can save you Essence on refilling fully Pack-a-Punched guns. |
A-Tier Perk-a-Cola abilities aren’t as universally useful as the S-Rank ones, but you will never regret buying them. They’re helpful in solo and team matches, but don’t have the immediate and sometimes game-changing bonuses as their betters.
B-Rank Perk-A-Cola Perks
|
Perk-a-Cola |
Effect |
Reason for Ranking |
|---|---|---|
|
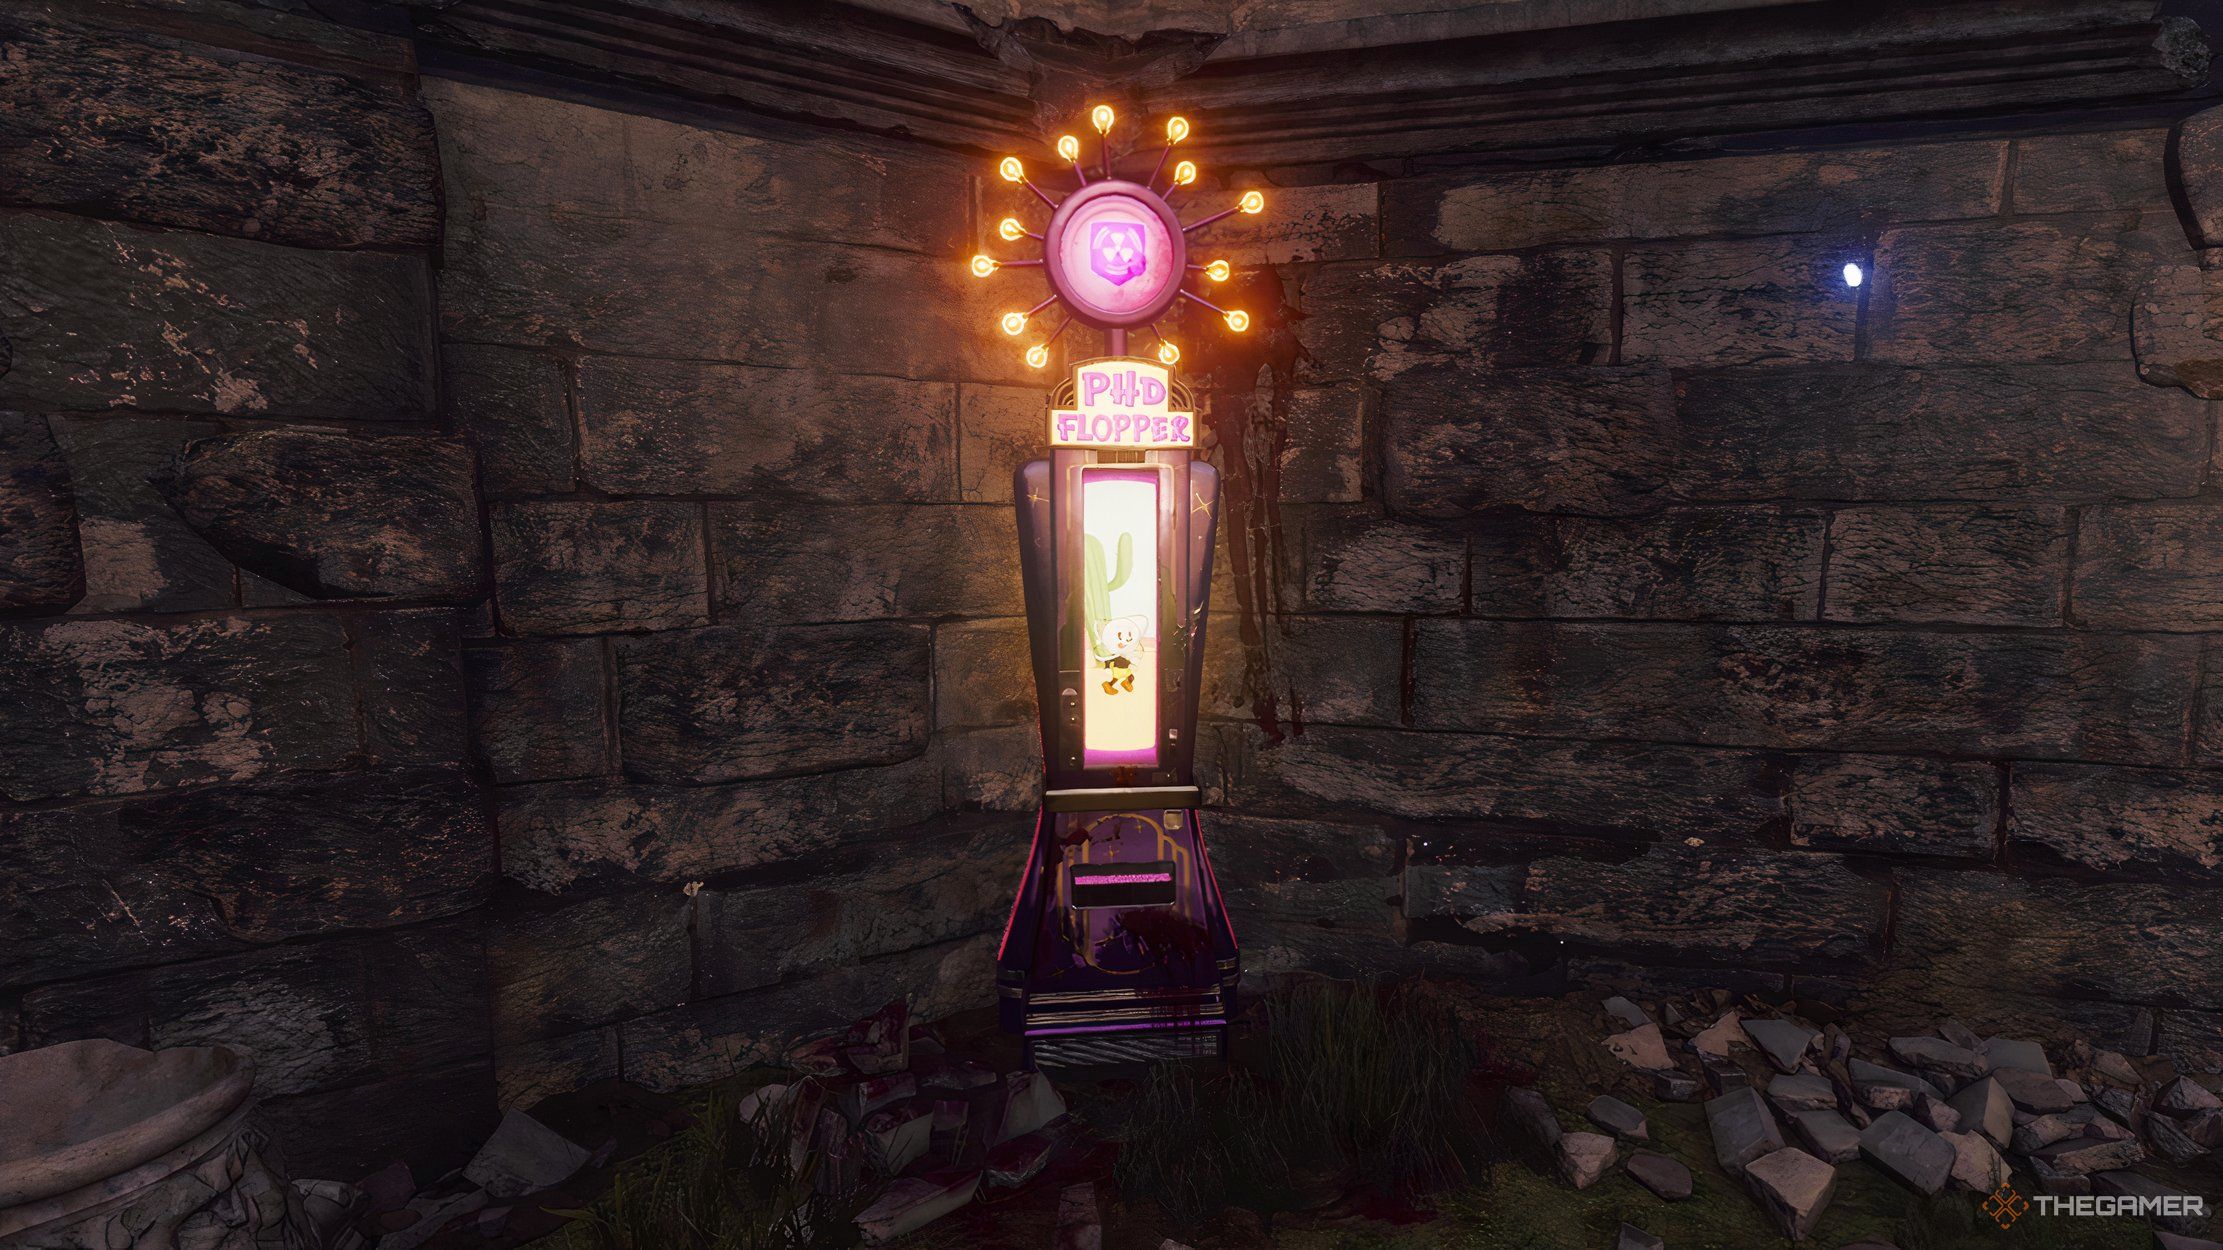
PhD Flopper |
Diving generates an explosion that’s more powerful the longer you fall. You’re immune to any explosive you use or status effect you create. You receive no fall damage when diving. |
PhD Flopper is funny and can be incredibly useful if you land your explosive dive in the middle of a large group of zombies. But then you would be surrounded by a giant group of zombies, and the amount of damage you can do with the explosion is minuscule compared to just shooting the horde in their heads. |
|
Melee Macchiato |
Changes your melee attack into a powerful punch, with or without a weapon equipped. |
Like PhD Flopper, Melee Macchiato can be hilarious, but in Black Ops 6 Zombies, ammo is easier to come by. That makes melee a last resort you’ll probably never need to use. The melee attack itself doesn’t have a large AoE explosion, making it much less effective against larger groups of zombies. |
|
Death Perception |
You can see enemies through walls. Their bodies will be outlined in red. |
Death Perception is a neat idea, but unless you’re playing without a HUD, you can see where zombies are on the minimap. Worse, the perk’s detection range is relatively short. You’ll probably already know where the zombies are before it activates. It also doesn’t alert you to threats from behind. |
The B-Tier perks do a lot of things right and can definitely make a Zombies match more fun. They won’t dramatically alter how successful you are, but won’t force you into failure, either. What they will do is give you the option to do something silly that results in failure.
Ideally, you’ll want to prioritize getting the S-Tier Perk-a-Cola perks as soon as possible, with Juggernog first, Quick Revive second, and Speed Cola third. Once you have those three and Deadshot Daiquiri, you can pick and choose between the A-Tier options as they’re available.
Feel free to spend Essence on the B-Tier perks if you have nothing left to buy on the map, but don’t feel obligated to pick them up if you don’t like how their abilities function.
Next
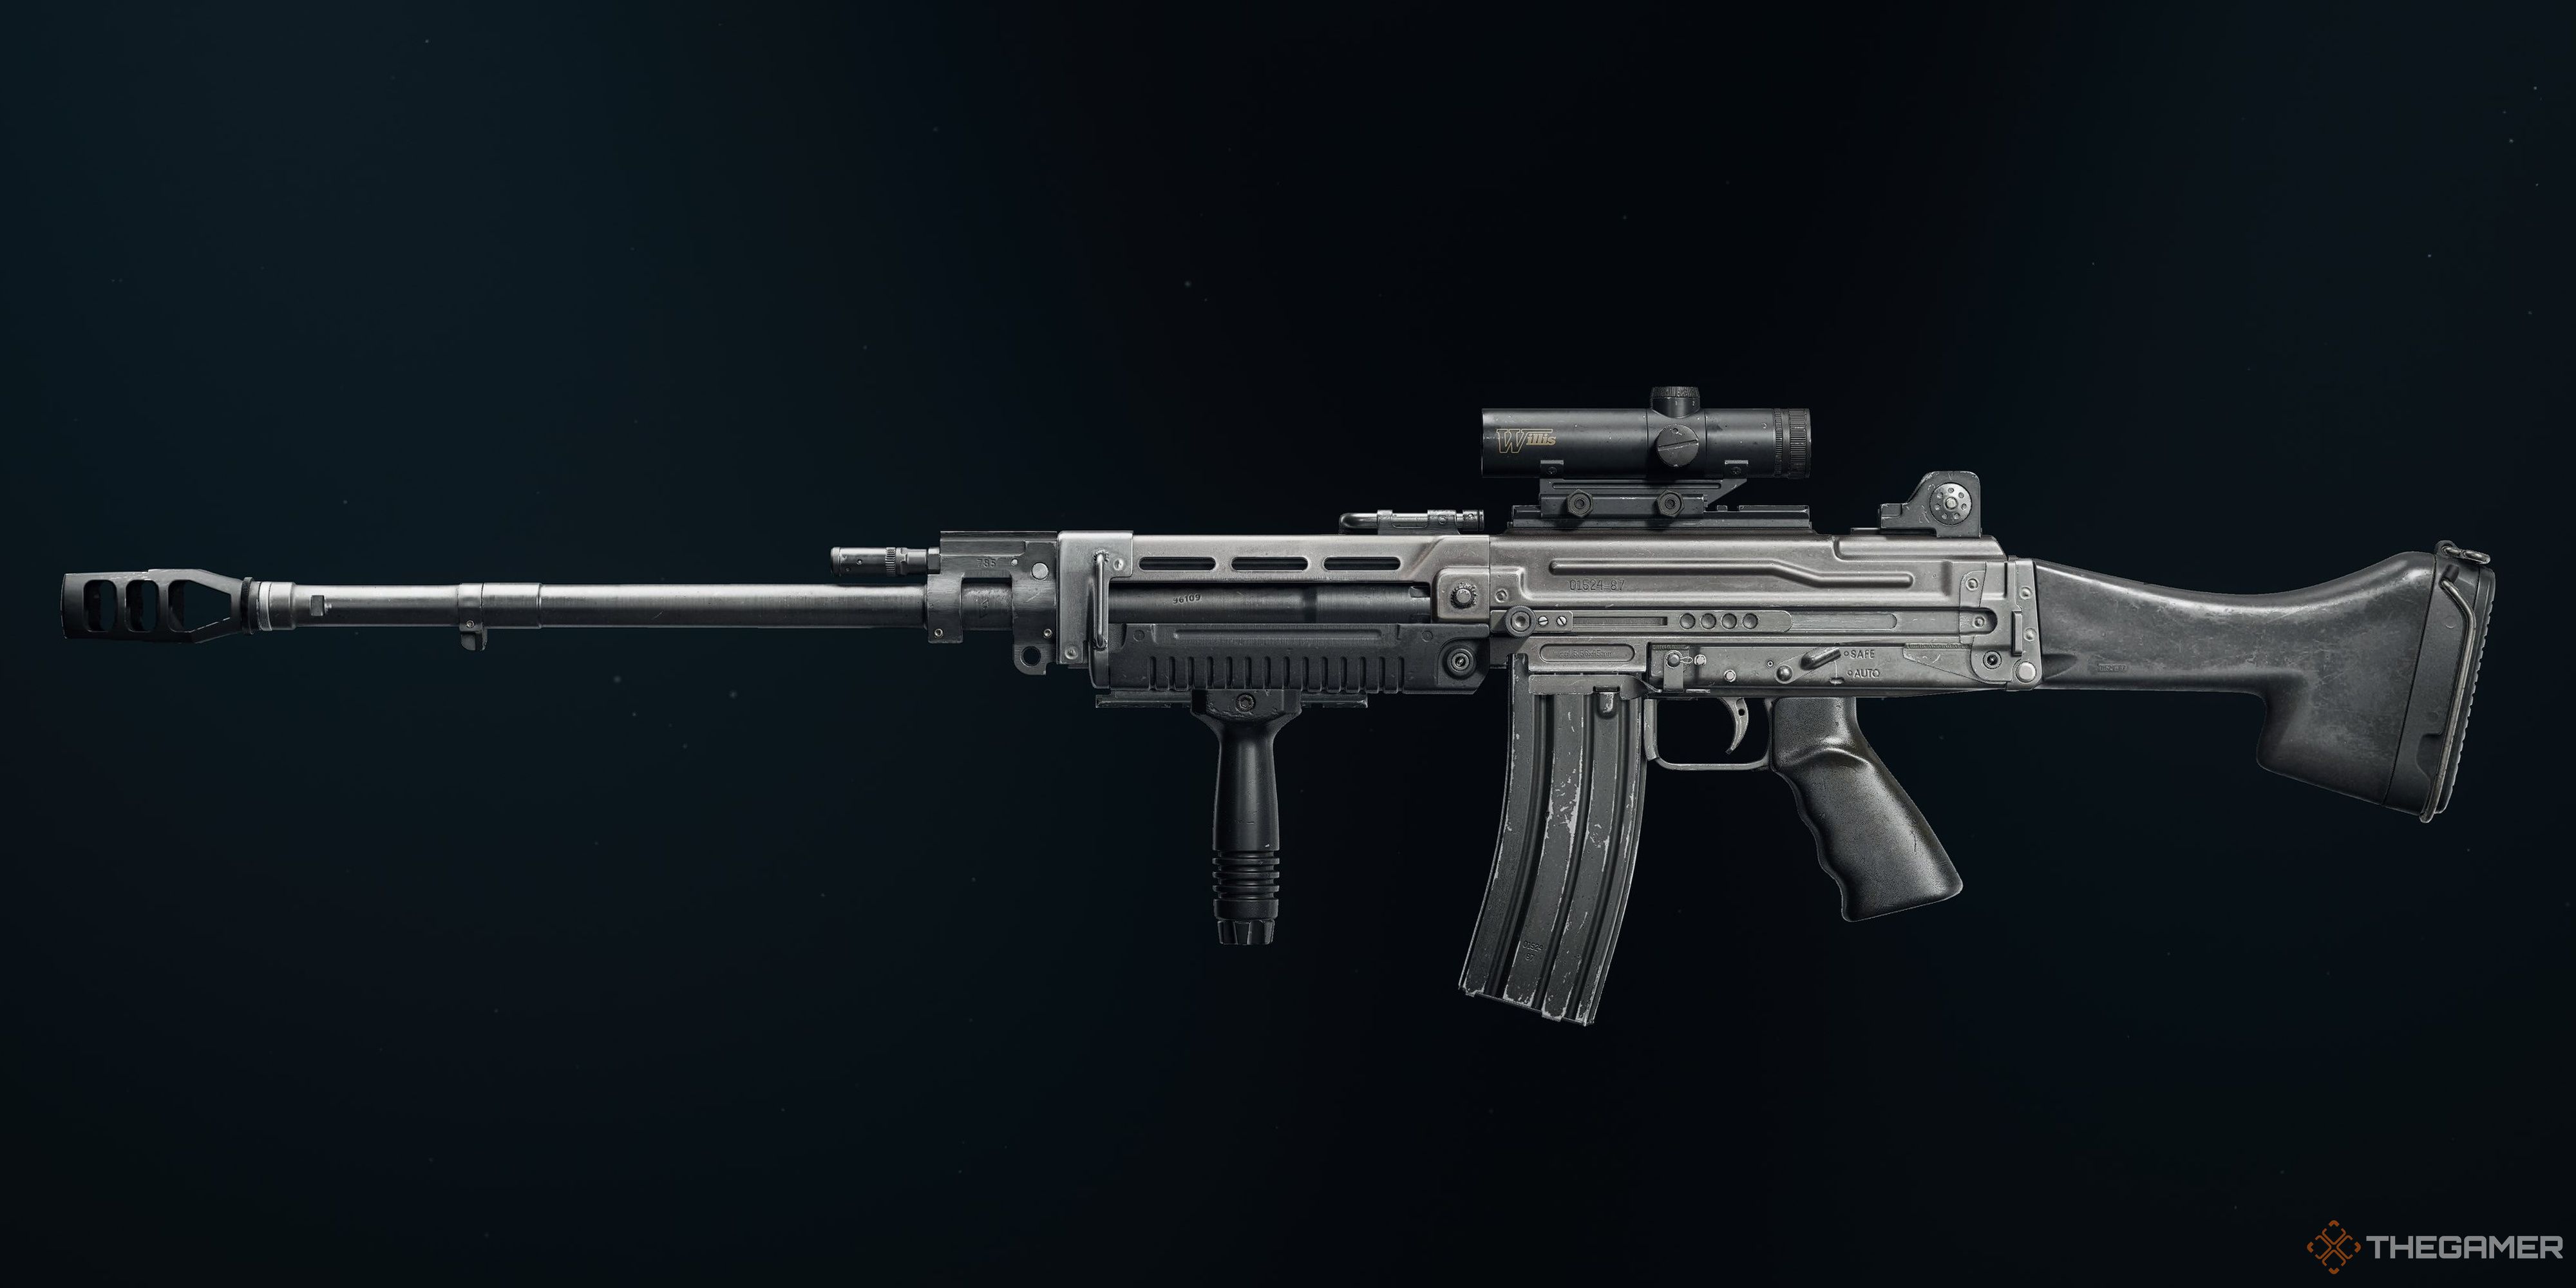
Call Of Duty: Black Ops 6 – Best Feng 82 Loadouts
Make the Feng 82 a recoilless LMG with these builds.






Leave a Reply