Unlocked just before the Battle of Sishui Gate in Chapter Two of Dynasty Warriors: Origins, Tactics let you command nearby troops to execute daring maneuvers on the field. As you gain more guards for your personal squad, you’ll unlock more and more options, giving you a healthy arsenal of tricks that can turn the tide of battle in your favor.
Related
Dynasty Warriors: Origins – 8 Best Combos
Learn these powerful moves to get an edge in Dynasty Warriors: Origins.
Only having three slots to equip Tactics means you have to be very particular about which ones you bring, especially as your library grows. We’ve ranked all seventeen, so you can pick the best of the lot.
17
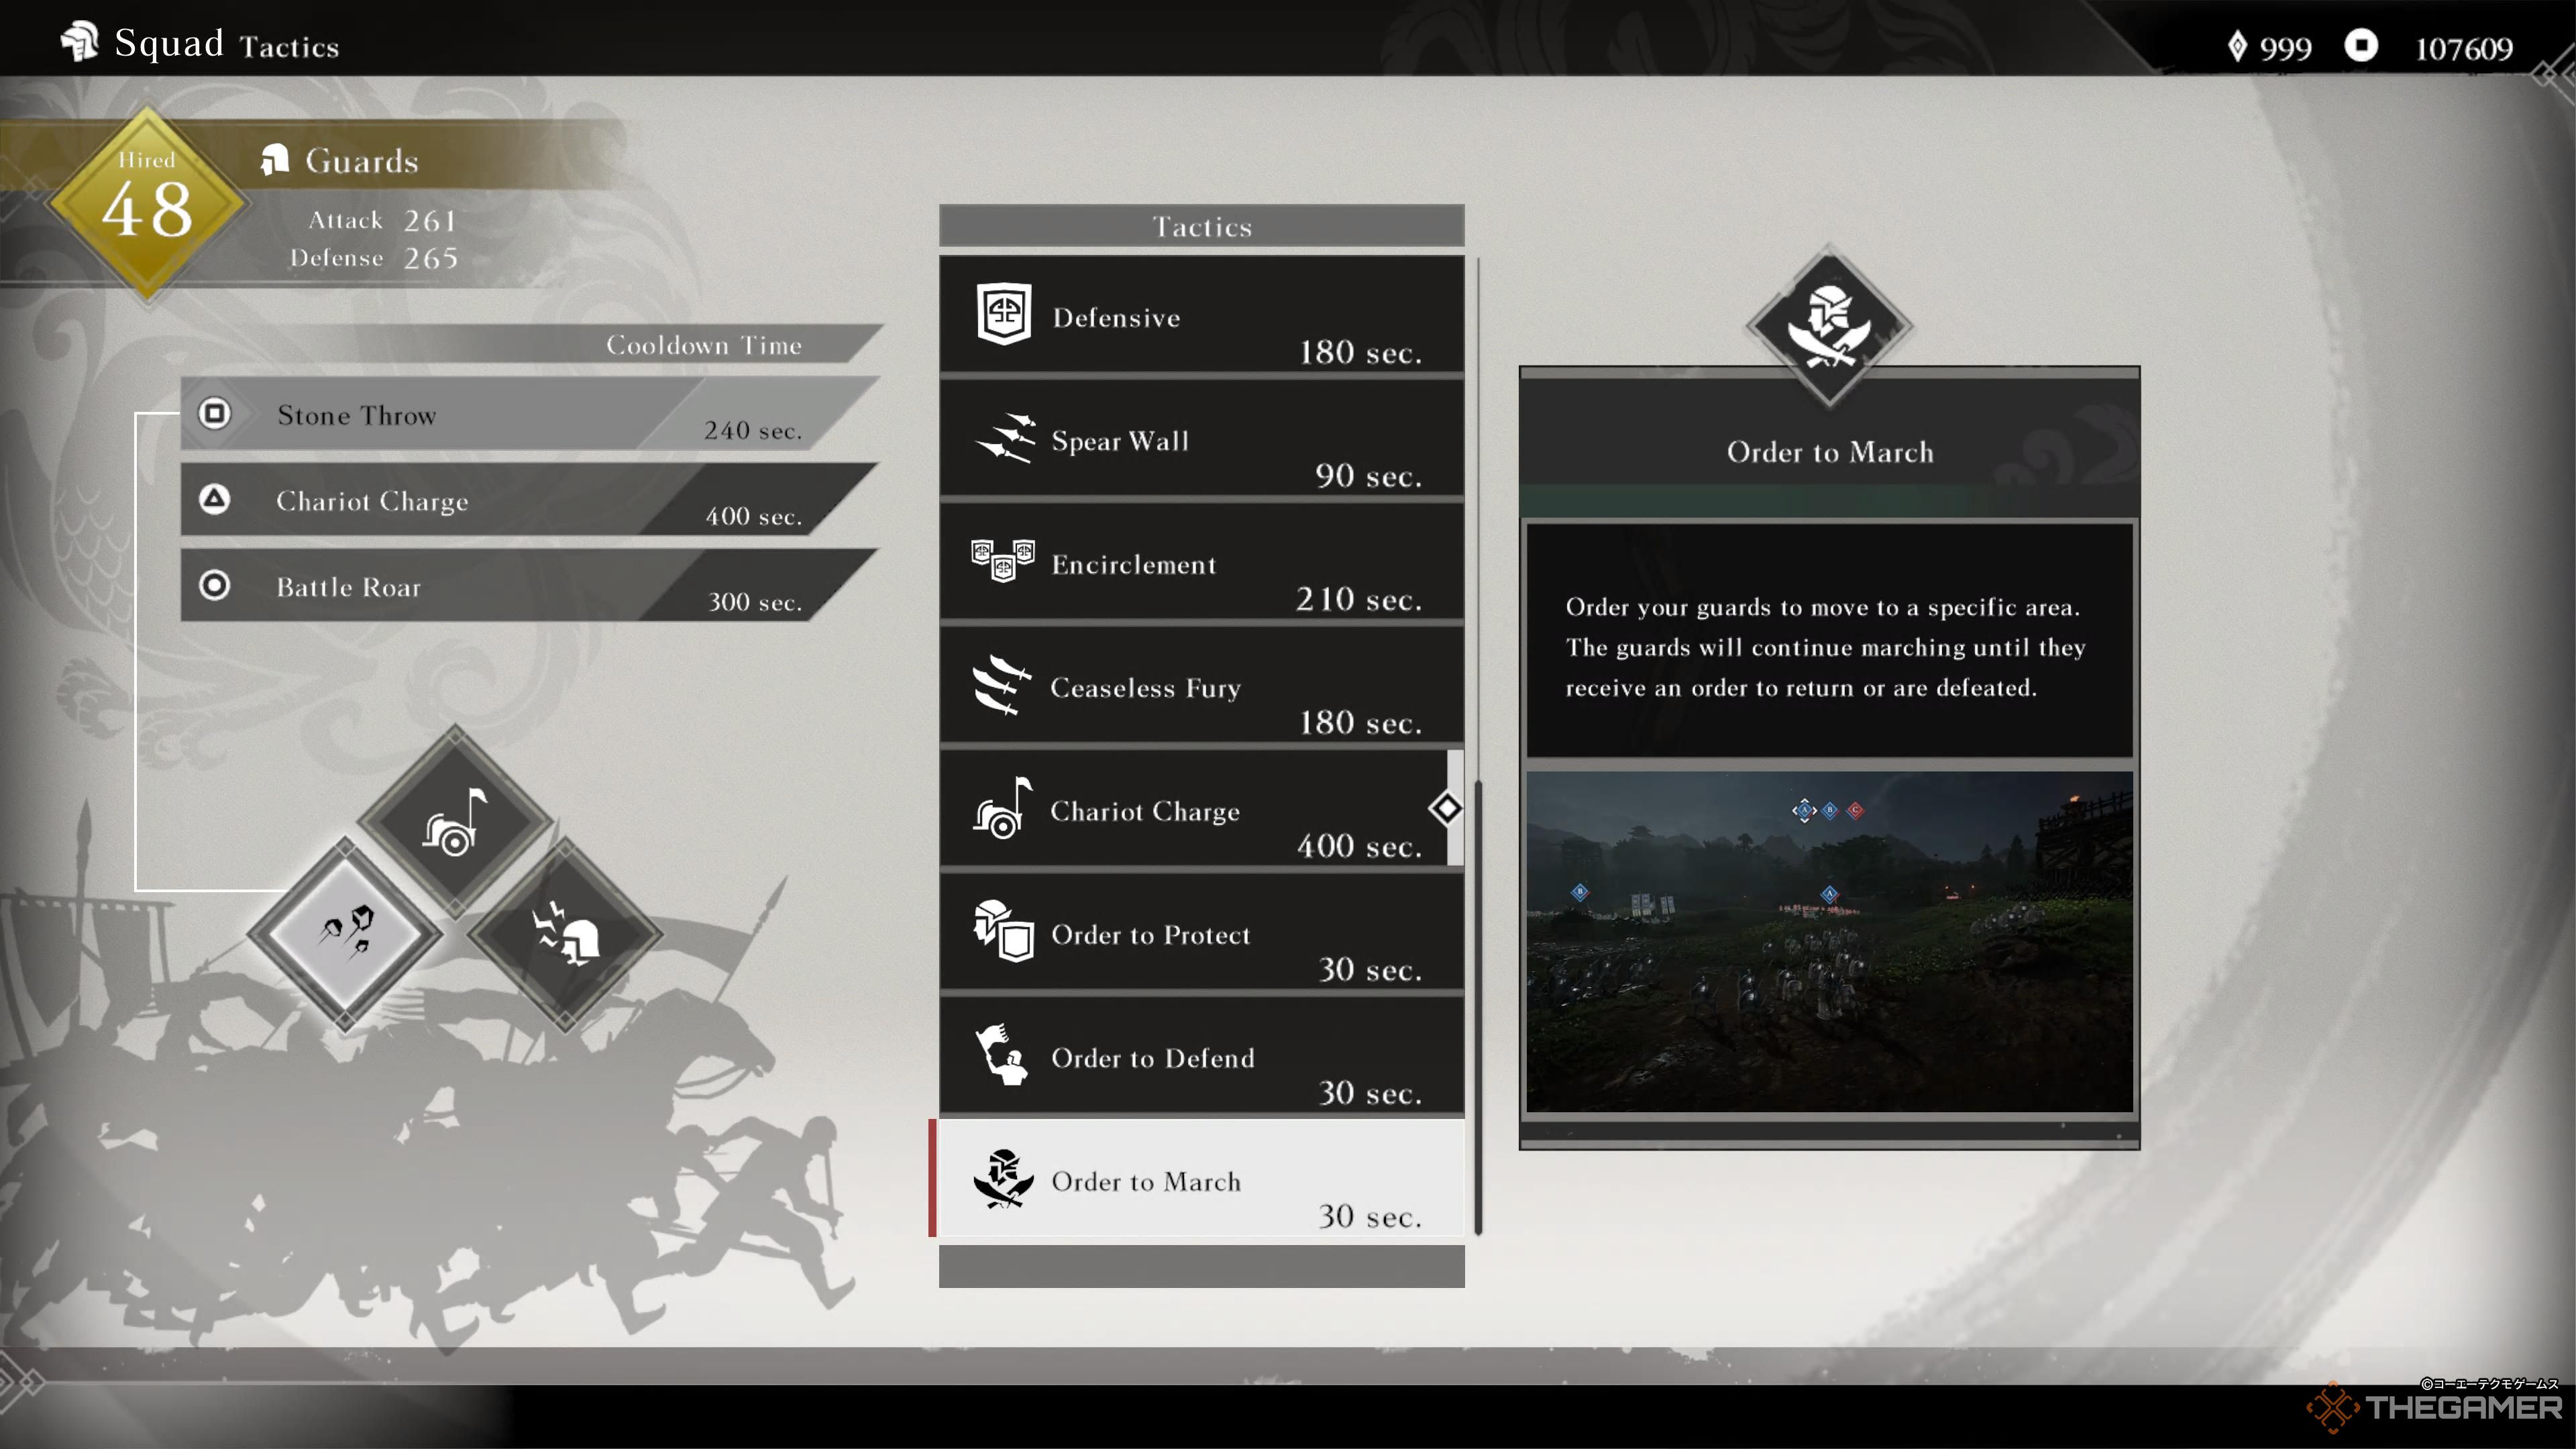
Order To March
Order To March does exactly that; tells your guards to go to a specified spot and stay there. They’ll fight any hostiles that they encounter on the way, but there are much better uses for their talents.
Anything that you could accomplish with Order To March, you could do more effectively with a different Tactic. The only real benefit is its thirty-second cooldown, but Order To Defend and Order To Protect also have that and are much more focused in their purpose.
16
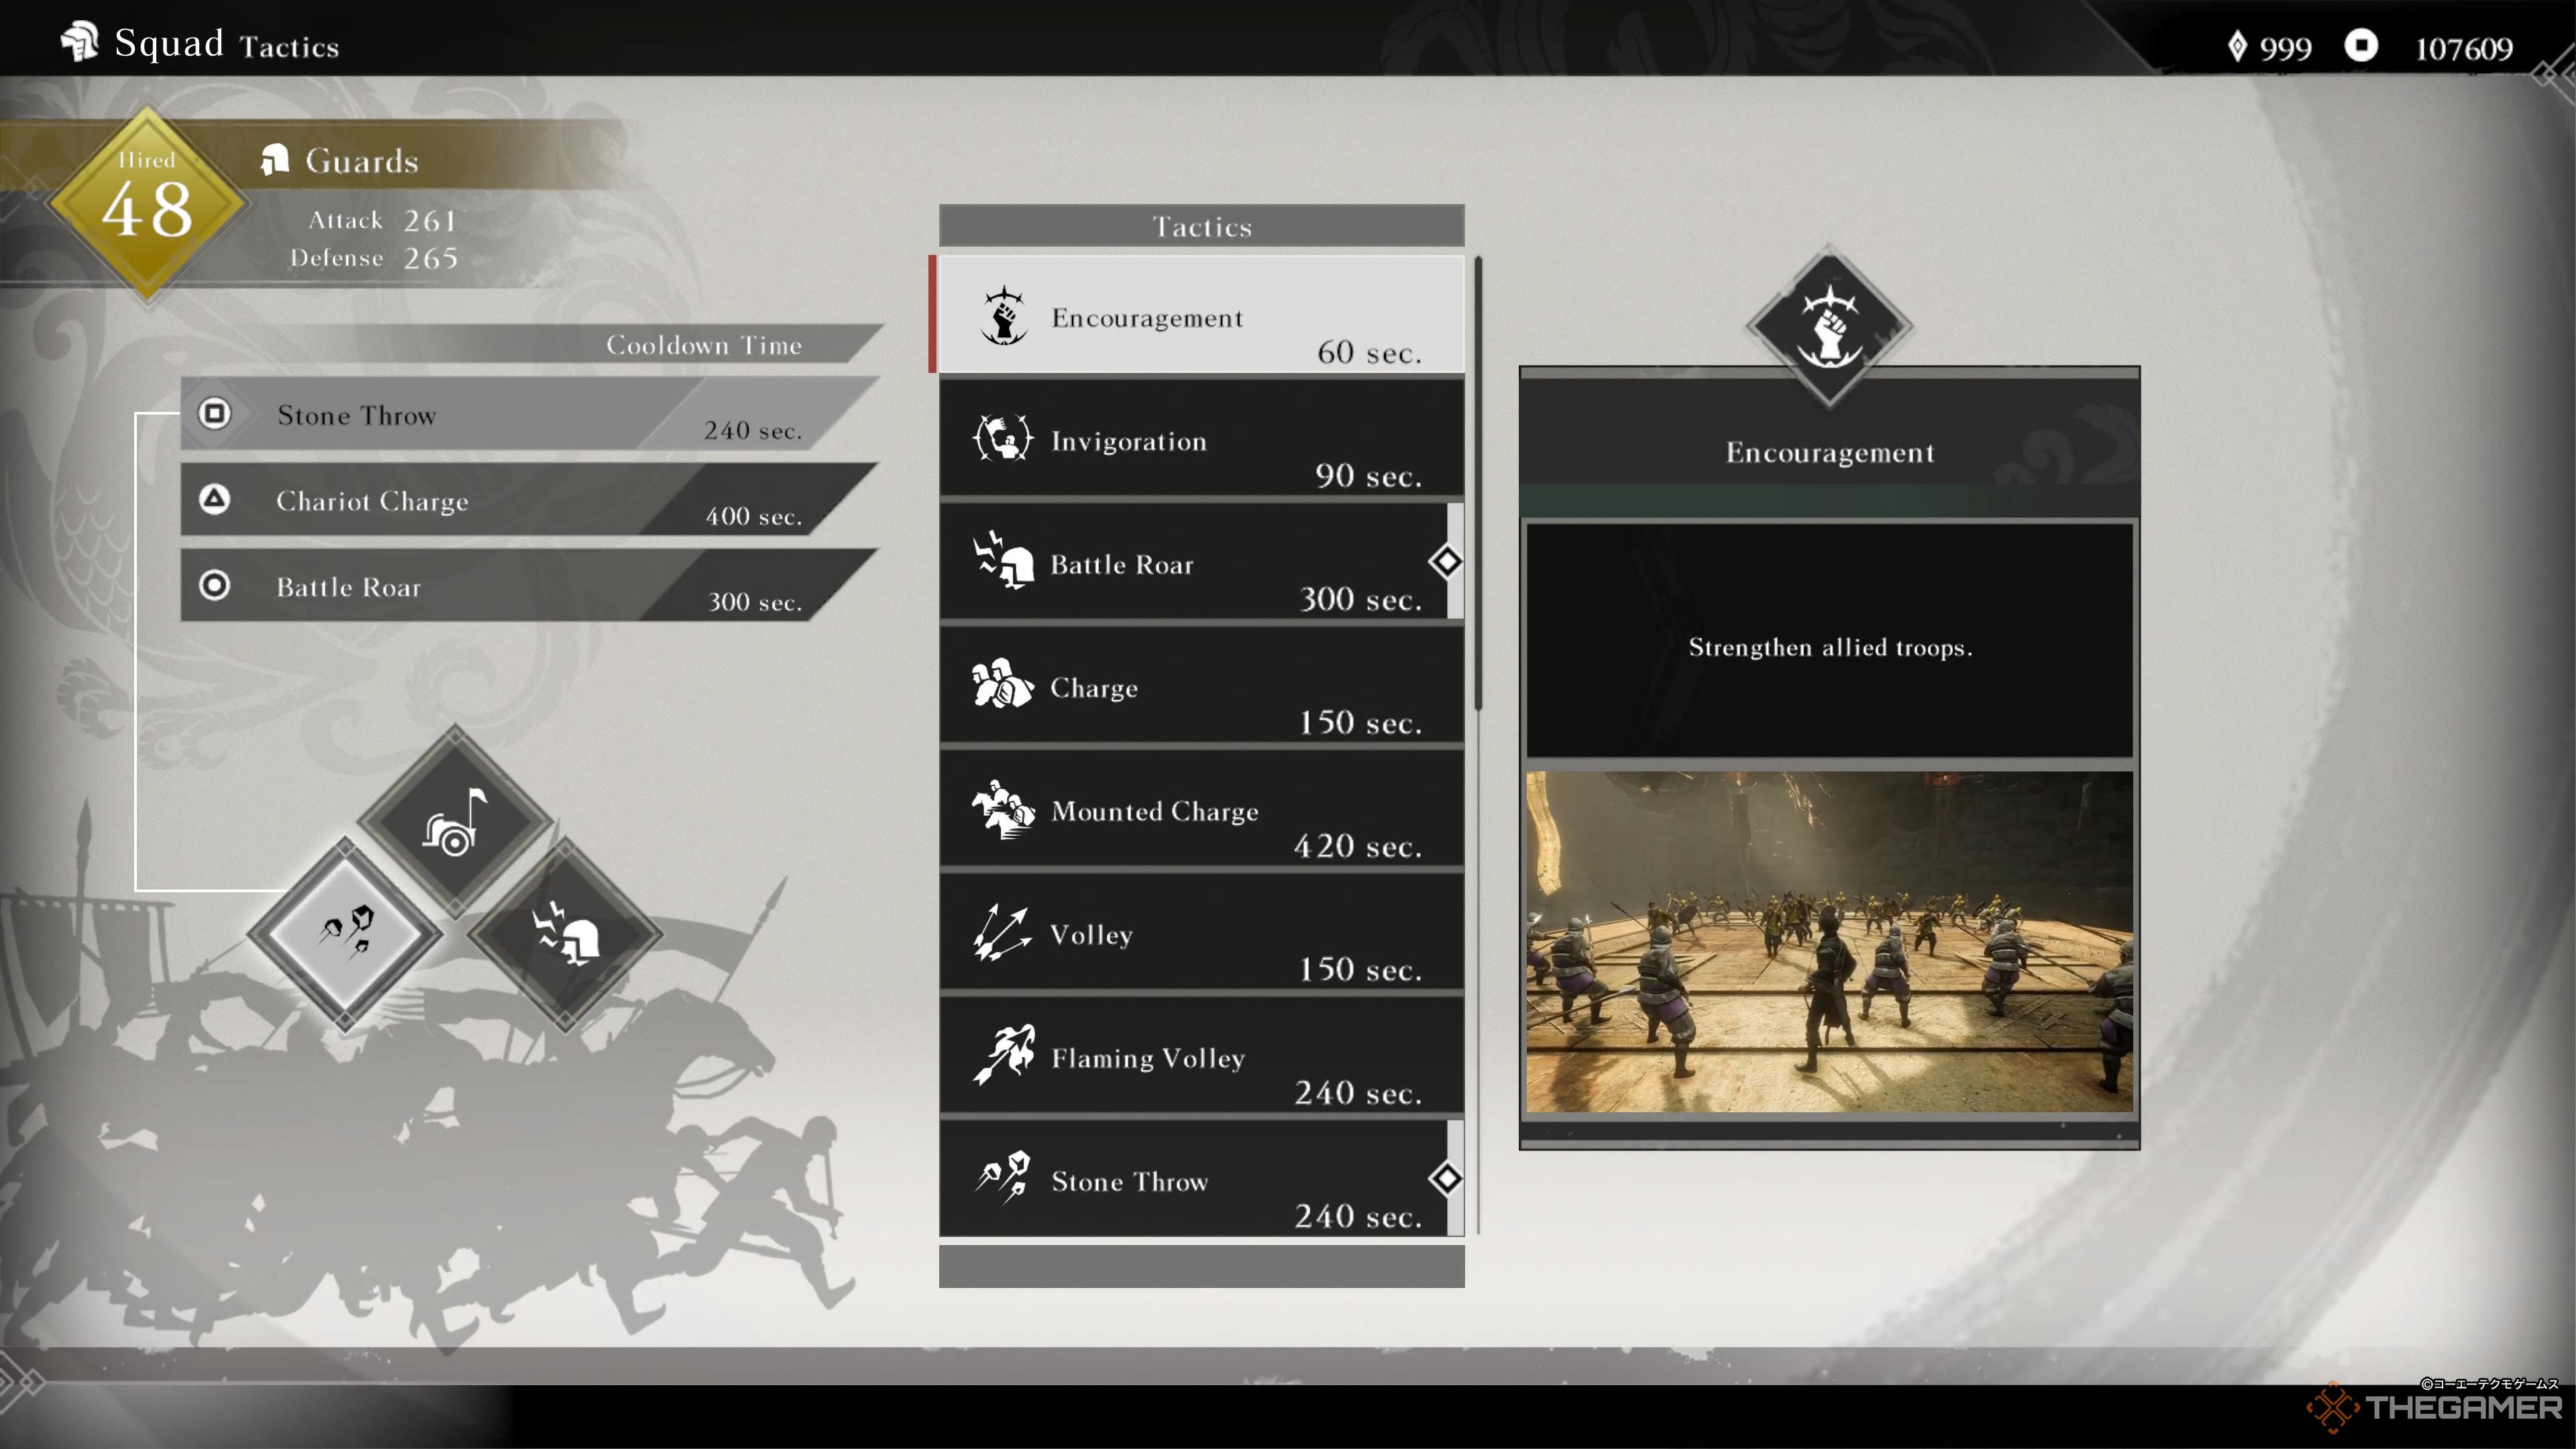
Encouragement
Encouragement gives a buff to nearby allies, which is nice on paper but in practice doesn’t really do anything. In general, the best thing you can do for allied soldiers and officers is fight alongside them, since you can defeat enemies much more efficiently and your very presence can heal them when they get low on health.
Buffing friendly troops is nice, but doesn’t give enough of a benefit to take up a slot, especially compared to the other Tactics available. The allies who really need help – the ones who aren’t anywhere near you – are the ones who would stand to benefit most from an ability like Encouragement, but obviously that’s not an option if they’re all the way across the map.
15
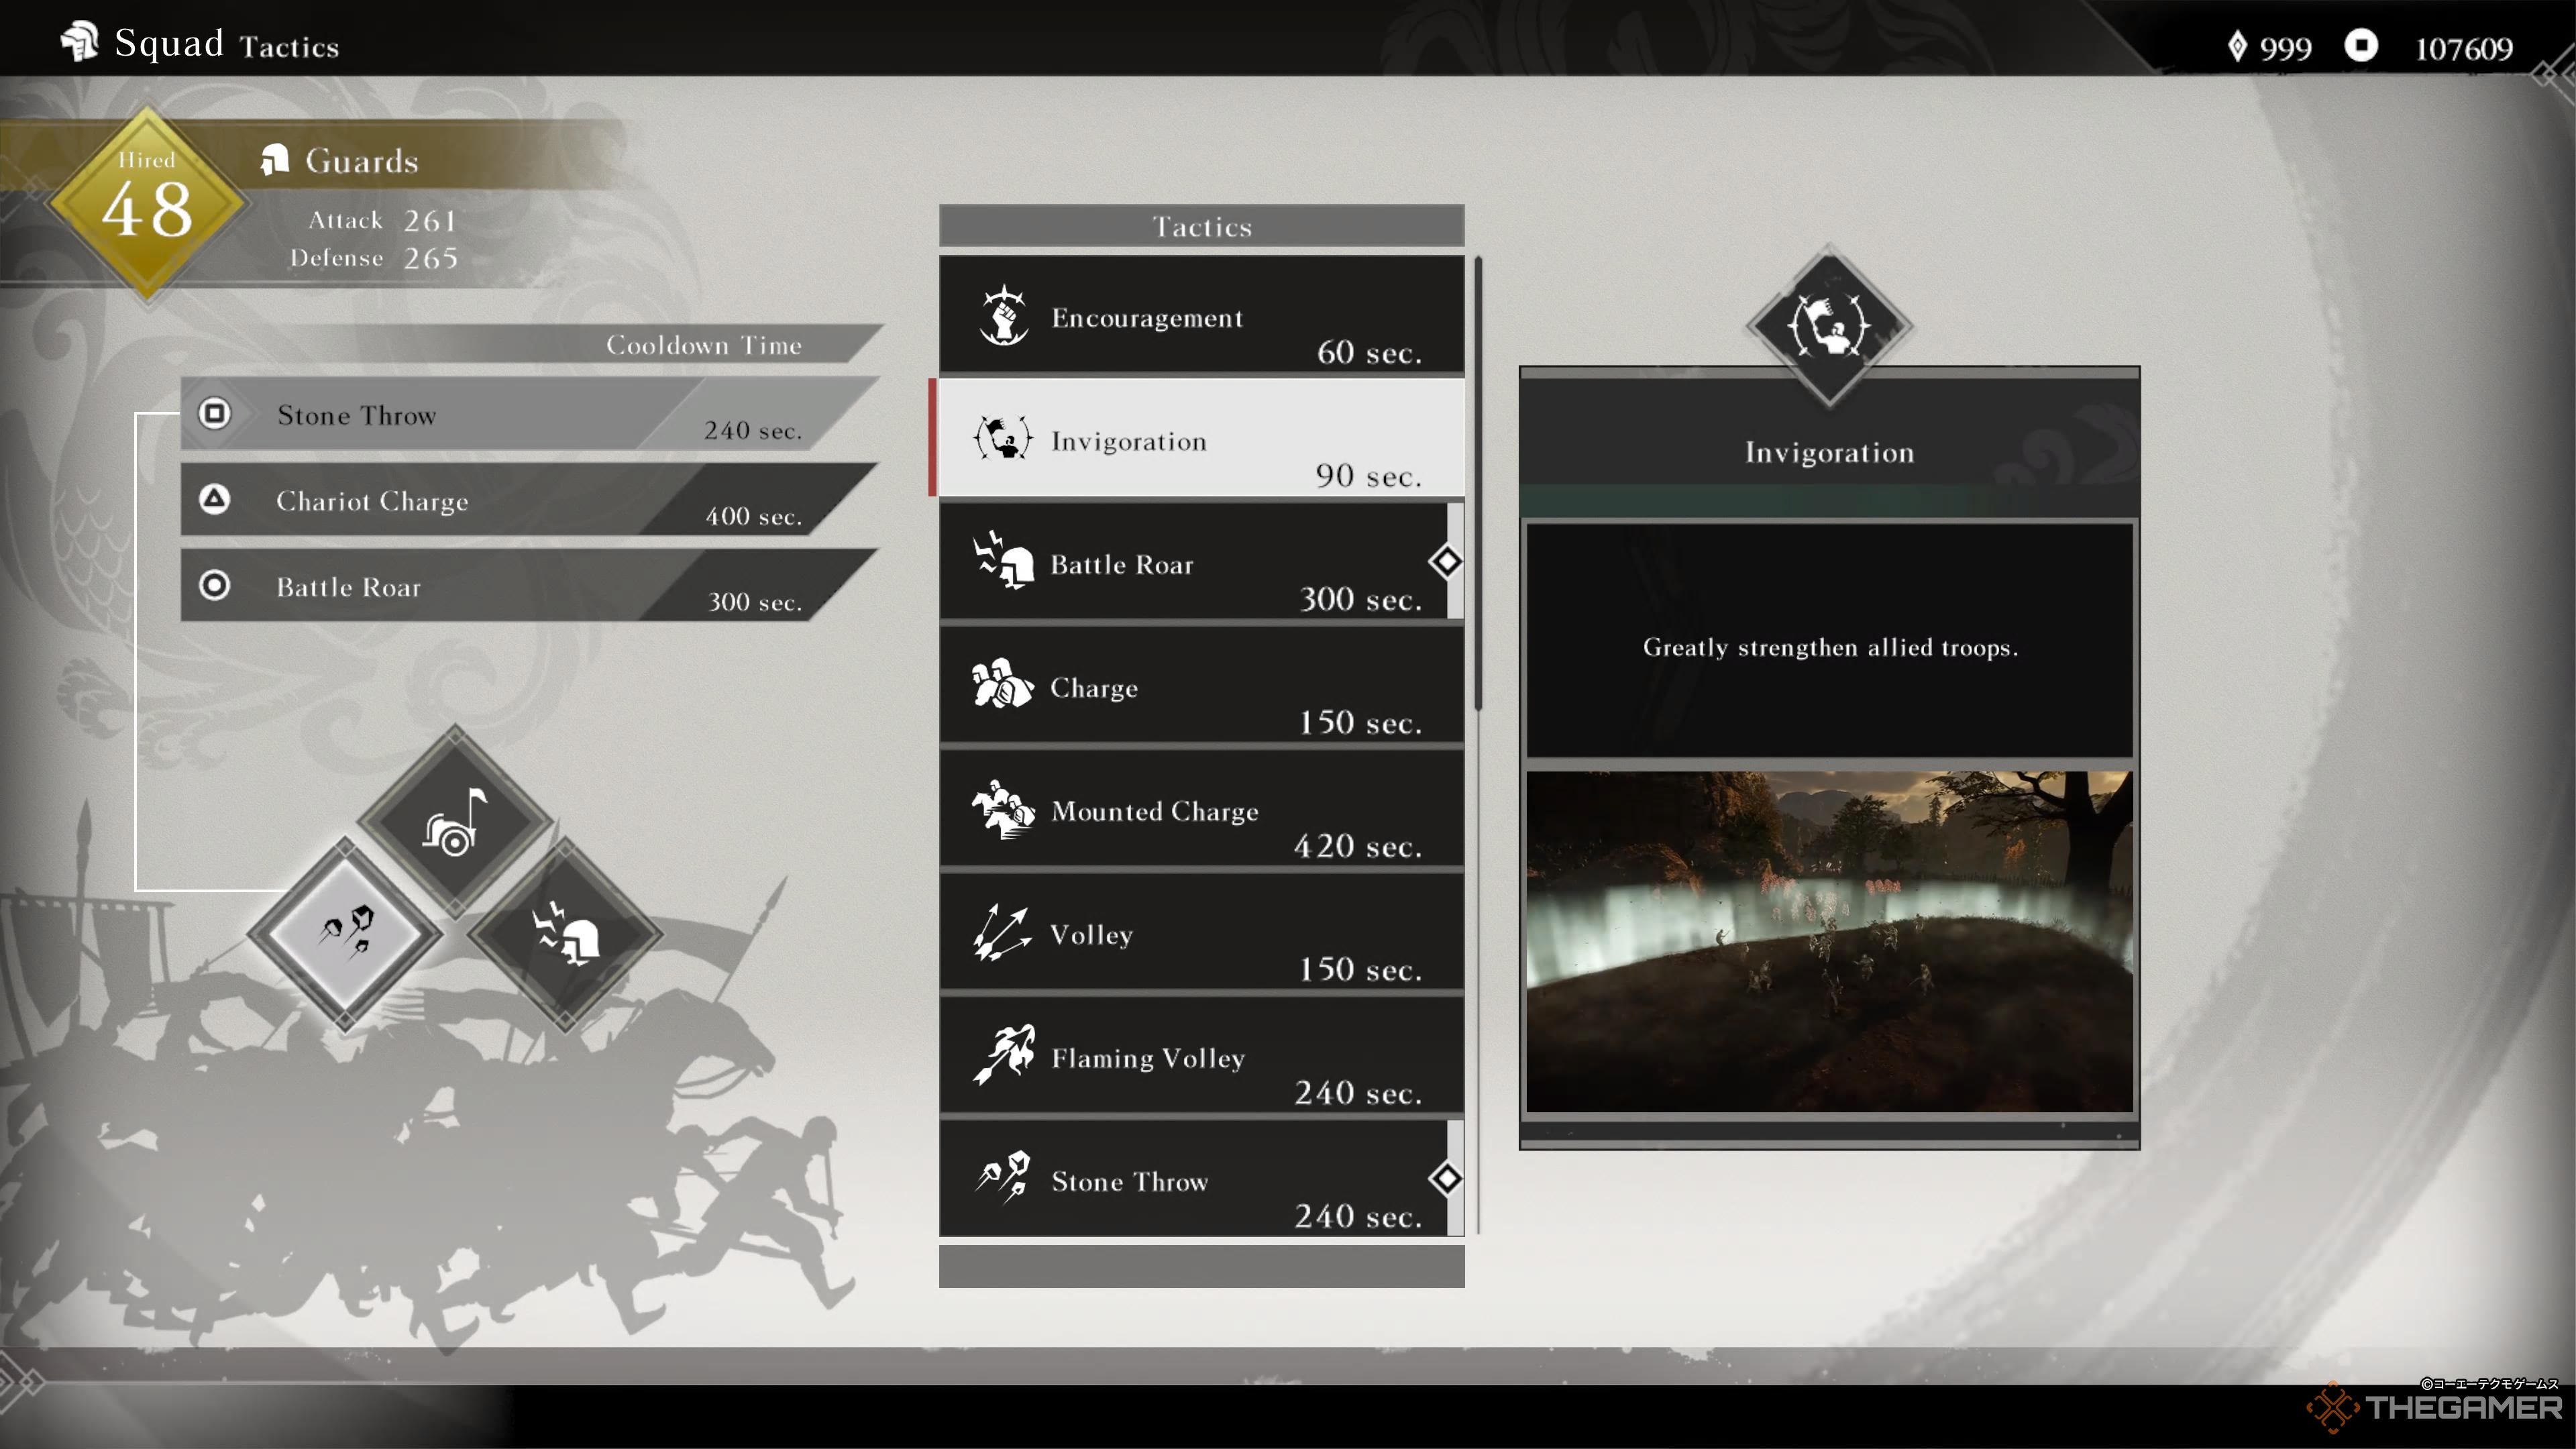
Invigoration
Invigoration does the same thing as Encouragement, but with a larger buff. That means it has all the same drawbacks as its less-powerful cousin, so it isn’t enough of an improvement to make it truly better.
14
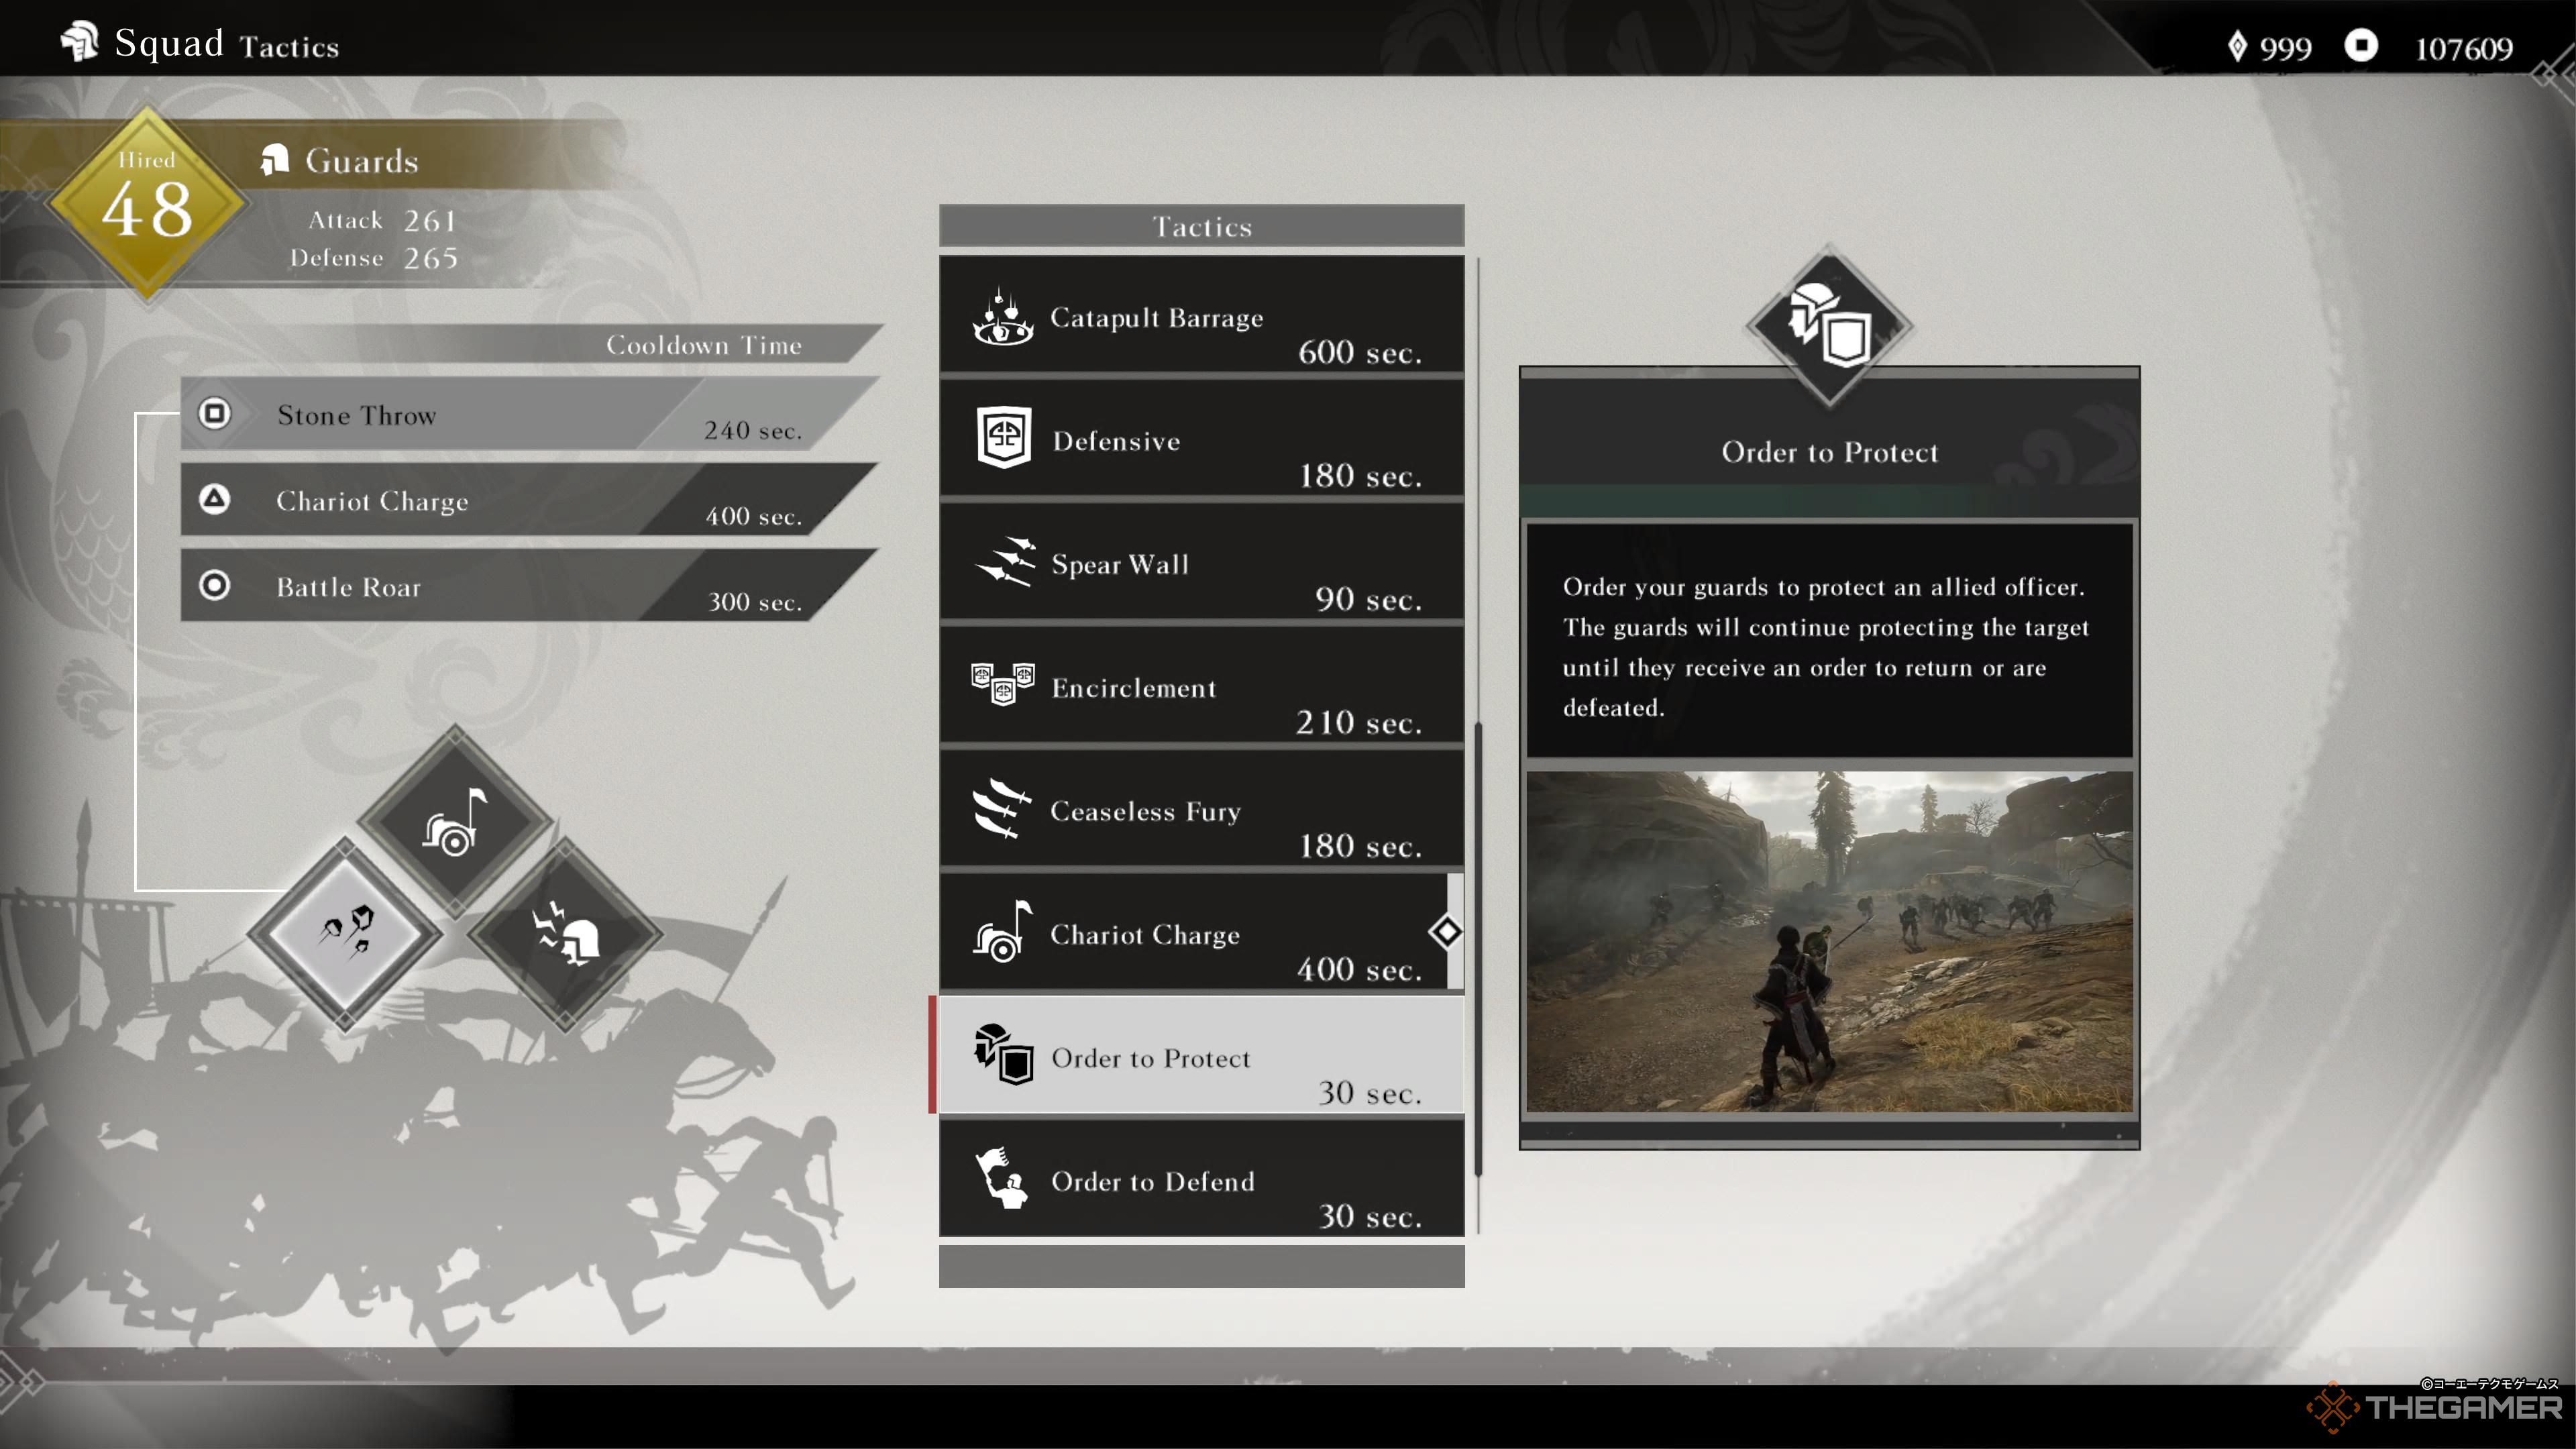
Order To Protect
Order To Protect assigns your guards to defend a nearby officer with their lives. It’s best used to keep mission-critical characters alive until you can rescue them properly, but in most cases if you need this Tactic, it’s already too late.
Generally, if you’re close enough to use Order To Protect, then you’re close enough to get on your horse and move to your beleaguered ally to heal them. There are a few corner cases where a few extra seconds can save a mission, but those are few and far enough between that using a Tactics slot for this isn’t warranted.
13
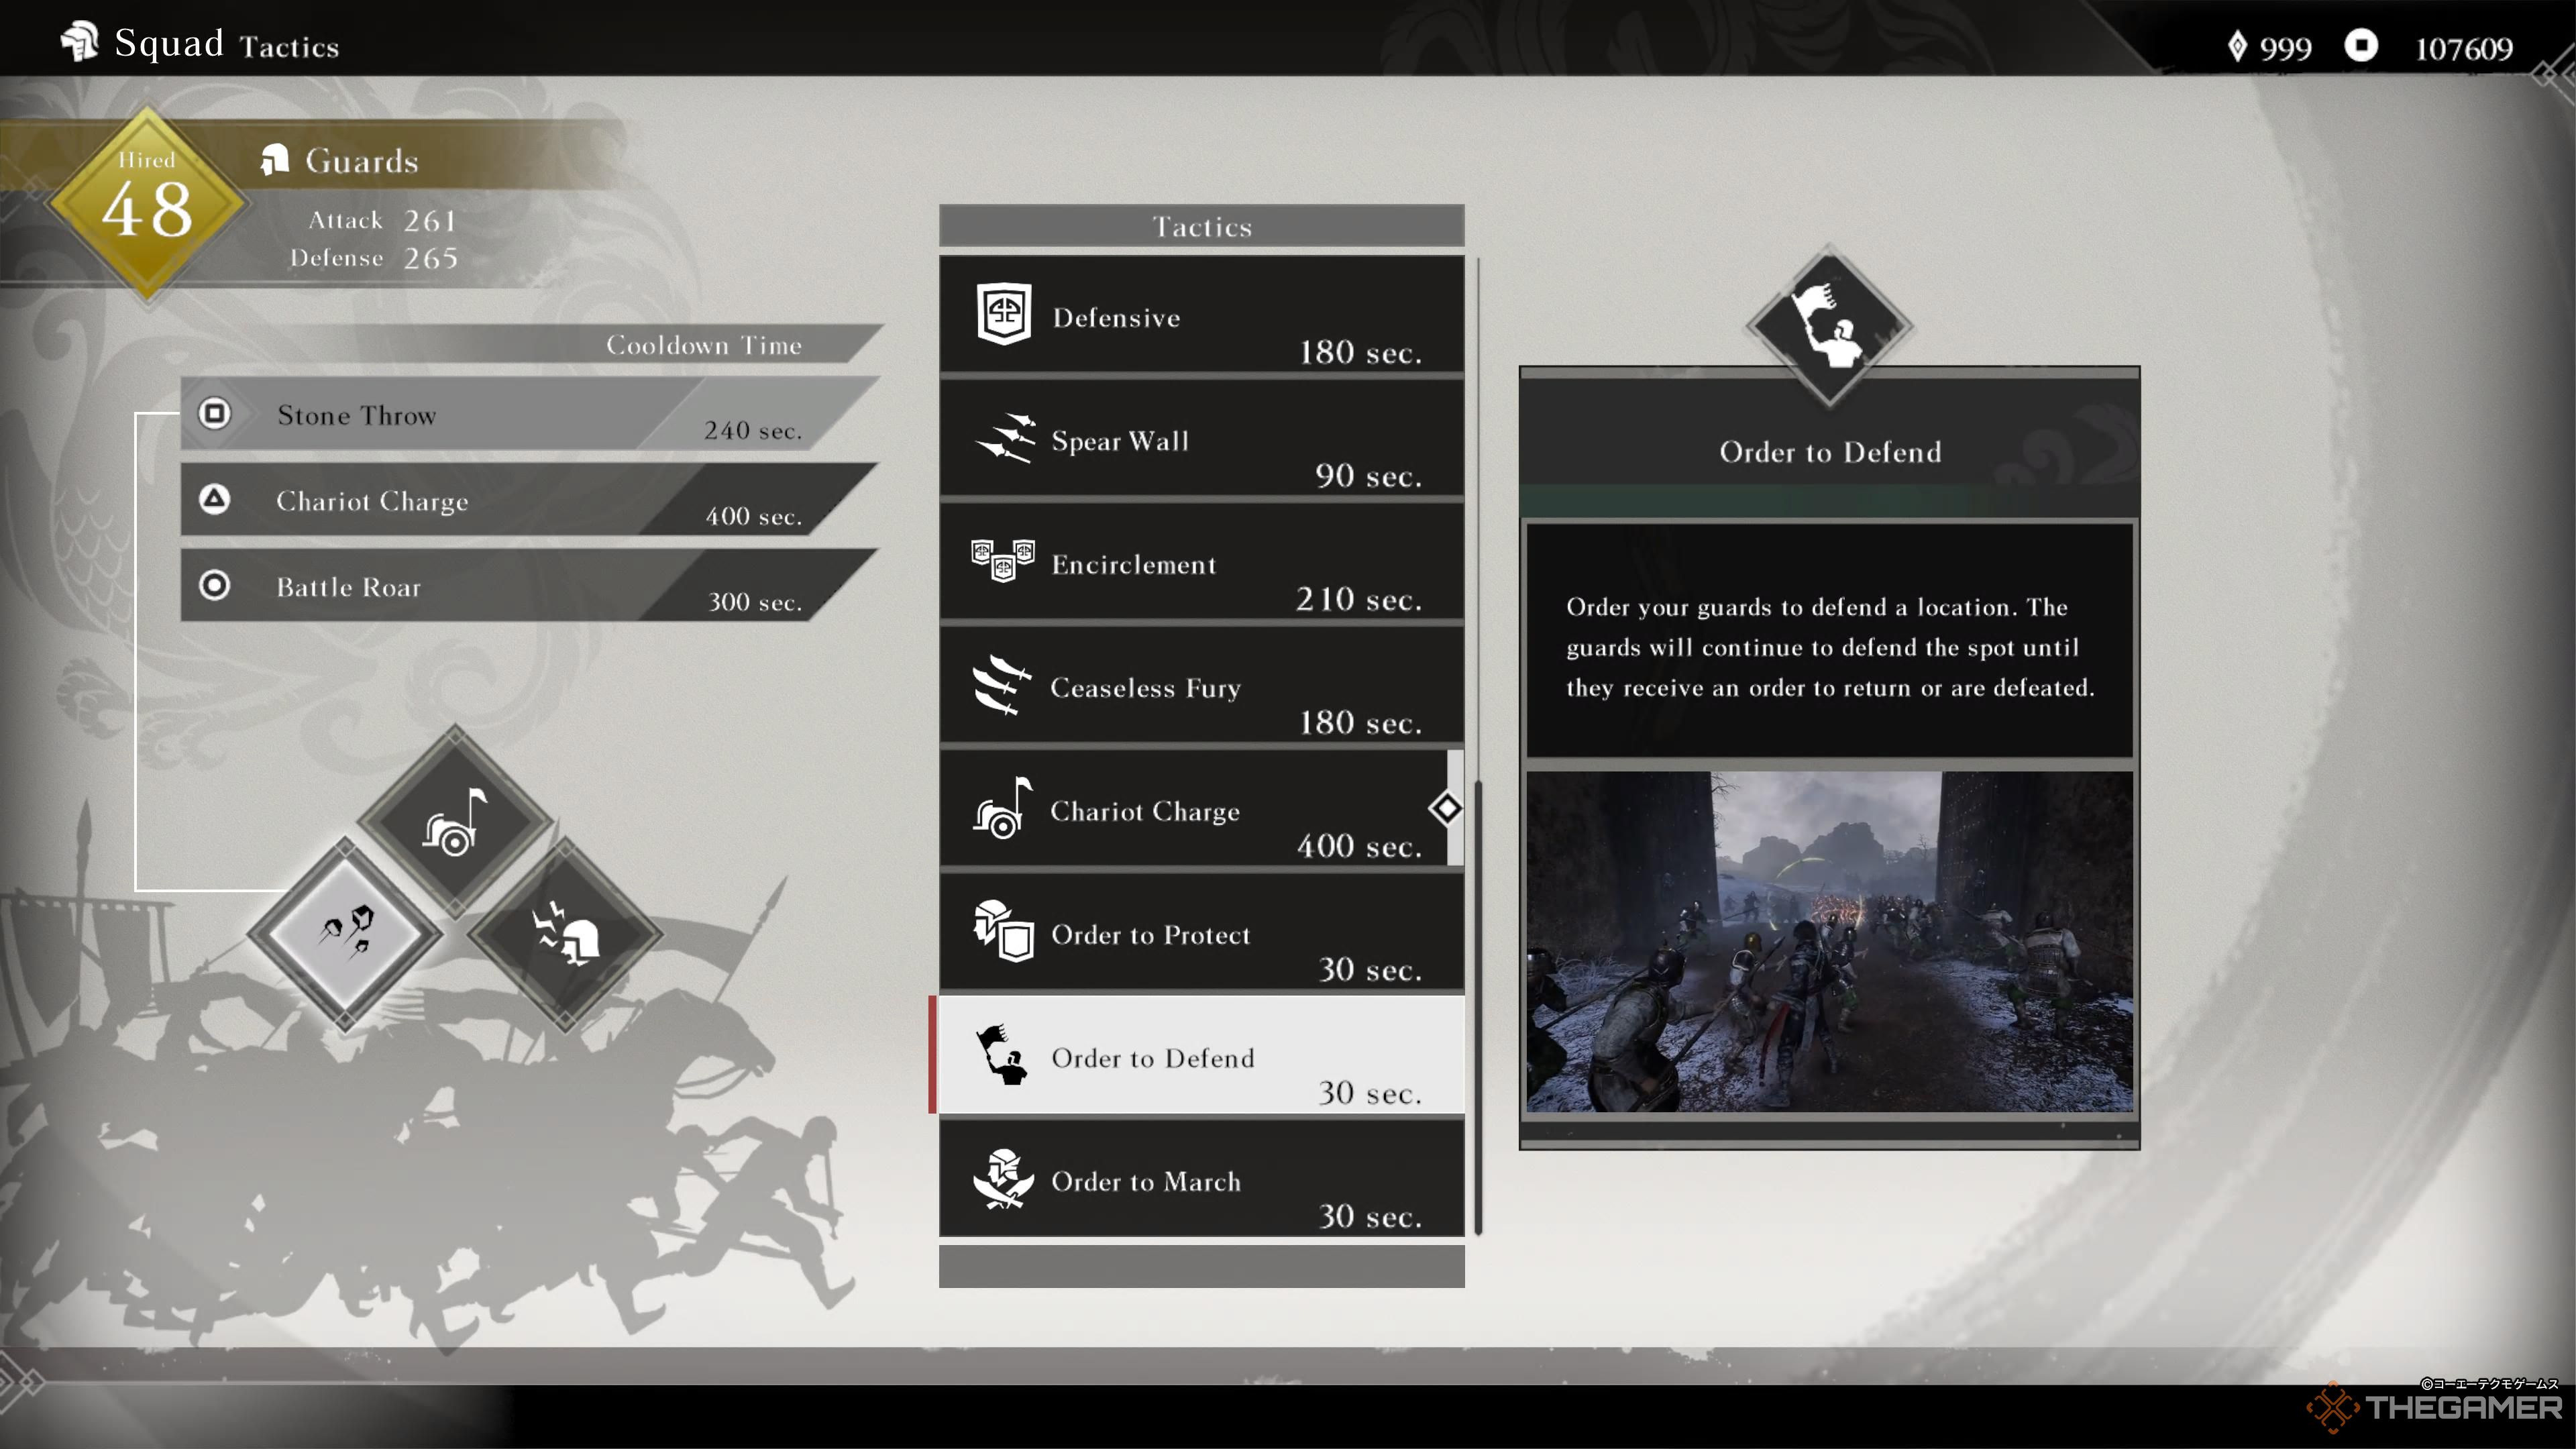
Order To Defend
Of the “Order” series of Tactics, Order To Defend has the most practical uses. It sends your guards to keep the enemy out of the target area at all costs. It’s best for temporarily holding down a friendly base that’s just barely hanging on, especially if you need to leave before mopping up enemy officers for a rescue or other important task.
Remember, your guards are still just basic troops – they won’t last long against even a nameless officer.
12
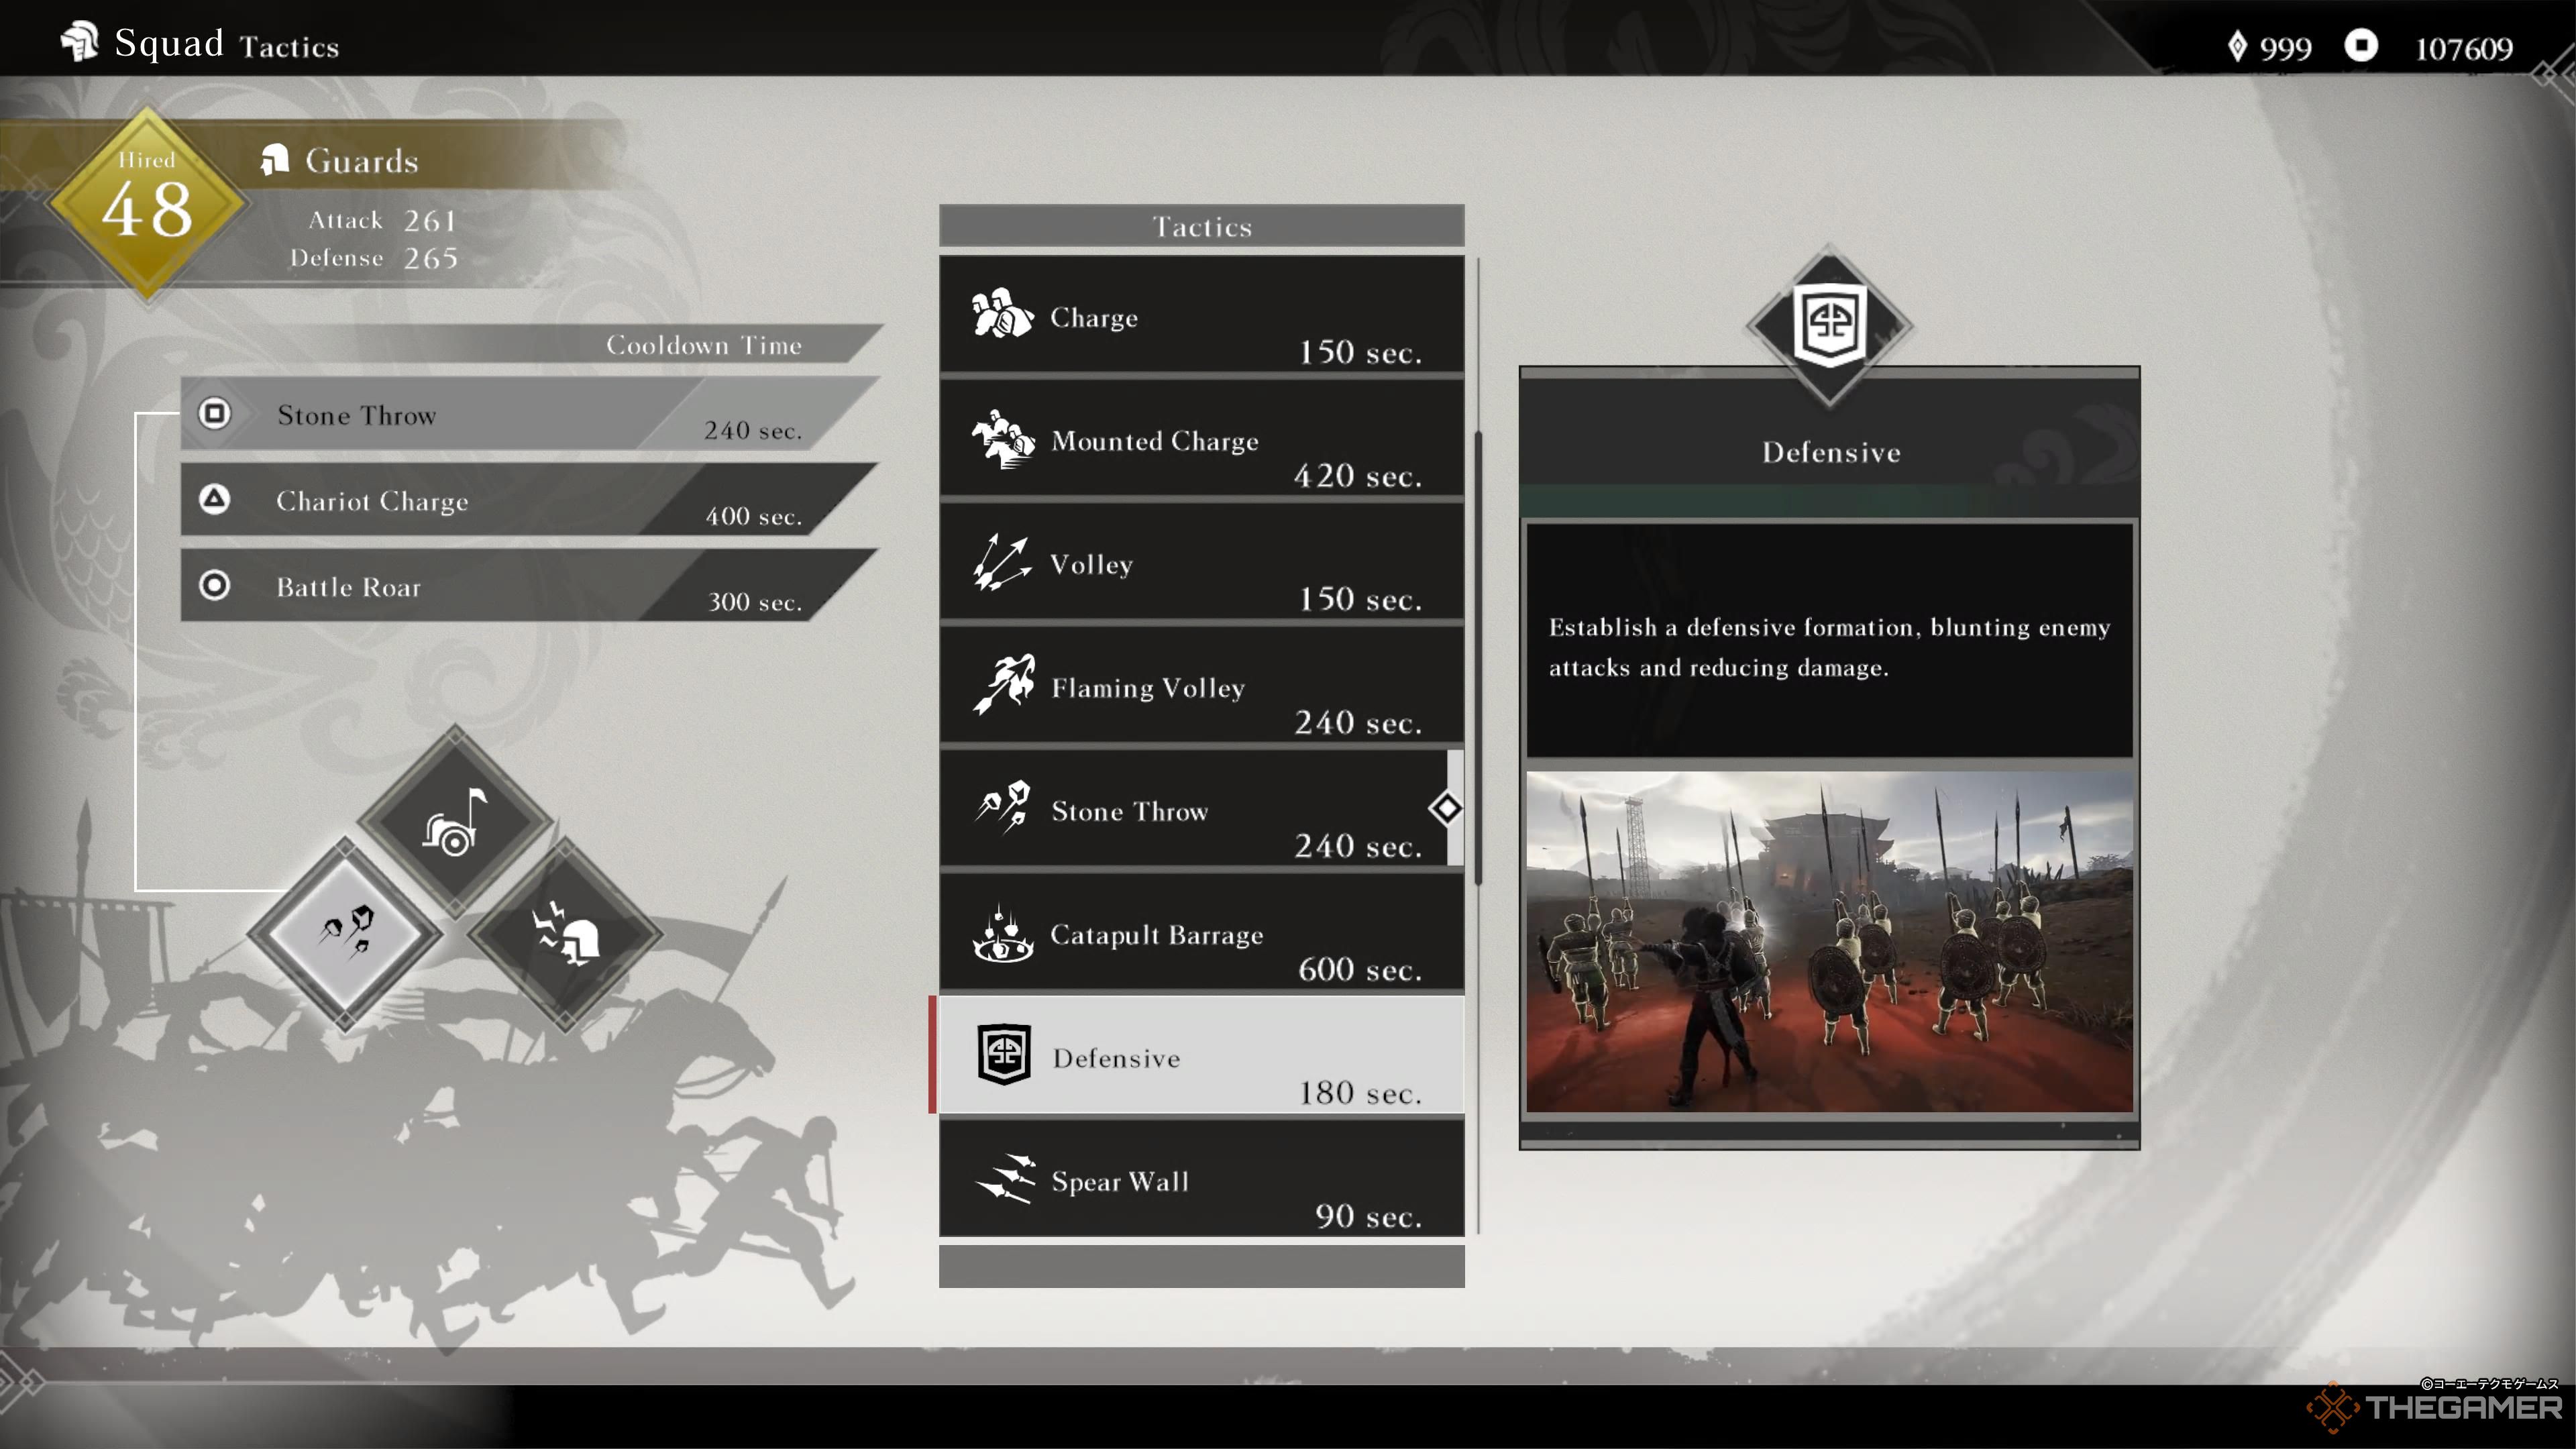
Defensive
The Defensive Tactic essentially turns your troops into a buff for yourself; they form up around you, creating an aura effect that reduces incoming damage.
Defensive can be useful to deploy right before charging into a Large Force, but you’re probably better off softening the enemy ranks with a more offense-oriented Tactic instead. Not only will that damage officers and eliminate troops, but it also has the potential to reduce enemy Courage as well.
11
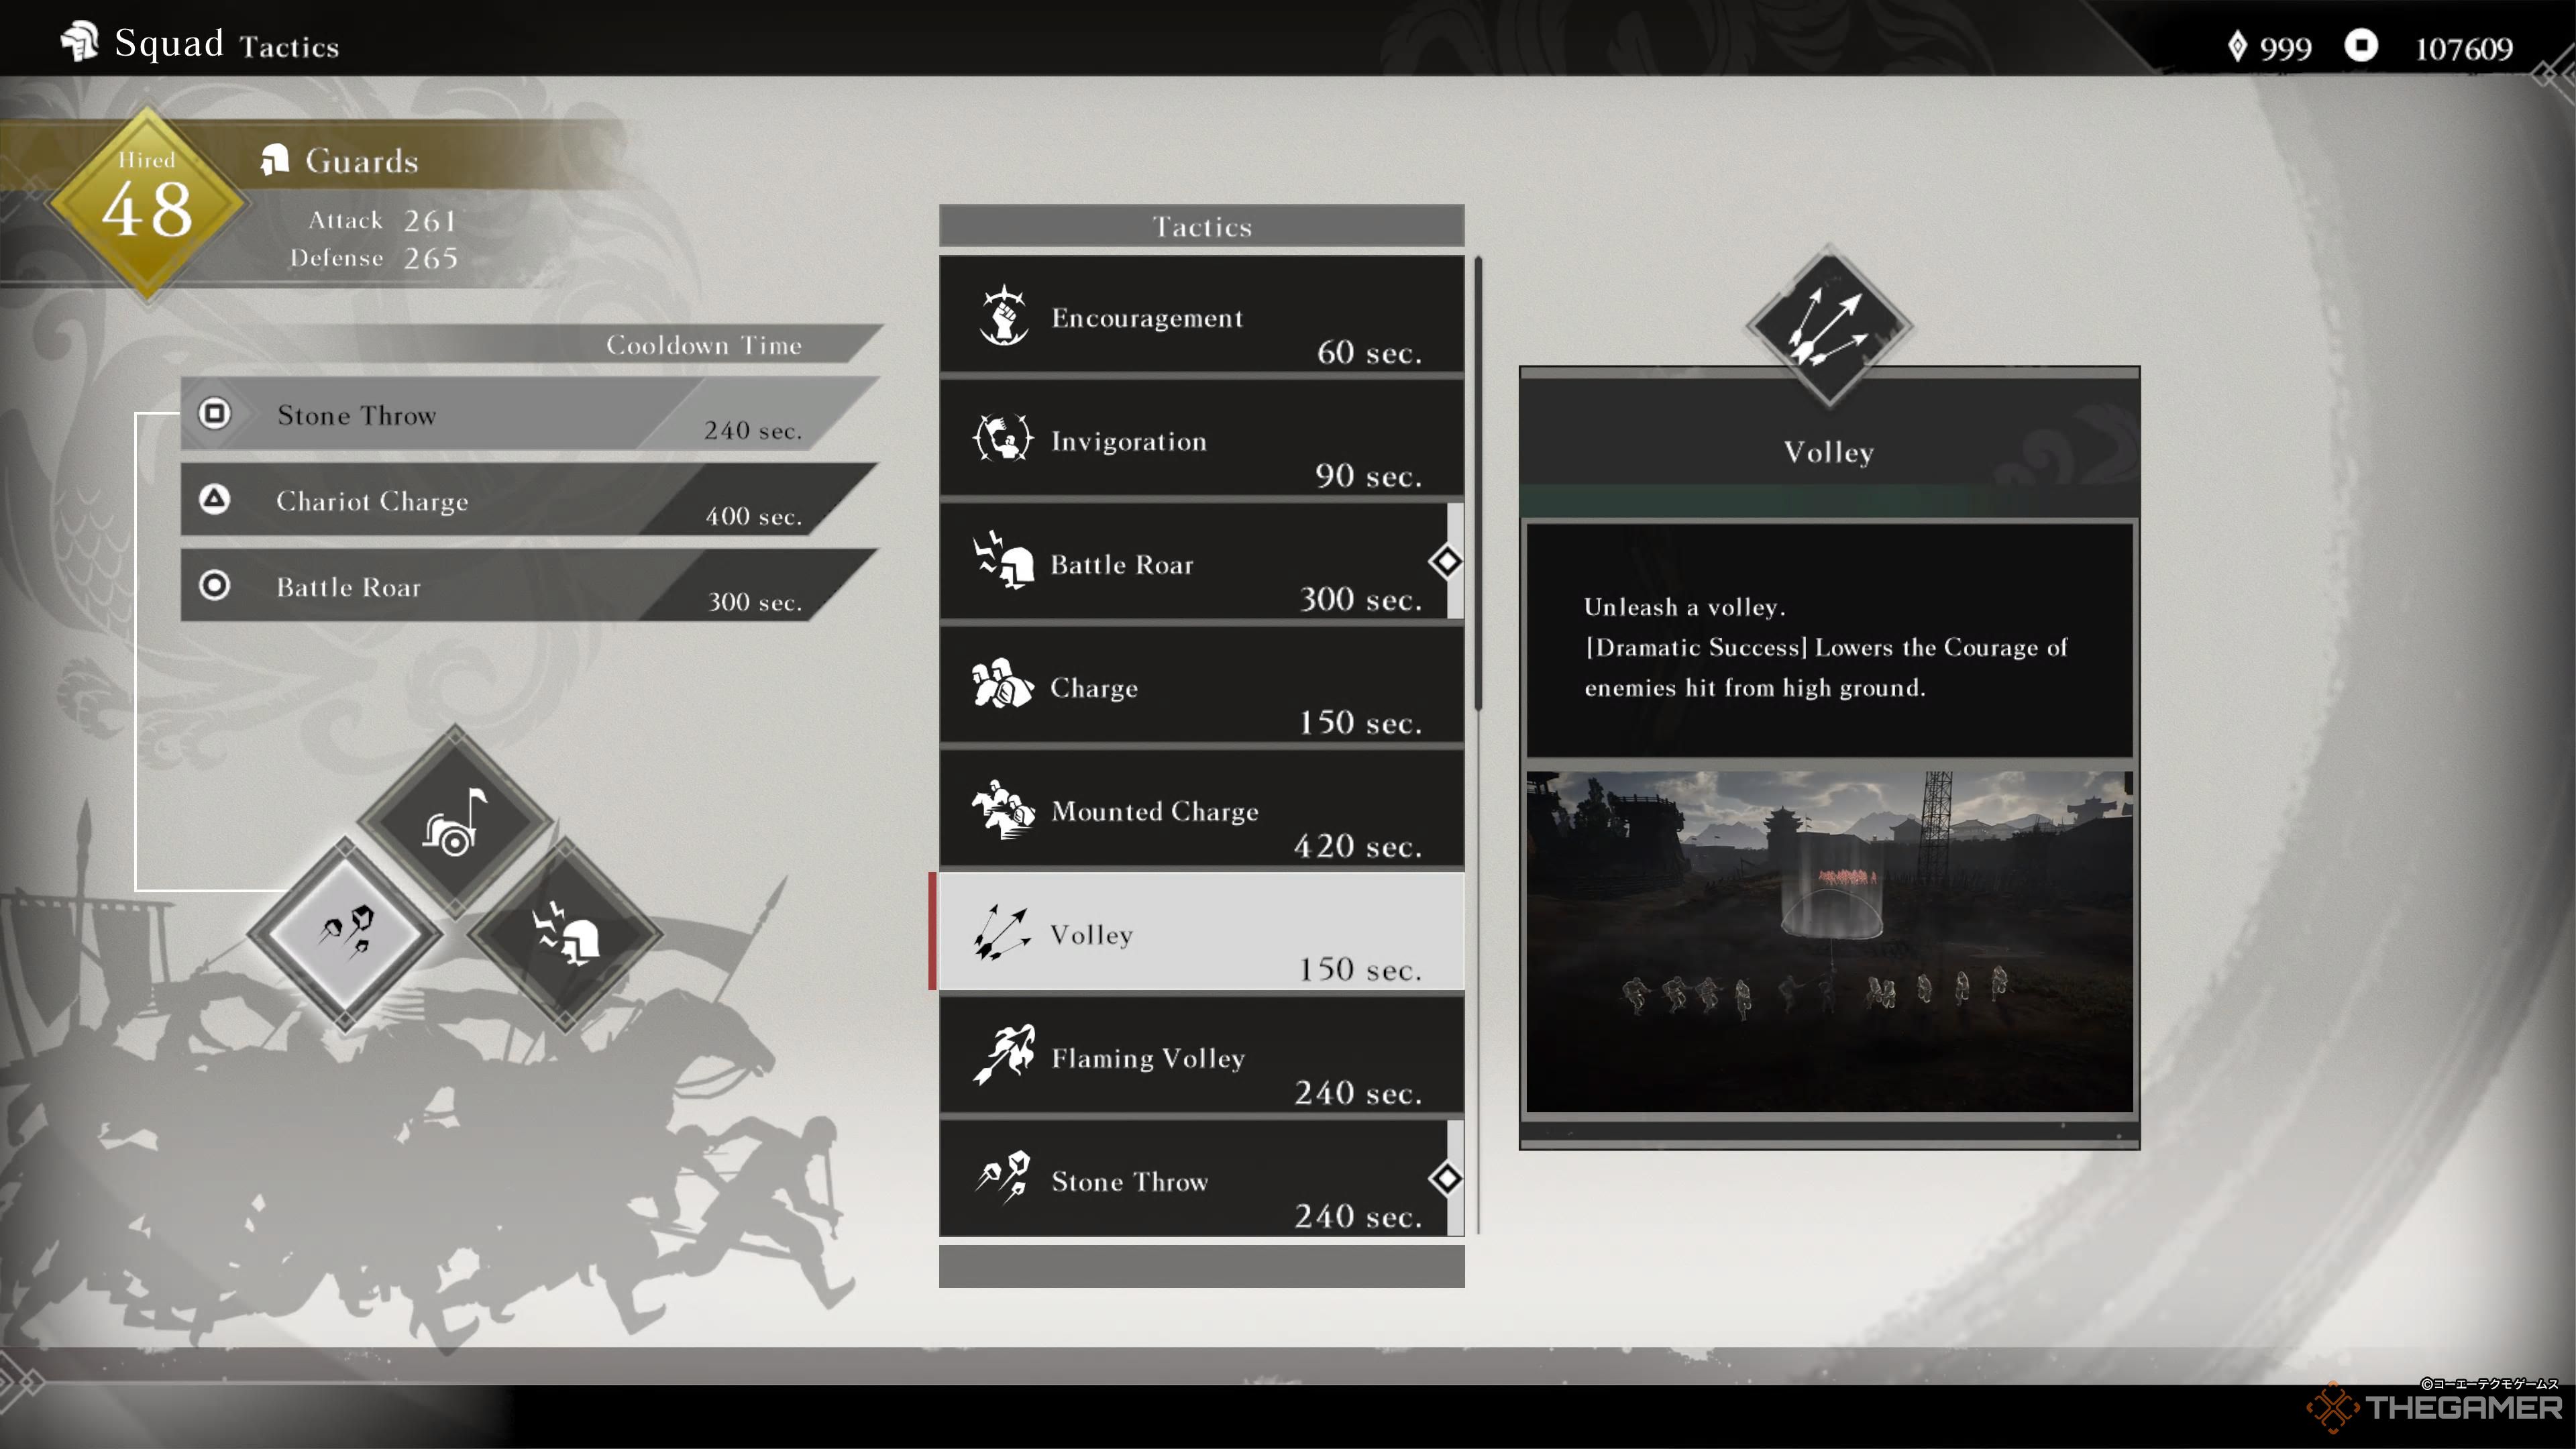
Volley
Volley is the very first Tactic you unlock. It allows you to have nearby soldiers fire a concentrated volley of arrows at a target spot, hitting every enemy within its radius. It’s a perfect beginner Tactic, and is more effective the more troops are available to participate.
Related
Dynasty Warriors: Origins – Every Companion, Ranked
Who can you trust to have your back on the battlefields of the Three Kingdoms?
The best time to use Volley (or any other ranged Tactic) is when you have the high ground over your target. This causes the attack to reduce the Courage of any officers it hits, significantly weakening them in addition to the normal damage it deals.
Always look for blue lines and the Tactics’ icon over potential targets. This indicates that using the indicated Tactic will inflict a Courage penalty.
10
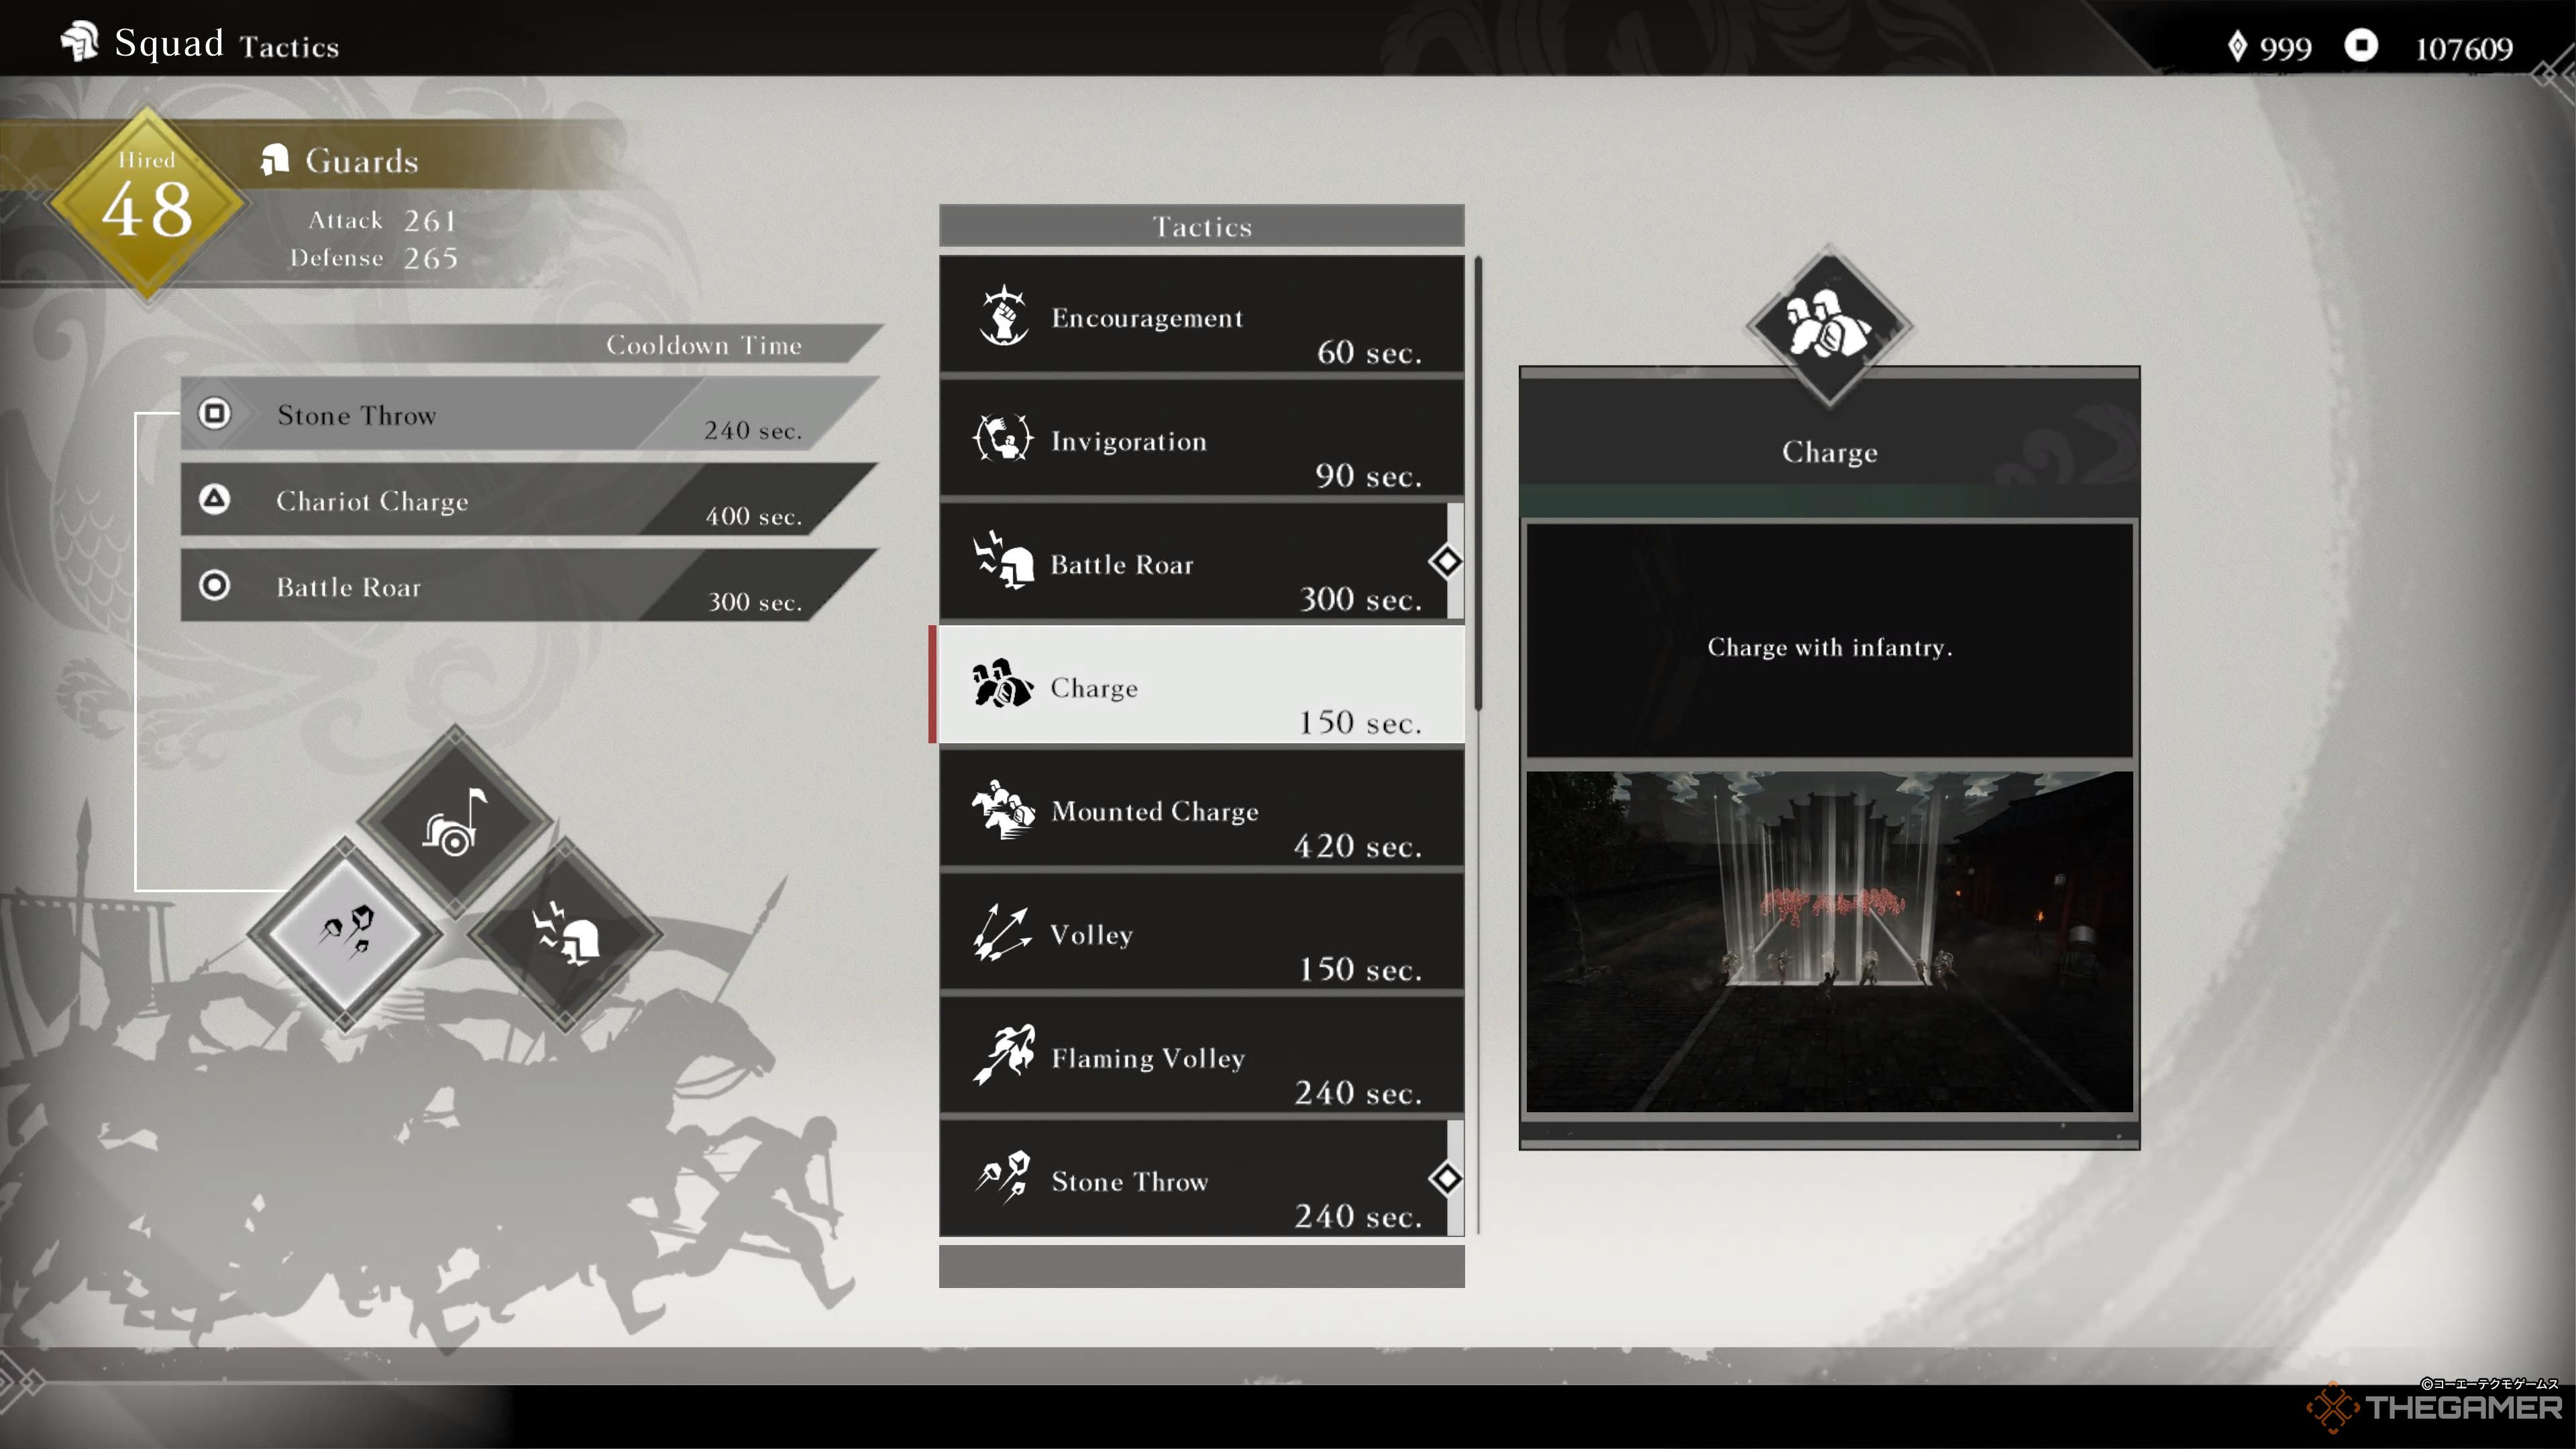
Charge
Charge is one of the earliest Tactics you’ll unlock, and quickly proves its usefulness even if it’s later overshadowed by more powerful options. Sending your guards and any other available troops nearby to rush straight ahead is a very effective means of clearing a path to an officer, and if you give your soldiers enough distance to build up momentum they can inflict a Courage debuff as well.
Make a habit of using Charge as often as possible as soon as you get it; it has the shortest cooldown of any Tactic of its class by far, and you’ll want the practice for when Mounted Charge opens up later on.
9
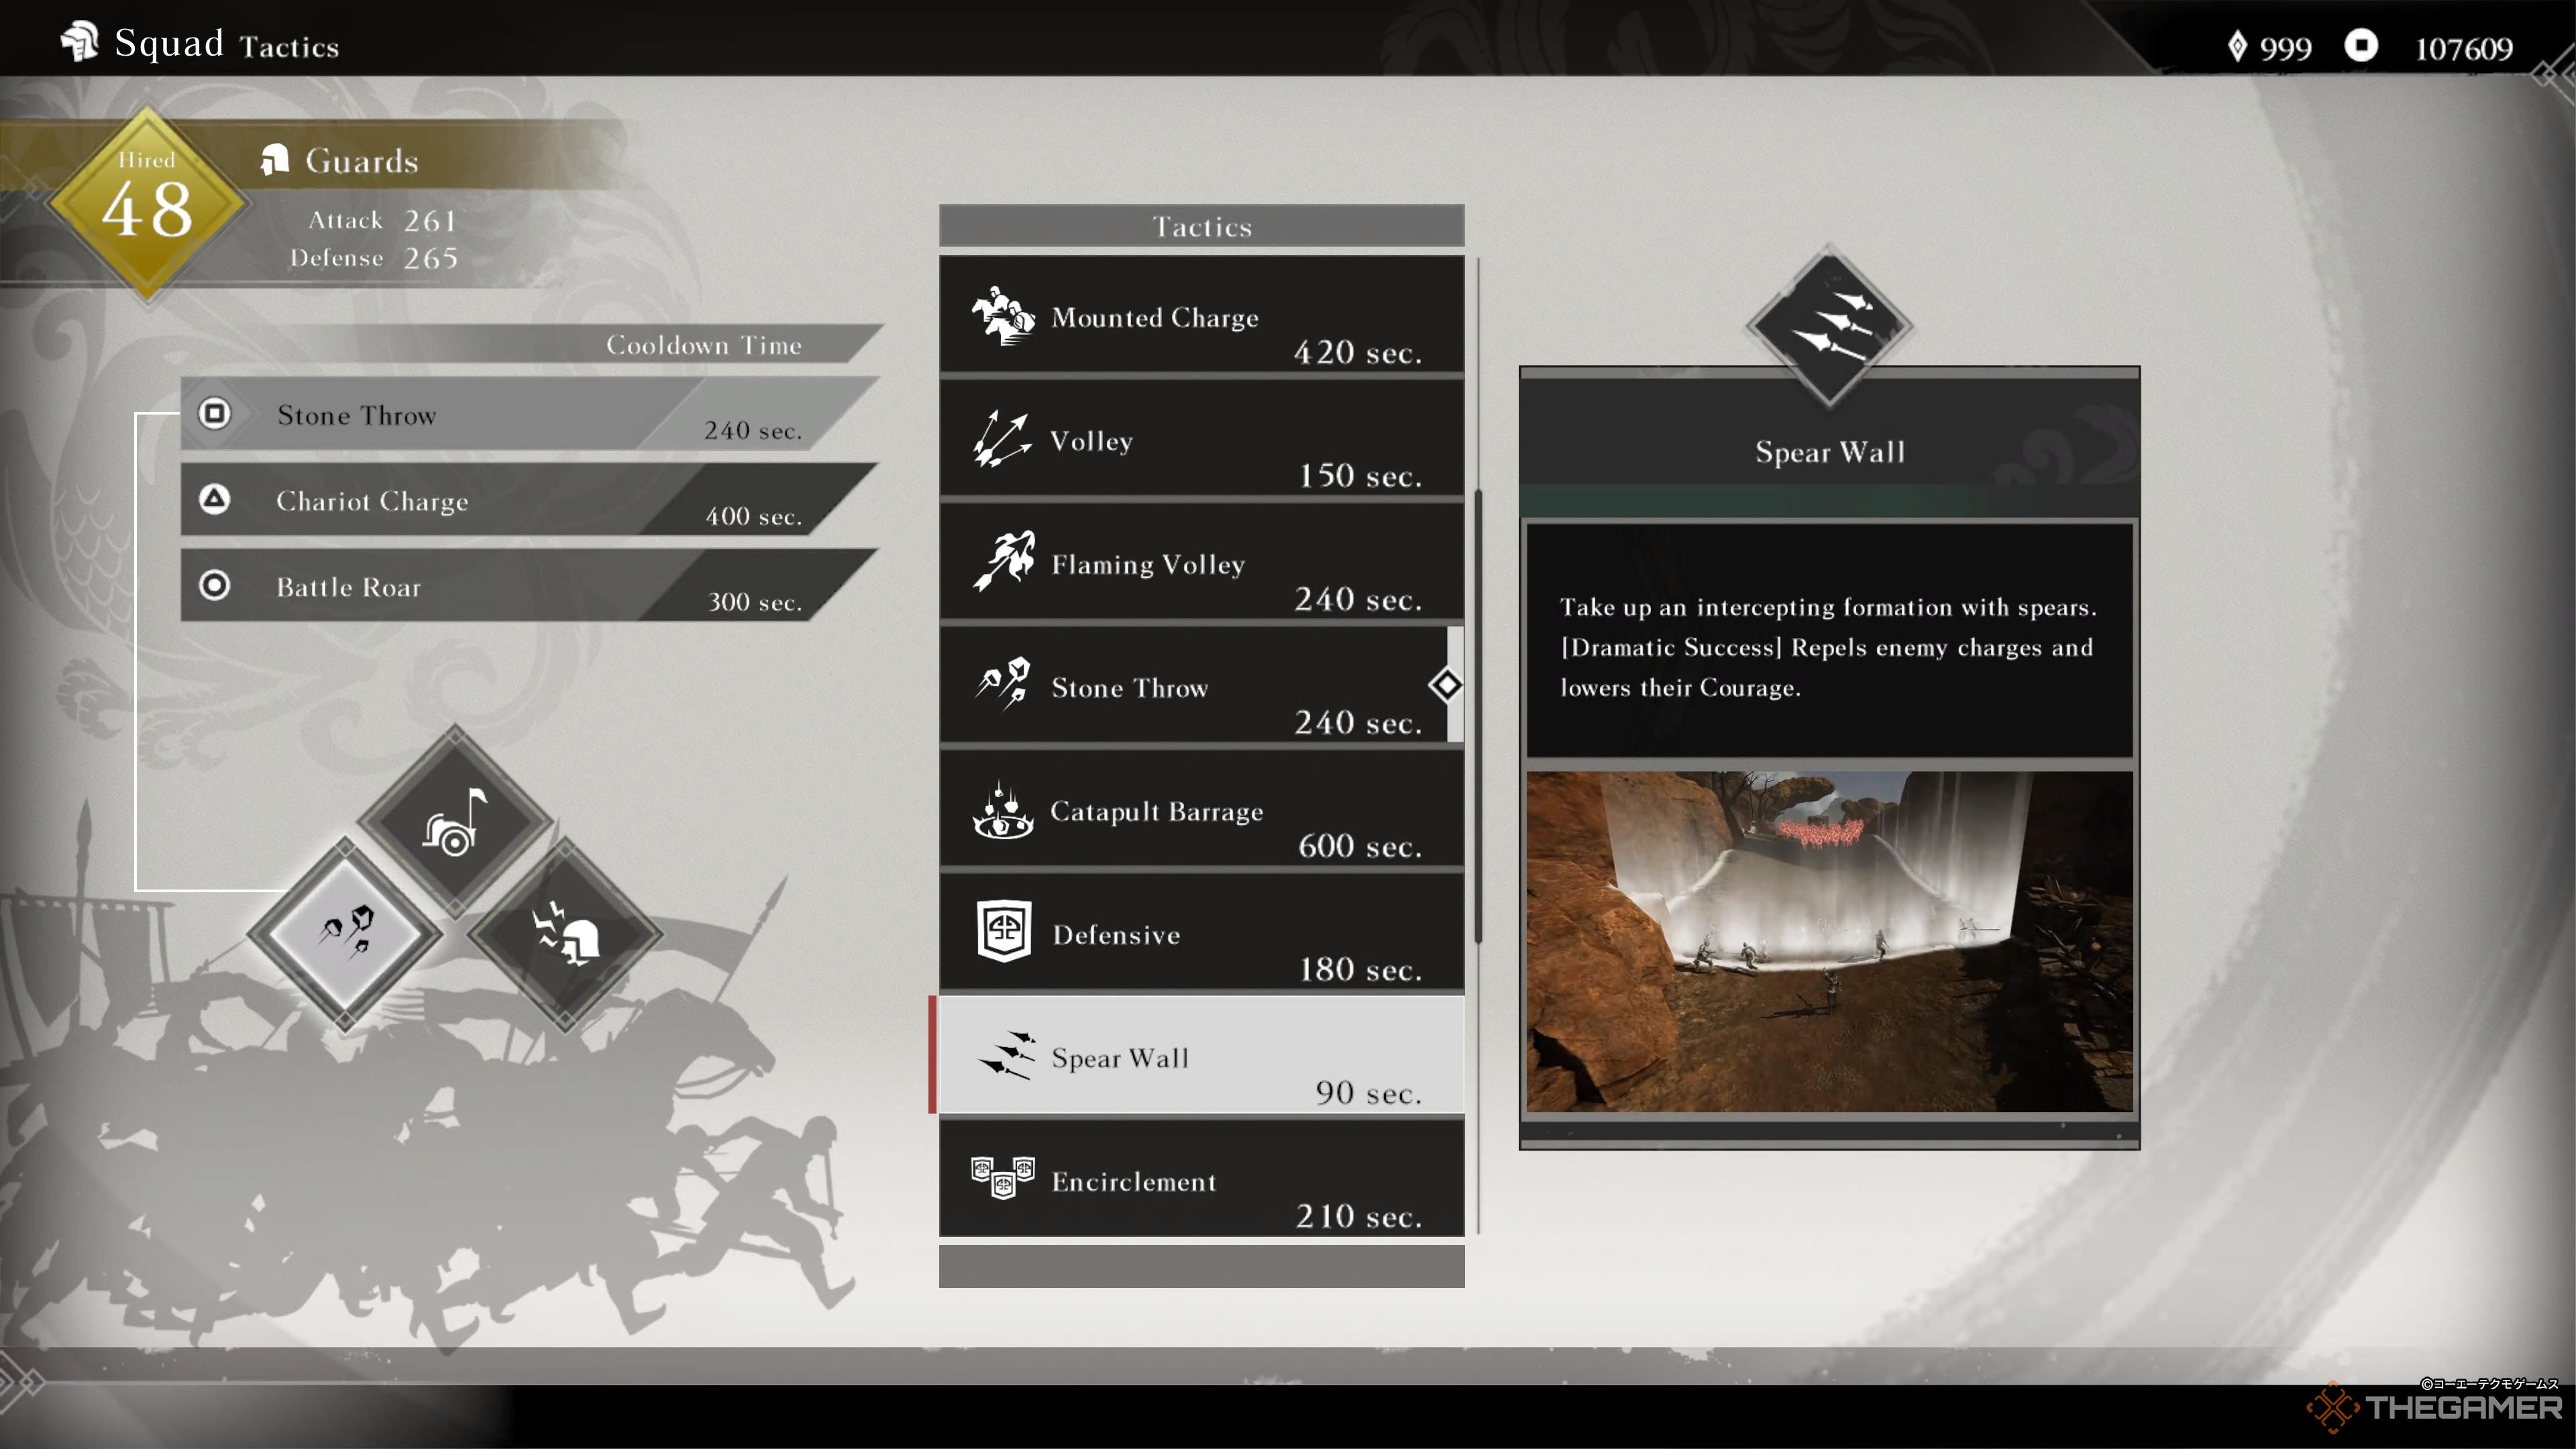
Spear Wall
Spear Wall is possibly the trickiest Tactic in the game to use effectively, but when it works it really works. It causes your troops to act as a barrier, preventing enemies from getting past them and attacking any who try.
If you can deploy a Spear Wall in front of a charging squad, it will neutralize the effect of the charge and inflict a Courage penalty on the enemies instead. You can also use this Tactic to block off narrow reinforcement lane or even protect siege equipment in a pinch.
8
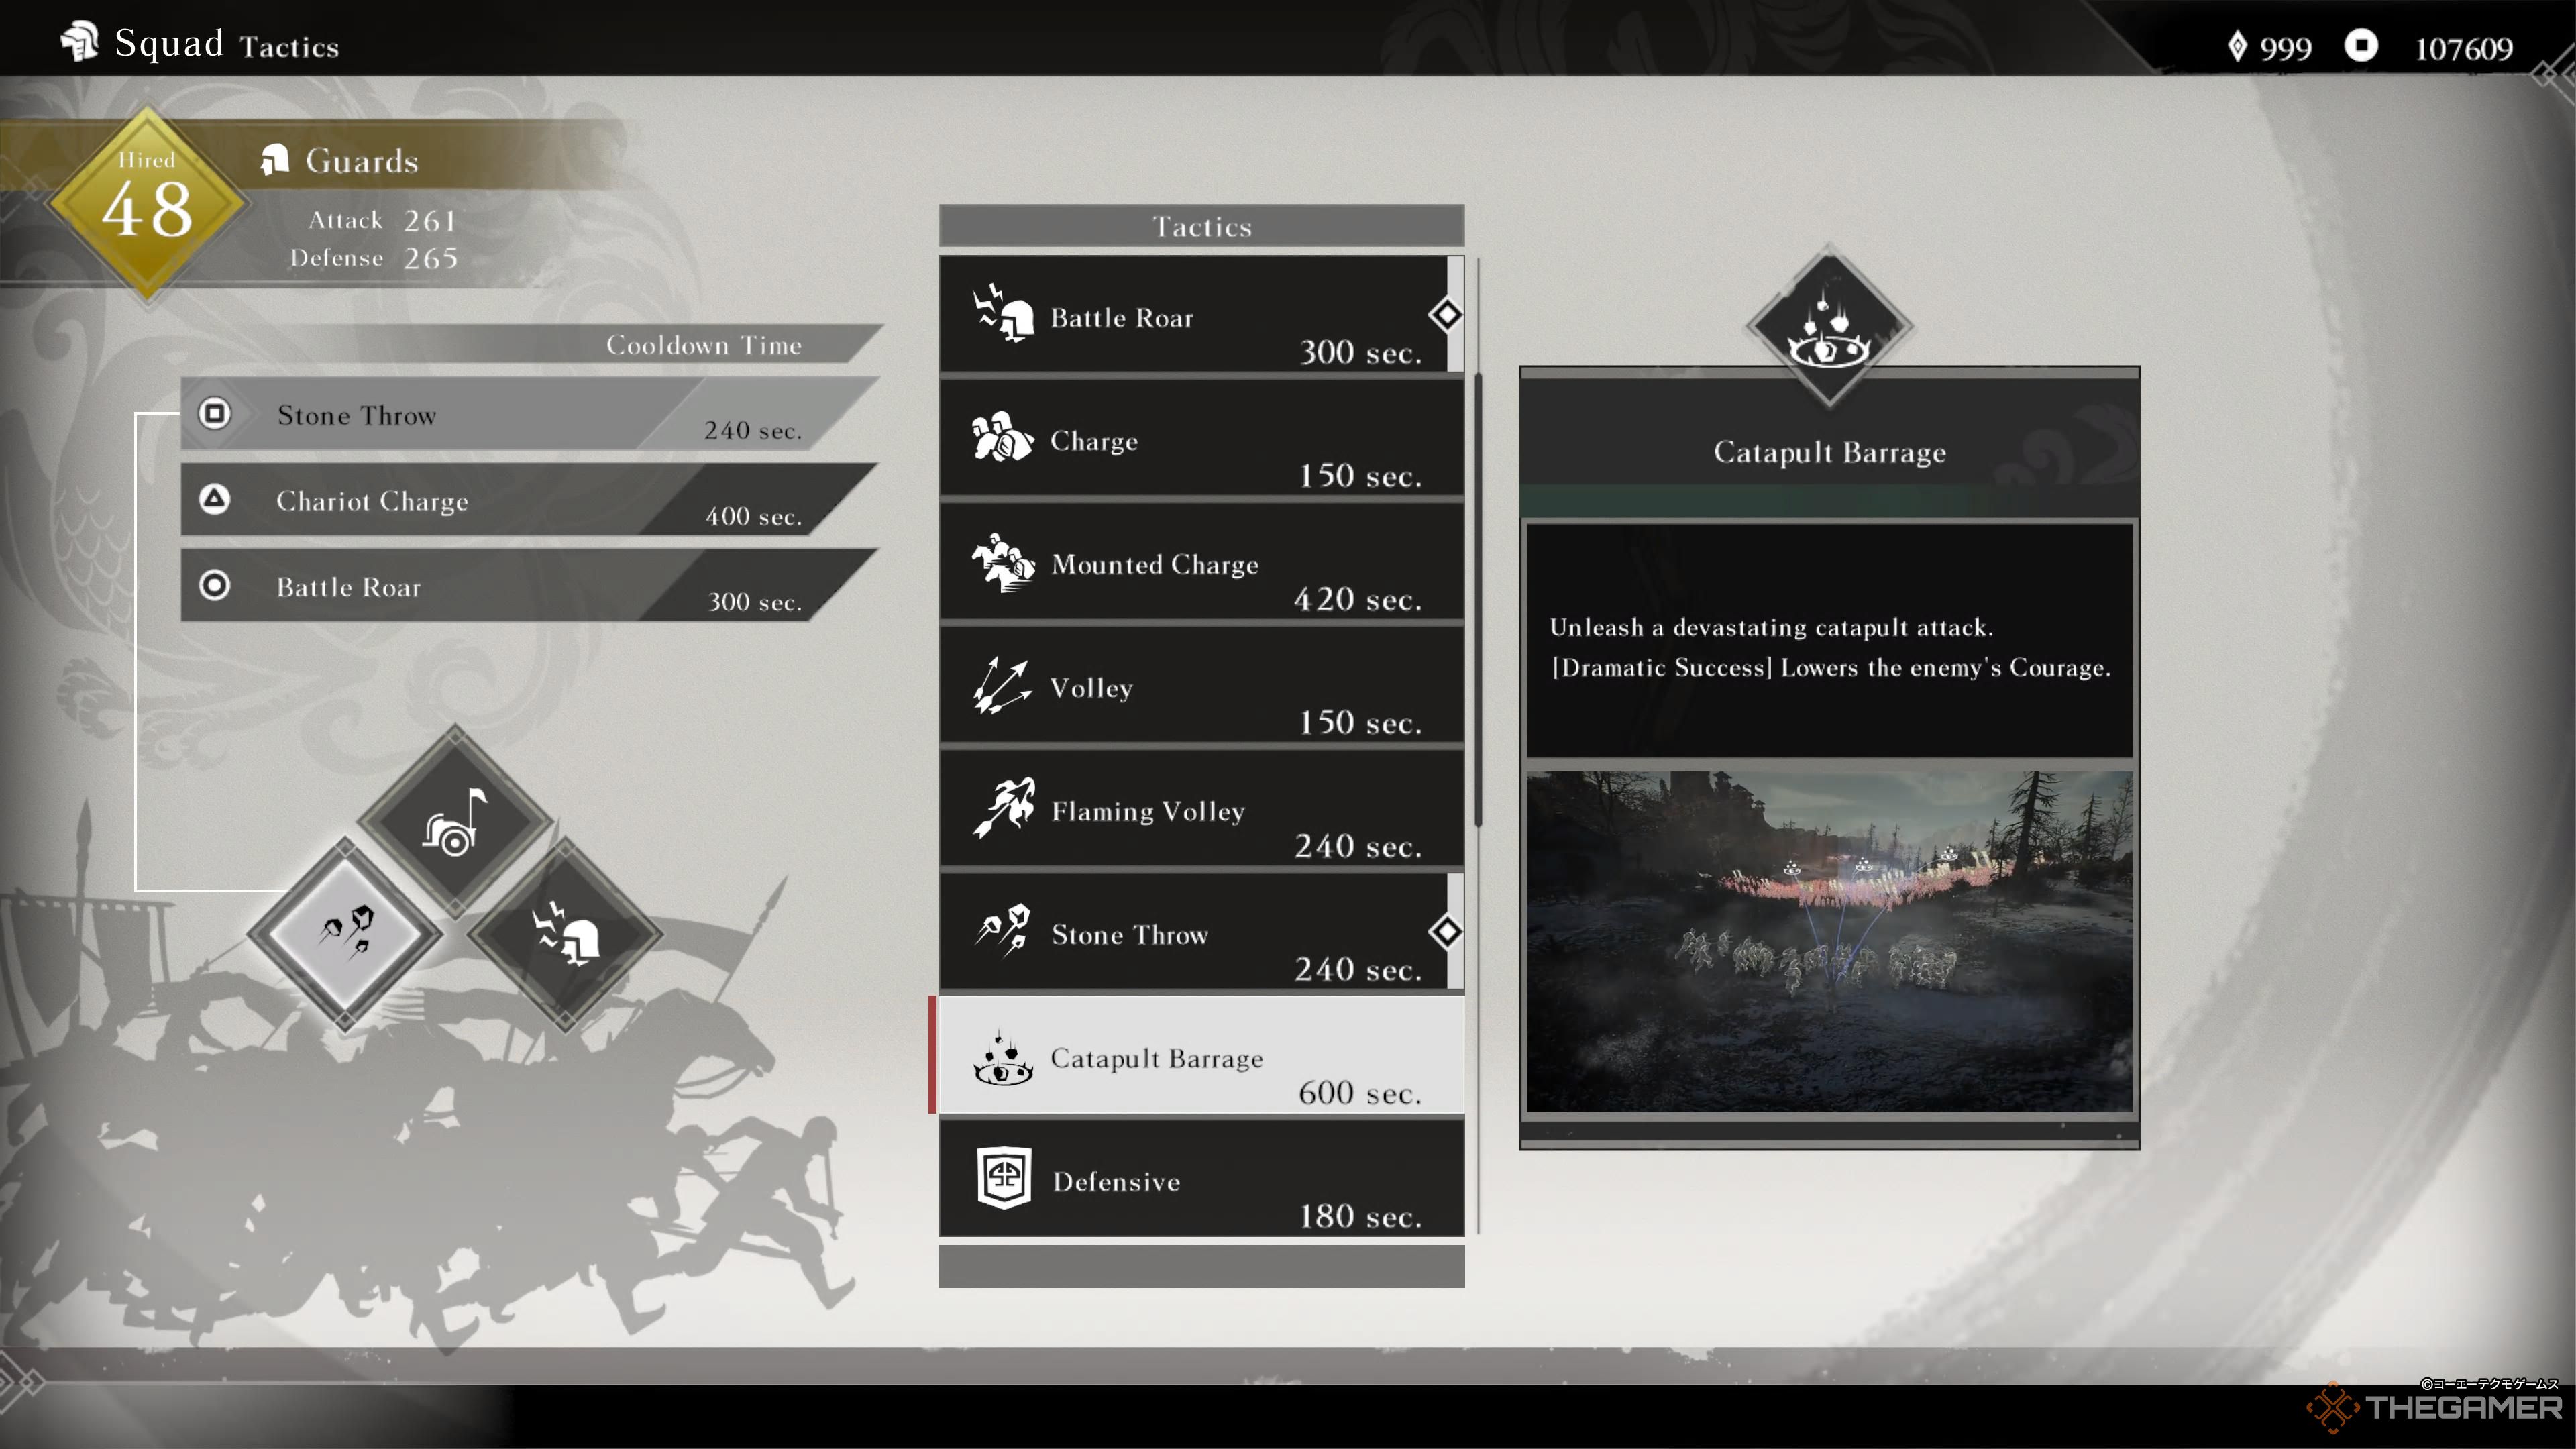
Catapult Barrage
You won’t find a Tactic, or even an attack, that deals more damage in a single blow than Catapult Barrage. It has excellent range, and always inflicts a Courage penalty when it connects. By all accounts, it should be one of the best Tactics in the game, except for one thing holding it back.
The cooldown on Catapult Barrage is an excruciating ten minutes. That means that even on the longest missions, you’ll get to use it twice at the most unless things get unnecessarily drawn out. As satisfying as it might be to drop a massive boulder on Lu Bu’s head, you’ll get a lot more value out of repeatedly using weaker Tactics than endlessly waiting for the catapult crews to reload.
7
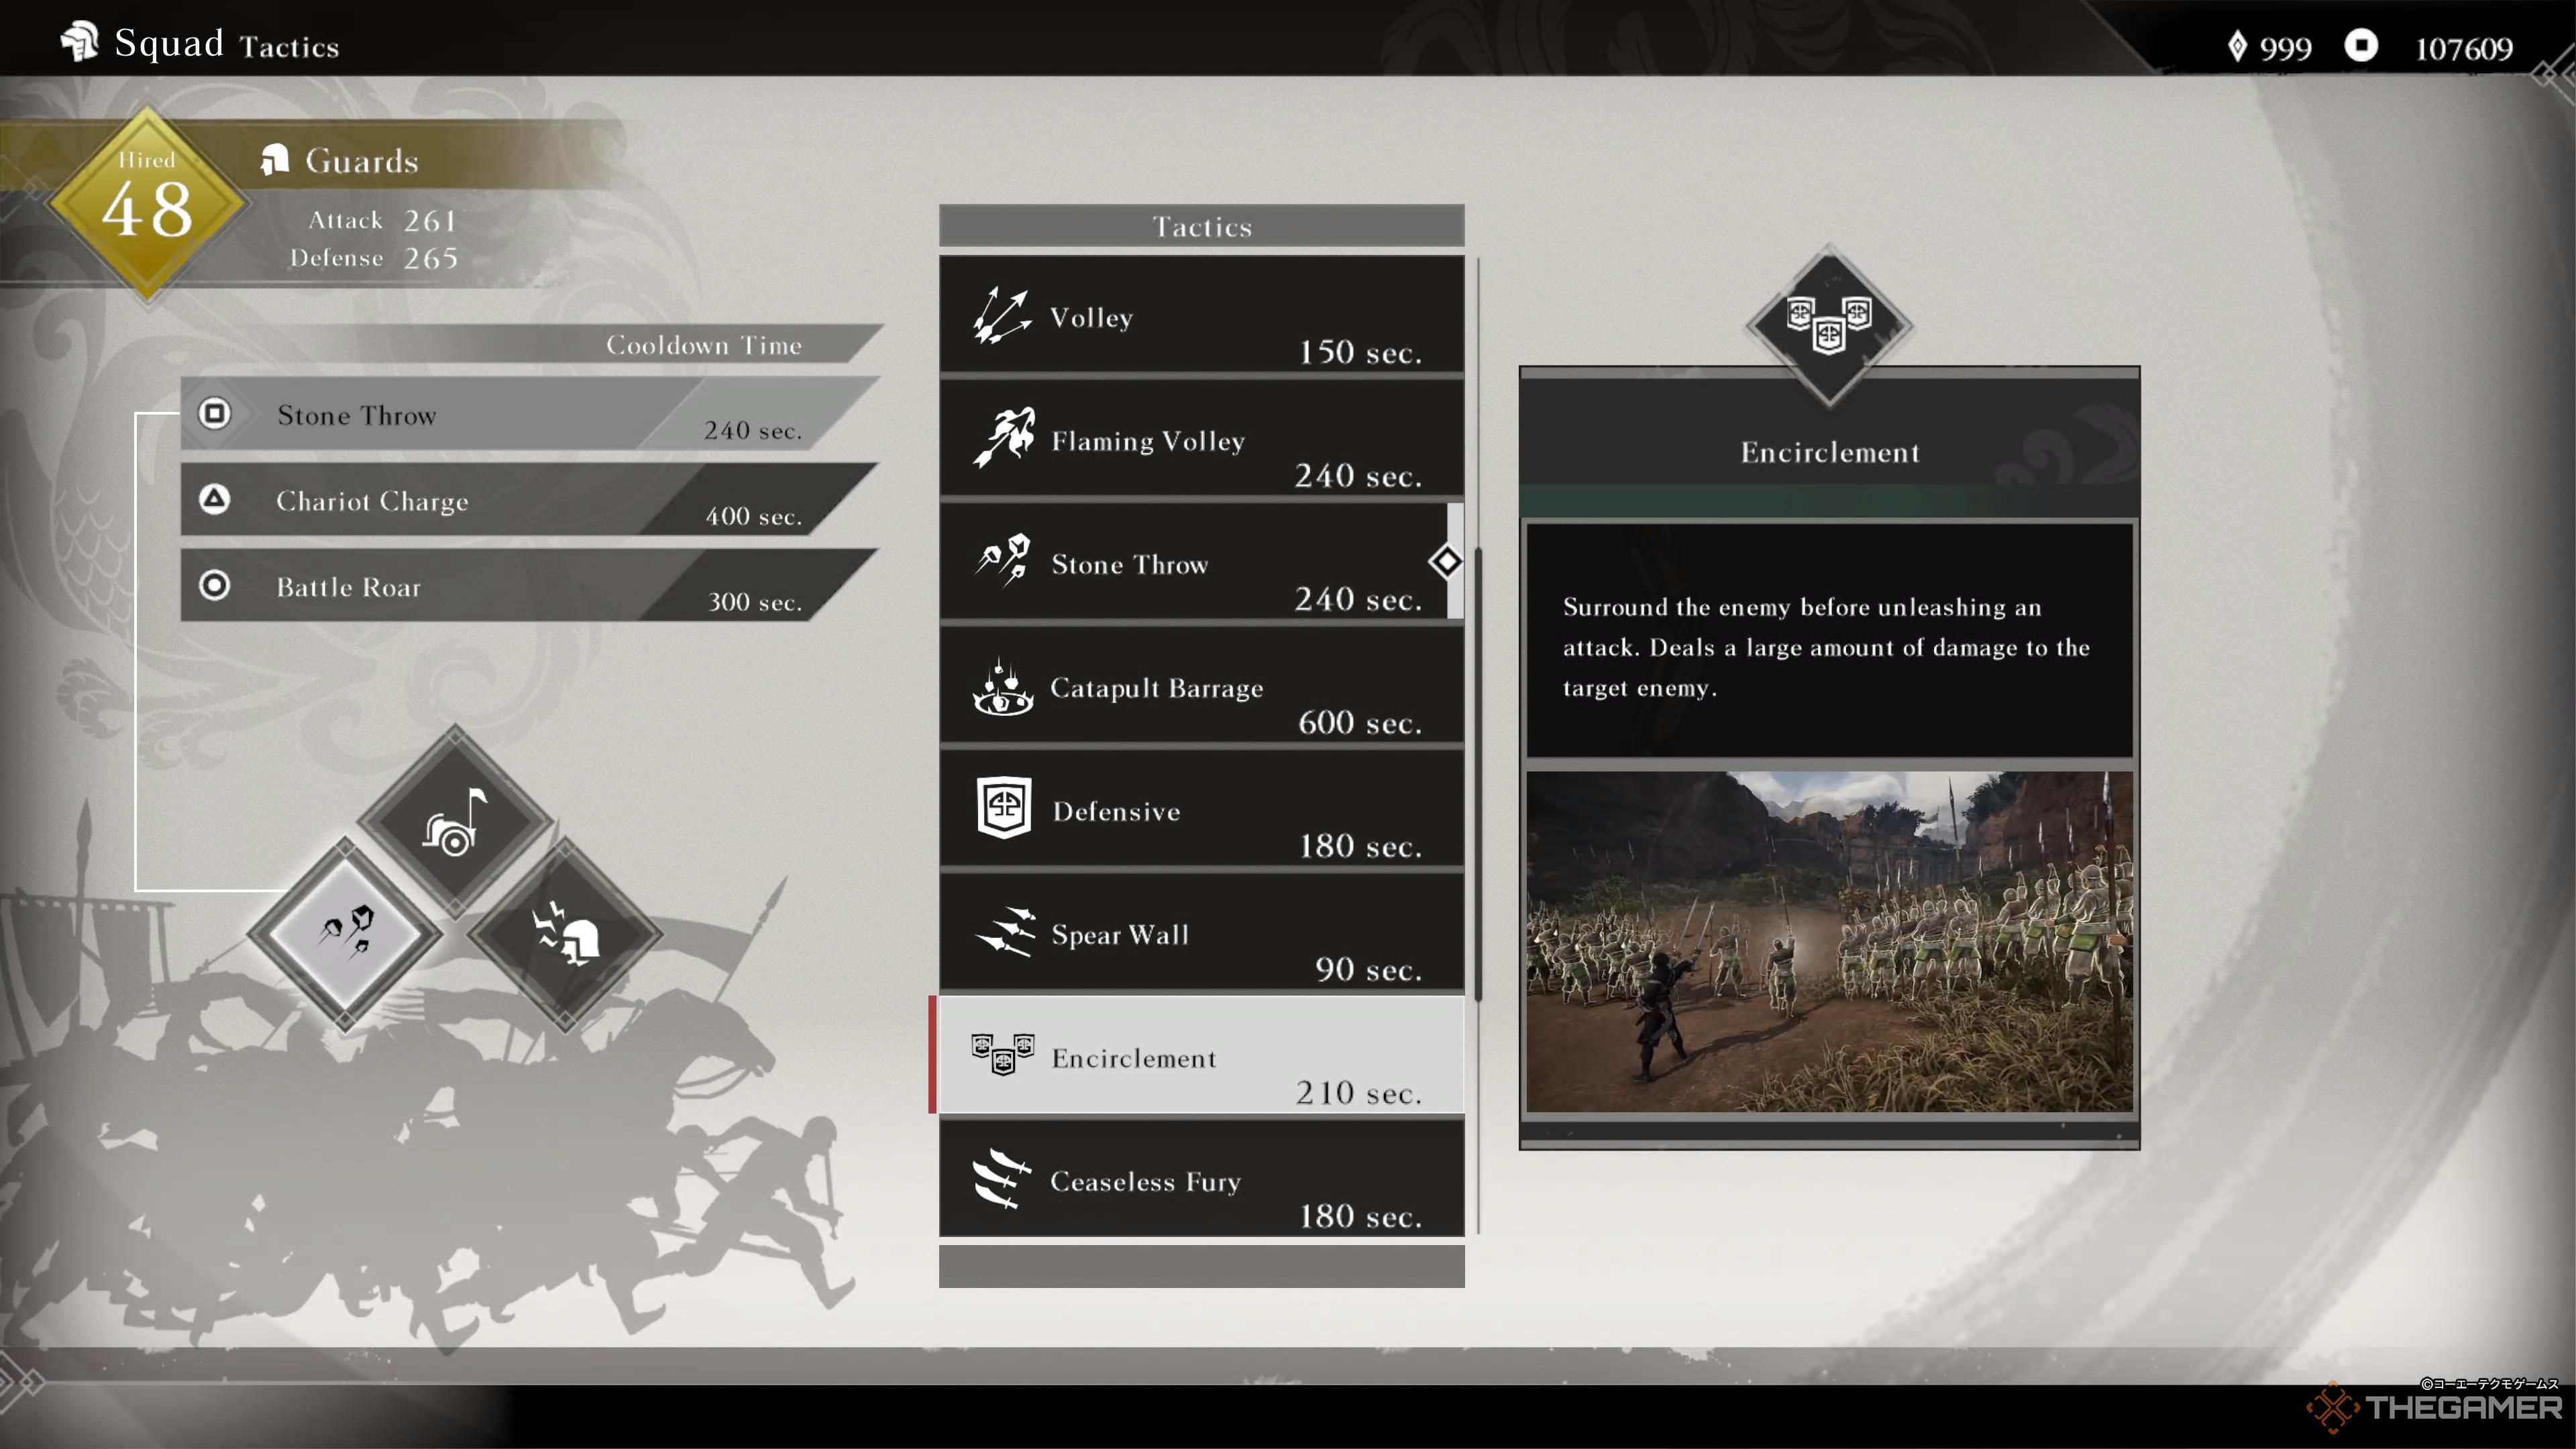
Encirclement
Not only is Encirclement effective, but it’s also a lot of fun to watch when used with a full squad. This Tactic sends your troops to bully a single officer, consistently attacking them from all sides. It usually wears down the target’s Fortitude very effectively, and keeps their focus on your guards instead of you.

Related
Dynasty Warriors: Origins – Every Weapon Type, Ranked
Bring the right weapon to battle in Dynasty Warriors: Origins!
However, Encirclement does have the disadvantage of putting all your guards in one spot, so they’re very vulnerable to Musou Attacks and other area effects. If there’s another officer around, or the target breaks free and fights back, you could suddenly find yourself alone.
6
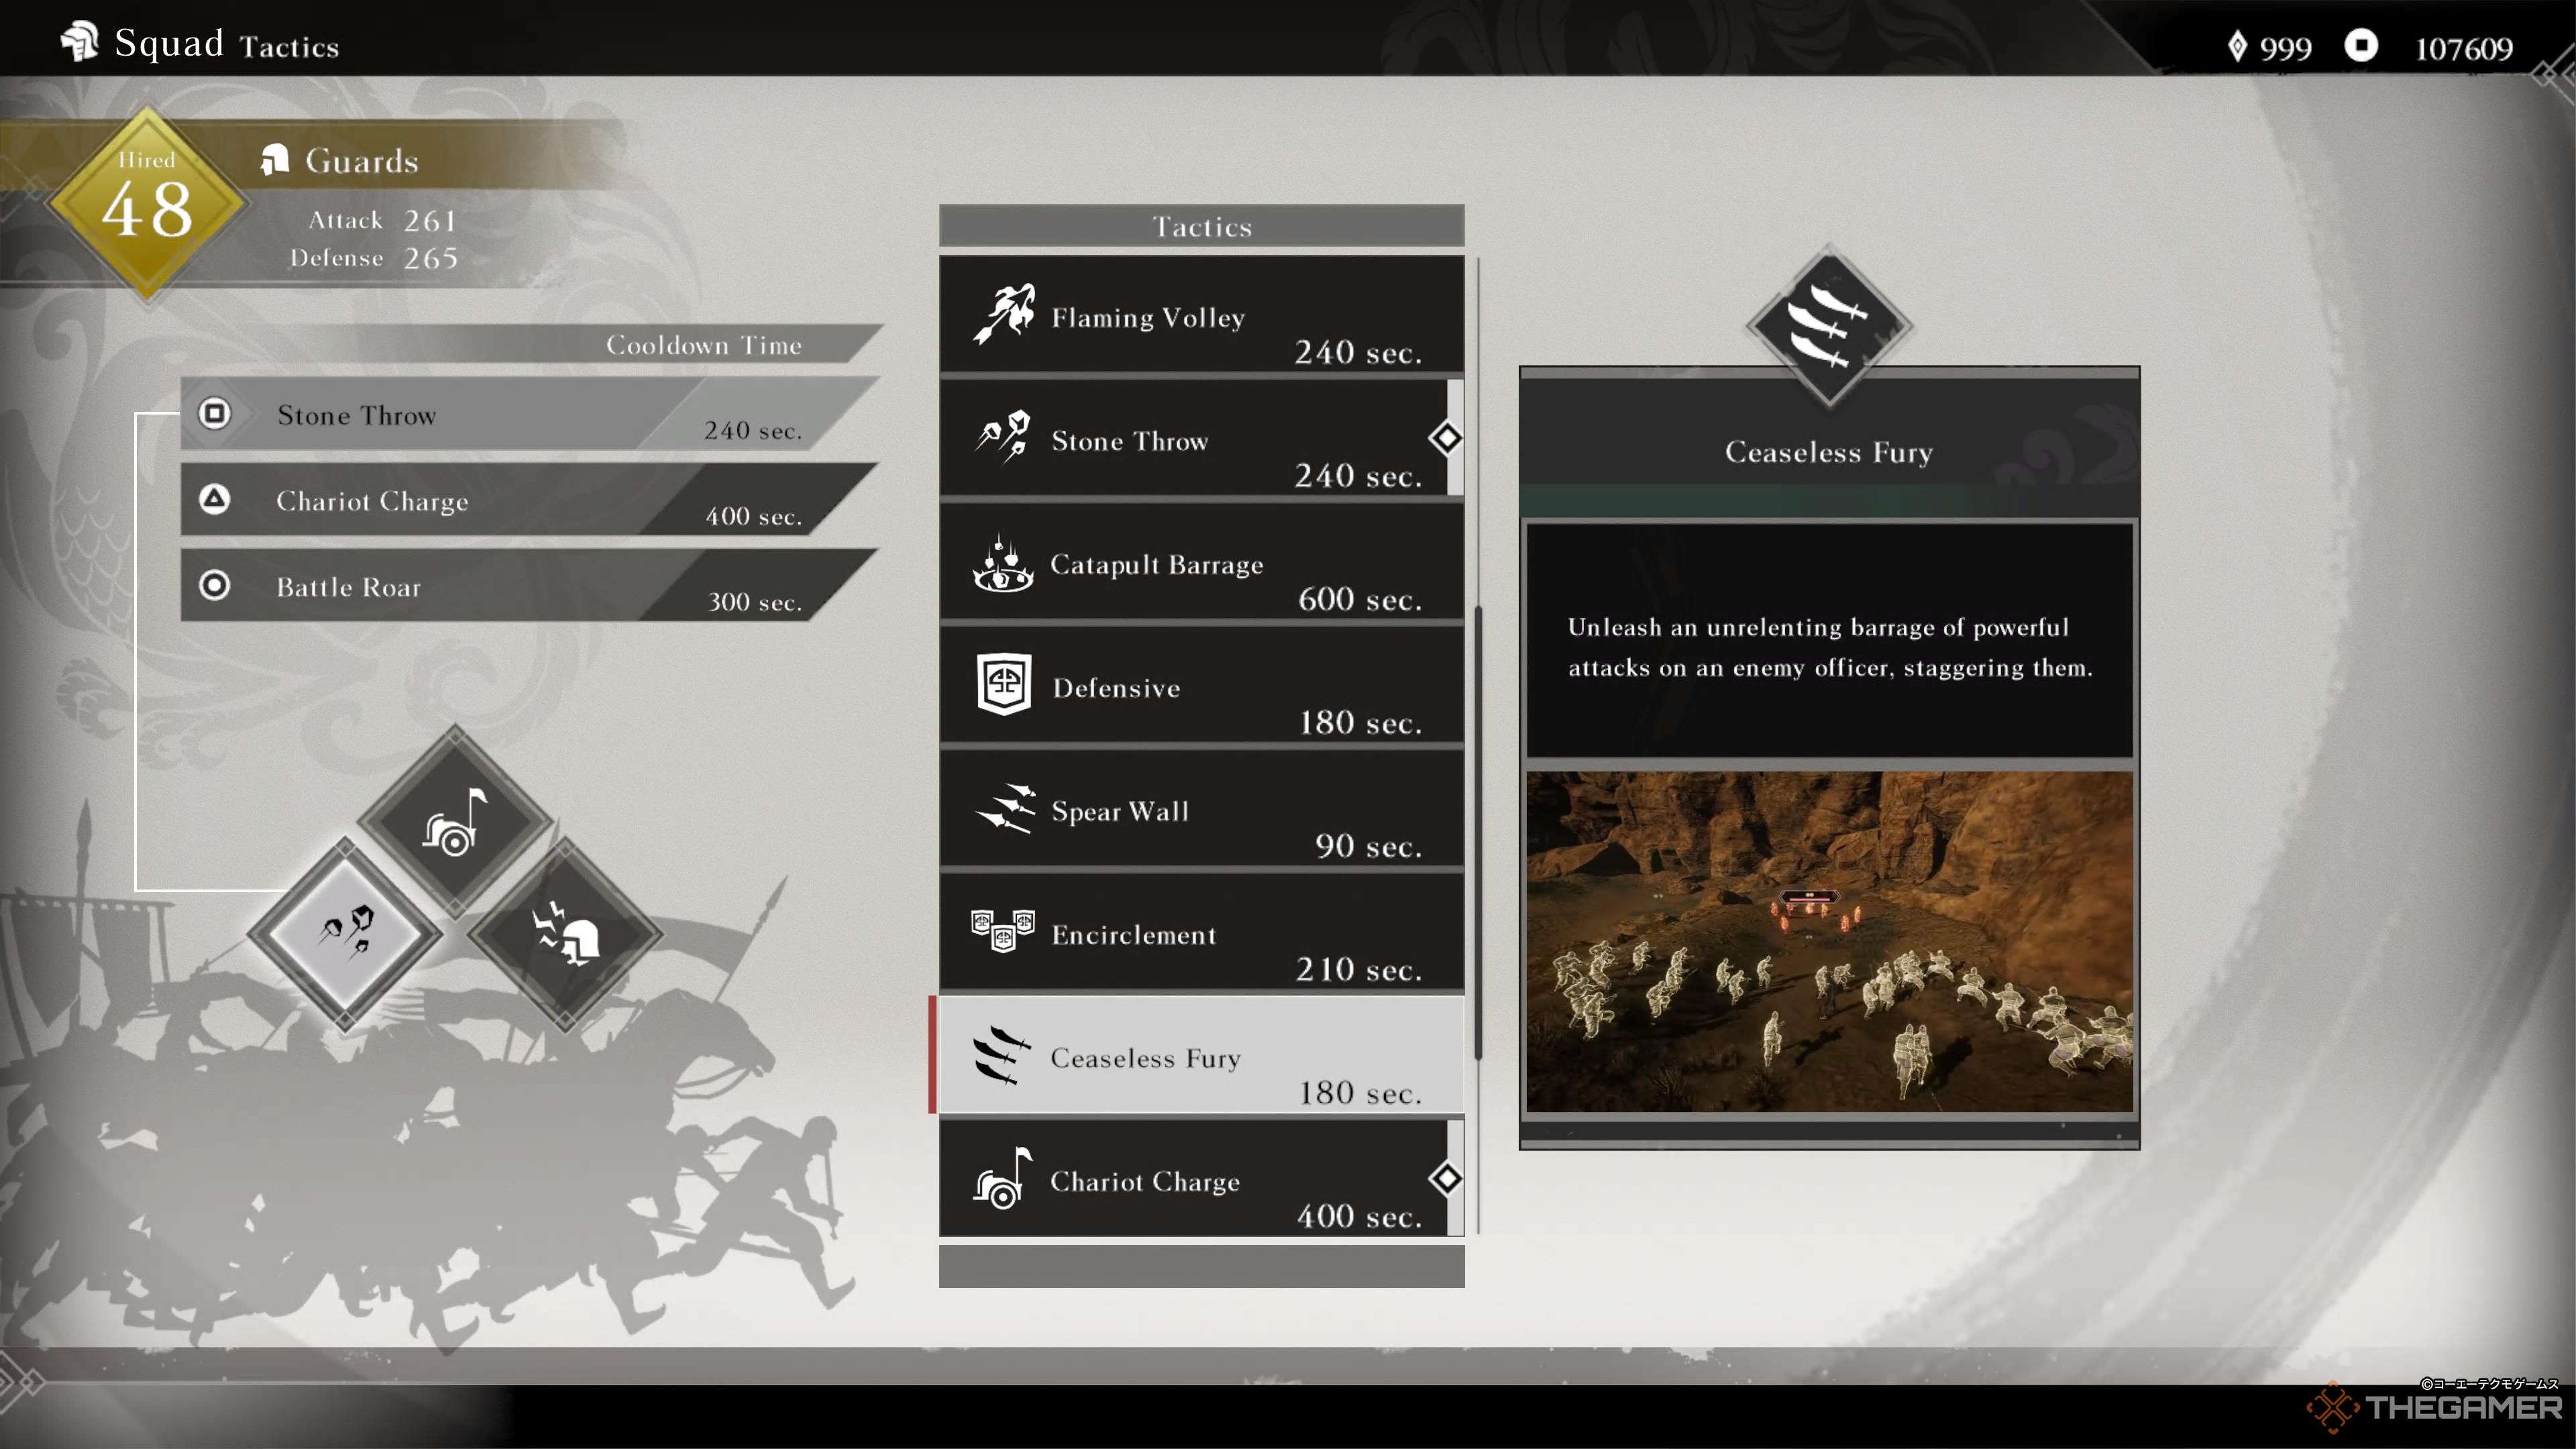
Ceaseless Fury
Like Encourage and Invogorate, Ceaseless Fury is simply a better version of Encirclement. It adds a staggering effect alongside the constant barrage of damage to the target officer, and even has a shorter cooldown by thirty seconds, making it a strict upgrade.
5
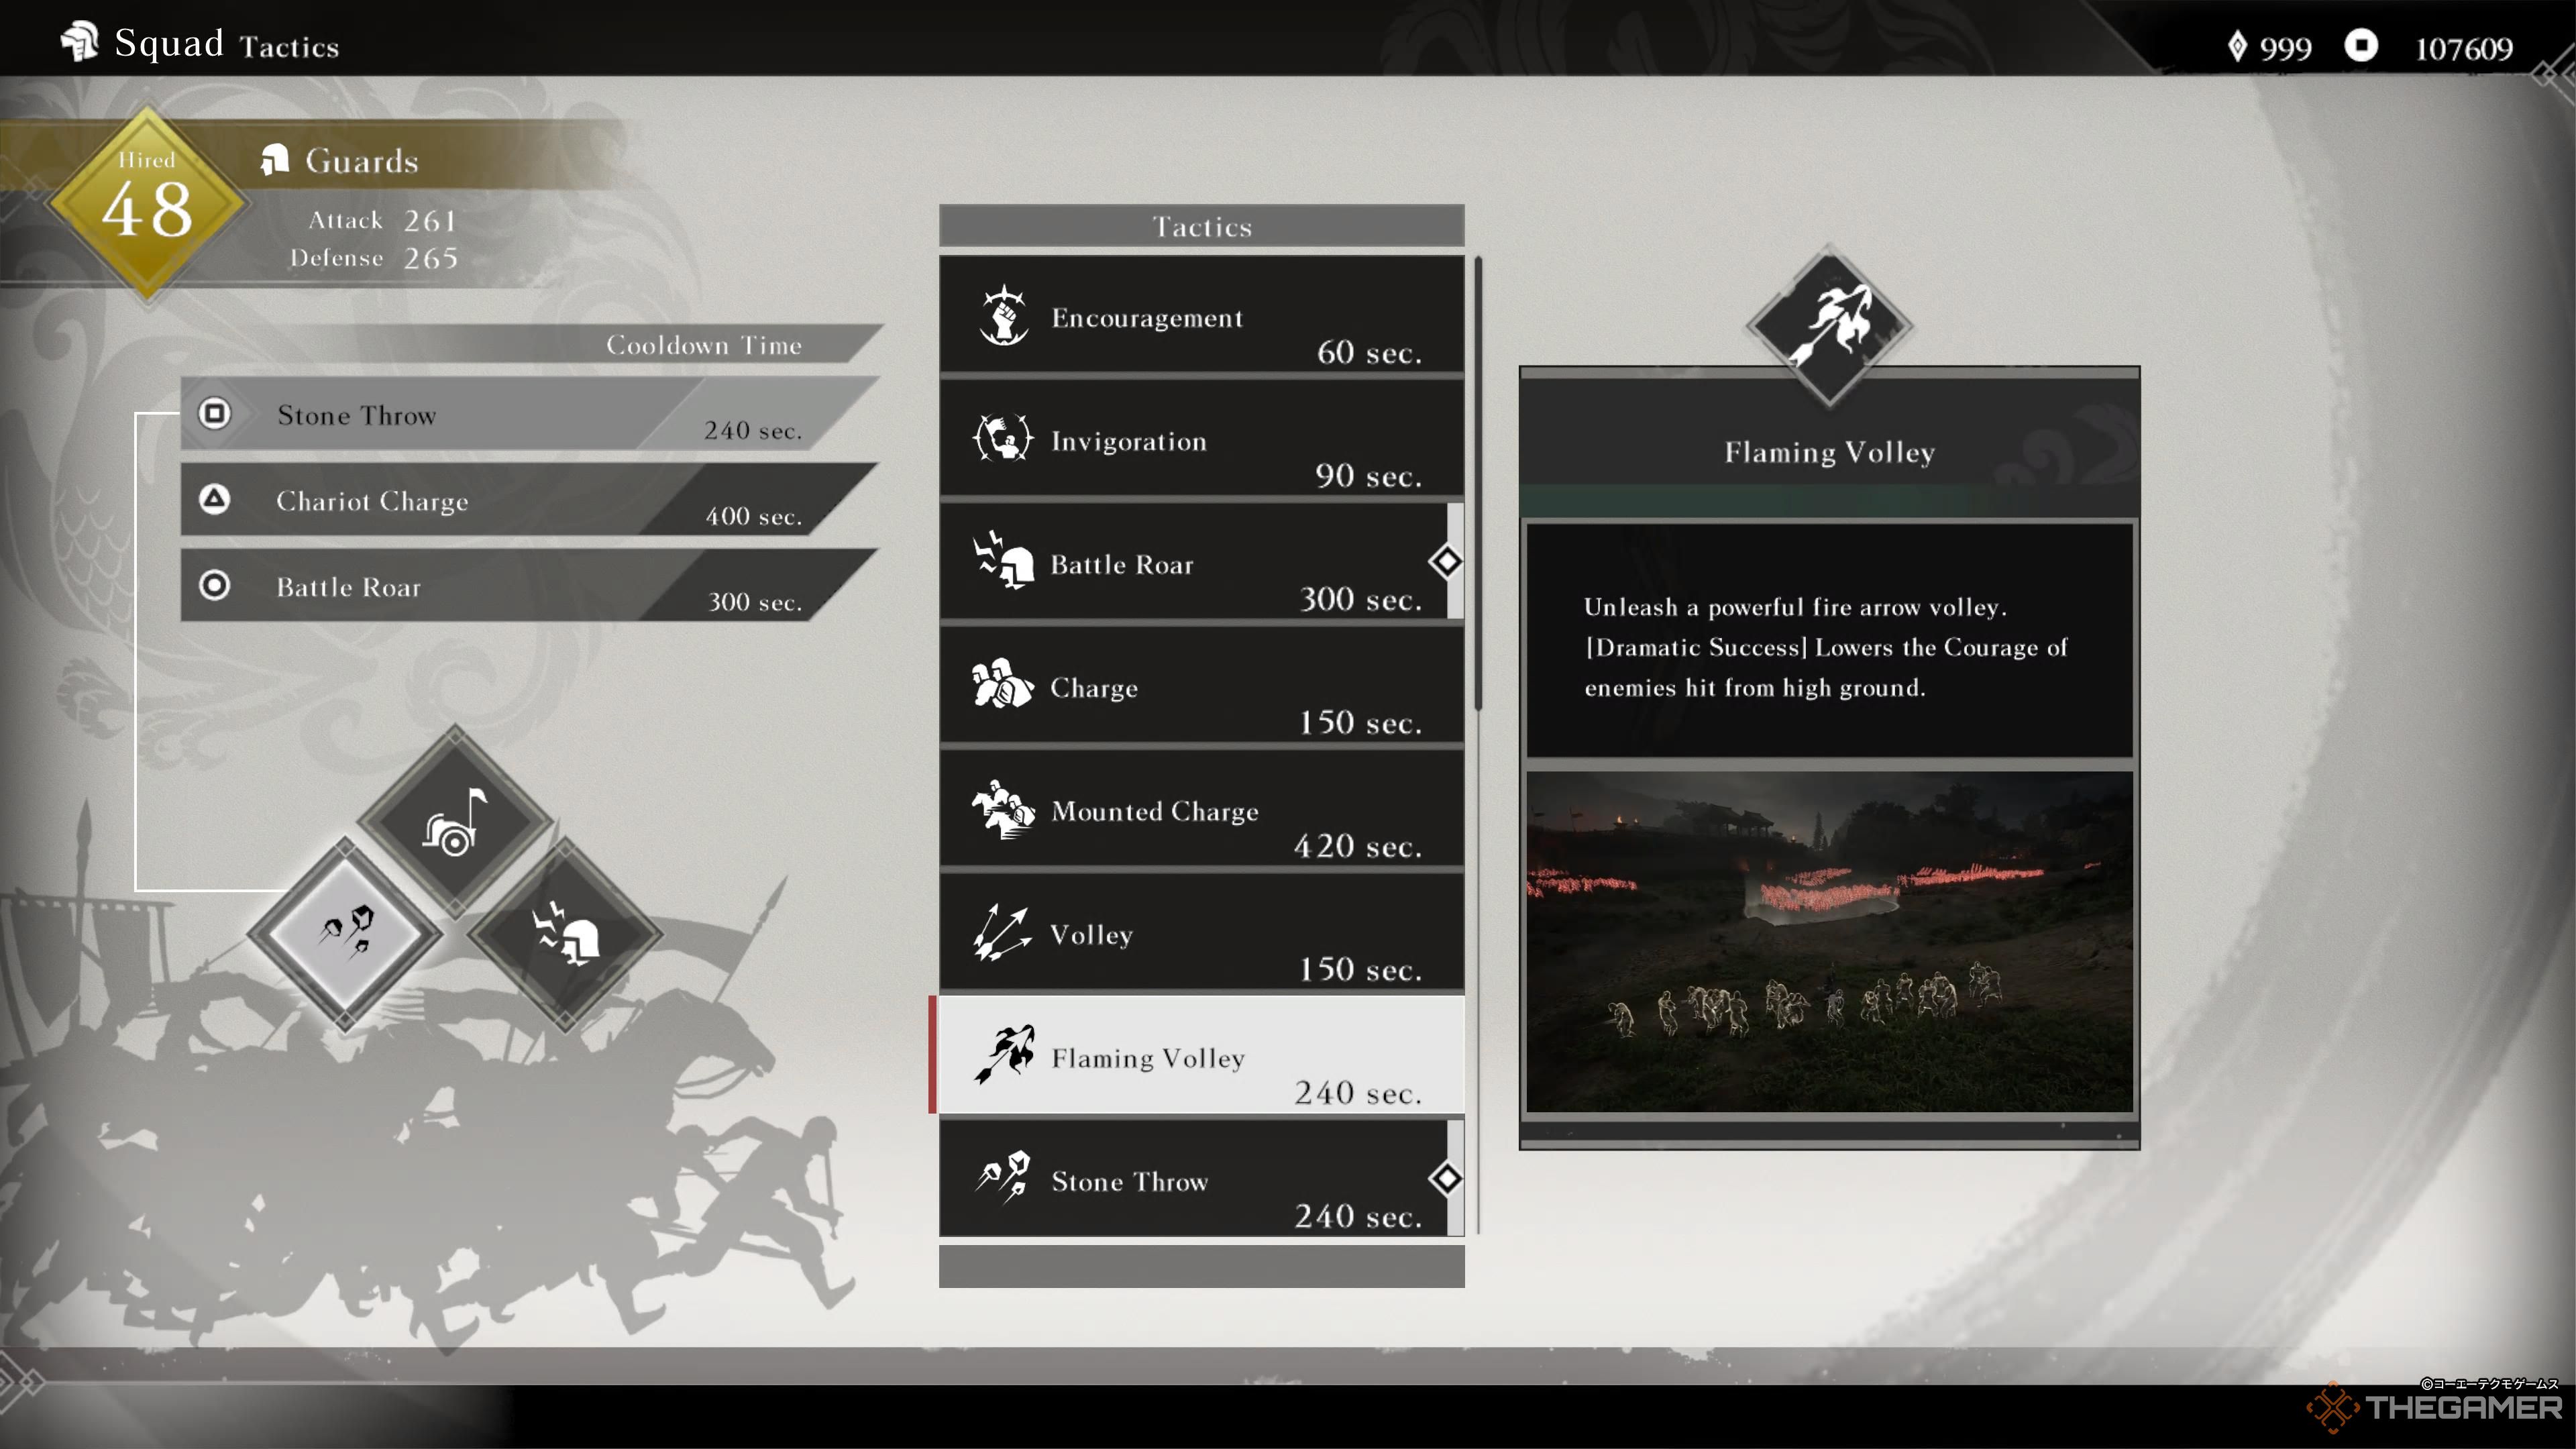
Flaming Volley
As you can probably guess from the name Flaming Volley works the same wasy as Volley, but with fire arrows. This translates to more damage and a much larger attack radius, at the expense of a longer cooldown.
There’s certainly a case to be made for simply equipping both, especially if the map favors it with lots of high ground, but if you have to pick one go for Flaming Volley every time.
4
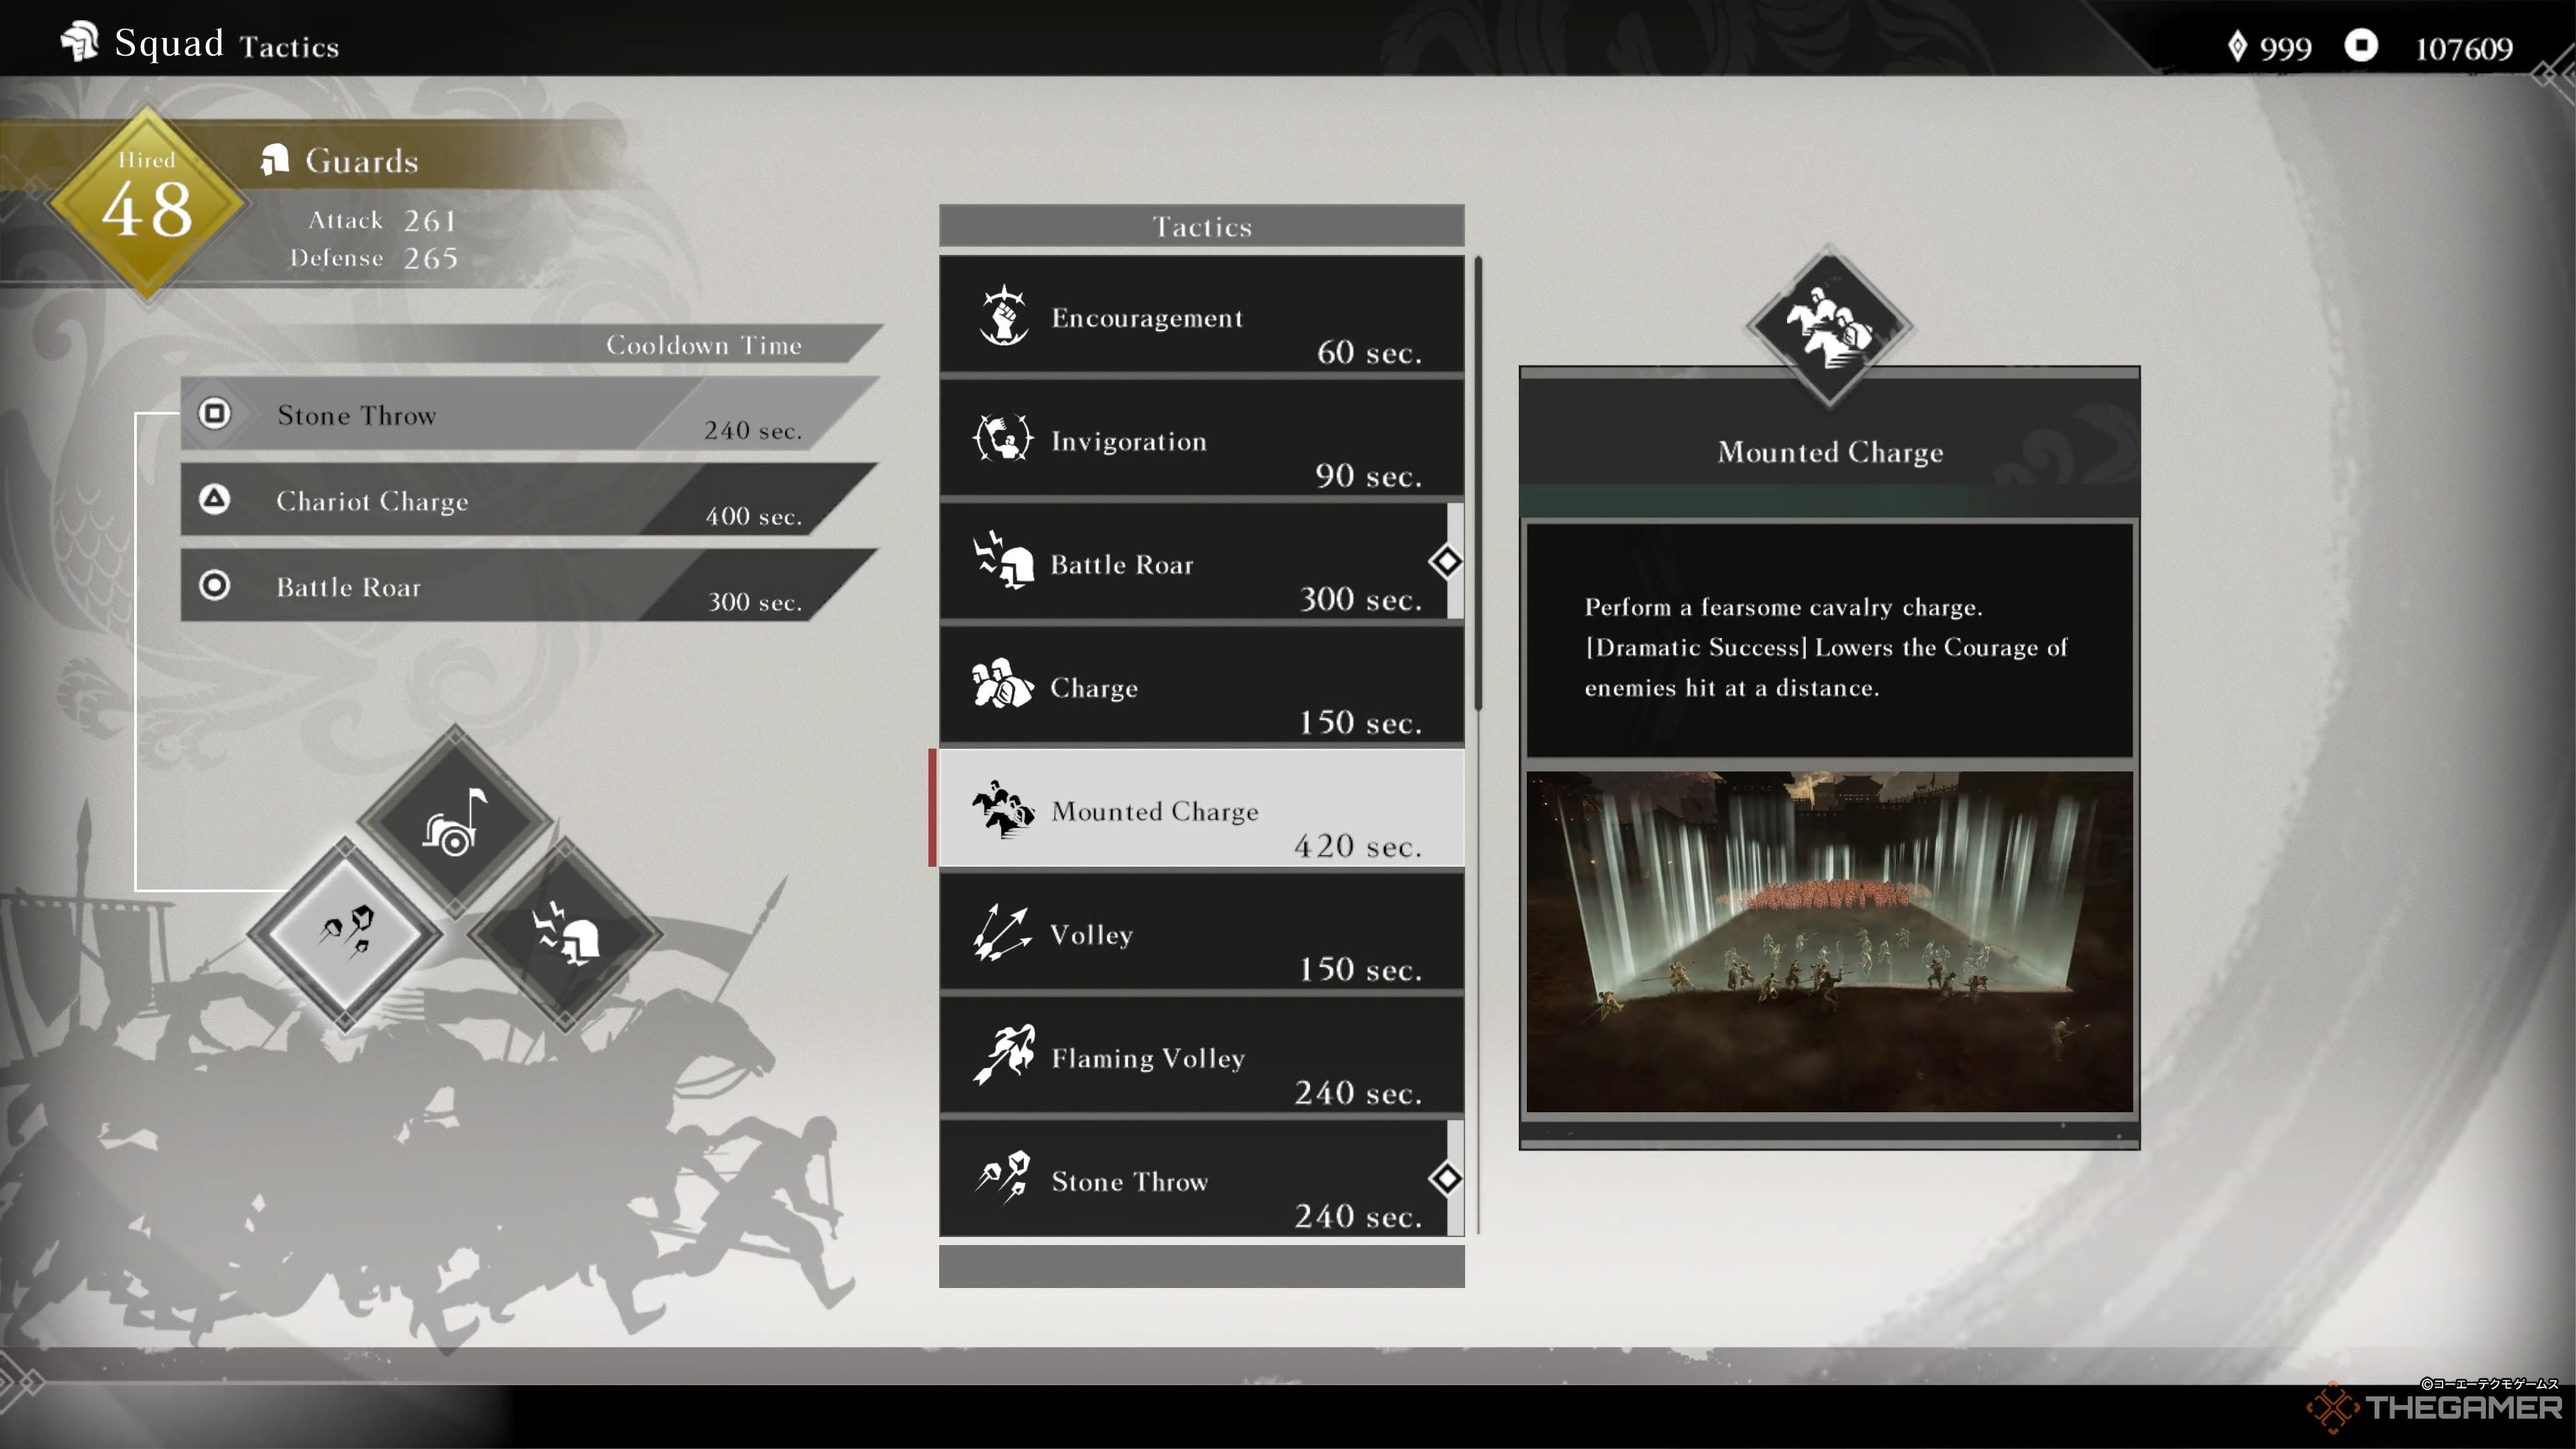
Mounted Charge
Mounted Charge improves on the basic infantry charge in every way. Improved damage and a much wider effect area make it a truly devastating tactic.
You can use it to smash a large infantry formation, covering as much ground as possible, or charge from a long distance to inflict a Courage debuff on any officers that get trampled under the hooves of your mighty steeds. Even though its cooldown is on the longer side at 420 seconds, Mounted Charge is a great way to lock in a win or smash the front lines of a Large Force.
3
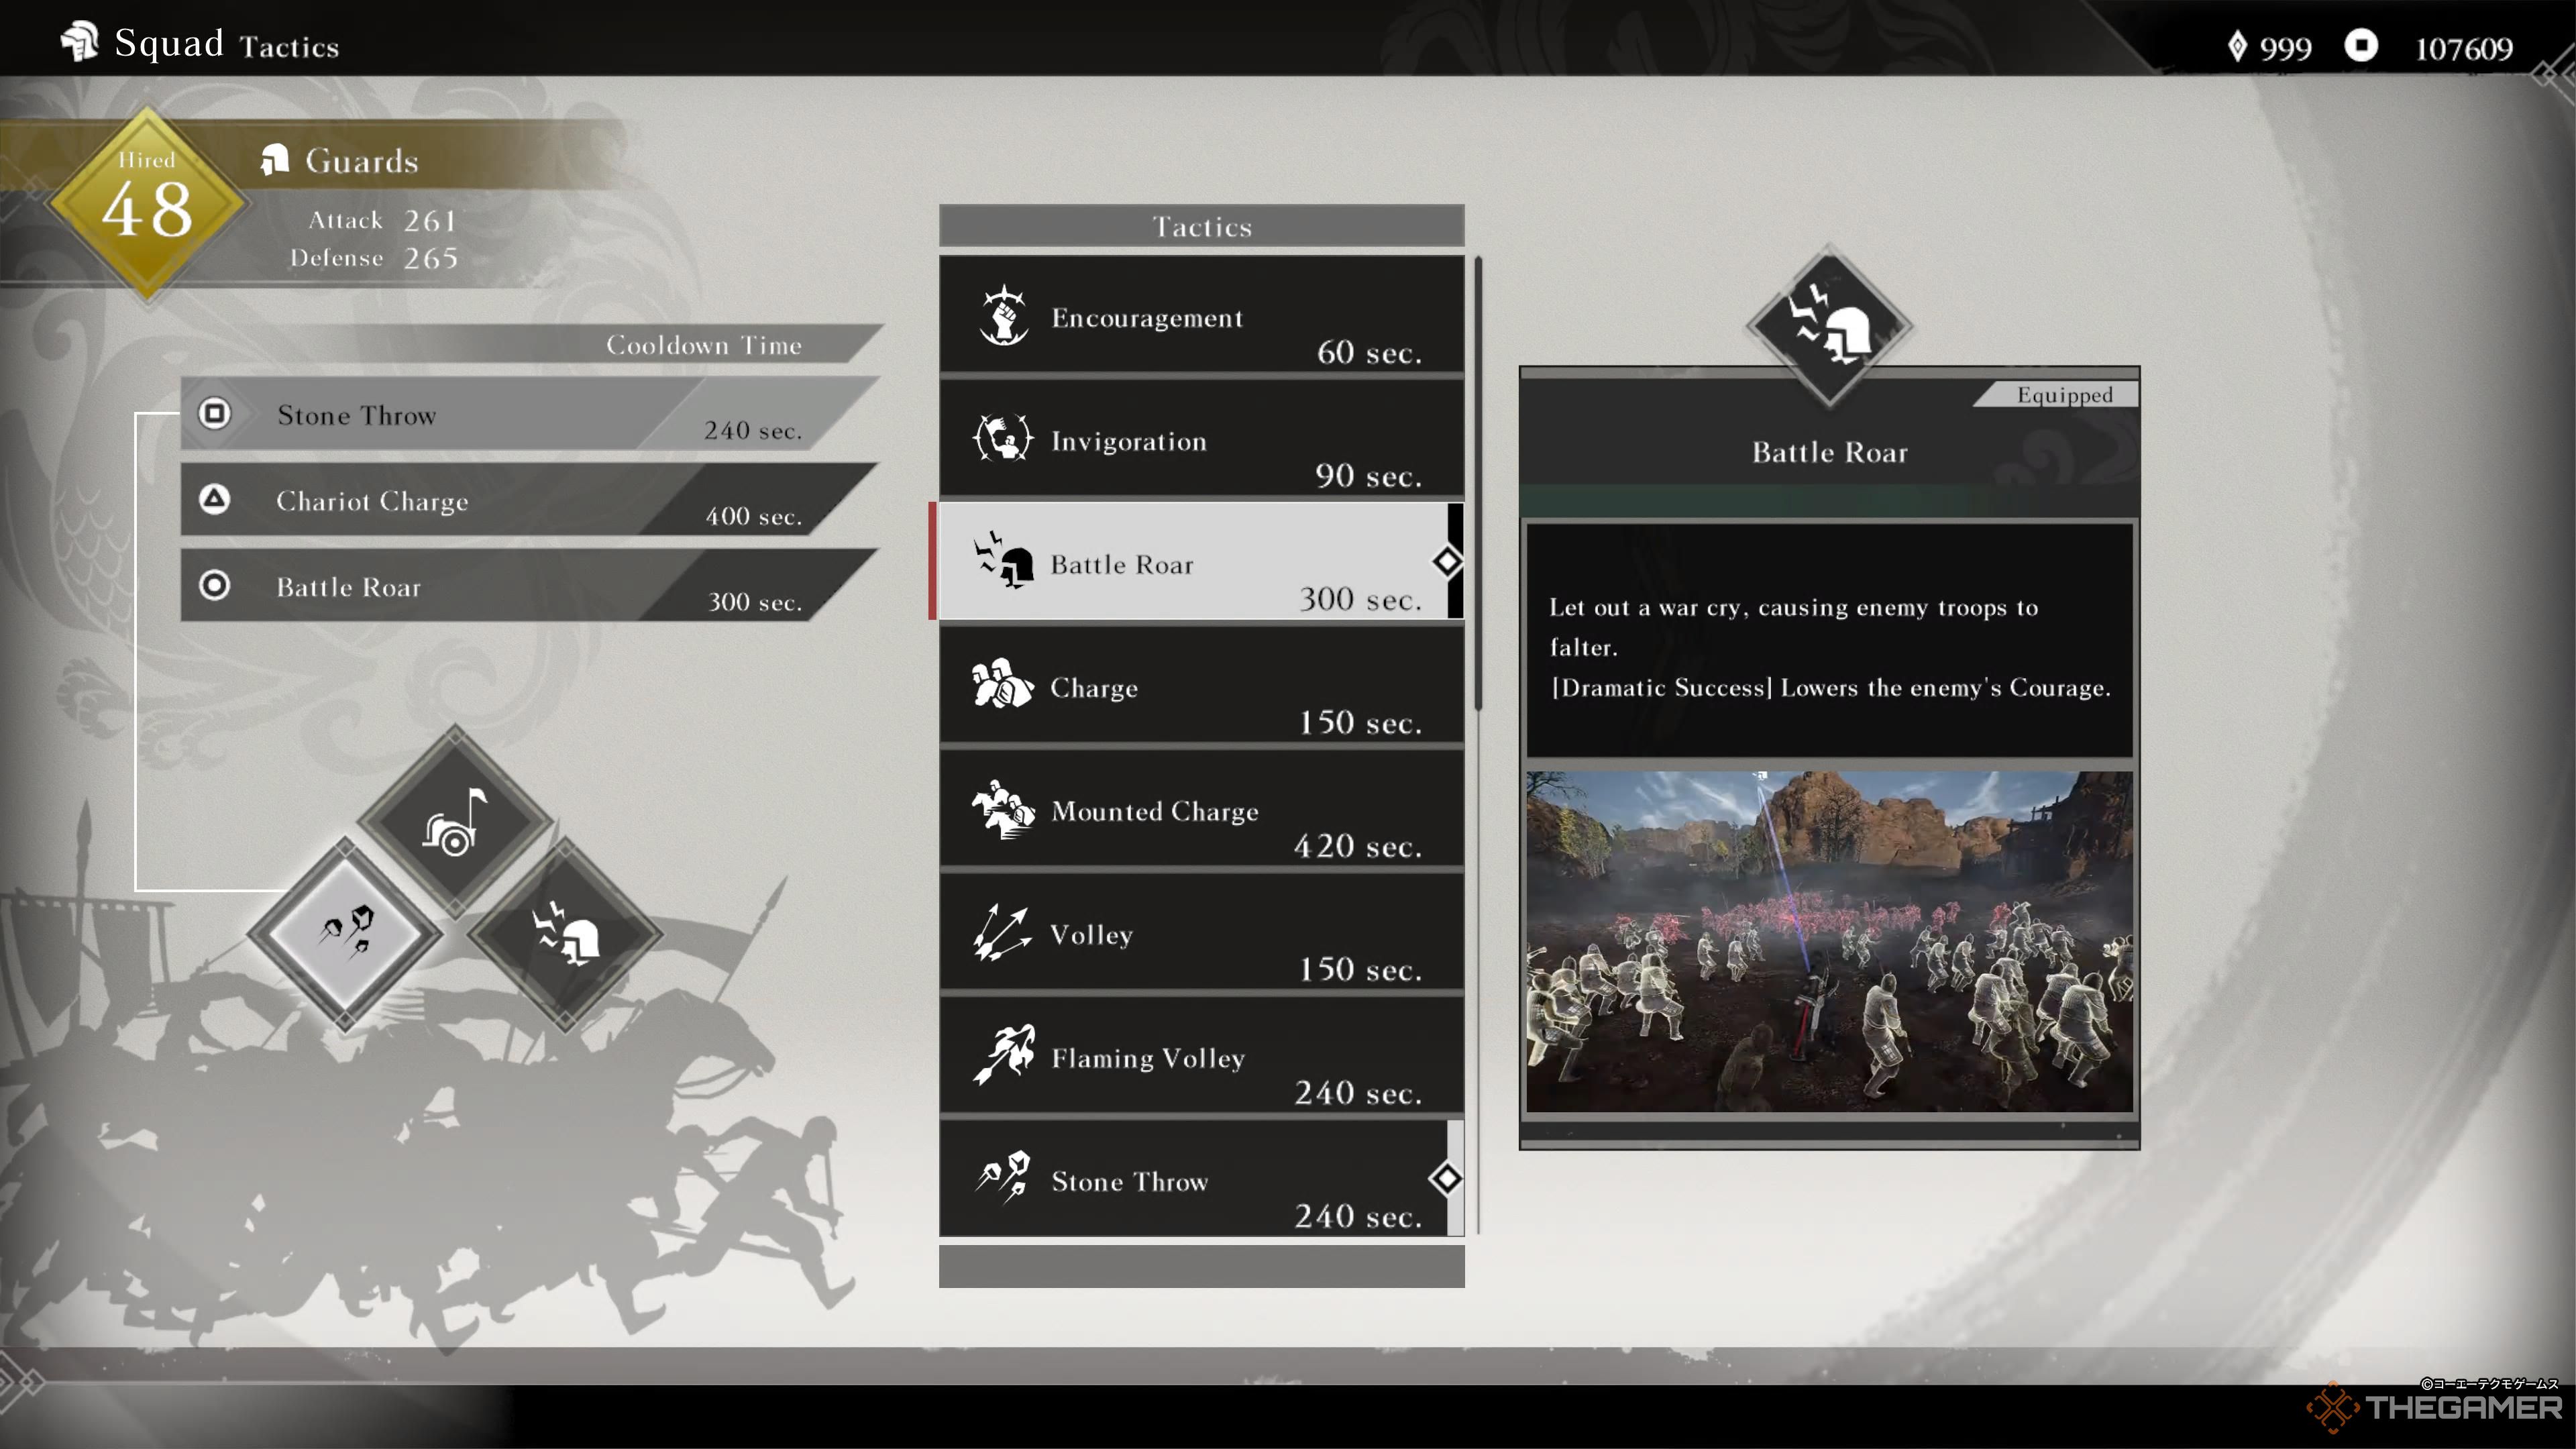
Battle Roar
Despite not dealing any damage, Battle Roar is the easiest Tactic to use and makes any fight much easier, espeically when multiple enemy officers are present.
Battle Roar instantly reduces the Courage of any enemy officer nearby when you use it, and you don’t even need guards. Debuffing enemies like this, especially in groups of two or more, can turn a dangerous fight into a walk in the park; make sure your Bravery or Musou are full, use Battle Roar to weaken your foes, then unleash the full force of your fury!
2
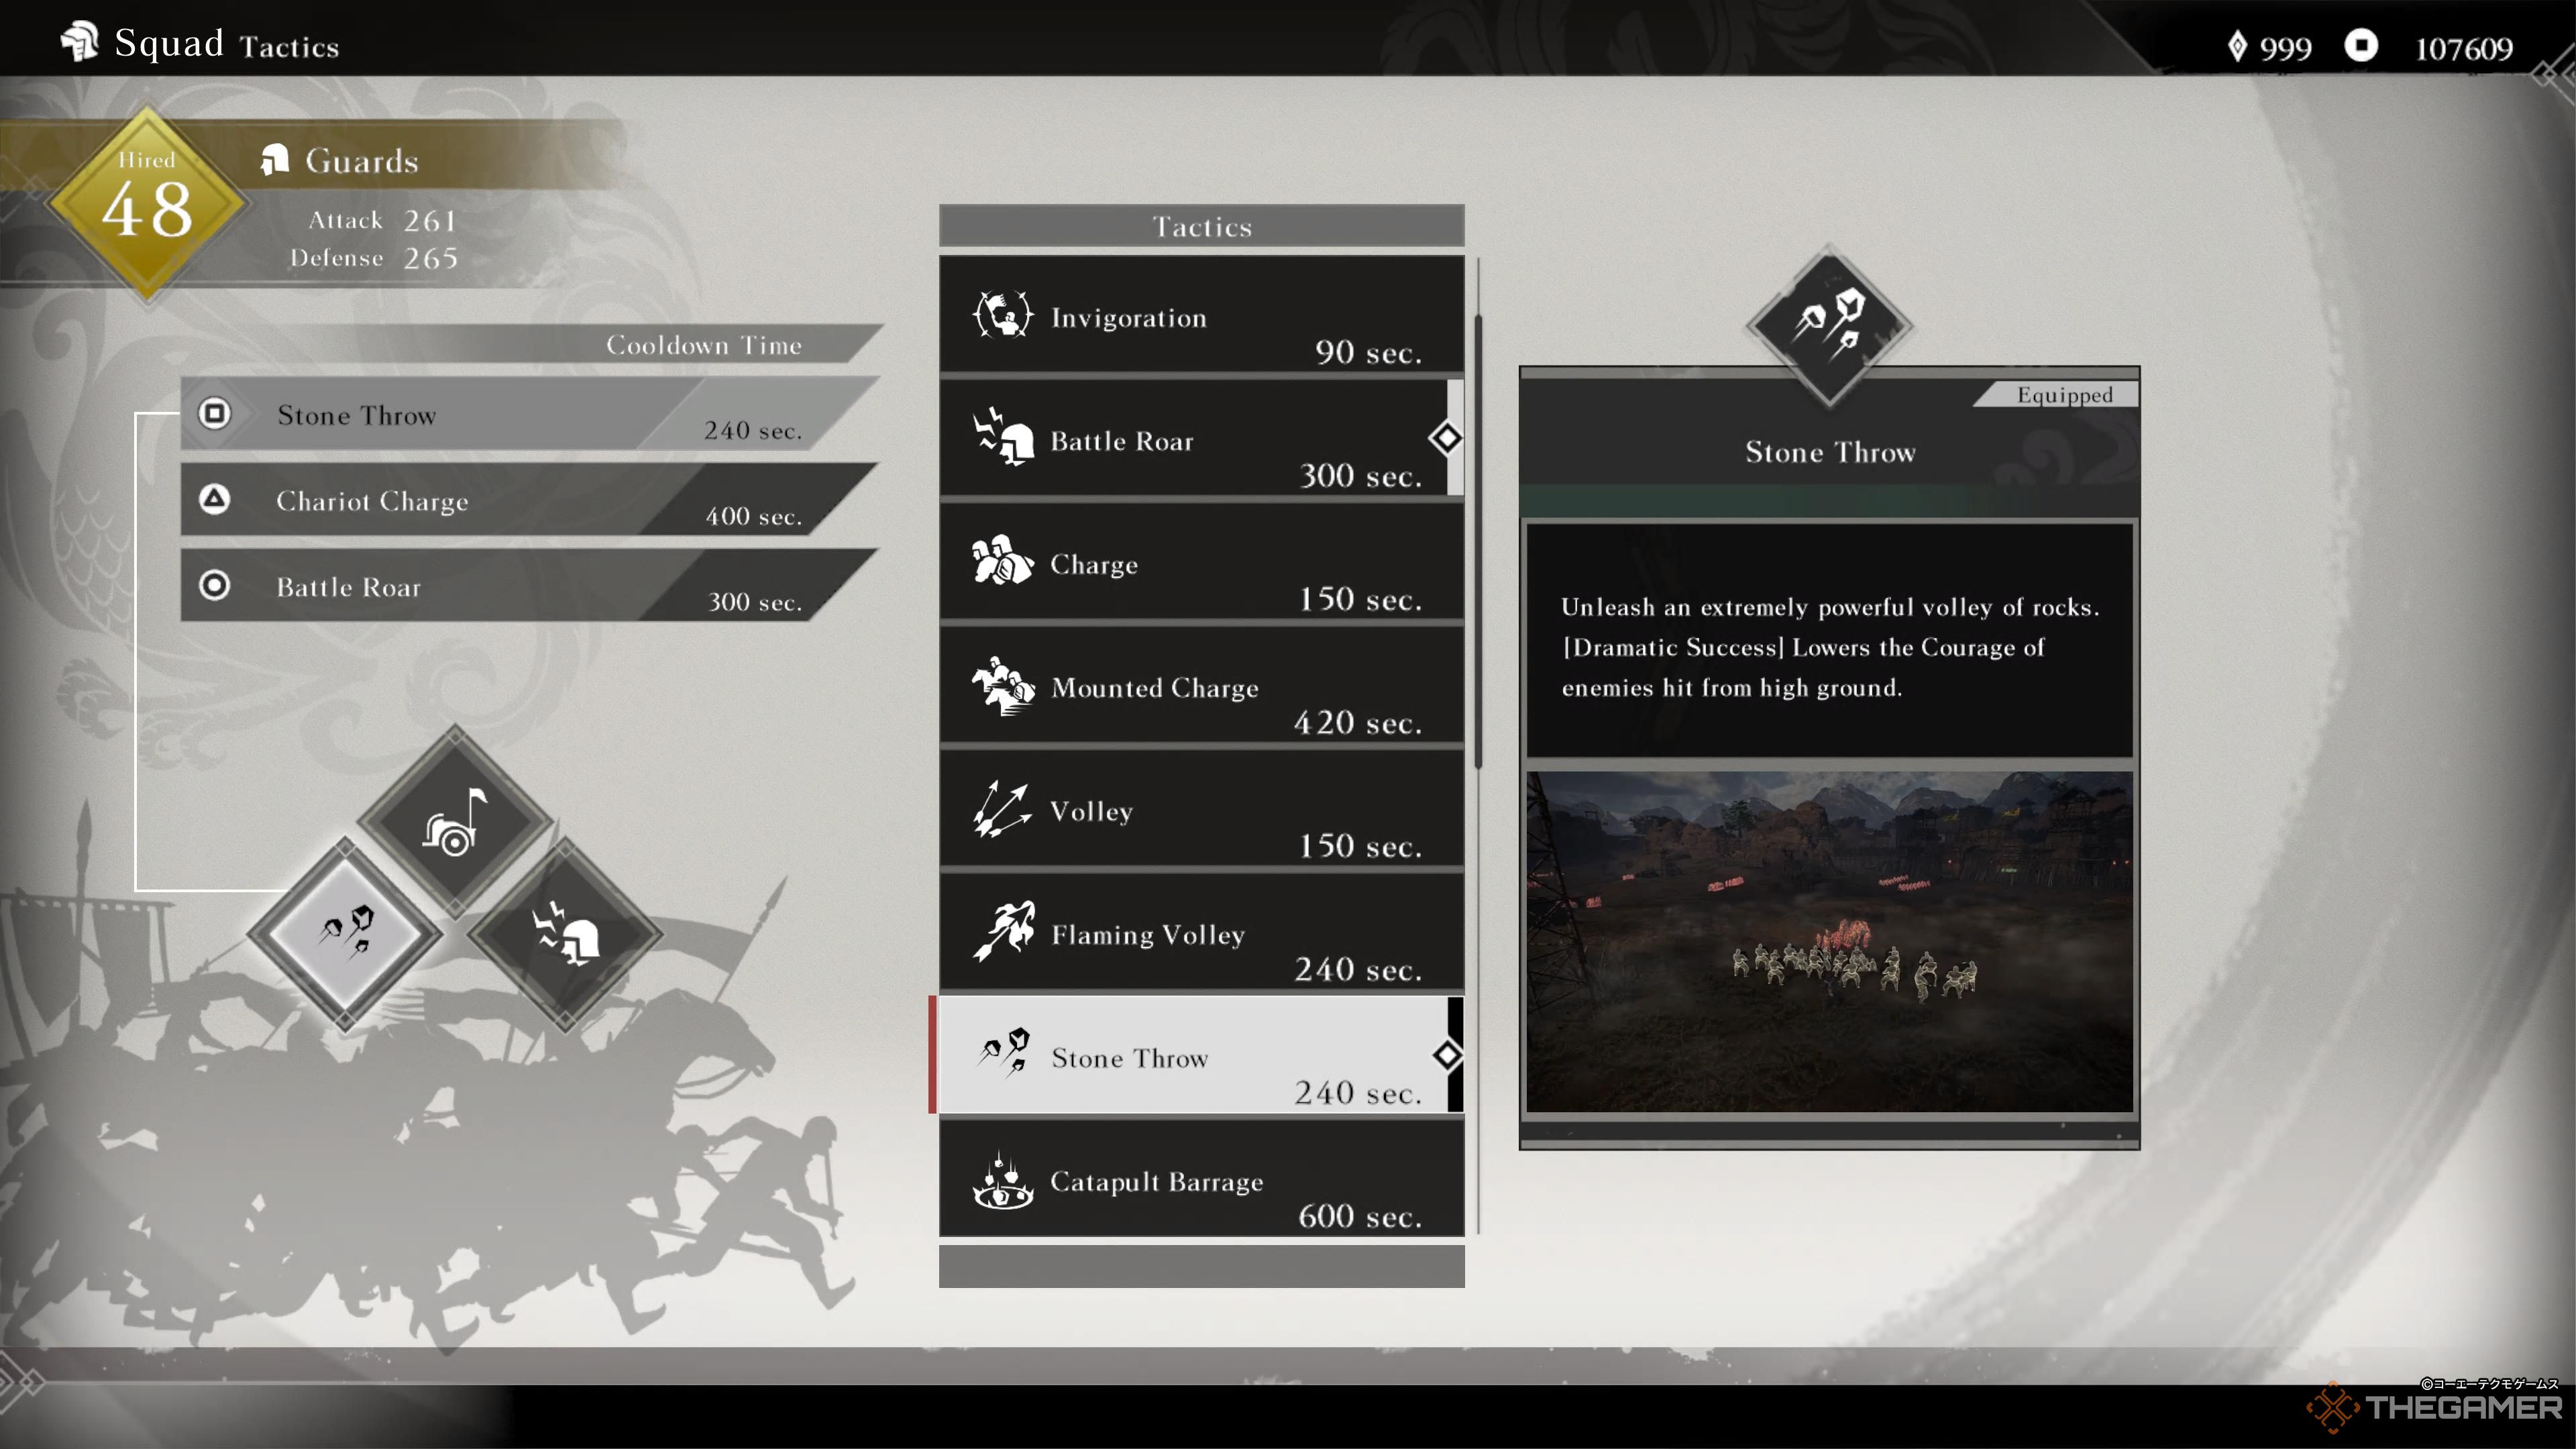
Stone Throw
While it’s technically a ranged Tactic like the Volley series, Stone Throw’s limited range means you’re much less likely to use it from high ground. That’s okay, though, because this is one Tactic that doesn’t need a Dramatic Success to be worth it.
The boulders thrown by your troops when this Tactic is deployed deal increadible damage to both health and Fortitude in a small, concentrated area. You’re not likely to catch more than two officers with it at the absolute most, but those that you do hit will be in a world of hurt.
Save Stone Throw for when an enemy is preparing an Ultimate Musou Attack. The Tactic can usually strip them of half their Fortitude or more in one go, making it much easier to stun them before they finish powering up.
1
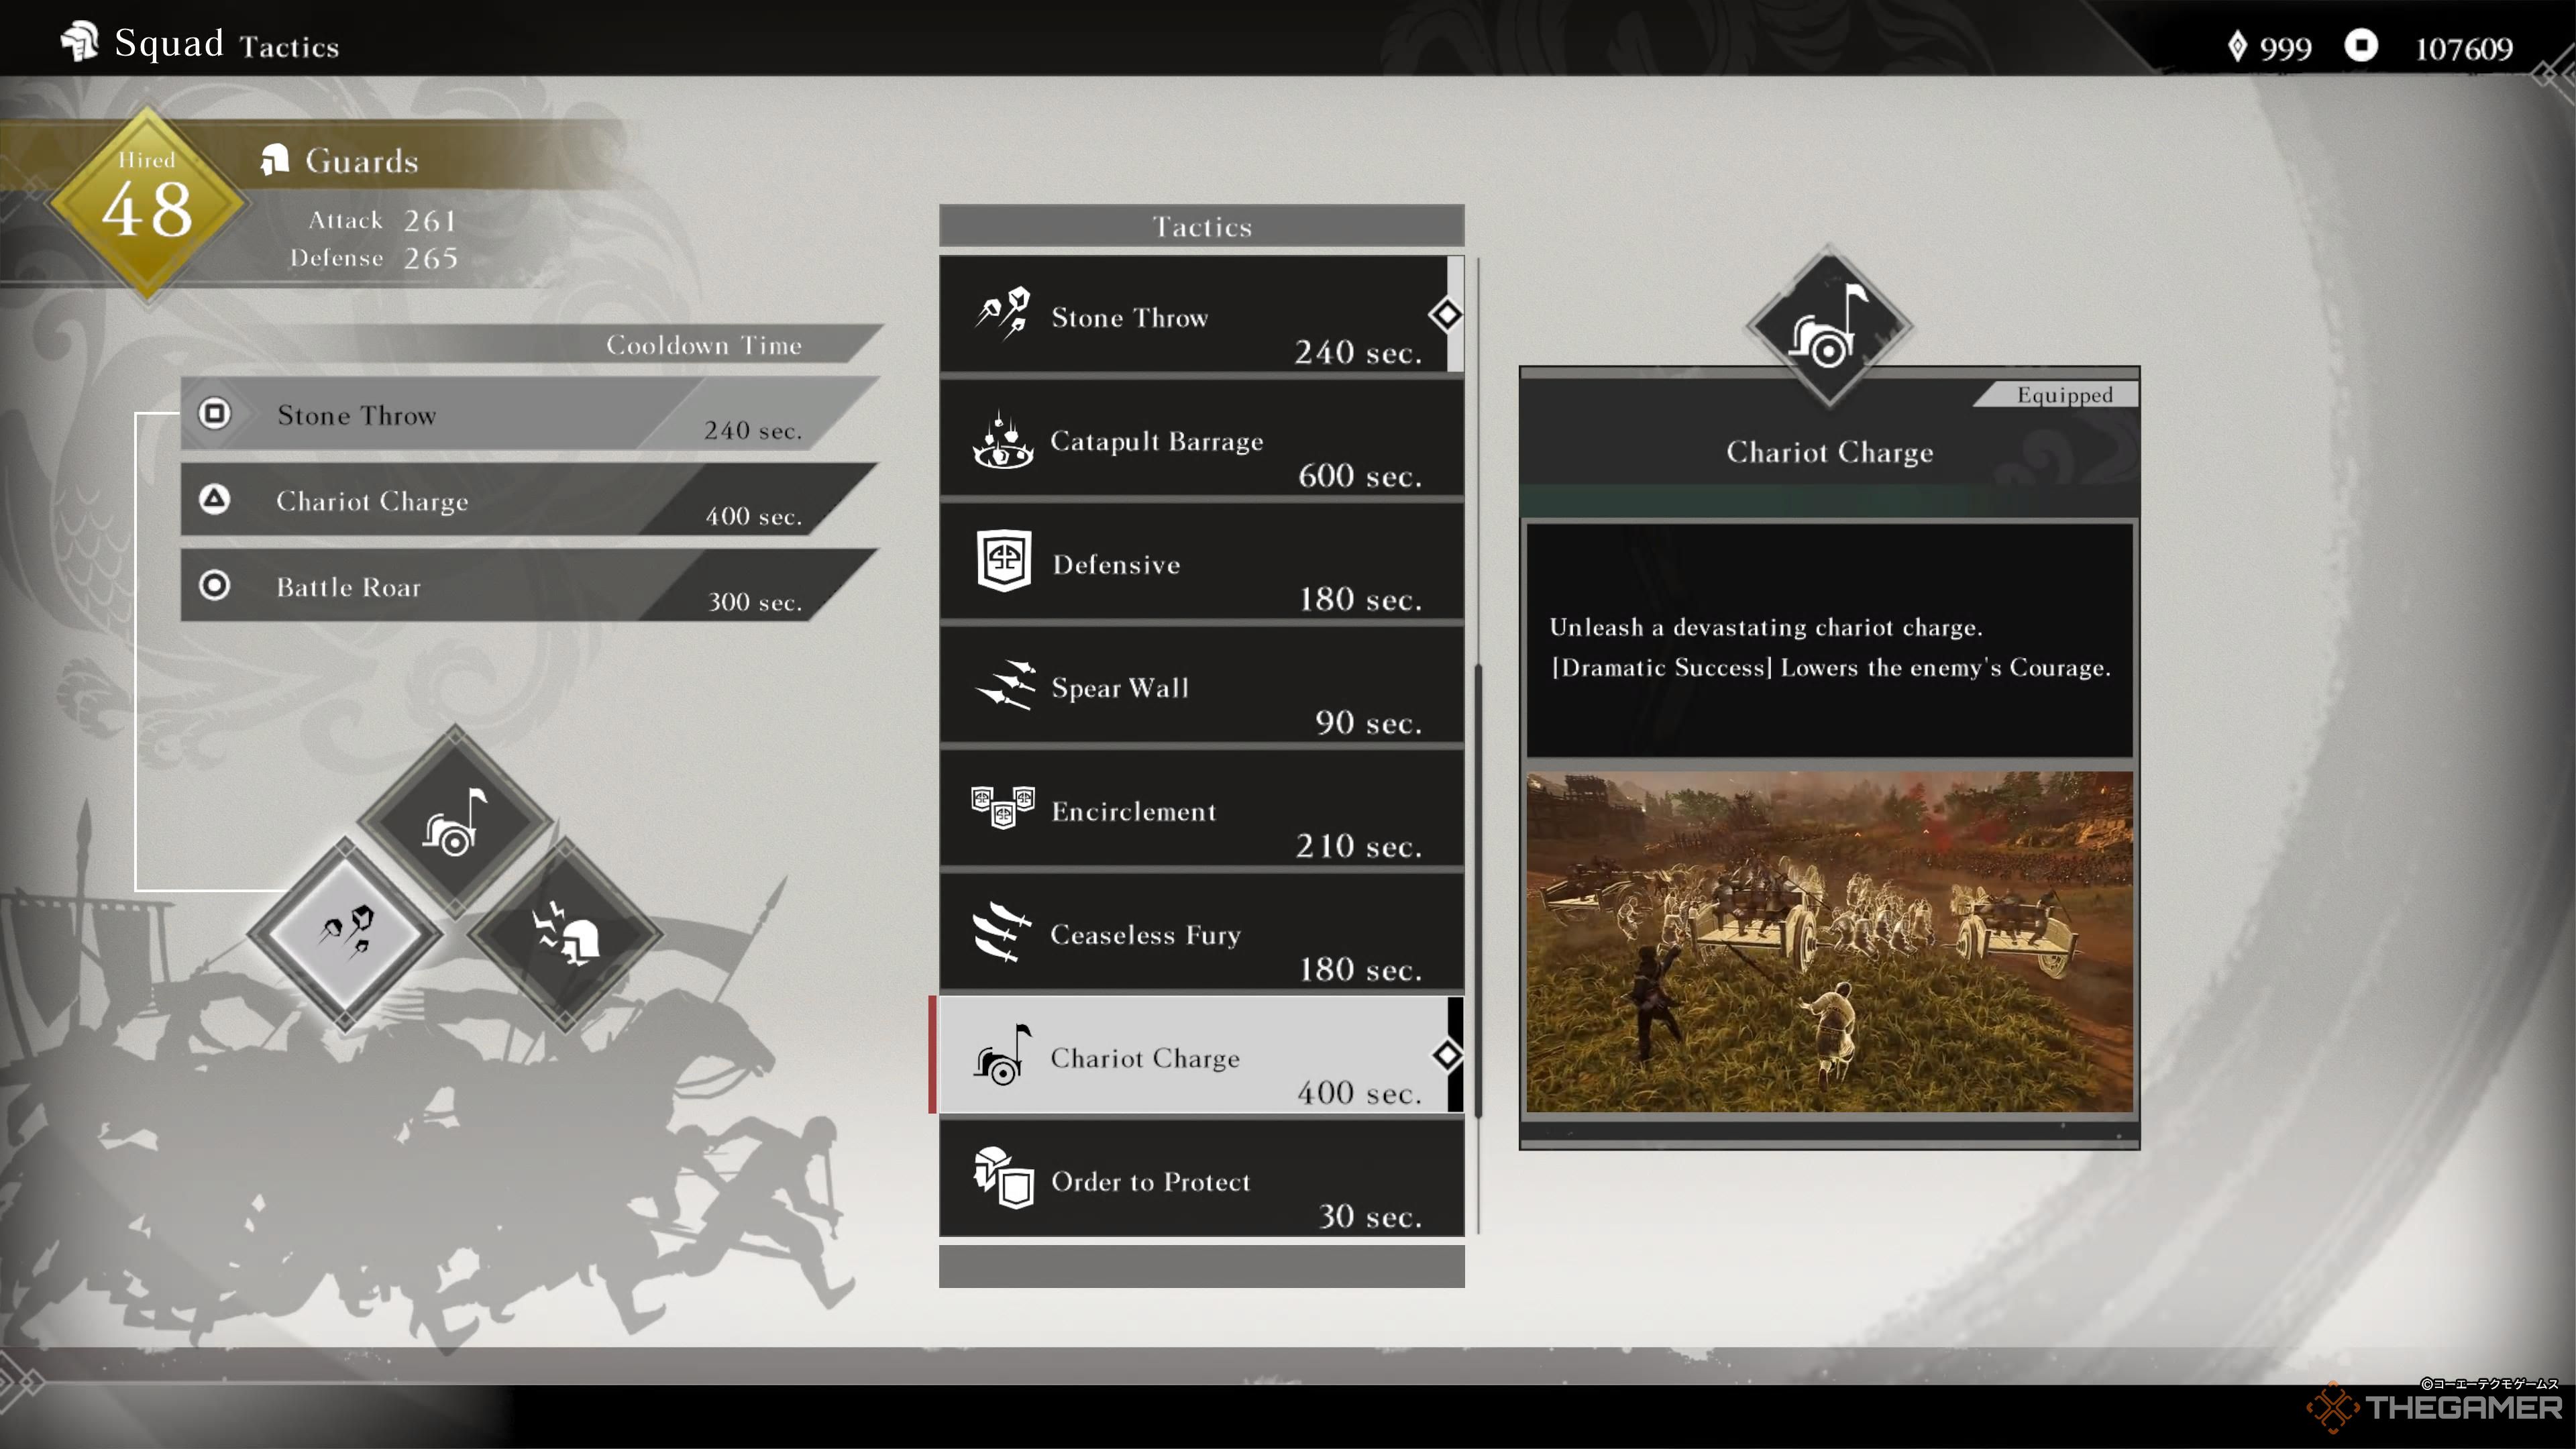
Chariot Charge
Chariot Charge can’t be unlocked until you’ve completed the main game at least once. You need to complete Ultimate Warrior challenges that offer guards as a reward until your squad has 47 members, at which point you’ll gain access to this ultimate manuever.
The time it takes to get it and the amount of power it adds to your buiild make unlocking Chariot Charge a good early goal for the postgame.
Chariot Charge is very similar to Mounted Charge; it has a slightly shorter range, but deals much more damage and always reduces Courage regardless of the distance the chariots travel. Best of all, it can effortlessly break shield walls, making certain battles much easier to quickly gain the advantage in.






Leave a Reply