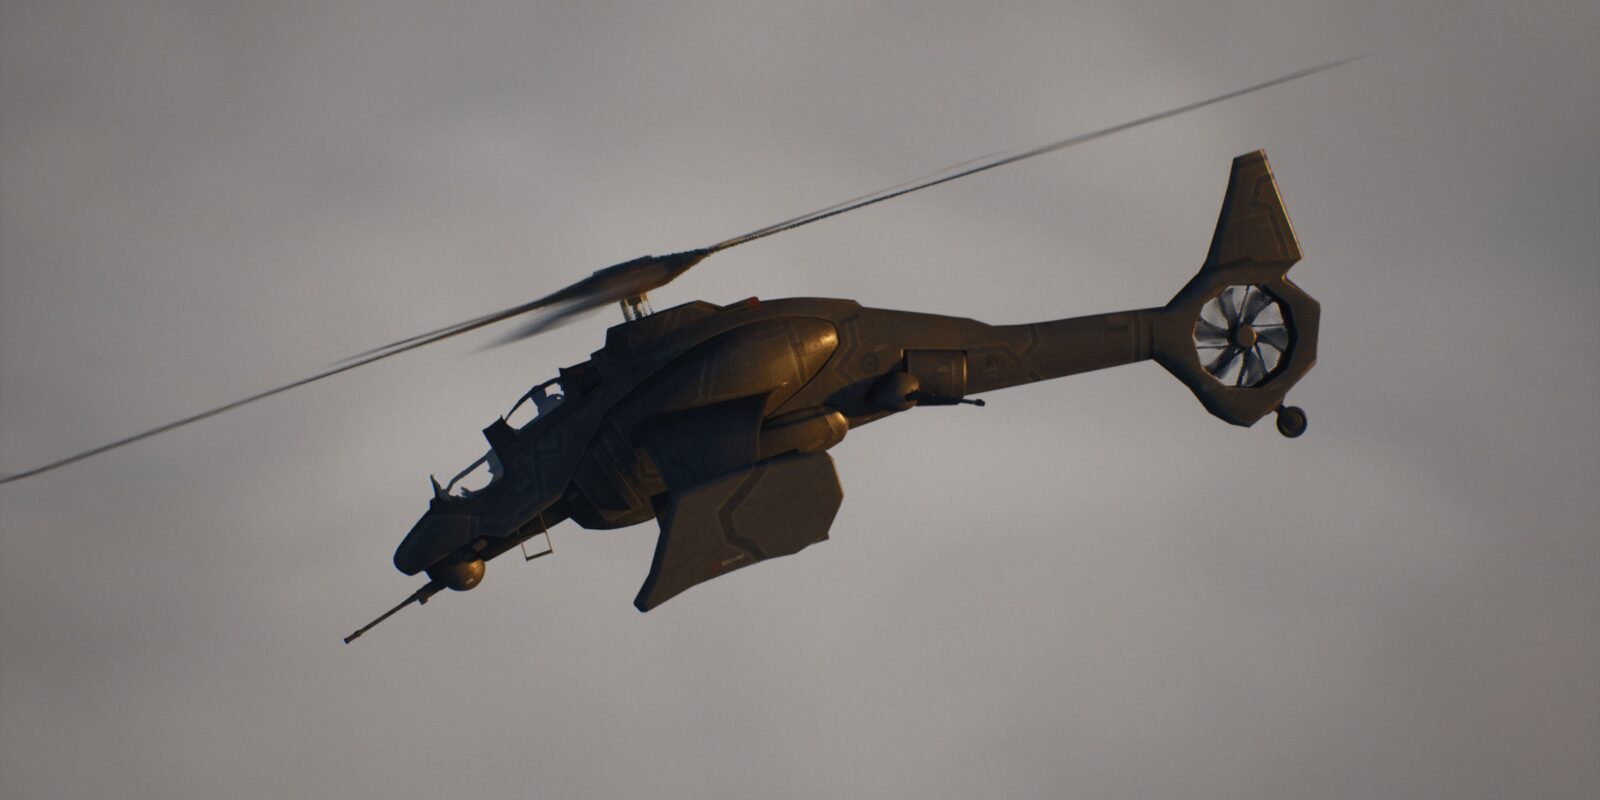
The Flying Fortress Daedalus is the ninth chapter in Ninja Gaiden 2 Black, and it sees Ryu mount an attack against a massive aircraft. This vehicle is home to six collectibles, and while it is not mandatory that players find all of them, some fans will undoubtedly want to do so. This walkthrough is written with those players in mind, and it will help them find every collectible in, and complete, Ninja Gaiden 2 Black‘s Chapter 9.
If a player ever gets lost in Chapter 9, they should stand still and hold RB to point the camera in the right direction.

Related
Difficulty Options Explained – Ninja Gaiden 2 Black
A complete rundown of every difficulty option in the new Ninja Gaiden 2 Black remake.
Ninja Gaiden 2 Black: Chapter 9 Guide
Get Jewel of the Demon Seal
Chapter 9 begins on top of the aircraft, and players should pull out a ranged weapon and use it to destroy the six turrets that are firing on their position. Once the turrets have exploded, fans of ninja games should walk toward the former position of those weapons to trigger a cutscene that gives them access to the aircraft’s interior.

After dispatching the mechs, and stopping by the shop, in D1-1, players should pass through the door in the back wall. Fans are now in D1-2, and they should make their way to its back-right corner, slaying any enemies that they encounter along the way. There is a chest in that corner, and it holds a Jewel of the Demon Seal.
Get Life of the Gods #1
Players should now head to the back-left corner of D1-2, stop by the save station, and pass through the nearby doorway to enter D1-4 and D1-5. After opening the two chests in these rooms, players should use the door in the back-right corner to enter D1-7.
Fans of character action games should fight their way along the walkway in this room, following the path around a U-turn and ultimately reaching a chest that holds a Life of the Gods.
Get Crystal Skull #1
Players should now backtrack to the U-turn, using their favorite Ninja Gaiden 2 Black weapon to dispatch the mechs that they encounter along the way, and pass through the door to enter D1-8. The large square in the center of the floor in this room acts as a lift, and players should ride it down to D2-9.
After defeating the foe in D2-9, players should pass through the door in the back wall to enter the control room. Fans should quickly address the foes that appear in this room and then attack the device to the left of the control panel to reveal a Crystal Skull. Players should collect that skull and make a save.
Get Life of the Gods #2
Players should now return to the preceding room and dispatch the horde of enemies that fall from the ceiling, using a Ninpo in Ninja Gaiden 2 Black if necessary. Fans can then pass through the large door on the other side of the room to reach D2-8. There is a large mechanical device at the center of this room, and there is a chest that holds a Life of the Gods near its back-left corner.
Get Lives of the Thousand Gods
With the level’s final Life of the Gods in hand, players should exit D2-8 through the door in its back-right corner. Ninja Gaiden fans should then pass through the first door on their right, fight their way across the glass walkway, and enter the atomic engine room. There are six illuminated panels in this room, and players should attack them until they explode and then backtrack across the glass walkway.
At the end of the walkway, players should head right and use the door in the wall to enter D2-3. There is an open room with a shop and save station just after the entrance to D2-3, and fans may want to make a quick stop there before following the corridor to its conclusion.
When players reach the end of the D2-3 corridor, they should use the door on their left to enter the barracks. There is an elevator on the barracks’ left wall, which fans of action-adventure games can enter and ride.
Players will now find themselves in a room with another seven panels that they can destroy. Once those objects have been addressed, fans should climb the ladder in the room’s corner and go left to access two chests. One of those chests holds a Lives of the Thousand Gods.
Get Crystal Skull #2
Players are now free to pass through the door that is adjacent to the Lives of the Thousand Gods chest and take down the Ninja Gaiden 2 Black enemies that they find there. Fans can then use the save station in the back-right corner of the room before entering a square that is opened in the floor and climbing down a ladder.

After passing through a door at the bottom of that ladder, players will find themselves back in D1-2. Here, fans should walk a few paces to the right and look at the pile of rubble on their right to find the level’s final Crystal Skull.
This is the last collectible in Chapter 9.
Reach Boss #1
Players should now continue to follow the D1-2 corridor to reach the door that leads to D1-1. Once again, a series of mechs will appear in this room, and players should dispatch them and stand in the large square on the floor to descend.
When the ride comes to an end, players should pass through the door on their right and use a ranged weapon to destroy the three turrets that are firing at them. Fans should then cross to the door on the other side and make a save before entering D2-11.
Players should now fight their way along the path to reach the atomic engine room. Fans should then use the door in the back-right corner to enter the glass walkway and trigger a short cutscene.
As soon as players regain control of Ninja Gaiden 2 Black‘s Ryu, they should use the nearby door to enter D2-6. Fans should then continue along the path, passing through doors as they appear, to reach a point at which they will trigger yet another cutscene.
At the end of this second cutscene, players should cross the glass walkway, pass through the atomic engine room, and use the door in the front-right corner. Fans are now on a path that will lead them to another wing, and they should again use a ranged weapon to destroy the turrets before crossing to the other side. The room that is beyond the wing is home to Genshin, Ninja Overlord, and the fight with this Ninja Gaiden 2 Black boss will begin as soon as players enter.
Beat Boss #1
Genshin, Ninja Overlord is not a particularly difficult boss, and players who have reached this point in the game are likely to be well versed in the strategies that they should use to beat him. That said, here are some tips that fans may find useful:

- Stay close to Genshin to reduce the frequency at which he sends out a void orb. Players should still be prepared to evade orbs when they appear.
- Hold block and look to evade the final attack in Genshin’s combos. The boss will frequently grunt when performing a final attack.
- Go on the offense as soon as Genshin’s combos end. Short offensive combos (like light attack, light attack, heavy attack) are recommended, as the boss can punish players for overextending.
Beat Boss #2
After beating Genshin, and watching a short cutscene, players will find themselves fighting yet another boss: the Fire Armadillo. To defeat this boss, fans should repeatedly strike its tail with their favorite combos in Ninja Gaiden 2 Black, using evade to dodge falling boulders when necessary. Players can also consider targeting the Fire Armadillo’s feet, though staying near the tail tends to be safer.


- Released
-
January 23, 2025
- Developer(s)
-
Koei Tecmo Games Co., Ltd.