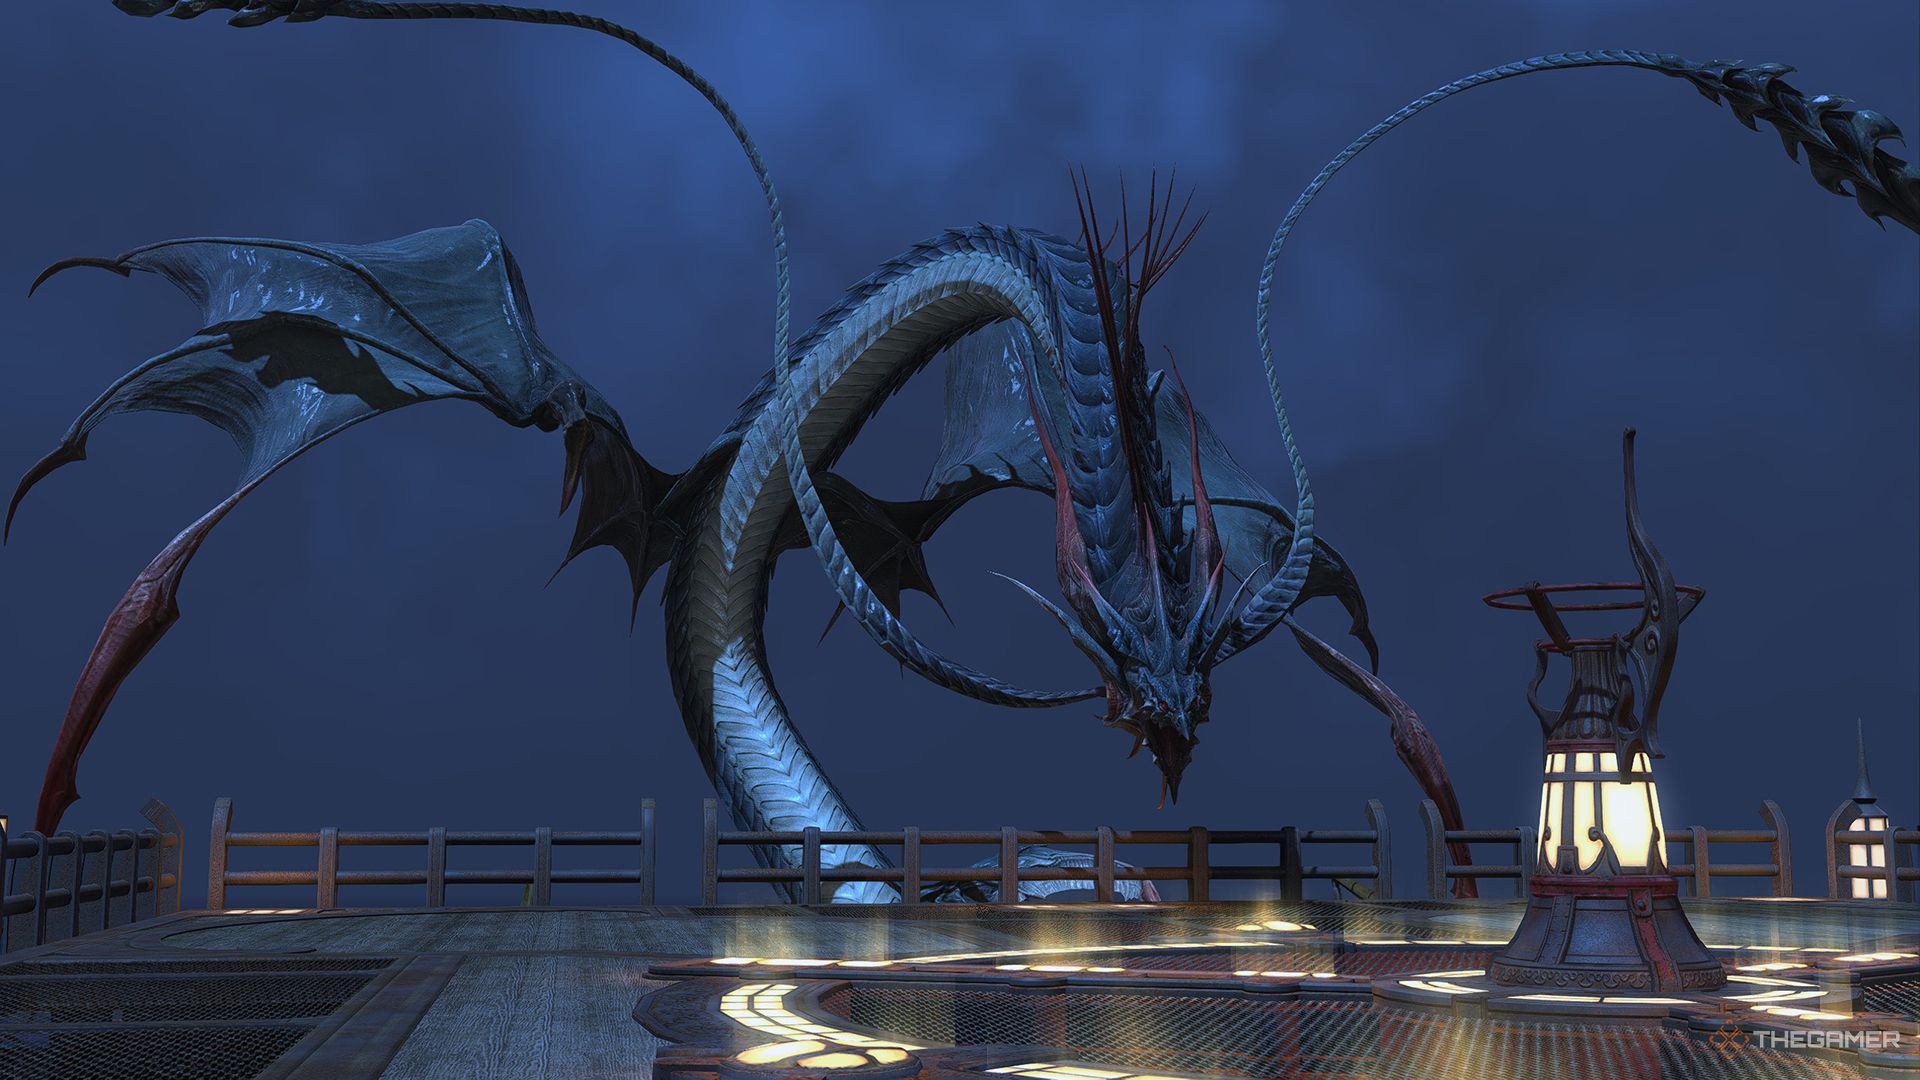
The Whorleater (Hard) is a level 50 Trial in Final Fantasy 14 in which you will battle the Primal of Water, Leviathan. By sending in an elite team to face Leviathan in the middle of the ocean, the Scions and Maelstrom hope to prevent Leviathan from summoning a tidal wave capable of seeping away the entire city of Limsa Lominsa.
Related
Final Fantasy 14: The Navel (Hard) Trial Guide
Here’s a complete walkthrough for The Navel (Hard) in Final Fantasy 14, including how to unlock it and each of Titan’s attacks.
This Trial is a full party of eight players, including two Tanks, two Healers, and four DPS. Below, we’ll take a look at everything you need to know about this fight, including each of Leviathan’s moves and the strategies used in each phase of the fight.
How To Unlock The Whorleater (Hard)
The Whorleater (Hard) is unlocked through the Main Scenario, during the Patch 2.2 quests. Follow along through the MSQ until you reach the quest ‘Lord of the Whorl’, which you can accept from Eynzahr Slafyrsyn in Lower La Noscea (X:24.5, Y:33.1).
Leviathan Fight Walkthrough
This fight is divided into three phases, in which Leviathan will use different attacks and mechanics. Here’s what to expect during each phase.
Phase 1
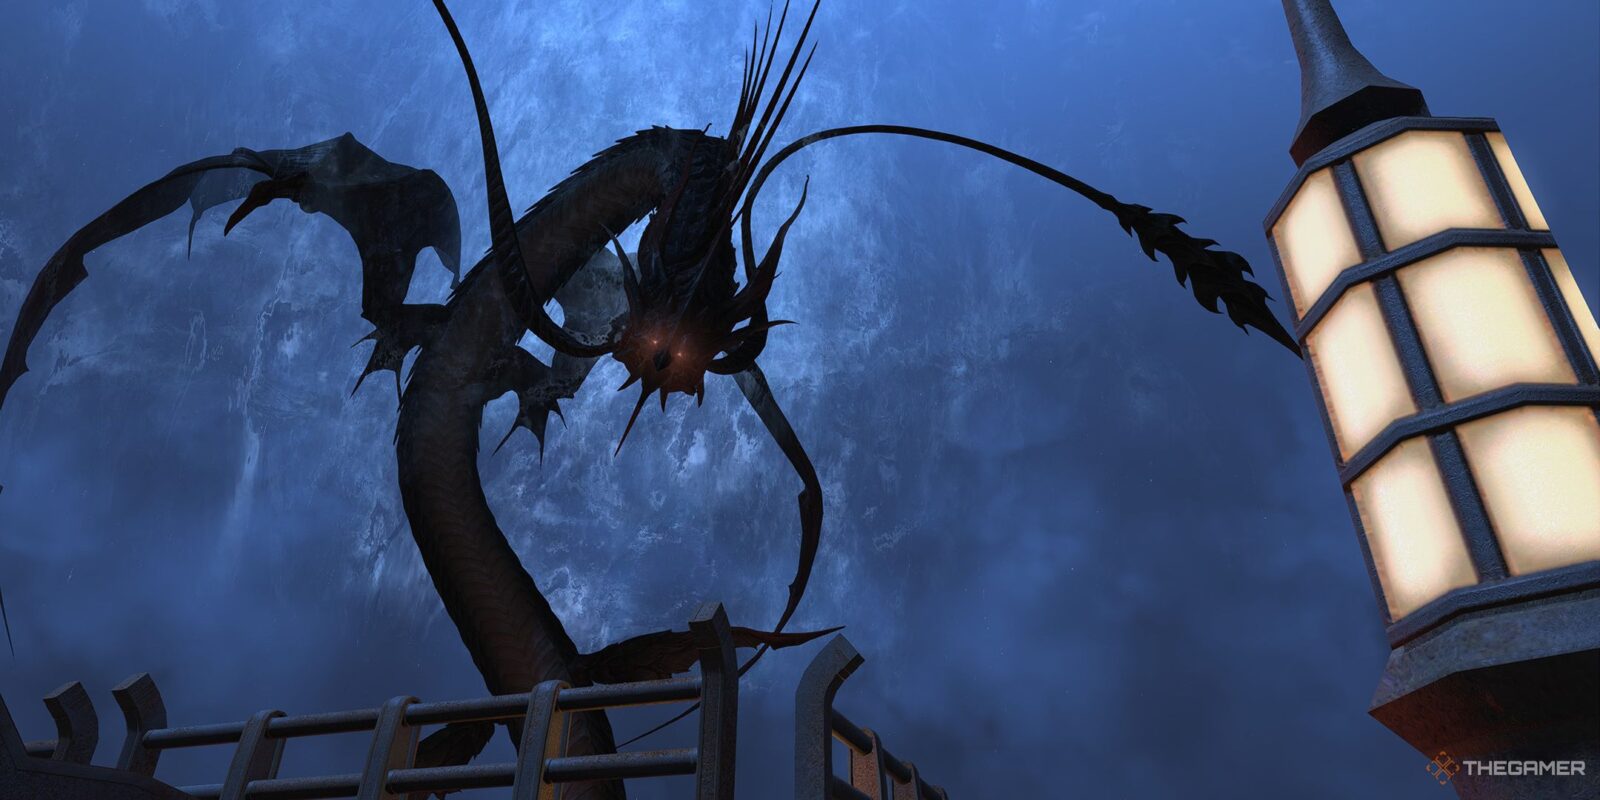
The fight will begin with Leviathan at the top of the arena, with only its head exposed. During this phase, Leviathan will only use basic attacks on its main target, until it reaches around 90 percent health remaining. At this point, Leviathan will dive underwater before emerging in a geyser of water.
When Leviathan emerges from the geyser, it will attack with Body Slam, dealing damage to players directly underneath it and knocking the whole party toward the end of the arena Leviathan emerges. Move away from the geyser to avoid this attack, then prepare for the second phase of the fight.
Phase 2
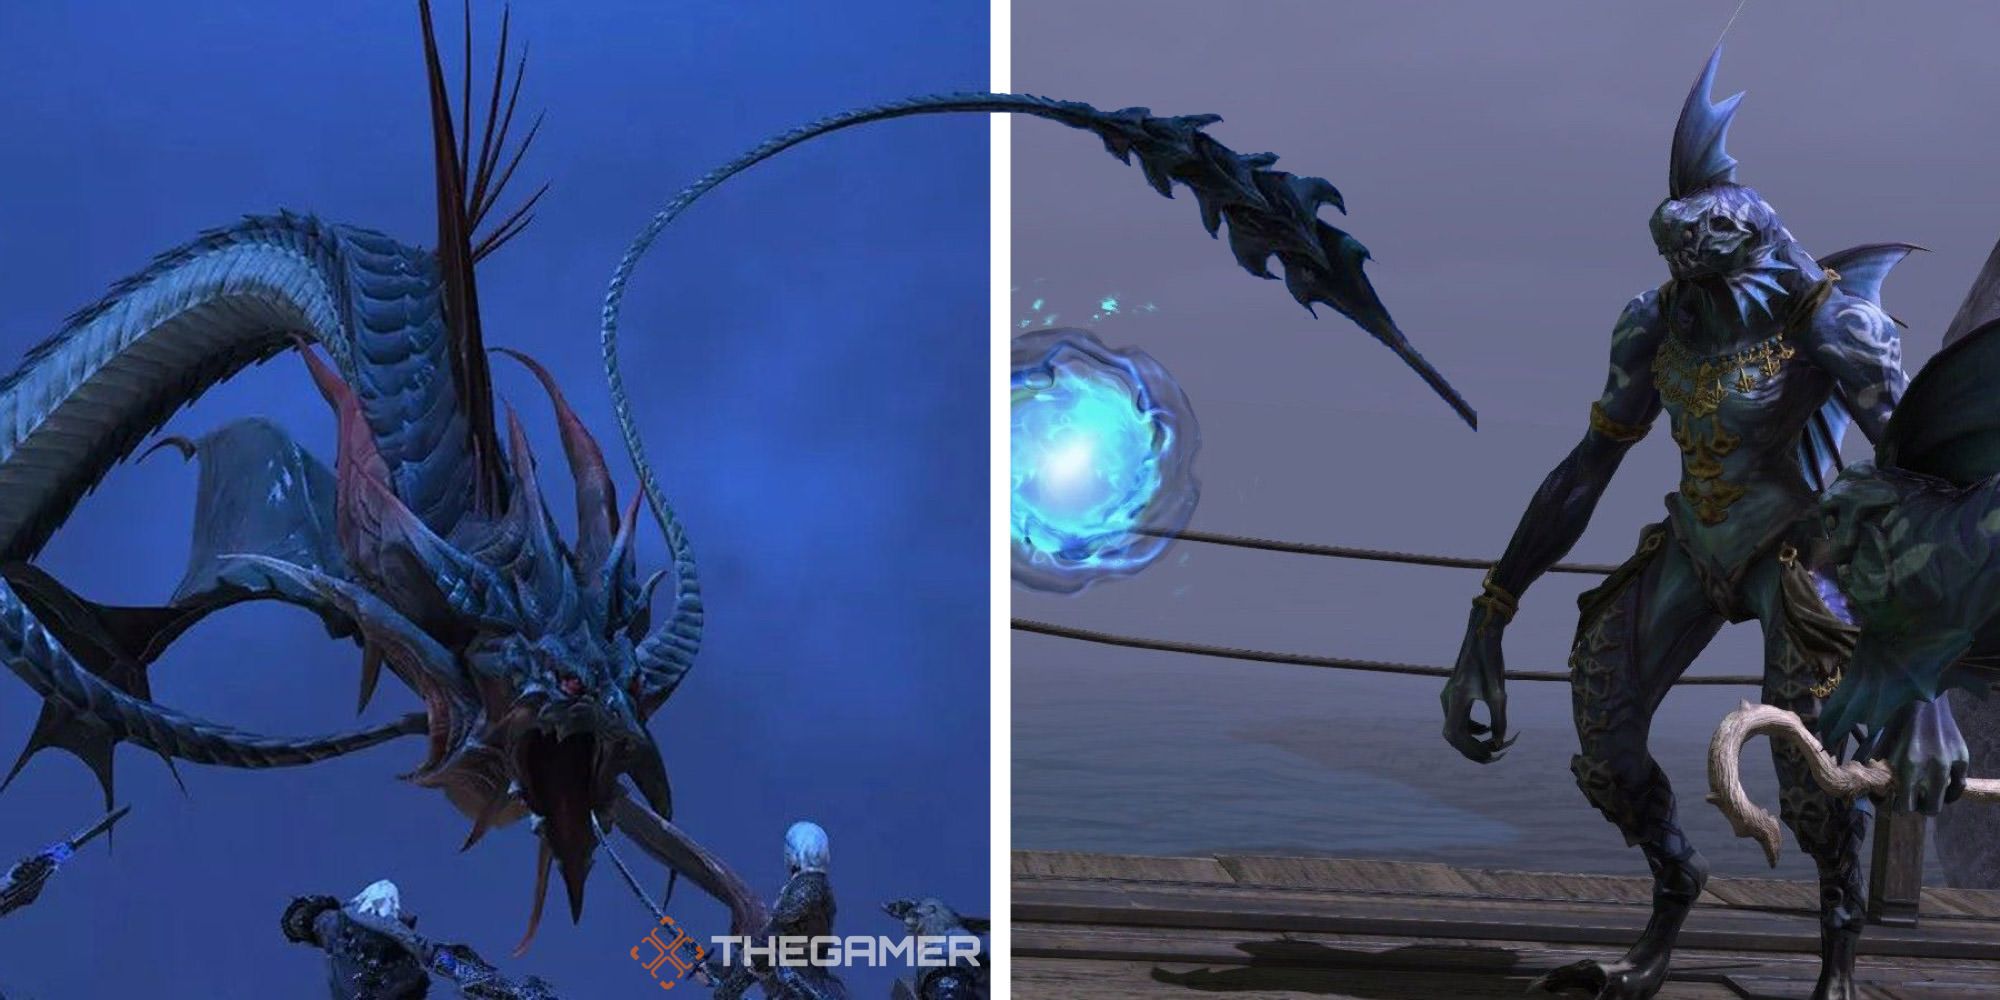
At the beginning of phase two, Leviathan’s Head and Tail will be targetable. Then, the Head will gain the Veil of the Whorl buff, reflecting Ranged damage, while the Tail will receive the Mantle of the Whorl buff, reflecting Magic damage. Magic-based Jobs like Healers and Casters will need to attack the Head, while Physical Ranged Jobs will need to focus on the Tail.
Leviathan shares a health bar between its Head and Tail, so damaging the Head and the Tail both damage Leviathan’s overall health.
During this phase, Leviathan will use the following attacks.
|
Attack Name |
Type |
Details |
|---|---|---|
|
Dread Tide |
Tankbuster |
Deals high, untelegraphed damage to Leviathan’s main target. Use defensive cooldowns throughout the fight to lessen this damage. |
|
Aqua Breath |
Pointblank AoE |
Deals untelegraphed damage in the area around Leviathan’s Head. Since this attack has no cast time and no AoE indicator, all you can do is recover your health if you get hit by it. |
|
Water Spout |
AoE |
Deals untelegraphed damage to a random player in an AoE. Like Aqua Breath, there’s no way to see this attack coming, so just heal up if you take damage. |
|
Tidal Roar |
Roomwide AoE |
Deals damage to all party members. Recover with AoE healing. |
|
Body Slam |
Knockback |
This is the same attack that Leviathan uses when transitioning from phase one to phase two. |
Throughout this phase, Wavespine Sahagin will periodically appear. These enemies will mostly use basic attacks, but if left alive for long enough, they will start to cast Hydroshot, dealing damage in an AoE and leaving a puddle on the ground that inflicts Dropsy. Focus down the Sahagin as they appear.
Additionally, Gyre Spumes will appear, which will slowly drain the Elemental Conversion meter, which is used to power the elemental converter shield later. When you destroy a Gyre Spume, it will instantly cast Splash, dealing damage to the whole party. Destroying all four at once may be dangerous, so try to take them down one at a time.
Eventually, the message ‘The elemental converter is now operable!’ will appear, and shortly after, Leviathan will dive underwater. One player will need to activate the elemental converter to create a shield that protects the party from Leviathan’s incoming attack, Tidal Wave.
If you fail to activate the elemental converter, or if the Gyre Spumes absorbed too much elemental conversion energy, then Tidal Wave will wipe the party.
After Tidal Wave, the fight will enter phase three.
Phase 3
Phase three of the fight functions very similar to phase two, but with a few additions. Now, Wavetooth Sahagin will periodically appear. These will mostly use Ruin, dealing minimal damage to their main target, but if left alive for long enough, they will begin to cast Dreadstorm, dealing damage in a large AoE on one player that inflicts Hysteria, forcing the player to run around at random.
Additionally, Leviathan will now occasionally cast Grand Fall, dealing damage in a large circular AoE that inflicts Heavy, slowing your movement speed. This AoE is indicated by a swirling pool of water that appears on the floor; move out of the way to avoid this attack.
Leviathan will repeat these mechanics until it is defeated. Remember that Casters should attack the Head while Ranged DPS should attack the Tail, and be sure to activate the elemental converter as soon as you’re able to reduce the damage of Tidal Wave.
Next
Final Fantasy 14: The Whorleater (Extreme) Guide
Looking to take down The Whorleater (Extreme) Trial in Final Fantasy XIV? Here’s our guide on the battle mechanics and what to expect.



Leave a Reply