In Infinity Nikki, you’ll spend time collecting the most fabulous clothes, making new friends, showing off your style, and much more! Part of your journey through Miraland is helping the people you meet, and that includes completing dungeon-esque puzzles along your path.
These aren’t too complicated, but they pose a challenge to the general flow of your adventure. Thankfully, we’ll walk you through how to complete the dungeon and survive while also collecting all the goodies, like Whimstars and Dews of Inspiration, inside. Here’s how to successfully clear the Well of Fortune in Florawish with Nikki and Momo in Infinity Nikki!
The Waterway Begins
When you enter the Well of Fortune, follow the pathway just past the first Croaker. You can collect a handful of blings here before going to fix the electric panel to the west.
If you take a detour to the right, you’ll find three dews of inspiration!
To fix the control panel, turn the wires in the following order:
- Top left corner piece. Turn this wire once to connect it to the rest.
- Bottom center corner piece. Turn this wire thrice to connect it to the rest.
- Bottom right corner piece. Turn this wire once to connect it to the rest.
This will power on the lights in the next area, allowing you to enter. Once here, make sure to activate the checkpoint.
Before going on a head, continue over to the left. Take the path back through the well to find more blings and a Whimstar tucked away in the corner behind some pipes.
Then, backtrack to the checkpoint and
ascend the pipes along the western wall
. At the top, you’ll find
two more dews of inspiration!
Hop across the lilypads to reach the Big Croaker surrounded by monroefins. You’ll need to repair both of the glowing electrical panels to rescue them. Here’s how to fix the first panel you come across:
- Top left corner piece. Turn this wire once to connect it.
- Center left corner piece. You only need to turn this wire once.
- Center right straight piece. Turn this wire once to connect it.
- Bottom right corner piece. This wire must be turned once to connect it.
As for the second panel, closest to the Croaker, you’ll need to do the following:
- Top corner piece. This wire must be moved three times to connect it.
- Middle corner piece. Move this wire once.
- Bottom corner piece. Turn this wire twice to get the power going.
From here, you can hop across to reach the giant frog and talk to them, but before you do, head to the right and climb along the blue pipe to collect two dews of inspiration!
After talking to Big Croaker, jump onto the lilypad he holds up. You can proceed further into the well by scurrying down the large yellow pipe.
To your right, you’ll
find another Whimstar
, and to the left, you’ll find
two more dews of inspiration
.
The Winding Waterway
Before heading all the way down, make sure to collect the two dews of inspiration inside the clearing before making your way to the winding tunnels. Inside are more blings and a gathering of Croakers.
You can
find three more dews of inspiration
before you enter the large area with the massive gears and pipes.
Your goal is to climb up the stones to the right and enter the next tunnel, but before you do, be sure to circle around the giant red pipe in the center to collect a total of five more dews of inspiration. Two are below while three are up top with a Whimstar.
Once you ascend the stairs, you’ll find two more dews of inspiration along the wall. Proceed further into the well, where you’ll have to repair another electrical panel:
- Top left corner piece. Turn this wire three times.
- Center left power core. Turn this piece once.
- Center top right corner piece. Rotate this wire once.
- Center bottom right corner piece. Rotate this piece three times.
- Bottom right power core. Turn this wire twice.
This will turn the power on, allowing you to navigate the lilypads with monroefins shooting bubbles at you. Wait for the break in the pattern so Nikki can cross the lilypads safely.
Keep an eye out for
two more dews of inspiration in the alcoves!
Once you reach the lotus leaf boat, ask the Croaker to take you across. Hop on board, then leap off to the left to climb up the tilted pipe. Up here, you’ll find a Whimstar and two dews of inspiration.
You can then float down to the lilypads and carefully hop across them to reach the other side of the tunnel, where the lotus leaf boat awaits you.
The Waterway Ends
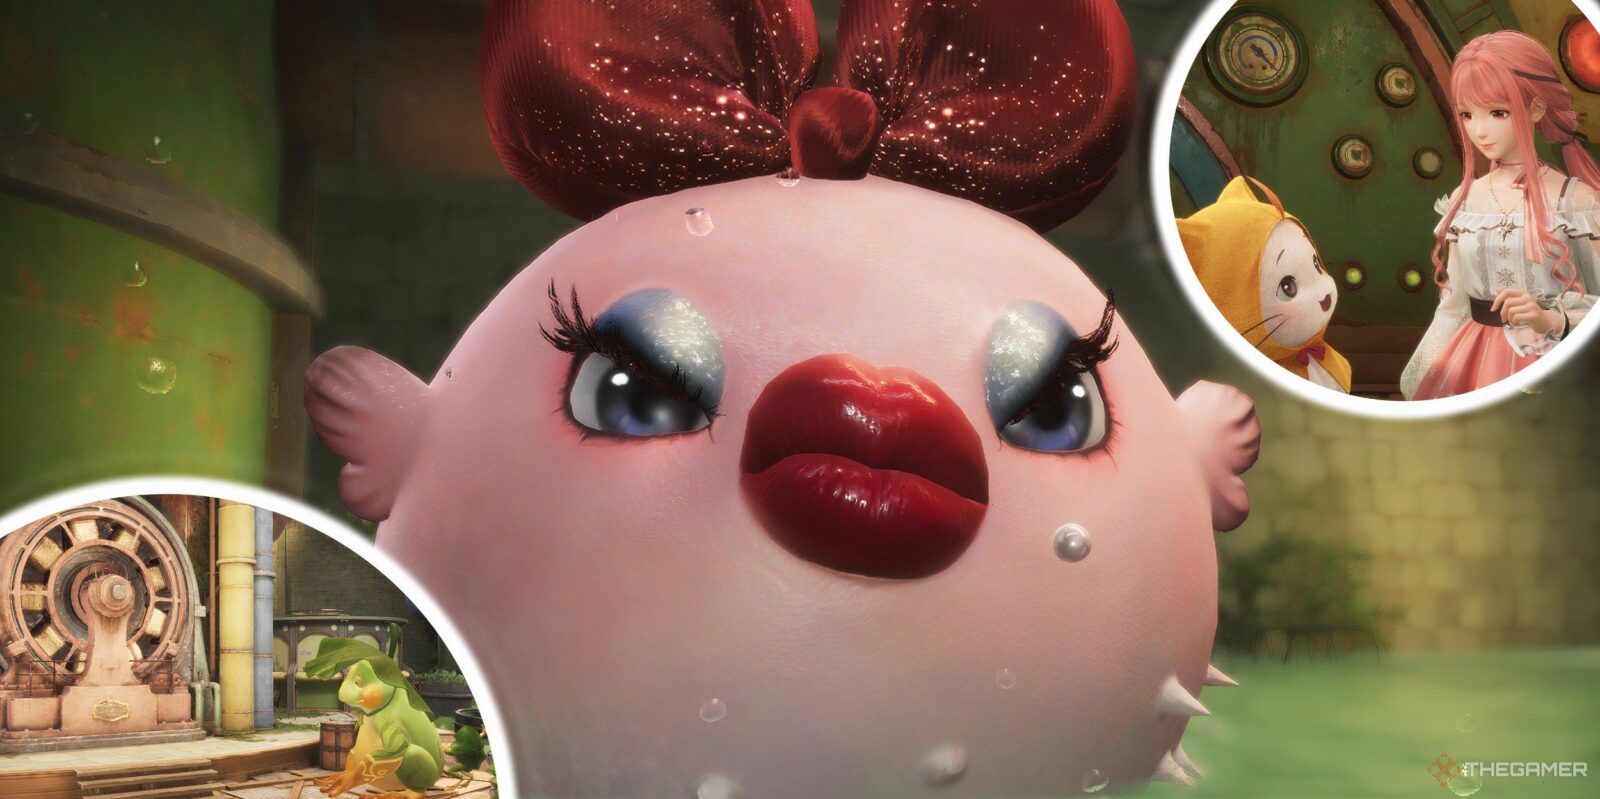
In this last area, you’ll face off against a giant monroefin. This fancy fish will blow heart-shaped bubbles at you relentlessly, and they’ll deal damage to Nikki if she touches them.
You’ll have to wait for a break in the pattern or a low point to cross over. Here’s the best way to get across so you can get the power back on for the town:
|
Wave |
Pattern |
Tips |
|---|---|---|
|
First Wave |
Standard Waves |
Since the hearts will make a general wave shape, you’ll want to jump over one of the bubbles when its at the lowest point to reach the next platform. |
|
Second Wave |
A Boxy Wave |
Similar to the previous set of bubbles, this one will have highs and lows, but in a more geometric pattern. Wait for a gap when the bubbles are at their highest to pass through, then leap to the next platform. |
|
Third Wave |
Blocks of Bubbles |
The monroefin will send out three rows of three bubbles at a time, so make a run for it between the gaps. |
|
Fourth Wave |
Triple Threat |
Three constant streams of bubbles are here, going in a diagonal. Use the environment to your advantage, jumping on barrels and shelves for extra height. |
|
Fifth Wave |
Sheets |
If you’re fast enough, you can skip this wave entirely, but if not, you’ll have to wait for a break in the pattern to pass through. |
|
Sixth Wave |
Thick Waves |
Similar to the first wave, but wider, you can run right through when the bubbles arch over you. |
|
Seventh Wave |
Borders |
These bubbles only leave a space in the middle, and you will take damage if you try to hop through. Instead, climb up the shelving off to the side and use that to glide through the opening or go around entirely. |
|
Eighth Wave |
Boxes |
The last wave here will have a steady stream of boxes made by bubbles. Timing is key here, and you’ll want to move to the left as opposed to the right when gliding. |
Once you reach the other side, you’ll have completed the dungeon and collected all the rewards inside!
Once you’re back outside the dungeon, there are two more Whimstars for you to collect

Next
Infinity Nikki: Beginner’s Tips
Does anyone else feel like there’s a Whimstar around every corner?









Leave a Reply