The Vow is one of the last side missions you’ll receive in The First Berserker: Khazan. It is also among the trickiest. Not only are there a number of important collectibles scattered throughout its bloody halls, but they are all well concealed by illusory walls. To top it all off, it is easy to get turned around as you navigate the twists and turns of these ruins.
Related
The First Berserker: Khazan – Bloodied Sanctuary Walkthrough
The Bloodied Sanctuary is the penultimate mission in The First Berserker: Khazan. We’ll show you how to clear it out and find every treasure.
I’ll show you where to go, identify the location of every chest, help you find every collectible, and make sure you leave this dungeon having picked its bones clean. Along the way, I’ll point out every trap, and give you a heads-up on which enemies you’ll encounter. That is my vow.
Forbidden Passage
|
Enemies |
Yoma Jester, Yoma Shamens, Yoma Pursuer, Elite Renowned Swordsman’s Shadow, Undead Shieldbearer, Undead Ice Archer, Undead Swordmen, Undead Archer, Undead Vagrant, Undead Summoner |
|---|---|
|
Notable Items |
Unstable Soul Tearstone, Special Cleanse Potion, Ghost Spearhead, Ghost Relic, Large Spirit Ore, Netherworld Energy Hismar Conquest 3 |
|
Soulstones? |
1 |
|
Jarling? |
Yes! |
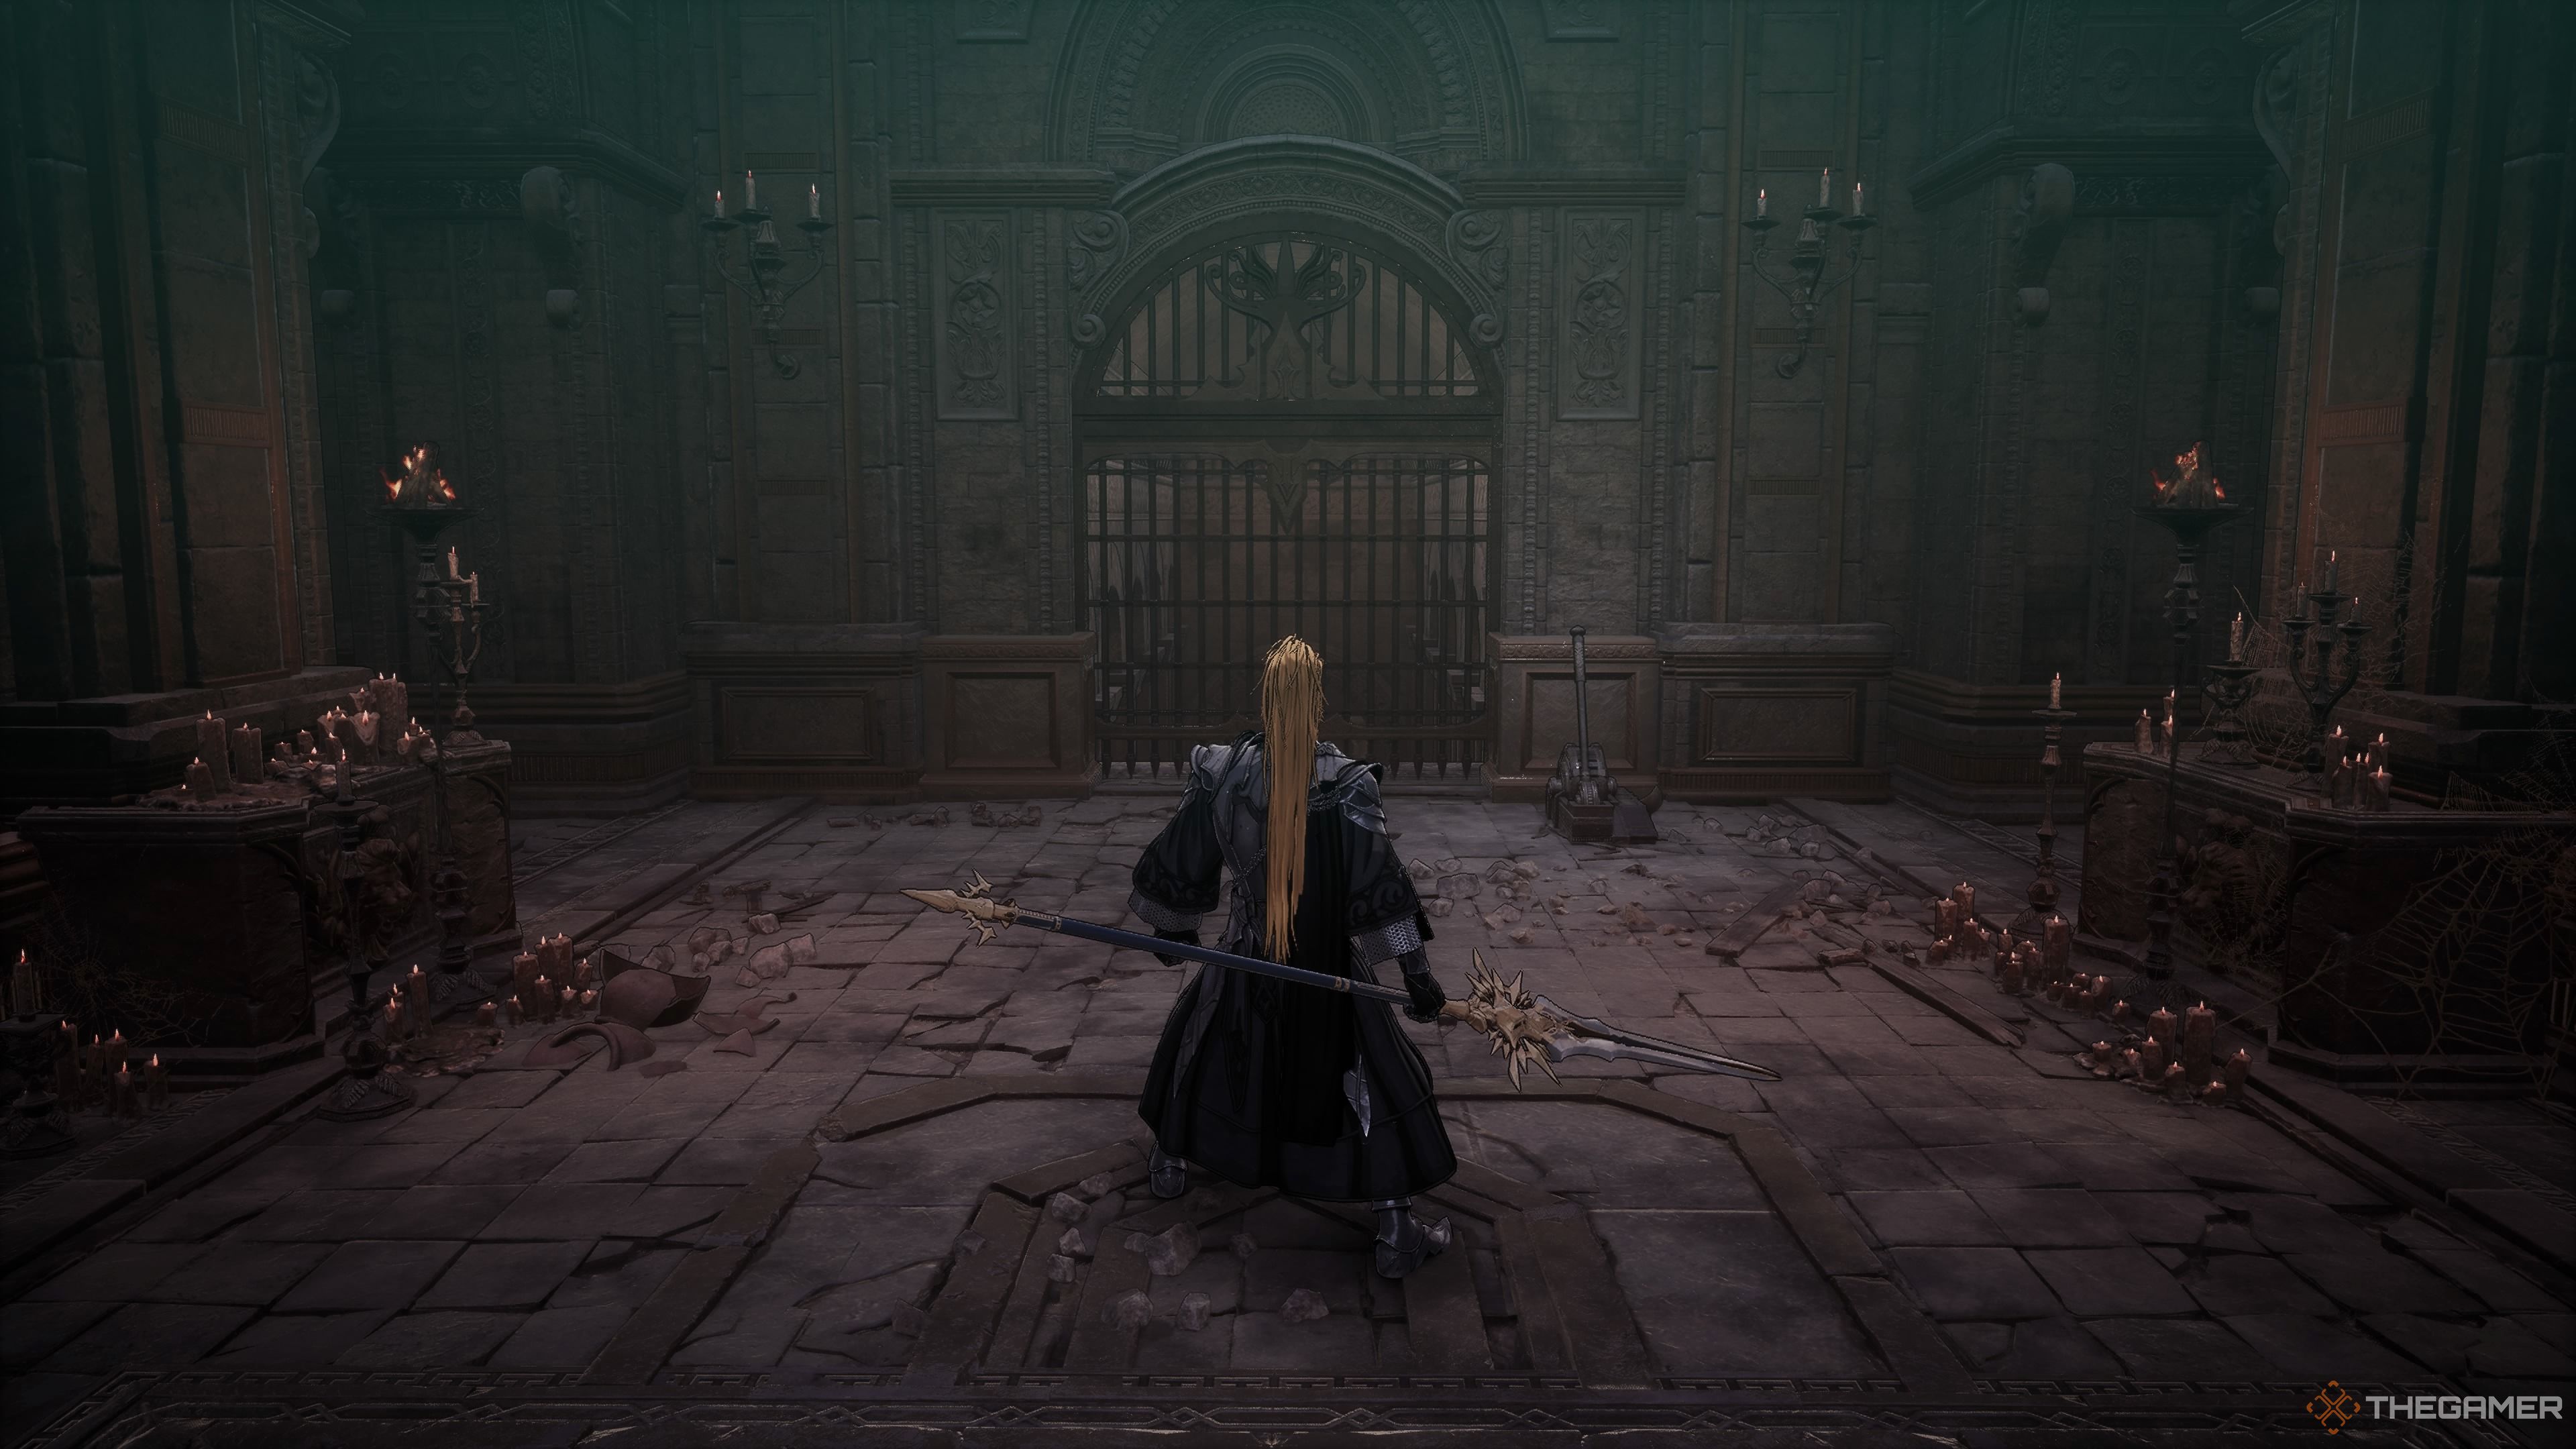
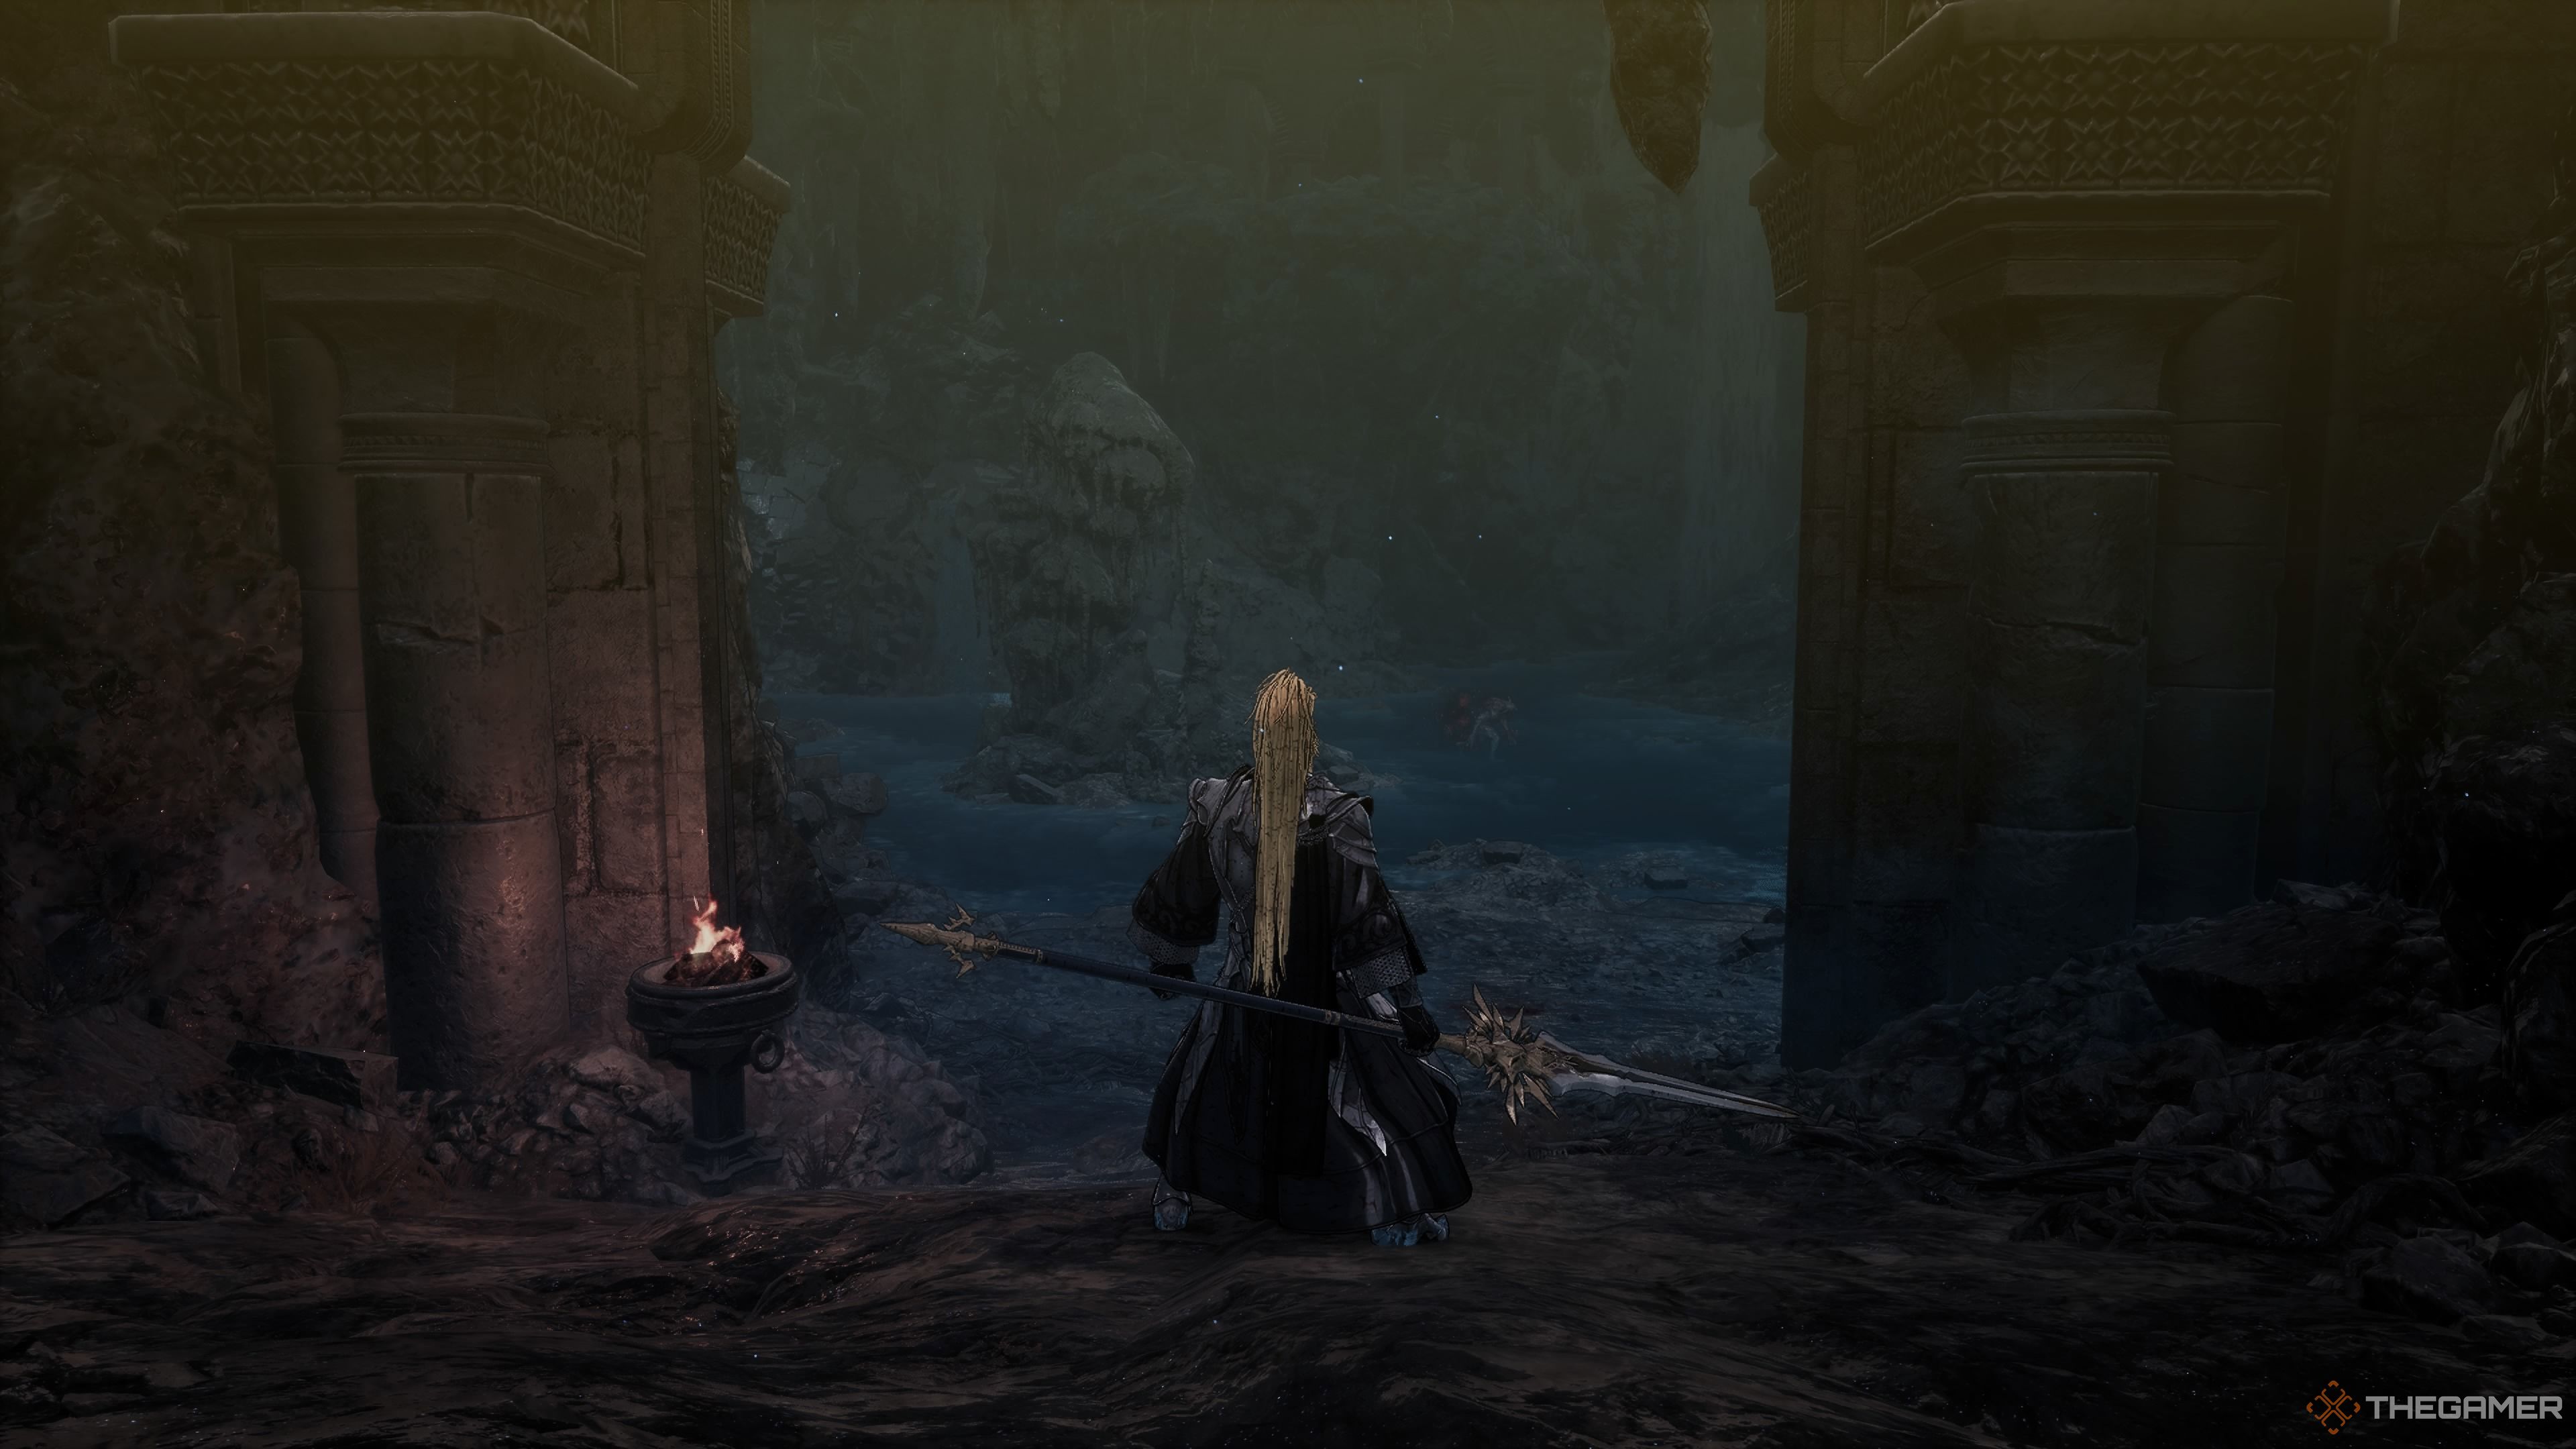
You’ll begin this stage in The Great Temple Underground Ruins. Head through the gate, down the stairs, and onto the elevator. You’ll end up at the Forbidden Passage Blade Nexus. Before you move forward, you may want to consider equipping armor that will give you a higher resistance to the Plague effect, as you’ll be wading through a lot of blood, and it will apply the Plague effect relatively quickly.
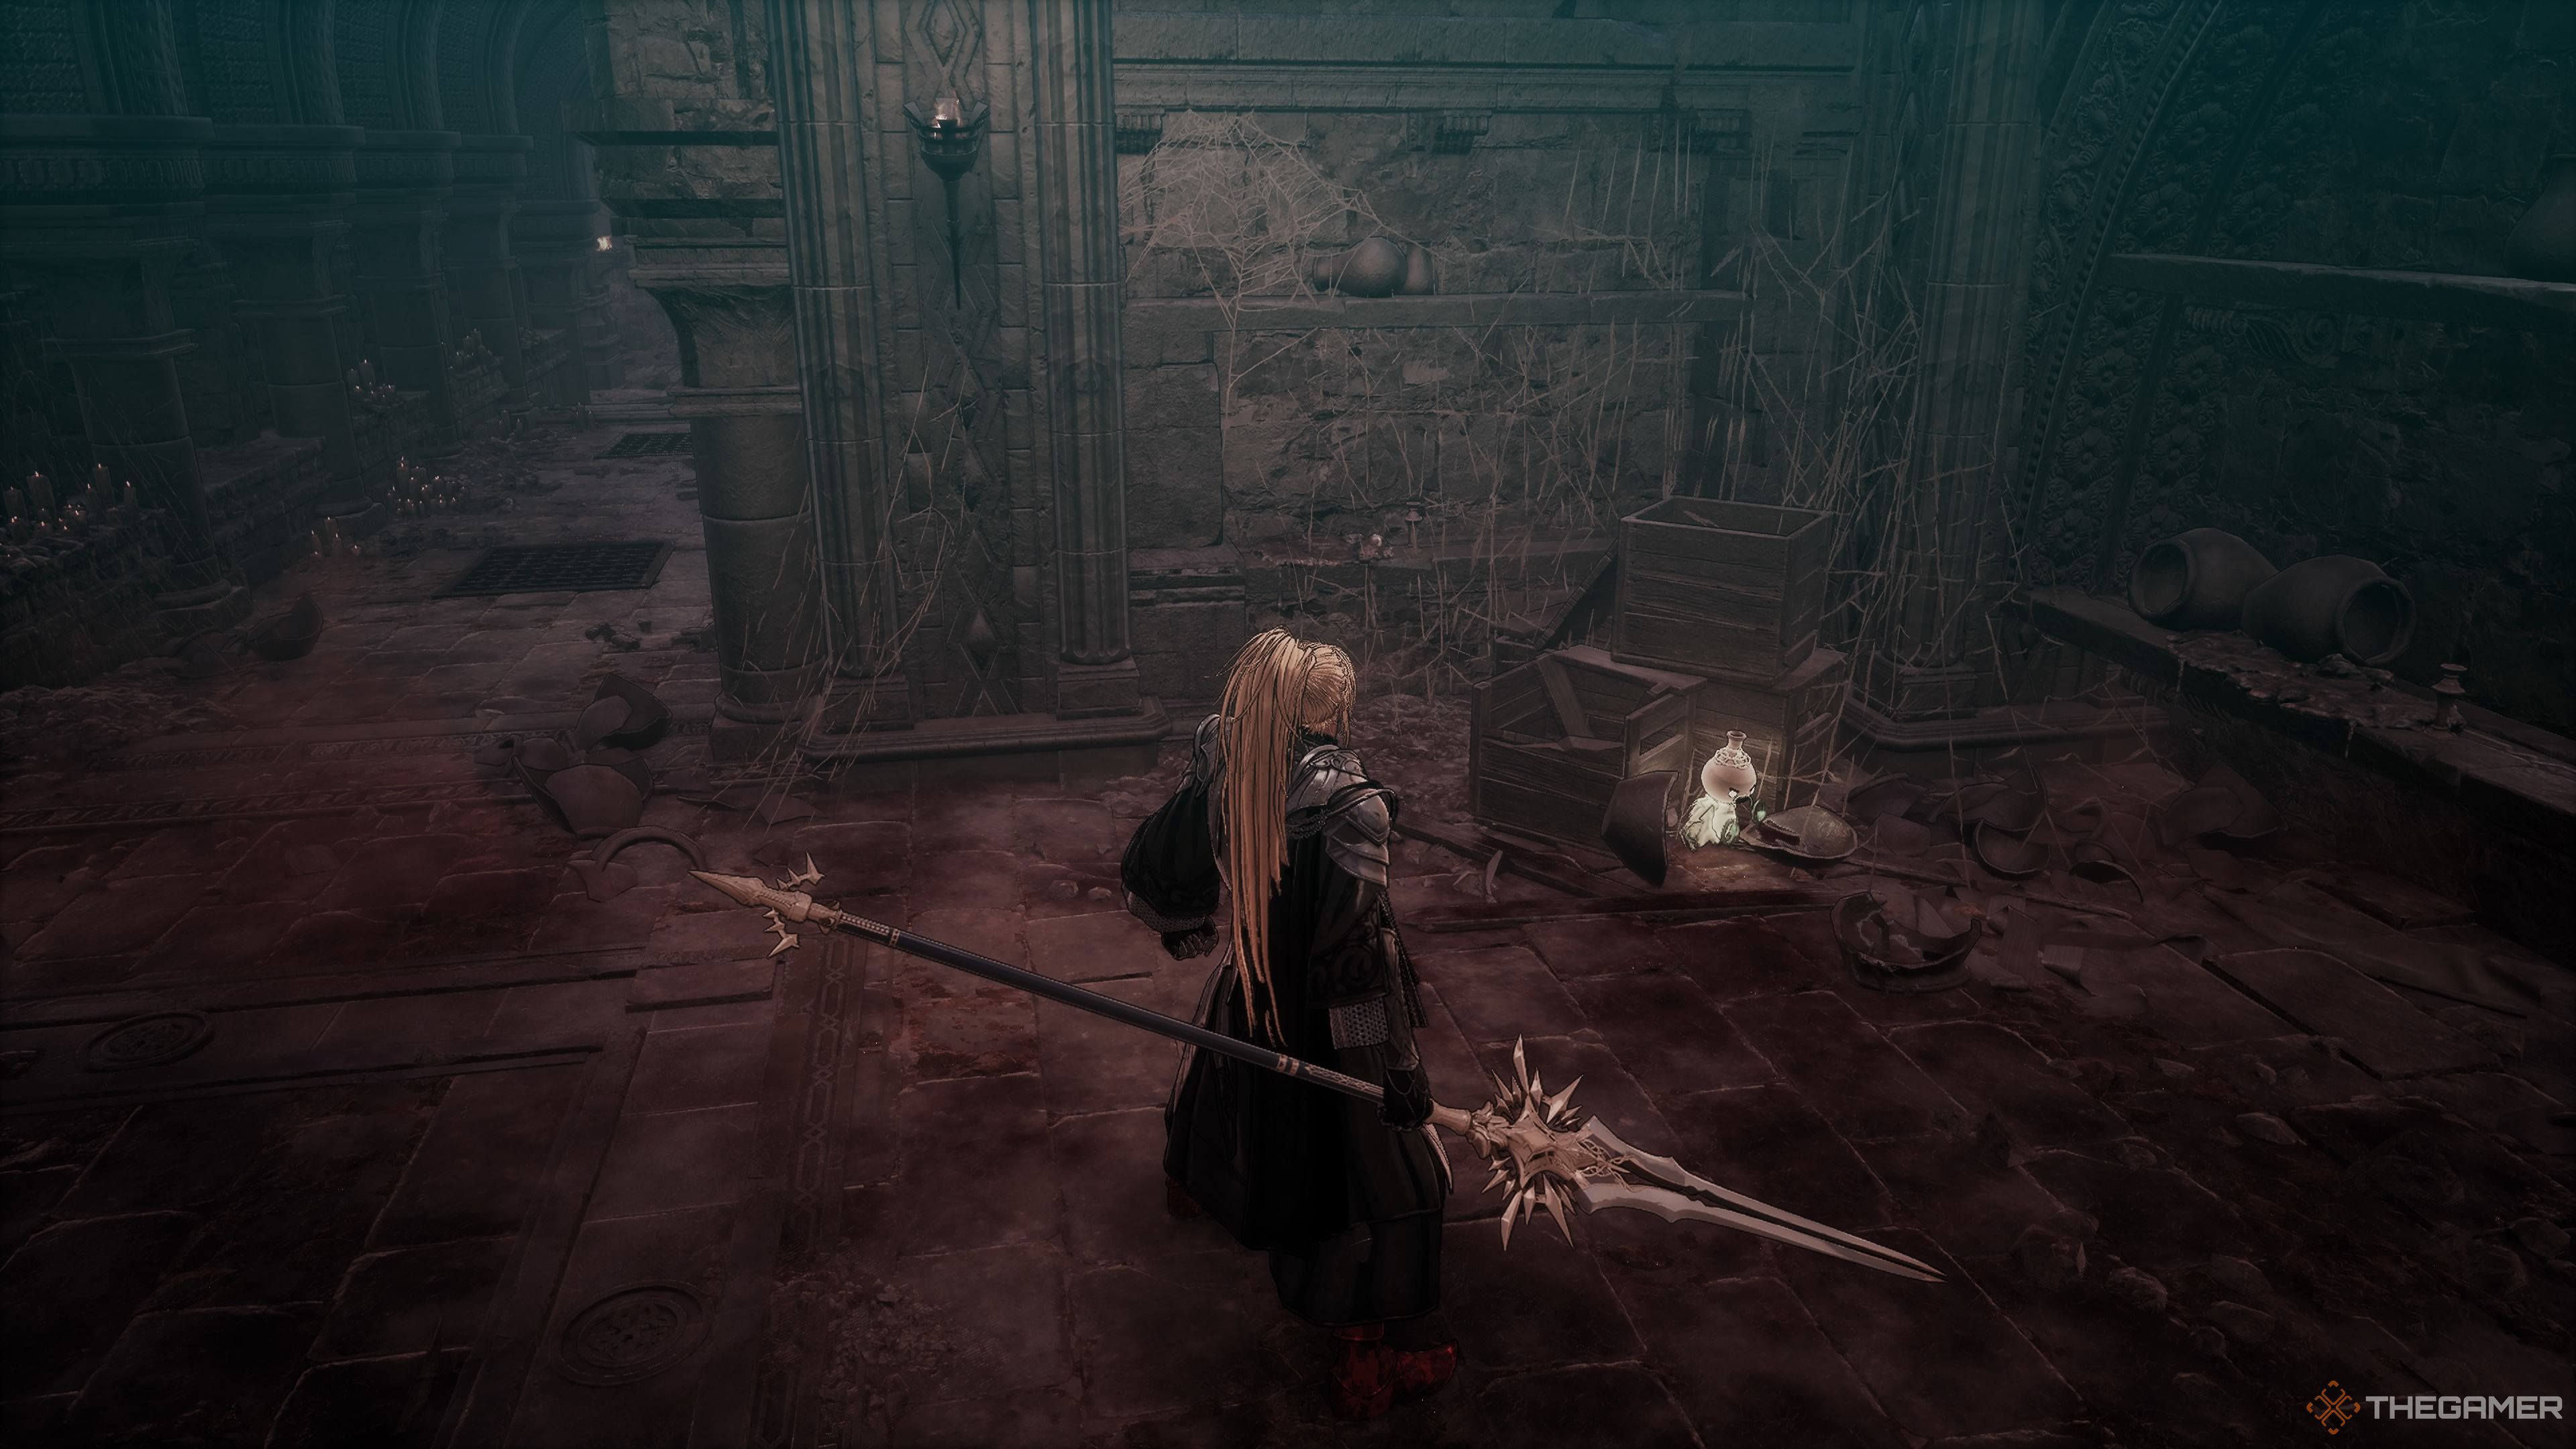
Behind the statue, there is an Unstable Soul Tearstone. There is also an illusory wall. Strike it to reach a room with a Yoma Jester and two Yoma Shamens. Open the chest to get a Temple Knight’s Spear, Temple Knight’s Ring, Necklace of Gratitude, and three Transmutation Mists.
Take the passage to the left of the statue in front of the Blade Nexus. Get the Plague Cleanse Potion from in front of the statue. Keep heading down the hallway, and you’ll encounter a frenzied Yoma Pursuer with a Shamen to their left. Climb down the ladder, and you’ll enter a narrow pathway: there is an arrow trap close to the ladder, it is hard to avoid hitting it, so just hide behind the metal casket on your right as the arrows fire. There is also a Shamen patrolling this area.
You can time it so that the arrows kill the Shamen if you want to engage in some hijinx.
Elite Renowned Swordsman’s Shadow
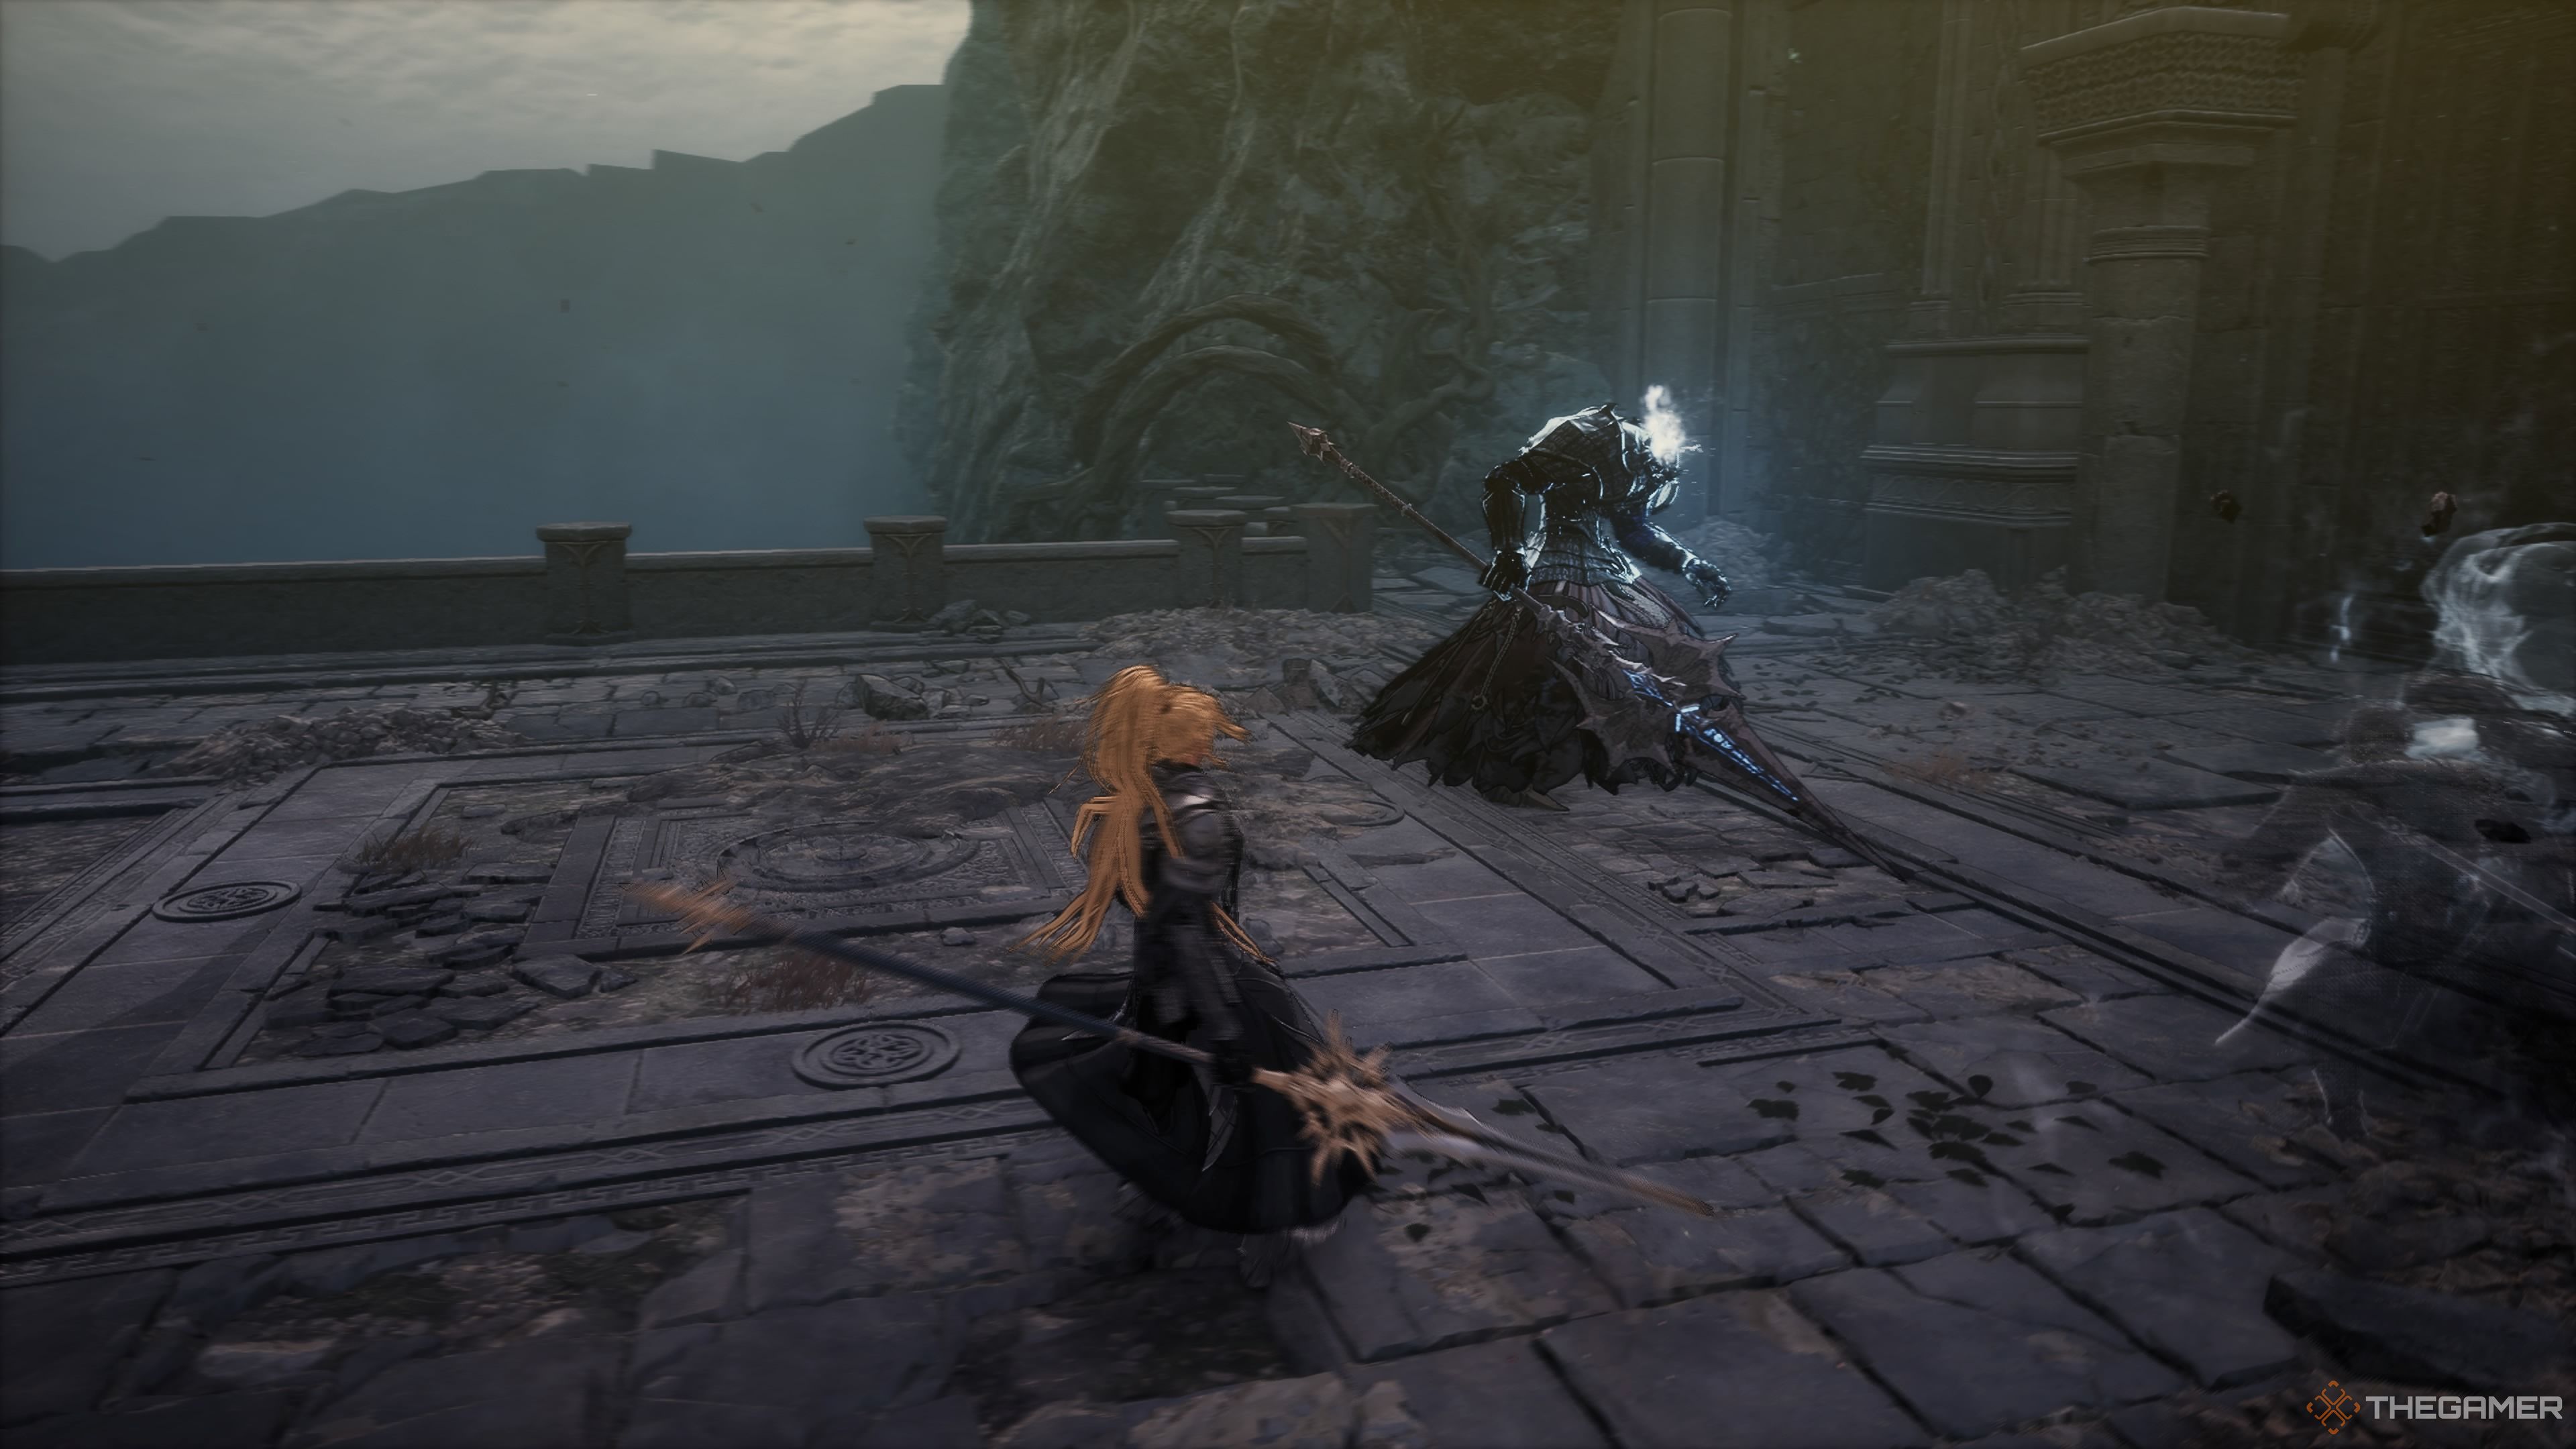
In the next area, there are two Shamens. Close to them, the ground will give, and you will be in an arena with an Elite Renowned Swordsman’s Shadow. If you watch your step you can take out the Shamens before falling down the hole. Once you jump down, you’ll be facing the Renowned Swordsman’s Shadow’s back, so you can get some hits in early.
You’ve been fighting this guy for a while now. He doesn’t have anything you haven’t seen before. He does heal when he hits you, but, once again, that isn’t new either. Just be mindful of standing in the blood, as it will give you the Plague. In the middle of the room is a Special Cleanse Potion and there is a Ghost Spearhead in the corner.
The First Soulstone
Head through the locked gate, and take a right. There is another illusory wall here. Destroy the Soulstone (1/2) hiding behind the wall. Head down the hallway, you’ll hit a fork in the road. Take a left to fight two Yoma Pursuers.
Now, head down the stairs, and you’ll pass through an illusory wall. Watch out, you’ll step right on an arrow trap trigger. If you sprint down the hallway you’ll be able to turn the corner before the first arrow fires. At the end of the hallway is a chest that contains a Ghost Relic, Great General’s Helm, Great General’s Pauldrons, Great General’s Gauntlet, Great General’s Leggings, and a pair of Great General’s Combat Boots. Head back to the fork and take a right.
The Jarling’s Location
You’ll enter into a room with two frenzied Yoma Pursuers. There is a Large Spirit Ore in front of the statue in this room. The next room forks again. Head to the right first. You’ll find a Lightning Enhancer in one corner and a Jarling in the other. Now, kick down the ladder. That will lead you back to the arena where you fought the Renowned Swordsman’s Shadow. Don’t go down the ladder. Head back to the previous room, and take the pathway heading to the left. There is a Pursuer stalking this hallway. This will lead you to a massive room.
In this room, there will be an Undead Ice Archer on the other end of the room, and two Undead Shieldbearers that will start hunting you the moment you enter. Retreat back into the previous room, and fight the Shieldbearers here so you don’t have to worry about the archer. Take out the archer (with javelins or just chase them down), and get the Netherworld Energy that is sitting right next to where the Undead Ice Archer was positioned. You’ll also get a Lightning Enhancer. Now, jump down into the area below.
You’ll have to fight three Undead Swordsmen, an Undead Archer, and two Undead Vagrants down here. An Ice Archer will also be firing at you if you fight in front of the hallway. Once you take this group of undead out, you’ll find a Concentrated Poison Essence in one of the nearby cells, as well as a Lightning Spirit Fuel and an Unstable Soul Tearstone in the central part of the room. Head for the hallway with the Ice Archer at the end of it, take them out with a javelin and take the first left you encounter in hall to duck into the alcove.
There is a trap trigger next to the alcove, step around it and enter the room where the Ice Archer was. There is another Vagrant in this area. You’ll enter a room with a Summoner and two Shieldbearers. Obviously, you need to take out the Necromancer first. Open the gate behind them, and you will be in a room with an elevator. Don’t take it down yet. Instead, walk around it. You’ll find the Hismar Conquest 3 document here. Now head down to the next floor on the elevator.
Ruins Bridge
|
Enemies |
Yoma Pursuer, Crypt Devourer, Servant of Chaos |
|---|---|
|
Notable Items |
2x Unstable Soul Tearstones, Devourer’s Scroll, Reese’s Ring Hismar Conquest 4, Hastily-Written Note |
|
Soulstones? |
1 |
|
Jarling? |
No. |
Take a right and bind to the Ruins Bridge Blade Nexus. Head across the bridge and down the stairs. To the right of the stairs, you’ll find a Poison Enhancer. The path will lead you to a massive cavern. Watch out, that isn’t a Soul Tearstone: it is your old buddy, the Crypt Devourer. So, from here on out, we are going to be careful around those corpses.
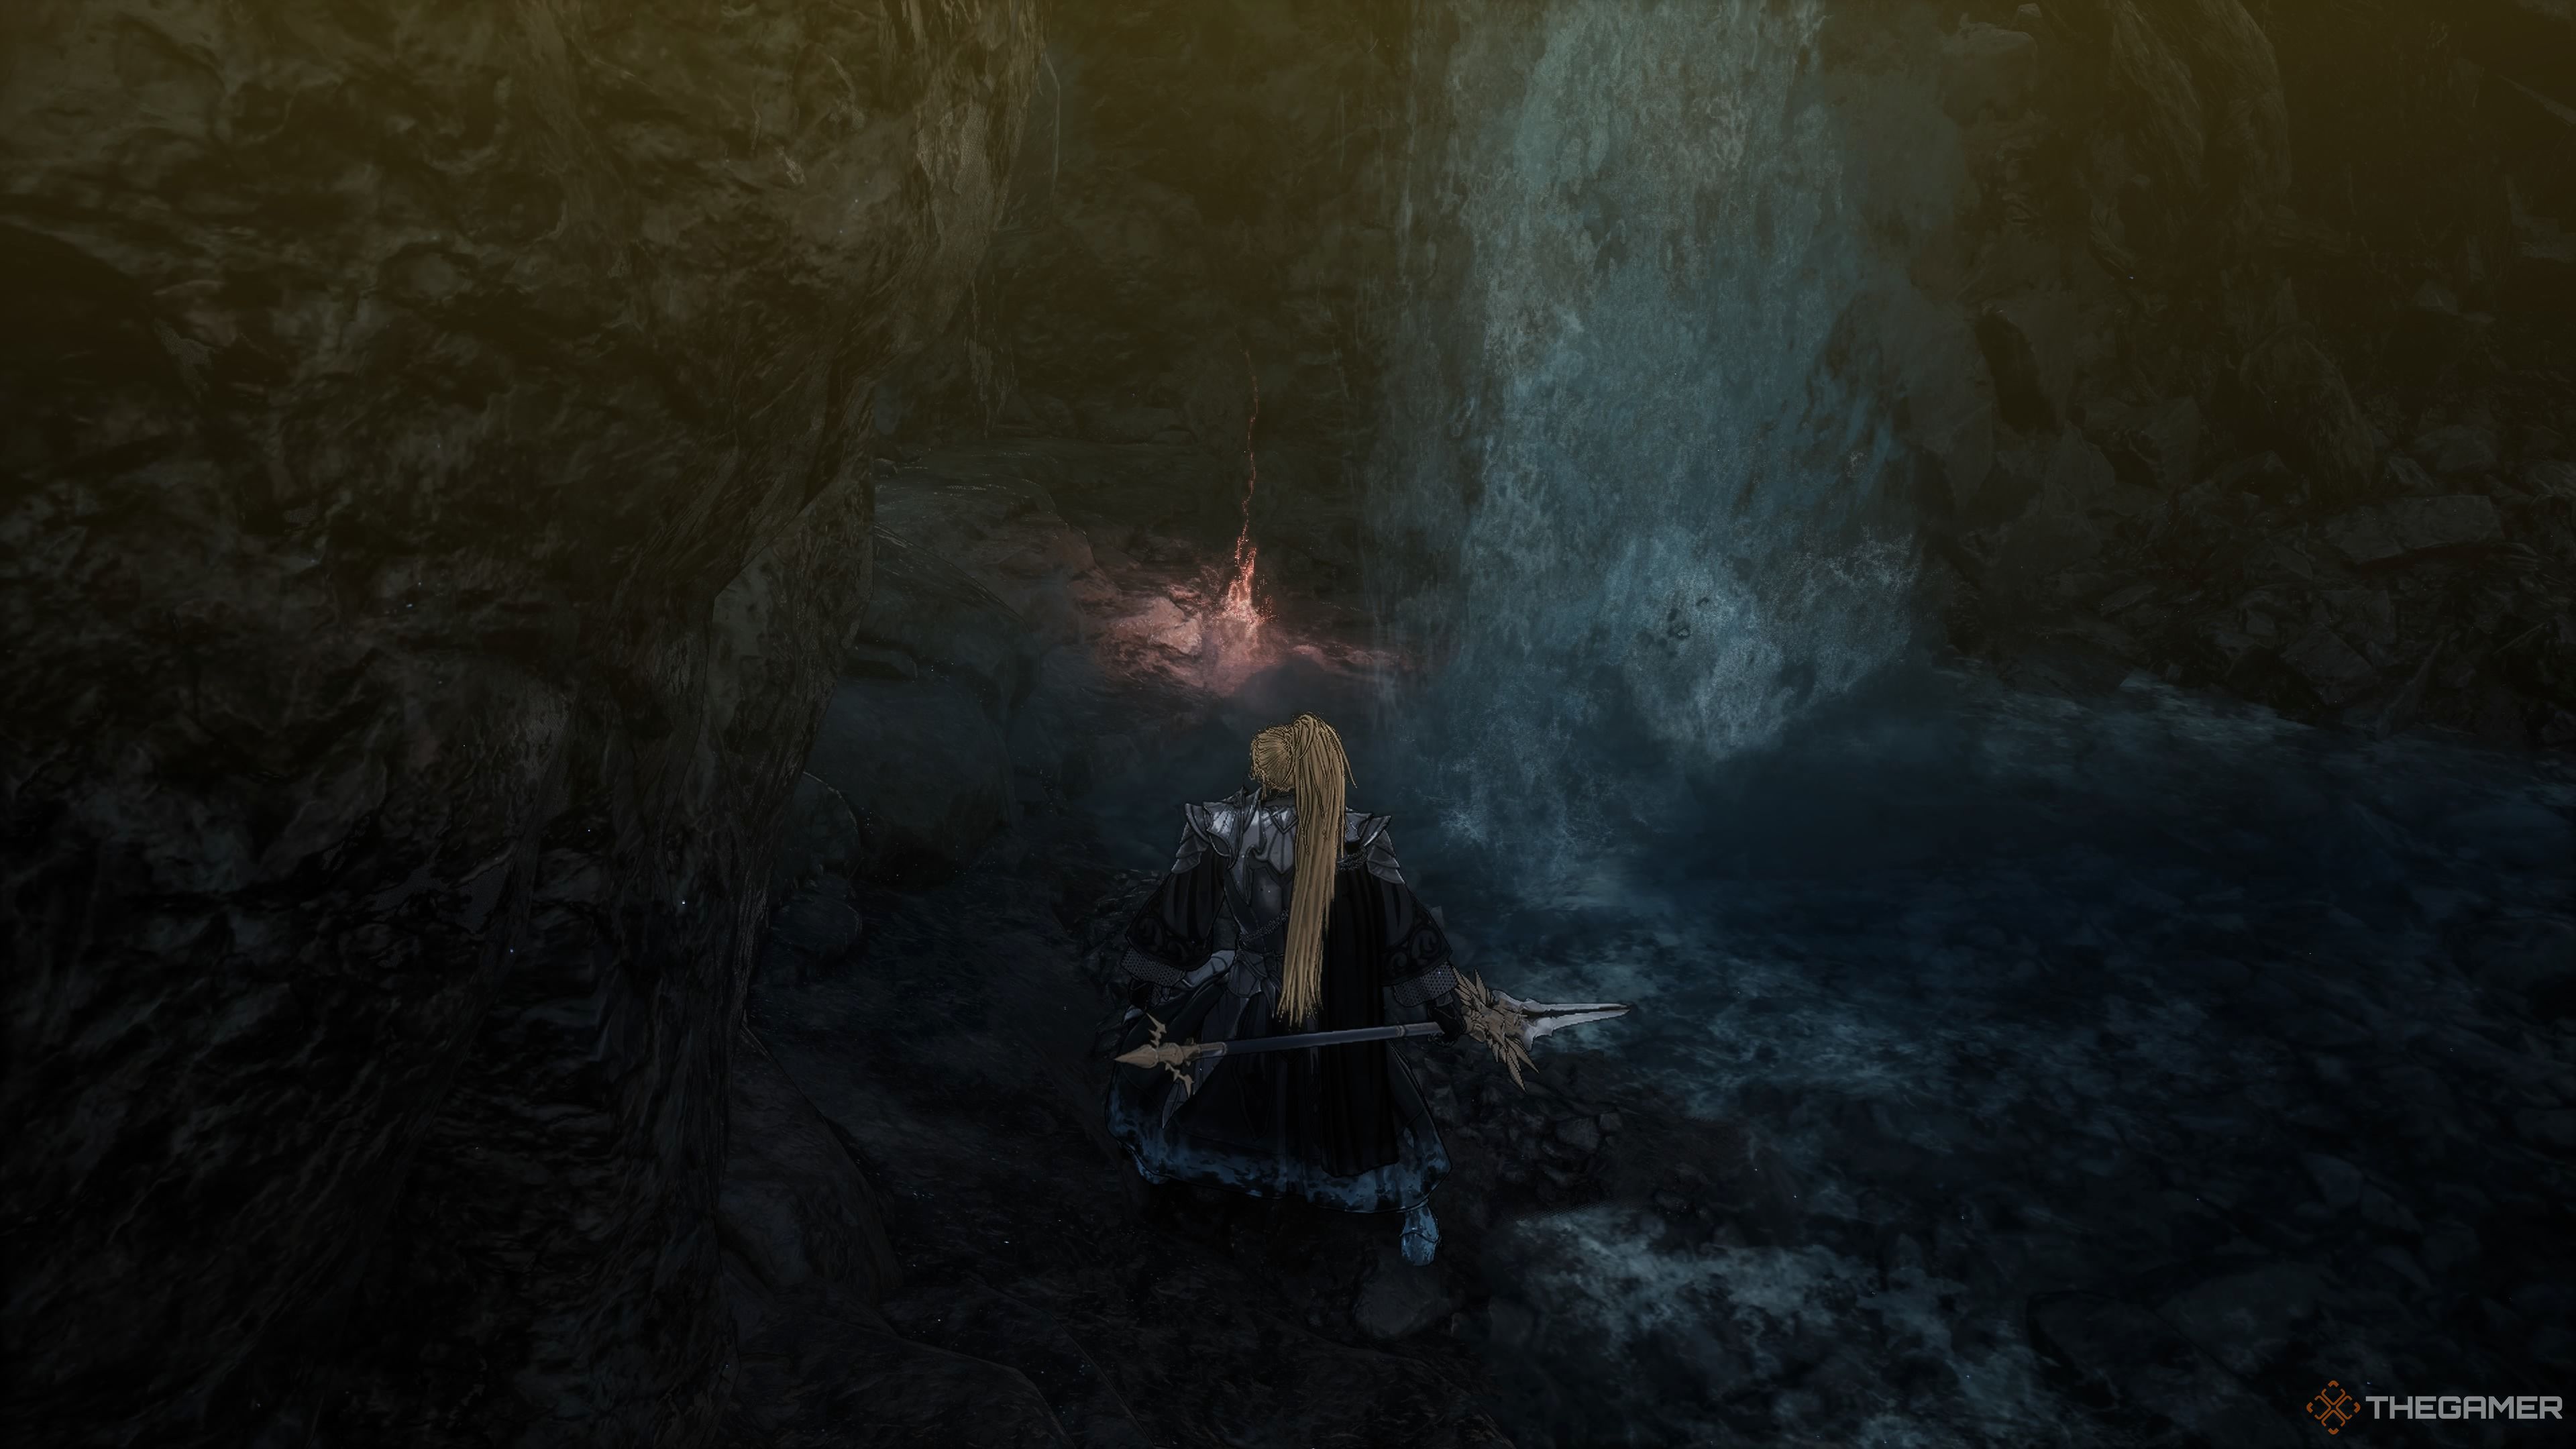
There are a total of 15 Yoma Pursuers in this area: three of them are frenzied. Thankfully, you can single almost all of these guys out. Personally, I’d just circle the entire area, clearing out Pursuers as you go. Once you have emptied out the cavern, head back to the entrance. Head to the left, and you’ll find 15 Transmutation Shards. Follow this wall around, and you’ll see the Hismar Conquest 4 document behind the waterfall.
We’ll keep following this wall on your left, and you’ll encounter a treasure chest with a Claw-Slit Dual Wield, Trooper’s Ring, Necklace of Preperation, and two Hallucination Cleanse Potions. Two of the frenzied Pursuers you’ll encounter are clustered near this chest.
Keep following the left wall, and you’ll find three Vitality Spheres and two Willpower Orbs. Watch out, the glowing corpse you’ll see is another Crypt Devourer, so take them out with a javelin. On the rock in the center of the stream nearby you’ll find seven Spirit Ores.
The Second Soulstone
In the next area is an Unstable Soul Tearstone. Head down and around, and you’ll be facing one of those massive Servant of Chaos golems. Take them out, and you’ll find a Devourer’s Scroll. On the right, you’ll find the second Soulstone (2/2) tucked behind the statue. Head through the doors, collect the Unstable Soul Tearstone, and activate the Hidden Chamber Blade Nexus. All you’ll need to do now is to head forward and battle the stage’s boss: The Specter of Pleuvious
The Specter of Pleuvious
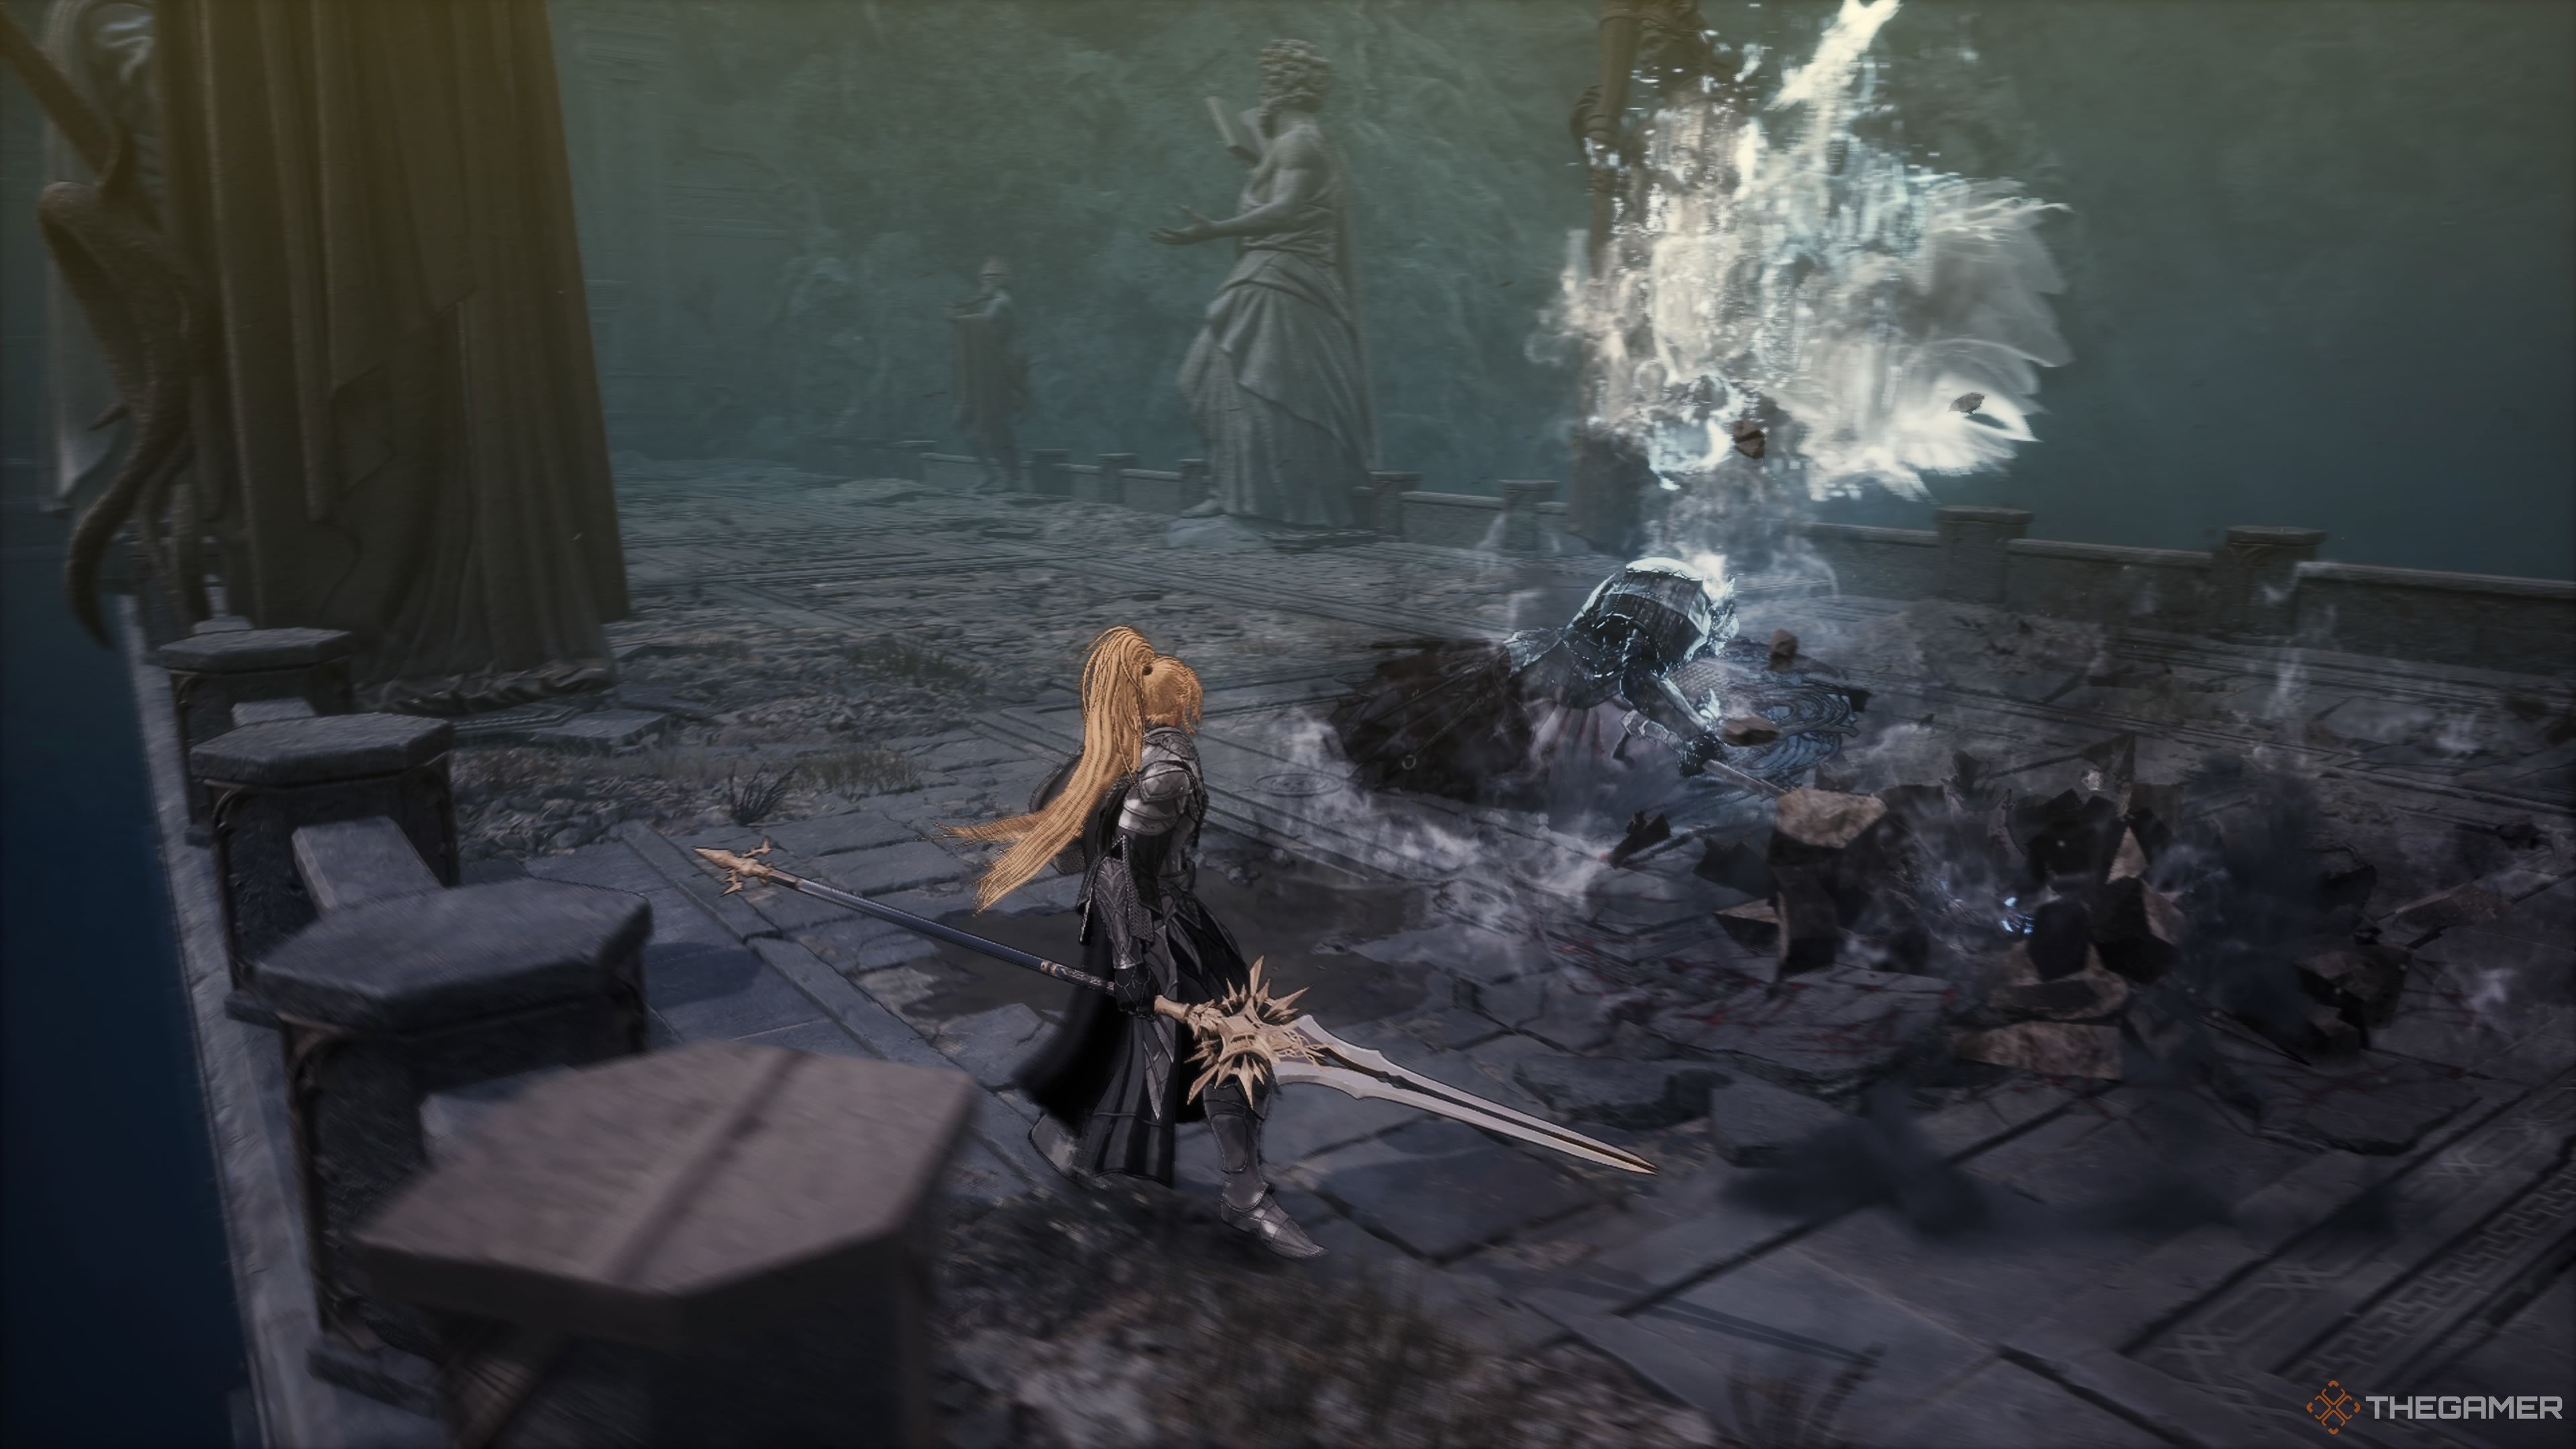
The Specter of Pleuvious is just an enhanced version of the Soulbound Knight. However, in this case, that doesn’t just mean more HP and a higher attack power, The Specter of Pleuvious will be able to create two spirits to assist him. Additionally, his spear is able to reach a great deal farther than the standard Soulbound Knight.
Just like the standard Soulbound Knight, they will typically mirror Pleuvious. However, the spirits he summons can often be quite a bit more delayed, making the timing trickier to deal with. It also means that he can position himself so that the spirit will attack your back while he strikes your front. He will also have them mask his Burst Attack, meaning they’ll perform a thrust attack one after the other, and then he’ll follow up with his lunging Burst Strike.
If you disrupt Pleuvious, his spirits will still perform the move he was going to use before you disrupted him.
If you are hit by the spirits, they will inflict a hefty amount of the Hallucination status affliction on you, so, you’ll want to have a Hallucination Cleanse Potion equipped for this fight.
The best time to strike Pleuvious is after you’ve dodged his (and his spirit’s) attacks. Additionally, when he is summoning the two spirits into the air, he is extremely vulnerable.
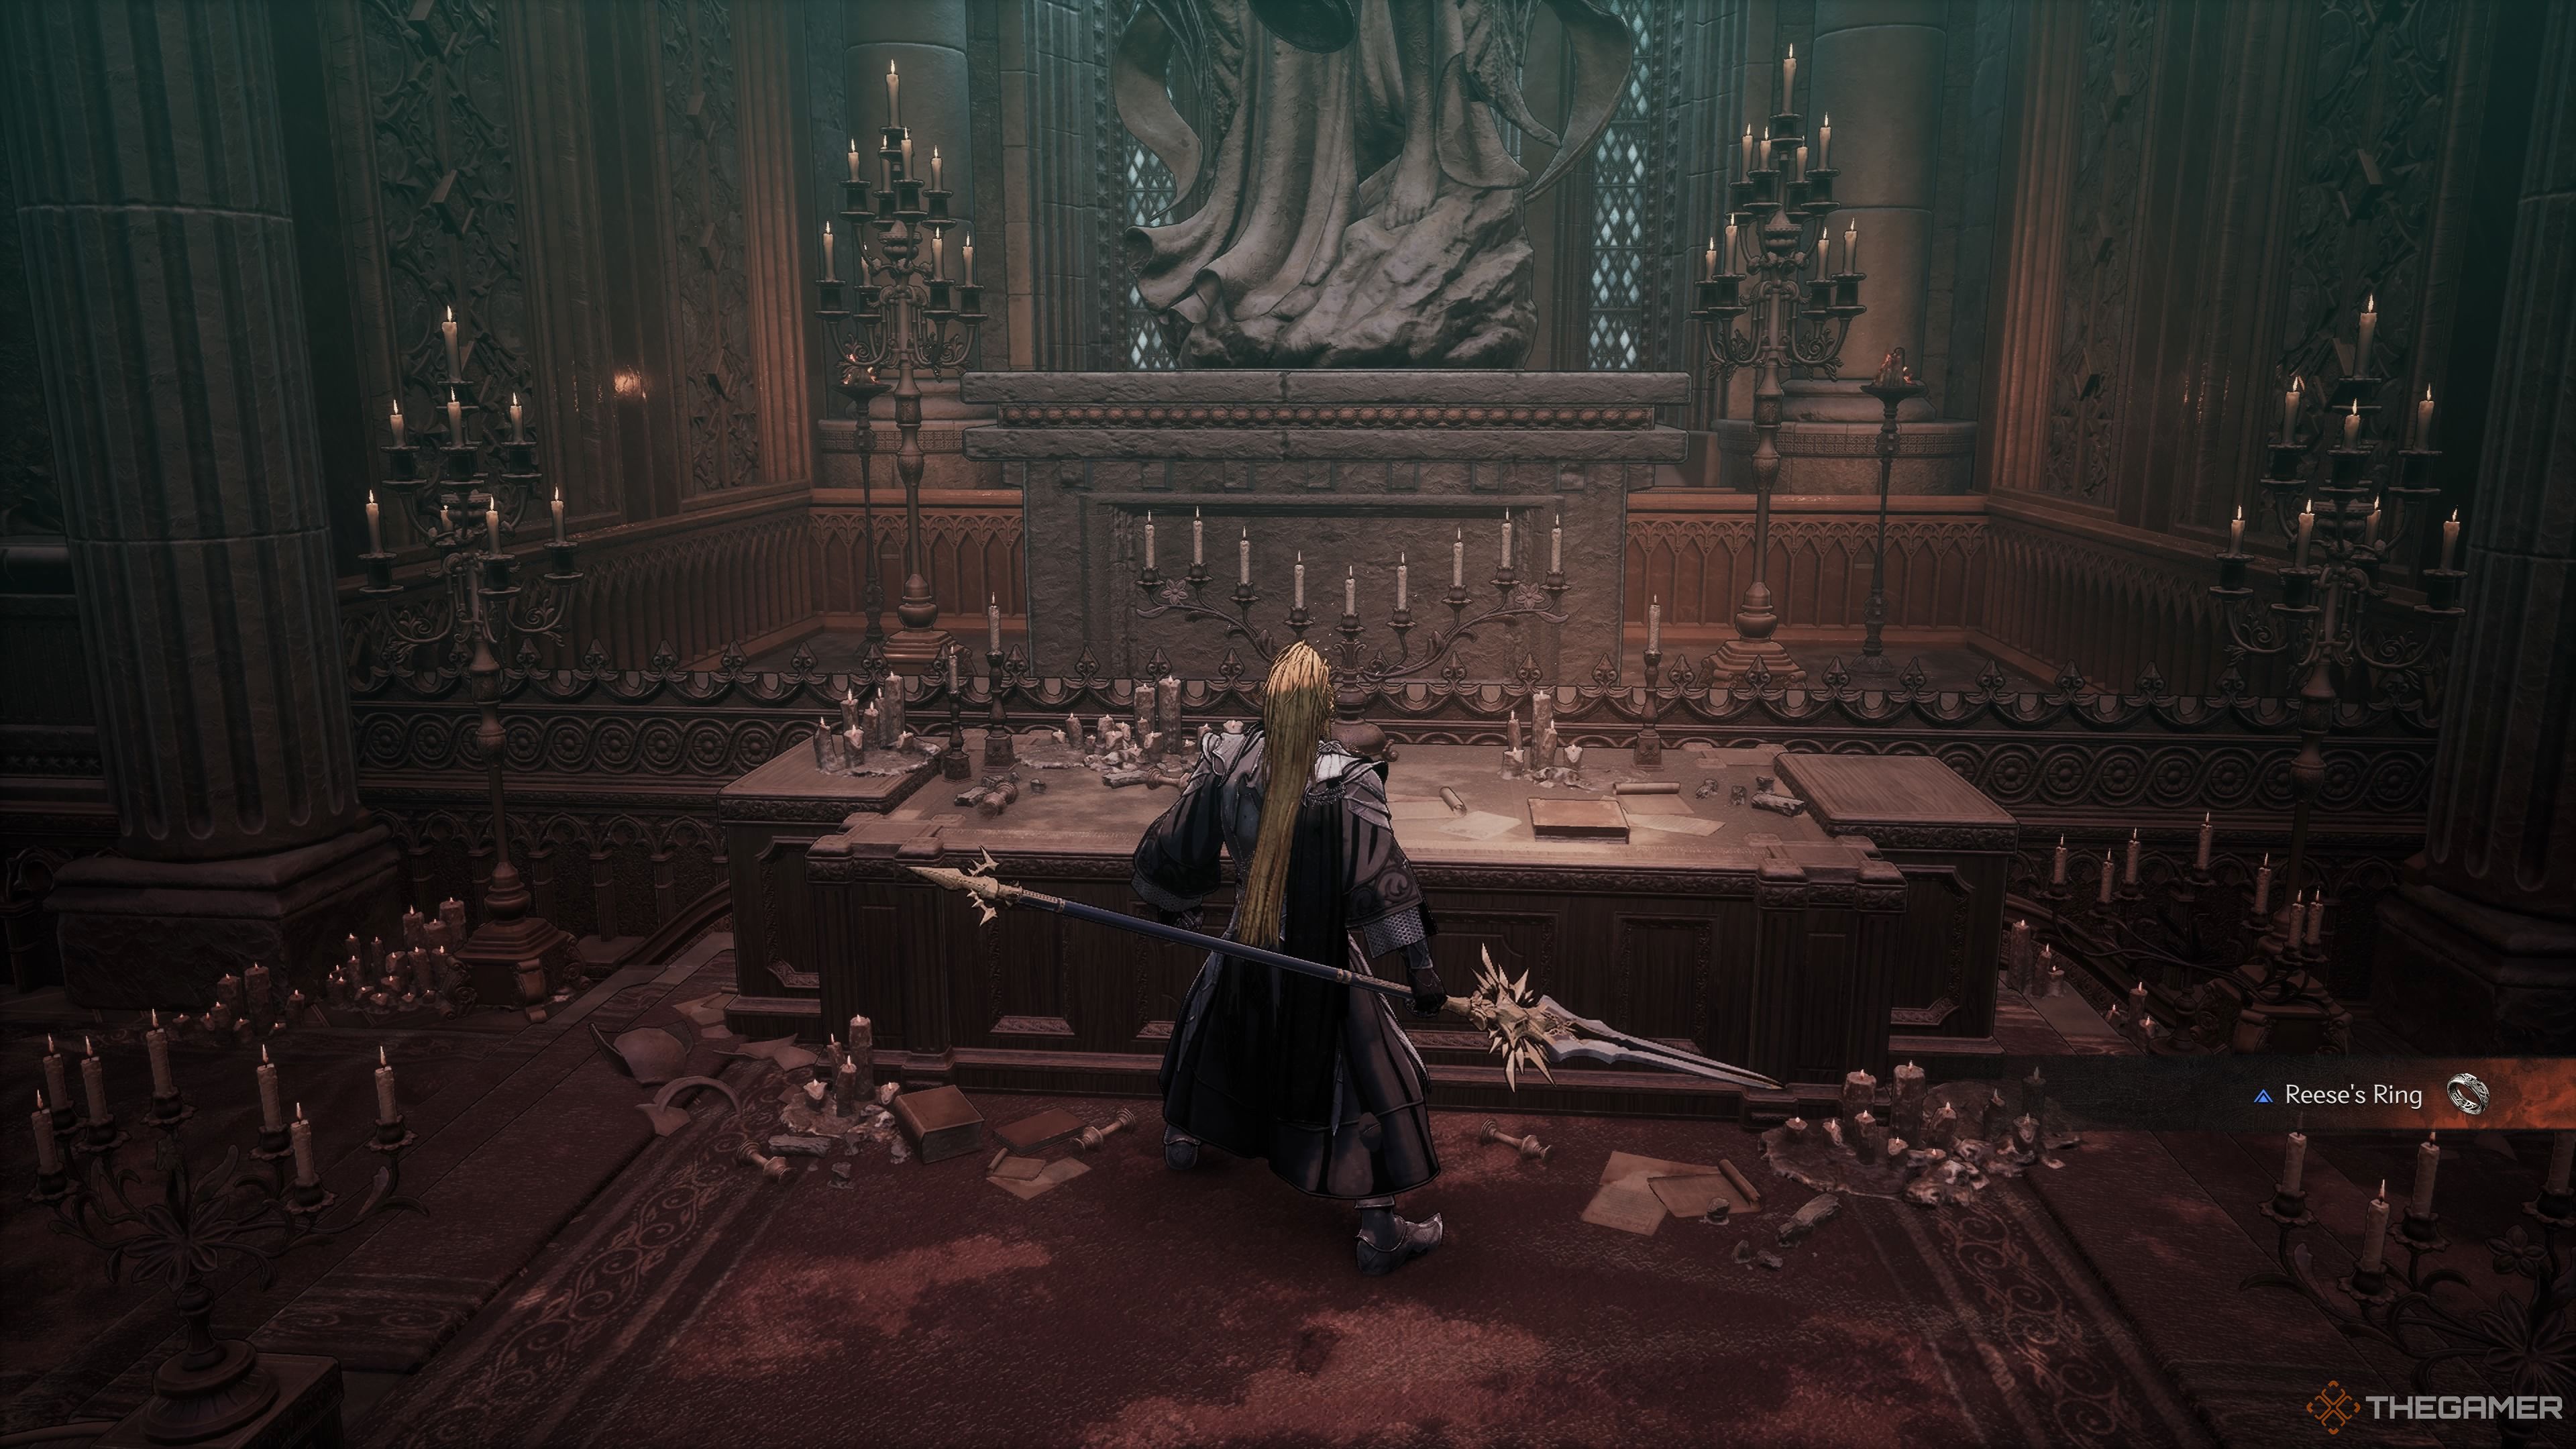
Once you have defeated the Specter of Pleuvious, you’ll receive the Hastily-Written Note and some gear. Now, head into the chapel. You’ll find Reese’s Ring on the table. Interact with the diary to conclude The Vow mission.
Next
The First Berserker: Khazan – Complete Guide To Phantoms
This guide will tell you how to acquire every Phantom in The First Berserker: Khazan









Leave a Reply