Reese is the penultimate boss of The First Berserker: Khazan. As such, it isn’t surprising that she ends up being a unique fight that encompasses multiple types of boss encounter. During her first phase, Reese is a magic-based boss in a similar vein to Trokka or Bellerian. Then, she’ll switch gears and rush forward, pressuring you like a Maluca or a Skalpel.

Related
The First Berserker: Khazan – Best Skills For The Greatsword
While a slow weapon in The First Berserker: Khazan, the Greatsword can be very effective with the right skills.
I’ll take you through both phases of this fight, helping you to navigate these two distinct fights. We’ll help you identify her weaknesses, undermine her strengths, and help you work through her massive toolkit. We’ll also give you some hints on the best way to build your version of Khazan for this fight.
Preparation For The Reese Fight
One of the important aspects of this fight is that Reese can be disrupted. A heavy slash from a greatsword will stop her in her tracks. So, while any of the three weapons will work well against her, the greatsword definitely has an advantage. Her limited agility in her first form also helps as it is quite easy to land massive attacks with the giant sword.
Additionally, you are going to want to make absolutely sure you have skill points invested in your Counterattack. Reese has one of the easier-to-counter Burst Attacks of all the bosses in the game, so you will land the Counterattack frequently throughout this encounter. Having more skill points invested in it will allow you to hit harder, and replenish more resources by landing it.
Lastly, Reese uses chaos magic, and will be pelting you with chaos-inducing spells frequently. You’ll want to make sure you have an armor set that will provide you with some resistance to chaos. If you are using a strength-based build, make use of the Radiant Guardian set. If your build is low on strength, go for the Saint set. Additionally, you’ll want to have Chaos Cleanse Potions on hand.
Reese’s First Form
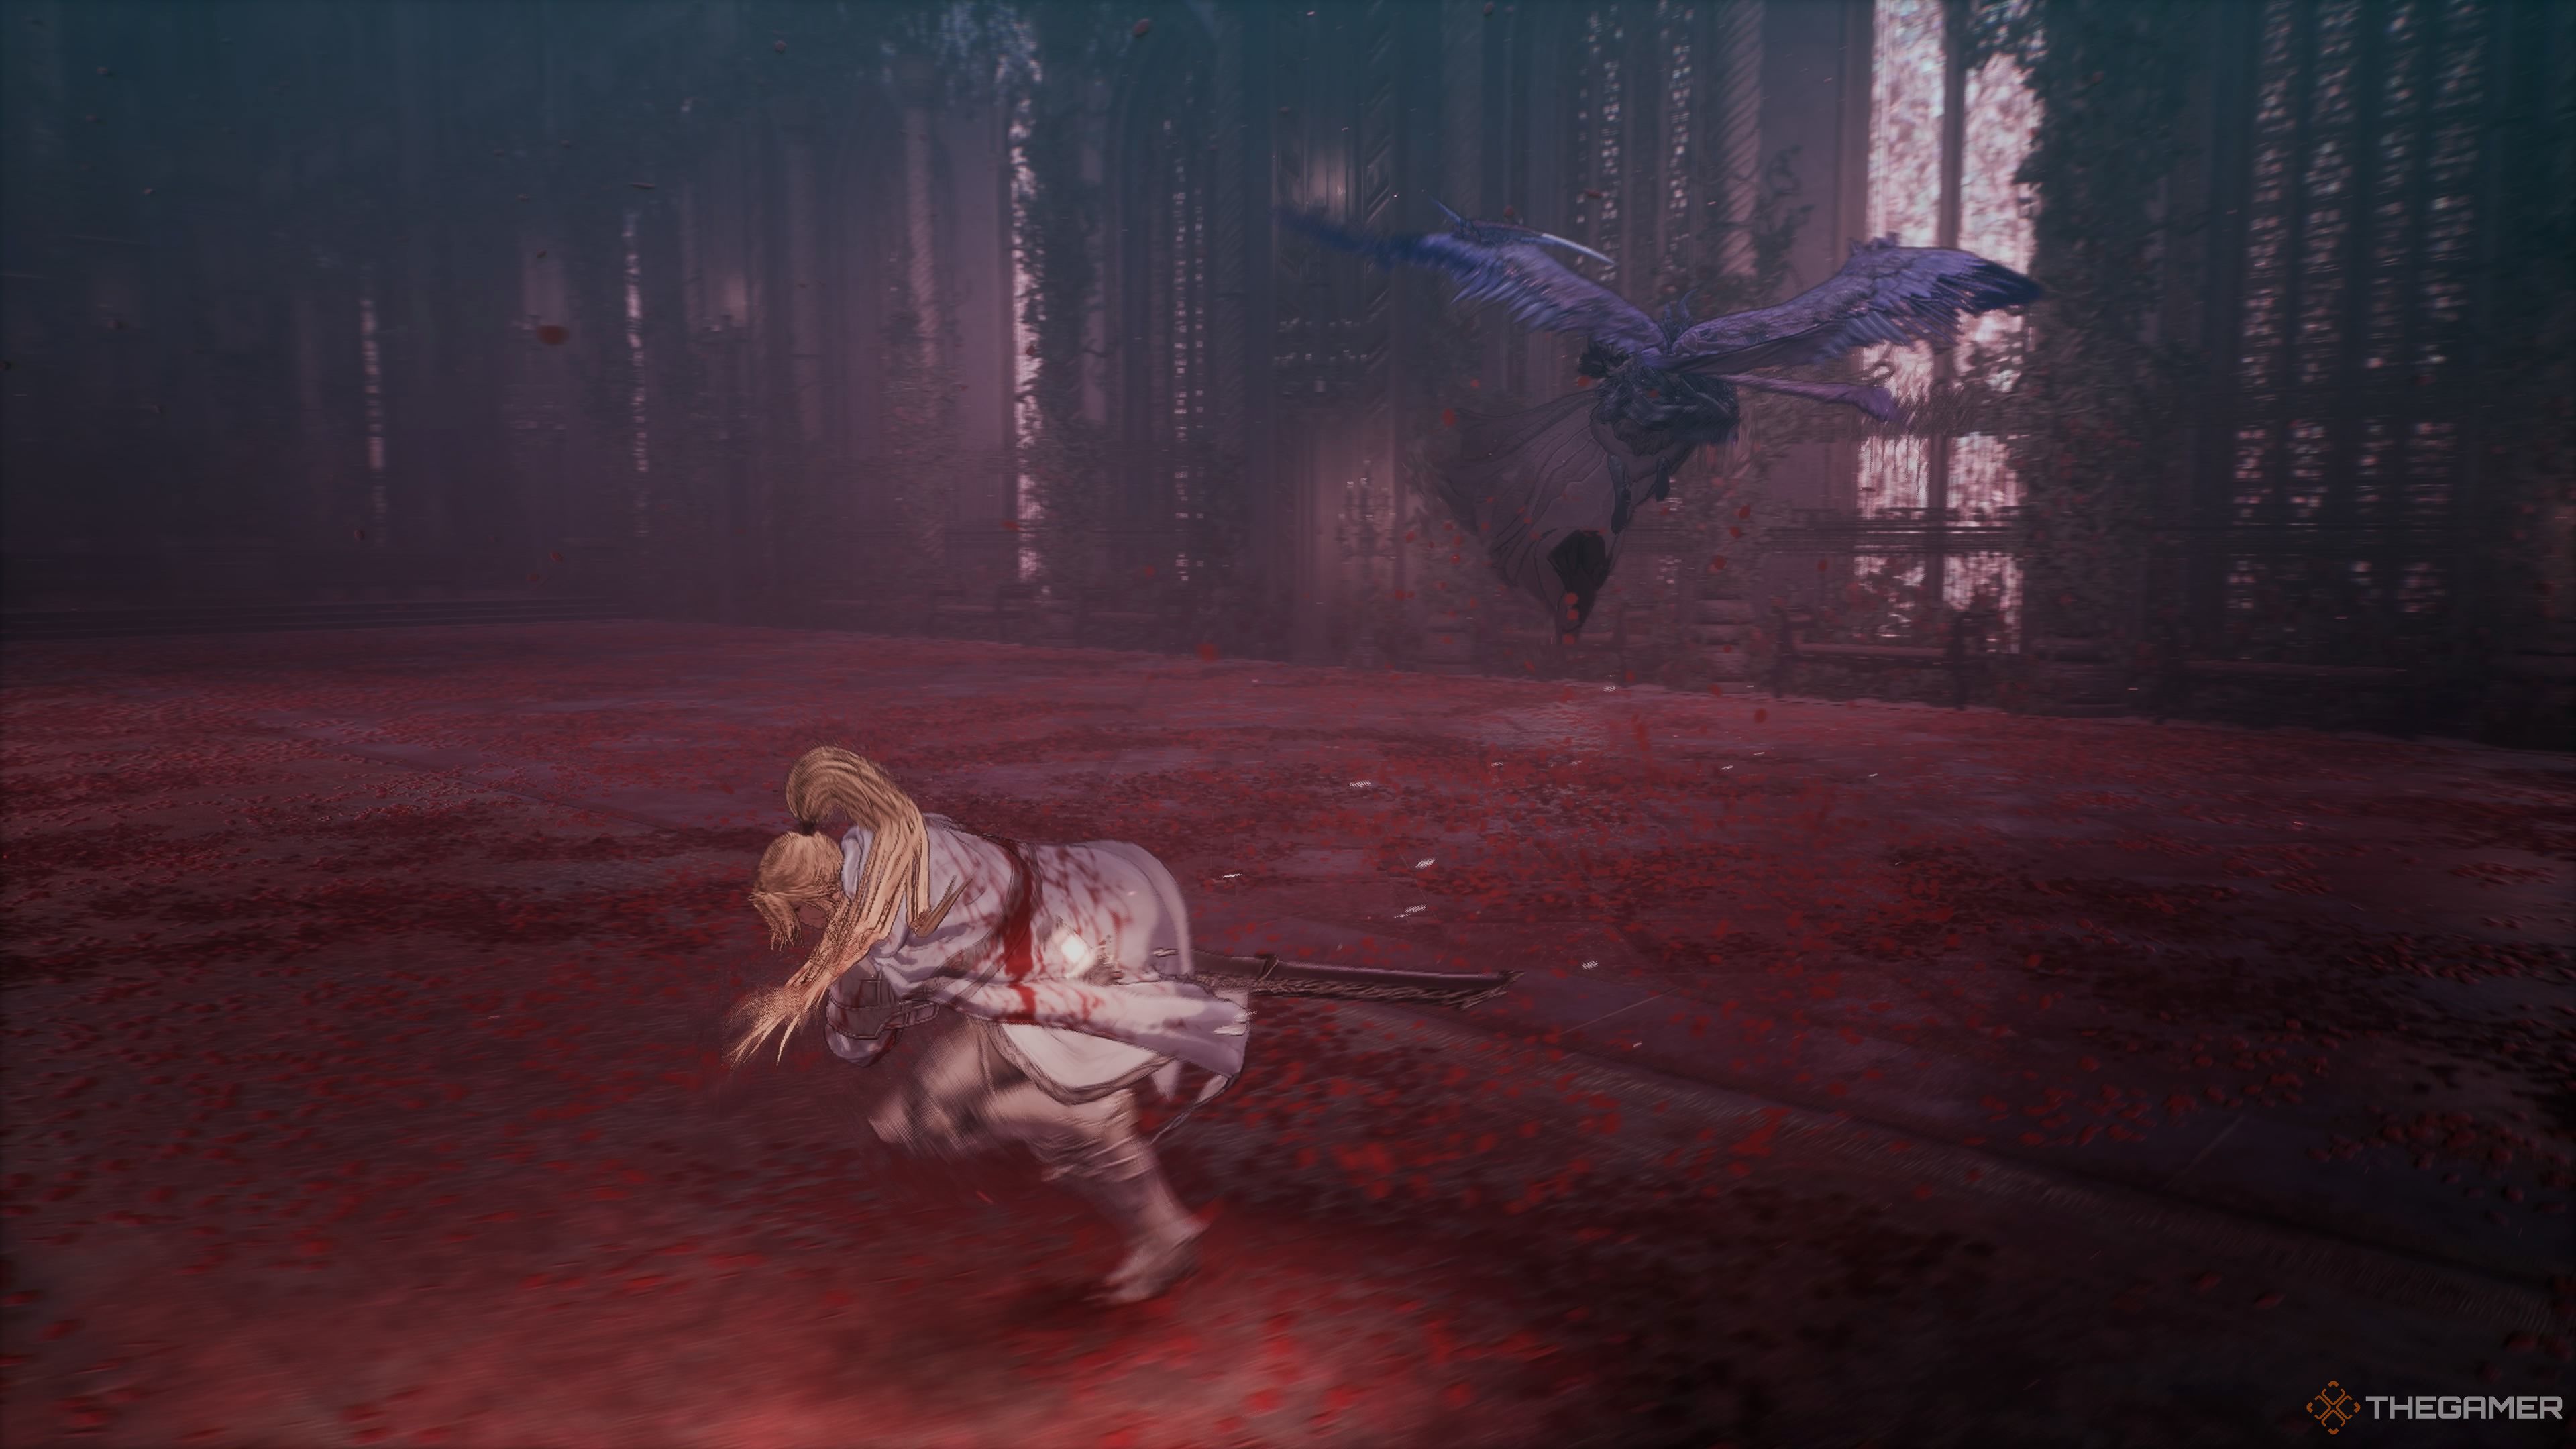
Reese will spend most of this battle flying away from you while pelting you with projectile attacks and trying to summon magical sigils under your feet that will explode with magical energy. She has a few close-range attacks as well, though they are far less threatening than her ranged attacks. Every spell she casts is based in chaos magic and will inflict the chaos status ailment on you.
Reese’s AOE Attacks
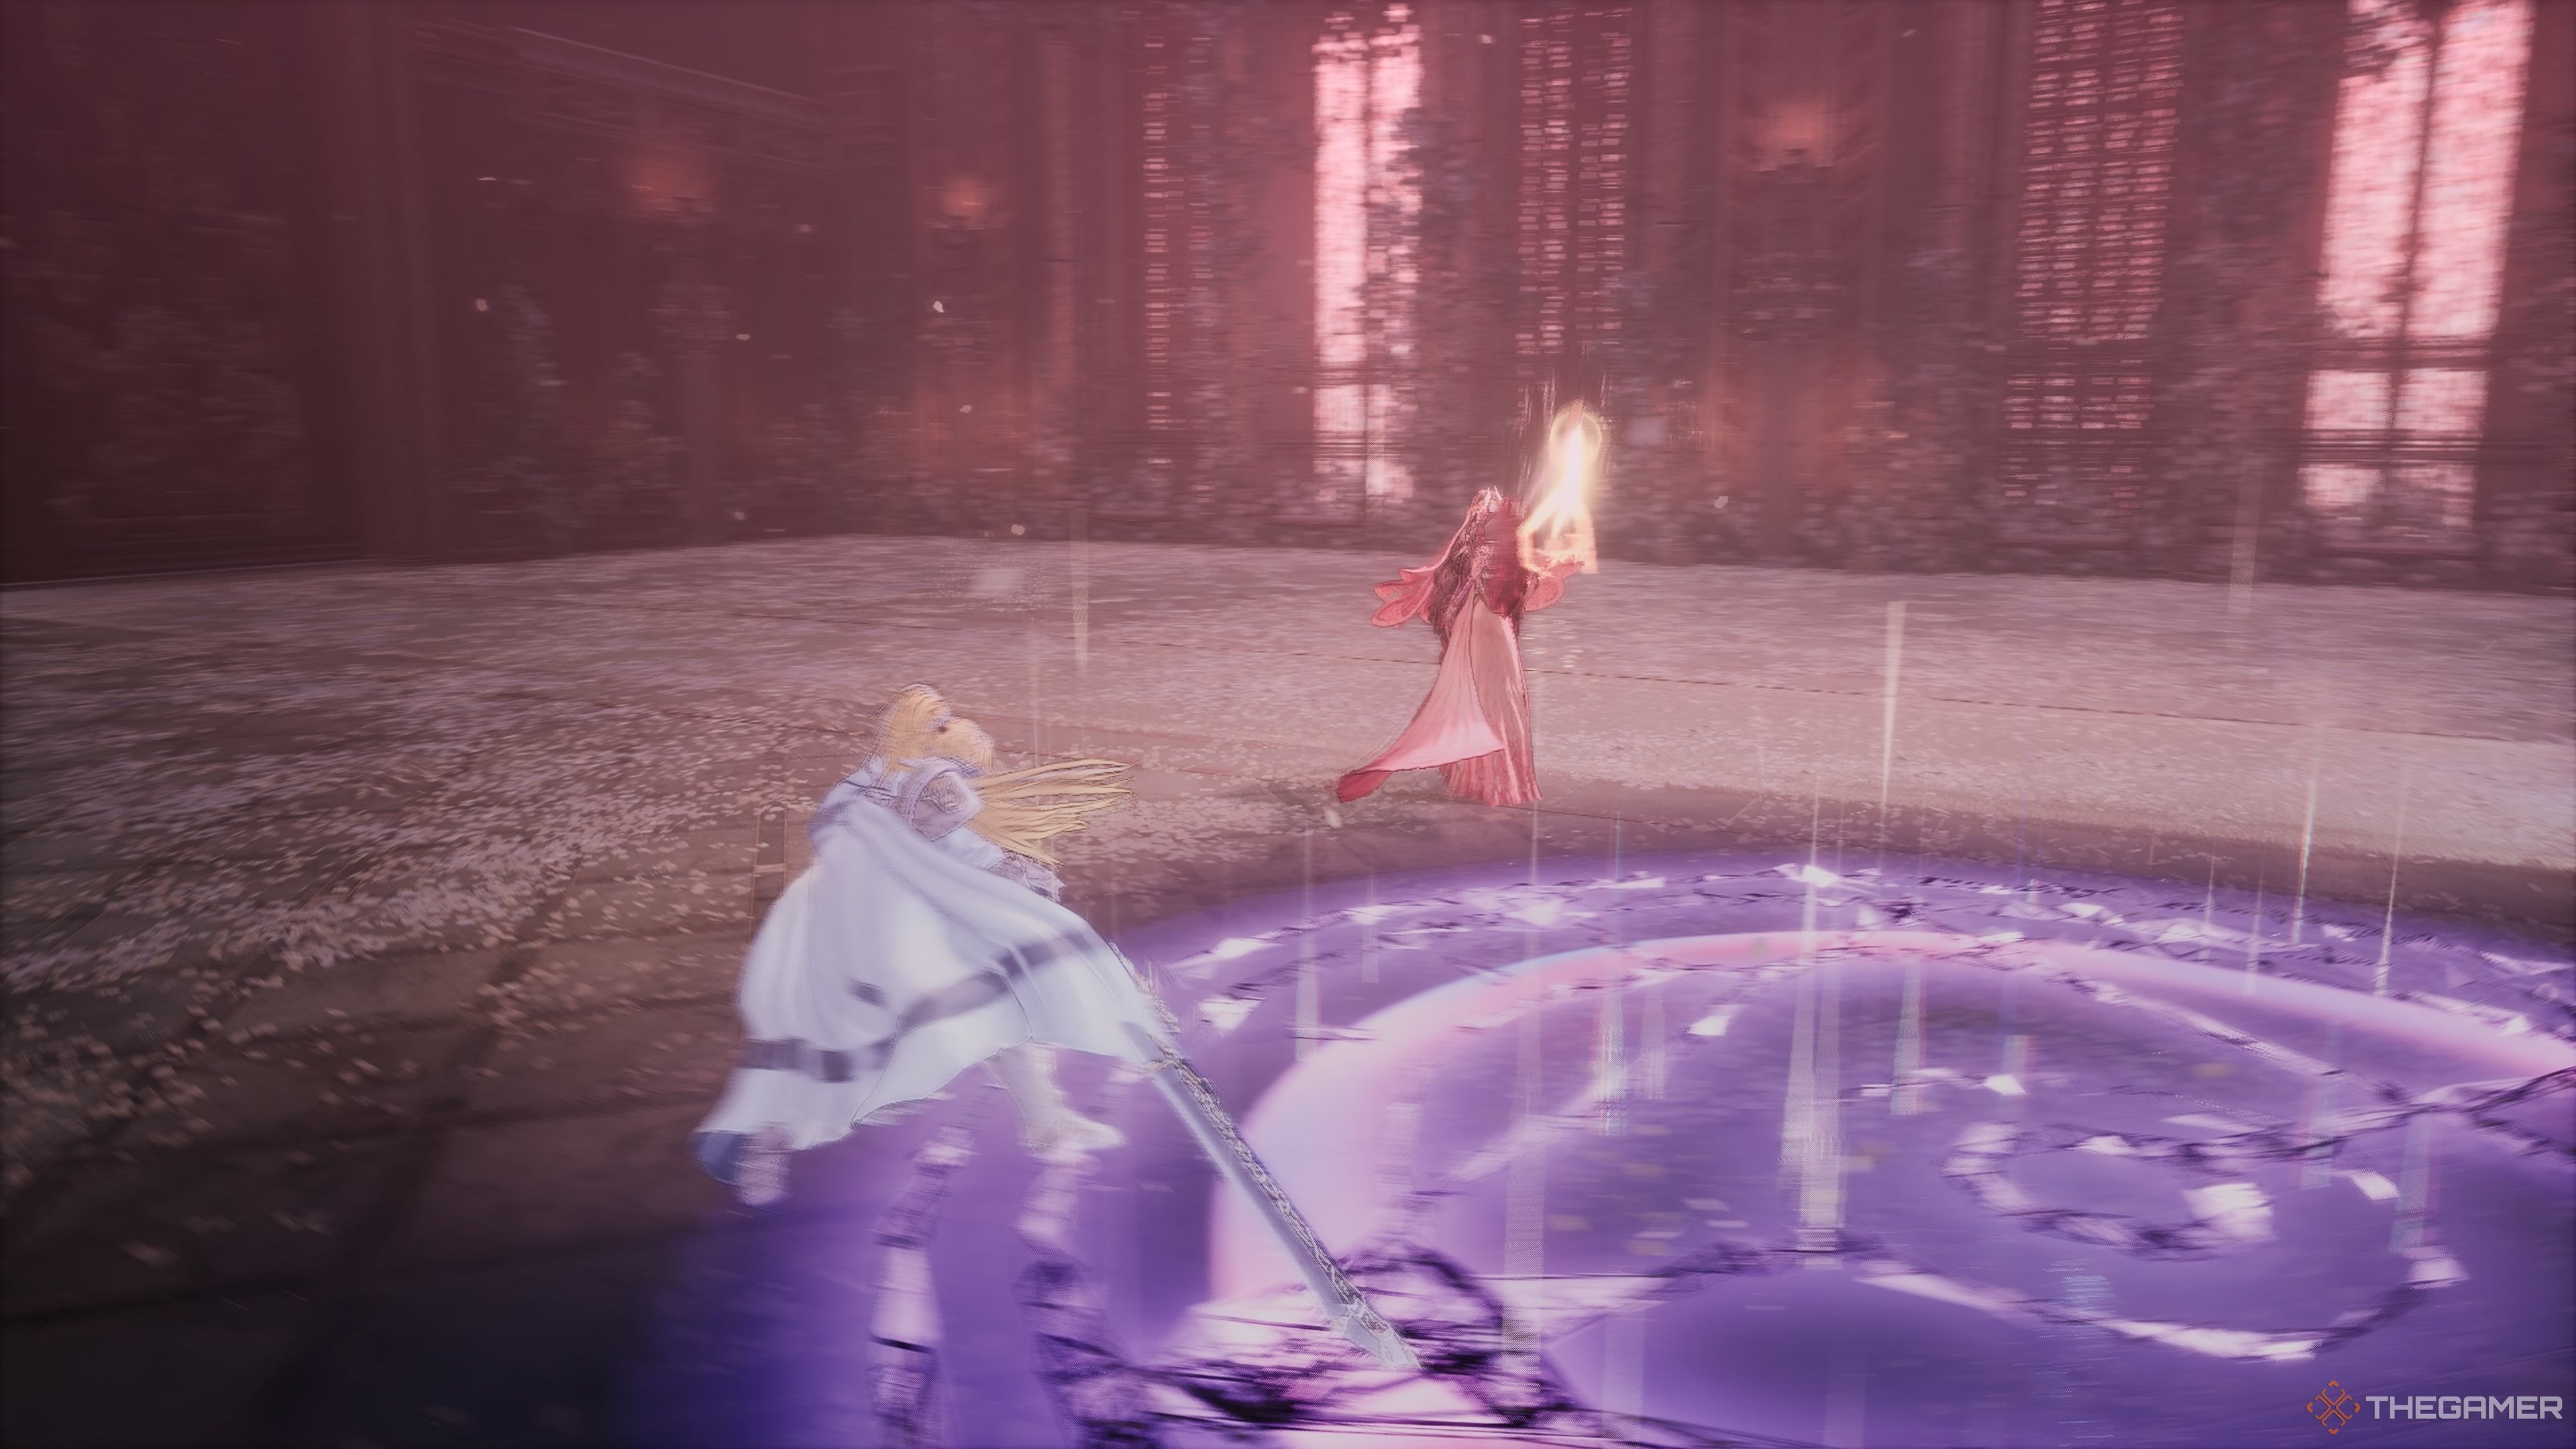
Throughout the battle, Reese will place giant sigils on the ground. While the sigil is down, if you stand on it, you will be afflicted by the chaos effect. Additionally, Reese can raise her staff to the sky and cause the sigil to explode, causing substantial amounts of damage. This means your priority is to never be standing on a sigil while fighting Reese.
Reese will infuse her staff with magical energy, turning it into a mace. She’ll then raise it above her head and bring it down on you, leaving a sigil behind on the ground. She’ll also be able to cast a spell that will very quickly summon a sigil under your feet. She has three variations of this attack, each will summon a bigger sigil. However, despite the size difference, the solution is the same: dodge to the side as she casts these spells.
You can attack Reese as she summons sigils to disrupt her.
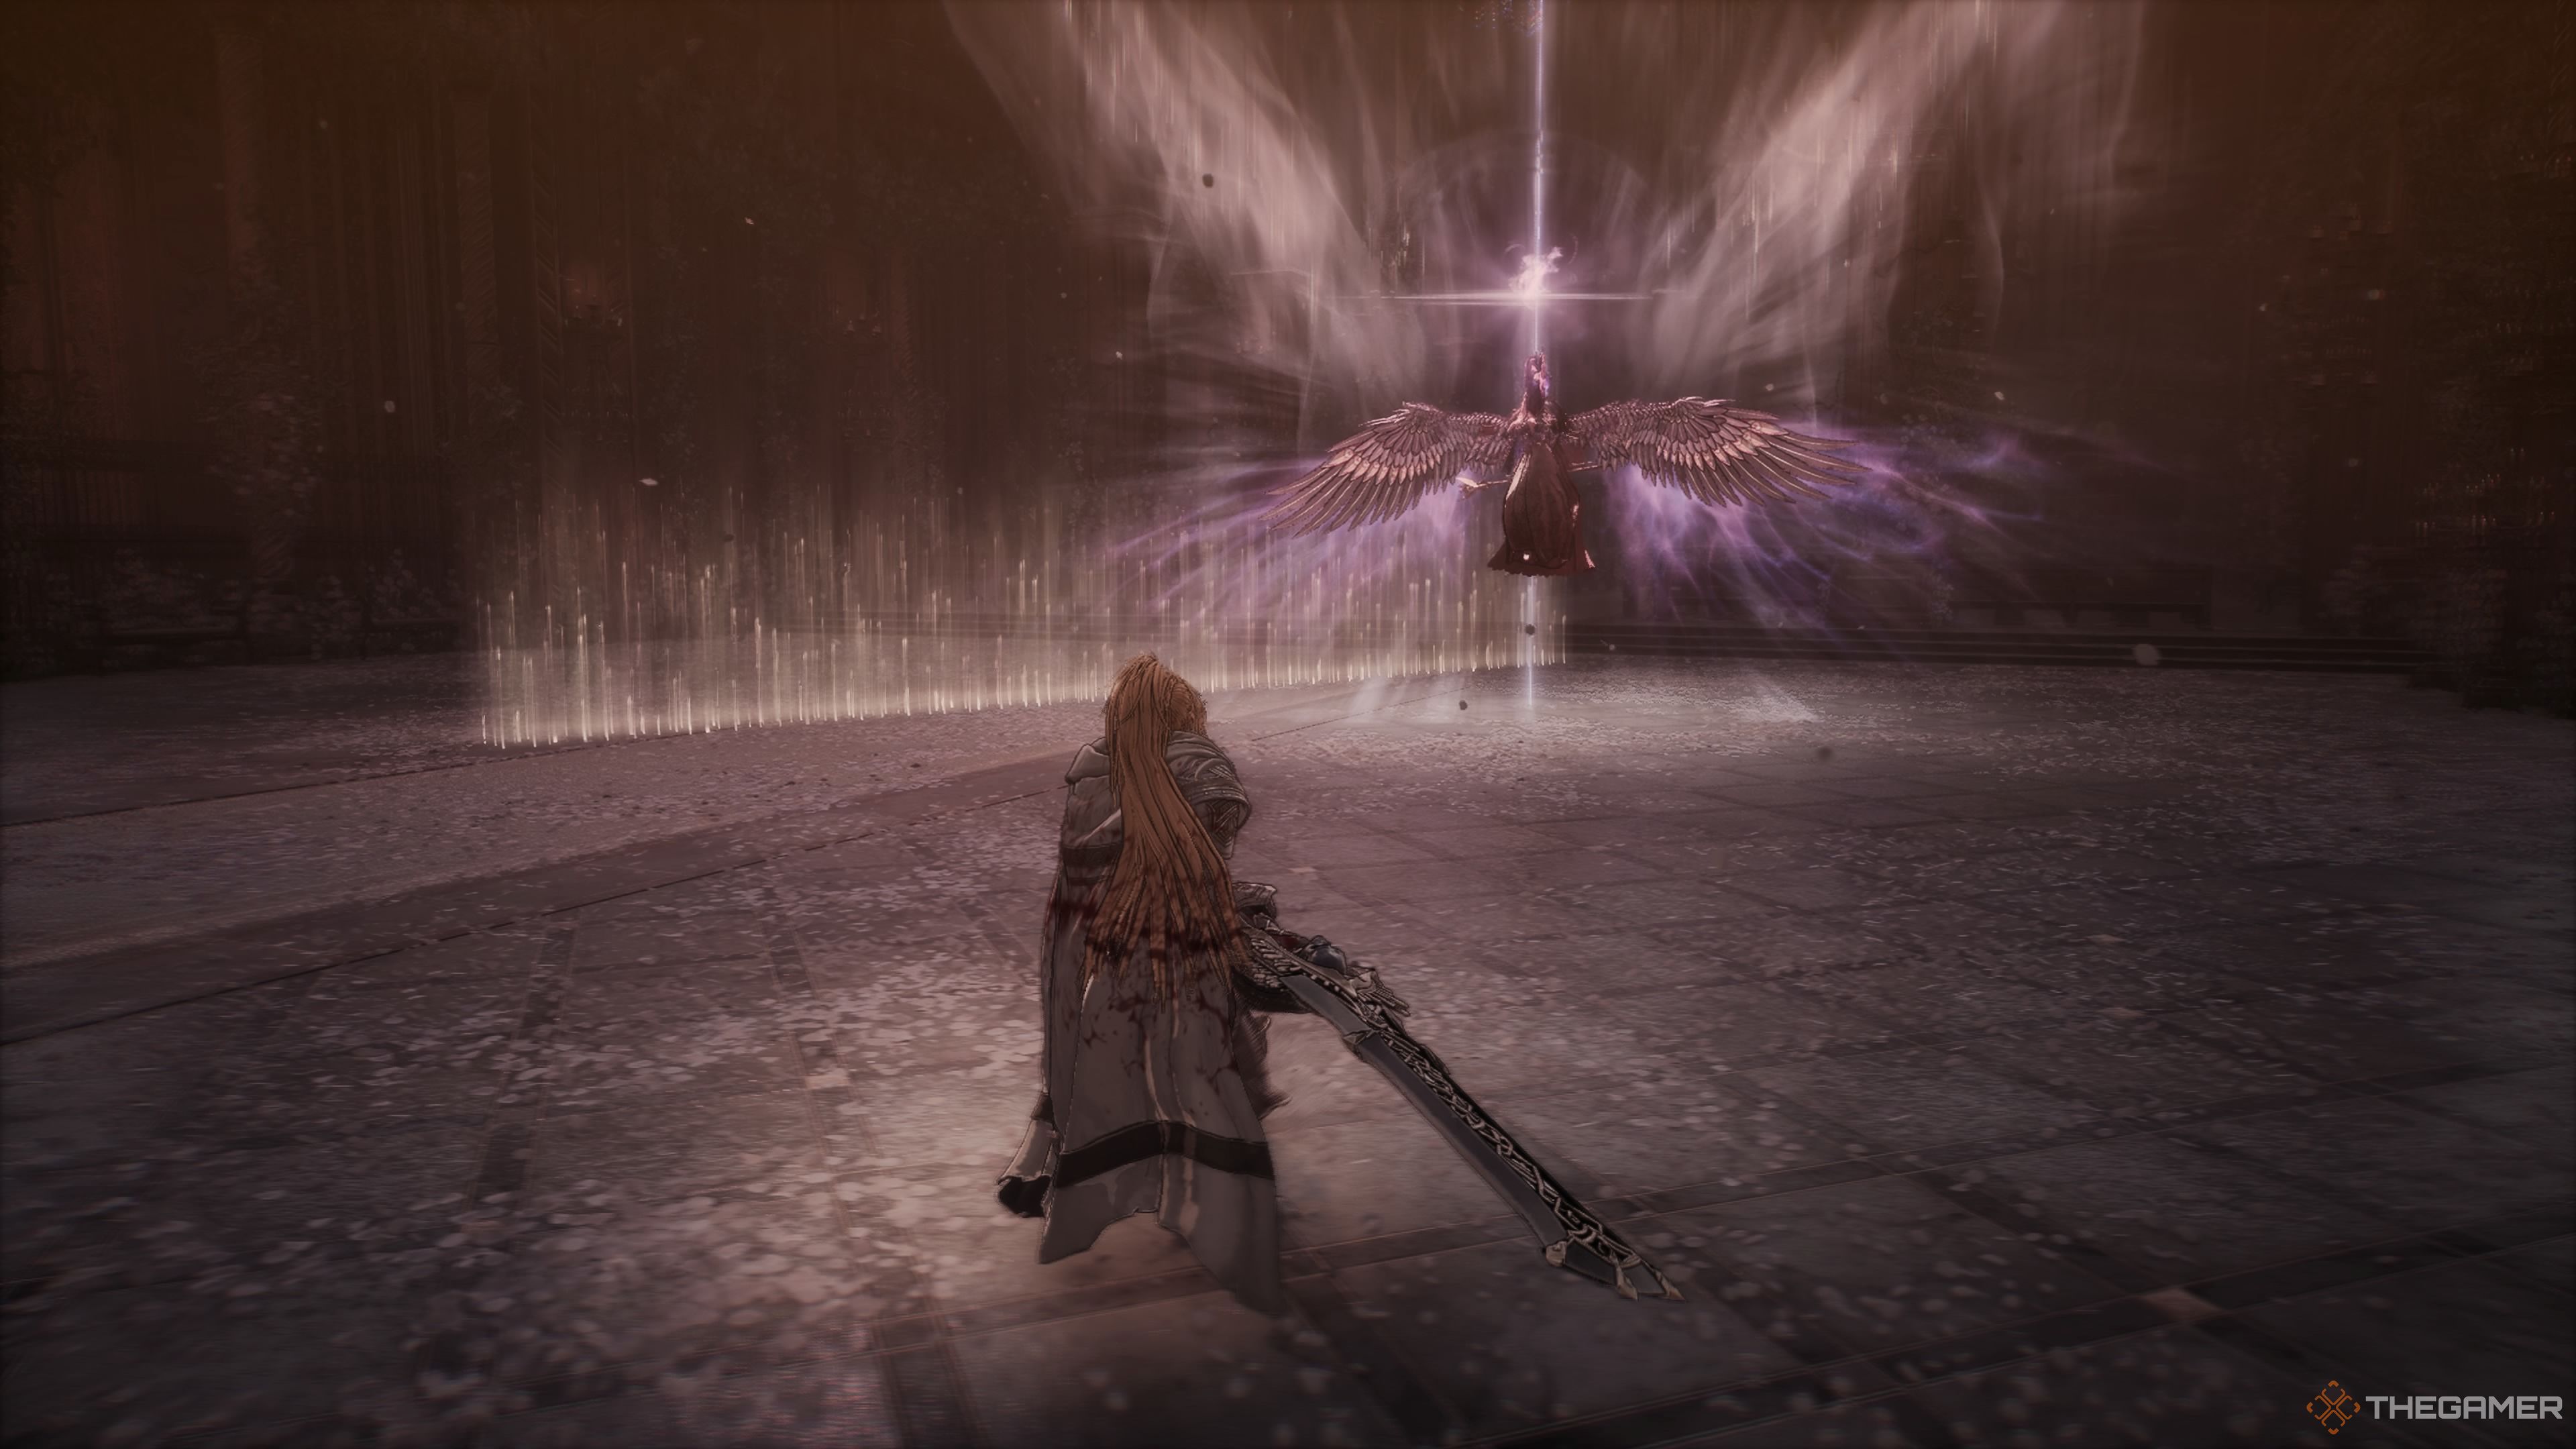
When Reese rises up into the air, she’ll start charging a powerful attack which will create a massive sigil on the ground, which will turn into a huge AOE attack. When she is hovering in the air, and you see her charging this attack, sprint away from her. The farther you are away from Reese, the easier it will be to avoid this spell once she casts it. Once she fires the spell at you, dodge to the side immediately. If she hits with this attack, it may be enough to take you out if you aren’t at full health. It hits very, very hard.
Reese’s Projectile Attacks
One of Reese’s quickest attacks will see her form a sword of light before tossing it at you. This is a very linear projectile and comes out fairly quickly. She also likes to summon three portals. These will fire three beams that will converge on you. They have a very minor homing effect. If she does this while her magical walls are out, the portals will not dissipate and will instead keep firing barrages of chaos energy at you.
When Reese starts flying across the arena, she’ll generate portals that will fire a beam of chaos energy at you. The beam will fire shortly after the portal is generated. There is a high-pitched sound that will indicate when it is about to launch. If you start sprinting to the side after each portal is created, then you’ll dodge this projectile every time. She’ll fire one beam as she takes off, and generate two of the aforementioned portals in the air.
Reese’s Magical Walls
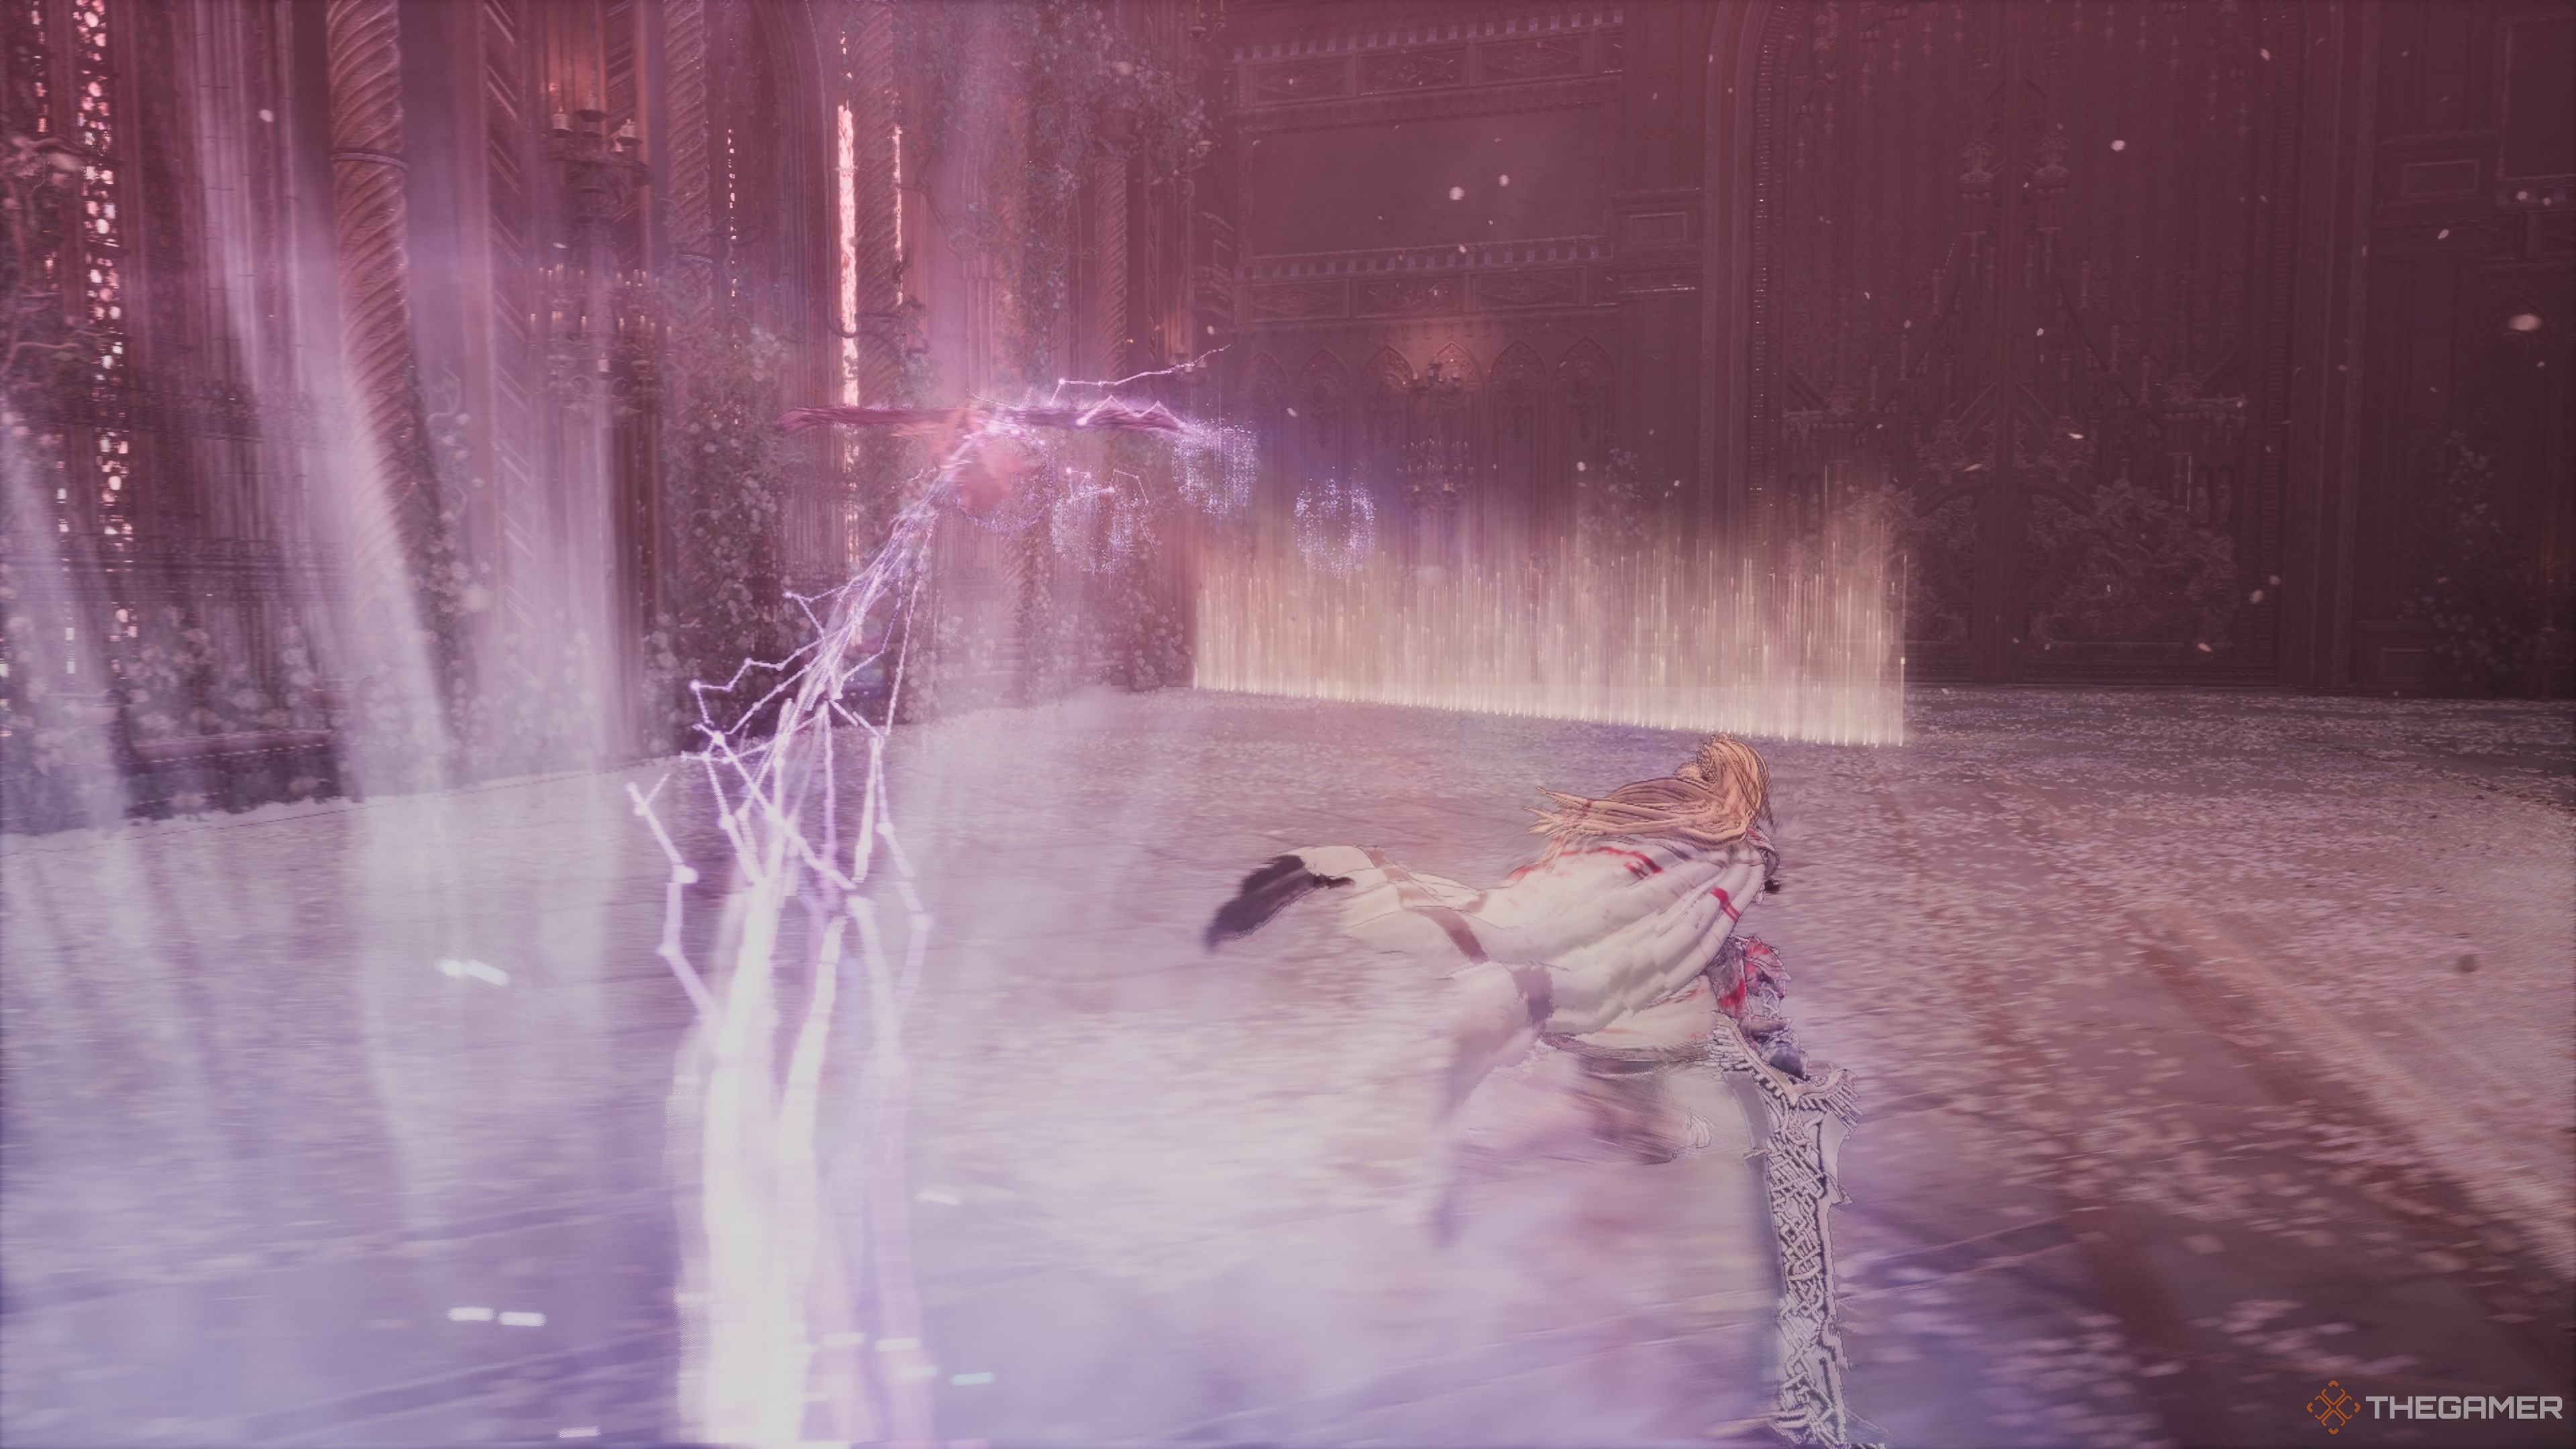
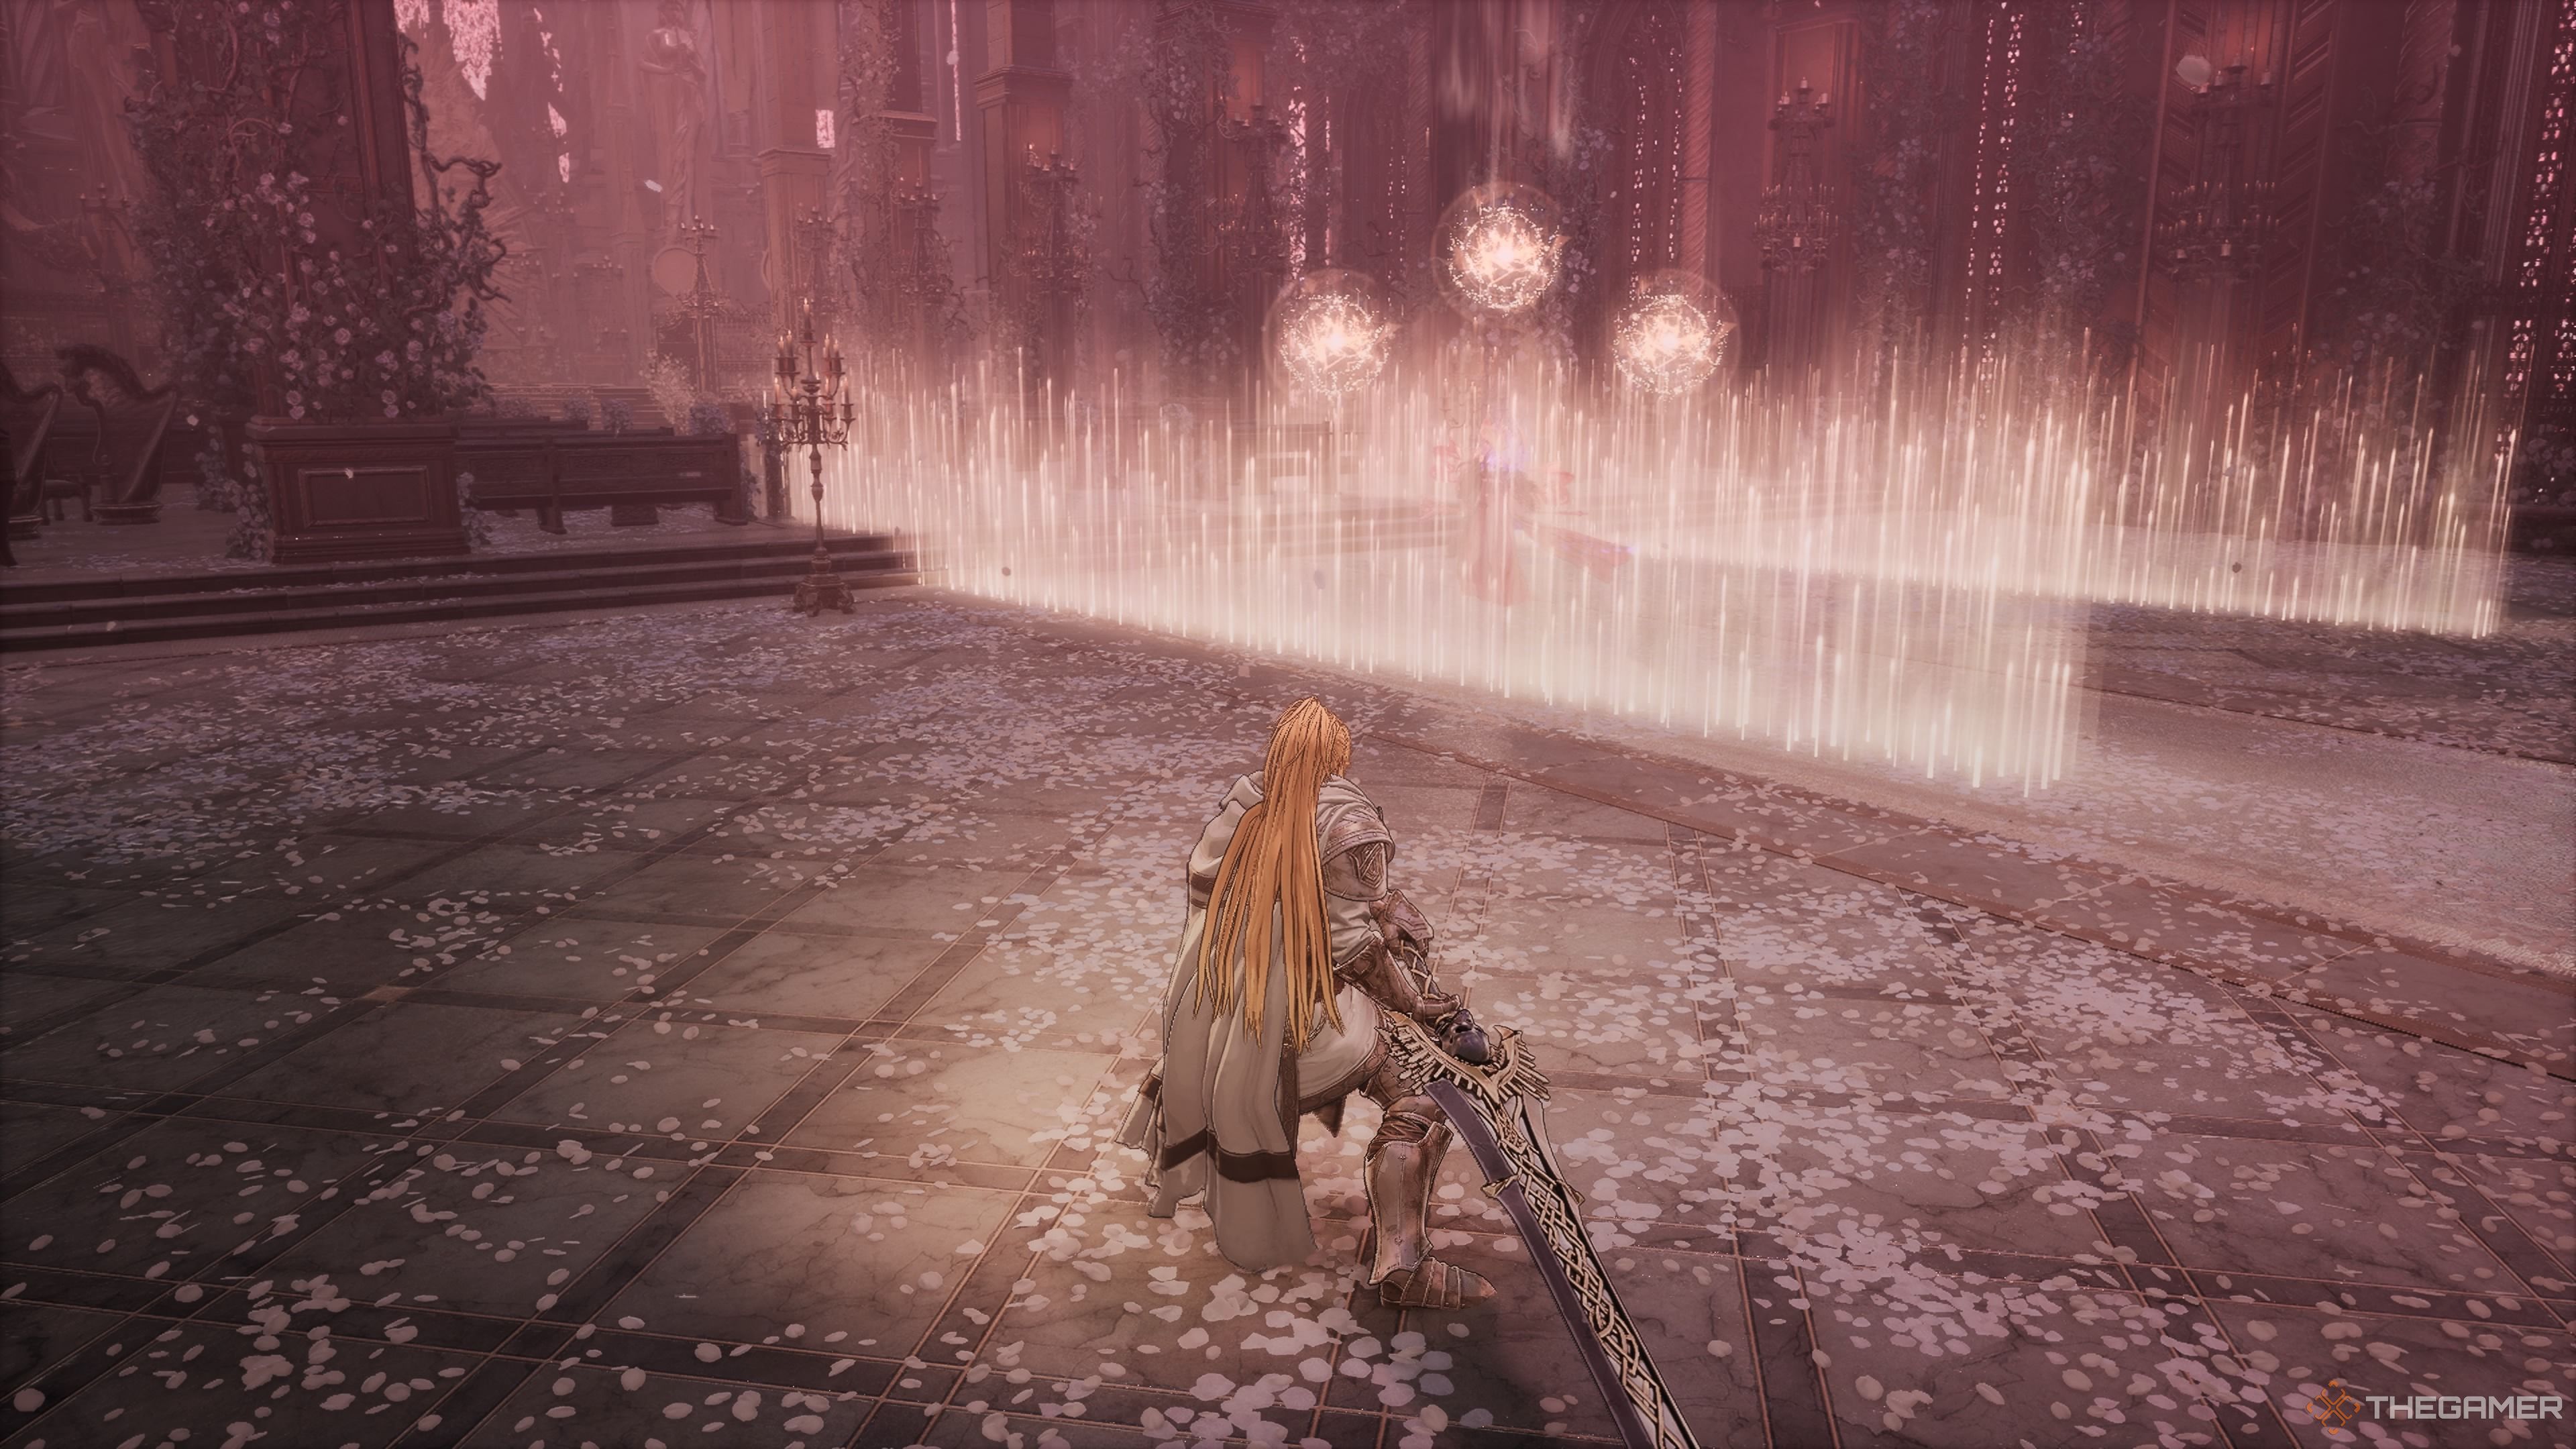
When Reese raises two energy walls, these will block all your projectiles, but they will block hers as well. She’ll summon these two at a time, in parallel with each other. Don’t stay in between them, as she’ll have a constant stream of projectiles firing at you. Moreover, if you stick around too long, she’ll summon another pair of walls, trapping you in a small box. Just run away when she throws them up, and you’ll never have to worry about that. You can make good use of these to get a momentary reprieve from her projectiles.
Reese’s Melee Attacks
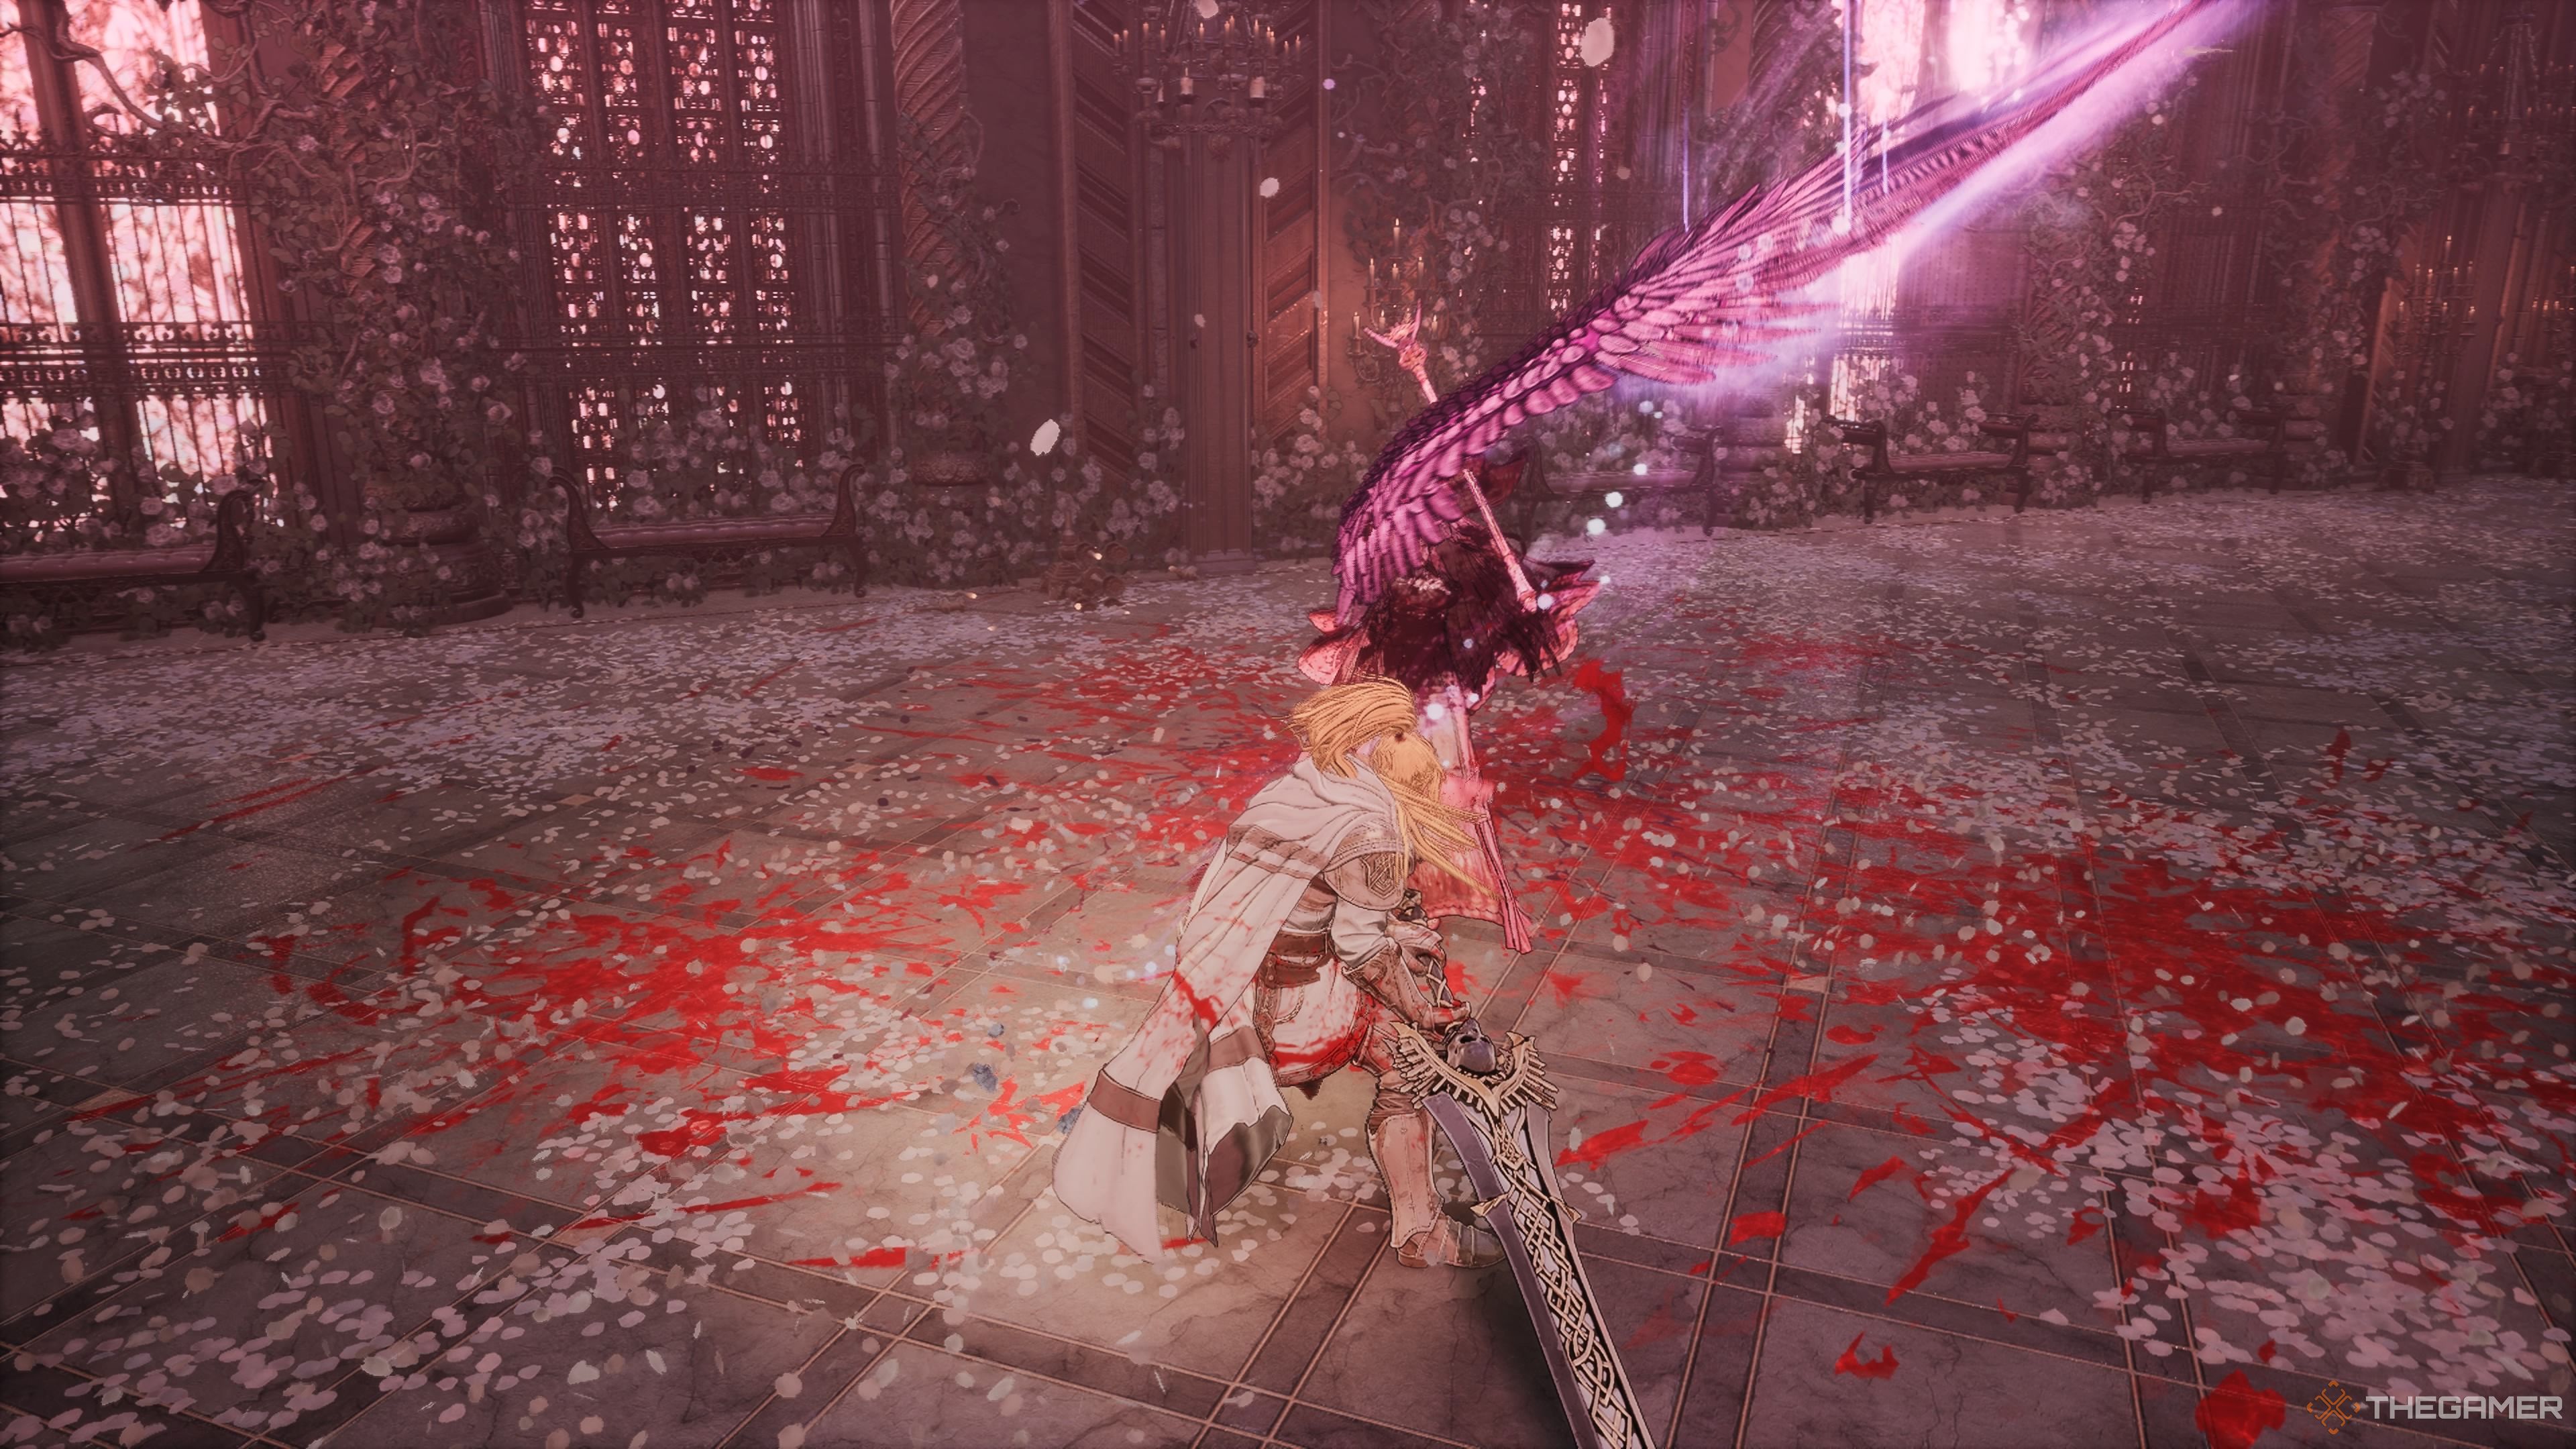
Reese has a few melee attacks as well. She can swipe at you with her wings. These attacks are quite slow, have poor range, but do a substantial amount of damage. If both of her wings come out at the same time, while she is standing still, she’s going to perform her grab attack. If she snags you, she’ll hit you extremely hard.
Thankfully, you can dodge away the second you see wings, and you’ll be safe no matter which wing-based move she uses. She can also generate a sword of light that she will stab at you with and, sometimes, stab the ground with. If she stabs the ground, it will turn into a mini-AOE attack. The range of this attack makes it fairly ineffective.
Reese’s Very Exploitable Burst Attack
Reese will fly up, then, after the Burst Attack symbol appears, float toward you aggressively. This attack is not particularly fast and is staggeringly easy to Counterattack. Even if you’ve gone the entire game without using the Counterattack, you will be able to use it here effortlessly. Not only does countering this move deal a sizable amount of damage, but it will also take a huge portion of her stamina. If you dodge her first Burst Attack, she always follows up with a second. Abuse this attack!
Reese’s Demonic Form
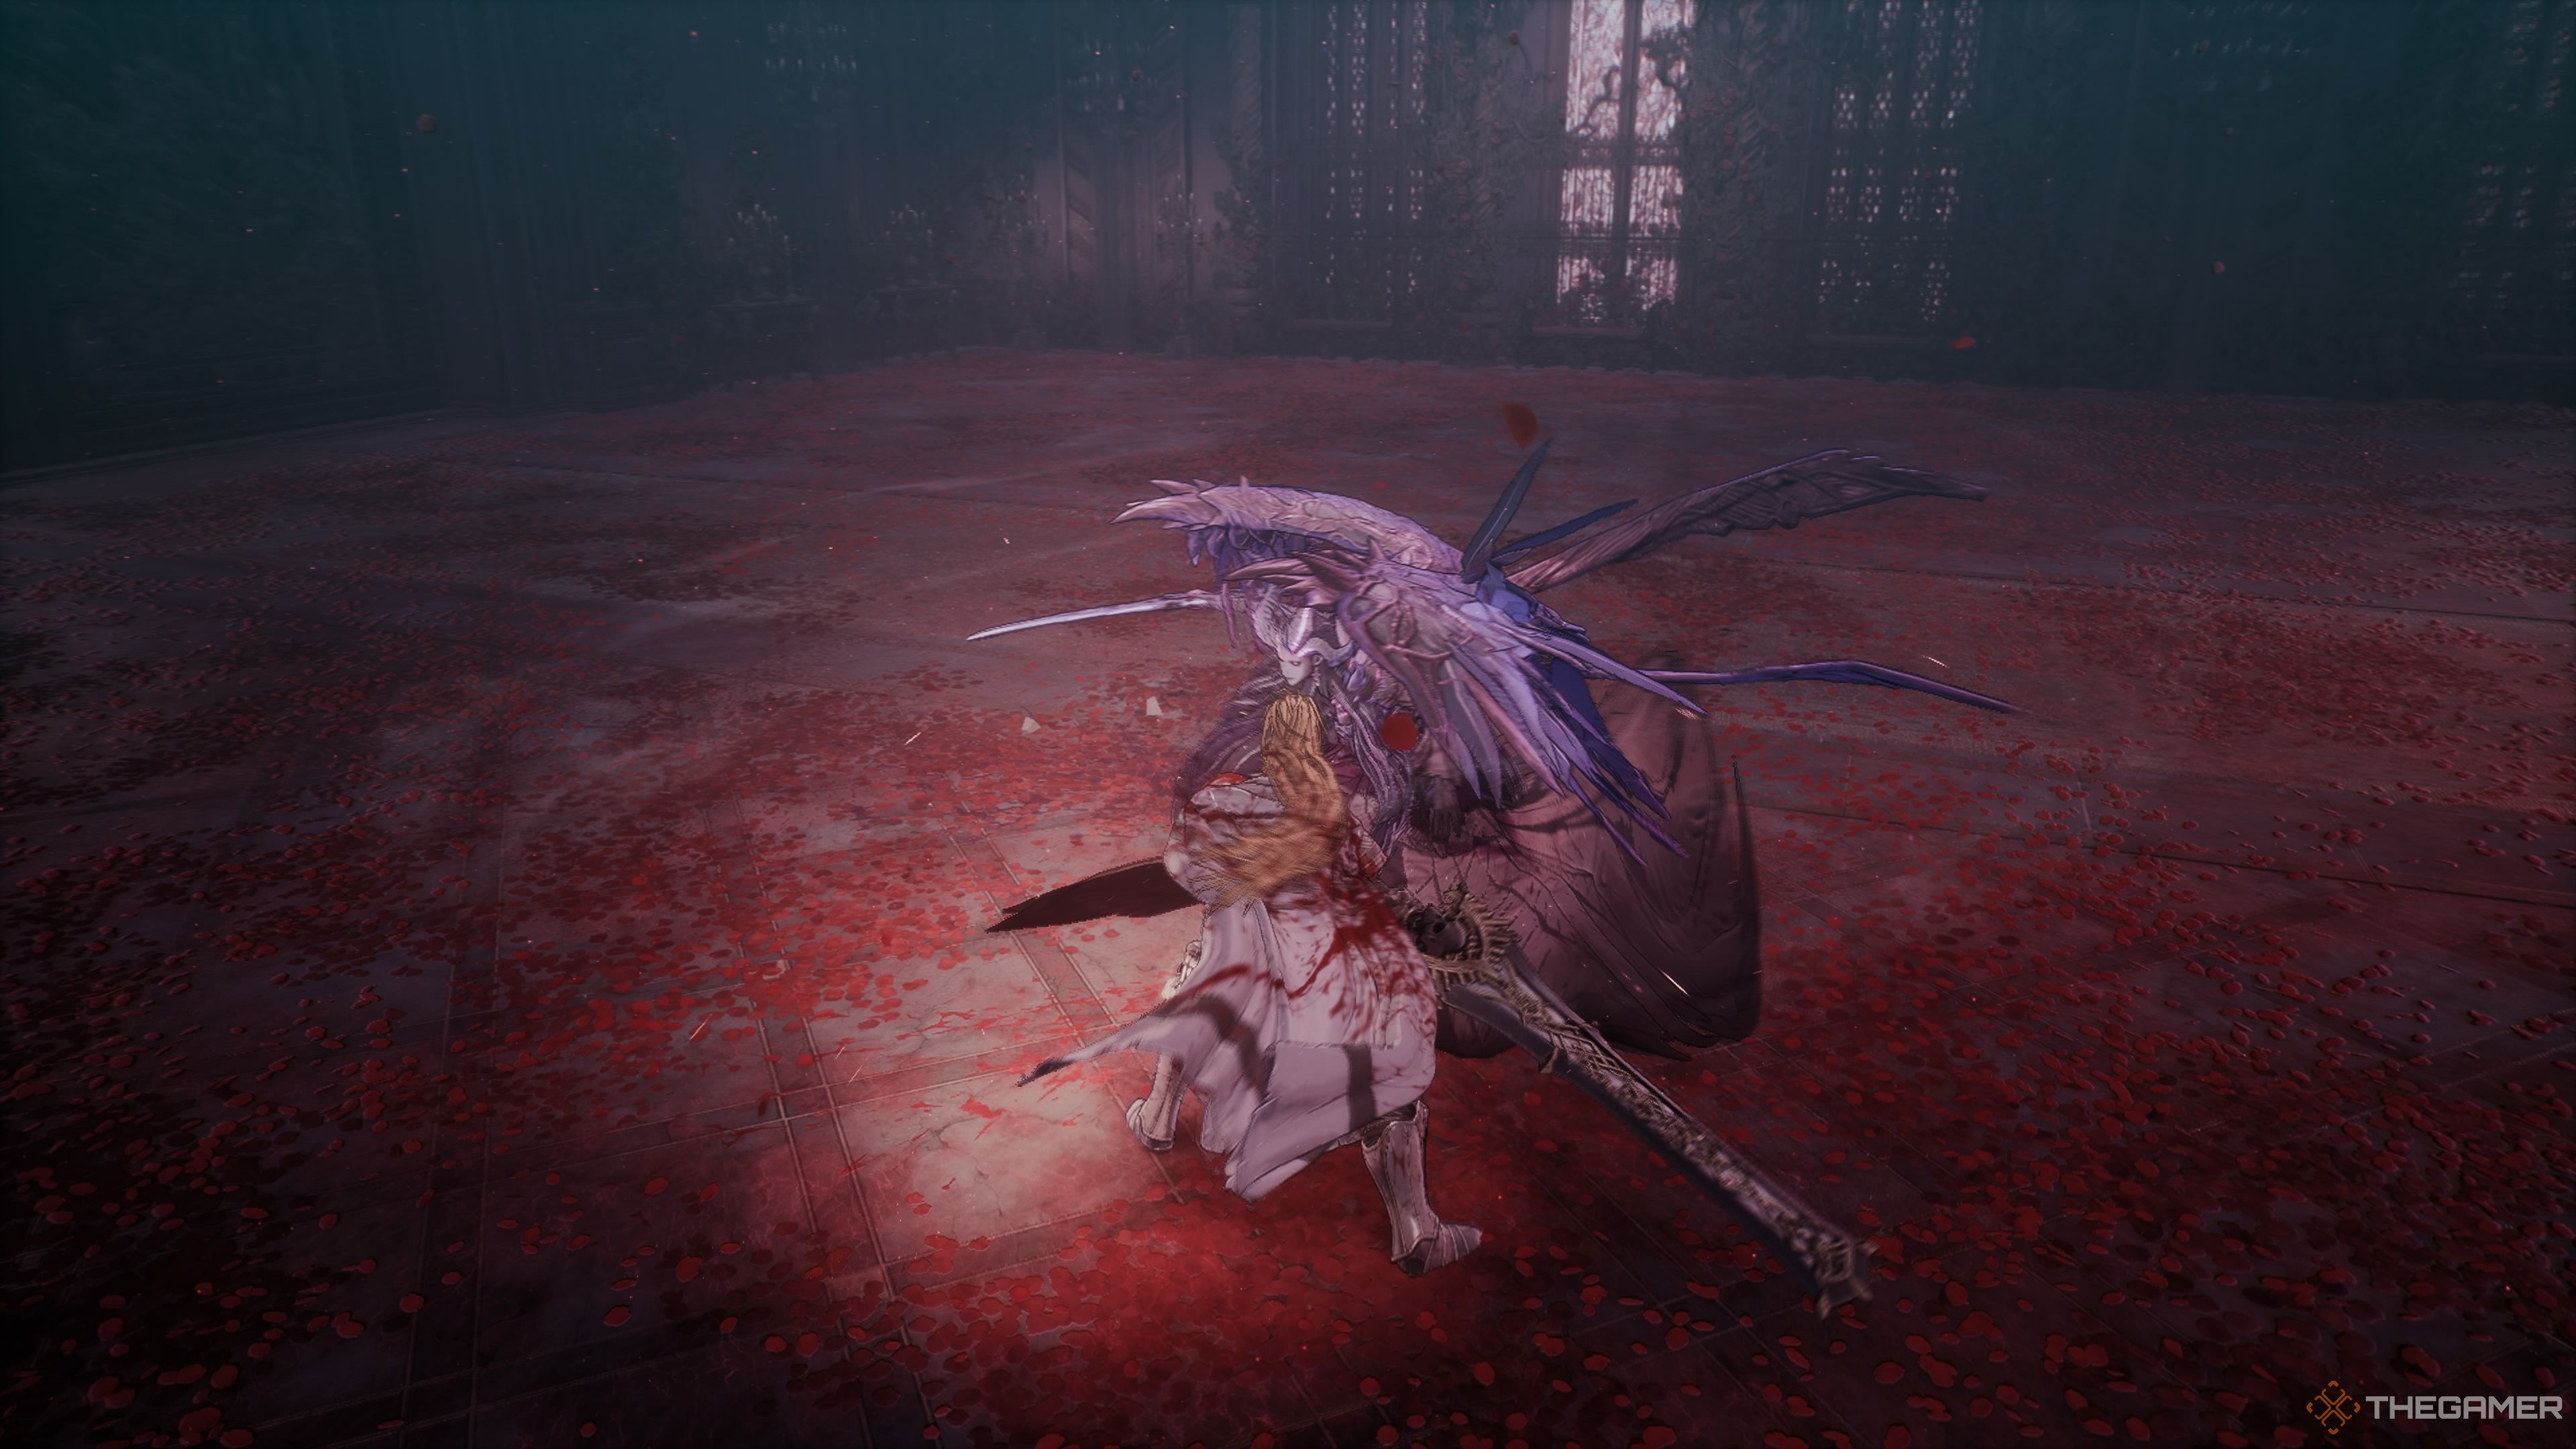
Once you’ve killed Reese in her human form, she’ll come back in her demonic form. A lot of things will remain the same in this form. She uses the same attack where she flies to the side while firing two projectiles at you in the air. You’ll deal with this the exact same way, by sprinting to the side once the portals appear. She’ll also still create those magical walls. And, when she floats up into the air, she’ll be looking to cast that powerful AOE spell again. Deal with all of this stuff the exact same way you dealt with it before.
Her Brink Attack is also pretty much the same and is still very, very easy to counter. If you see Reese’s scythe glowing as she floats backward, you’ll know her Brink Attack is coming. Since Reese is harder to hit in her demonic form, you’ll really want to make the most of these moments.
However, she has swapped out all her ineffective melee attacks for far trickier, far more dangerous, scythe-based attacks. She’s very aggressive in this form. While dodging was all you needed to do in order to undercut her melee attacks in her first form, you’ll want to use your Brink Guard here.
Reese’s Scythe Attacks
One of Reese’s most common sequences has her charge her scythe at a distance, then, she’ll dash forward with a large slash, and follow it up with three additional slashes. She has another sequence that is pretty similar, but she’ll fly away and then rush back in for a fifth slash. So, if she starts flying away, she isn’t trying to escape, prepare for a quick slash. Once the sequence has concluded, it will be your turn.
Reese also has a three-slash combo where she will slow the tempo of each slash. She’ll turn her back and wind up for every swing. The cadence of these strikes is pretty consistent, so you should be able to time your blocks fairly easily. After the final attack, hit back with your best stuff.
If Reese lunges forward with her scythe, she is going to extend her scythe forward and then yank it back again. So, you’ll need to block the scythe blade going both ways. This is tricky when you aren’t prepared for it.
One of her trickiest attacks will see her float upward, summon two energy blasts, and then soar toward you at a quick speed and deliver a devastatingly powerful attack. Just block this attack normally. The stakes are too high, you don’t want to try to time it, as missing it is too devastating. Once she is behind you, she’ll be stunned briefly. So, lay into her.
Dodging through the attack also works, but then you’ll be carried forward as she is traveling past you, making it harder to follow-up.
She also has new wing-based attacks. She’ll shield herself with a wing before lunging forward with two spinning wing attacks. She’ll sometimes follow this up with two more. The range of this attack is pretty large, but they aren’t that fast, so it is something you should be able to Brink Guard.
While you will be able to punish all these attacks, Reese will eventually start pulsing with chaos energy. When she does this, get a few more hits in, and then retreat. She’ll eventually explode with a big attack. You’ll eventually get a feel for how many attacks you can land before you need to retreat.
Reese’s Final Phase
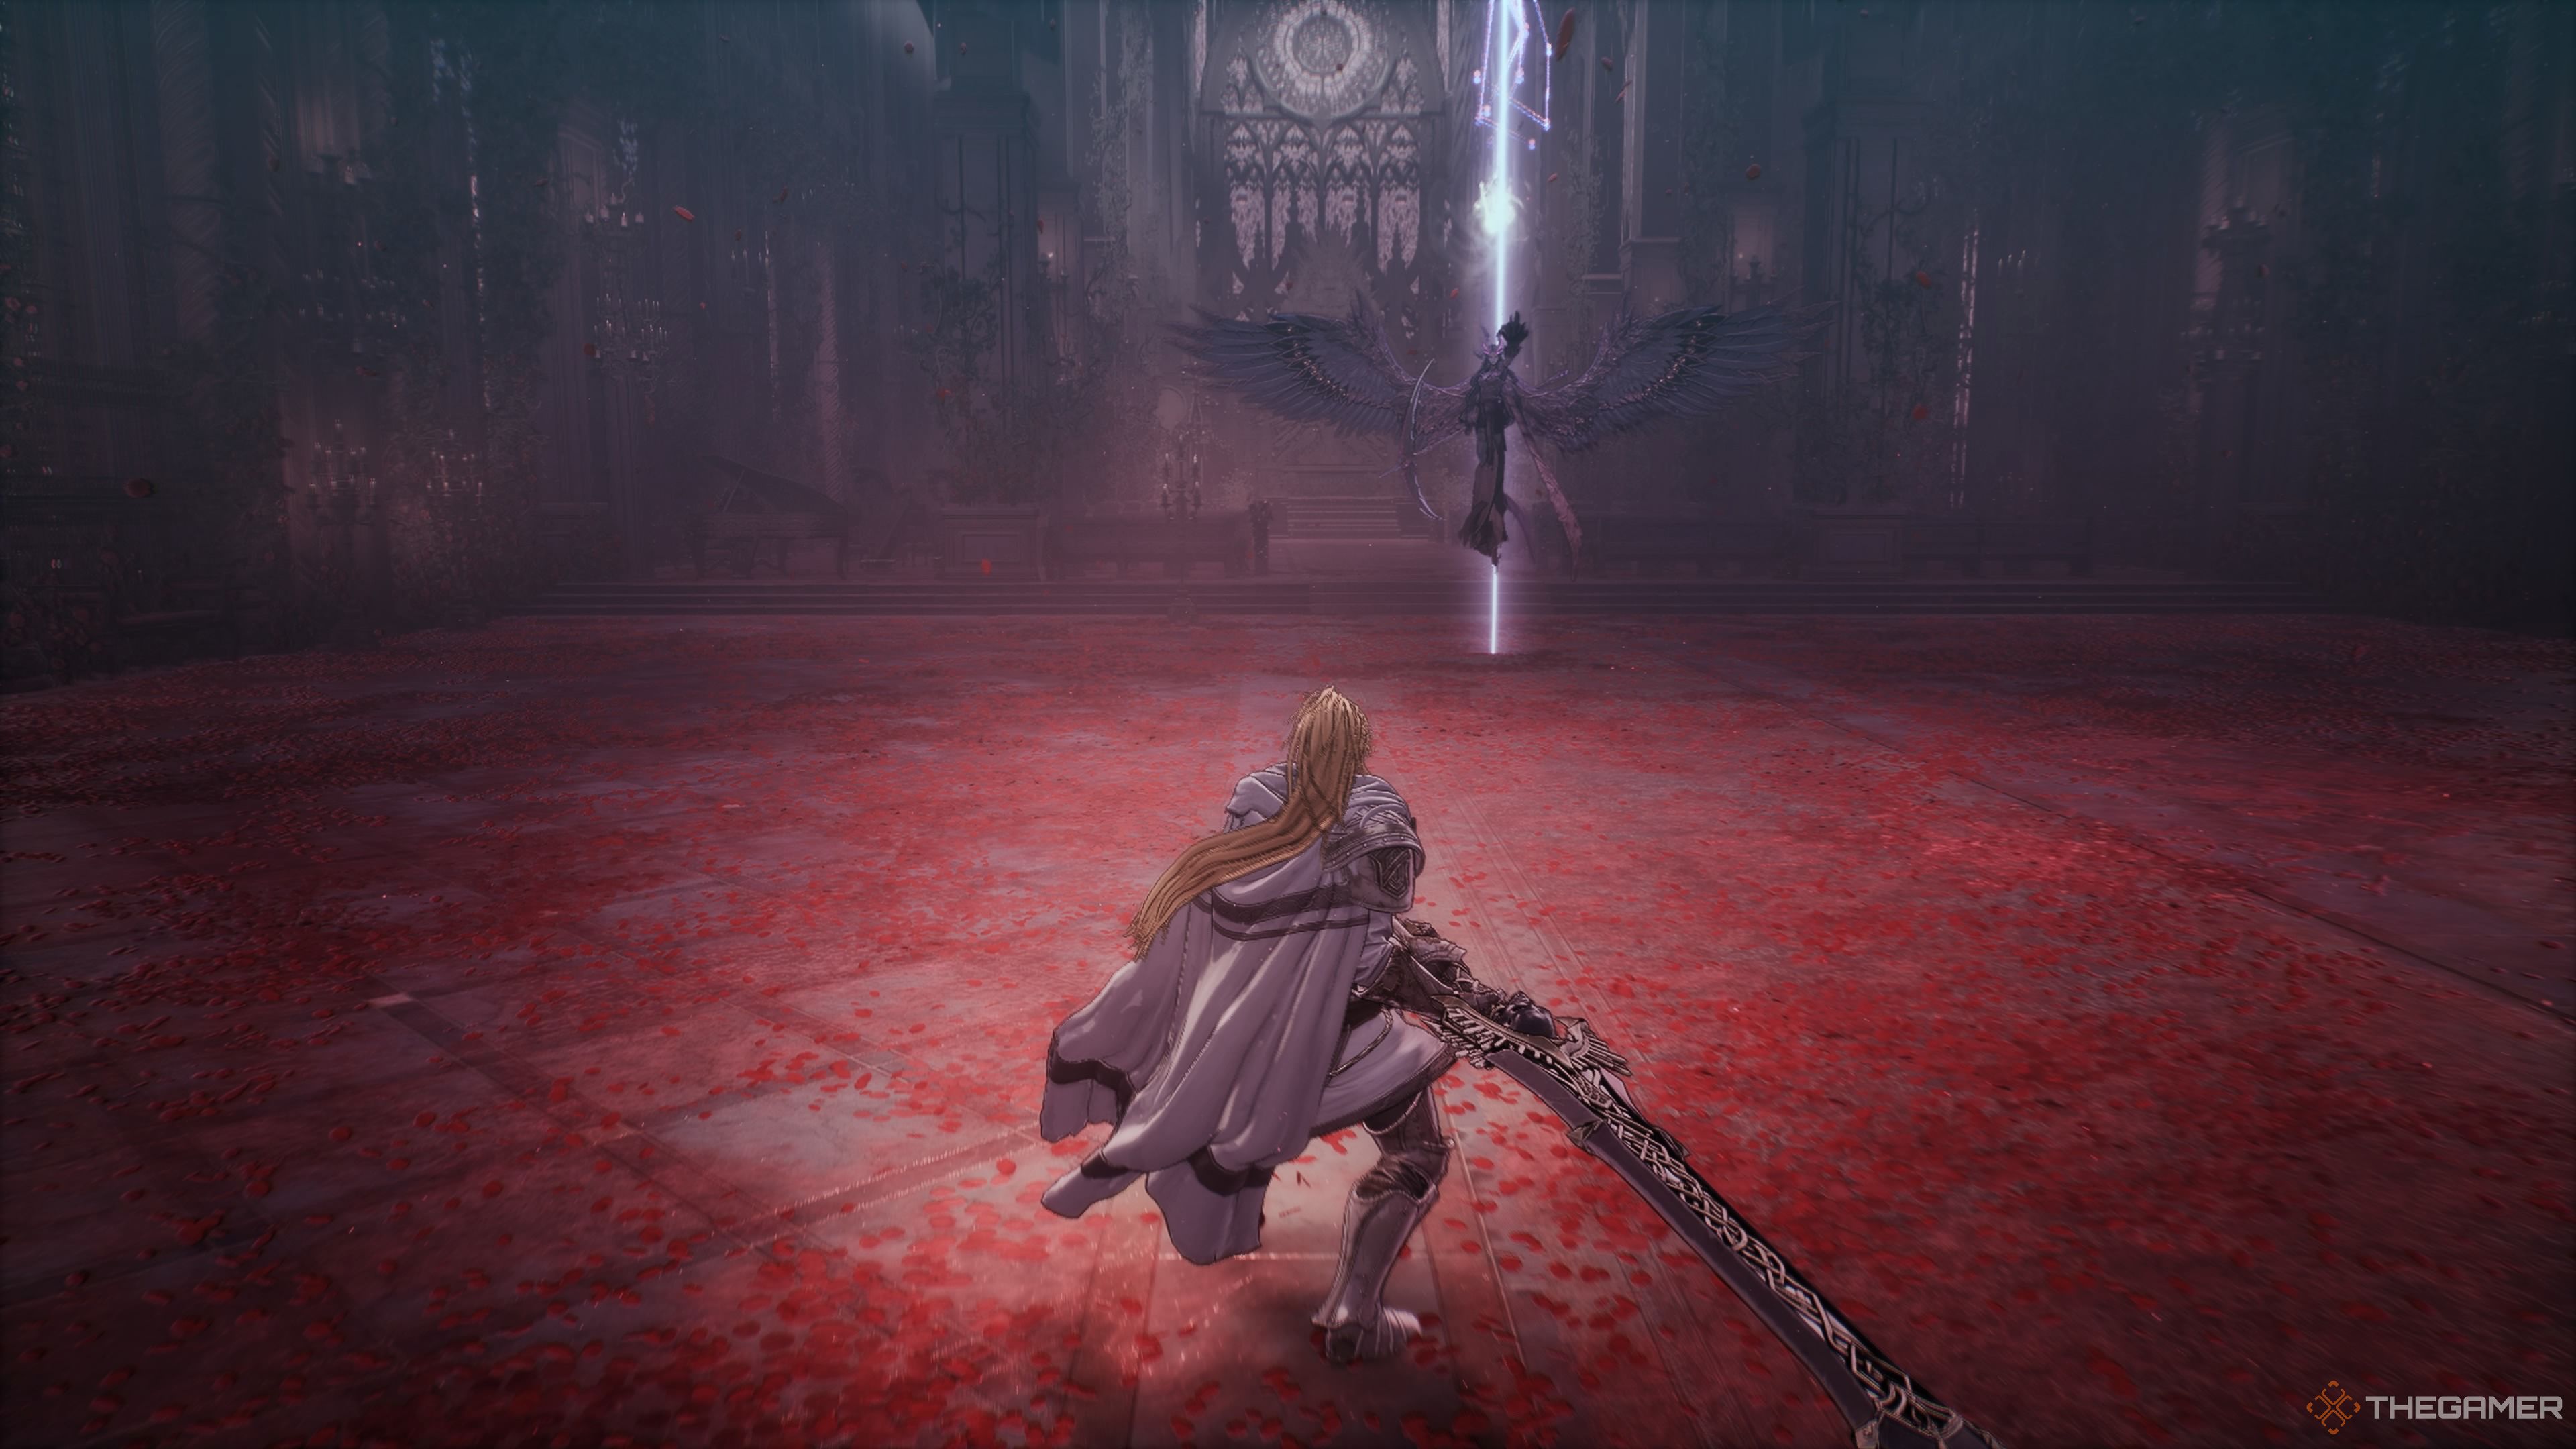
Once you’ve taken half of her health bar (in her second form), Reese will perform a scythe charge, but you will see a flash of lightning. She’ll now have access to her final trick: teleportation. This primarily manifests in two ways. She’ll teleport beside you, swipe at you with her scythe, teleport again before appearing next to you again and slashing at you twice more. Then, she’ll blink away, and reappear with another two-hit combo. Finally, she’ll float up into the air and explode. So, there are five slashes in total. Brink Guard these attacks, and then sprint away when she starts to hover in the air.
Don’t worry, you’ll only have to deal with this sequence once or twice.
The other way she’ll use her teleport is to extend the soaring attack that follows the two energy bolts. After the soaring slash she’ll blink away, then reappear a moment later with a massive spinning scythe slash. If you prepare yourself for this attack it isn’t too bad, but it can catch you off guard.
Reese will also start to use a modified version of her four-hit rushing sequence. She’ll now perform the four scythe attacks, dash backward into the air, fire an energy projectile, and follow that with a fairly quick lunging slash. The projectile and dash attack hit pretty close to each other, you may want to block the projectile and just hold it instead of going for a Brink Guard.
Finally, Reese will get a new Brink Attack. She charge up her scythe and then dash toward you. When she’s doing this she’ll be surrounded by blindingly bright light. This one is a little harder to Counterattack, but not by much. She’ll sometimes do it when she is pretty close to you, which can make it a little trickier. Still, if you see her crouching and glowing, you know she is about to use this Brink Attack. Counterattack it and dish out some hefty, free damage.
Once you beat her, you’ll be rewarded with the Faded Memories Scroll. You’ll also be able to move on to the final mission in the game and face Ozma once and for all.
Next
Every Phantom In The First Berserker: Khazan, Ranked
There are many Phantoms in The First Berserker: Khazan that can help you out tremendously on your journey. But which one of them is the best











Leave a Reply