Whether you’re diving into your first expedition or rounding up allies for PvP, finding a group fast in New World: Aeternum can save you a lot of time. Amazon’s MMORPG includes a built-in Group Finder, called the Activity Finder, that lets you browse, join, or host lobbies for expeditions, arenas, and PvP content.

Related
New World: Aeternum – How To Join Factions
Factions are an important part of the New World: Aeternum experience. Here’s how to join them.
It’s tucked behind menus that are easy to miss, but once you know where to look, you can jump into expeditions, PvP modes, and arenas. Once you get the hang of it, the Activity Finder becomes one of the most efficient ways to get into content fast, no matter if you’re farming, leveling, or just looking for a quick expedition run. You’ll learn how to queue up properly, check role and gear requirements, and avoid common issues that can keep your group from getting off the ground.
How To Access The Activity Finder
The Activity Finder is New World’s streamlined matchmaking tool, similar to group finders in other MMOs. It lets you queue for Expeditions (dungeons), Trials (raids), Arenas, PvP modes, and seasonal events all from a single menu.
There are three ways to access group content, but the Activities menu is the most efficient. It doesn’t require trekking across the open world or digging through layered menus, making it the fastest option for queuing.
Option 1: Use Entrances Located Throughout the World
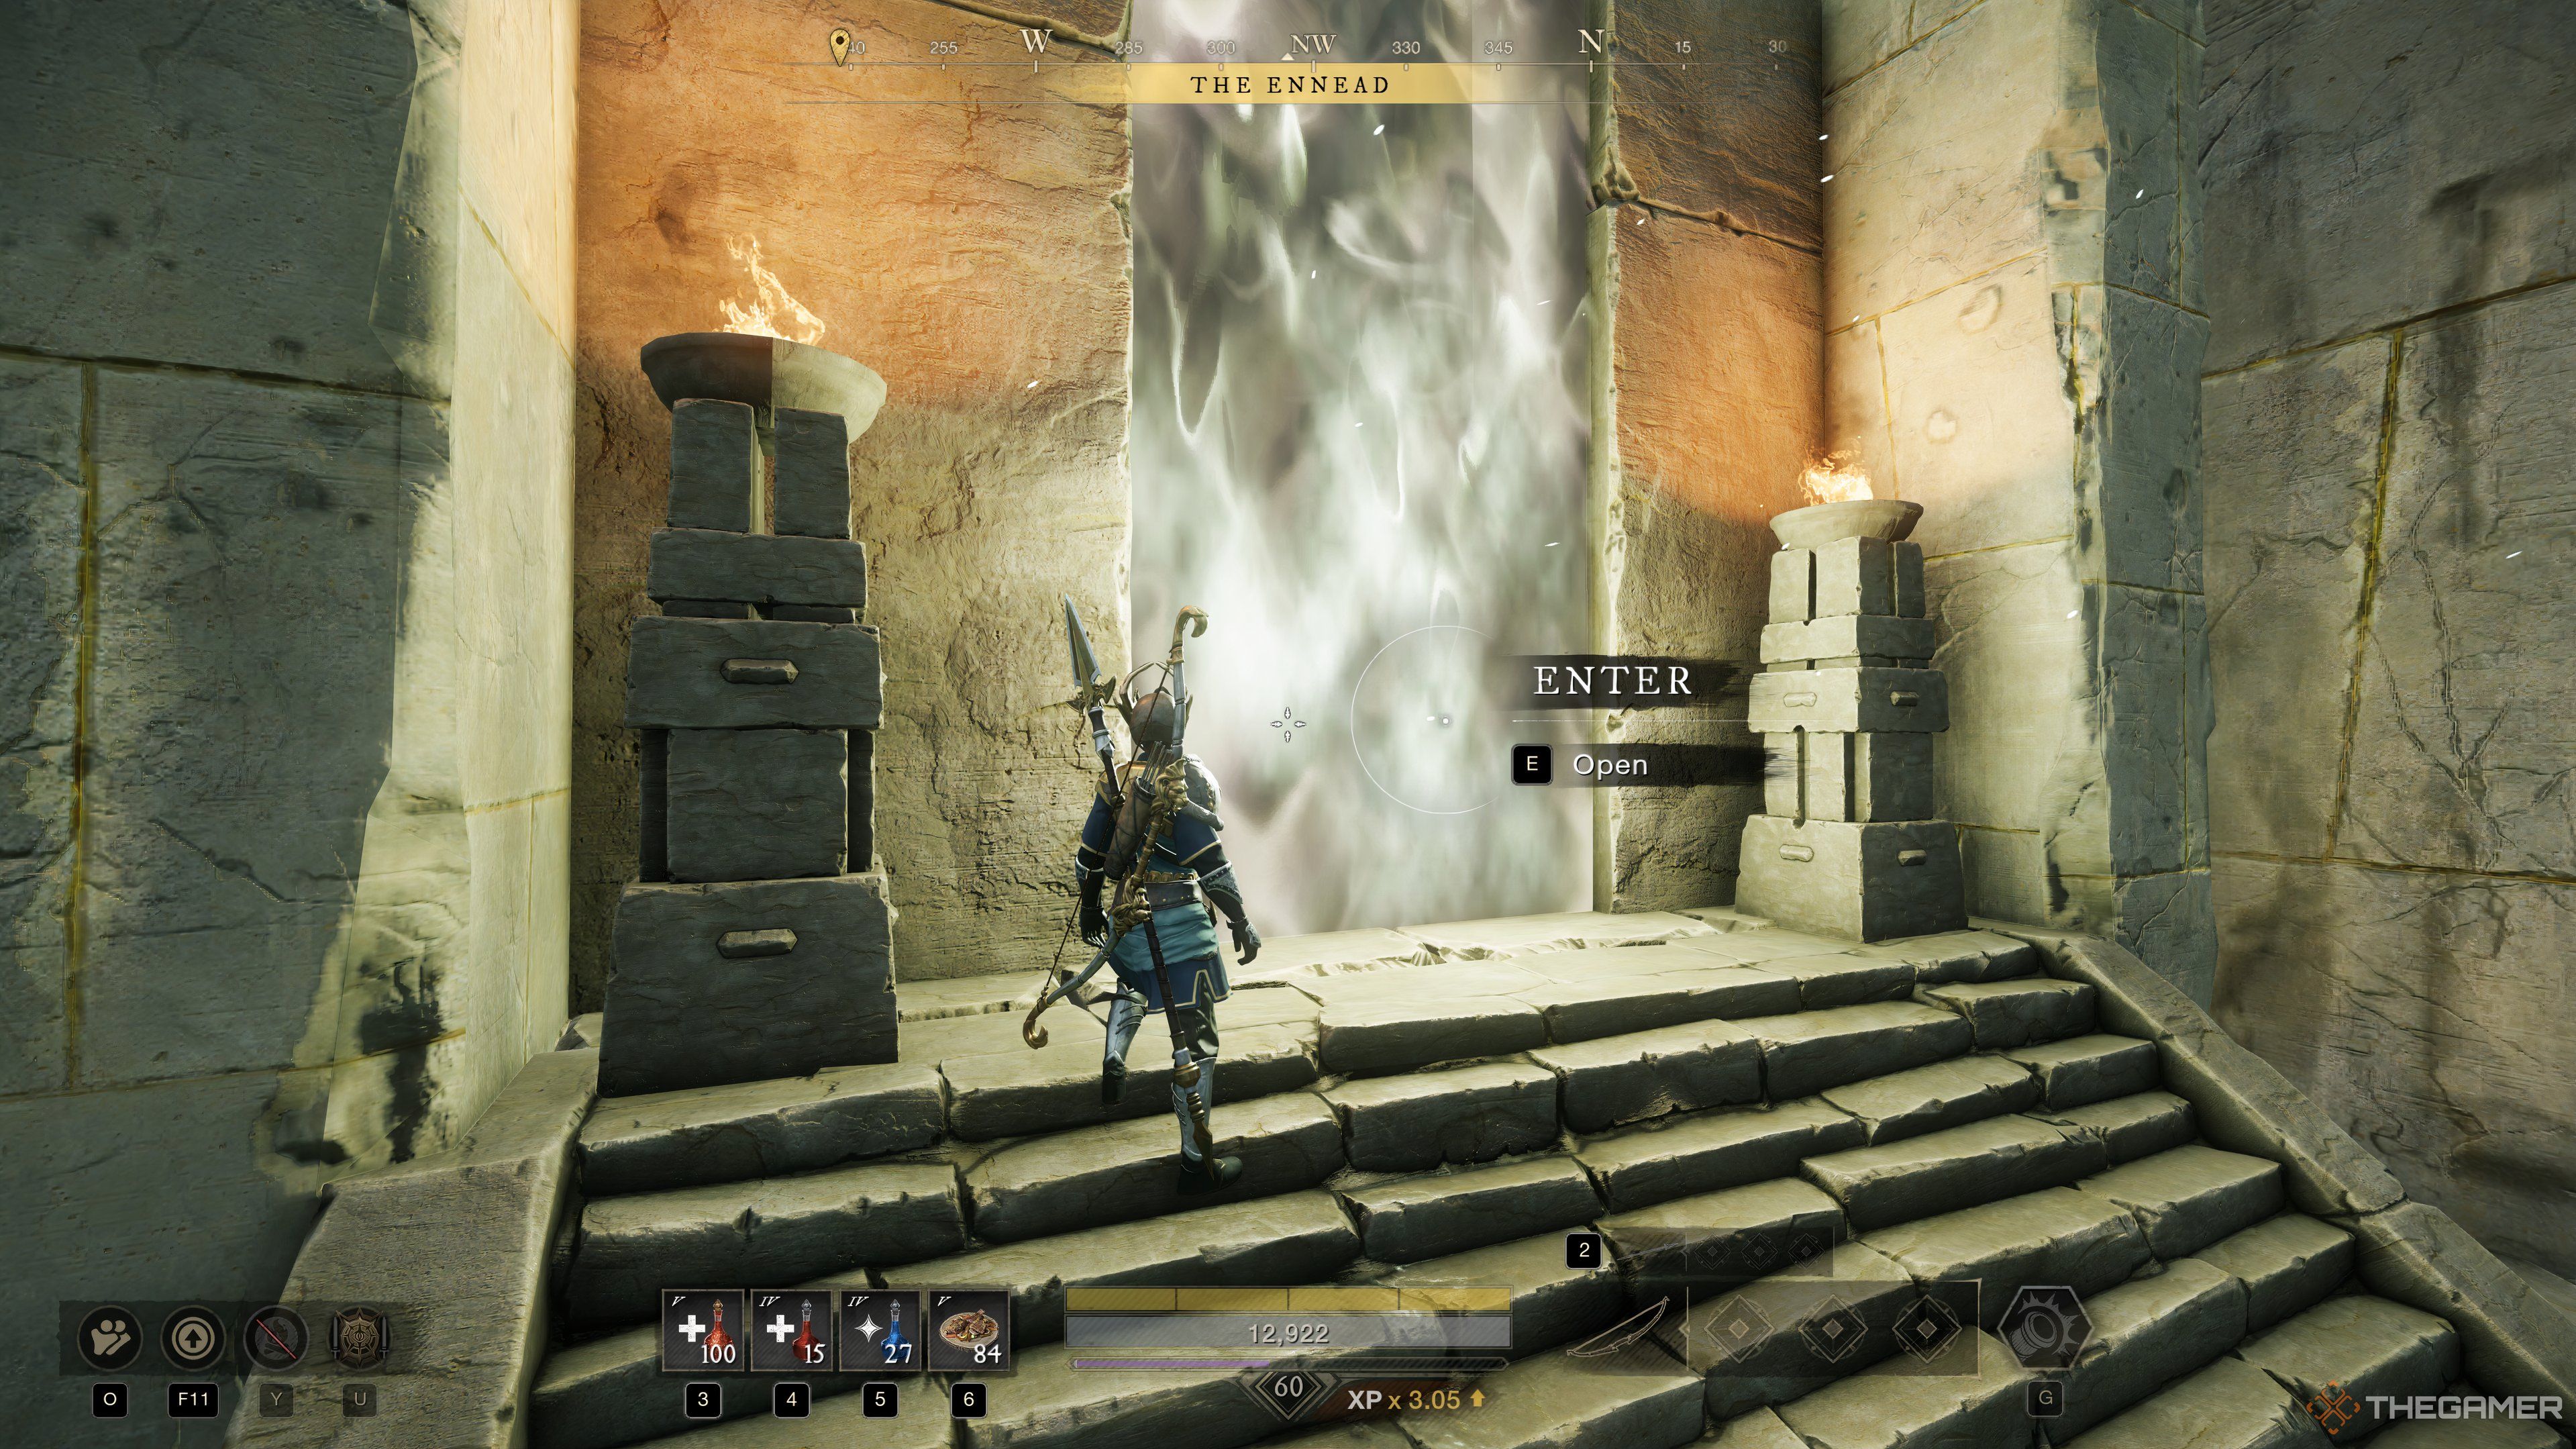
Head directly to an activity entrance, such as an expedition or raid, in the open world. You’ll know you’re in the right place when you see a large, glowing doorway. After you enter, you can interact with the lobbies or queue for a run from there.
Option 2: Find On The In-Game Map
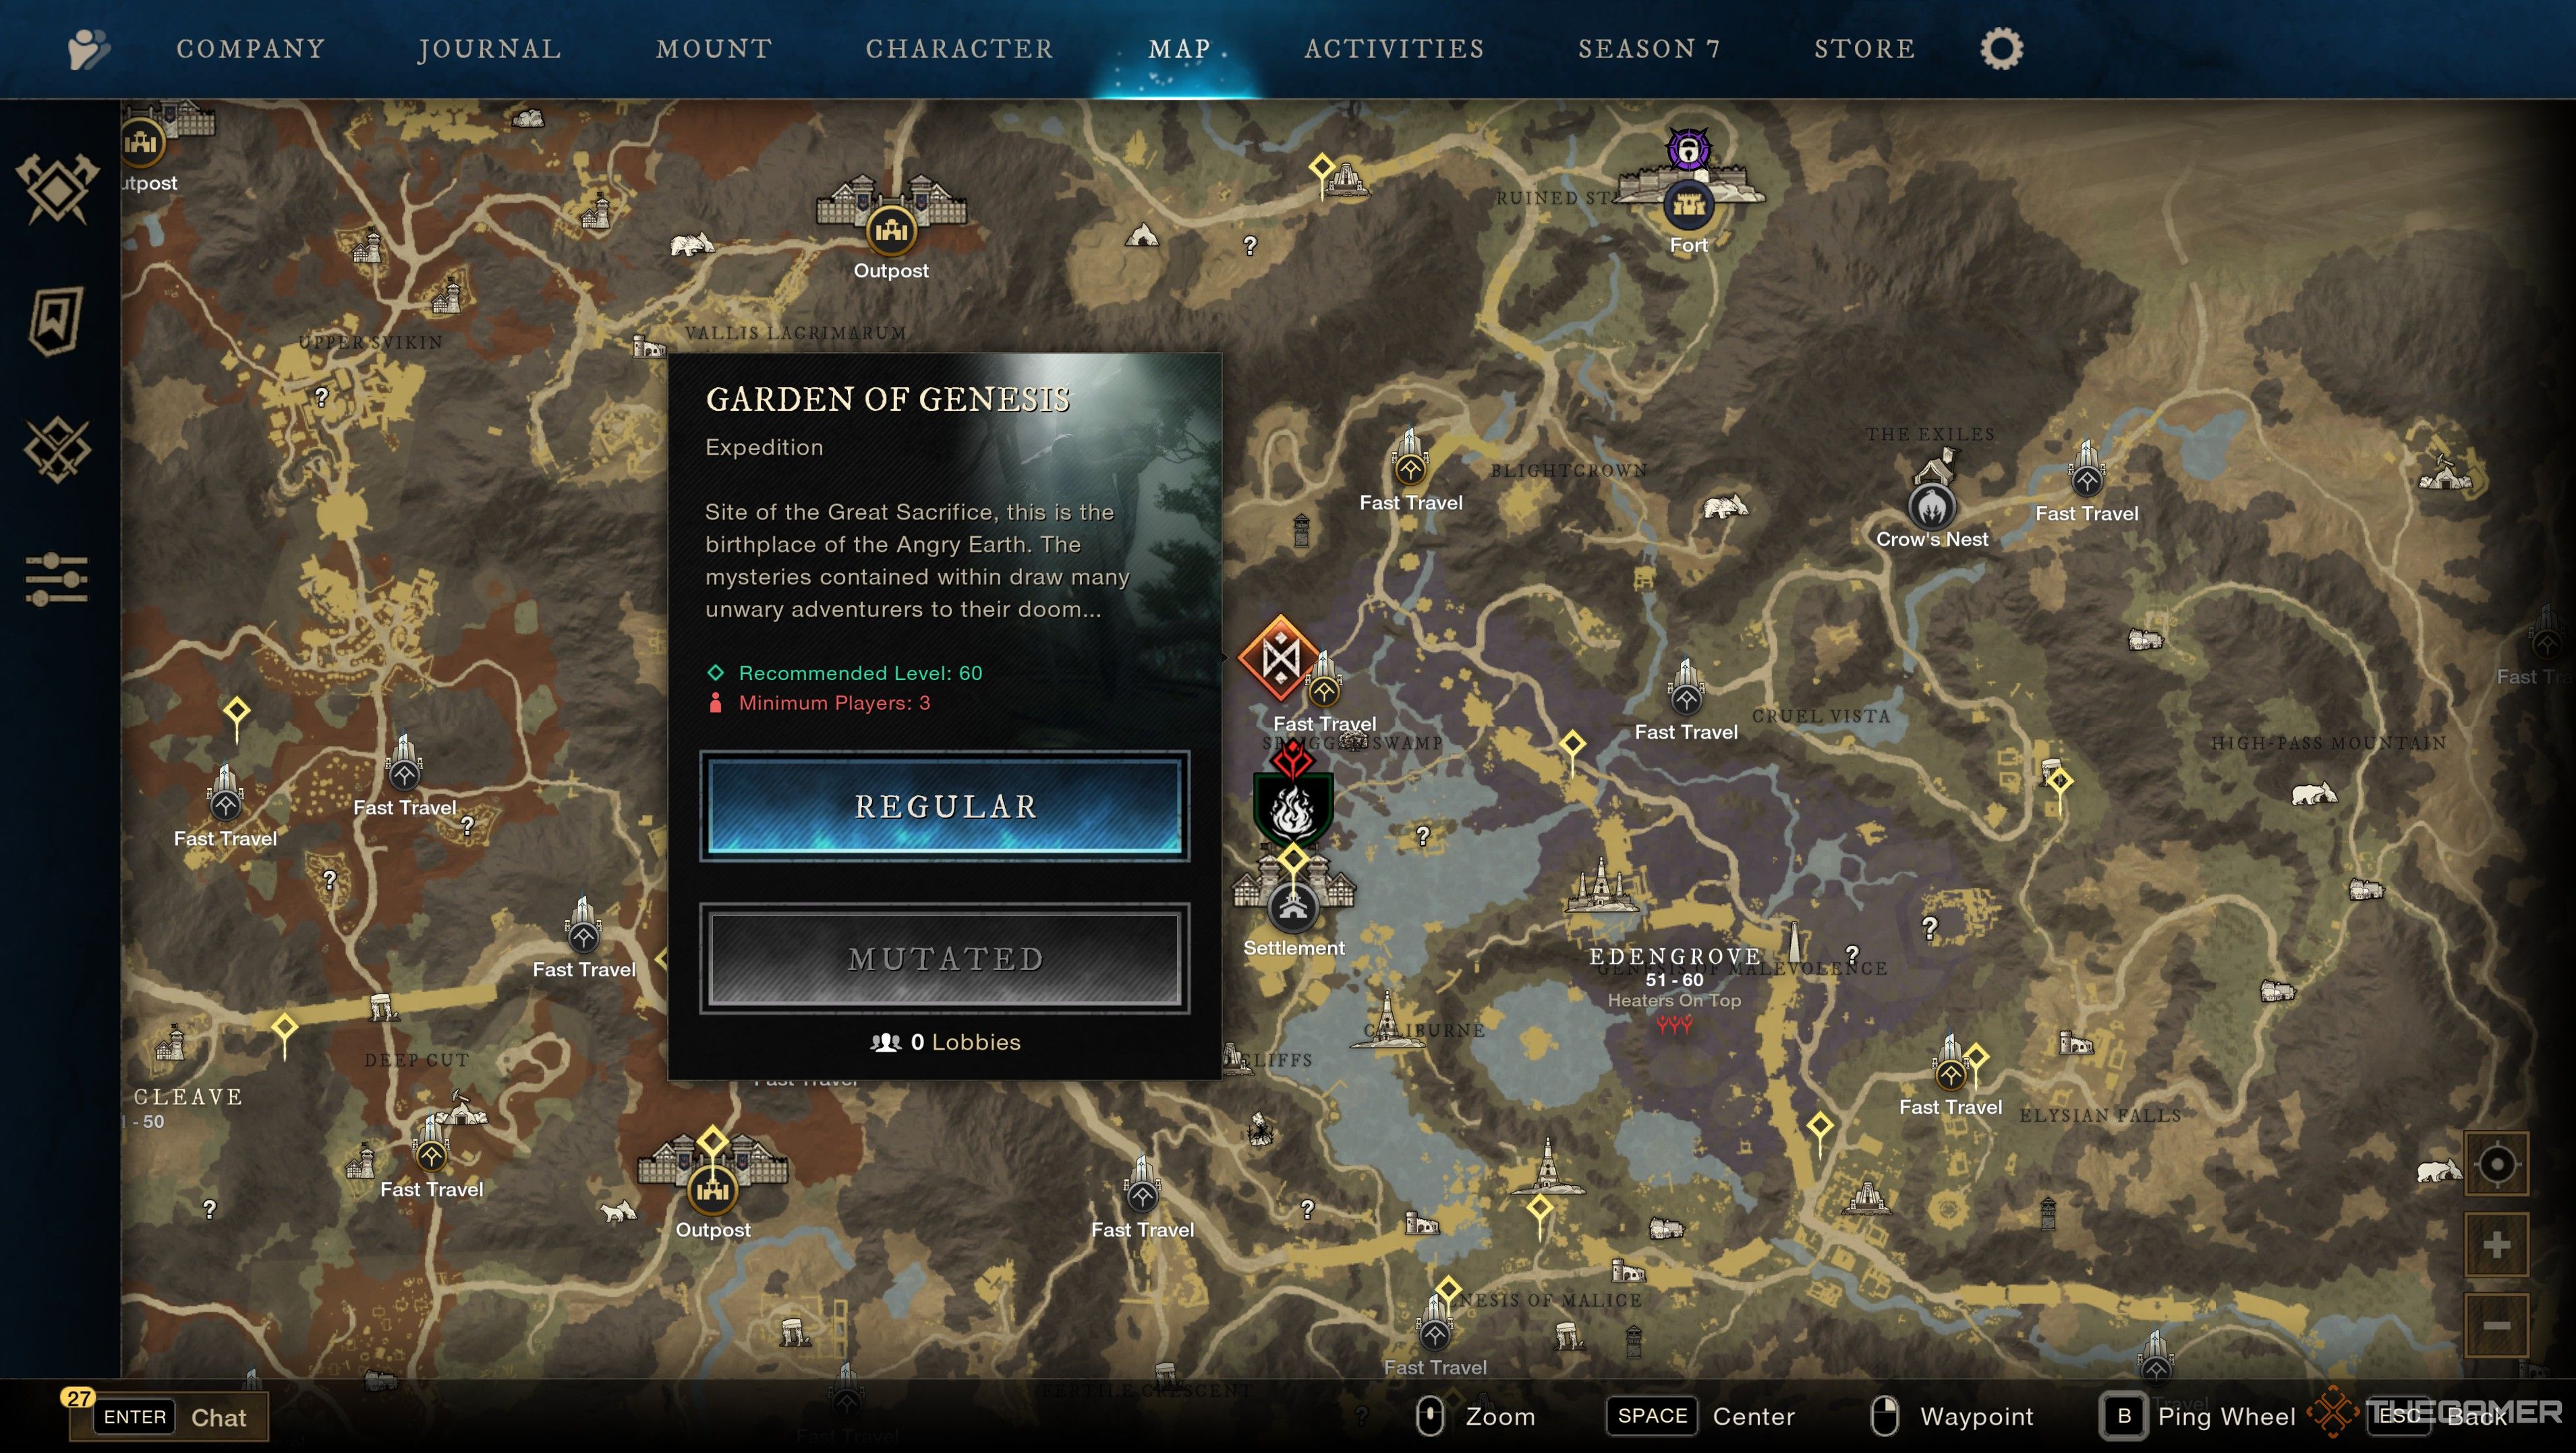
- Press “M” to open the World Map.
- Search until you find the icon on the map of the activity you want, such as Amrine Excavation or Garden of Genesis.
- Once found, hover over the icon to bring up a floating activity menu.
- Select the difficulty of the activity you want to join.
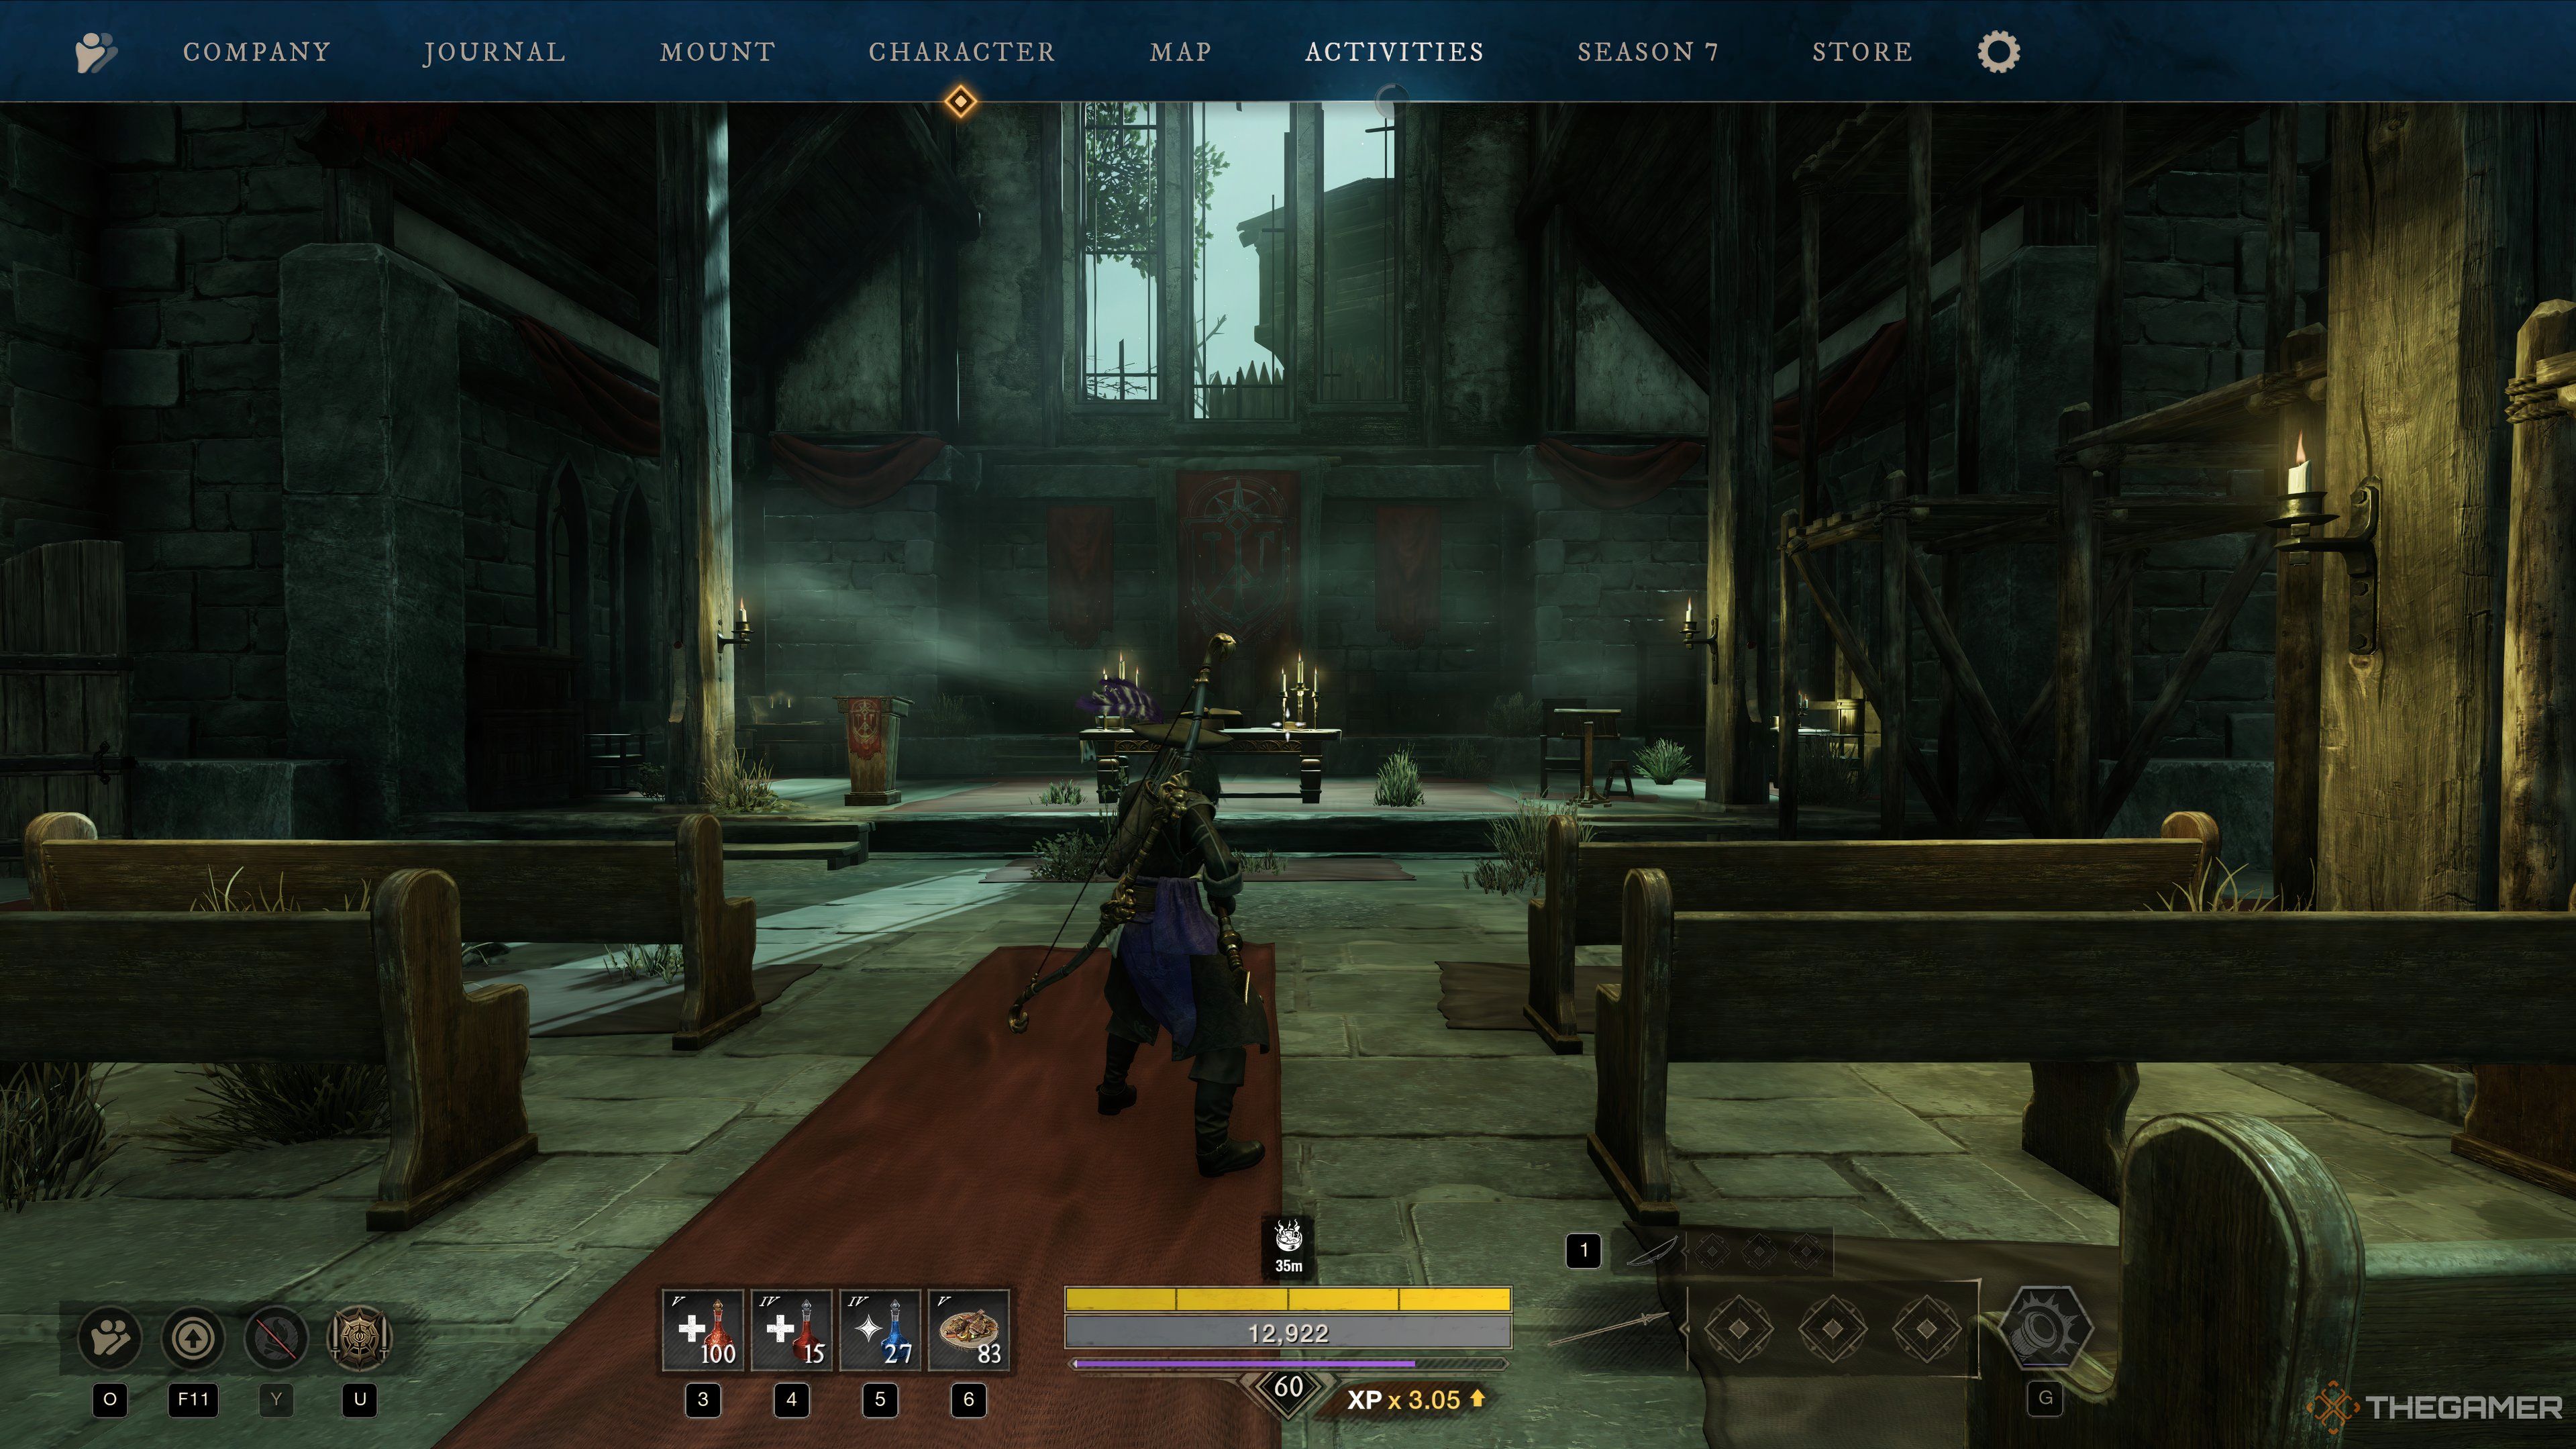
- Go to the game menu by clicking “Esc”.
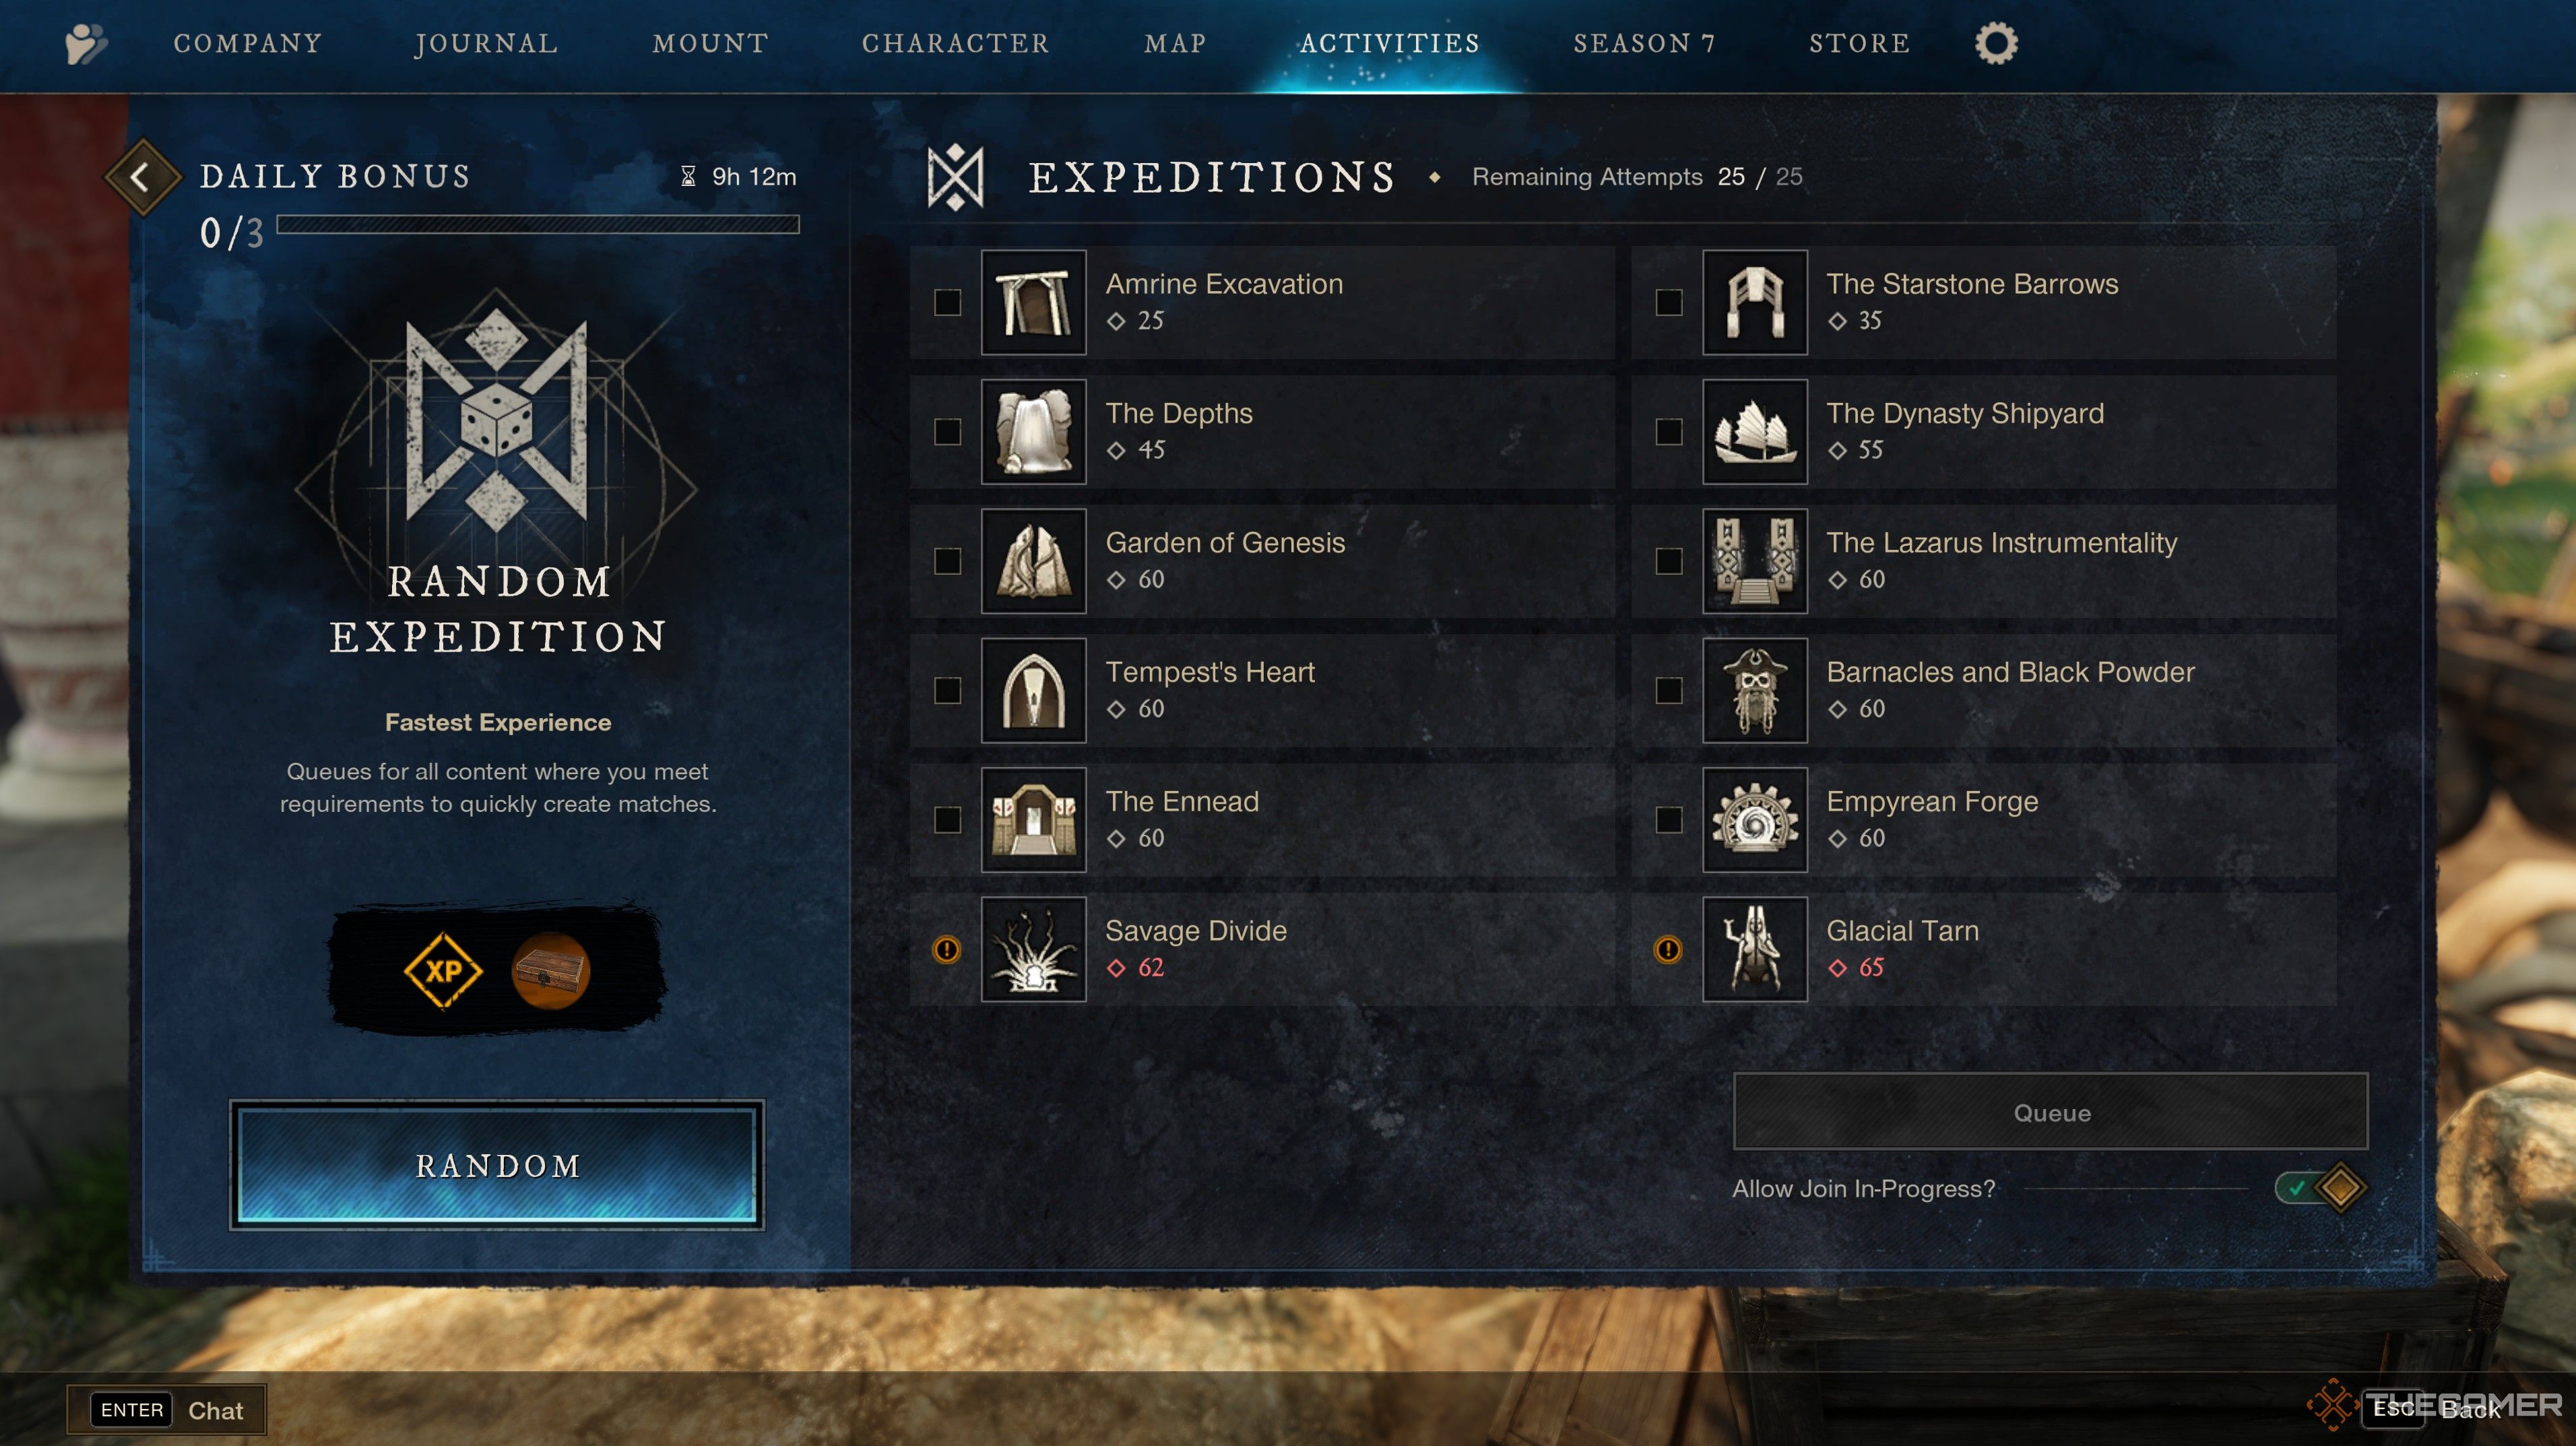
- At the top, select “Activities” to open the Activity Finder.
- Once in the Activity Finder, click the specific activity type you’d like to join beneath the PvE or PvP sections, such as Expeditions, Elite Trials, or Outpost Rush.
- After you’ve picked the type of activity you want, you’ll see a list of group content on the right. You can pick a specific activity that fits your level, or go with the Random option to get queued into any available one.
Most activities come with level and gear requirements, so make sure your loadout meets the minimums before queueing. Take a moment to check your current gear score and confirm your role. You can do this by pressing “tab”.
Your gear score will be on the bottom left of the inventory screen. Whether you’re signing up as a Tank, Healer, or DPS, it’s important to queue accordingly to avoid being declined from lobbies.
If you’re queueing solo, choosing Random Expedition can speed up matchmaking significantly.
How To Join An Activity Using The Activity Finder
After selecting your specific activity through one of the methods above:
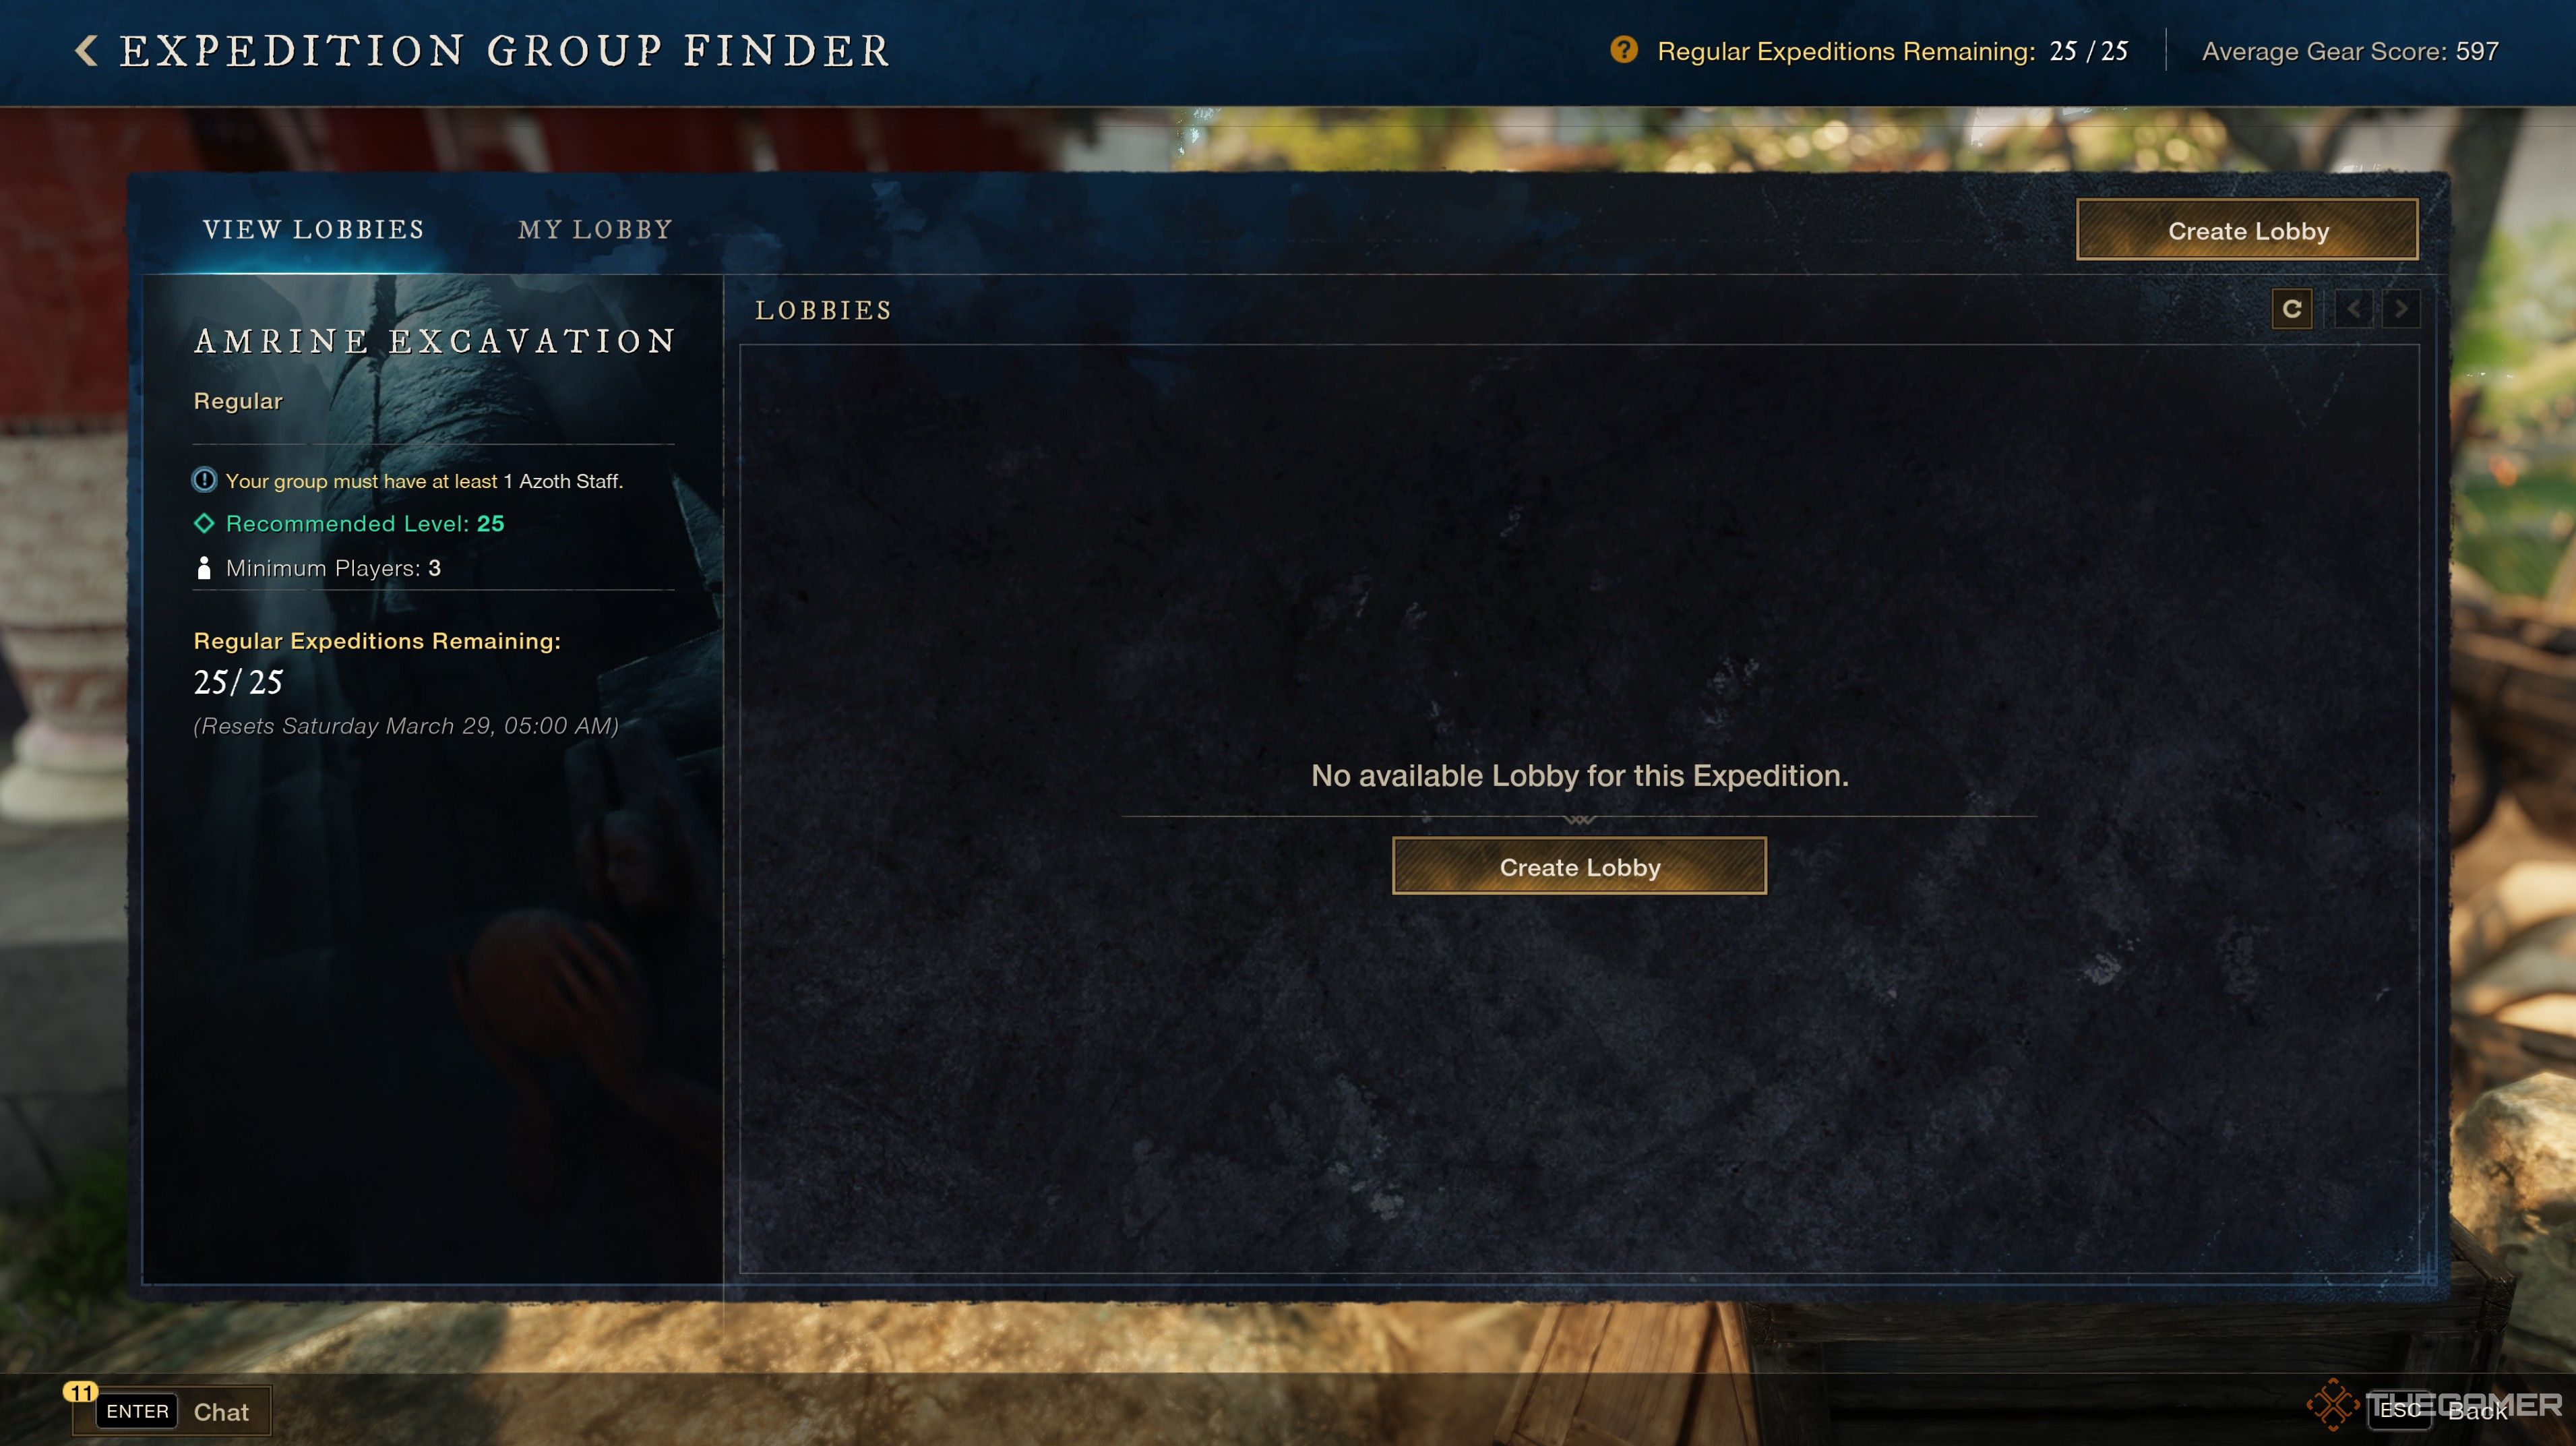
- You’ll see a list of available lobbies waiting to enter, or a notice saying “No available Lobby.”
- If no lobbies are listed, click “Create Lobby” to start your own.
- Once you find a lobby that fits, select your role: DPS, Tank, or Healer.
- Then, hit “Request to Join” and wait for the group to approve your spot or for the queue to fill.
- If you don’t want to join a lobby, press Queue to wait for the game to match you up with other players.

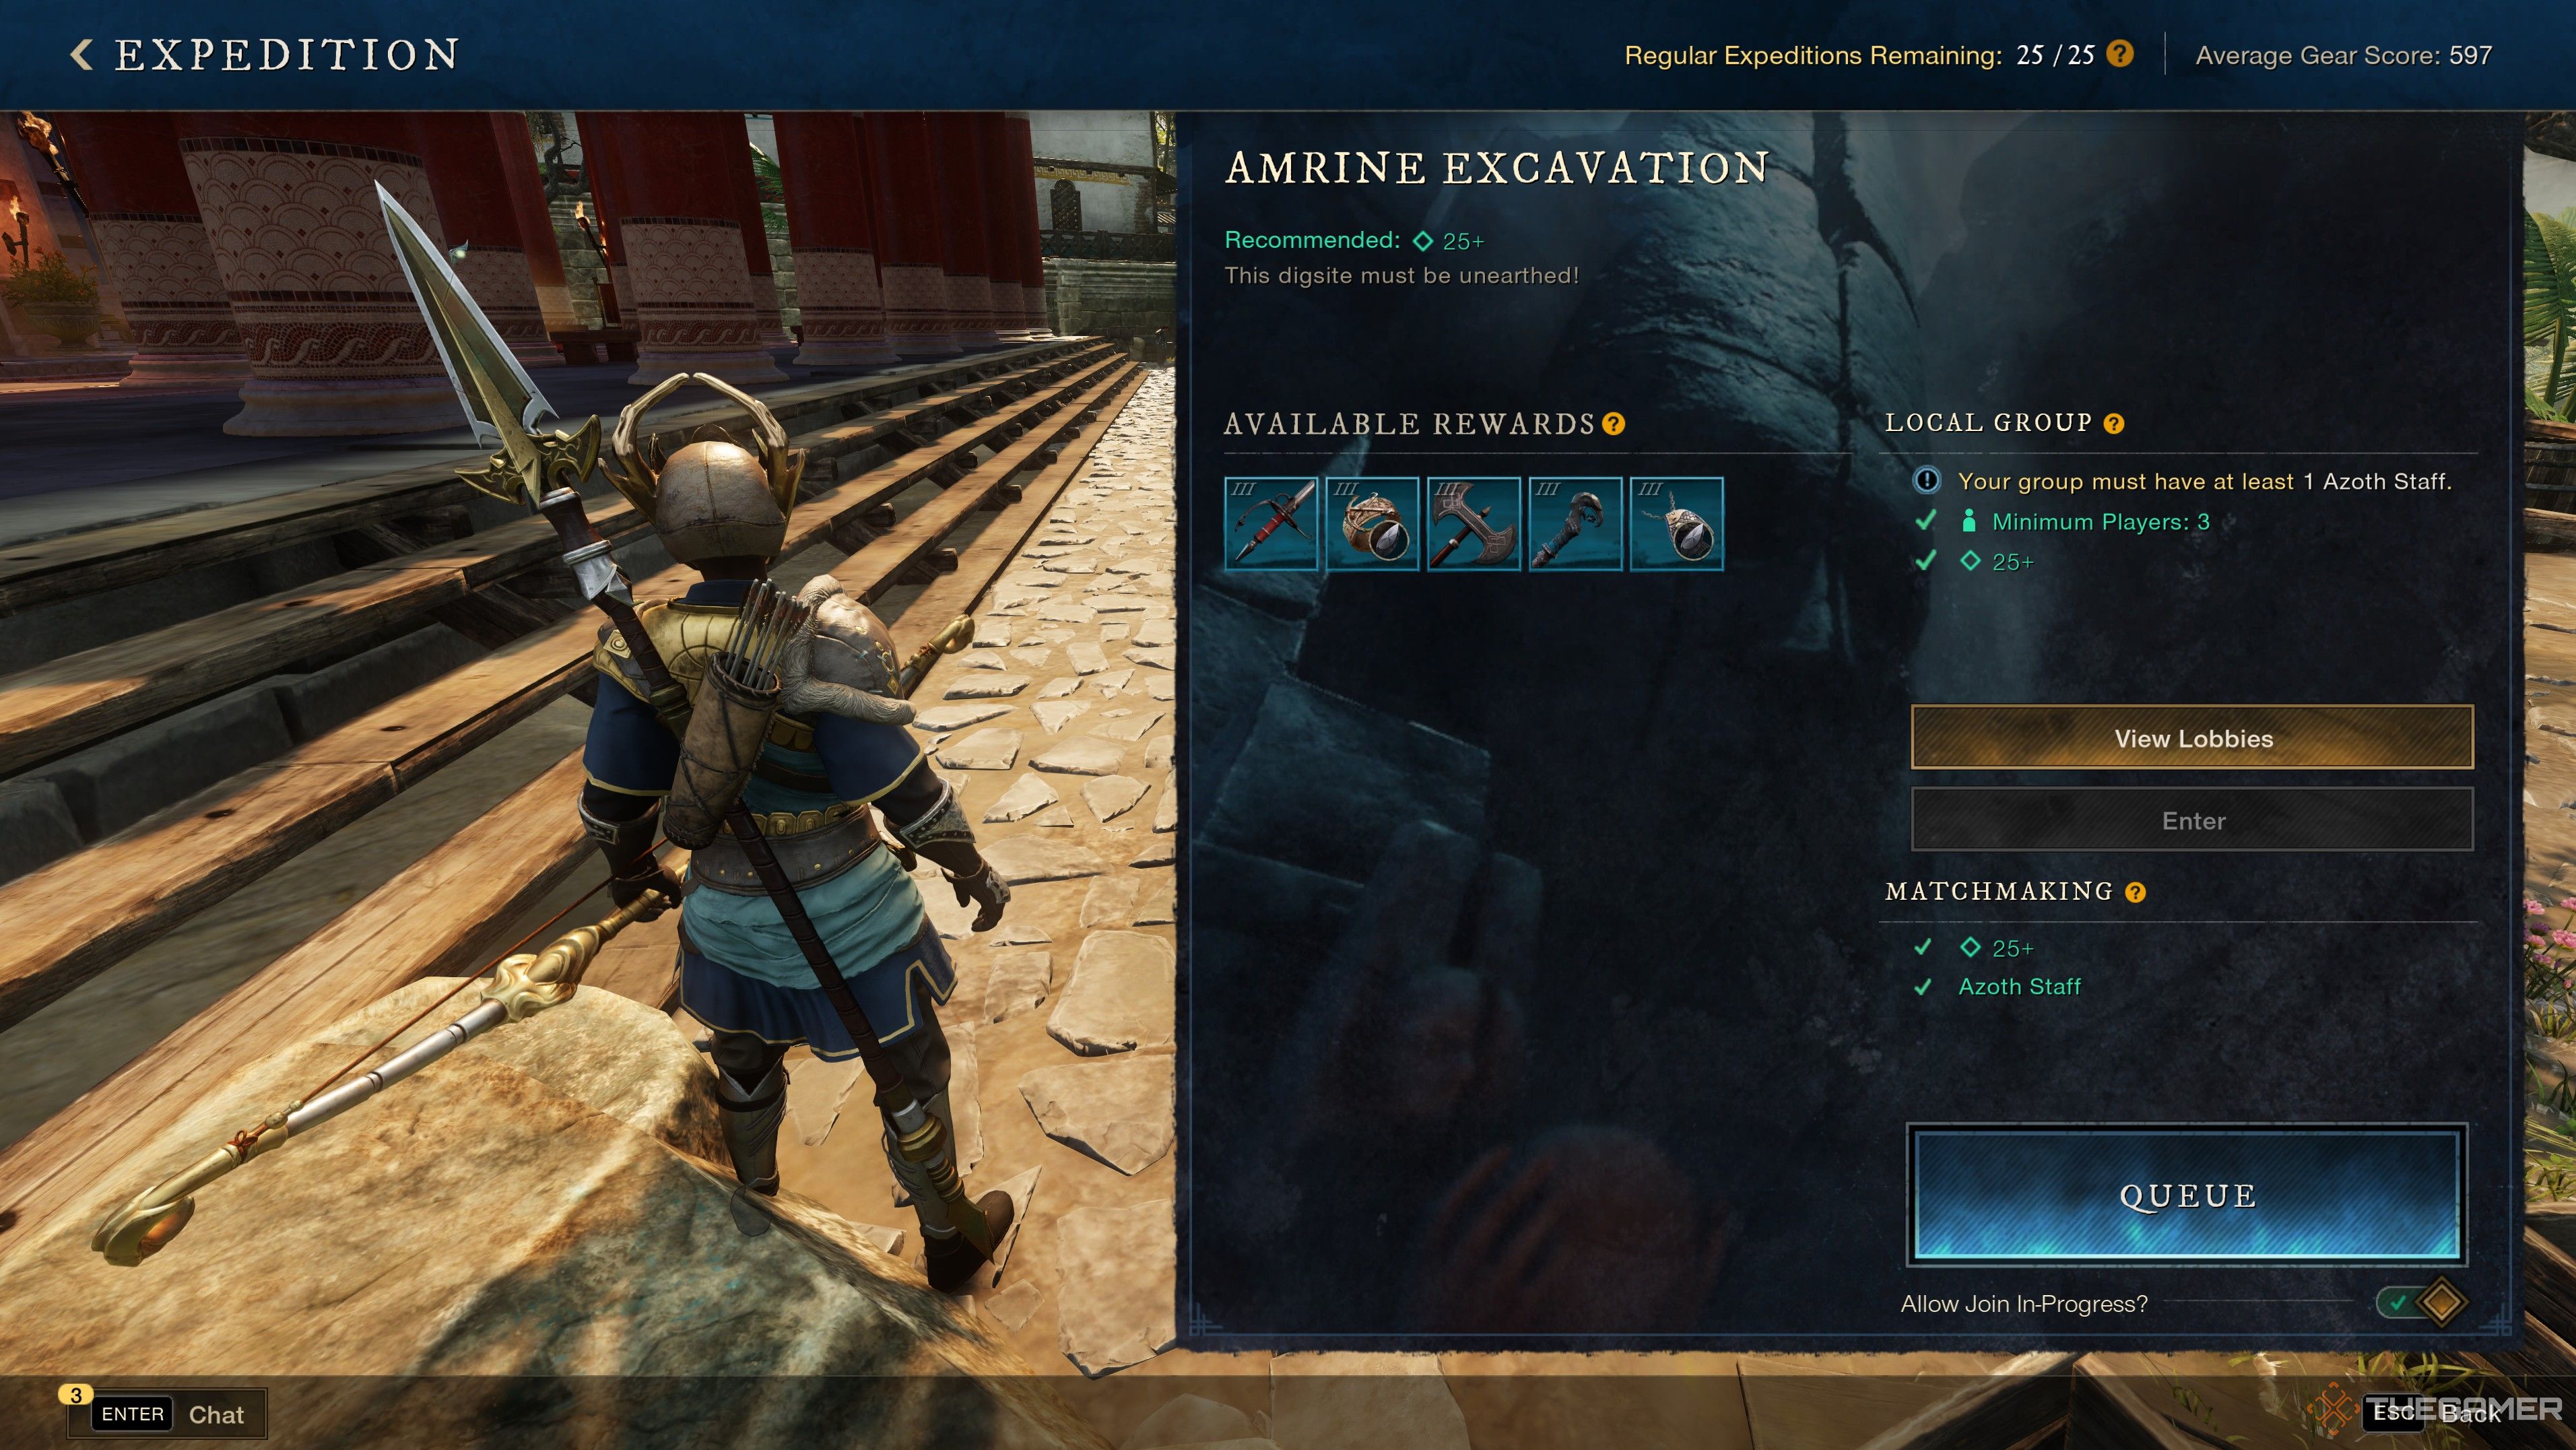
Some lobby hosts only accept players with a minimum gear score, level, or with specific roles or gear equipped, so be aware before you join. Make sure you meet the expedition prerequisites, too. For Amrine Excavation, for example, you’ll need to be at least level 25 and have the Azoth Staff equipped.
How To Create An Activity Finder Lobby
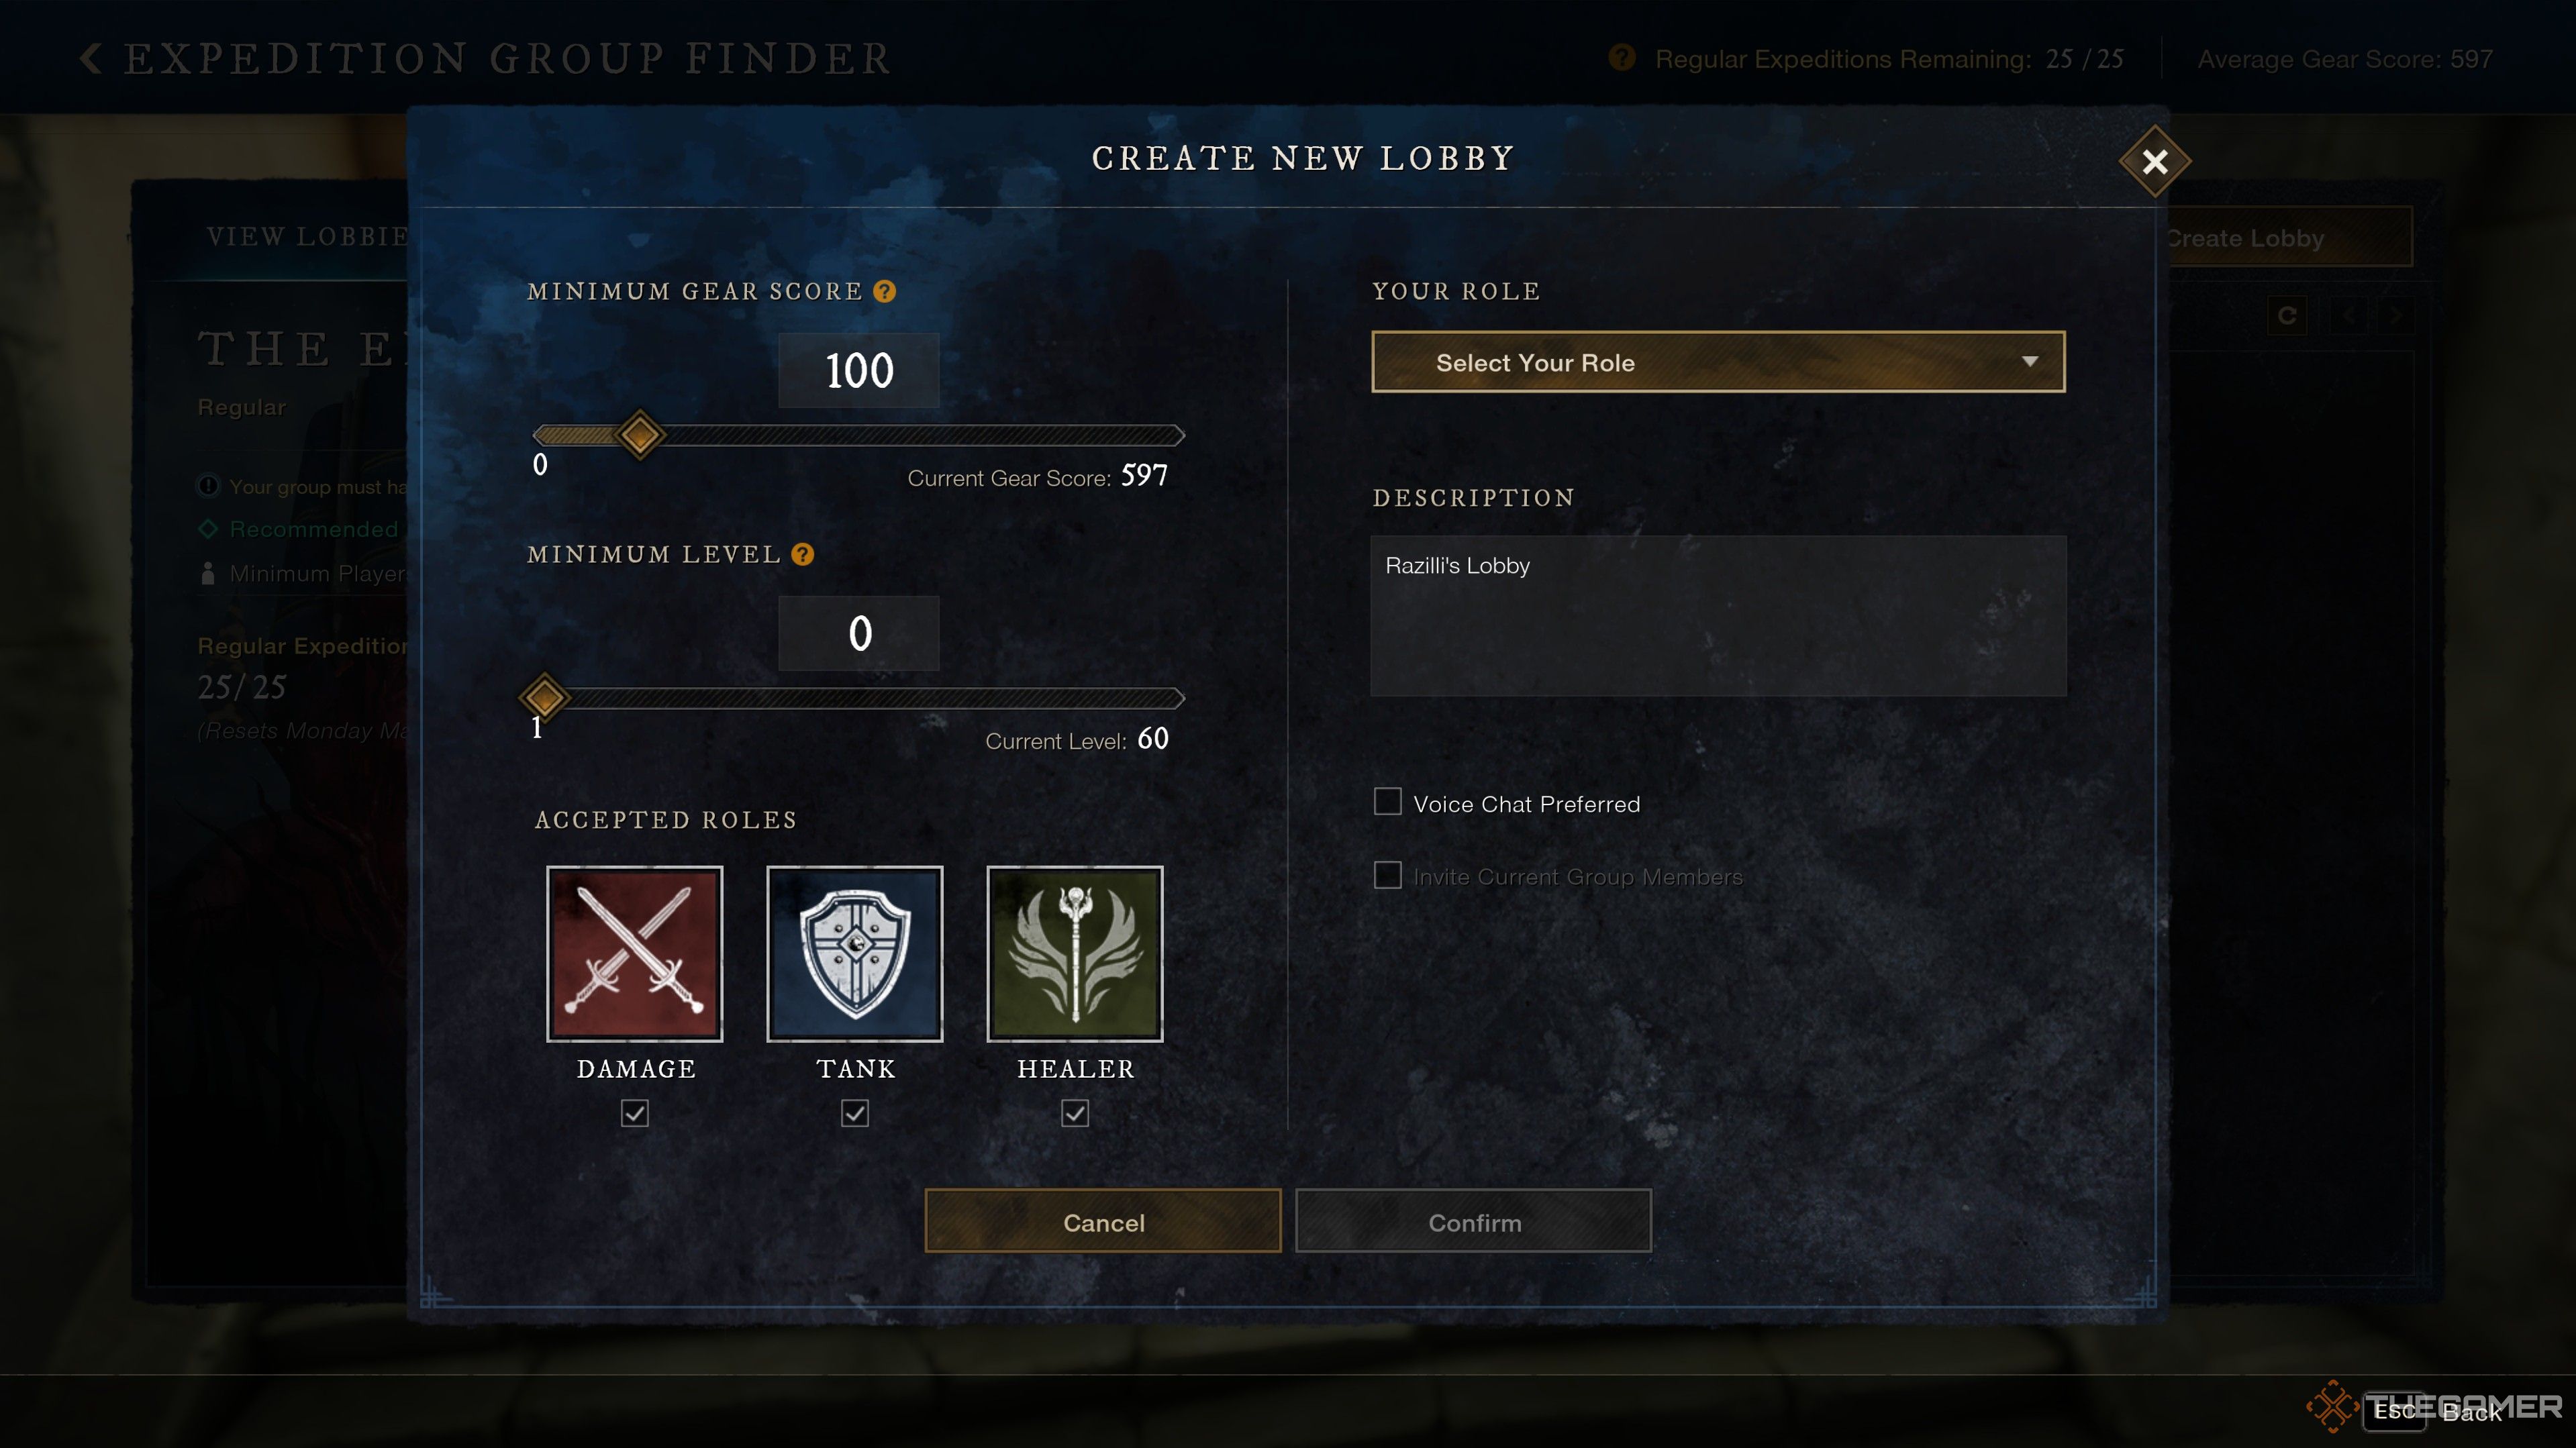
If you don’t see any listed lobbies, you can create your own. Click “Create Lobby” after selecting your expedition or activity. While in the Create New Lobby Menu, you’ll be met with several options to customize your lobby.
|
Setting |
Use |
|---|---|
|
Minimum Gear Score |
You can use the slider to set the minimum gear score required to join your lobby. The minimum gear score can’t exceed your own gear score. |
|
Minimum Level |
Similar to the previous slider, you can set the minimum level players must be to join your lobby. The minimum level can’t be set higher than your own level. |
|
Accepted Roles |
You can check the box beneath each of the roles you want in your lobby. You aren’t required to have the holy trinity of DPS, Healer, and Tank, but it’s heavily recommended. |
|
Your Role |
Select the role you’ll fill for the lobby. |
|
Description |
You can add a custom description to the lobby, like “Syndicate Only” or “New Players Welcome”. |
|
Voice Chat |
You can make sure all players who join your lobby have some sort of voice communication. |
|
Invite Current Group Members |
You can automatically invite any members in your group to the lobby once it’s created. |
Once you’re confident your lobby settings are in place, hit Create to make it visible in the Group Finder. Your listing will now appear for other players browsing that activity, and they’ll be able to request to join your party directly through the interface.

Next
New World: Aeternum – Archetype Tier List
Choose your Archetype wisely; discover the best and worst classes in New World: Aeternum!




Leave a Reply