The First Berserker: Khazan divides the main story into missions. Each mission takes place in a separate location, and you’ll have to go through the entire area to find the boss to complete the mission. Throughout your journey, you’d also want to collect as many collectibles as you can for the added benefits.

Related
The First Berserker: Khazan – Netherworld Energy Guide
This guide will show you the way to every Netherworld Energy stock in The First Berserker: Khazan
However, going through these missions isn’t often easy, and there are certain obstacles that can be pretty challenging to deal with if you don’t know how. The Inconceivable Truth is also a pretty challenging quest to navigate, with Soul Stones hidden in places that can easily be missed.
Inconceivable Truth Walkthrough

The Inconceivable Truth is the ninth mission in the game and can be accepted after defeating Elamain at El Ravaca during the Devoured Village mission. Before you head into this area, don’t forget to craft some Plague Cleanse Potions because you’ll need a few of those in this area.
The mission takes you to the Linon Mines, where you’re tasked with finding Yulian, and it’s recommended that you’re at least level 69 before attempting this mission. You can find a total of three Soul Stones in this area, and one Jarling, which can be quite tricky to find.

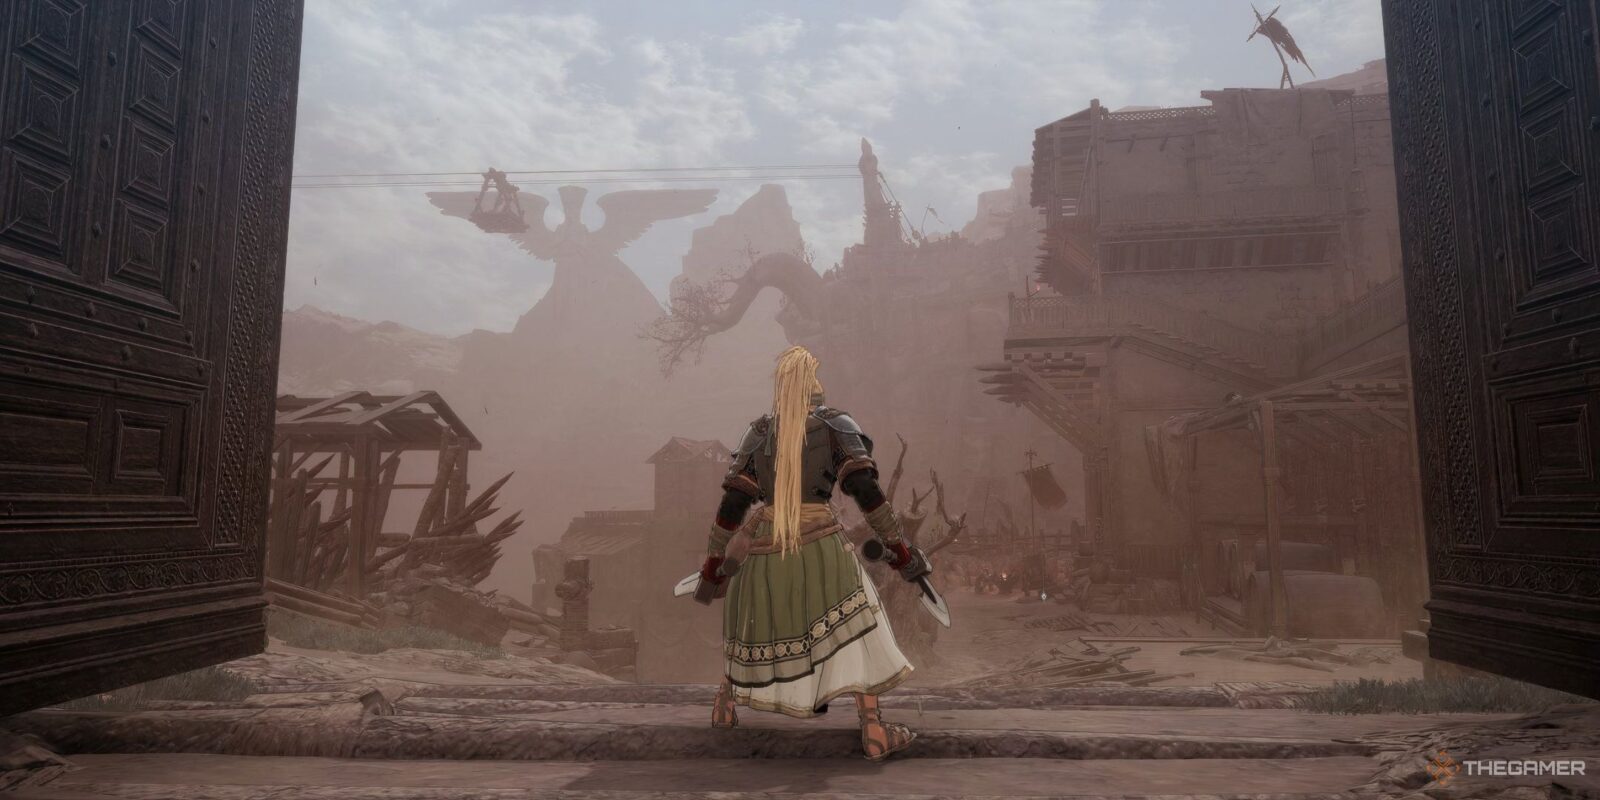
As the mission starts, you’ll have to talk with Tristan a little before moving ahead and activating the Blade Nexus. Open the giant gate, and you’ll officially enter the area. Immediately, you’ll find that the path branches in two. If you go right, you’ll only find two units of Fire Resistance Elixir and three stones, but you’ll have to fight against a couple of soldiers.
Grab all of that quickly before going back and heading downstairs to progress further. You’ll find a couple of imperial soldiers practicing on a training dummy with one knight watching over them. The knight is quite strong, but you can also one-shot them from a distance with a fully charged javelin to the head if they’ve yet to discover you.
How To Find The First Soul Stone

After clearing off the enemies, you’ll find your very first Soul Stone in the area here. Unfortunately, you can’t reach it yet, and you’ll have to head into the house. Open the gate to your left, and you’ll be outside. Now, from here, turn right immediately, but don’t go up the stairs yet.
Instead of using the stairs, go further ahead, and you’ll notice a wooden barricade blocking your path. Destroy the wooden barricade and head further ahead to find and destroy your first Soul Stone of the Linon Mines.
How To Unlock The Shortcut To The Imperial Army Lookout Post

After getting the Soul Stone, go up the stairs and keep going further ahead until you come across a bridge barricaded by explosive barrels with a couple of enemies. Defeat them and head into the house ahead. After going up the stairs inside the house, you’ll come out on the elevated platform and will be able to see the Blade Nexus from here.
You’ll notice a ladder on the left. If you go further ahead to the path leading to the right, you’ll find another ladder that you can kick to unlock the shortcut. After kicking the ladder, go back to the ladder that you spotted on the left and go up on it.

Keep progressing ahead. You’ll come across a big halberd-wielding knight here. Defeat all the enemies on your path until you come across a house with a ladder inside of it. Climb the ladder and unlock the gate ahead to progress further. You’ll also find a chest inside this house, just right beside the exit.
As you head further ahead, you’ll encounter a ton of enemies, but if you keep on moving, you’ll soon come to the Technician Labor Camp’s Blade Nexus.
How To Clear The Technician Labor Camp

From the Blade Nexus, go straight ahead inside the path near the Blade Nexus, and you’ll encounter a door that can be opened. Get rid of all the enemies in the area, and you’ll reach a large room with an item in one corner of it, guarded by a knight and an imperial archer.
Pick up the item, and it will be an Imperial Post Guard’s Log. You can read through it to find out more about what’s happening here. After picking up the item, there’s an opening in the room leading up to an elevator.

You’ll reach the mines. From here, there’s a path leading to the right and a path leading straight ahead. There’s an imperial battlemage on the path to the right, and they are even tougher than knights, so you’ll have to be wary, and it’s not worth the trouble while you’re this far away from the Blade Nexus.
In order to progress, you’ll have to follow the path leading straight ahead from there. There are a couple of knights on the way, but after you’re done, you’ll find a cell nearby with the Defector’s Scroll.
Keep checking all the cells here. You’ll find Yulian’s Necklace in one of the cells. After finding it, make your way straight ahead, and you’ll eventually reach the Underground Shaft Blade Nexus.
How To Find The Second Soul Stone

As you make your way downward from the Blade Nexus, you’ll immediately encounter an Elite Enemy. Defeat all the enemies in the area and progress ahead until you enter an area where you can spot the second Soul Stone of Linon Mines.
You can throw a javelin to destroy the Soul Stone from here. After destroying the Soul Stone, you have to make your way up through the platforms. You’ll encounter several ladders, bridges, and enemies along the way, but your goal here is to make your way ahead till you reach a hole in the wall that has been barred with explosive barrels.
Don’t use a melee attack on the barrel; use a ranged option to open up the way, and you’ll find many stones emitting plague here alongside multiple enemies. There will also be several crypt worms here pretending to be lost Lacrima, but you can easily spot them by aiming at the Lacrima with your Javelin.
How To Find The Only Jarling

As you make your way from the area filled with plagued enemies, you’ll enter another one with imperial soldiers all over the area. There will also be multiple plague-leaking rocks here. In one corner of this section, you’ll find three jars, and destroying them will uncover the Jarling.
You can also drop into this area from the Cave of Gloom Blade Nexus if you’re worried you might die from lingering around here for too long because of all the plague.
Keep going ahead as you kill all the enemies on the way until you reach a long ladder guarded by a knight and a mage. Get on top of it and continue to progress further. After progressing a little, you’ll come to the platform near where you encountered the second Soul Stone in the area, and you’ll be able to kick down a ladder from here.

Keep progressing further. There are tons of enemies from here on, but there’s also only one path ahead, so keep moving. After crossing a long wooden bridge, you’ll encounter a ladder going downward, where you’ll find Volkonov. He’ll tell you that you’ll have to hurry to the top floor to rescue Yulian.
Go on in the area with the red crystals on its walls. Its entrance is right next to where Volkonov is standing, and you’ll shortly arrive at the Cave of Gloom.
How To Find The Third Soul Stone

From the Cave of Gloom Blade Nexus, if you go to the path leading downward, you’ll find the final Soul Stone in the area, but it’s difficult to spot at first sight as it blends well with all the other red crystals in the cave.
There are more wooden bridges on the way and long ladders, but the way to the next Nexus Blade is very short and straightforward. Shortly after, you’ll be able to spot the final Blade Nexus with your eyes, but you won’t be able to reach it right away.
There’s a Knight Elite Enemy on the giant wooden bridge that you’ll have to defeat as the final obstacle to reach the Execution Ground Entrance Blade Nexus. From here, you’ll have to fight Shactuka to complete the mission.

Next
The First Berserker: Khazan – 8 Beginner Tips
Here’s everything you should know before diving into the formidable world of The First Berserker: Khazan!