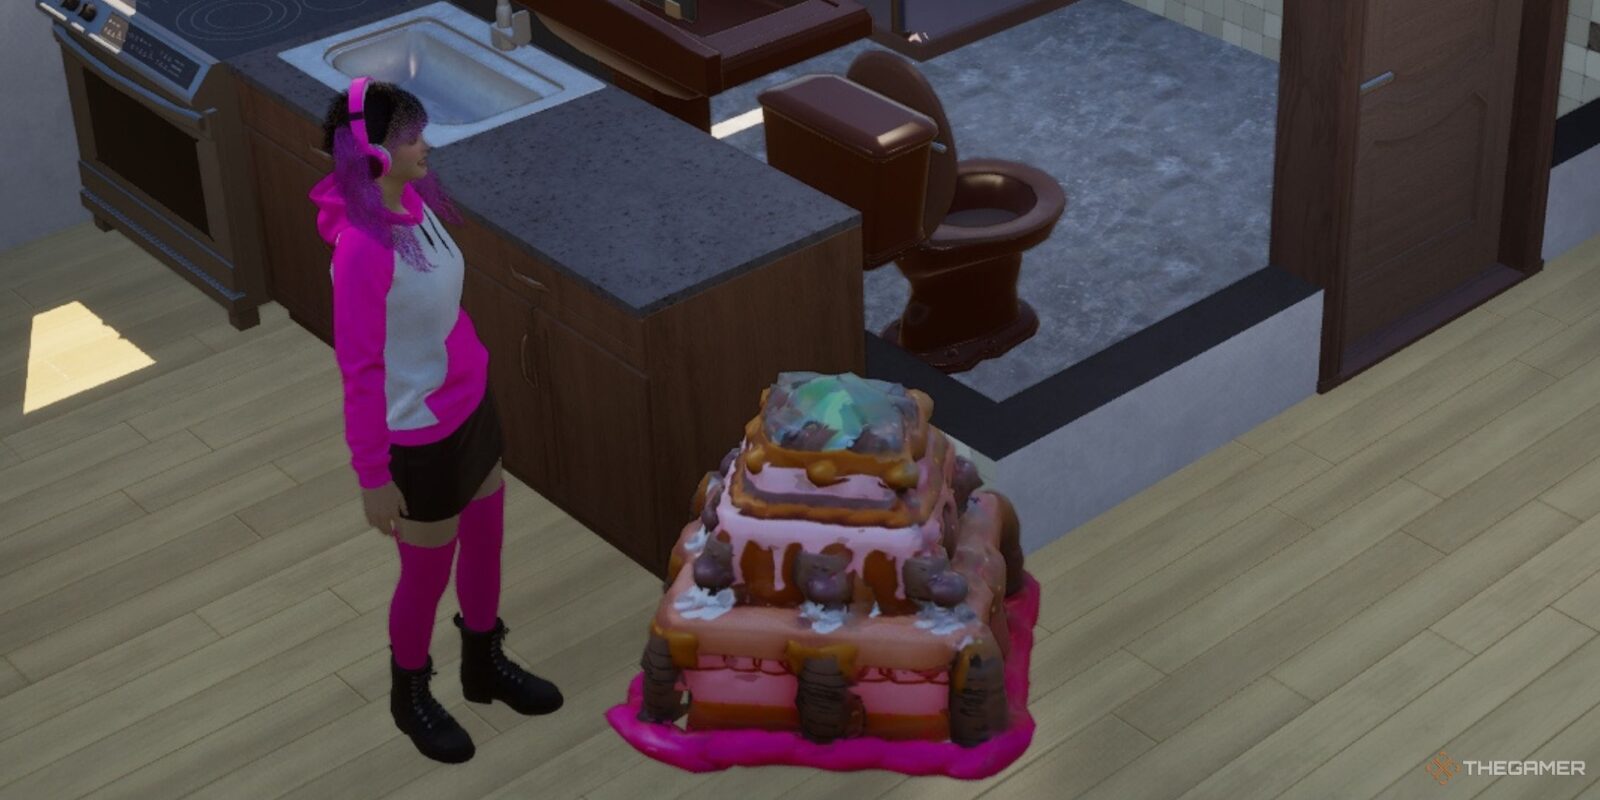
InZoi lets you craft your own objects using a 3D Printer, and it’s a fun feature to experiment with. You can also get your favorite objects in the game and place them in your apartment. Take a picture of the items you cherish in real life and bring them into the realm of Zois.
If you customize your room with these objects, you will feel right at home. However, it can be complicated to generate clean objects, especially if your image is poor quality. There are a few things and tips to keep in mind if you want to get better results with the 3D Printer.
InZoi is currently in early access on Steam, and the content will change over time. We’ll update this guide as needed in the future.
How To Use The 3D Printer
Open the build mode and choose the Craft tab. Select the 3D Printer from there, and you will be asked to upload an image of an object of your choice. It will then take a few seconds to process and generate the required object.
You can also purchase a 3D Printer for 628 Meows and place it anywhere in the house to have your Zoi make some 3D objects. A single 3D printed object will cost you 100 Meows after you save it when it’s generated.
It may not work well the first time, so you can generate it again if you are not satisfied with the results.
Furthermore, if the 3D Printer is not working at all, you should restart the game and try again.
How To Craft 3D Printed Accessories
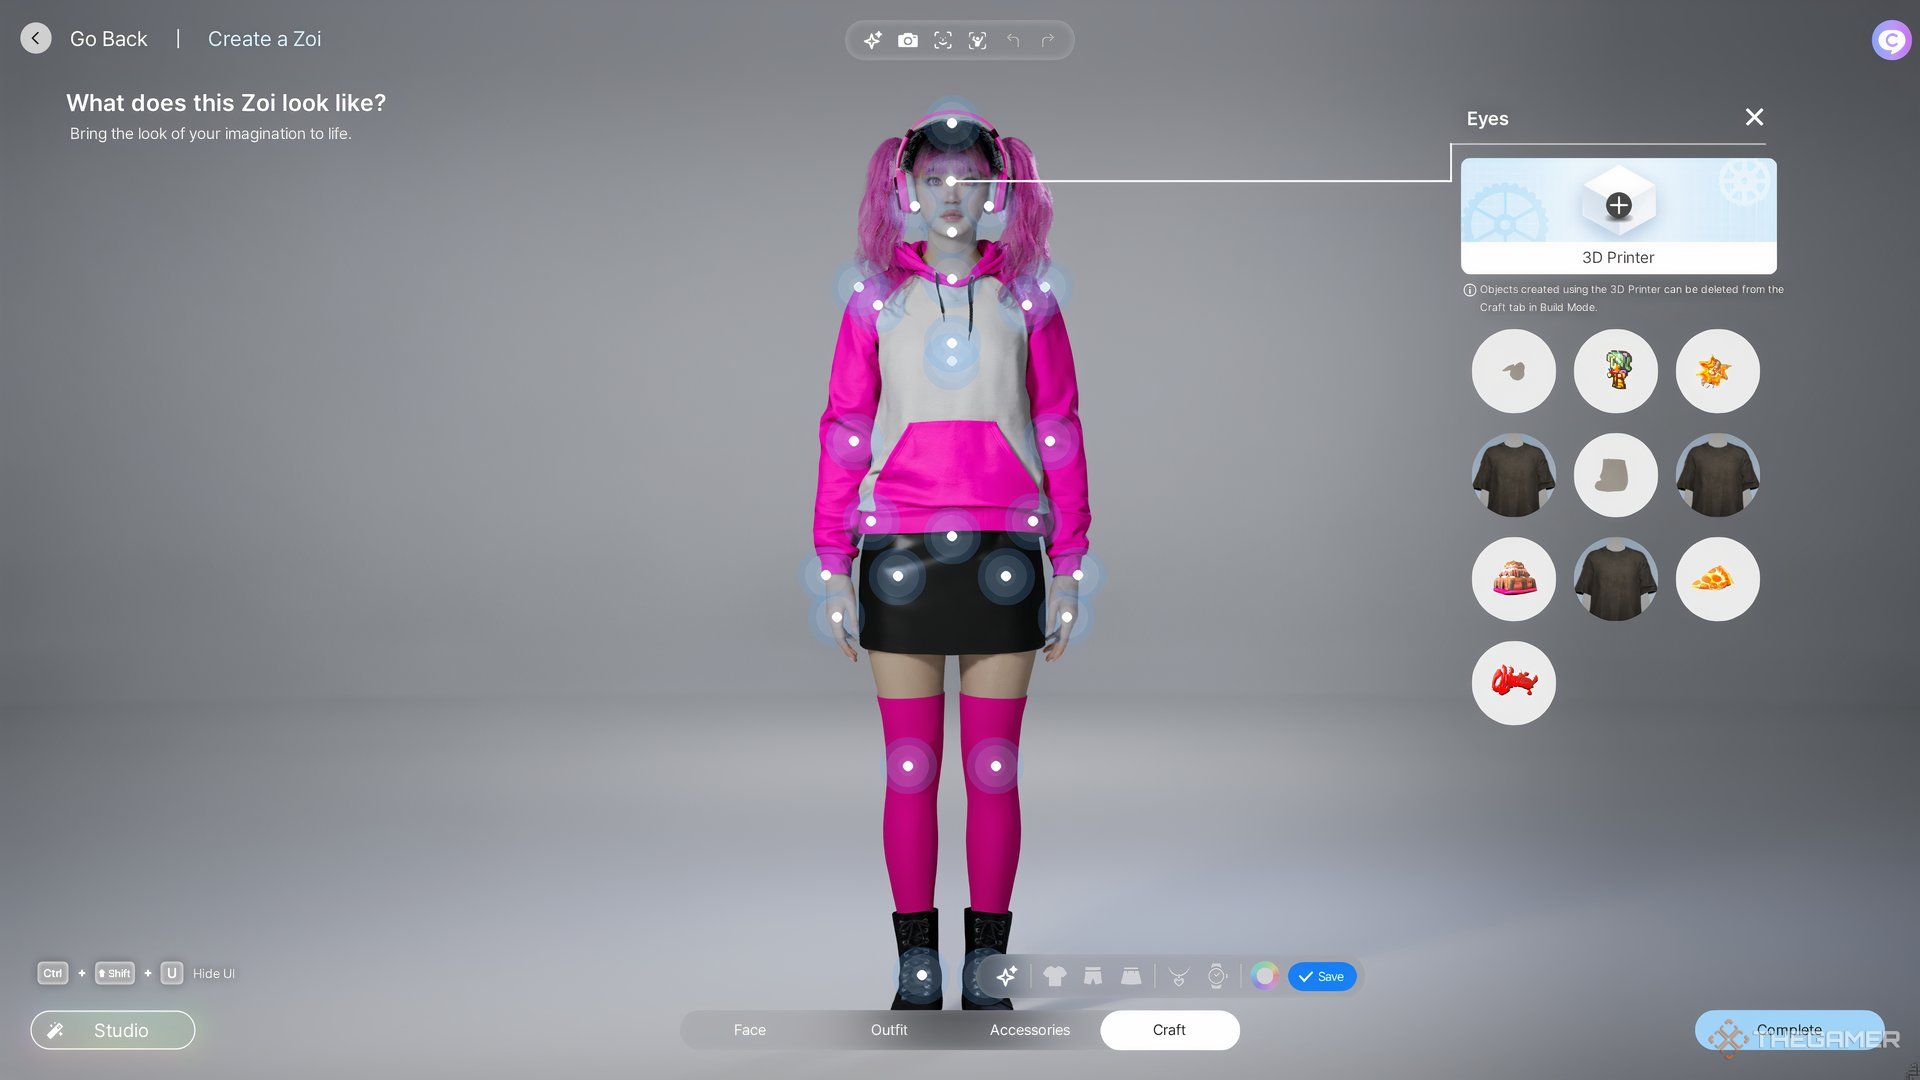
On the right side of the screen, you will find all the objects that you created using the 3D Printer, so you can add any one of them here to have your character wear it as an accessory.
Accessories can be tricky to get right, especially if you want them curved a certain way. For example, when creating an eye patch it would curve inwards instead of outwards. To solve this, we reversed the image design, uploaded it, then spun it 180 degrees so that it was curved the right way without the design being backwards.
How To Get Good Results
There are a few pointers to keep in mind to generate clean objects, as using the 3D Printer can be tricky.
- Make sure that the image you take contains only one object so it can be recognized easily.
- Avoid taking a photo of the object you want in bright light or sunlight to avoid any glare or shine.
- You can also generate objects from 2D images, but it’s much more complicated, especially if the object is meshed with the background.
- It’s much easier to get clean objects if you have a green screen, transparent, or a contrasting background.
- If you find a few edges missing, you can try rotating the object in the image or changing its placement to try again.
- You are more likely to accurately generate simpler objects as the 3D Printer may not capture details properly.
How To Edit The Object
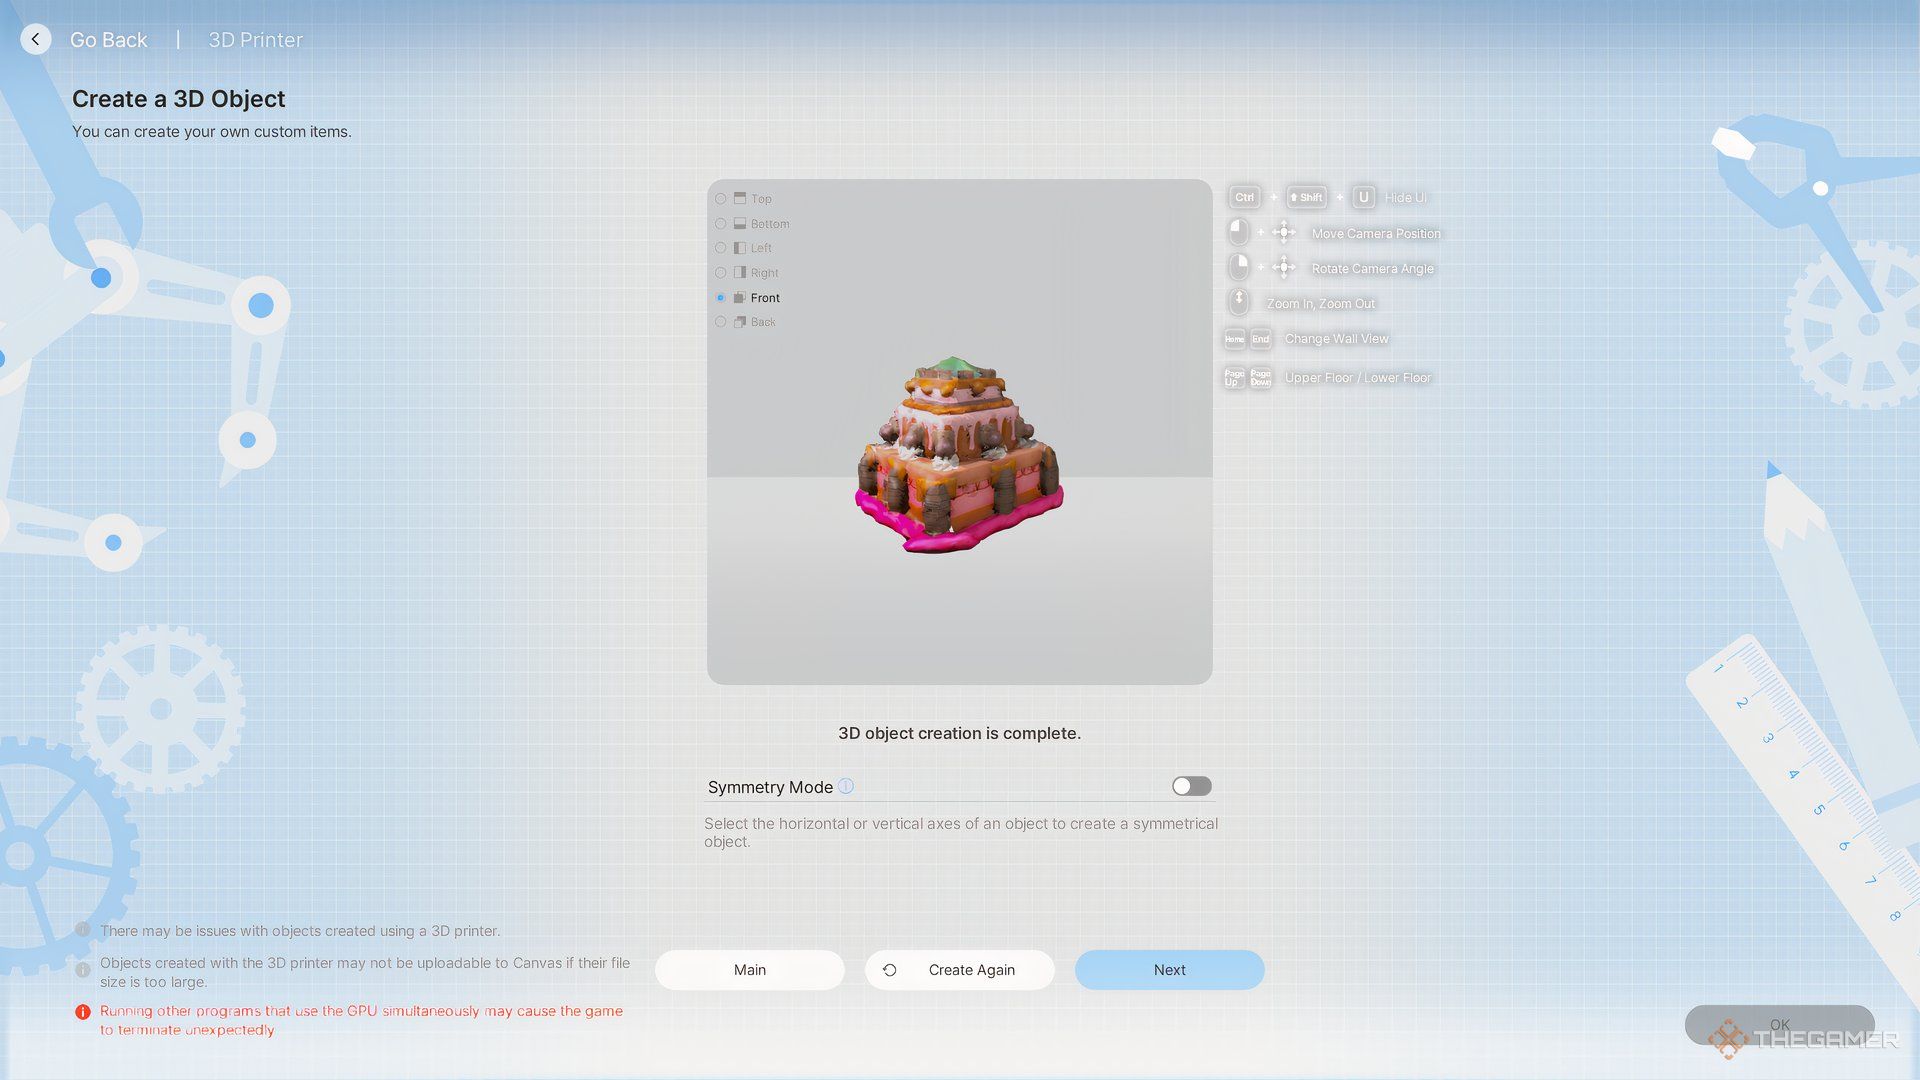
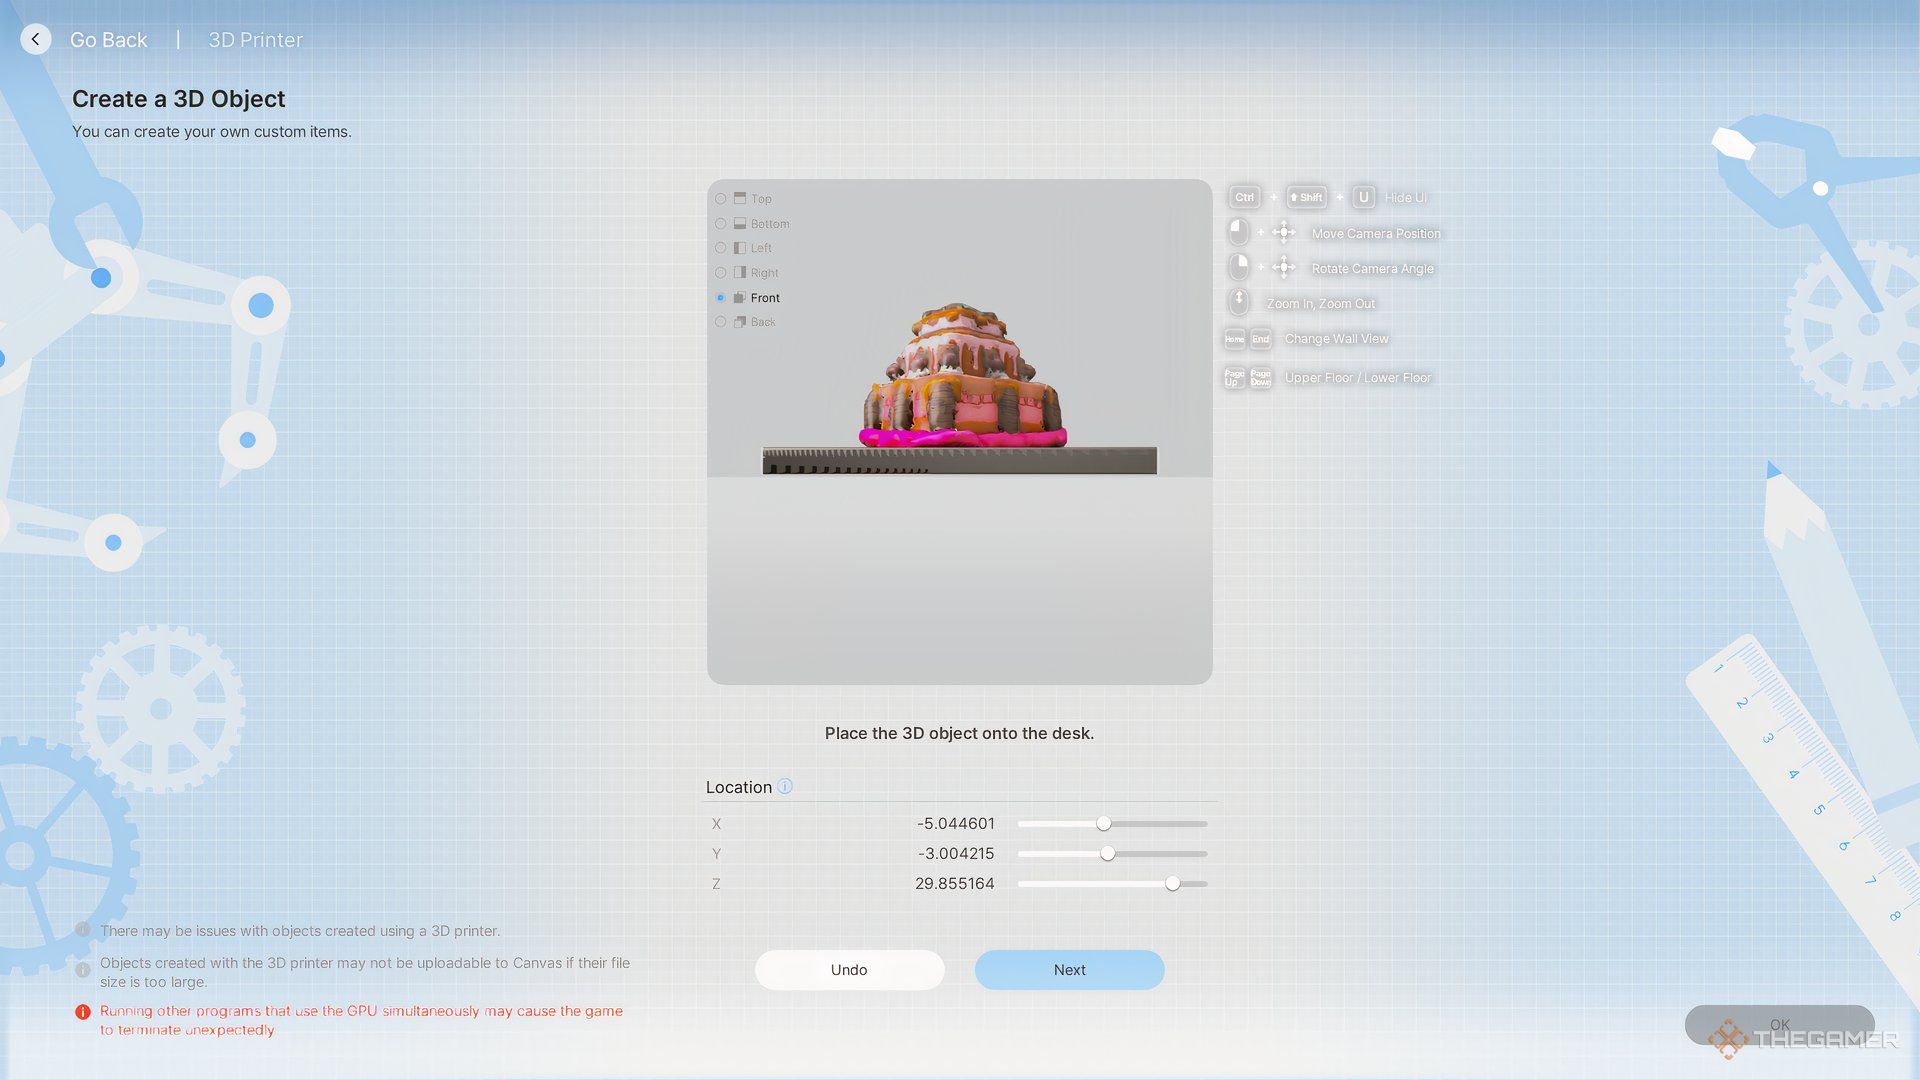
After an object is generated, you can use the X, Y, and Z-axis bars below to adjust the rotation and orientation. Once you are satisfied, click ‘Next’ to set the object’s placement.
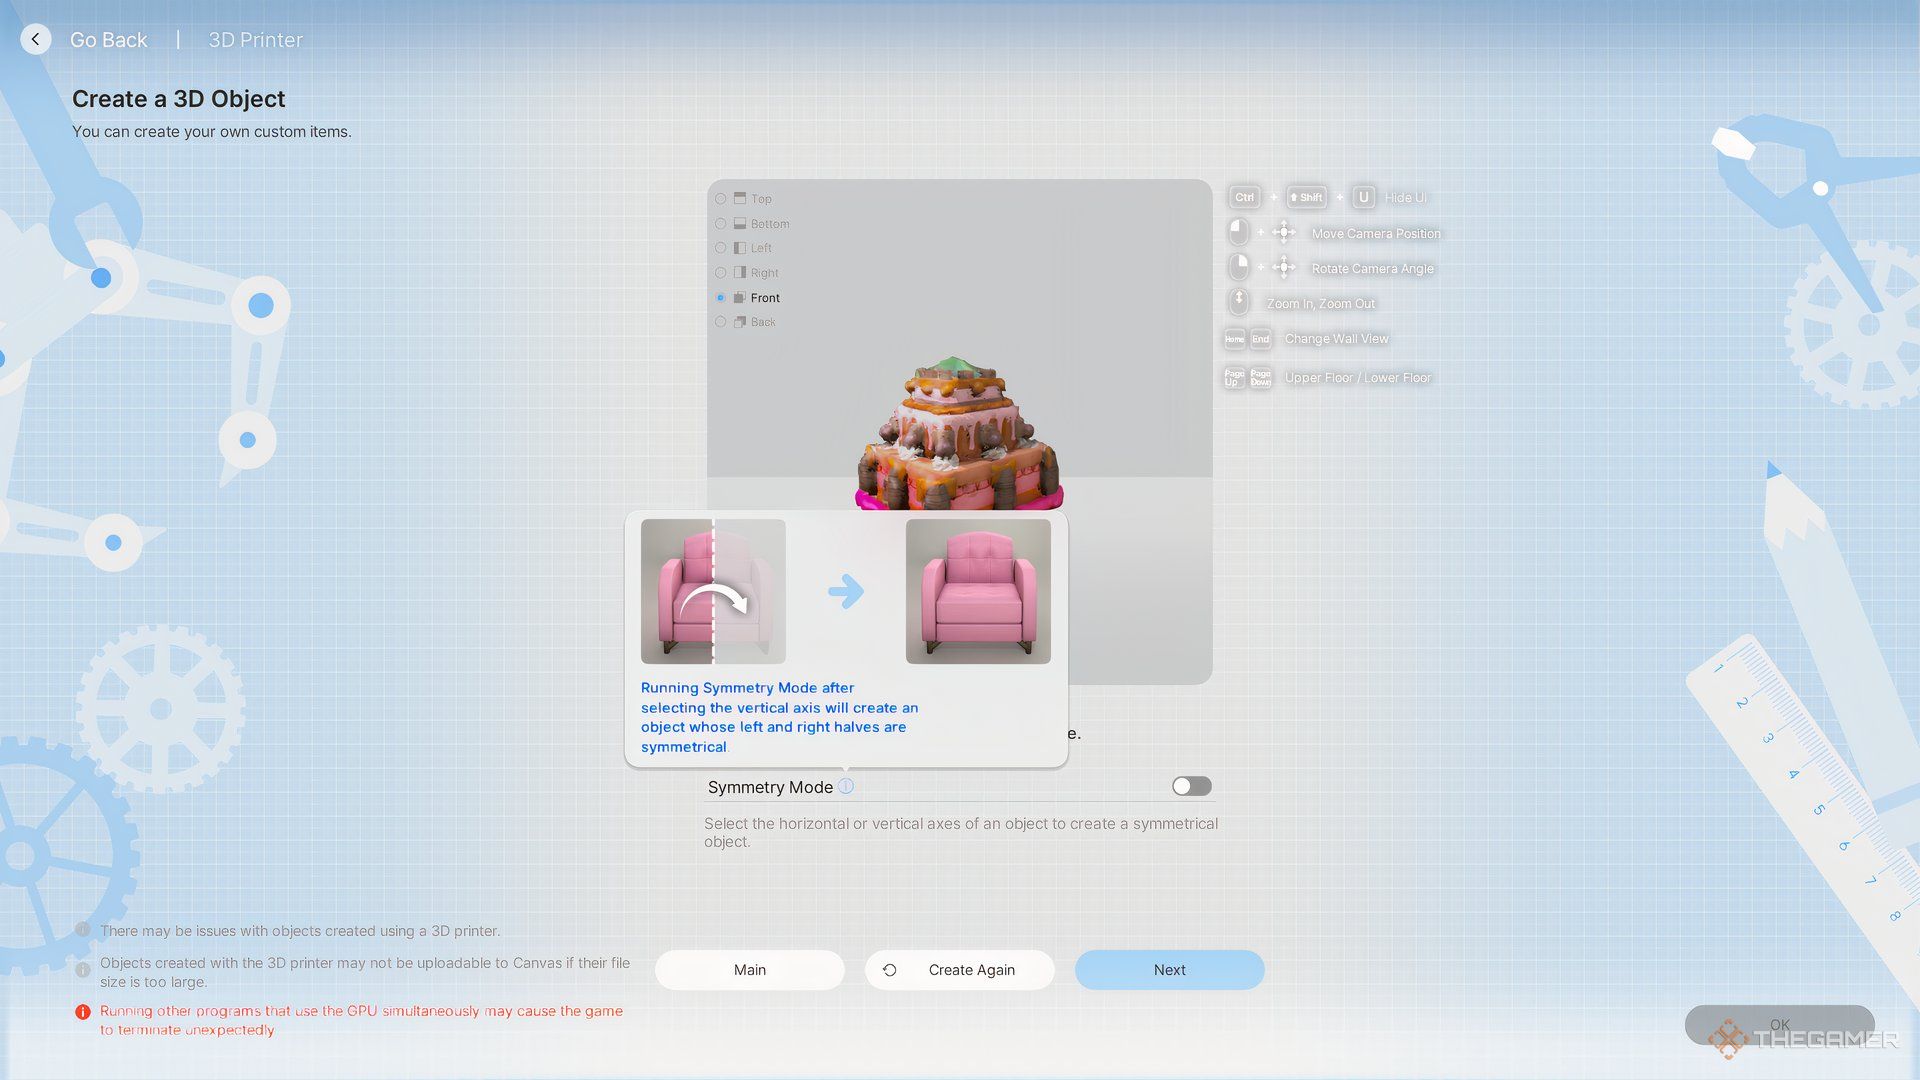
If you want the object to be symmetrical, you can turn on the Symmetry Mode and generate the image again.
You can use the X bar to adjust the object’s size. Use the Y bar to move it left or right depending on your preference. The Z bar is used to move it up or down so you can place the object on the desk.








Leave a Reply