Summary
- Level 4 spells in Baldur’s Gate 3 offer strategic advantages without breaking combat, unlike higher-level spells.
- Examples include Animate Dead: Skeleton Squad and Beckoning Darkness, providing tactical benefits for players.
- These mid-level spells allow for increased damage, environment manipulation, and control over enemies in challenging encounters.
While spells in Baldur’s Gate 3 gameplay go all the way up to 6th-Level, their sheer firepower may feel a bit overkill when used haphazardly in the D&D adaptation. However, measly Cantrips and 1st-level spells do seem tame in comparison to the effects of the most powerful Baldur’s Gate 3 spells. Spellcasters looking for a decent middle ground may want to consider Level 4 spells, which are at a rank close to 6th-Level spells but have reasonable effects for their cost.

Related
Baldur’s Gate 3: 12 Best Rings You Can Get In Act 2, Ranked
There are plenty more enchanted rings to pick up in act 2 of Baldur’s Gate 3 that are sure to give players an edge following on from the first act.
When cast, most 4th-level spells can create effects that don’t necessarily break combat but instead give players a more specific edge. They don’t immediately deal wanton devastation on the battlefield, but instead facilitate strategies that secure the advantage for players, especially in challenging fights that demand more tactical prowess.
(Updated on April 1, 2025 by Rhenn Taguiam): With the upcoming update of Baldur’s Gate 3 about to introduce entirely new subclasses to all of the game’s 12 main Classes, fans of the acclaimed Larian Studios RPG will finally have entirely new ways of approaching their gameplay. And while it’s easy to get lost in all of the potential Multiclass options, fans using Spellcasters may even simply experience changes in their playstyles as soon as they access their character’s stronger Spell Slots – a dynamic that 4th-Level Spells already introduce in the game. Players who want to study their Spellcasters down to the last detail may want to give the game a couple more playthroughs, especially in anticipation for the update. With this in mind, players may want to try out some new variations of 4th-Level Spells, including a dangerous staggering attack.
25
Staggering Smite
Hinder An Enemy For A Turn
|
Casting Time |
Action (for attack), Bonus Action (on hit) |
|
Range |
Normal Weapon Range |
|
Requires Concentration |
Yes |
|
Saving Throw |
WIS Save |
Smites are often associated with Paladins, but Warlocks can actually access their own versions of Smites through the Staggering Smite – specifically through the Hexblade archetype. As with a traditional Smite, Hexblades who score a hit can now use a Bonus Action and a 4th-Level Spell Slot to deal not just their normal weapon damage but also +4d6 Psychic Damage.
Not only that, but enemies are forced to make a WIS Save or suffer a Disadvantage on all Attack Rolls and Ability Checks (and not be able to take Reactions) for one turn. When used properly, a Warlock can punish opponents for getting close to the party by ensuring they aren’t able to Attack properly and even perform rebuttals with Attacks of Opportunity.
How To Use Staggering Smite
Although the traditional Smite from a Paladin can dish out Radiant Damage to work against most undead, this Psychic Damage and “stagger” effect can help Warlocks set up enemies and even bosses for devastating combos. It’s unadvisable for Staggering Smite to be used for higher Spell Slot Levels, as there are no additional benefits when used this way.
24
Animate Dead: Skeleton Squad (Necromancy)
Summon A Crew Of Cannon Fodder
|
Casting Time |
Action |
|---|---|
|
Range |
3m |
|
Requires Concentration |
No |
|
Saving Throw |
– |
Animate Dead is one of the earliest Spells a Spellcaster can learn as they venture deep into the dark arts. And while its 3rd-Level base variant only allows players to use one corpse to summon a Skeleton or a Zombie, upcasting this to fourth-level can have players use Animate Dead: Skeleton Squad instead.
As the name suggests, this allows players to use three corpses simultaneously to raise a Skeleton crew to fight with them. Although they have a rather so-so 11 AC and 19 HP, their access to an ordinary Ranged Attack can make them an interesting accompaniment to a Spellcaster who wants to maximize their damage output at a distance, as cannon fodder for bosses, or even free damage sources to kill easy pickings among enemy groups. Their access to a rather basic attack with no other benefits make the Skeleton Squad a rather “basic” Spell to cast at 4th-Level unless players really want extra allies.
How To Use Animate Dead: Skeleton Squad
As long as players have a number of usable corpses available, the 3-unit Skeleton Squad can be excellent sources of consistent long-ranged damage – especially when enemies are forced to focus on them in order to eliminate them in play. Even if enemies try to attack characters who are up close, the Skeleton Squad will ensure they can whittle the Hit Points of opponents – both bosses and minions – regardless of what’s happening.
23
Animate Dead: Zombie Battalion (Necromancy)
Overwhelm Opponents With The Living Dead
|
Casting Time |
Action |
|---|---|
|
Range |
3m |
|
Requires Concentration |
No |
|
Saving Throw |
– |
Similar to Skeleton Squad, the Animate Dead: Zombie Battalion version of 4th-Level’s Animate Dead upcast allows players to use three corpses to summon a group of three Zombies. While they seem to just be the “melee version of the Skeleton archers” at first glance, these Zombies actually pack quite the punch in terms of unique effects and abilities. The most important of their base kit would be Undead Fortitude, which essentially allows the Zombie to constantly come back to life at 1 Hit Point unless the Killing Blow dealt to them was a Critical Hit or Radiant Damage.
In seeming celebration to their status as the living dead, Zombies have access to Slam that hits a target with their fists and infects them with the Crawling Gnaw. This condition stays with the victim unless removed. If they die with this condition, they become a Newborn Zombie with 10 Hit Points and take 1 Necrotic Damage per turn.
How To Use Animate Dead: Zombie Battalion
As long as players have the right number of corpses with them, they can create a 3-unit Zombie Battalion to wreak havoc in melee combat. Not only that, but their capability of using Crawling Gnaw to take Necrotic Damage and even transform enemies into Newborn Zombies can ensure foes are always at a disadvantage. The Zombie Battalion can be the perfect distraction when overwhelmed by foes, while at the same time perfect for giving the rest of the team room to outmaneuver enemies.
22
Beckoning Darkness (Necromancy)
Make Darkness Fight For Players
|
Casting Time |
Bonus Action |
|---|---|
|
Range |
4m |
|
Requires Concentration |
No |
|
Saving Throw |
CHA Save (DC 14) |
When players acquire the Dark Justiciar Gauntlets in their Baldur’s Gate 3 gameplay, they also gain access to Beckoning Darkness. This 4th-Level Spell is representative of a Dark Justiciar’s worship of Shar, whose grip towards darkness allows the wielder to use the very shadows as their allies.
Upon casting, Beckoning Darkness will curse its target for two turns that forces the very shadows in darkness to fight them. If the target starts their turn or enters a Lightly or Heavily Obscured area, they are instantly dealt with 2d8 Necrotic Damage. Unlike other Spells granted by items, Beckoning Darkness can be cast once per turn with the Gauntlets, essentially allowing players to make darkness stalk their prey until their demise.
How To Use Beckoning Darkness
Beckoning Darkness can be quite an awesome ability to use in broad daylight or places with decent lighting, as it forces enemies to move to obscured areas first instead of attacking other allies. The 2d8 Necrotic Damage per turn for two turns is quite a decent source of extra damage, especially for an item-granted Spell.
21
Kereska’s Favour (Evocation)
Enjoy Different Buffs
|
Casting Time |
Action |
|---|---|
|
Range |
Self |
|
Requires Concentration |
No |
|
Saving Throw |
– |
It’s a common trope in Dungeons & Dragons lore that rare artifacts like staves have “hidden” Spells inside of them – and Baldur’s Gate 3 gameplay follows this trend with the Markoheshkir. Accessing this Quarterstaff grants its user with the ability to cast Kereska’s Favour – essentially a Spell that lets players tap into two (2) Spells of an elemental variant that they can cast once per Short Rest at no extra cost alongside boosting the damage of their chosen elemental type.

Related
Baldur’s Gate 3: 8 Mods That Make Honour Mode Even Harder
For players who want to add even more challenge to Baldur’s Gate 3’s Honour Mode, these mods are a good place to start.
As befitting a Spell inside a Quarterstaff of Legendary status, Kereska’s Favour is among the best Spells that can grant players a significant boost in their arsenal. Kereska’s Favour grants access to one of these effects:
- Bolts of Doom: +Lightning Damage, Spells generate Lightning Charges, can cast Lightning Bolt and Chain Lightning
- Bone-Shaking Thunder: +Thunder Damage, Spells inflict Reverberation, can cast Shatter and Destructive Wave
- Deadlier than Arsenic: +Poison Damage, Spells inflict Poisoned, can cast Ray of Sickness and Cloudkill
- Flame of Wrath: +Fire Damage, Spells generate Heat, can cast Fireball and Wall of Fire
- Frost of Dark Winter: +Cold Damage, Spells inflict Frost, can cast Ice Storm and Cone of Cold
- Sizzling Cataclysm: +Acid Damage, Spells inflict Noxious Fumes, can cast Melf’s Acid Arrow, Hunger of Hadar
How To Use Kereska’s Favour
Despite being one of the most versatile Spells in the game, Kereska’s Favour is only usable once per Short Rest. Given how Kereska’s Favour gives players access to one elemental affinity with two Spells (and an additional effect), they need to check which elements work based on the environment they’re working with. Some specific tips include:
- Bolts of Doom: Enemies close to each other, so Lightning Bolt and Chain Lightning can proc Lightning Charges more consistently
- Bone-shaking Thunder: Foes that need to be stopped and stunned could be rendered prone with Reverberation
- Deadlier than Arsenic: Damage-over-time can become consistent with Poisoned, courtesy of Ray of Sickness and Cloudkill
- Flame of Wrath: Dishing heavy damage through Fireball and Wall of Fire, as enhanced by Heat
- Frost of Dark Winter: Freezing foes via Frost, Ice Storm, and Cone of Cold can ensure enemies are stopped in their tracks
- Sizzling Cataclysm: Noxious Fumes with Melf’s Acid Arrows and Hunger of Hadar can focus more on hindering foes
20
Grasping Vine (Conjuration)
Stop Enemies In Their Tracks
|
Casting Time |
Bonus Action |
|---|---|
|
Range |
9m |
|
Requires Concentration |
No |
|
Saving Throw |
STR Save |
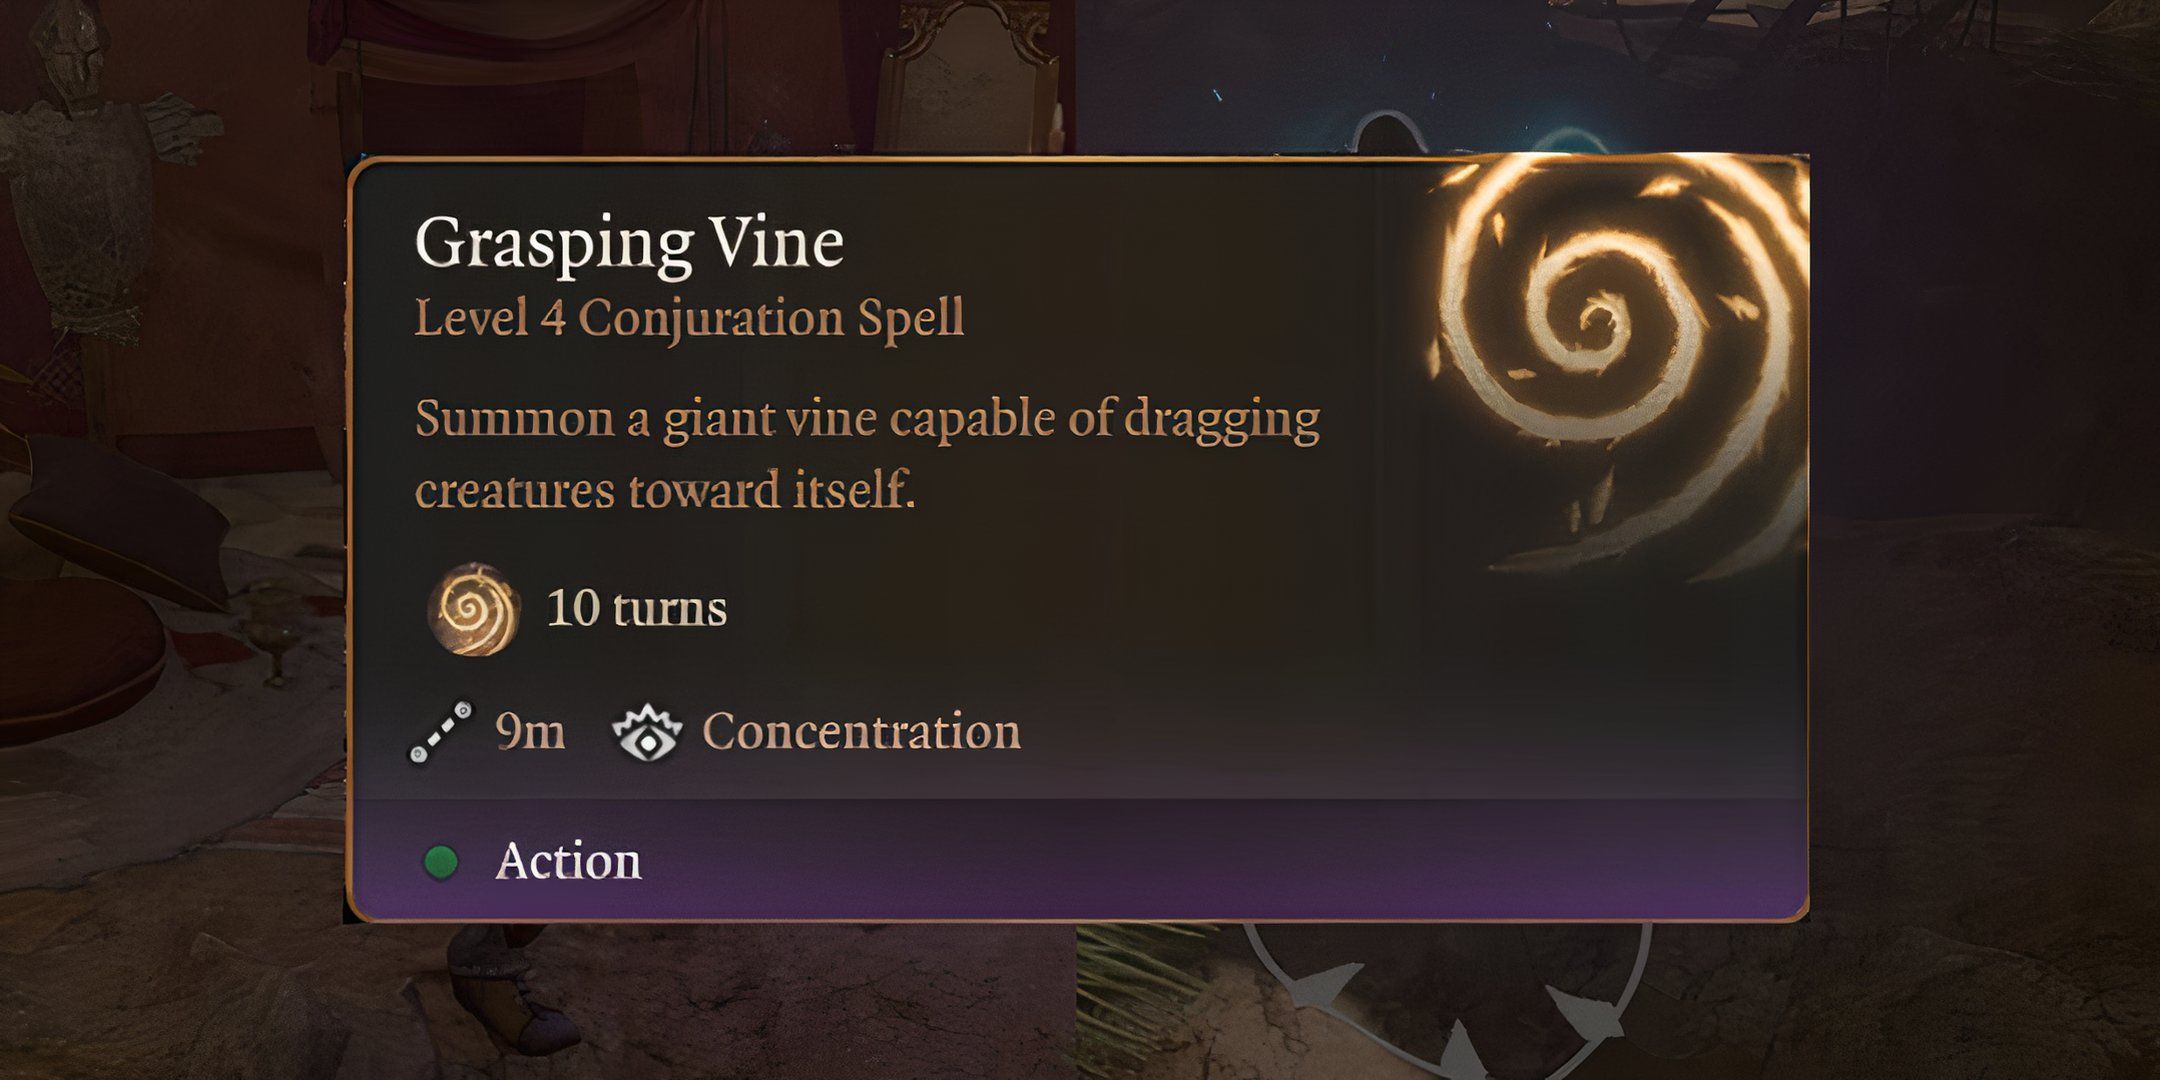
A common trope surrounding plant-based magicians is the capability of commanding vines to restrain enemies, and this is something fulfilled by  Grasping Vine
. This 4th-Level Conjuration Spell is a Bonus Action that allows players to summon a Grasping Vine within a 9-meter radius, creating a difficult terrain.
What makes Grasping Vine rather interesting is its effect, as anyone stepping on them not only halves their Movement Speed but also has a chance of being Entangled via the Twisting Vines effect. The effect can last up to 10 Turns unless they pull off a DC 12 STR Save, with Attack Rolls against the creature having Advantage and their own Attacks and Saves having Disadvantage.
How To Use Grasping Vine
The biggest changes to Grasping Vine that transition it to a more viable Spell are two things: it no longer costs an Action to use, and it no longer is a Concentration Spell. This finally removes Druids from being the Class that suffers from having a lot of Concentration-heavy Spells, as Grasping Vine provides them with a means of controlling the battlefield that they shouldn’t worry about every turn.
19
Blight (Necromancy)
Debilitate An Enemy With Necrotic Damage
|
Casting Time |
1 Action |
|---|---|
|
Range |
9m |
|
Requires Concentration |
No |
|
Saving Throw |
CON |
At first glance,  Blight
seems like a particularly specific 4th-Level Spell given its maximum damage against plants and plant life. Such is the anti-plant nature of this Spell that targeting plants imposes Disadvantage on its CON Save, while not having any effects against Undead and Constructs. This oddly specific nature of the Spell might imply that it’s situational, but this isn’t necessarily the case.
At its core, Blight can deal as much as 8d8 Necrotic Damage to those who fail its CON Save in Baldur’s Gate 3 gameplay, and half as much damage to those who succeed. This is still up to 4d8 Necrotic Damage to most targets who can win its CON Save, which might still be enough to eliminate minions and sub-bosses when timed correctly.
How To Use Blight
Considering its effects against Plant-based creatures, Blight isn’t an immediate priority in a player’s repertoire of Spells unless they encounter the said archetype. This makes Blight extremely helpful against the likes of Auntie Ethel in Act 3 or even some parts of the Dark Urge run where certain enemies whip out Wood Toads.
18
Freedom Of Movement (Abjuration)
Guarantee Movement For Allies
|
Casting Time |
1 Action |
|---|---|
|
Range |
Melee |
|
Requires Concentration |
No |
|
Saving Throw |
None |
In perilous situations, even a Spell like  Freedom of Movement
that forces an ally to move can be integral to the party’s overall survival. When activated, a target ally immediately snaps out of crowd control effects. This is a particular deterrent against Stun effects, effective resistances against Restrained and Paralyzed effects, and even disables the hindrances of Difficult Terrain.
When used on an ally under the effect of non-magical restraint, the ally can even get 1.5m worth of free movement solely to free themselves. Despite the mundane nature of this Spell, Freedom of Movement is a guarantee that an ally can move within their limits without any hindrances – something useful when push comes to shove.
How To Use Freedom Of Movement
Despite seemingly situational, Freedom of Movement is vital in later parts of the game where there’s always the chance of Spellcasters being a part of an enemy roster or in situations where locations have traps. Should the player’s team rely on creating difficult terrain to debilitate enemy forces, Freedom of Movement is convenient for bypassing the chance of that terrain affecting the team. This makes Freedom of Movement among the best first-to-cast in Camp after every Long Rest, especially since the way it bypasses terrain can give characters a more convenient way of moving the environment.
17
Dominate Beast (Enchantment)
Create An Instant Ally
|
Casting Time |
1 Action |
|---|---|
|
Range |
18m |
|
Requires Concentration |
Yes |
|
Saving Throw |
WIS Save |
Considering how Baldur’s Gate 3 combat often pits players against an overwhelming number of opponents,  Dominate Beast
can turn the tide when a beast is within the enemy ranks. With this Spell, a Spellcaster can force a beast to fight on the player’s behalf. It’s only when the beast takes damage that it makes a Wisdom Save against the player’s control.
While the Wisdom Save adds an element of risk for the beast, especially when they’re positioned close to allies, debuffs could ensure they consistently fail their Saves. The commonality of beasts throughout the game world can also incentivize using Dominate Beast more strategically, as beasts often have lower WIS scores compared to humanoids.
How To Use Dominate Beast
While Dominate Beast isn’t as good as typical Hold Spells due to their need for Concentration and higher Spell Slot cost, Spellcasters who manage to increase their Spellcasting Modifier and even have party members impose Disadvantage on their target can secure their allegiance using Dominate Beast more efficiently. Players also don’t need to Dominate the strongest beast among the enemies, but rather just a target they can control effectively. The game’s AI makes it a point to target Dominated creatures first before the players.
16
Otiluk’s Resilient Sphere (Evocation)
Slow A Target And Block All Damage
|
Casting Time |
1 Action |
|---|---|
|
Range |
9m |
|
Requires Concentration |
Yes |
|
Saving Throw |
DEX Save |
Sometimes, a player may simply need a Spell to cast to stop someone from either taking or dishing out damage. This is where  Otiluke’s Resilient Sphere
comes in, a 4th-Level Evocation Spell designed to slow down a target by halving their speed in half and stopping all damage from going to them or getting out of them.

Related
Baldur’s Gate 3: 15 Hardest Fights When Playing On Honour Mode
From the owlbear to Cazador, Honour mode in BG3 offers up some truly punishing battles.
This shimmering sphere essentially becomes an emergency save for allies or a debilitating effect on powerful enemies. The 3-turn timer for the Resilient Sphere could be enough for allies to recover and prepare their counterattack, especially if a boss is inside the Sphere. An ally inside it could also use this time to recover or even partially retreat.
How To Use Otiluke’s Resilient Sphere
Compared to Sanctuary, Otiluke’s Resilient Sphere is a more flexible Spell in situations where delays are especially necessary. Players can stop foes from damaging the party or escaping, protecting characters in need of heals, blocking entrances and hallways, or even tanking possible trap locations.
15
Ice Storm (Evocation)
Maximize Chilling Hell With Wet Interactions
|
Casting Time: |
1 Action |
|---|---|
|
Range: |
6m, 18m |
|
Requires Concentration: |
No |
|
Saving Throw: |
DEX Save |
Wet is one of the easiest interactions to trigger in Baldur’s Gate 3 combat, especially when players position targets close to sources of water and rain-chilling hell with Ice Storm (4th-Level Evocation). When activated, Ice Storm sends a rain of icicles falling from the sky, striking all creatures and objects within the range of its 6-meter radius and from 18 meters away.
While enemies who can pull off a DEX Save can take half of the original 2d8 Bludgeoning + 4d6 Cold Damage computation, an ally who can cast a convenient Bane (1st-Level Enchantment) on an opponent can force them to tank the Ice Storm’s attack. Not to mention, splashing water on an opponent to get them Wet will make them vulnerable to Ice Storm’s Cold Damage.
How To Use Ice Storm
Similar to other AOE damage Spells, Ice Storm is best used when dealing with large numbers of opponents or if players need to block a certain location from being accessed. Ice Storm not needing Concentration allows players to use it as a precautionary measure while attending to other Spells and needs.
14
Wall Of Fire (Evocation)
Split The Battlefield With A Fire Barrier
|
Casting Time: |
1 Action |
|---|---|
|
Range: |
18m |
|
Requires Concentration: |
Yes |
|
Saving Throw: |
DEX Save |
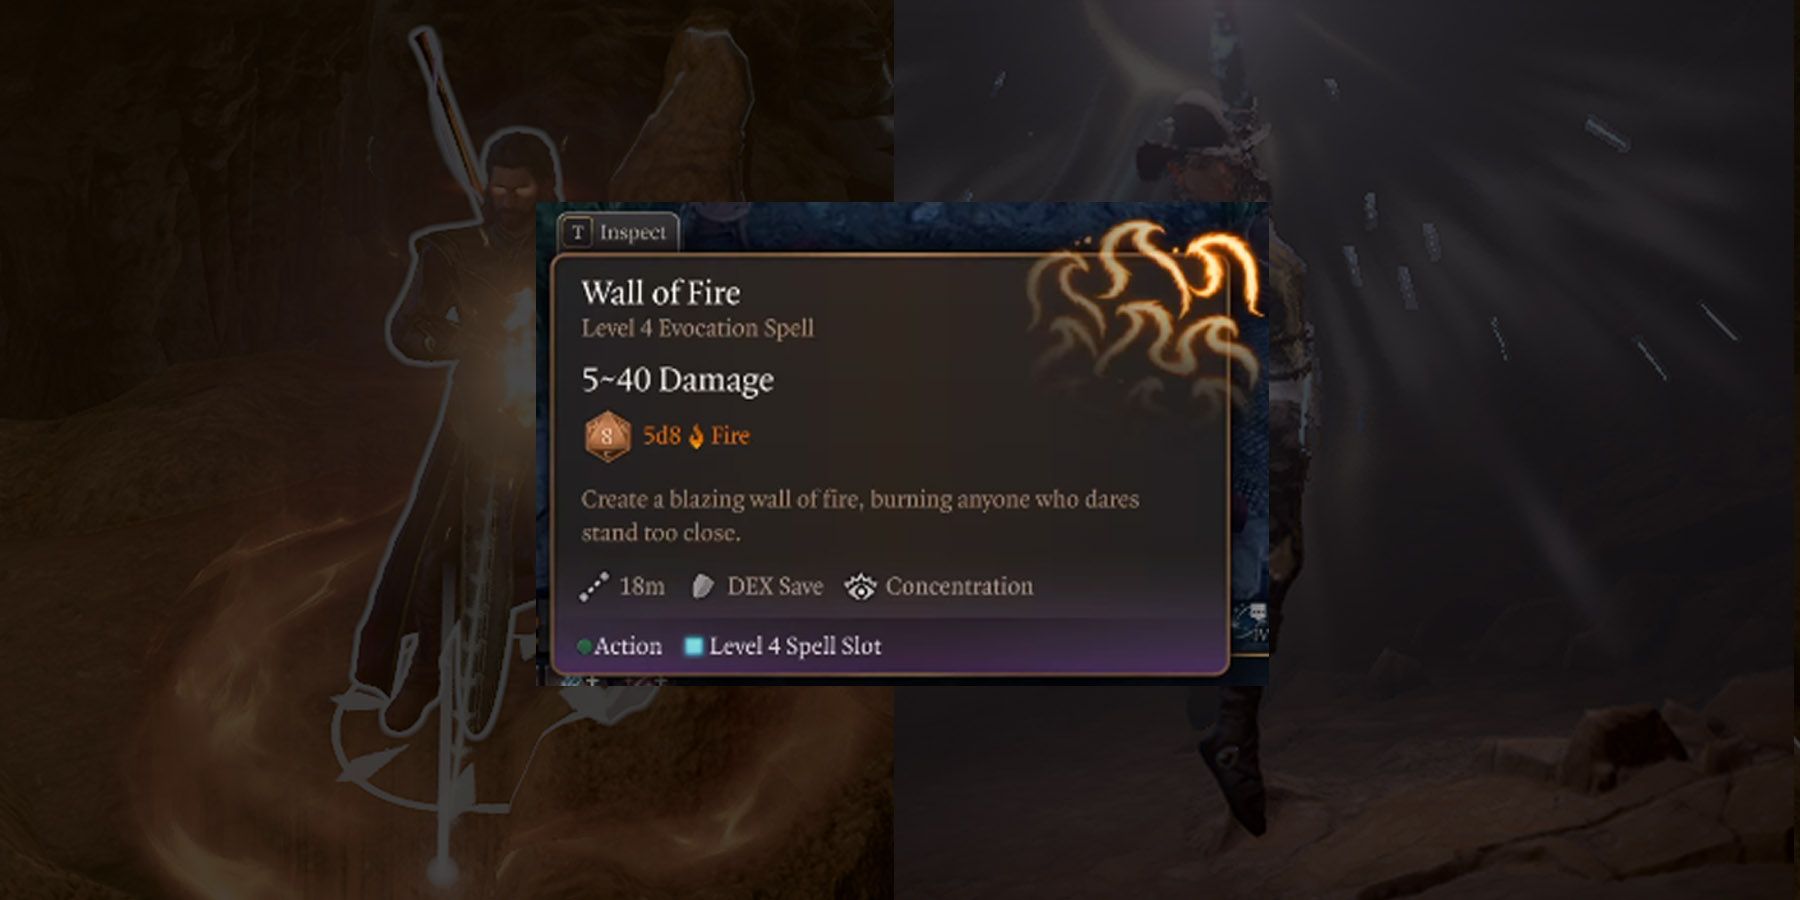
Should fans of Dungeons & Dragons want to skip the Fireball (3rd-Level Evocation) in place of something more visually intense, then  Wall of Fire
(4th-Evocation) could get the job done with some environmental alterations. When cast, Wall of Fire creates an aforementioned blazing wall that forces everyone close to it to pull off a DEX Save or risk-taking 5d8 Fire Damage.
While enemies can theoretically attempt to brave the Wall of Fire’s heat, the Spell can be an efficient environmental deterrent for players who need a quick break to recover, regroup, or retreat. Moreover, the right positioning of other flammables such as barrels can deal more damage to surrounding foes simply by being triggered upon hitting the Wall of Fire.
How To Use Wall Of Fire (Higher)
Wall of Fire remains one of the most versatile AOE Spells in the game. Unlike the likes of Fireball which just lasts a single attack, Wall of Fire can last an entire encounter. Just merely dividing a location can force opponents to walk around it, while players capable of moving enemies around or even stunning them can throw them back and forth the Wall for extra damage. In tight spaces, Wall of Fire can be used to trap enemies in a corridor or even enclose a space to protect it from foes.
13
Guardian Of Faith (Conjuration)
Summon A Stationary Bodyguard
|
Casting Time: |
1 Action |
|---|---|
|
Range: |
9m |
|
Requires Concentration: |
No |
|
Saving Throw: |
– |
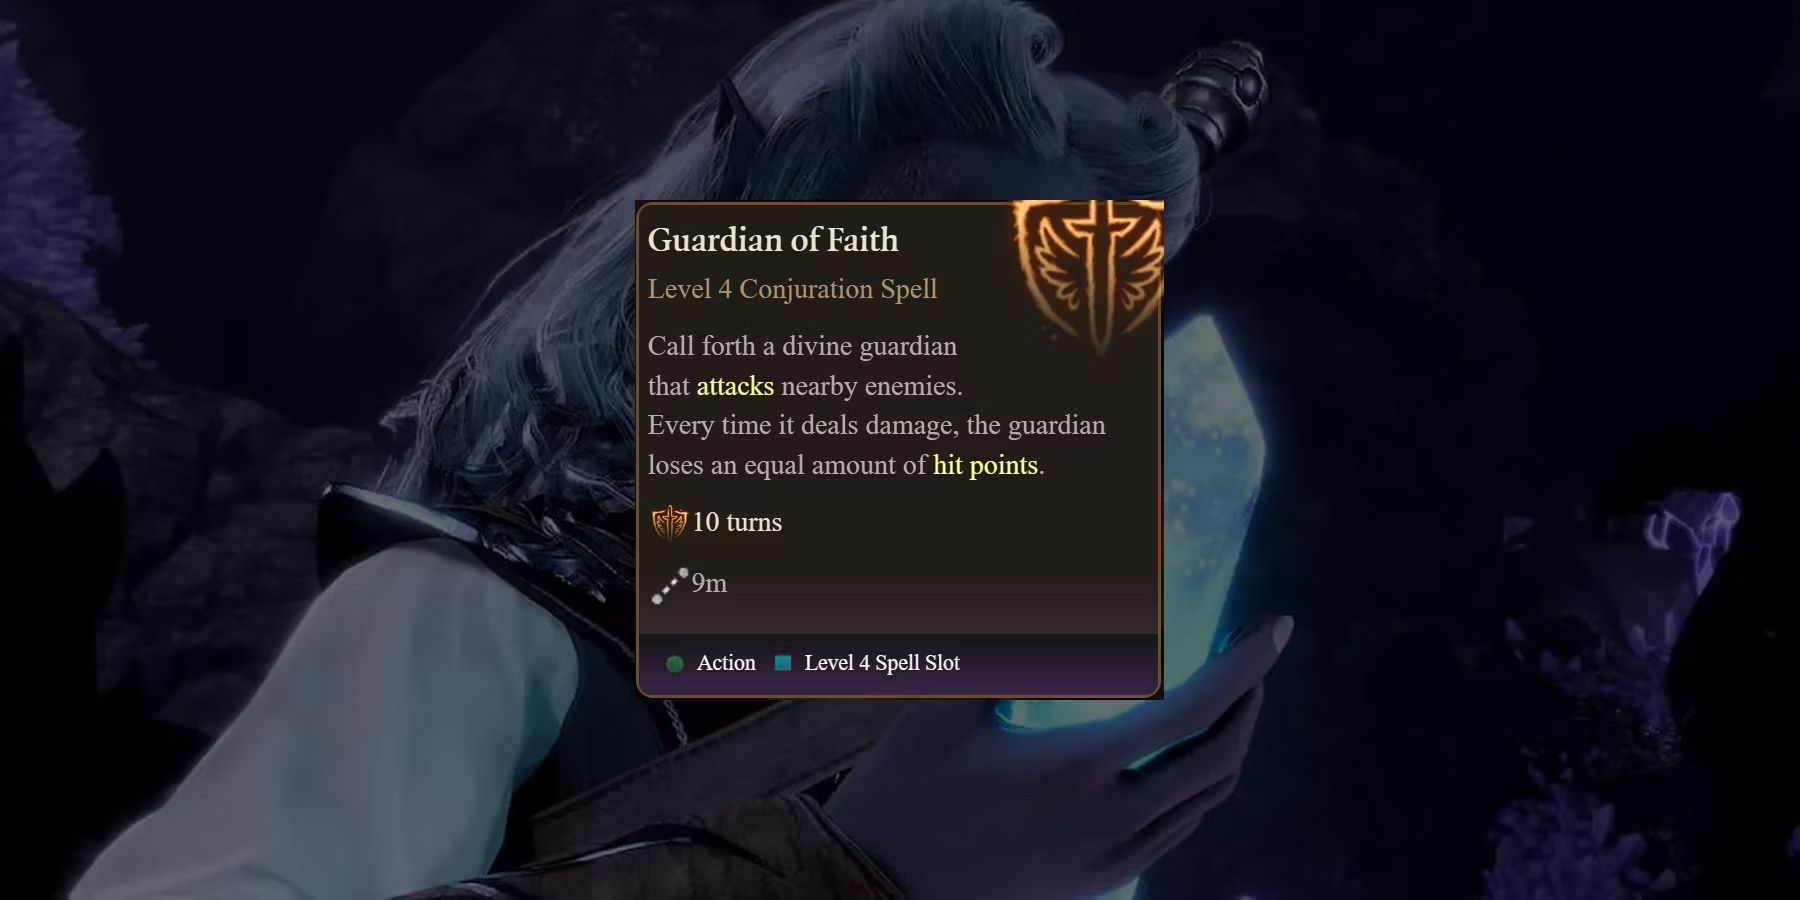
Given how much of Baldur’s Gate 3 combat pits players against foes more than their four-person team, a Spell that creates a temporary ally like the  Guardian of Faith
(4th-Level Conjuration) gives the team a much-needed damage sponge. Upon casting, the Guardian of Faith summons the aforementioned being that has 60 Hit Points.
Given the Guardian’s stationary nature, proper positioning with the Spell’s 9-meter radius is paramount, encouraging players to put the being directly in the line of fire of opponents. Whenever an enemy comes close to the Guardian’s range, it hits them with an attack. The Guardian loses Hit Points as it damages foes and disappears as soon as it uses all of its health.
How To Use Guardian Of Faith (Lower)
The Guardian of Faith’s limited scope and stationary nature make it a risky investment of a 4th-Level Spell Slot, which means it’s most useful in enclosed spaces where enemies likely have to walk close to it to get to another point. However, the AI is often programmed to simply avoid its radius, making the Guardian rather useless. Players are advised to hug the Guardian’s corners to force enemies to come closer to them.
12
Evard’s Black Tentacles (Conjuration)
Slow Down Enemies With Tentacle Terrain
|
Casting Time: |
1 Action |
|---|---|
|
Range: |
18m, 6m radius |
|
Requires Concentration: |
Yes |
|
Saving Throw: |
WIS Save |
Considered as more or less the sibling of Hunger of Hadar (3rd-Level Conjuration) for Spellcasters in the Dungeons & Dragons game,  Evard’s Black Tentacles
(4th-Level Conjuration) is a terrain-altering Spell that can give players much-needed breathing room in dangerous situations. When cast, players can choose a 6-meter area within 18 meters that becomes Difficult Terrain, sprouting tentacles that attack creatures within it.
Unless creatures pull off an STR Save inside Evard’s Black Tentacles, they receive 3d6 Bludgeoning Damage. While this damage is by no means lethal for most opponents, this should be enough to slightly deter an advancing group of melee fighters that are targeting some of the party’s non-physical combatants.
How To Use Evard’s Black Tentacles
Assuming players can provide their party with immunity or at least ways to bypass Difficult Terrain, Evard’s Black Tentacles can become a great way of debilitating any number of enemies they encounter. Simply transform the area into Difficult Terrain, proc the situations that provide easy movement for party members, and rush inside to cash in on that Advantage towards Attack Rolls against smothered foes.
11
Stoneskin (Abjuration)
Boost Natural Defenses
|
Casting Time: |
1 Action |
|---|---|
|
Range: |
Melee |
|
Requires Concentration: |
Yes |
|
Saving Throw: |
No |
Despite many spells in Baldur’s Gate 3 being capable of eliminating characters in just a few uses, most other characters will likely resort to traditional melee attacks to deal damage. And for spellcasters who can’t pack a high-enough Armor Class, they don’t always have to leave their fate to a low damage roll.
Thanks to  Stoneskin
, players who don’t have access to AC can compensate by penalizing actual damage numbers. When cast, Stoneskin transforms its target’s flesh to make it hard as stone. In the game, this halves all incoming Bludgeoning, Piercing, and Slashing damage from all non-magical sources until a Long Rest. While some creatures can still roll high damage output, the auto-half effect can still extend the caster’s lifespan.
How To Use Stoneskin
Despite its capability of halving non-magical Physical Damage, its defensive capabilities drop rather quickly in the late game especially when there are other more efficient defensive options available for players. A potential combo would be building up Abjuration Ward Charges to block incoming base damage, with Stoneskin handling the other half. This should help boost a player’s overall survivability, at least until they get better defensive measures.
10
Death Ward (Abjuration)
Avoid The Icy Embrace Of The Grim Reaper
|
Casting Time: |
1 Action |
|---|---|
|
Range: |
1.5m |
|
Requires Concentration: |
No |
|
Saving Throw: |
None |
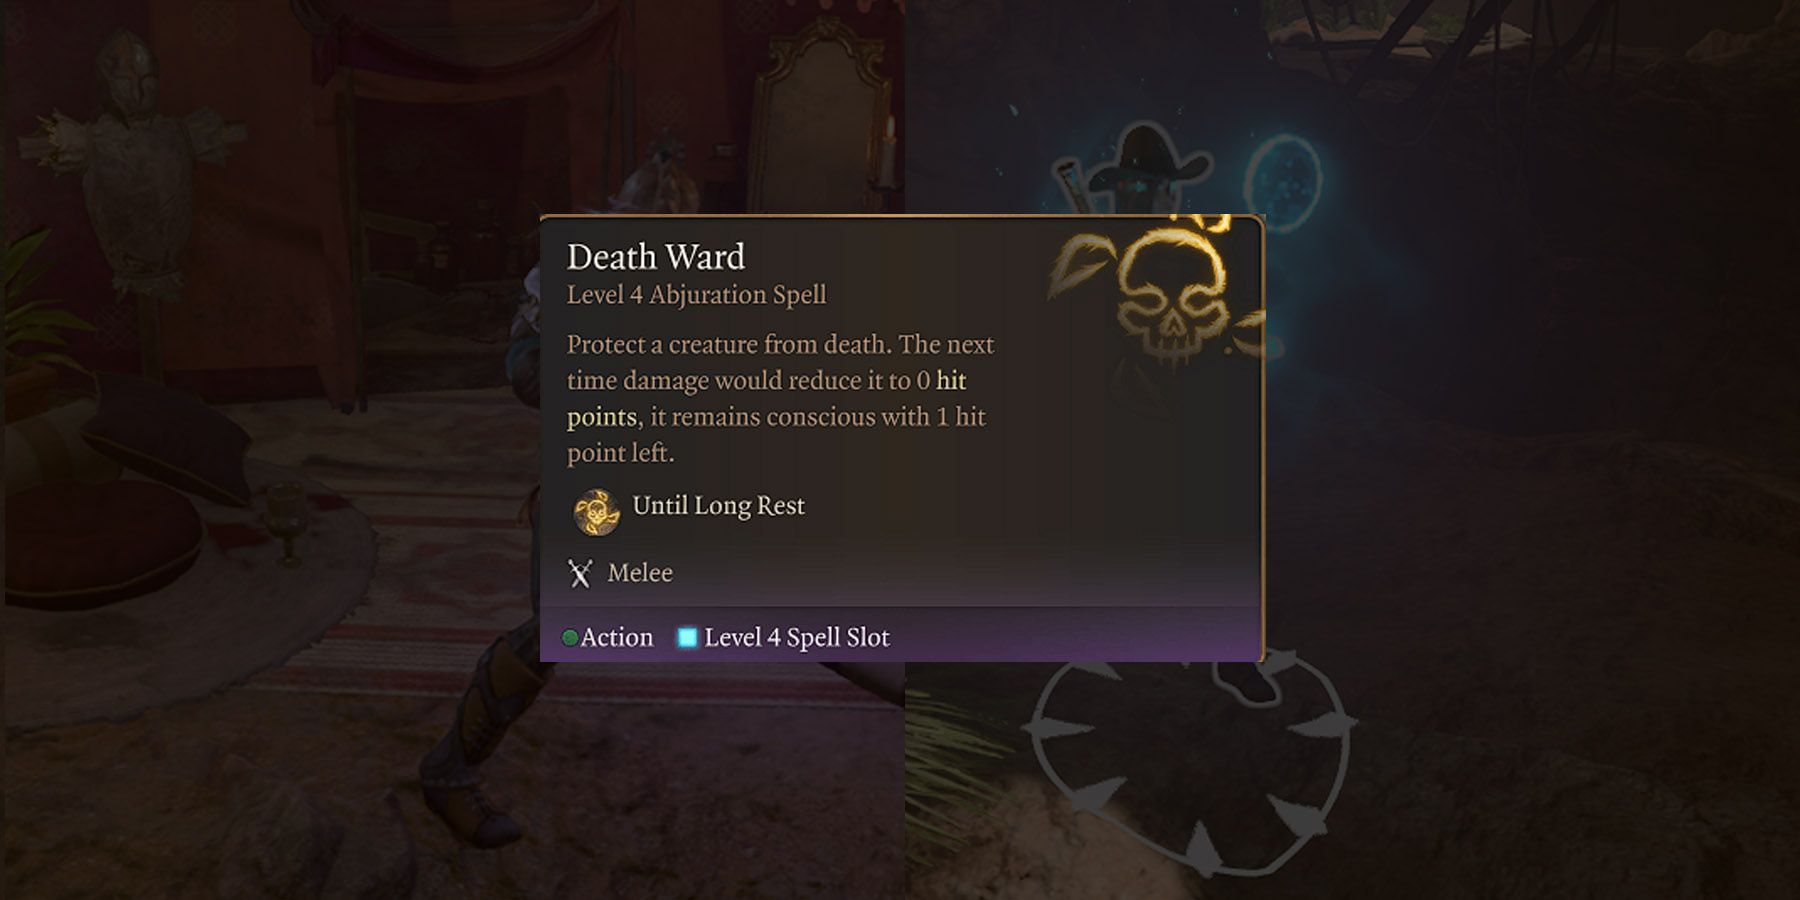
Death can be one of the most inconvenient things a player can face in their Baldur’s Gate 3 experience, especially since aiding a knocked-down ally can cost valuable time that could be used to defeat opponents. Thanks to  Death Ward
(Abjuration), an ally in need may not need immediate aid. When activated, the target will restore themselves to 1 HP as soon as they hit 0 HP, practically giving them a one-time second chance in life.
However, despite Death Ward’s efficiency, players may still find the occasional Help and healing spell more effective in aiding a downed ally. Even if said character dies, players with access to Death Ward likely have access to the much-cheaper Revivify (3rd-Level Necromancy), making Death Ward more of a last resort than an immediate support spell.
How To Use Death Ward
Death Ward should ideally be used when the recipient shares Initiative with another party member. Said party members shouldn’t have already finished their turn when Death Ward triggers for the target. If this happens correctly, the Death Warded target should be restored to 1 Hit Point alongside a fresh slate of Actions and their Bonus Action. Should the Death Warded target run a Cleric/Sorcerer build, they can theoretically loop Death Ward to oblivion by Creating Spell Slots to re-cast Death Ward while dealing damage at no cost by using their Scrolls.
The loop here is to try to use Quickened Spell, Elixir of Bloodlust, Potion of Speed, and Terazul to be able to cast four 6th-Level Scrolls. Players then cast Death Ward on themselves before taking their own life, which should revive them with a fresh slate of Actions to use.
9
Conjure Minor Elemental (Conjuration)
Capitalize On Elements With Summons
|
Casting Time: |
1 Action |
|---|---|
|
Range: |
18m |
|
Requires Concentration: |
No |
|
Saving Throw: |
No |
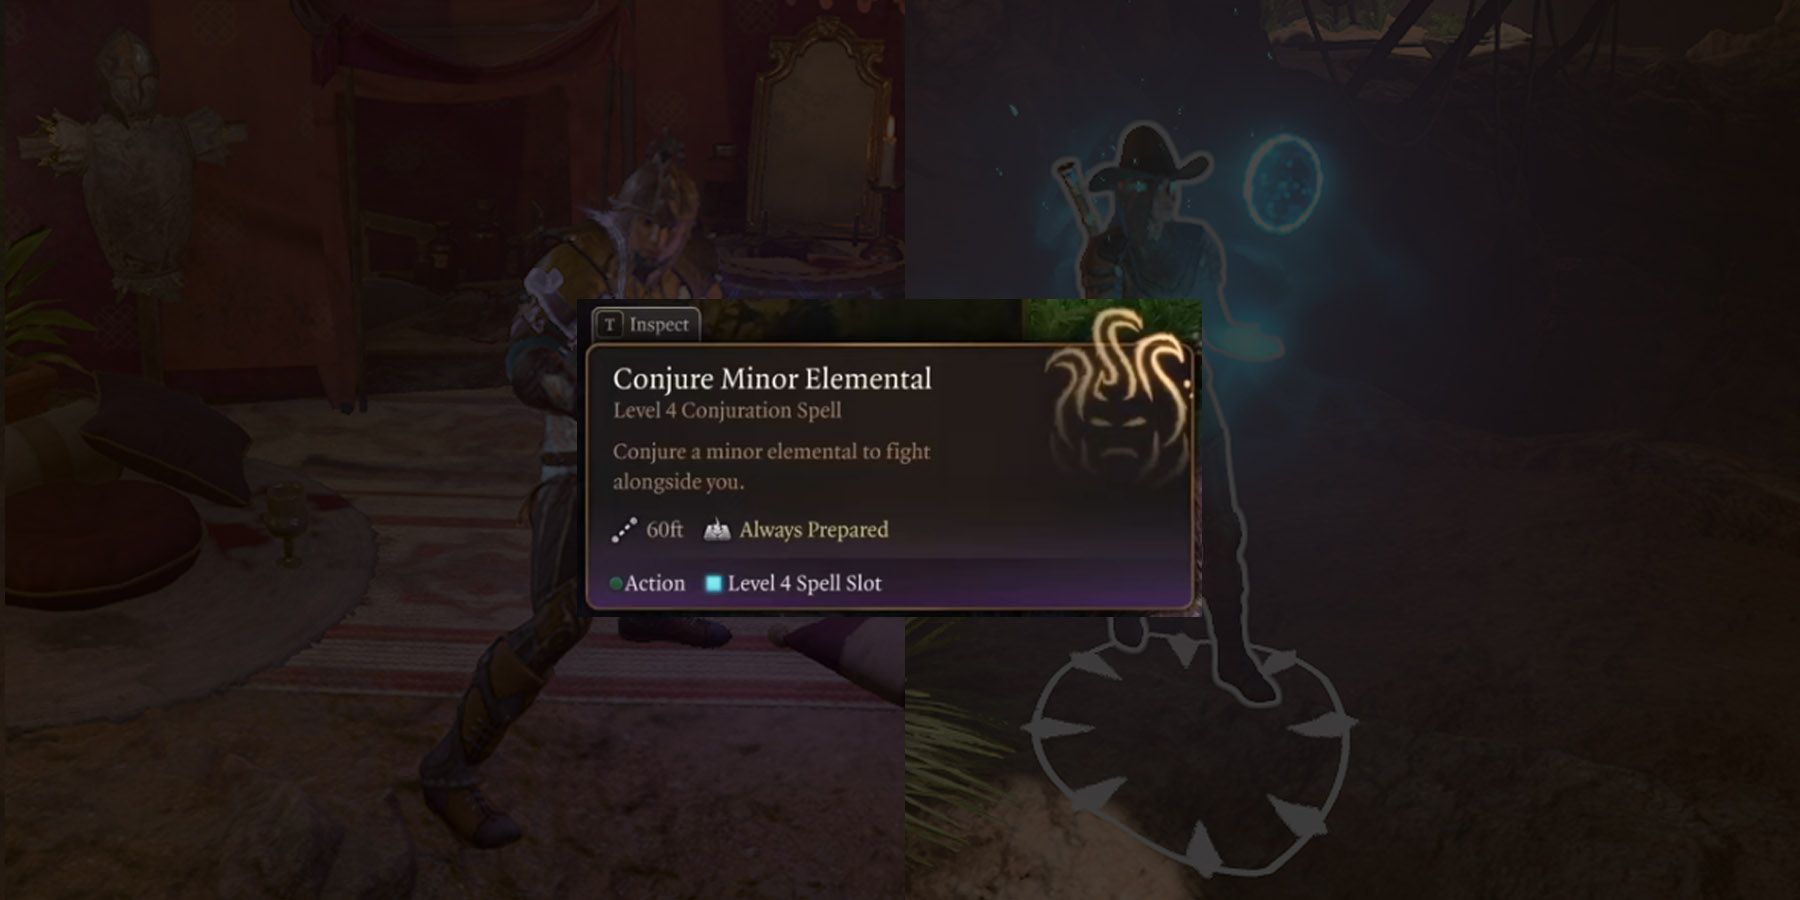
With players only having access to four party members in their Baldur’s Gate 3 gameplay, allies such as Familiars can give gamers an unprecedented advantage. And while the early game gives players access to Find Familiar (1st-Level Conjuration) and Spiritual Weapon (2nd-Level Divination), their limited HP and combat abilities make them a little unreliable for extended encounters.
This is where  Conjure Minor Elemental
comes in. The 4th-level Conjuration spell might be costly at first glance. However, the boosted HP and more diverse attack options of Minor Elementals serve as a middle-ground before players duke it out with stronger but costlier 5th-level to 6th-level Familiars.
How To Use Conjure Minor Elemental
Conjure Minor Elemental is a rather straightforward summoning Spell that doesn’t have a lot of room for customization. The base Ice Mephits should make it easier for players to cast ice-based Spells to proc statuses.
8
Confusion (Enchantment)
Break Through Enemy Lines While Avoiding Attacks
|
Casting Time: |
1 Action |
|---|---|
|
Range: |
18m |
|
Requires Concentration: |
Yes |
|
Saving Throw: |
WIS Save |
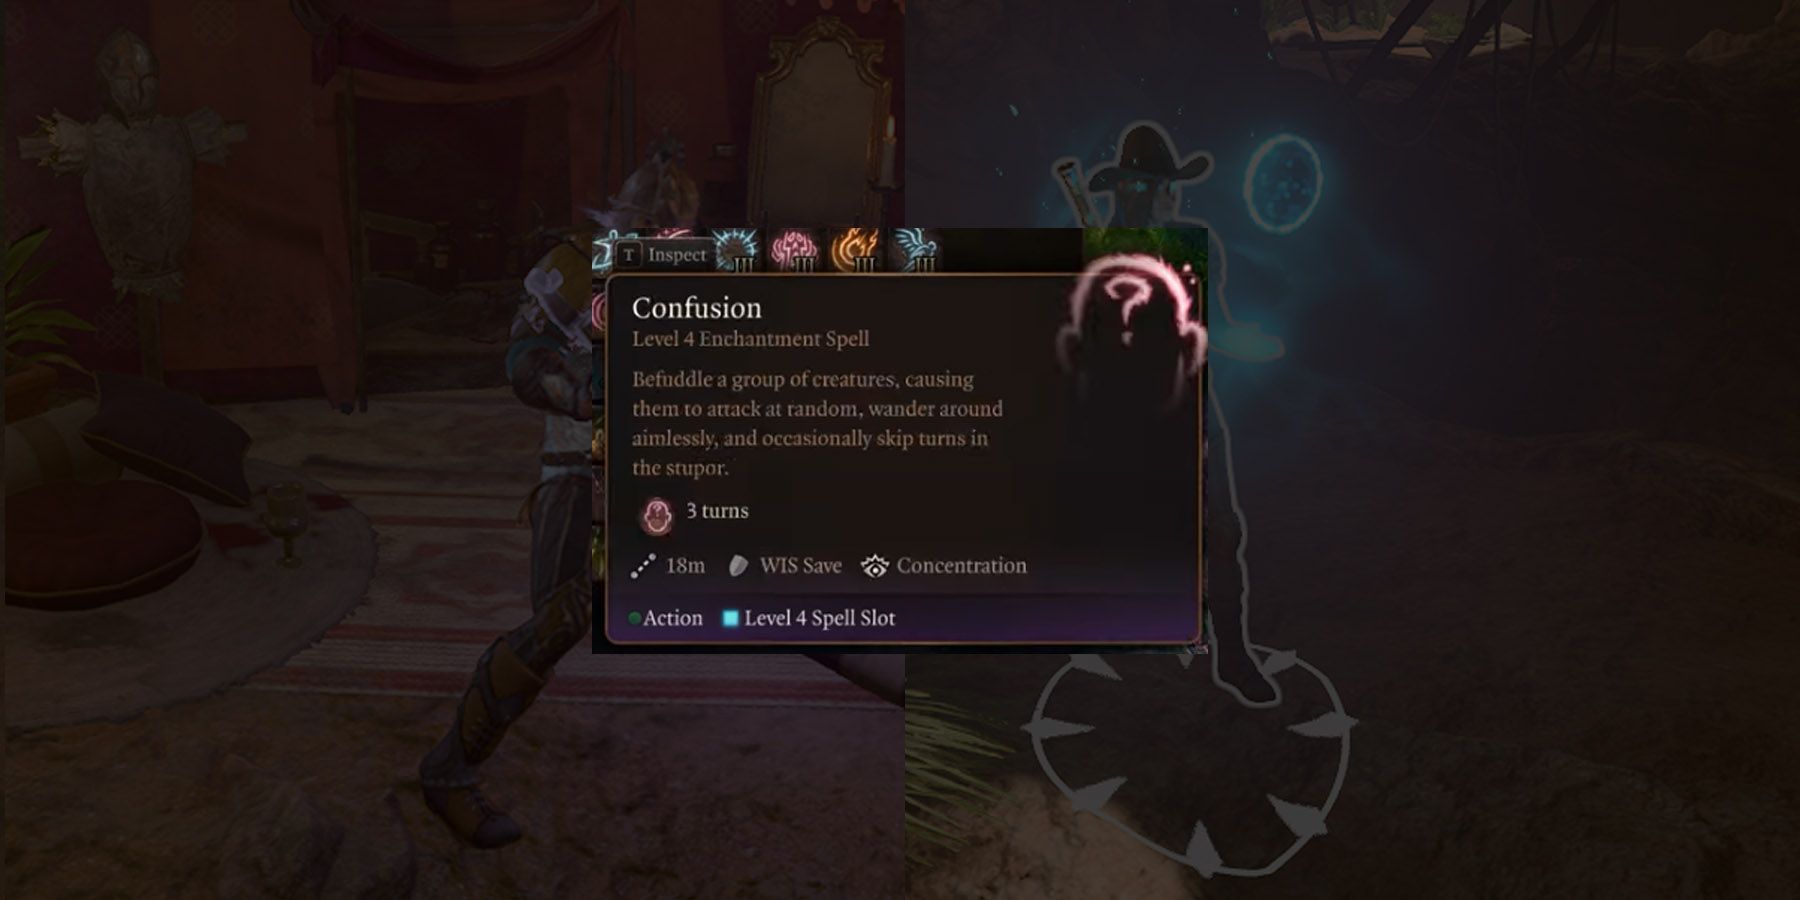
Fans of games within the Pokemon franchise know that Confusion can be pretty annoying, especially since it can make Pokemon hit themselves or skip turns. A similar effect is achieved by  Confusion
, only this time, the Baldur’s Gate 3 spell affects multiple opponents. When used, opponents within a cluster who fail their WIS Save will be magically charmed to be utterly confused about their current situation.

Related
Baldur’s Gate 3: 14 Inventory Management Tips
Managing one’s inventory in Baldur’s Gate 3 is essential. These easy tips are worthwhile to keep in mind.
This magical befuddlement will force these targets to wander the battlefield for three turns. During this spell, targets can attack creatures randomly or even skip their turns entirely. When used against a mob or even a boss, Confusion can give players much room to retreat or reposition.
How To Use Confusion
Assuming players manage to secure 20+ Spellcasting Ability Score courtesy of leveling and other effects in the game, Confusion can minimize the risk of many dangerous encounters. Players can lure a group of opponents to a location via baiting or Black Hole and then use Extended Spell to increase Confusion’s range for better coverage. This should theoretically have enemies attack each other for a couple of turns while players either recover or prepare their more powerful attacks.
7
Banishment (Abjuration)
Send Pesky Enemies Away For A While
|
Casting Time: |
1 Action |
|---|---|
|
Range: |
18m |
|
Requires Concentration: |
Yes |
|
Saving Throw: |
CHA Save |
Players fighting a tough enemy in Baldur’s Gate 3 combat know how much of a relief it could be to just get that boss-level foe out of the way so the rest of the party can eliminate surrounding mobs in the area first. This effect is something that  Banishment
accommodates, wherein a target that fails a CHA Save will be temporarily Banished to another plane of existence.
This Banishment is a two-turn effect, which can last the entire duration for as long as the caster maintains Concentration. Despite its short duration, Banishment can give the party more than enough time to clear or even deal significant damage to mobs, making them more than ready to take care of the boss upon their return.
How To Use Banishment
Players should reserve Banishment for extremely challenging fights where they need just a little bit of time to wreak havoc without being interrupted by a multi-attacking boss. The two-turn disappearance of a boss can be enough for the player’s team to eliminate the other mobs, leaving the boss alone and with no one back upon their return. It’s also interesting to note that extraplanar enemies simply turn to ash when Banished, which can make specific fights in later Acts end quickly.
6
Conjure Woodland Being (Conjuration)
Summon A Potent Dryad For Backup
|
Casting Time: |
1 Action |
|---|---|
|
Range: |
18m |
|
Requires Concentration: |
No |
|
Saving Throw: |
No |
Building upon the premise of the Guardian of Faith’s benefit as an extra party member,  Conjure Woodland Being
(4th-Level Conjuration) upgrades the toolkit of a summoned creature with its benefits. Upon activation, Conjure Woodland Beings summons a Dryad to help the player’s party, possessing Nature’s Step and abilities to Entangle foes and Summon their own Wood Toad.
Unlike the Divine Guardian, the Dryad herself has a full slate of Actions to use for the party’s benefit. She can deal 3d6 + STR Mod (Twisted Oak Crook) or 4d8 + Spellcasting Ability (Strengthened Shillelagh) Bludgeoning Damage with a chance to slow down foes (Grasp of the Forest). She can also transform the ground into spikes that halve movement and deal 2d4 Piercing (Spike Growth), summon a Wood Toad ally (Fallen Lover), and ensure they and other allies have Resistance to Poison and Immunity to being Restrained, Paralyzed, and burdened by Difficult Terrain (Nature’s Step).
How To Use Conjure Woodland Being
The sheer flexibility of Conjure Woodland Being makes them a must-have when it comes to more complicated encounters, especially in solo play. The Woodland Being’s mere access to Spike Growth allows players to transform any area into Difficulty Terrain they can take advantage of with their other attacks. The Being’s basic stats also allow them to hit hard without much risk.















Leave a Reply