The Second Sea in Roblos’s Fisch opens up a whole new frontier for exploration and fishing, packed with unique islands, secret fish, and tougher challenges. But just like in the First Sea, your gear makes all the difference. If you want to catch rare fish or complete bestiaries efficiently, having the right rod is essential.
Most rods from the First Sea don’t work that well here. They suffer a hefty -50 percent debuff when used in the Second Sea, making even your best old rods significantly weaker. That’s why grabbing one of the new Second Sea rods should be your top priority. In this guide, we will go over all available Second Sea rods in Fisch, where to find them, how much they cost, and their stats.
All Second Sea Rods
Unlike First Sea gear, rods from the Second Sea come without debuff and are fully optimized for the region’s fishing conditions. So, if you want to fish efficiently, your best move is to swap out your old gear and grab something designed for the new waters. Below, you will find a full breakdown of all the rods currently available in the Second Sea in Fisch, including their locations, costs, and stats to help you choose the one that fits your playstyle.
|
Rod |
Stats |
Price |
Coordinates |
Location |
|---|---|---|---|---|
|
Adventurers Rod |
Control: 0 Resilience: 5% Lure Speed: 10% Luck: 10% Max Kg: 104kg |
Free |
N/A |
You will receive it automatically as soon as you get to the Second Sea. |
|
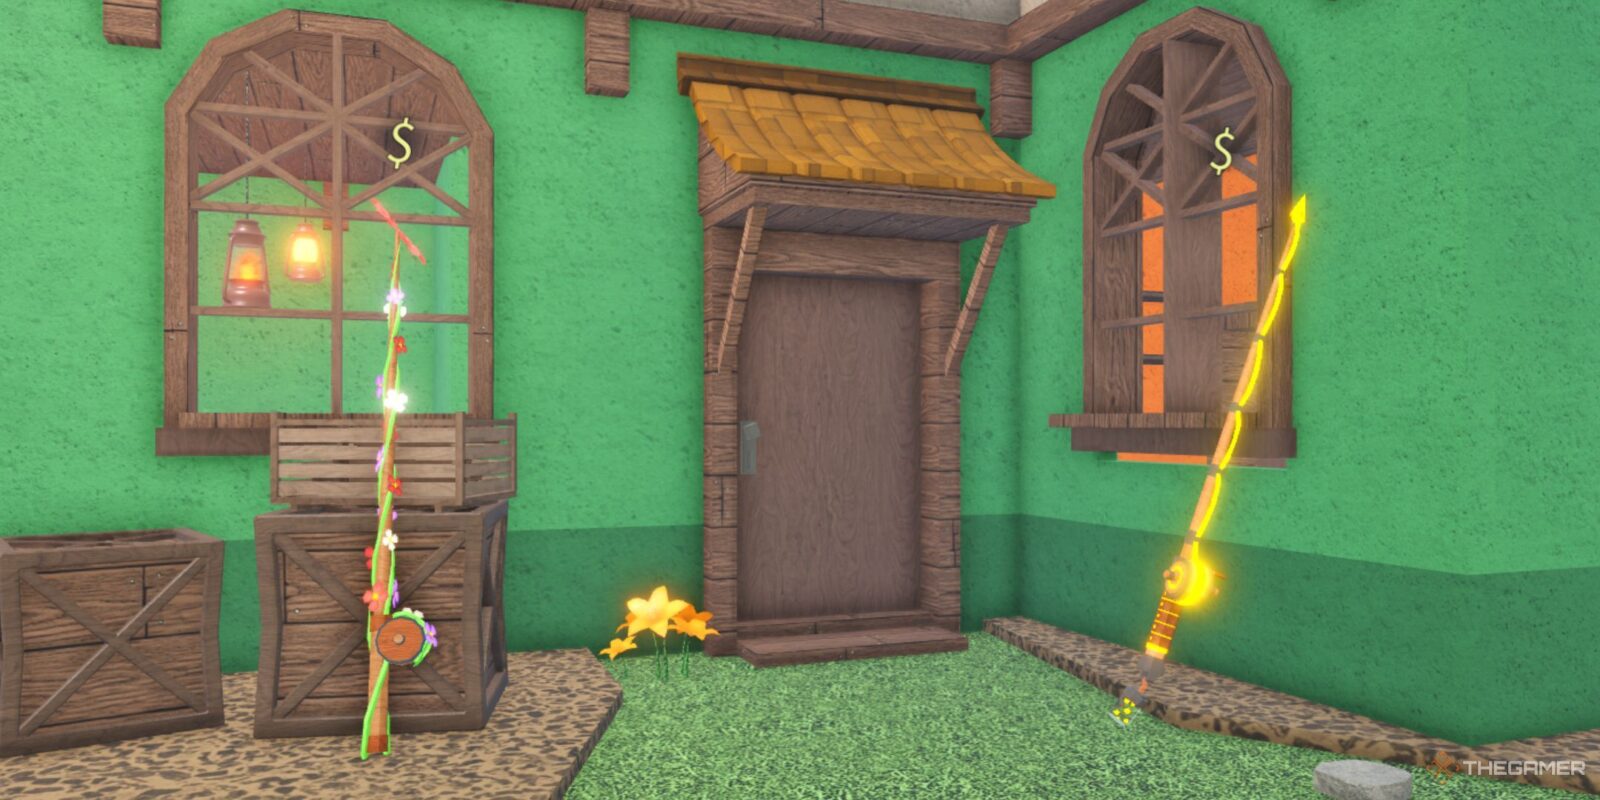
Wildflower Rod |
Control: 0.07 Resilience: 12% Lure Speed: 30% Luck: 55% Max Kg: 700kg |
7,000E$ |
165, 115, 730 |
Near the Merchant’s Shop in Waveborne. |
|
Firefly Rod |
Control: -0.01 Resilience: 0% Lure Speed: 75% Luck: 35% Max Kg: 175kg |
9,500E$ |
165, 115, 730 |
Near the Merchant’s Shop in Waveborne. |
|
Frog Rod |
Control: 0.05 Resilience: 5% Lure Speed: 20% Luck: 100% Max Kg: 650kg |
12,000E$ |
225, 120, 810 |
Under a tree near Waveborne Pond. |
|
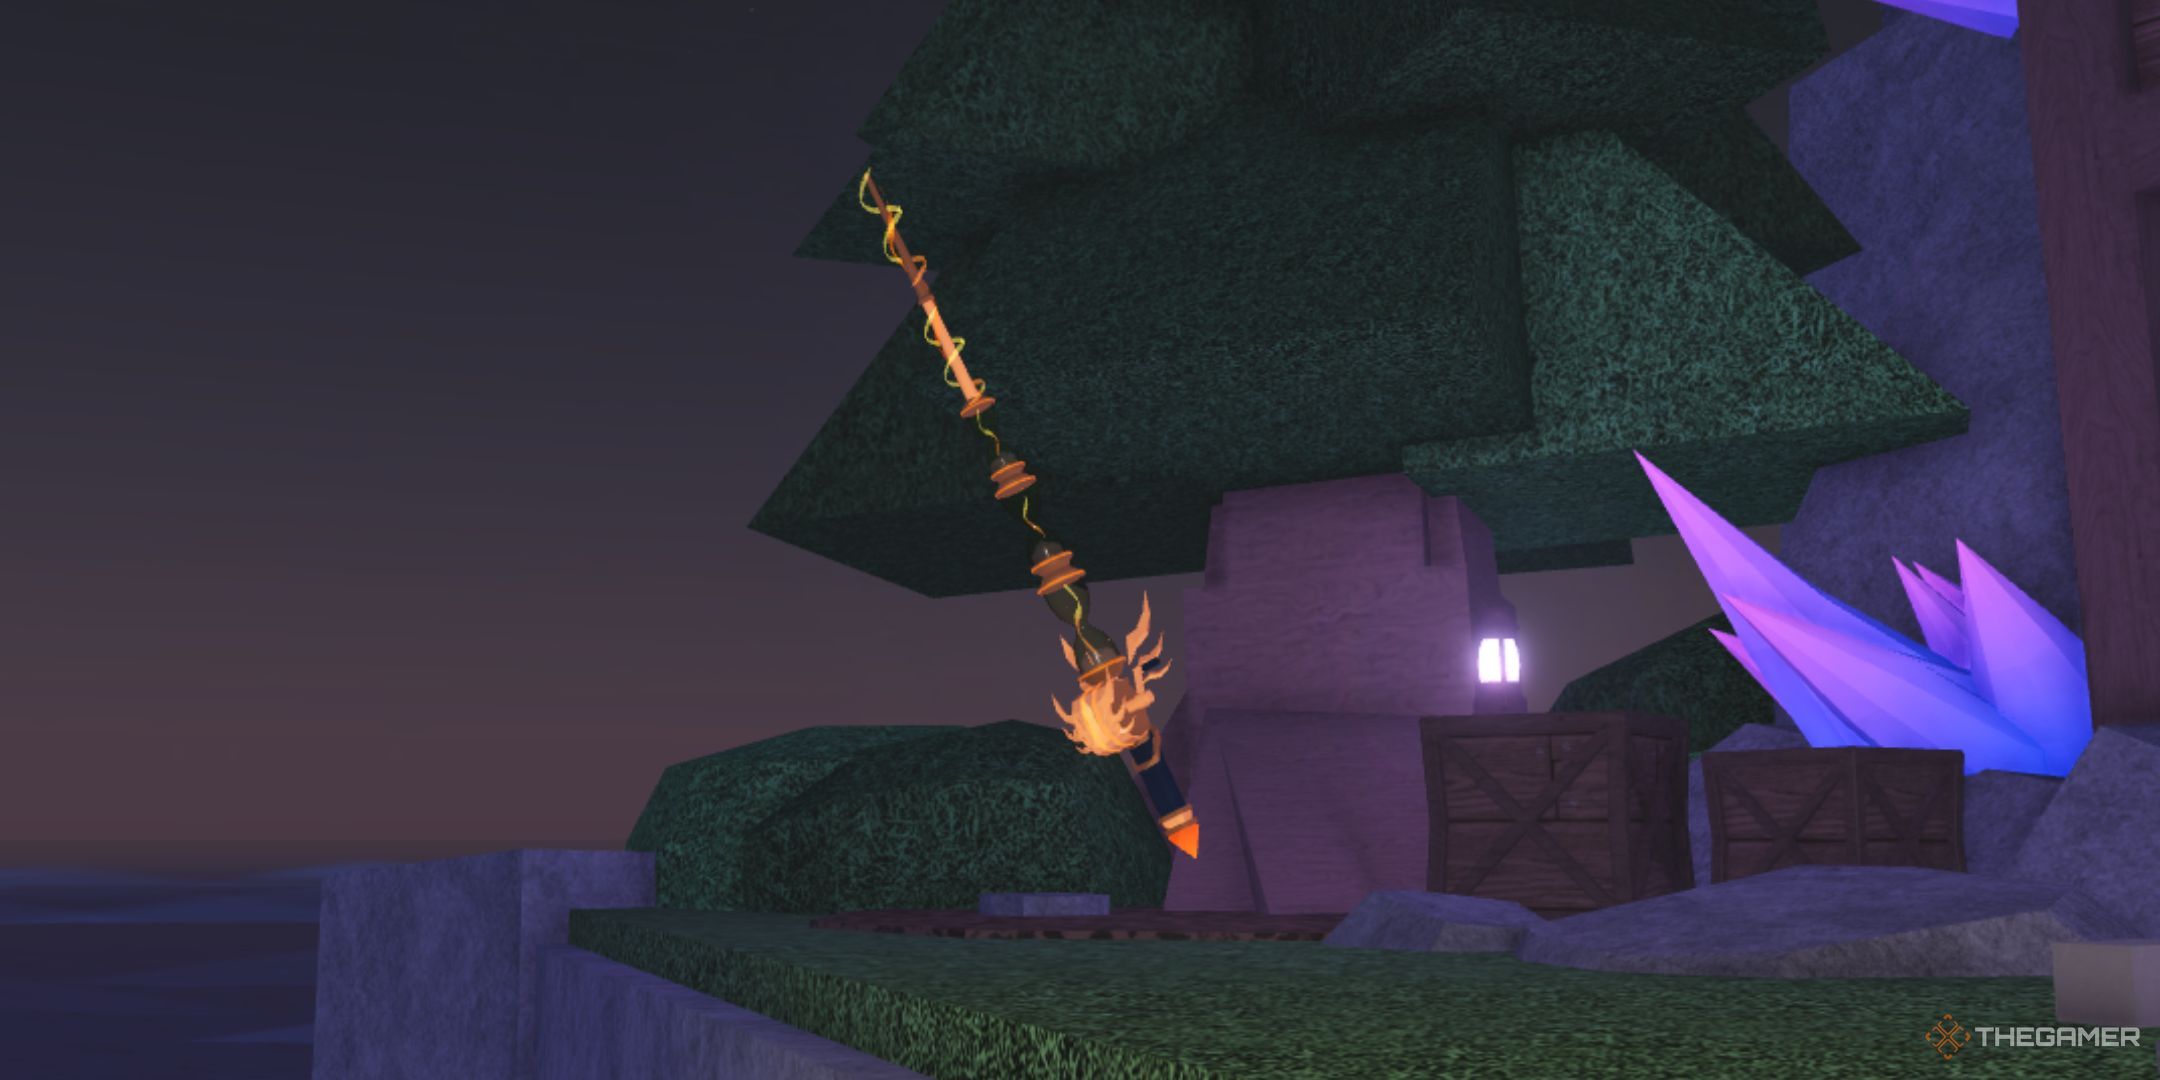
Blazebringer Rod |
Control: 0.15 Resilience: 15% Lure Speed: 60% Luck: 90% Max Kg: 5,000kg |
70,000E$ |
2870, 165, 522 |
On the pier behind the pond in Emberreach. |
|
Verdant Shear Rod |
Control: 0.1 Resilience: 10% Lure Speed: 70% Luck: 75% Max Kg: 2,000kg |
40,000E$ |
1023, 132, -698 |
Near the Merchant in Lushgrove. |
|
Azure Of Lagoon |
Control: -0.01 Resilience: 55% Lure Speed: 25% Luck: 105% Max Kg: 100,000kg |
100,000E$ |
1289, 93, 2281 |
Azure Lagoon. At the bottom of the ladder up to the Inn Keeper. |
|
Free Spirit Rod |
Control: 0.15 Resilience: 10% Lure Speed: 25% Luck: 150% Max Kg: 5,000kg |
200,000E$ |
-384, 80, -392 |
Near the Angler on Isle Of New Beginnings. You also need to complete 70% of the local bestiary before you can buy it. |
|
Great Dreamer Rod |
Control: 0.12 Resilience: 10% Lure Speed: 65% Luck: 80% Max Kg: 8,000kg |
500,000E$ |
-490, 137, 2240 |
Near the tree, next to the bridge, at the back of The Cursed Shores. |
It’s also important to mention that the Second Sea introduces a completely separate currency system. Instead of the familiar Credits from the First Sea, you will now be earning and spending Embercoins. Unfortunately, there’s no way to convert your existing C$ into E$. That’s why you should start farming Embercoins from scratch.





Leave a Reply