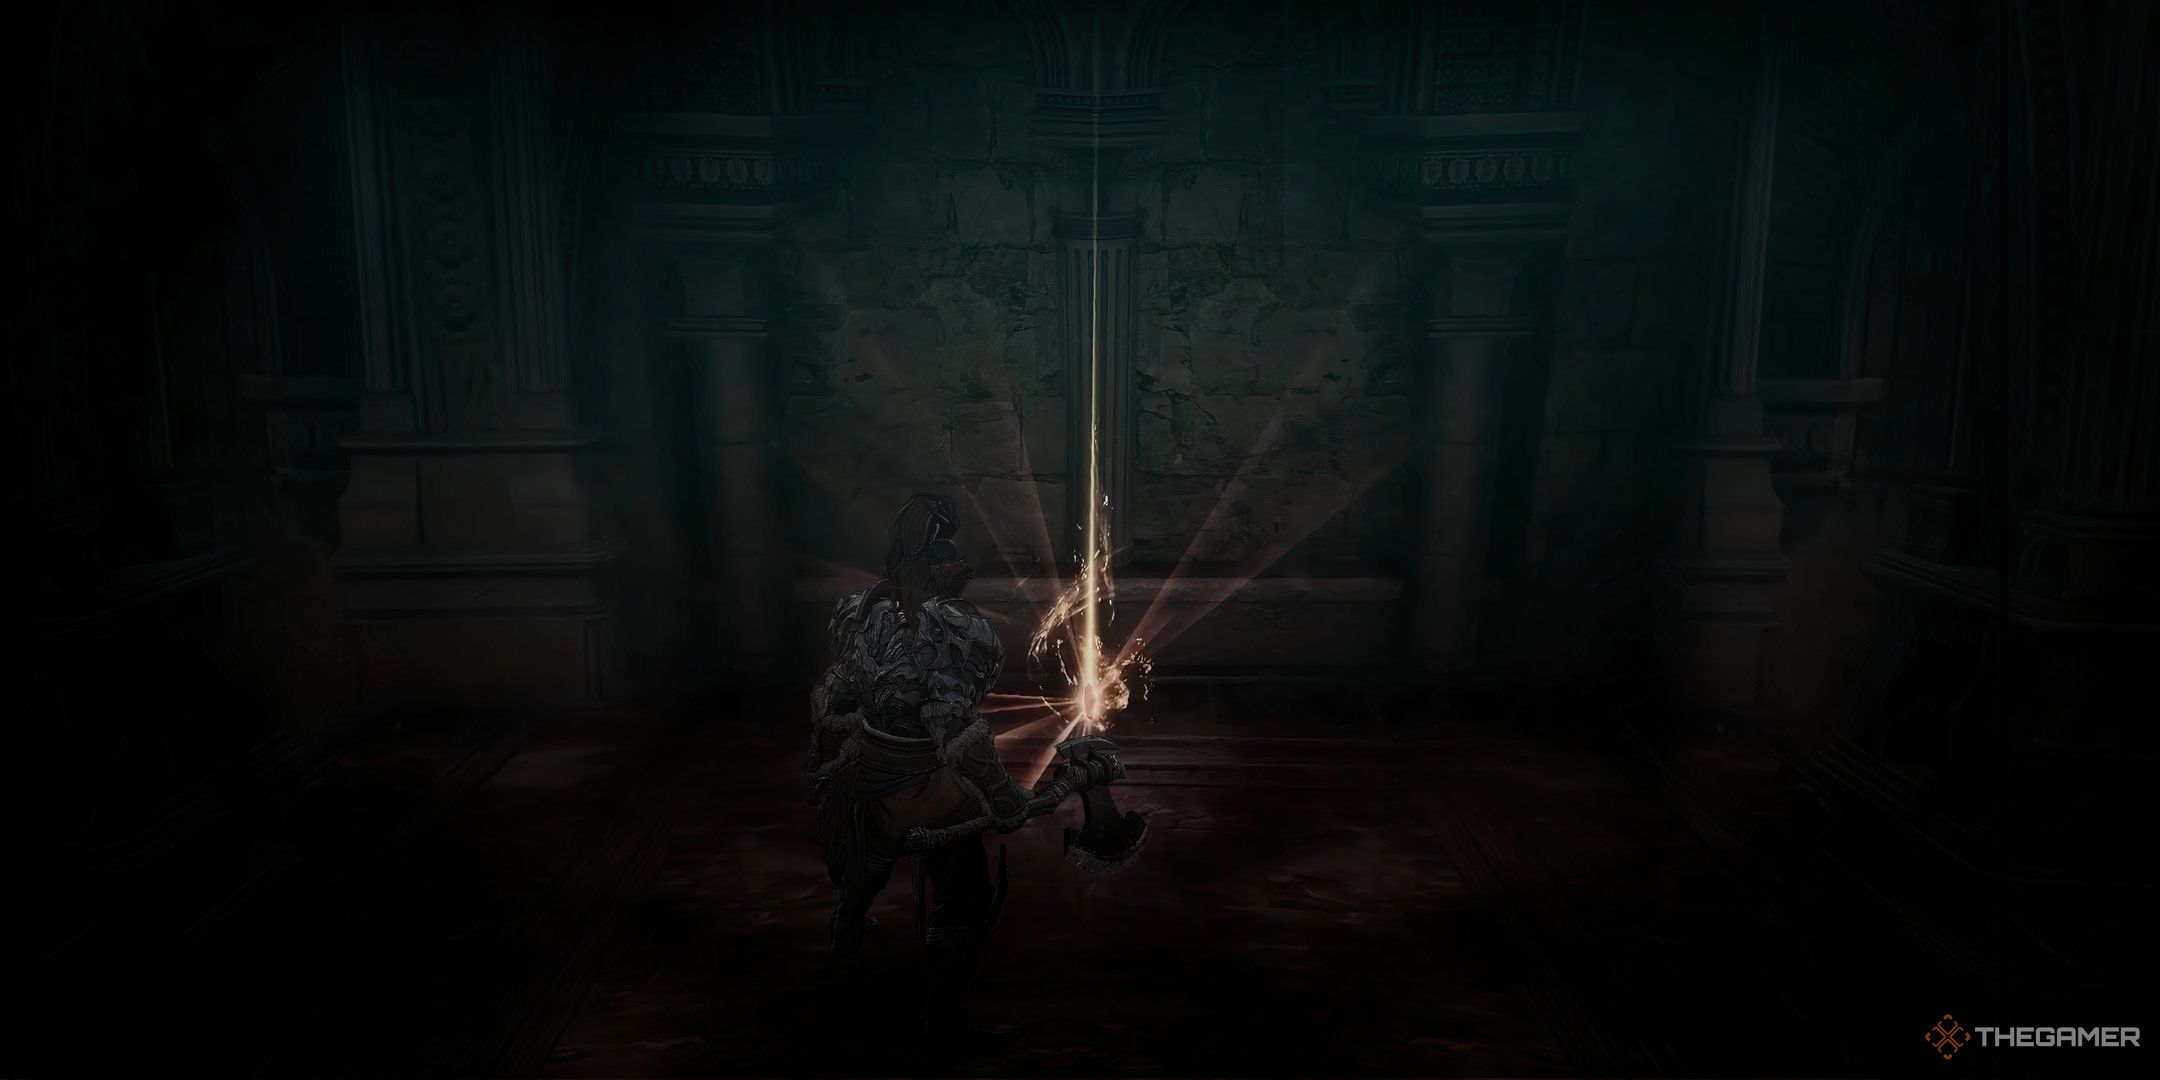
Every Soulslike needs an Estus Flask and The First Berserker: Khazan is no exception to this rule. Netherworld Energy acts just like any other Estus Flask parallel; it recharges after you reset the world at a Blade Nexus, and can be made more effective through certain upgrades. However, unlike many Soulslikes, The First Berserker is a little stingier when it comes to providing you with more charges of these life-saving consumables.

Related
The First Berserker: Khazan – How To Earn More Lacrima
Here’s how to earn more Lacrima and level up faster in The First Berserker: Khazan!
This guide will walk you through the location of each Netherworld Energy charge, as well as instruct you on how to improve their efficacy. By the time we’re done, you know exactly where to go and what to do in order to gain hold of these incredibly valuable recovery items.
Forgotten Temple Netherworld Energy
The very first Netherworld Energy charge you’ll be able to acquire is found next to the bard in the Forgotten Temple. Teleport to the Forgotten Temple Entrance Blade Nexus. Head up the stairs into the temple. There will be some Dragonkin worshiping a massive skeleton in the center of the room.
Climb the stairs to get to the second level, then take a right. You will see two archers. Kill them, then, jump down to the area below. Here there will be a bard. Next to the bard is a small set of stairs that lead to an amber-glowing object which is, of course, the Netherworld Energy you seek!
Strange Stench Netherworld Energy
The second Netherwold Energy is found in the early part of the Stange Stench mission. Zoom to the Collapsed Mine Blade Nexus. If you have the lift unlocked, take it to the top, and take a left out of the elevator. From there, follow the beam forward. You should be able to see the Netherworld Energy glowing on the edge of the beam at the top of the structure.
Watch out for bats when you are crossing the beam: they will try to knock you off of it.
If you don’t have the lift unlocked, look for the ladder that leads up to the wooden beams that act as the rigging for the massive lift and climb it. Now, follow the beams up and around, until you can get to the point where you can drop onto the center platform. From there, climb up the wooden beams on the other side of the ones you got up here on.
You’ll keep climbing, head past a huge mess of spider eggs, and keep going until you are at the top beam. However, instead of taking a right, which would lead you to the top of the elevator, take a left and keep following the wooden beams upward. Watch out for the bats! You’ll encounter the Netherworld Energy at the edge of the top-most beam.
Devoured Village Netherworld Energy
Head to the Underground Water Facility Blade Nexus. If you have the shortcut gate open on your right, head through it. Otherwise, you’ll need to climb down into the area below, climb the ladder on the other end of the room, then follow the pipe you enter, and head straight forward until you end up in the area where the gate would have led you.
Work your way through a number of spiders. Take a right, fight the giant spider, then head into the room on your left filled with spider eggs. Work your way through that room, then cross the hallway and into another room filled with spider eggs. There is a spider on the ceiling, so watch out for it. Now, climb the ladder leading to the pipe above and take a left.
You’ll soon hit another fork in the road (well, fork in the pipe); take another left. You’ll fight a Poisoned and Frenzied Husk. Once you take them out, follow this pipe all the way to a room with the Netherworld Energy sitting in the center of it. Watch out, there are two more Pot-Belly Spiders waiting to drop on top of your head.
Atlante The Precise Netherworld Energy
Of all the Netherworld Energy charges in the game, this one is probably the most straightforward. Go to the Destroyed Ruins Blade Nexus – the beginning of the stage. Head straight ahead and you’ll fight one of those massive greatsword-wielding Renowned Warrior’s Shadows.
Once you defeat him, head straight into the next area where you will fight a second Renowned Warrior’s Shadow. This one, however, will be an Elite variant. Once you’ve defeated this elite foe, you’ll be able to find the Netherworld Energy sitting to the left of the opening that leads to the next part of this stage. It is practically right out in the open.
The Vow Netherworld Energy
Start from the Forbidden Passage Blade Nexus. Head up the stairs next to the Nexus, and take a left. Once you hit the room with the forking paths, take a left, follow the bloodied pathway to a ladder and climb down. In the next area, jump down to the lower level: you’ll be in the room where you fought the Renowned Warrior’s Shadow. Head through the shortcut gate into the bloody hallways.
Head down the hallway, take a left, then take a right. You’ll go up a small set of stairs, and you’ll be in a room with two Yoma Pursuers. Take another right up another small set of stairs, then once you enter the next little room, take a left to enter the passageway – there will be another Yoma Pursuer waiting in the hallway for you.
Now, take a right once you are at the end of the hallway, and follow the path until you are in a massive room that has two Undead Shieldbearers and an Undead Ice Archer. On the left side of the room, right beside one the aforementioned Ice Archer, you’ll find the Netherworld Energy.
Equipment Sets That Increase Netherworld Energy
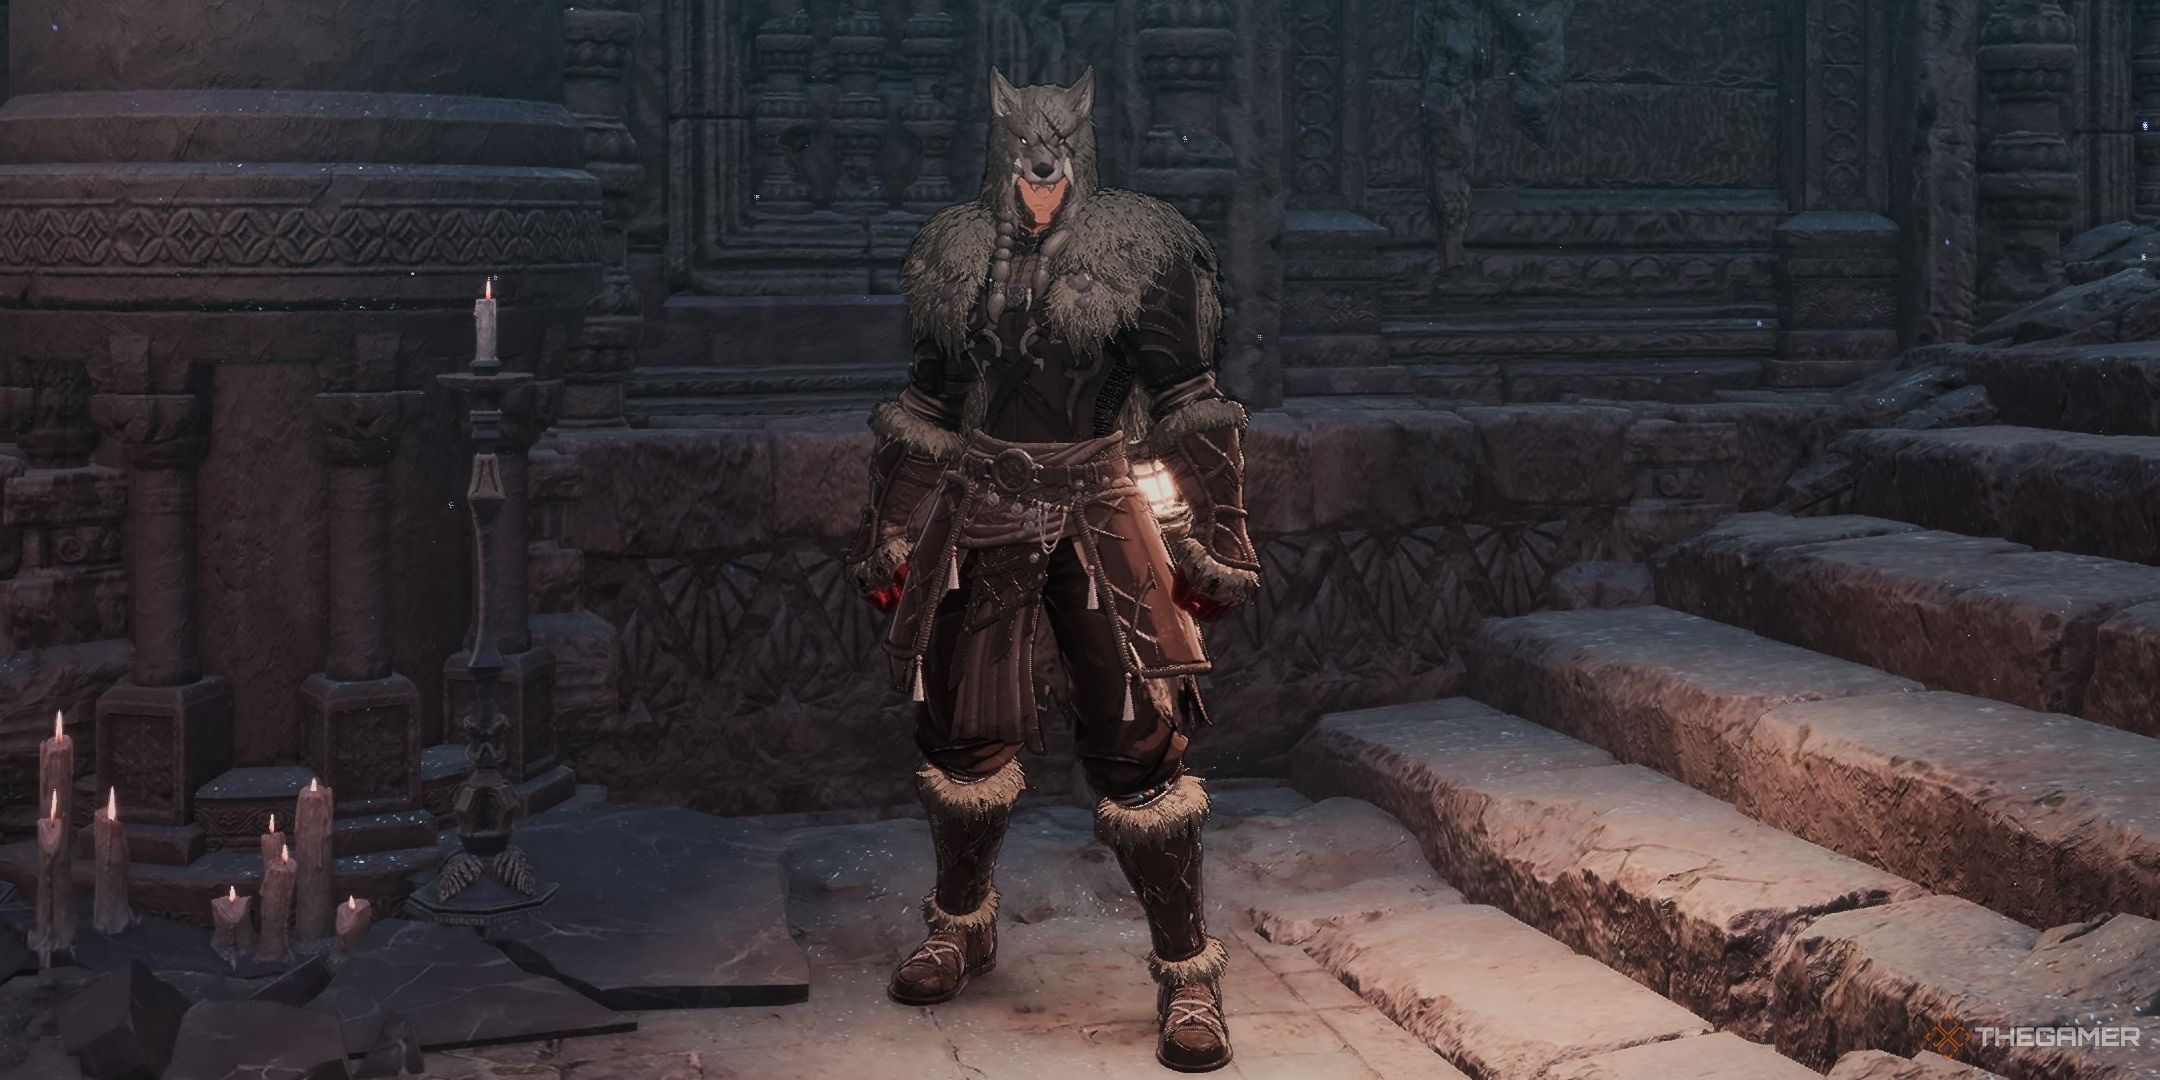
There are two armor sets that you can acquire in the game that will increase the amount of your Netherworld Energy: the Cleric and Ashen Wolf sets. You can, of course, acquire pieces of this armor piecemeal, but if you are looking to build yourself a whole set, we’ve got the instructions on where you’ll find the recipe for each piece of armor below.
Ashen Wolf Set
You’ll obtain the Ashen Wolf set during The First Act Of Revenge mission. In the area where you fight the Double-Bladed Butcher, this recipe will be out in the open. If you missed it the first time around, the Central Storehouse Entrance Blade Nexus is quite close to it. Once you’ve moved through the storehouse, you’ll be in the right area. It is the same place where the Boulder trap is.
Ashen Wolf armor also helps to increase your Netherworld Energy’s healing efficacy by 20 percent, which is pretty nice bonus.
|
Number Of Pieces Equipped |
Special Effect |
|---|---|
|
2 Pieces |
Dodge stamina cost decreased by 10% |
|
3 Pieces |
Health recovery increased by 20% |
|
4 Pieces |
10% stamina damage increase for Composed and Potent attacks. |
|
5 Pieces |
Obtain 1 more Netherworld Energy |
|
6 Pieces |
15% damage increase for Potent attacks. |
Cleric Set
You can obtain the Cleric Set by defeating a Pincer Spider using only Brutal Attacks and Brink Guards. Naturally, your best bet for doing this is to equip one of the skills that causes a Brink Guard to deal damage. So, equip the Breakdown skill for the spear, Avenger for the greatsword, or Blowback for the Dual Wield.
Once you’ve prepared yourself, head to the Strange Stench stage and engage with one of the Pincer Spiders. There is one right next to the Bottom of the Cave Blade Nexus, so I’d recommend going there. Once you have successfully completed this challenge, just select the Pincer Spider in Daphrona’s Codex and you’ll obtain the recipe.
|
Number Of Pieces Equipped |
Special Effect |
|---|---|
|
2 Pieces |
Guard stamina damage decreased by 10% |
|
3 Pieces |
Max stamina increased by 200 |
|
4 Pieces |
15% damage increase. |
|
5 Pieces |
Obtain 1 more Netherworld Energy |
Increasing Netherworld Energy Charges With Phantoms
There is no phantom who’ll straight up provide you with an additional Netherworld Energy charge, but after you’ve upgraded Adelhaide The Philanthropic once, she’ll provide you with a Netherworld Energy charge every time you land a Brutal Attack if you are all out Netherworld Energy charges. That’s the closest you’ll get, unfortunately.

Next
The First Berserker: Khazan – Complete Guide To The Crevice
This guide will tell you everything you need to know about The First Berserker: Khazan’s central hub: The Crevice.


Leave a Reply