The world of Xenoblade Chronicles X: Definitive Edition is split into many different regions, each incredibly distinct from the last. For the most part, you will be exploring these regions as the story advances, the average level of the enemies in each locale scaling to match that. Of course, there are exceptions though.

Related
Xenoblade Chronicles X: Definitive Edition – How To Recruit Yelv
Yelv appears to have it out for you, but there’s more to this Xenoblade Chronicles X punk than meets the eye.
Hope Springs Eternal is a mission that wants you to know that the world is hostile, and that sometimes you will be forced to go well out of your way to help others. Like, other end of the planet out of your way. So if you had the misfortune of picking up this mission early, here’s the best way of finishing it and keeping your sanity in check.
How To Start Hope Springs Eternal
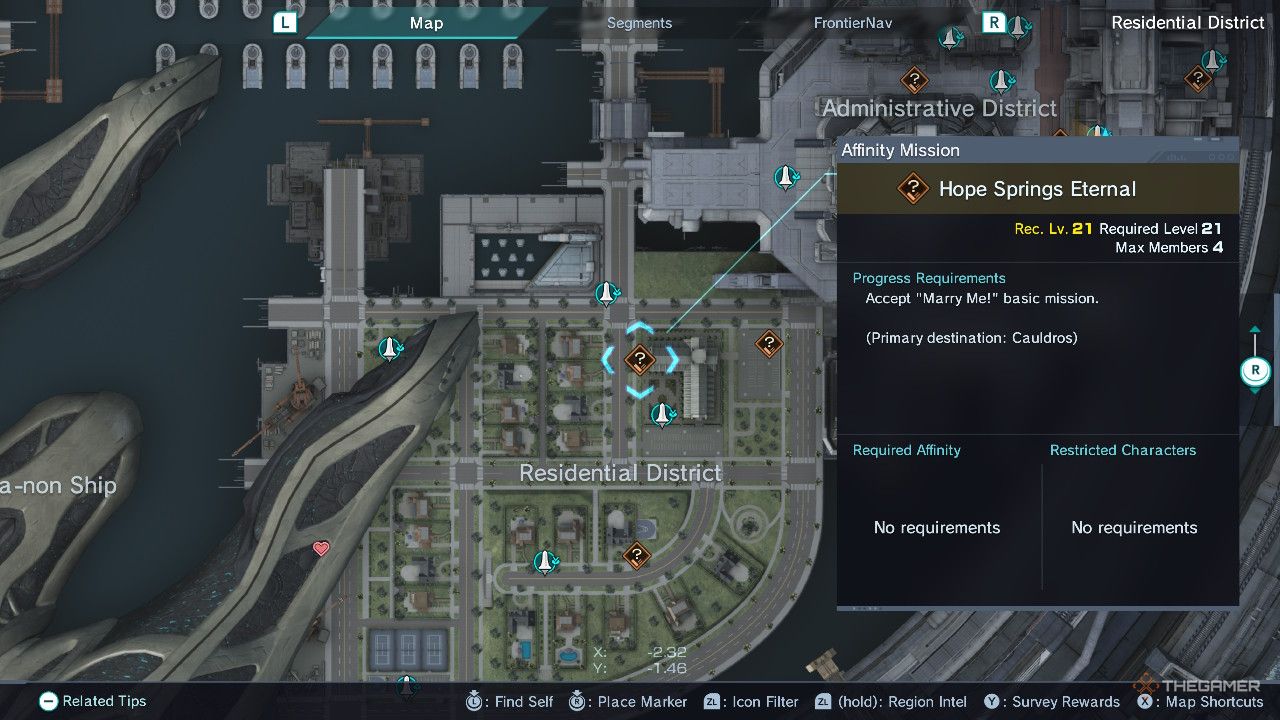
Hope Springs Eternal can be started as soon as you’ve finished Chapter Three, Builders of a Legacy. This is where you will have met Tatsu and Nopon will be introduced to the world. From then, the Hope Springs Eternal mission will be available, though there are a few requirements that must be met first.
For one, this mission appears in the world only after you have picked up the Marry Me! Basic Mission from Mission Control. It asks you to find ten Natural Pearls, but this isn’t actually possible, and instead guides you towards Hope for help instead. Otherwise, you simply need to reach level 21, though you really should aim to be a little higher. The journey ahead will be a long, arduous one.
This is also an Affinity Mission, so you must complete it before you can start another Affinity or Story mission.
When talking with Hope at the cathedral, you can tell her about your struggle to find the Natural Pearls, at which point she gives you her own pearl necklace so that you can complete the Marry Me! Basic Mission. At this point, a Nopon by the name of Lularita appears begging for Hope’s help. Her caravan has been attacked by monsters and she needs help. Ever the valiant hero, you agree to help. And what a mistake that is.
Ideal Route To Reach Cauldros
You see, Lularita’s caravan, the Drongo Caravan, is located in Cauldros. As in, on the opposite end of the world from NLA. This requires traveling from the north beach of Primordia, all the way through Sylvalum, and finally reaching Cauldros. It is the furthest possible distance from NLA it could be, and is an even more challenging mission if you actually take this on as soon as you can.
So let’s work out a safe way of actually reaching Cauldros. From the northernmost point of Primordia, there is a series of small islands connecting to Sylvalum. These are littered with high-level Ganglion enemies, though they can be easily avoided by swimming around them. There are no checkpoints along this stretch of islands though, so be careful when navigating.
You could swim all the way there, though this would require navigating through a lot of Cauldros to reach Drongo Caravan, and has no landmarks along the way if you die before reaching the shores of Cauldros.
Once you finally reach the southern shore of Sylvalum, there will be a Base Camp and FN Site 403. Make sure to activate this one to give yourself a new Fast Travel point. Many of the enemies you’ll find along the shore here are fairly low level, though they grow in level immediately once you enter the region proper. However, many of them rely on actually seeing you before they engage in battle, so they are easy to run right past.
For the most part, you can use the Follow Ball as a good guide on where to go, though sometimes it will steer you directly into hidden enemies, so try to stay to the high ground where you can see everything around you. After entering Sylvalum proper, make your way to the large body of water, Lake Ciel, and follow it to the north-west. There are many strong enemies in this area, though the larger ones will ignore you, and the smaller ones as easily avoided.
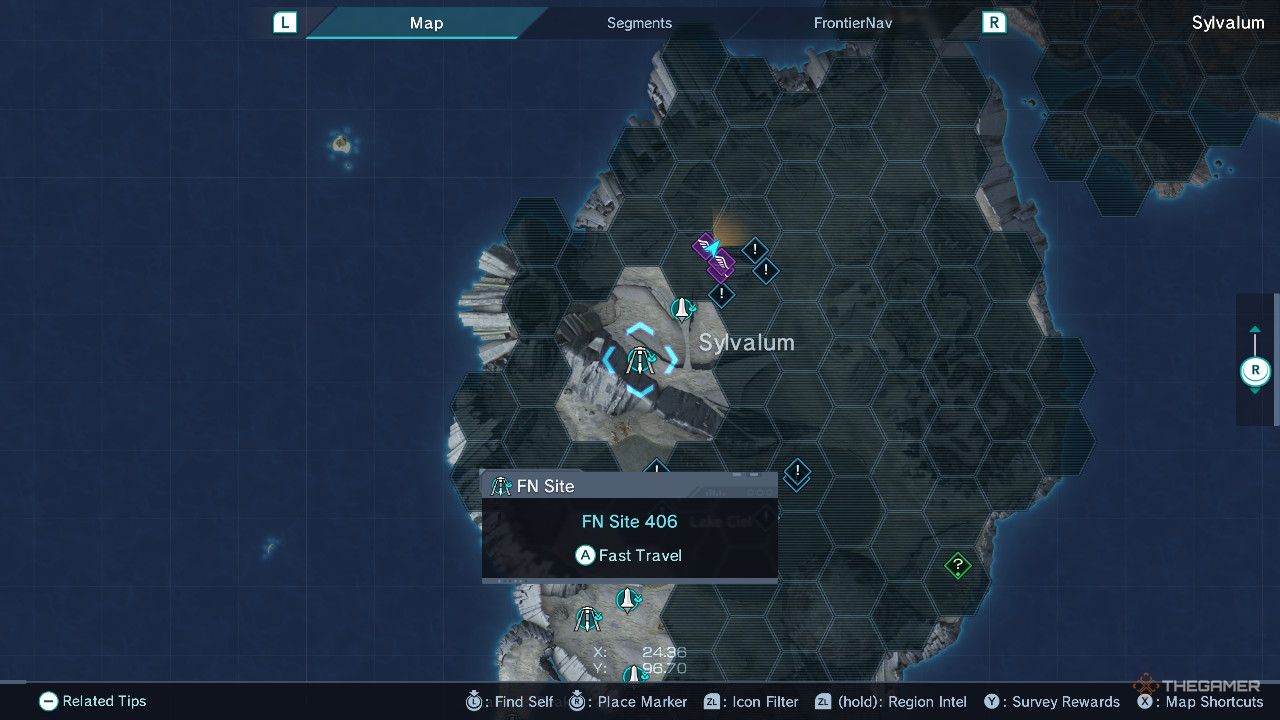
Following here will lead you into a small cavern leading upwards. There will be a Falsaxum enemy here that will aggro, though they are slow and easy to speed past. Once you’re out of the tunnel, you will see FN site 406 right ahead of you. It is guarded by two Marnuck soldiers, which will be around level 40. Make sure to have Elma or Phog in your party so you can use Shadowrunner to activate the site without aggroing them. This will cause them to permanently despawn.
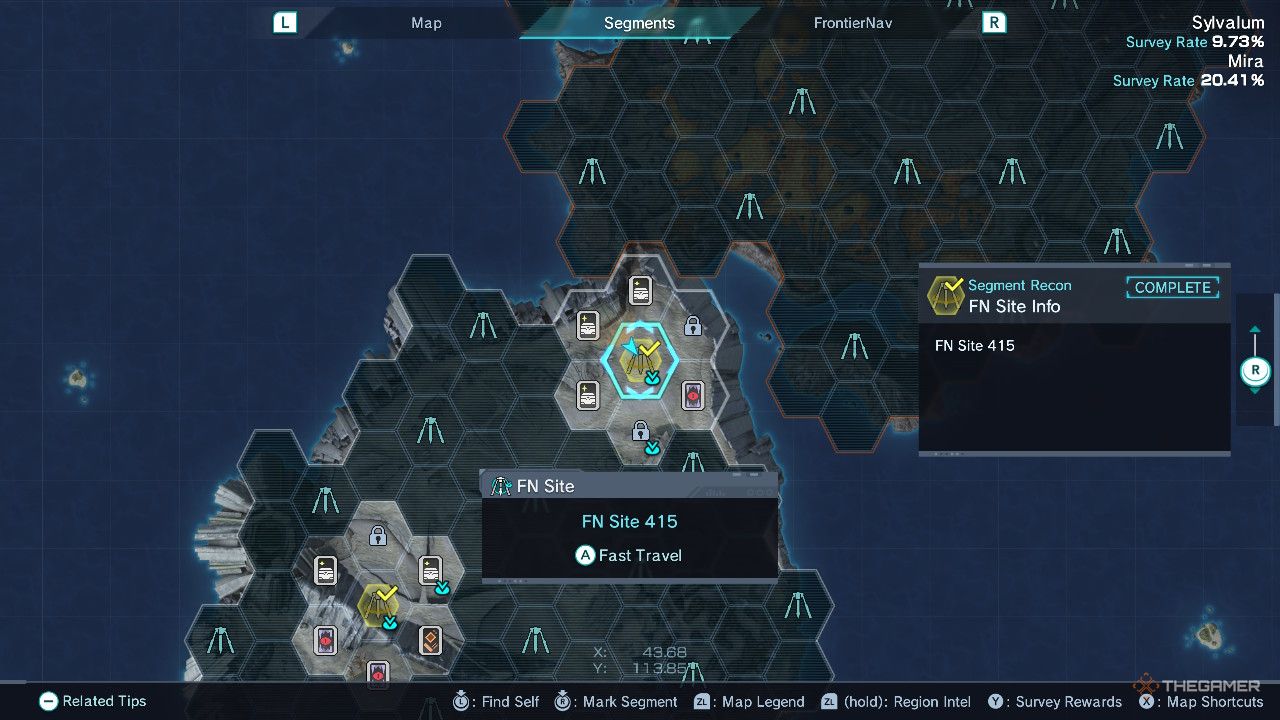
From here, we’re aiming to reach FN site 415 further to the north-east. Make sure to stay on the tips of the dunes as you run along here, as there are many smaller enemies hidden in lower sections of the sand here. There are also many buried statues that will rise up as enemies if you get too close to them, so try to avoid them as well.
Like with FN Site 406, you can always use Shadowrunner if you come across enemies you don’t think you can safely avoid to ensure you aren’t detected.
Keep along this path until you finally reach FN Site 415. From here, it’s basically a straight run north to enter Cauldros. There will be many Ganglion enemies in the connecting corridor, though they will be of a lower level than may of the enemies in Sylvalum, and can also be easily avoided by hopping along the walls and using Shadowrunner.
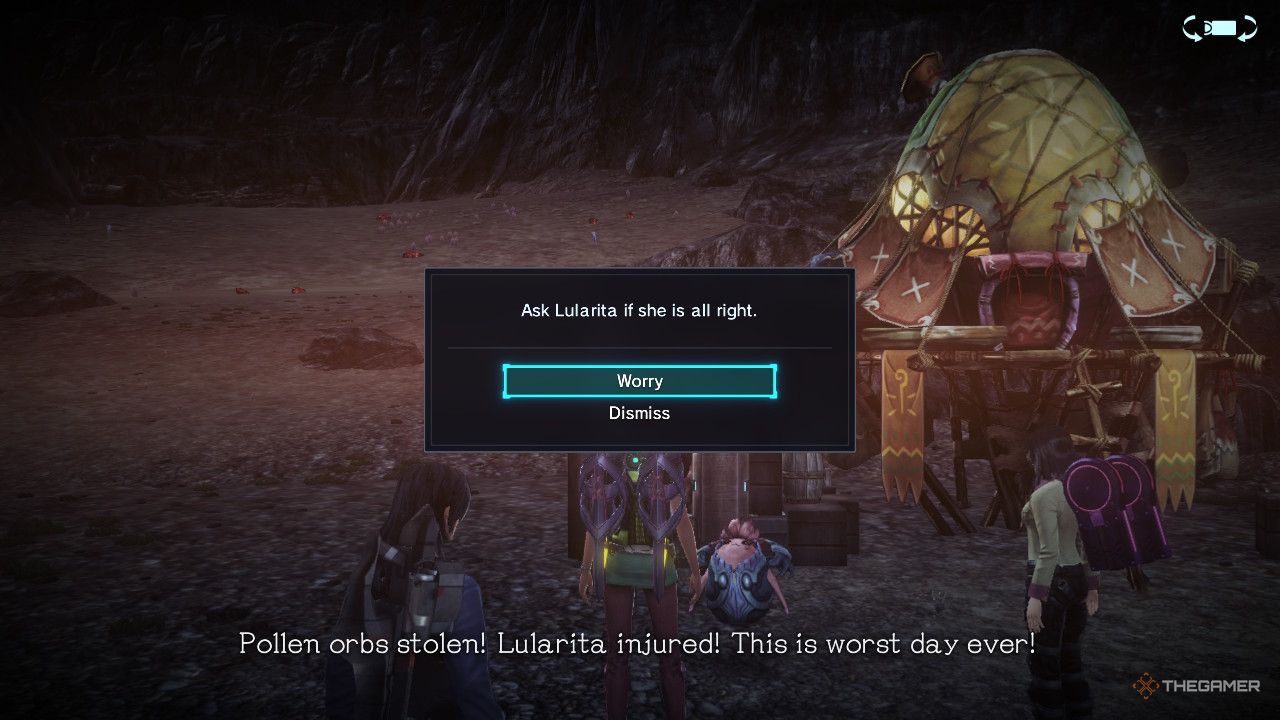
Once you enter Cauldros, Drongo Caravan will already almost be in view. The enemies are fairly spaced out in this early section of Cauldros, so you should be able to reach Drongo Caravan without running into trouble. This is a landmark as well, so you will be able to easily fast travel back here whenever you need. Finally, you have come to Lularita’s aid.
Defending Drongo Caravan
Drongo caravan will be decimated, safe for Lularita herself. She demands you make the monsters that hurt her caravan pay with blood, filled with rage as she is, and points you in their direction. Thankfully, these monsters are significantly lower level than anything in either Sylvalum or the rest of Cauldros, being only level 14. Defeat the five Mold Caro and return to Lularita to get her thanks, and the promise that she will definitely enlist your free aid whenever she fancies.
With this fairly small task and gargantuan degree of travel completed, you may return to Hope and Ornella at the cathedral in NLA for your reward. Hope joins your party, happy to leave the walls of NLA to help people further afield, and you get some extra rewards in 10,000 credits and 170 EXP. You can attempt to turn this down, but Ornella refuses to have two free workers under her.

Next
Xenoblade Chronicles X: Definitive Edition – Beginner Tips
These are some things you really, really, really, ought to bear in mind before diving too far into Xenoblade Chronicles X.









Leave a Reply