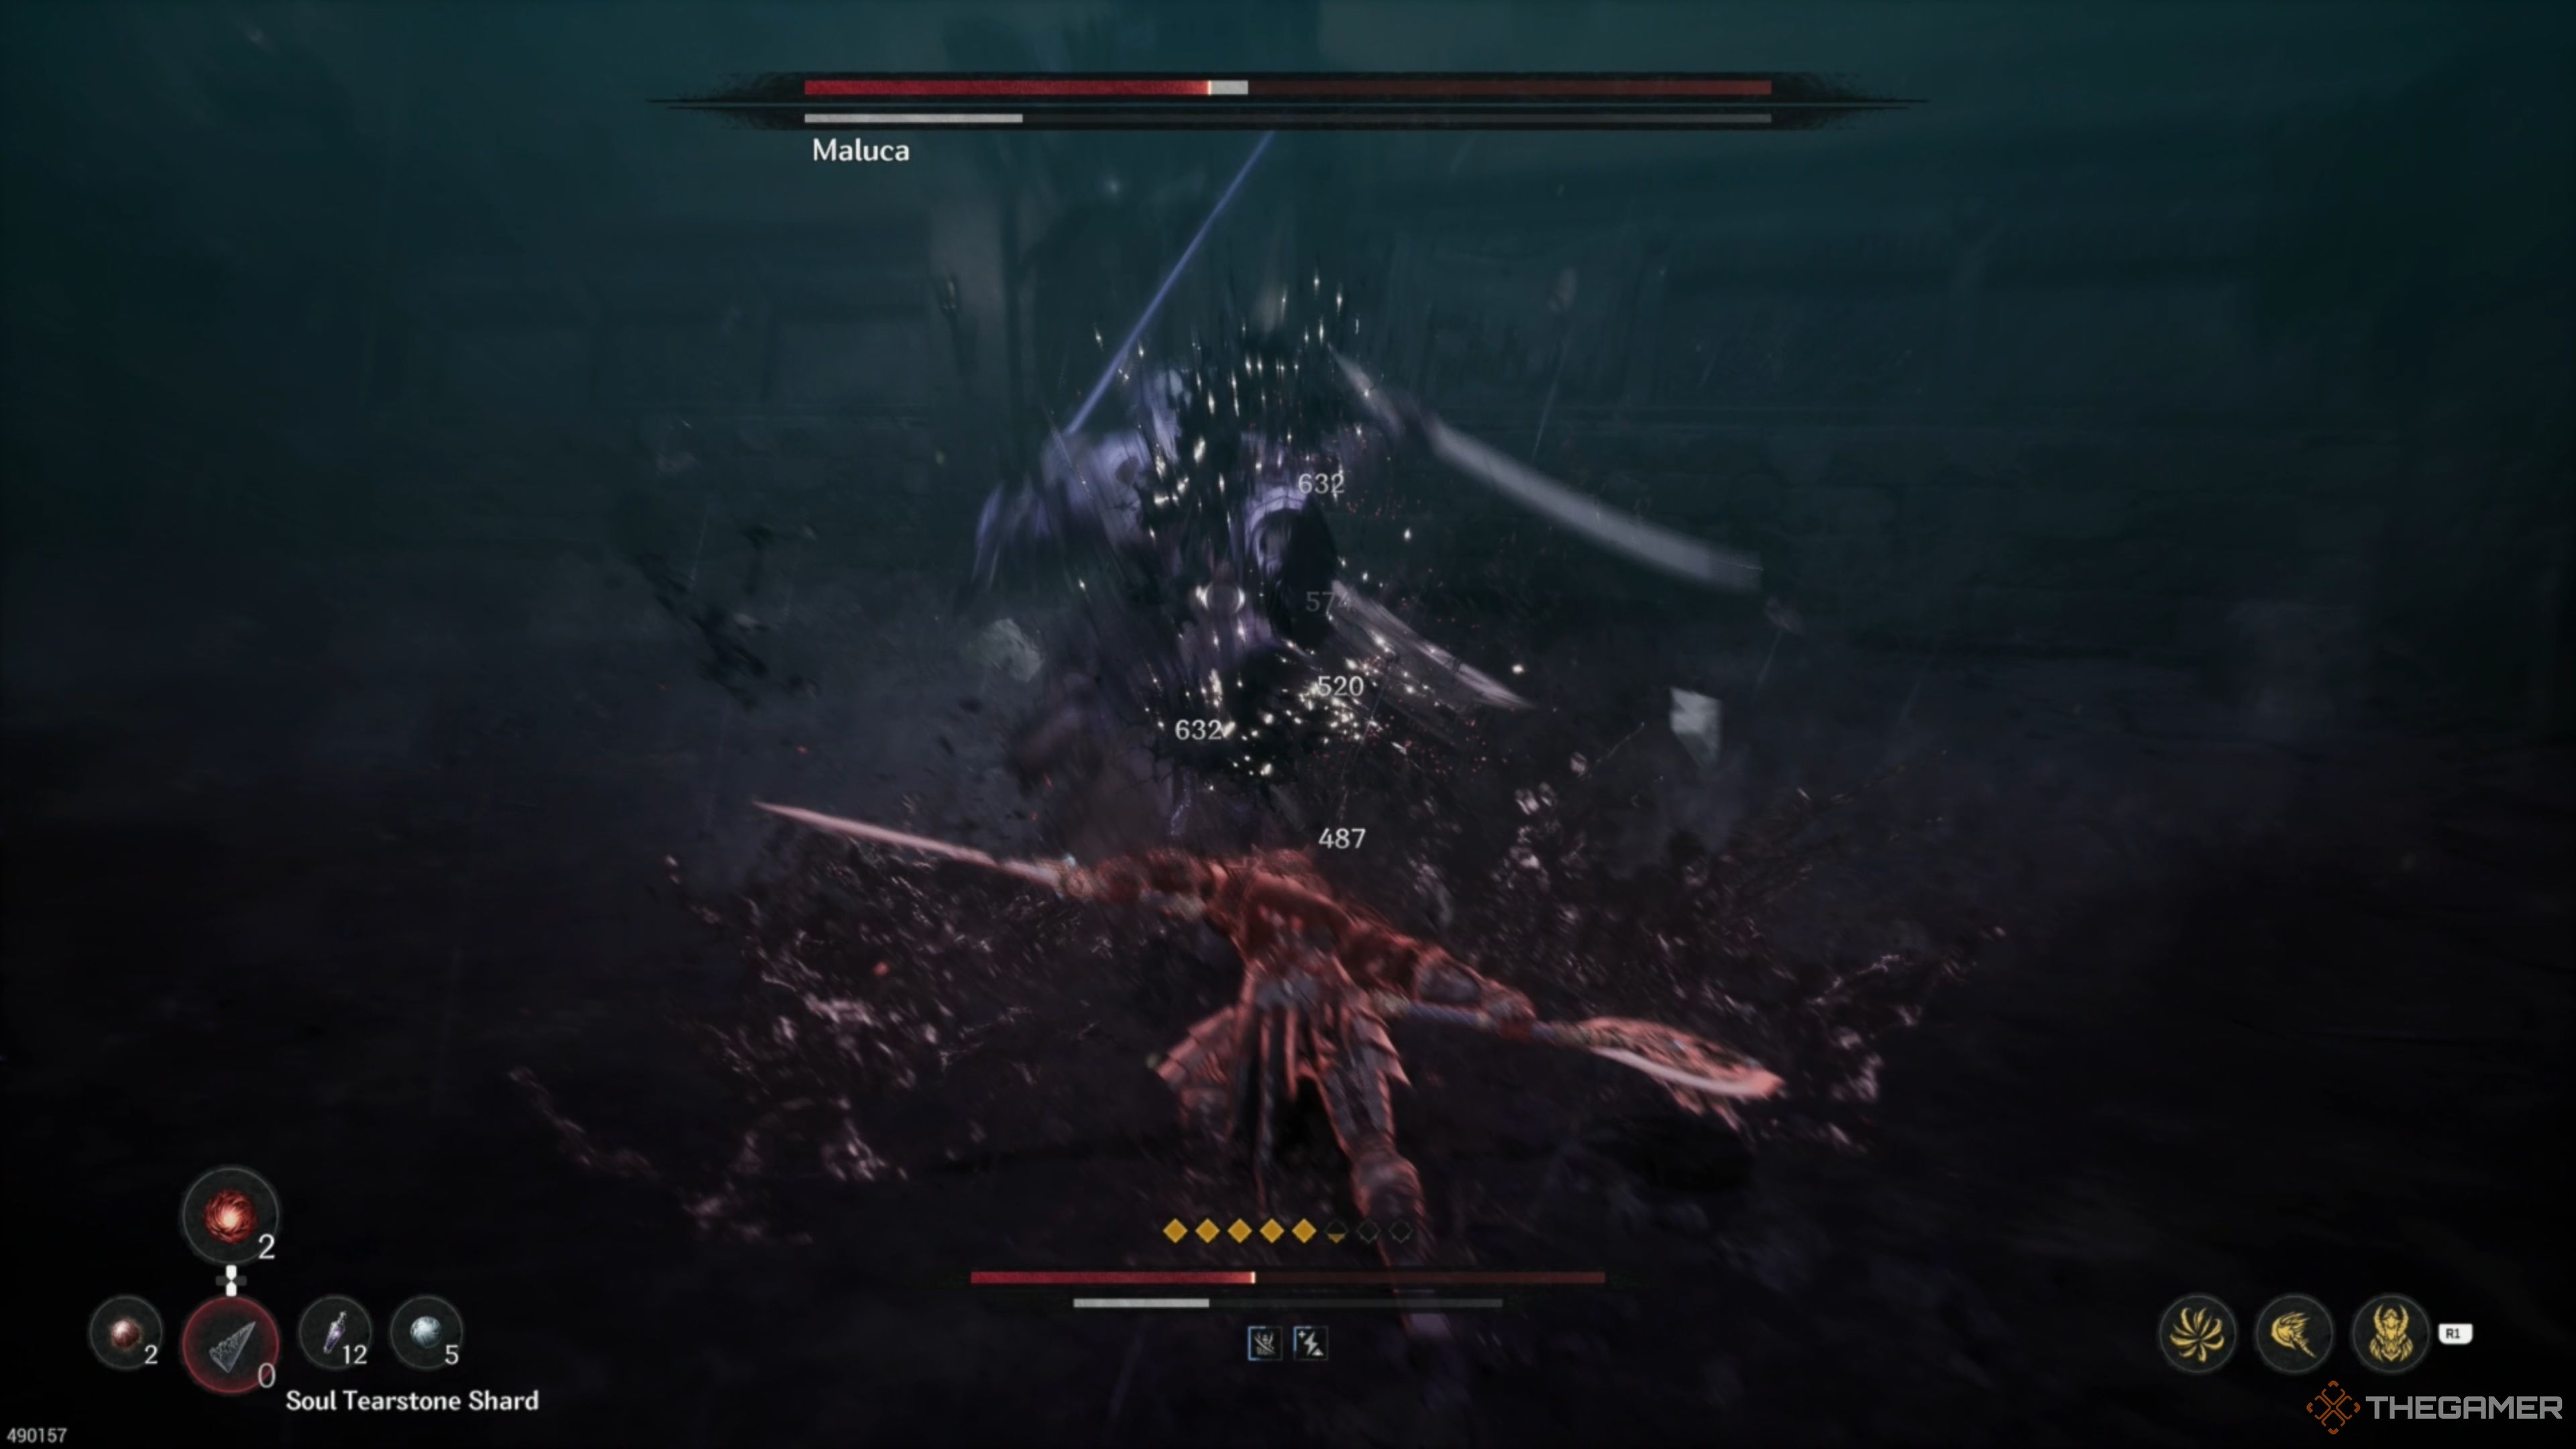
The First Berserker: Khazan is a complex and gruellingly challenging soulslike with exceptionally well-made boss encounters that will test your might and push you to your limit. And if you’re looking for a skill check, look no further than your encounter with Maluca deep in the Throne of the Veil.
Related
The First Berserker: Khazan – Veiled Knives Walkthrough
Here’s how to carve your way through the quarry and clear the Veiled Knives mission in The First Berserker: Khazan!
Overall, while the Maluca encounter is undeniably sick looking and exhilarating, it will throw everything at you, forcing you to be nearly perfect at executing your gameplay, as one wrong move will have you spawning back at the Blade Nexus with your head hung low. However, with a proper strategy, you can make things slightly less chaotic, which is at least something!
Maluca Overview
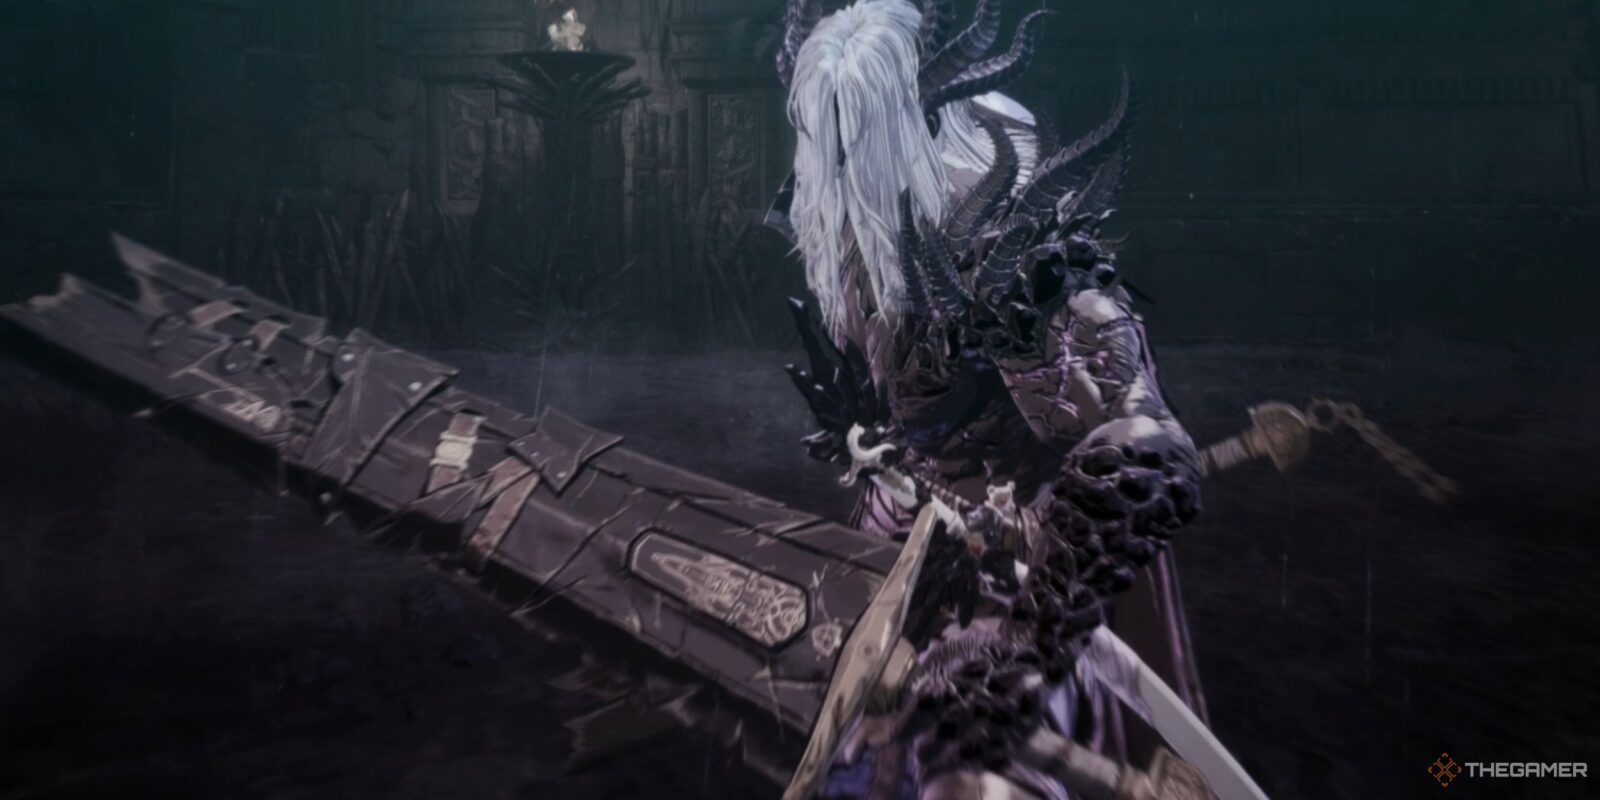
Maluca is arguably one of the most challenging and complex boss encounters in The First Berserker: Khazan, as he deals tremendous amounts of damage, has excellent speed, and can hit you from pretty much any range, depending on the attack he chooses to use. And that’s only in the first phase of the fight.
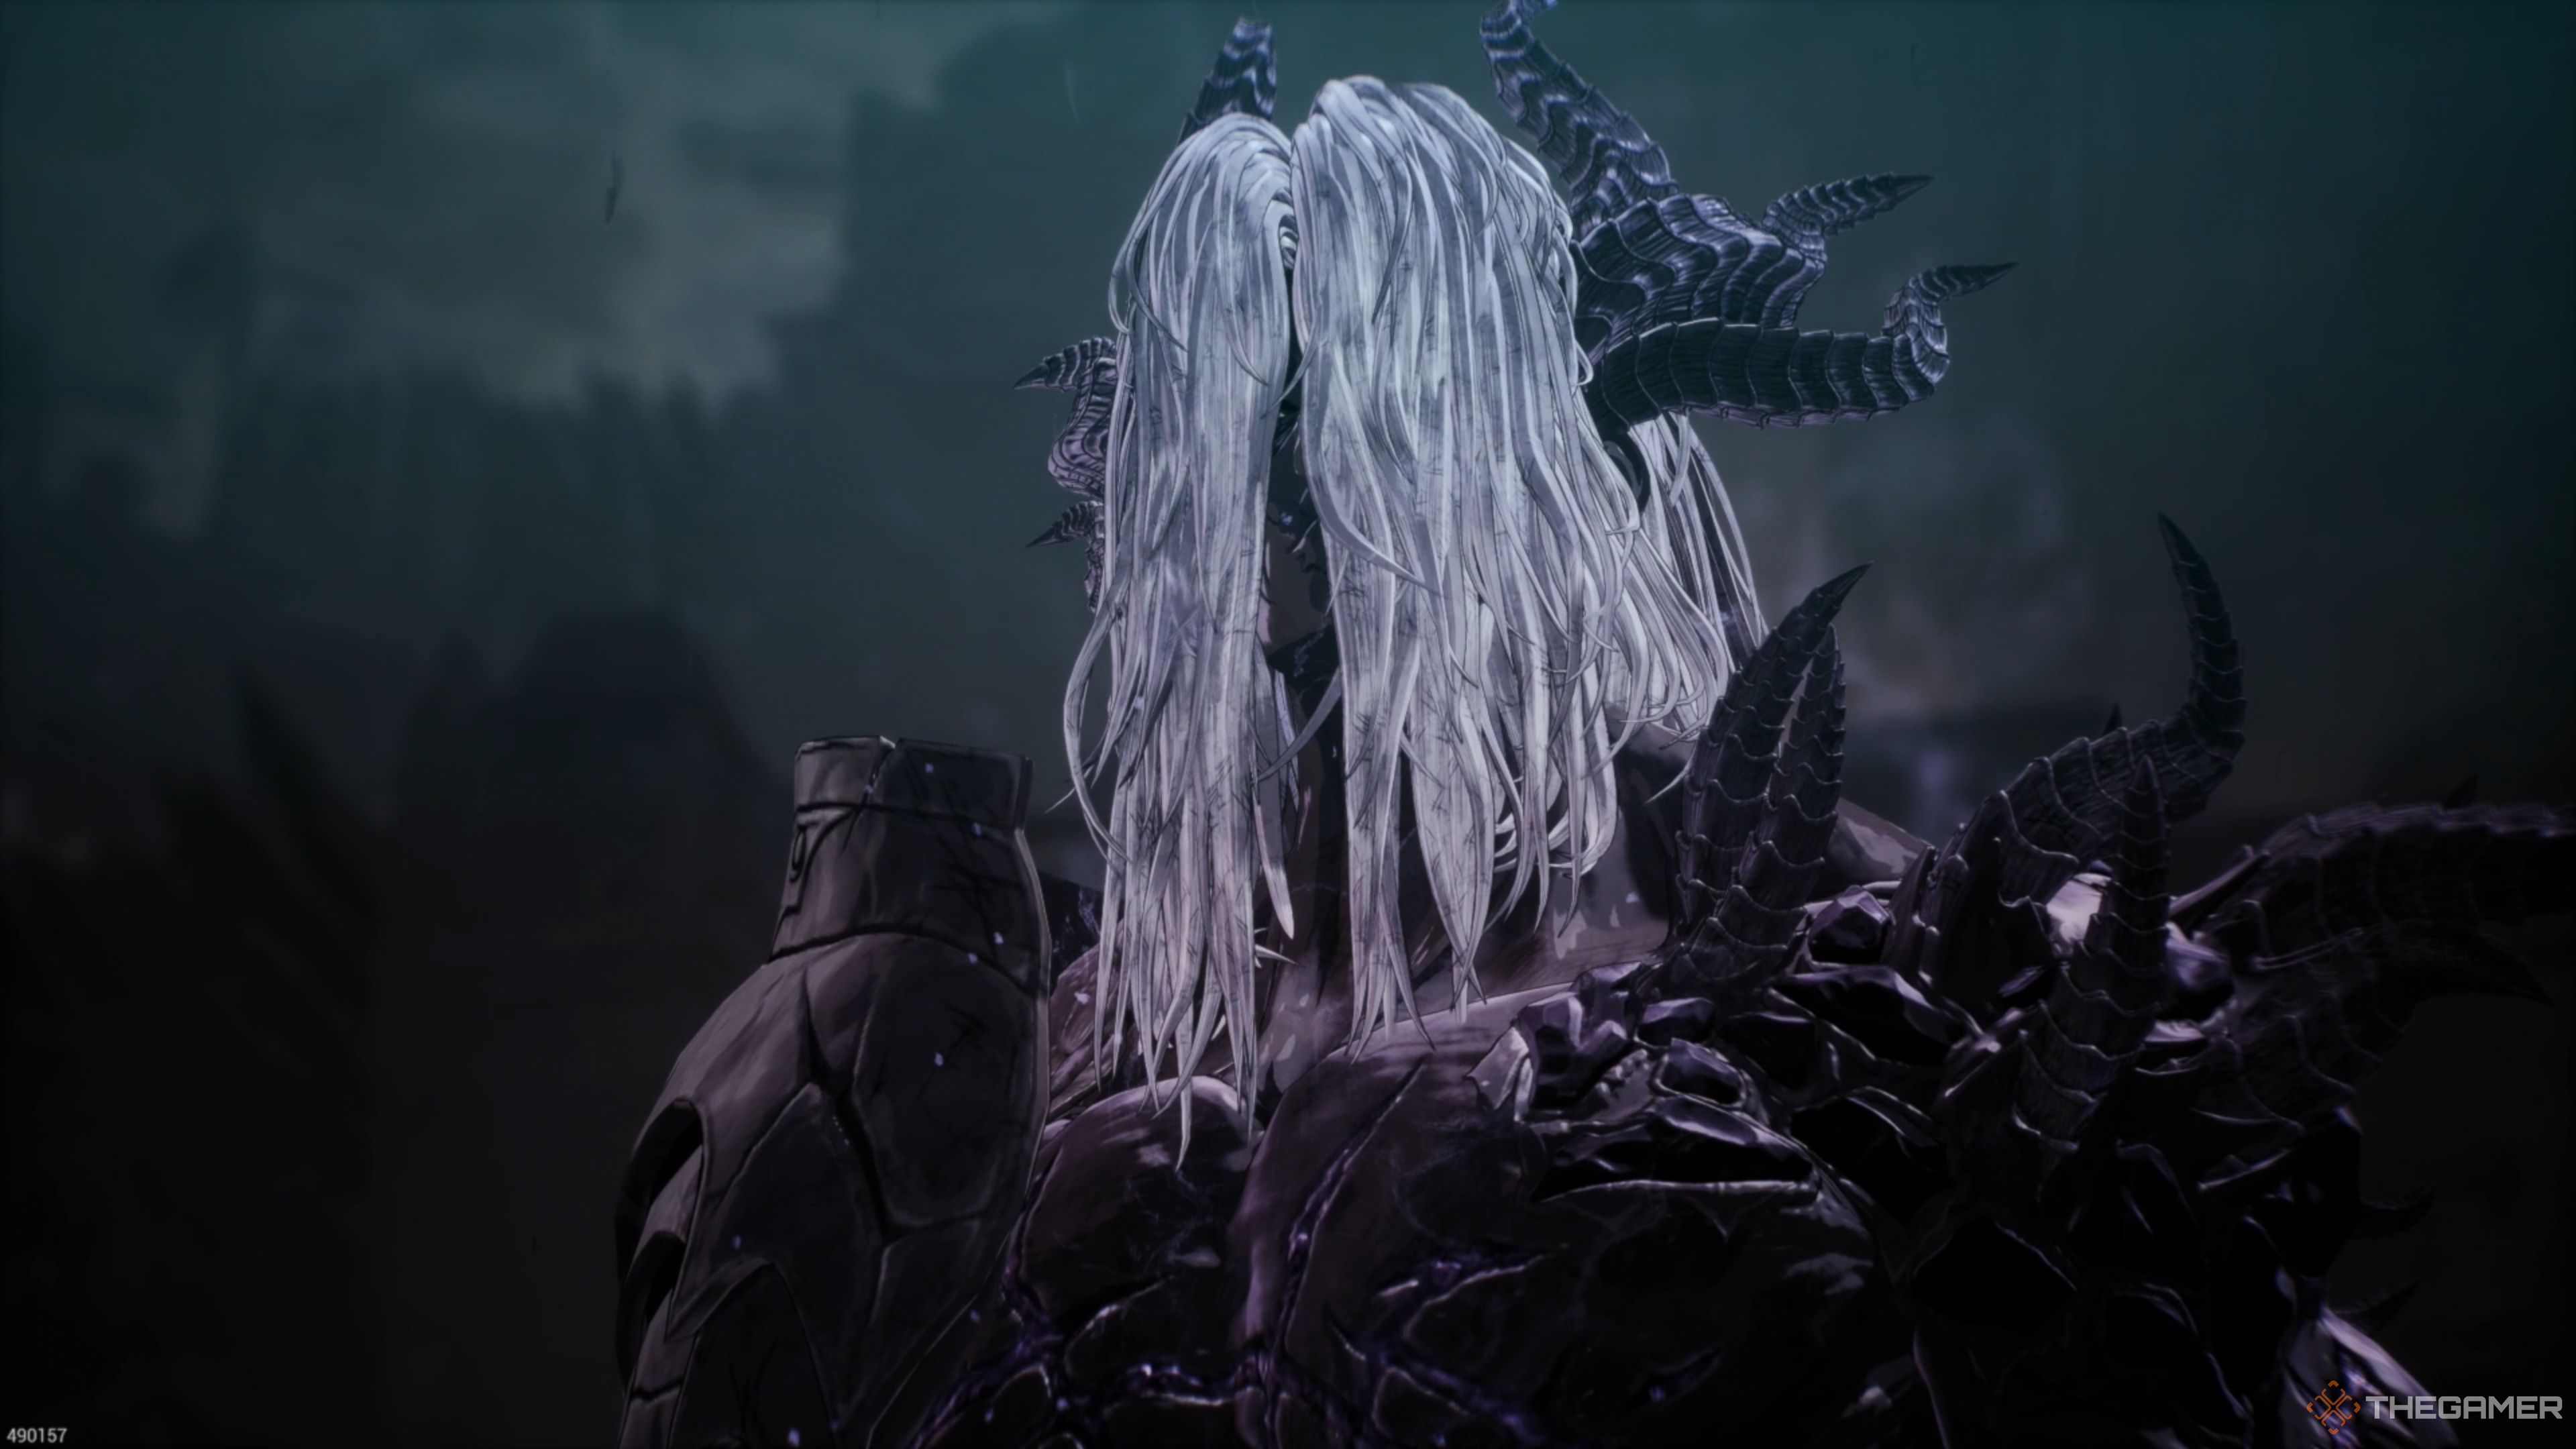
His second phase has him become taken over by Chaos, giving him access to a boatload of new attacks, most of which are blazingly fast and hard to evade. He will also deal substantially more damage, which is a recipe for disaster if you’re on the receiving end. This won’t be easy, so be ready for a battle!
Maluca Information
|
Mission |
Veiled Knives |
|---|---|
|
Recommended Level |
Level 51 |
|
Optional? |
No |
|
Rewards |
|
How To Defeat Maluca
If you’ve made it this far, you should be more than capable of defeating Maluca, it will just take a bit of time, as he has TONS of attacks that can send you right back from where you came from, and that’s not even including the absurdity that’s his second phase, forcing you to take on Chaos. But with enough time and strategy, he will be taken down once and for all!
Maluca: Overhead Slam
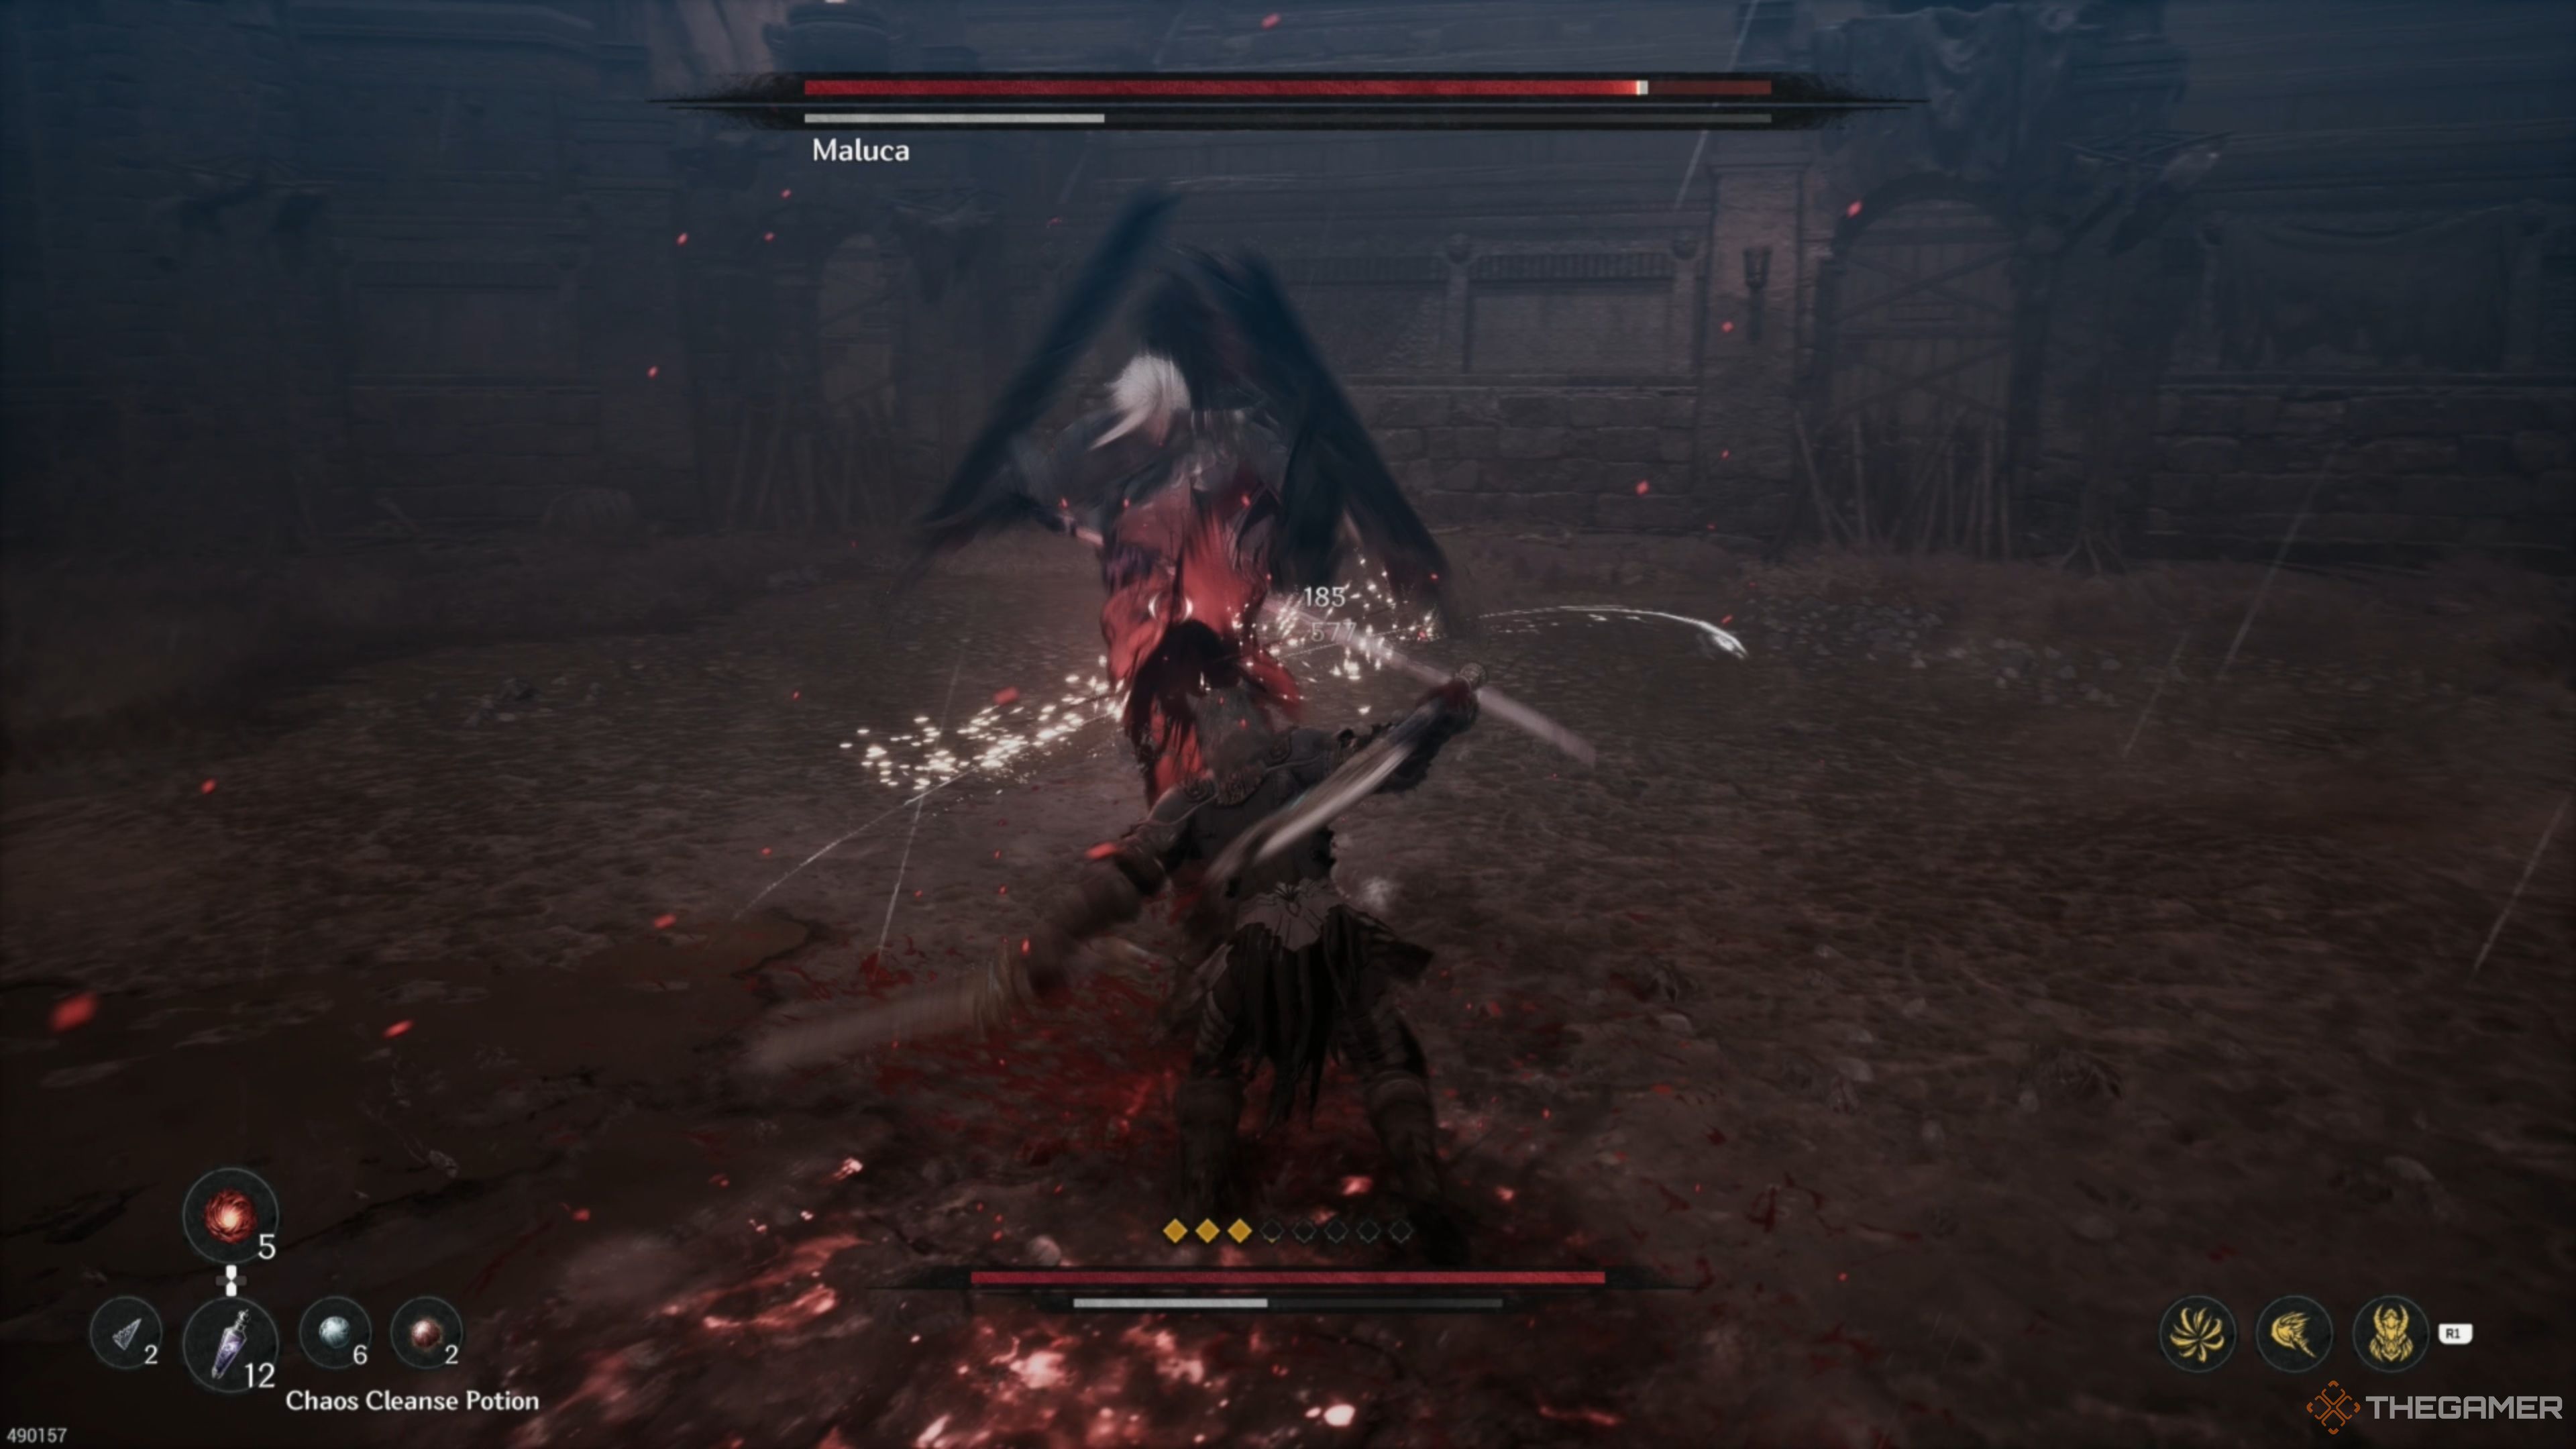
As soon as the encounter begins, Maluca will charge toward you and perform two Overhead Slam attacks back to back. Wait for him to start swinging the sword up high behind his back while rotating his body toward you. Just before he brings the sword down onto you, guard to Reflect it.
Repeat this step for the second Overhead Slam, then begin attacking him. You should be able to get three to four hits in, which will do a decent amount of damage overall!
Maluca: Burst Attack
He will often follow that up with his Burst Attack. When you see the symbol appear on your screen, wait a brief moment, and as soon as he begins attacking, land a Counterattack by pressing L1+Circle/LB+B to carve a decent chunk of his health away and stagger him. While he’s staggered, you can land a barrage of attacks on him!
Maluca: Big Boot
A common action of Maluca’s is his Big Boot, having him run toward you before stopping, bringing his left foot up, and delivering a heavy kick that will push you back and deal considerable damage on contact. If you see him raise his leg, stop moving, and guard the moment you see his foot move forward after he lifts it for a Reflect, allowing you to land a few attacks afterward!
Maluca: Charged Projectiles
From there, Maluca will likely go into his Charged Projectiles attack, having him halt his movement and quickly gather energy into his blade before releasing it in a straight line in front of him, dealing massive damage. He will do this three times, with the first two being rapidly fired and the last one being slightly delayed.
You will see him gather the energy, then pivot his body and plant his foot before firing. The moment you see him plant his foot, evade to the left or right. Do this for the first two shots, then delay the third to avoid this attack. The timing can be tough to get down at first, so be patient!
Maluca: Dual Blade Combo
His Dual Blade Combo is up next, having him kick it off with a thrusting attack, swiftly following it up with a spinning slash, then ending it with an overhead slam. This attack can be tricky to get the hang of, as you must be wary of his second sword for one of the attacks.
For the thrusting attack, wait for him to lunge forward, then guard to land a Reflect. The spinning slash is the trickiest, as one blade will hit before the other, forcing you to guard twice. As the first blade nearly reaches you, guard the attack to Reflect it, let go of the button, and immediately guard again to Reflect the second hit. From here, wait for him to perform his overhead slam and guard just before it hits you for another Reflect!
Maluca: Twirling Slam
The Twirling Slam attack is next, with Maluca leaping high into the air before violently spinning as he descends toward the ground. While this attack looks intimidating, it’s not as bad as you think. Just before he reaches the ground, guard to Reflect the attack, halting his movement, allowing you to land several attacks. Then, it’s just a matter of repeating everything above until you reach his second phase!
Maluca – Chaos Phase: Devastating Slam
You’re finally in the second phase of the encounter, having Maluca become taken over by Chaos. He will almost always kick this phase off with his Devastating Slam, having him leap immensely high into the air before crashing down into the ground beneath him, creating a massive shockwave before the ground erupts in Chaos.
When he leaps into the air, begin running away from him, then guard as he begins his descent. After this, continue running away to avoid the shockwave and keep on running to get out of the blast zone. You can’t really attack here, so just stay away from him at all costs!
Maluca – Chaos Phase: Time Altering Slash
Following that attack, Maluca will perform his Time Altering Slash, having him draw his katana and slow time around him. The moment time begins slowing down for you, evade to the left or right, as he will blink to your position immediately after. Evading the moment this happens will have you dodge the attack completely, allowing you to get a few hits in!
Maluca – Chaos Phase: Lunging Grab
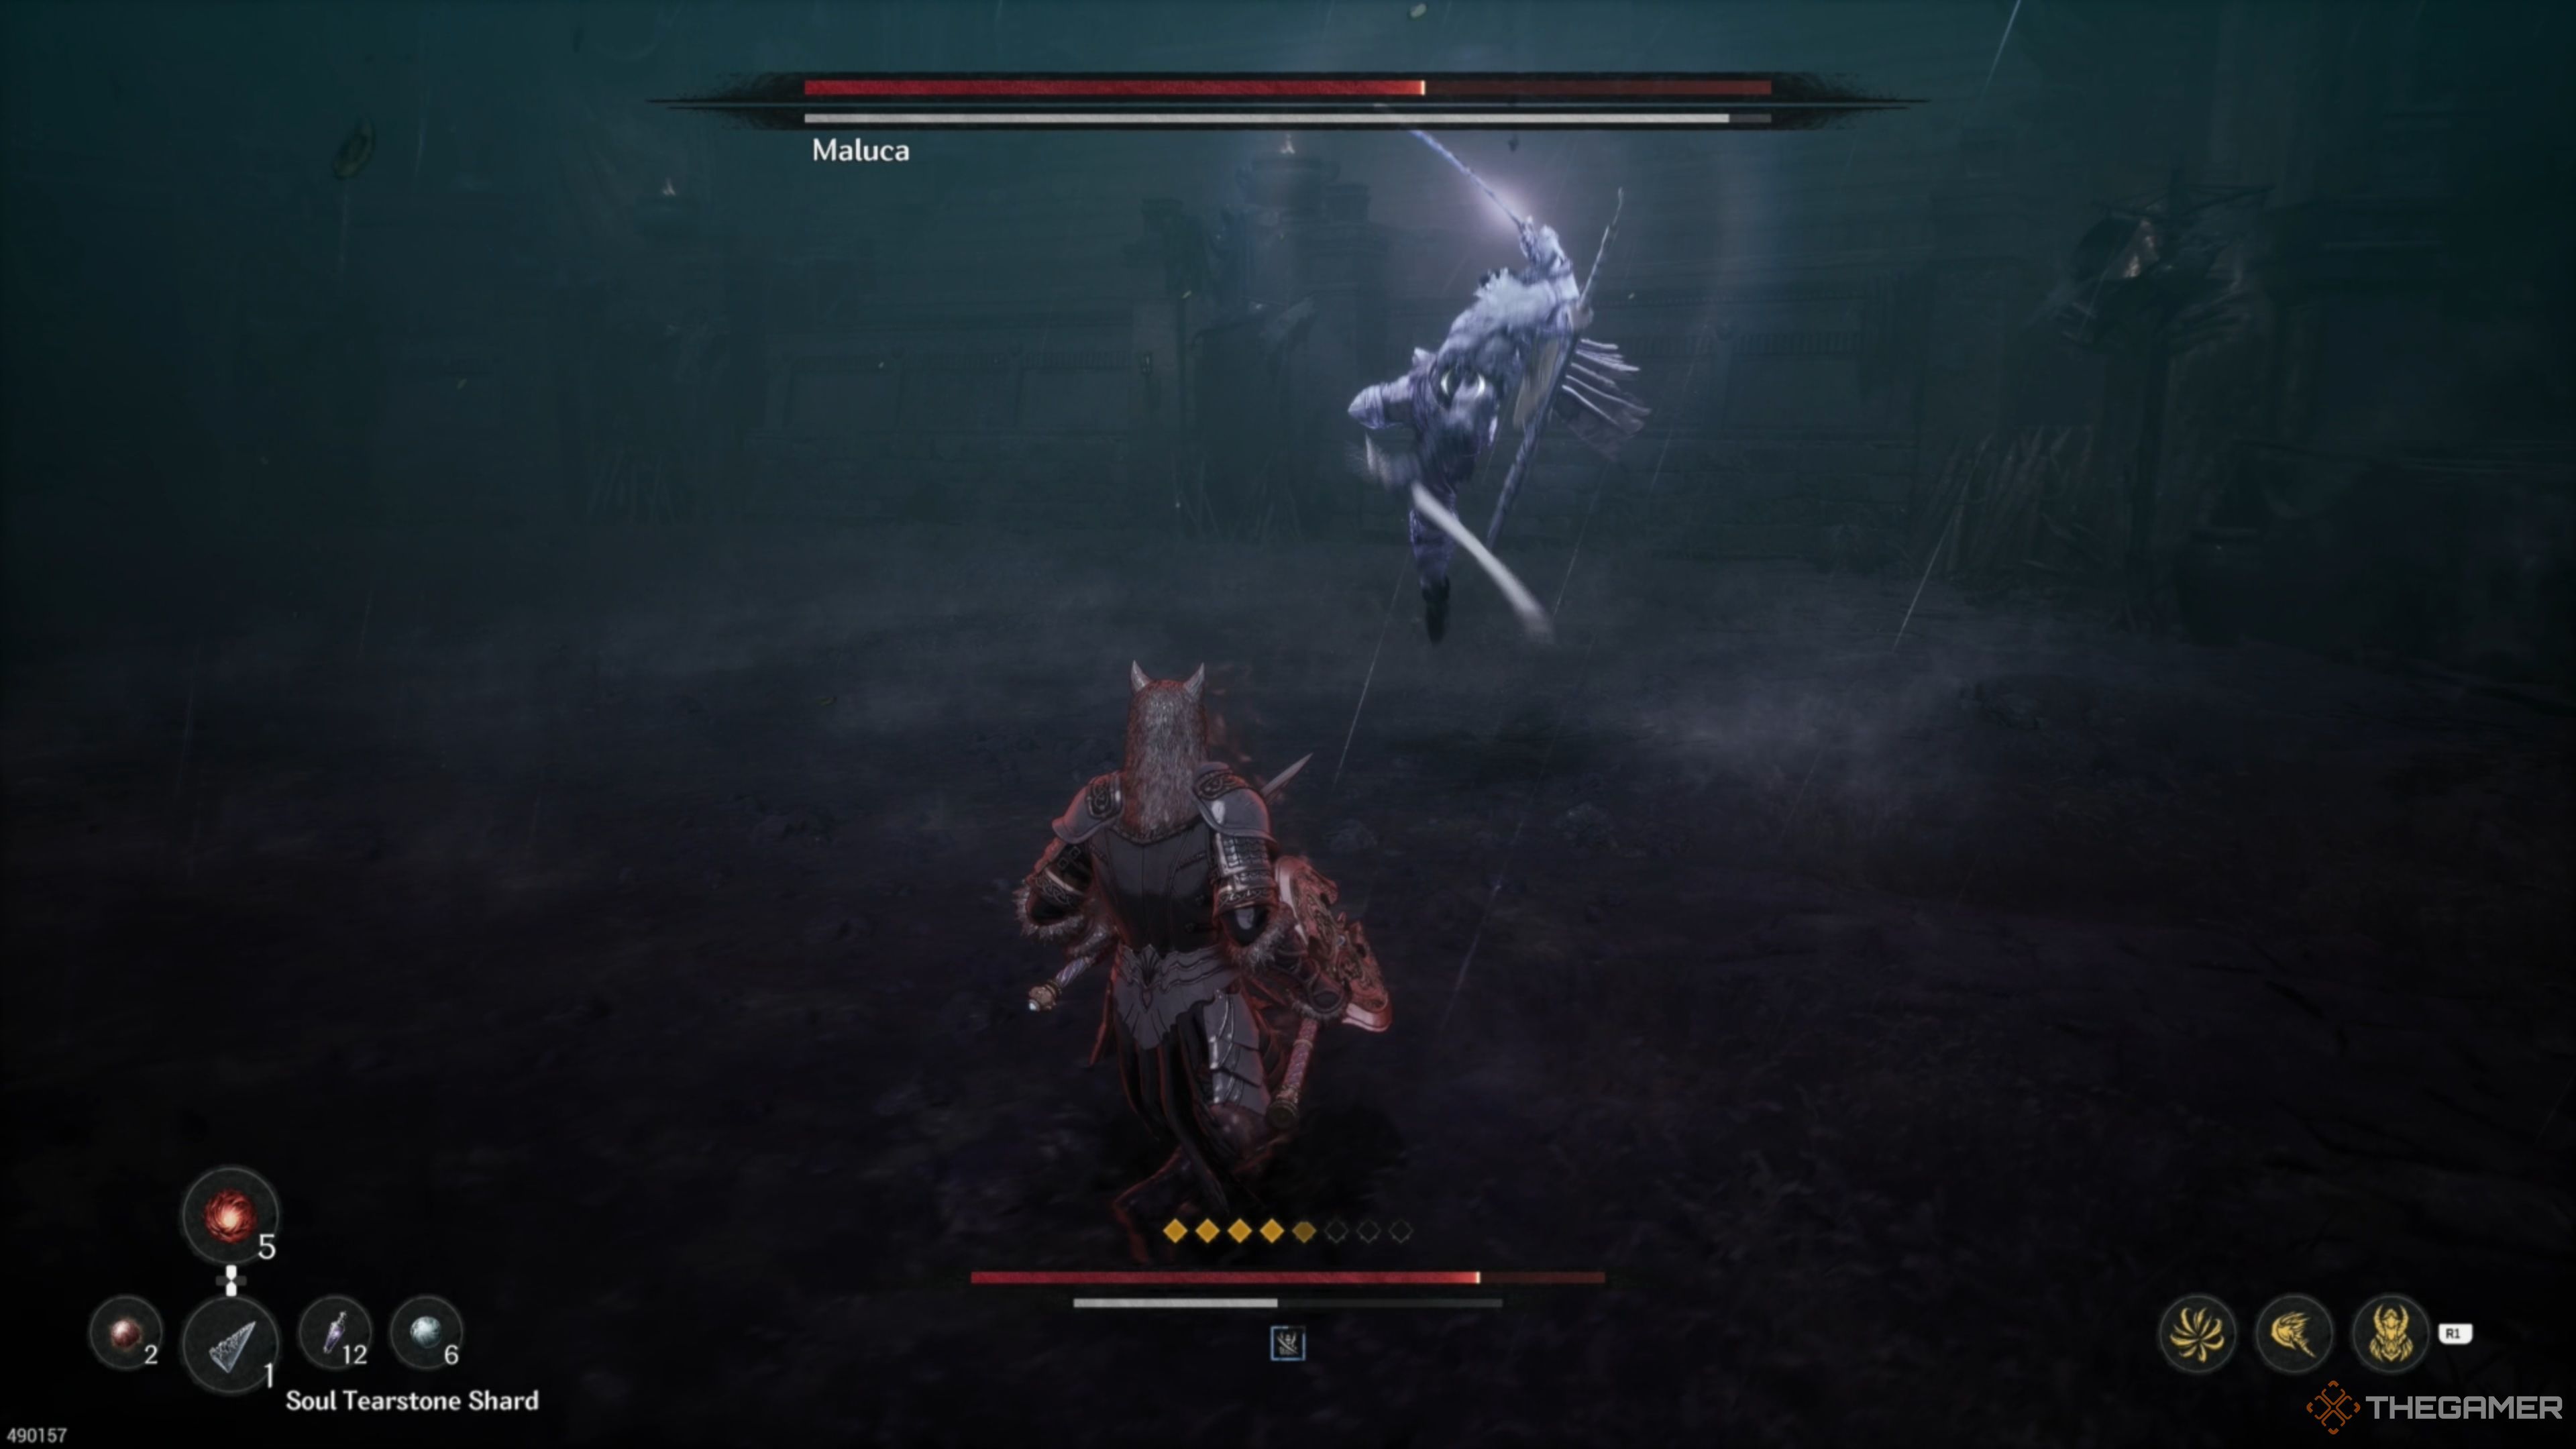
Next up is his Lunging Grab attack. Here, Maluca leaps into the air and delivers a devastating thrusting stab with his katana that transitions into a grab that deals massive Chaos build-up and damage on contact. As he leaps into the air, his katana will glimmer quickly, which is your cue to get out of dodge. The moment you see that glimmer, evade to the left or right to avoid getting grabbed, then run up and attack him!
Maluca – Chaos Phase: Taunting
Occasionally, during this phase of the encounter, Maluca will create distance and begin Taunting. He will walk around in a small area while mocking you, resting his blade on his shoulder. We recommend rushing him down and attacking him. Your first few attacks will be blocked, but this will force him to attack, which is typically with a basic slash, allowing you to Reflect it and follow-up with a Skill!
Maluca – Chaos Phase: Charging Slash
From here, he will likely execute his Charging Slash, having him gather energy in the distance before swiftly blinking toward you with a devastating slash. After this, he will turn around and deliver another downward slash. This is a very tough move to avoid, so be prepared.
As soon as you see him move, guard to Reflect the attack. Then remain still and wait for him to perform the follow-up slash, and guard just before he hits you to Reflect that one as well, allowing you to get three to four hits in after!
Maluca – Chaos Phase: Chaos Barrier
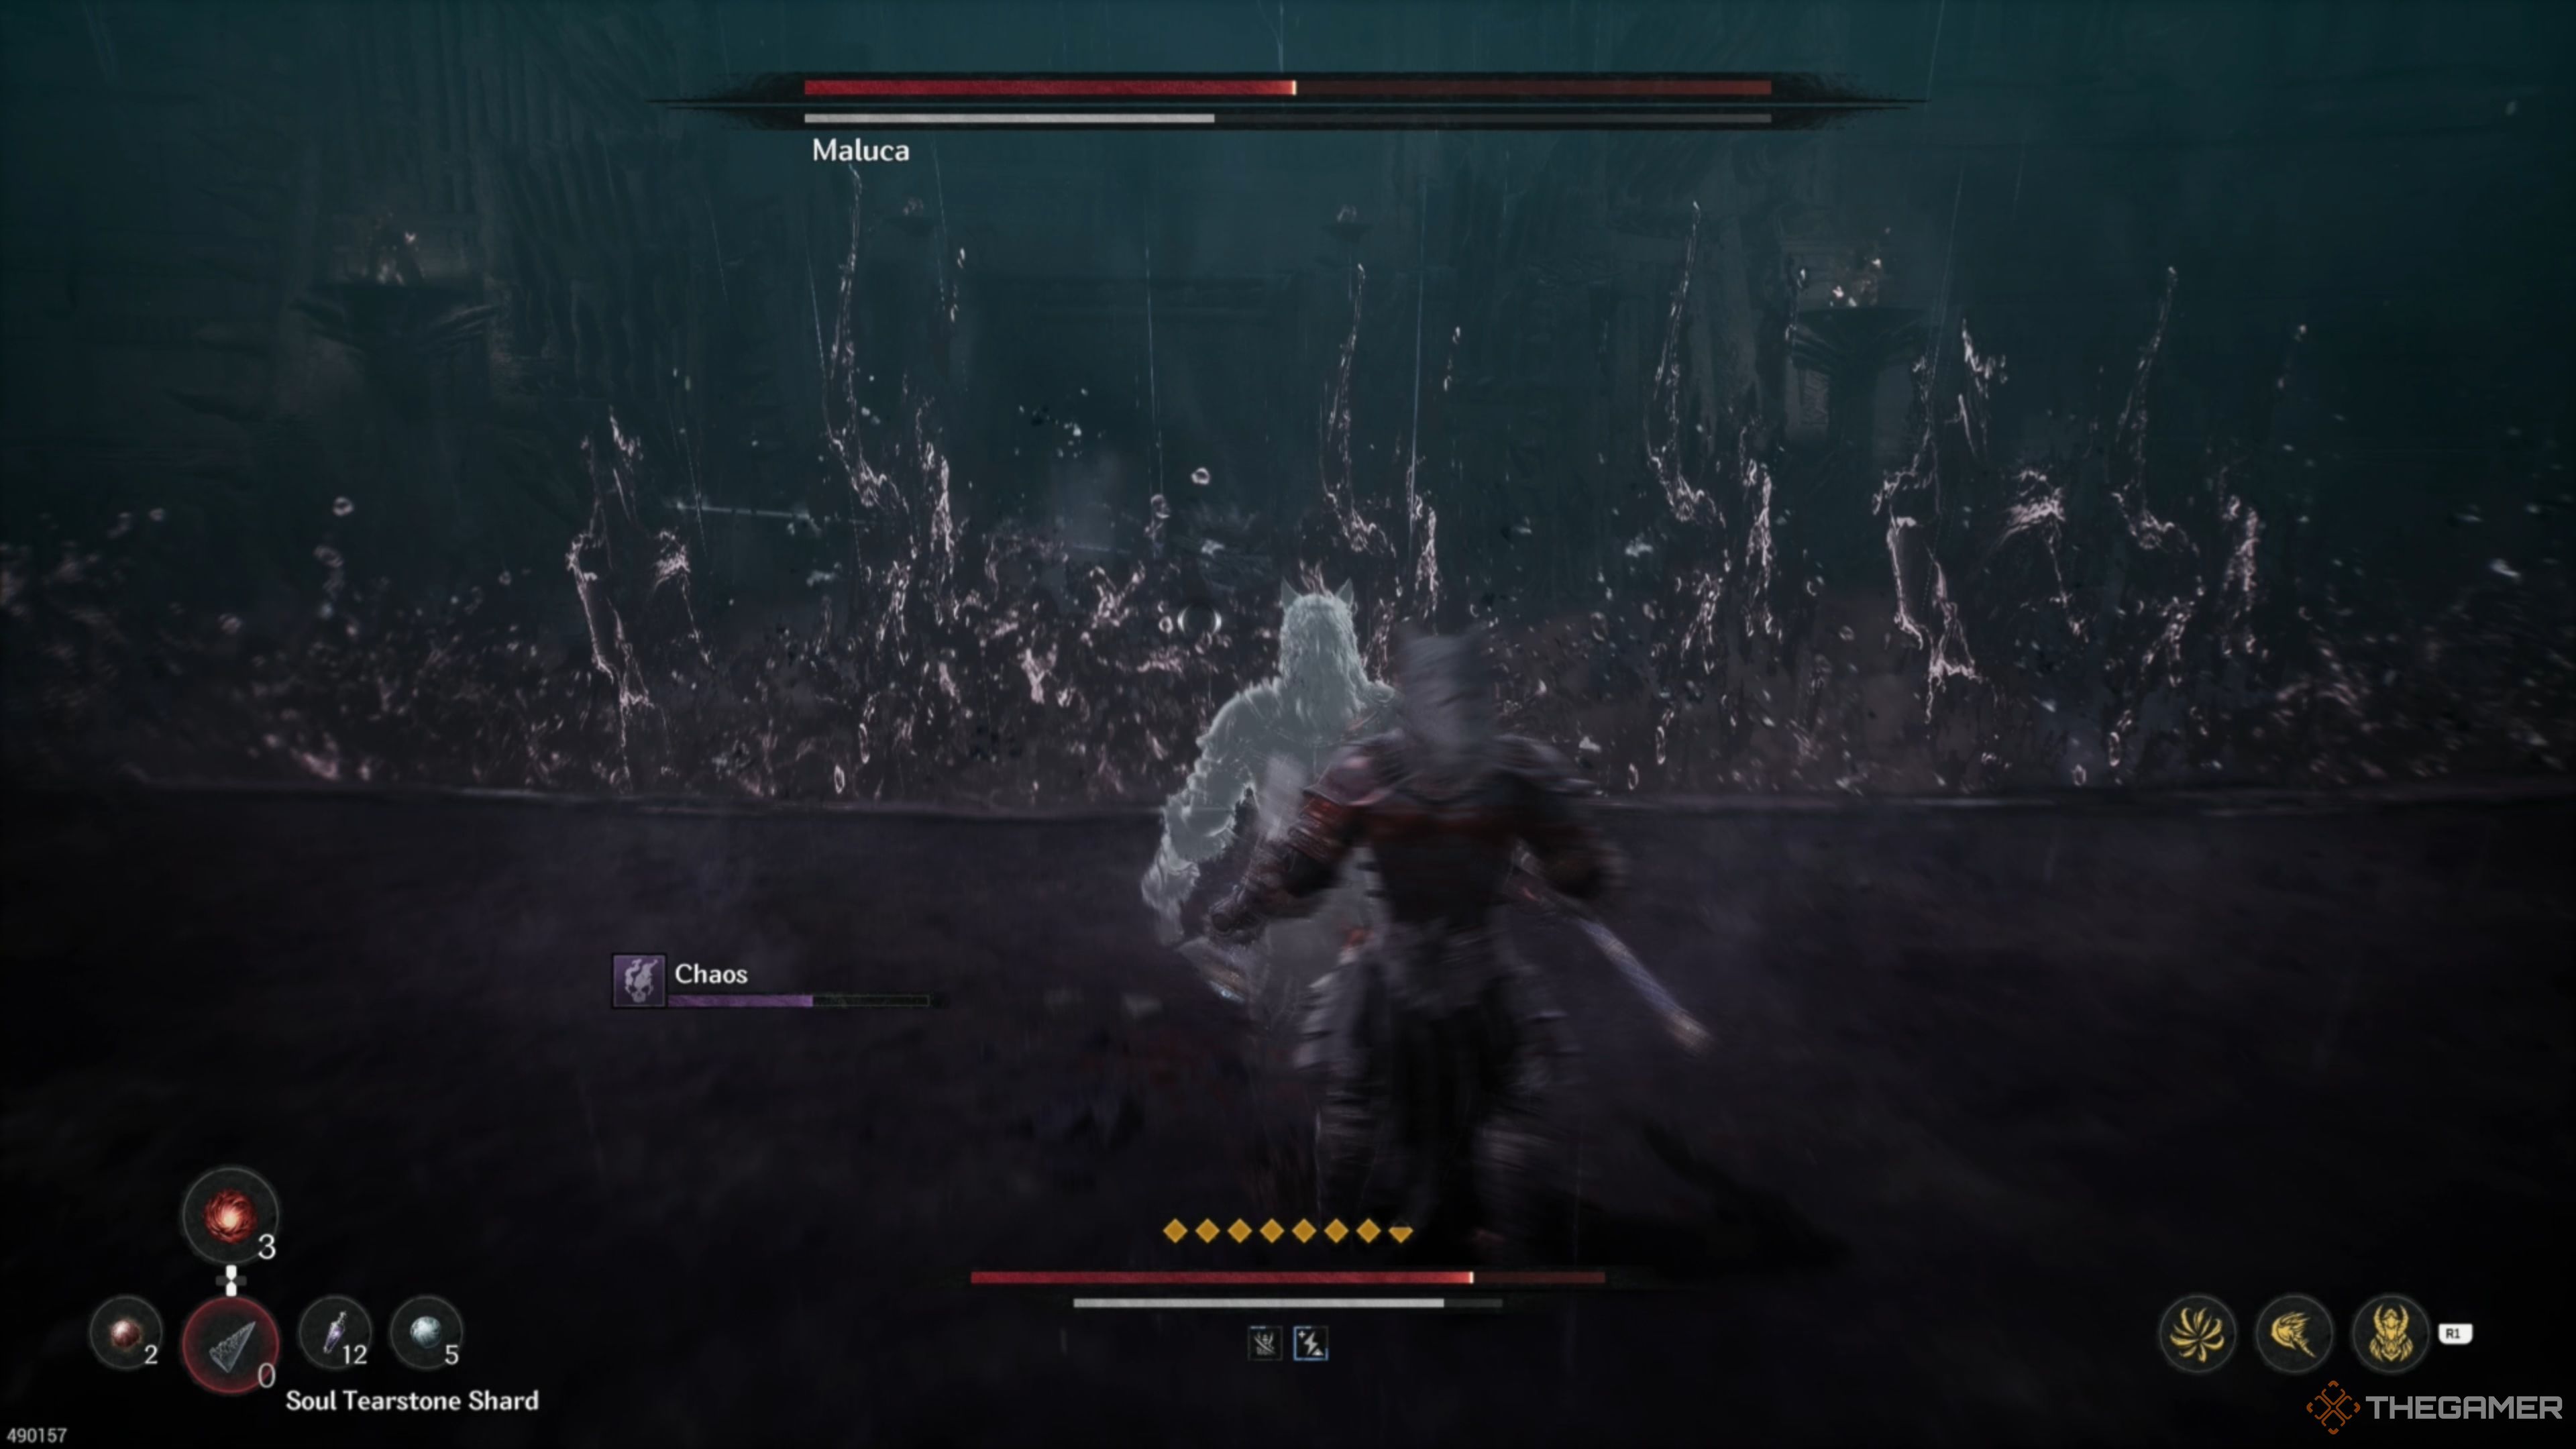
A decently common action in this phase is his Chaos Barrier, having him split the arena in half with a wall of Chaos Energy, which will enable a few attacks of his. He will typically emerge from the Chaos with a slashing attack, so be prepared to Reflect it!
Maluca – Chaos Phase: Low Stance Attack
After the Chaos Energy wall dissipates, Maluca will often perform his Low Stance Attack. This has him hunker down before sprinting directly at you. When he reaches you, he will leap over you and will do it once more before executing a sliding slash attack that can be hard to Reflect.
Wait for him to leap over you twice and then guard as soon as he begins sliding to Reflect his Slash. He will move pretty far ahead of you, so we strongly don’t recommend attacking him. Just save your Stamina for the next attack!
Maluca – Chaos Phase: Propulsion Slashes
One of the more annoying attacks to deal with is his Propulsion Slashes, having him get low to the ground once more, except this time with two daggers. From here, he will begin launching himself through the air by performing devastating slashes with his daggers.
Each time he swings, he will launch himself toward you. We recommend creating as much space as possible, as only the last slash will be close to you. He will usually perform three slashes, so run far away from him and guard as soon as he begins rotating his body on the final hit to Reflect it!
Maluca – Chaos Phase: Twirling Slash Combo
Next up is his Twirling Slash Combo. This action starts off with a twirling slash, having him perform a devastating slash as he spins toward you, which is then followed up by an overhead slash, then a leaping overhead slash. You can’t just guard here, as it will drain all your Stamina Gauge, putting you in grave danger.
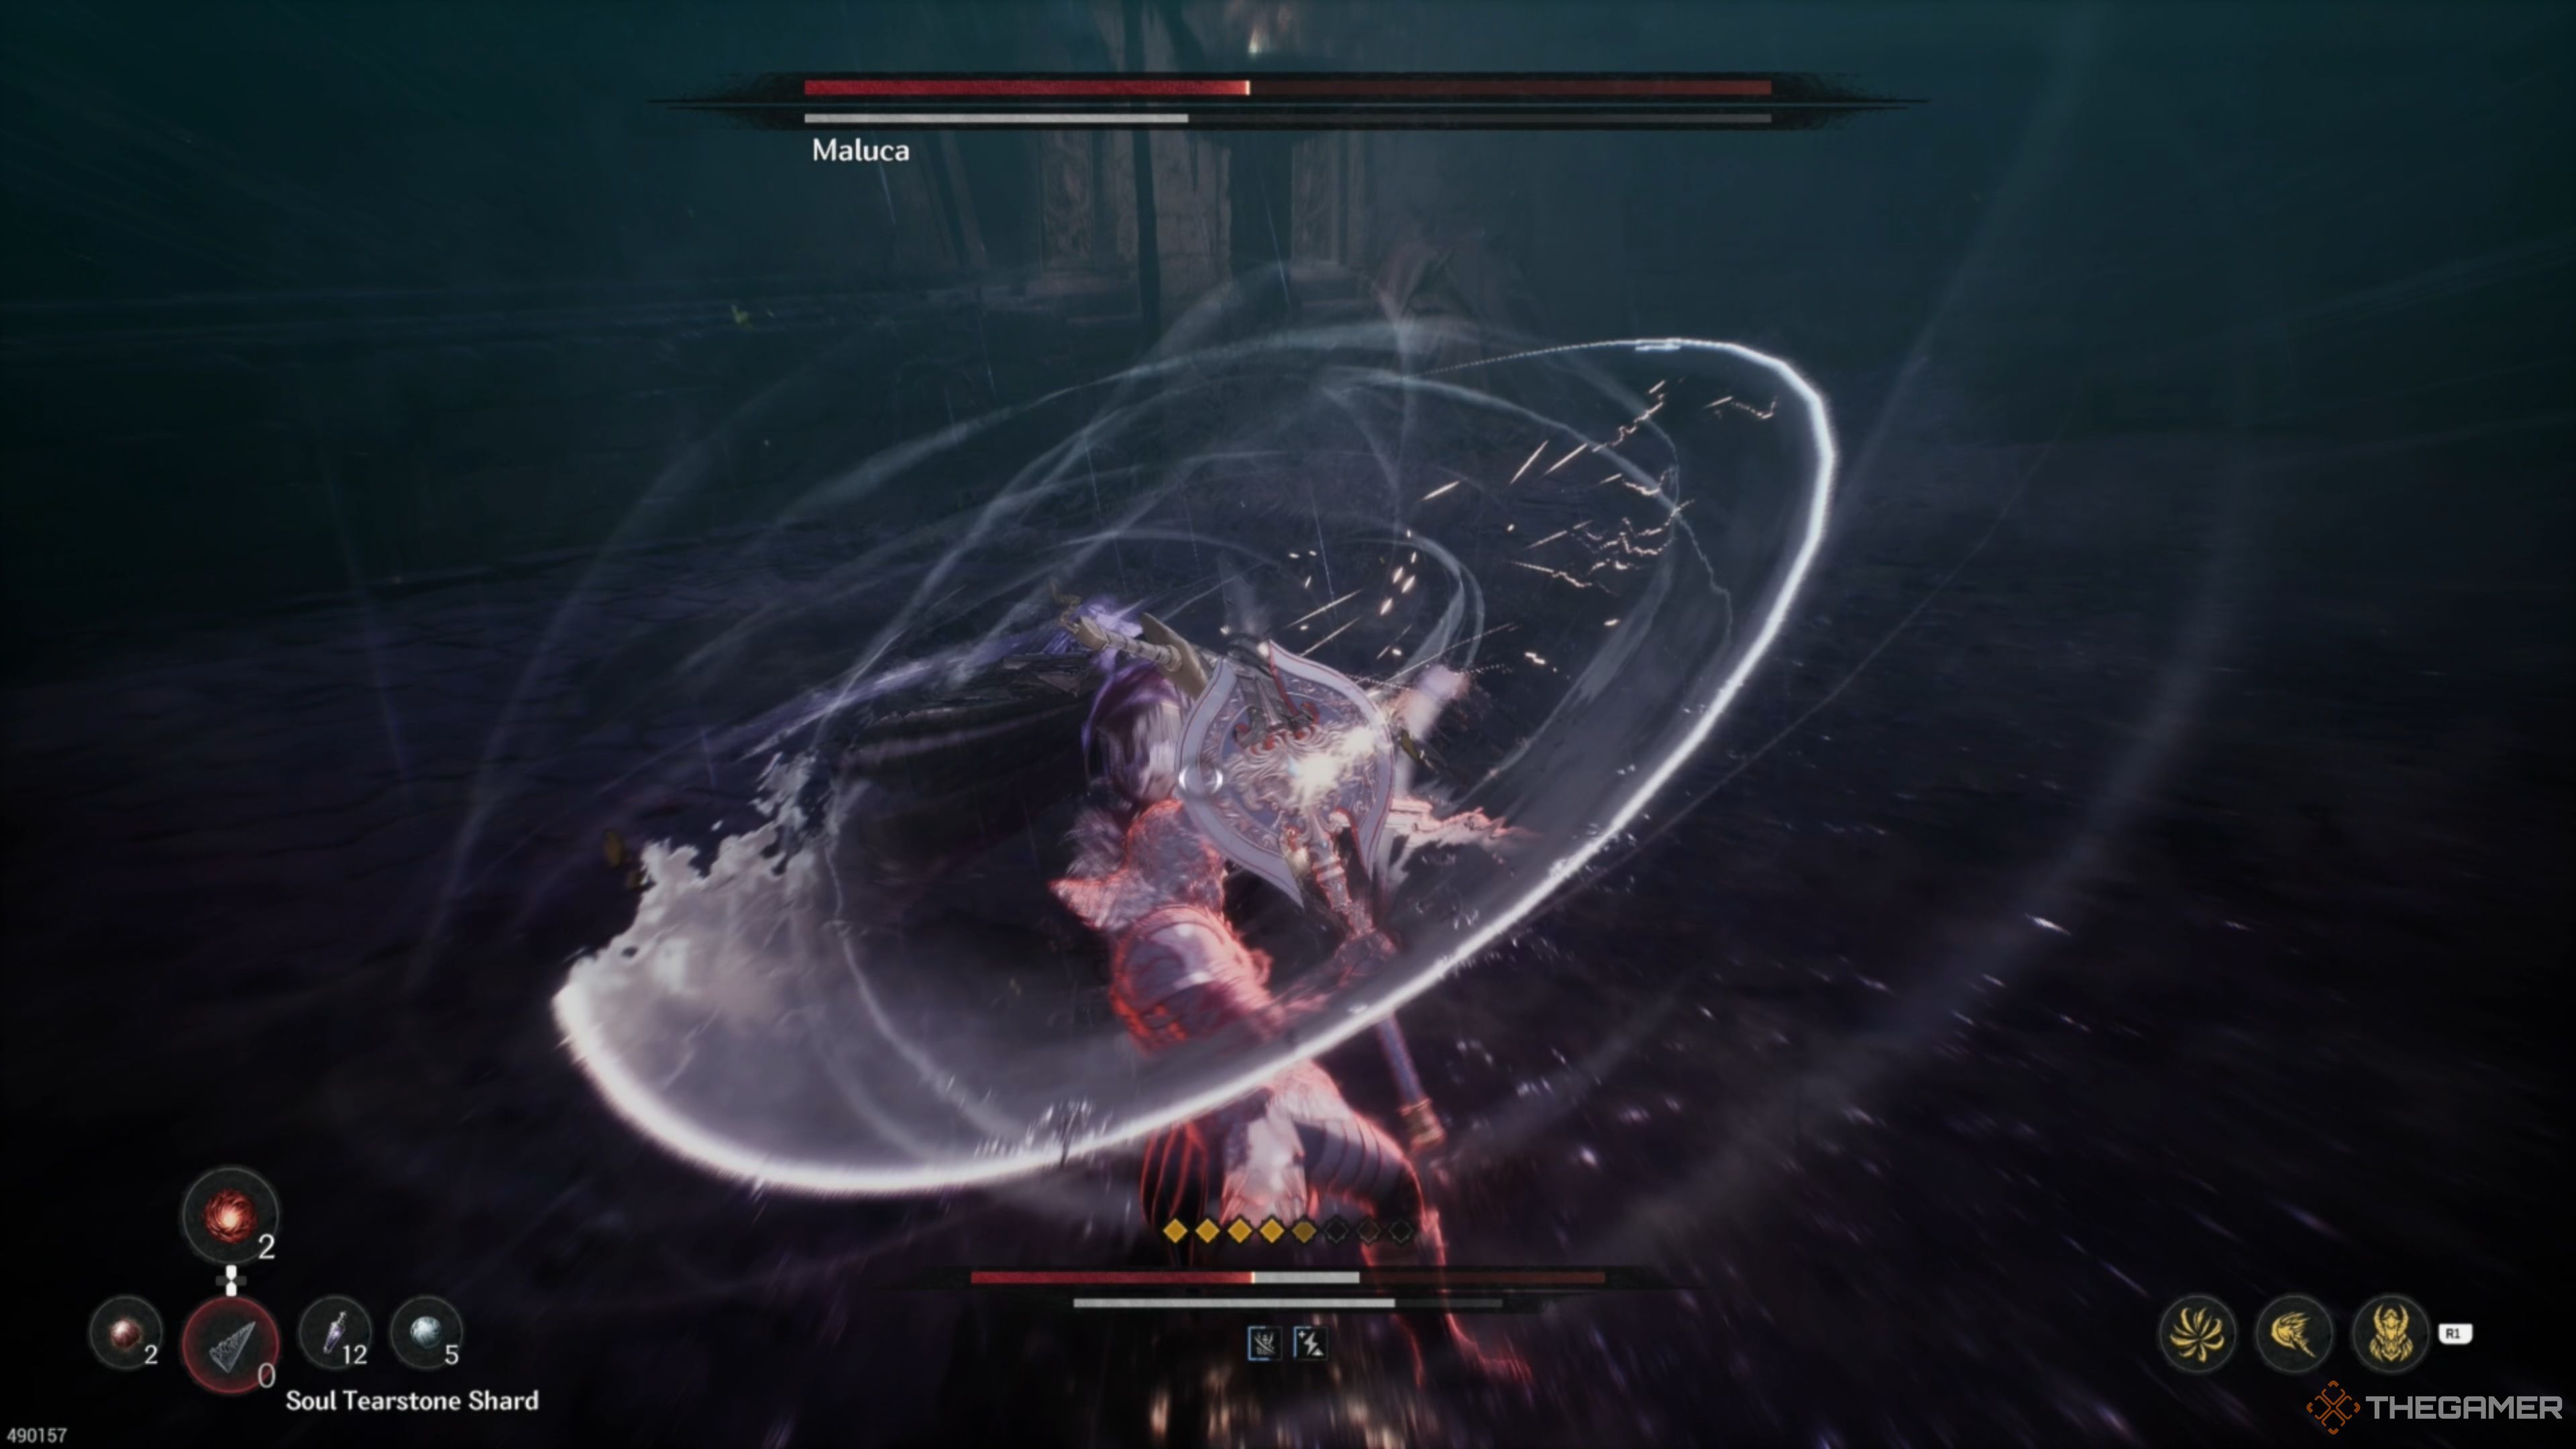
As he begins spinning toward you, guard as soon as he begins bringing his sword down on you to Reflect it. Then, wait for the overhead slash and guard right before the blade hits you. There will be a small delay, then Maluca will perform a small leaping overhead slash, guard before it lands for another Reflect, allowing you to land a few hits of your own!
Maluca – Chaos Phase: Quick Slashes
Quick Slashes are next in line, which is a devastating action by Maluca. He will unleash a barrage of attacks with his katana at blazing speed, which are tremendously hard to Reflect. We don’t typically recommend this, but if you can reflect the first two, you should just guard through the rest of it, as they become increasingly harder to Reflect and could carve large chunks of your health away if you miss the timings even slightly!
Maluca – Chaos Phase: Big Boot
The Big Boot returns, which will be handled exactly the same way as from the first phase of the encounter. You can land several attacks on him if you Reflect it, which will work wonders as he does this action a lot when he wants to try and create space!
Maluca – Chaos Phase: Dual Blades, Leaping Slam
Once you get his health down about three-quarters of the way, Maluca will draw his Dual Blades, which essentially has him revert back to his attacks from the first phase, but slightly modified. However, there is one new attack, the Leaping Slam, which he will always perform first.
This has Maluca leap high into the air and slam into the ground violently three times in a row, which can deal substantial damage or drain lots of your Stamina. Wait for him to leap into the air, then guard the moment you begin seeing him descend. Repeat this for all three slams, allowing you to run up and unleash a barrage of attacks on him!
Maluca – Chaos Phase: Dual Blades, Twirling Slashes
Next up is his Twirling Slash, which has him leap into the air before performing a spinning slash as he descends to the ground. However, this time around, he will perform this two times in a row, so do not begin attacking after the first one. This will be handled the same way as before. He will just do it back to back, so only attack after the second one!
Maluca – Chaos Phase: Dual Blades Combo
The Dual Blades Combo is up next, which is exactly like the one from the first phase but is slightly faster. The first attack is a thrusting attack, followed by a spinning slash, and ending with an overhead slash. Don’t forget that there are two hits with the spinning slash, and you must block again to account for the second blade. After Reflecting the final attack, you can begin attacking him!
Maluca – Chaos Phase: Dual Blades, Burst Attack
Fortunately, his Burst Attack returns as well, giving you a chance to deal considerable damage to him. This is handled exactly like the first phase, except it deals much more damage, so ensure you get the timing right to land the Counterattack!
Maluca – Chaos Phase: Dual Blades, Overhead Slam
His Overhead Slam also returns and is handled the same way. It may be slightly faster, but it feels largely the same. Handle this the same way as you did in the first phase and follow up with several attacks of your own after Reflecting the second Overhead Slam!
Maluca – Chaos Phase: Dual Blades, Charged Projectiles
Finally, we arrive at his most annoying attack during the second phase. Despite this being the Charged Projectiles attack from the first phase, it is much more unhinged and will likely be the end of most attempts. Not only are these blasts of energy substantially faster and deal more damage, but there’s seemingly no end to them.
Sometimes, he shoots a handful of them off, and other times, he won’t stop. He did seven during our final encounter against him, and they’re all back to back to back at breakneck speeds. He will launch a projectile, pivot, launch another one, and rinse and repeat. Don’t even dare trying to Reflect these, you must evade them, as that is your only hope of survival.
After evading enough of them, Maluca will eventually stop, allowing you to run up to him and unleash lots of attacks on him. He will then begin repeating his attacks until you defeat him! Don’t give up now. You got this!
Next
The First Berserker: Khazan – Devoured Village Walkthrough
From torn apart towns to wicked waterways, the Devoured Village hides a ton of secrets. This guide will lead you to these treasures!







Leave a Reply