Beyond having the best graphics in the life simulation genre, InZOI also has a handful of modern features that allow players to get truly creative when it comes to customization. For example, players can upload their own textures or even use the game’s built-in AI to generate textures for them.
Related
10 Best Simulation Games With The Most Romance Options, Ranked
These are some of the best simulation games with quite a noticeable number of romance options.
Most exciting of all, however, is the ability to create custom 3D objects in InZOI by uploading images. This is also achieved with the help of AI and is known as InZOI’s 3D printer. These player-created decorations can then be used as furniture as part of the game’s incredible building mode, or they can instead be turned into wearable accessories. 3D-printed objects can be uploaded to and downloaded from Canvas, allowing players to share and use each other’s creations.
How To Use The 3D Printer In InZOI
To access the 3D printer in InZOI, open the fourth and final tab on the left of the screen while building. Players will then need to upload an image from their computer. Once chosen, the AI will take around 20 seconds. There is always the option to regenerate for a slightly different outcome.
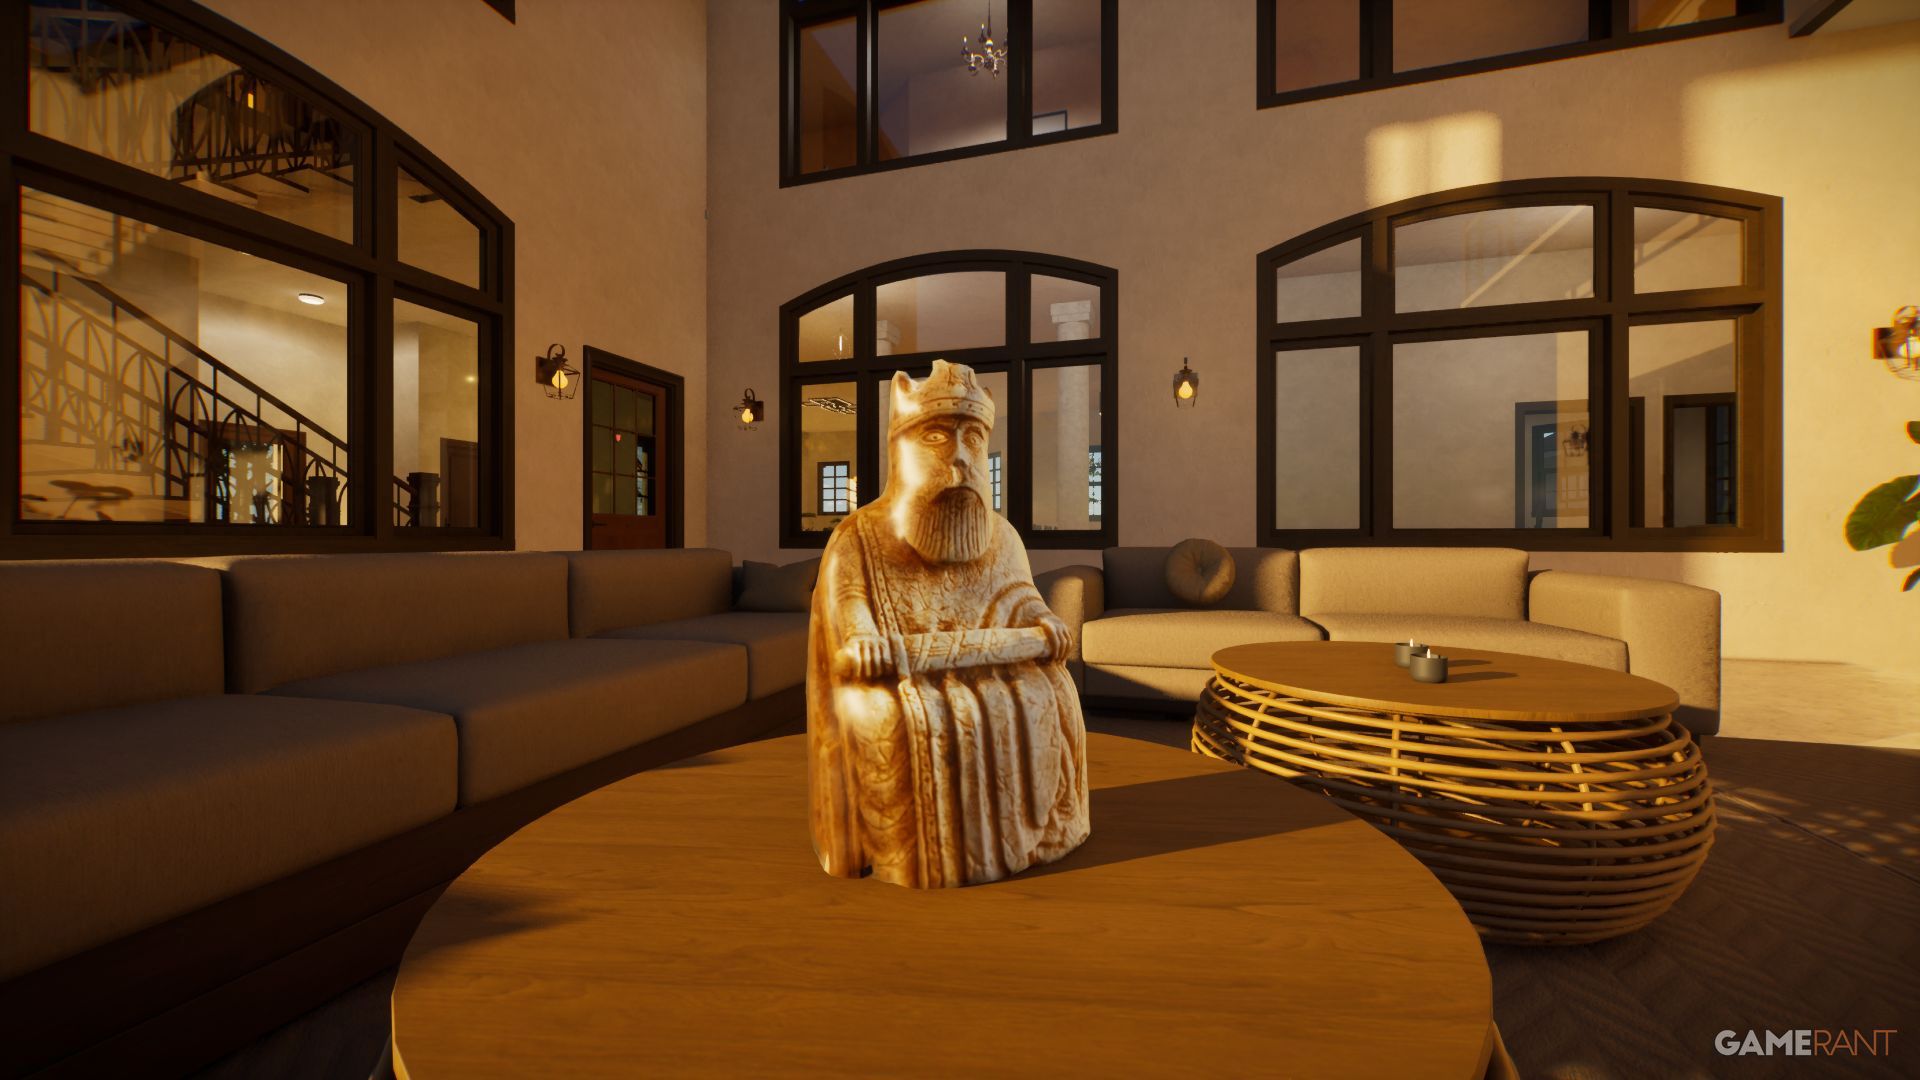
After the asset is generated, the rotation and translation matter. Imagine the grey surface is a shelf. If you want your object to lie down on the shelf, rotate it so it does. If you want it to stand upright, position it like the chess piece seen above.
Which Images Are Best For 3D Printing In InZOI?
The success of 3D printing in InZOI mostly comes down to the uploaded image, although as the game is in Early Access, this feature will hopefully become more sophisticated down the line.
For fairly flat objects such as a shield, a PNG with a transparent background could work, but this isn’t entirely necessary. Most importantly, the background just needs to be blank. See the image of the chess piece above, taken on top of a table.
Avoid any images with holes in them, as the AI currently struggles with these and fills in the hole, often with the background material. It might find a donut hard, for example.
For creating fully 3D assets that will hopefully look good from any angle, JPEGs are a good option, but users should try to capture some depth. In other words, don’t take pictures completely face-on unless you want them to be flat. Also, avoid glare and sunlight.
3:22
Related
The Best Real Life Simulation Games
When real life gets to be a bit too much, there’s nothing like unwinding with a nice simulation game.
Using Symmetry Mode For 3D Objects
After the object is first generated, users have the option to create symmetry, but in many cases, this won’t be necessary. To do so, players will choose to mirror their object vertically or horizontally, with options for the top and bottom or left and right. The blue zone is the side that will be made symmetrical.
One use of symmetry is when making flat objects. Choose a small cut to be made symmetrical, and the final product will be thin.
The symmetry button needs to be turned on, and players can rotate and move their object to determine what exactly will be copied. When all is ready, press Create Again.
How To Place 3D-Printed Objects In InZOI
Once players have successfully made their custom models, they will be wondering how to use them. Thankfully, there are a few ways.
Placing 3D Objects In Houses
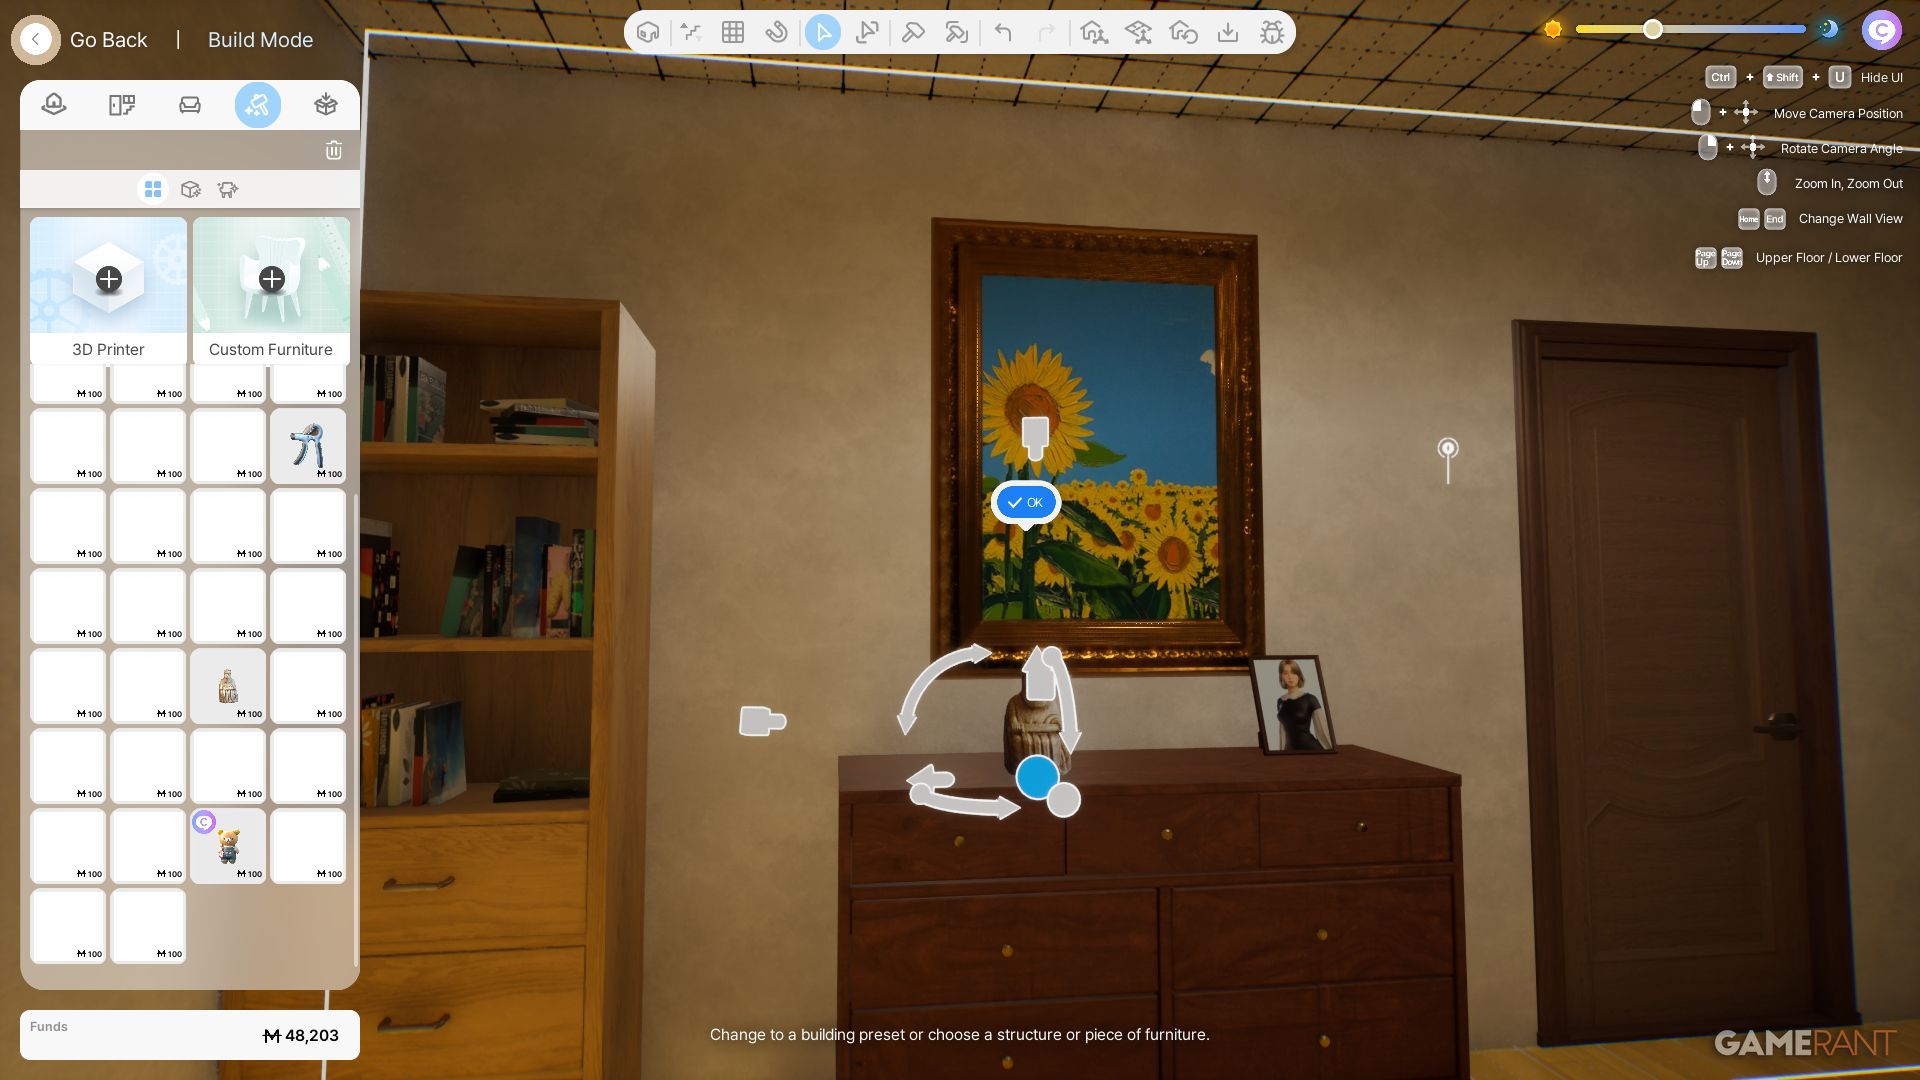
To place these custom objects as furniture, go to the Craft tab in build mode. This is the same tab where the printer is accessed. Players should see their own creation here, and they can be clicked on and dragged into a house, for example. As with other furniture, they can be rescaled and rotated.
You can also download these custom 3D printed assets from other players via Canvas, which is located in the right corner of the screen.
Players may struggle with placing these custom objects high up on walls or on other furniture, such as shelves or small tables. For this reason, it can be better to first place small items such as a plate or a pile of books on a surface. These can then be edited to take on the form of any 3D printed object.
Using 3D Decorations As Clothing Accessories
One surprising way in which these models can be used is as part of the expansive outfit system. In the Character Studio, go to the last tab, Craft. In the small menu that pops up, the far left option is 3D Printer Decorations.

Related
How to Play InZOI on Steam Deck
Players having trouble running InZOI on their Steam Deck can use this guide to learn the best settings for the realistic life sim.
Click on this and then choose a part of the body to add the decoration, as well as a 3D printed object. These can be made incredibly small and rotated with much more ease than in build mode. Players could add horns to their Zoi, make funny watches, or add a shield from Kingdom Come: Deliverance 2 as a crest, as can be seen above.
To find these once saved, go to the Accessories tab, and the bottom option is Custom. These can then be added to any outfit. For example, the crest would work with any t-shirt.










Leave a Reply