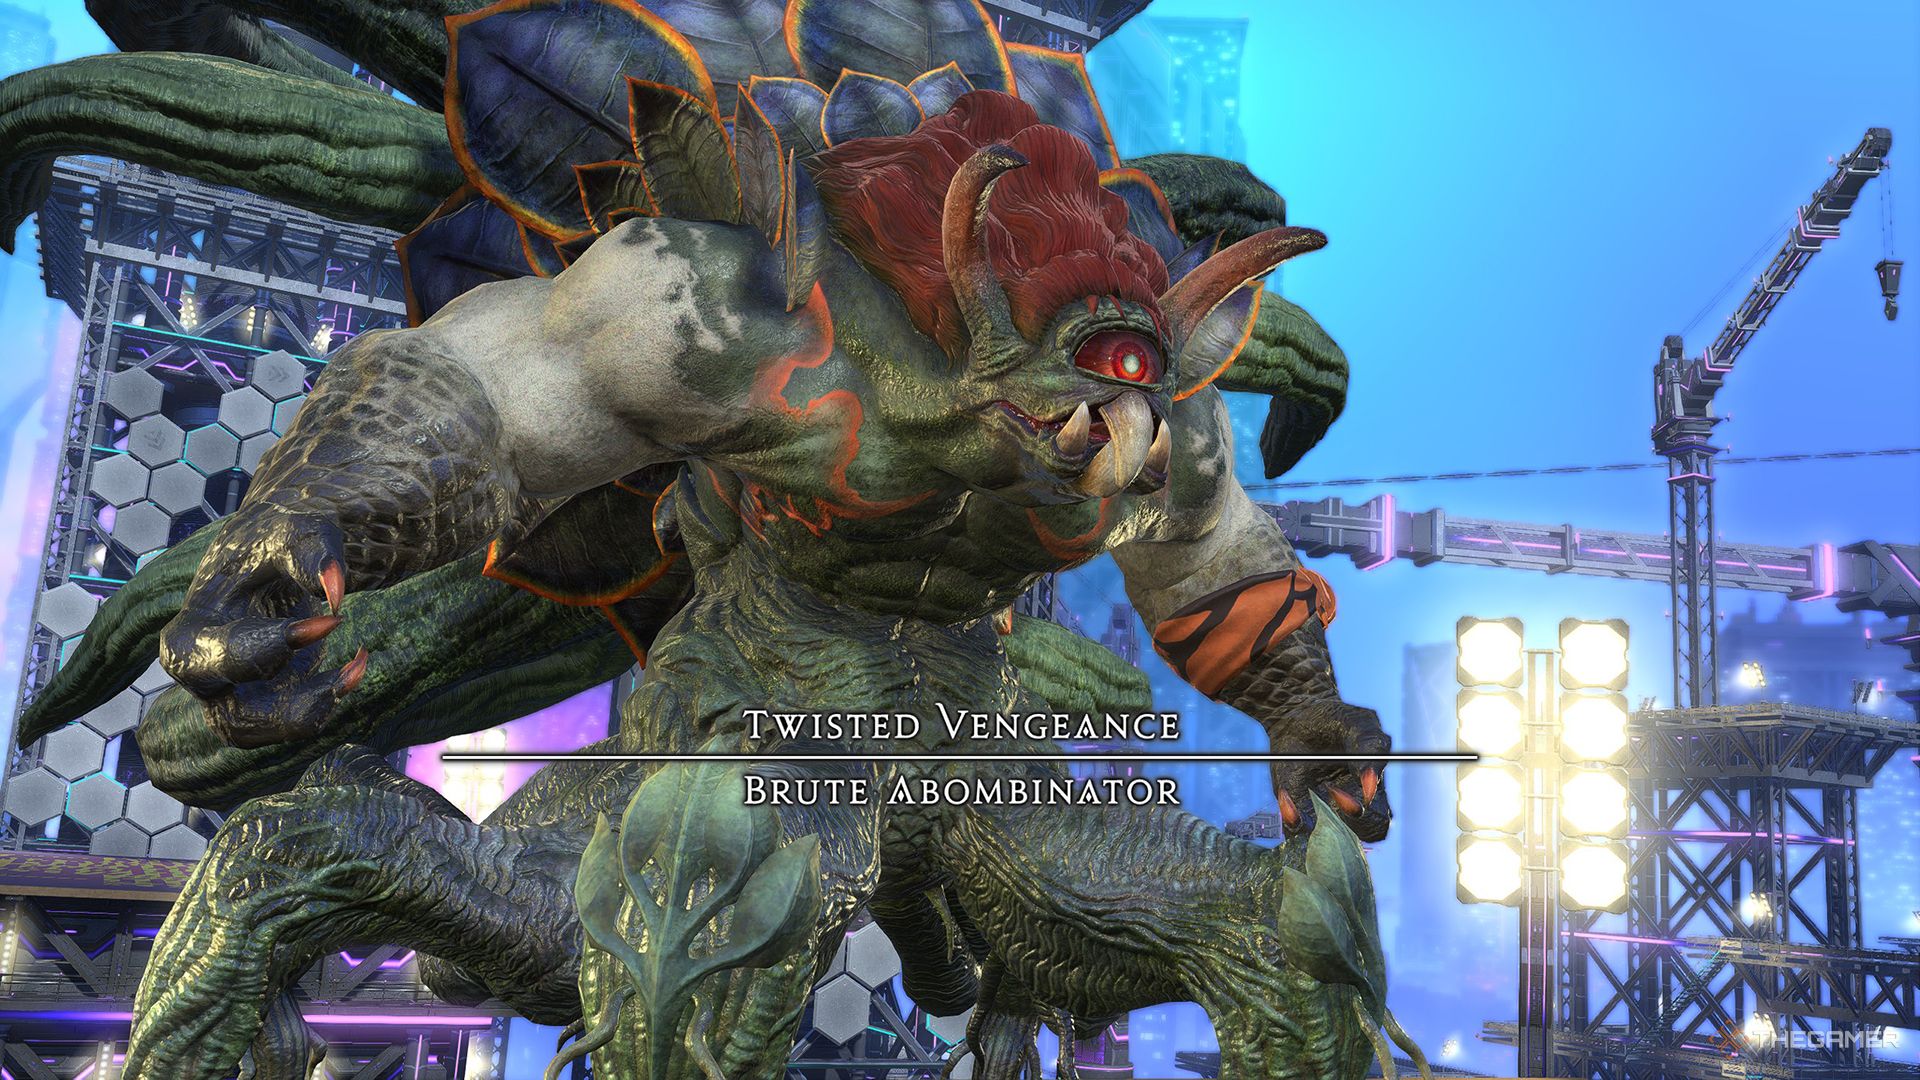
The Brute Abombinator is the third boss in the Cruiserweight division of the Arcadion raid series in Final Fantasy 14. After your victory against Sugar Riot, your next opponent was supposed to be the Cruiserweight Champion, the Howling Blade, but the Brute Bomber challenged you to a duel.
Related
Final Fantasy 14: AAC Cruiserweight M2 – Sugar Riot Raid Walkthrough
Here’s a complete guide to the Sugar Riot fight in the Arcadion in Final Fantasy 14.
Overloading on Feral Souls, the Brute Bomber became the Brute Ambombinator, his body transforming into that of a monster. To continue to the champion and stop the Brute Abombinator from wrecking havoc on Solution Nine, you’ll need to defeat him. Below, we’ll take a look at everything you need to know about this raid fight, including how to avoid all of the boss’s attacks.
Brute Abombinator Raid Walkthrough
The fight will begin in an open arena, where you can fall off the edges. This fight is divided into three phases, which we’ve detailed below.
Phase 1
|
Attack Name |
Type |
Details |
|---|---|---|
|
Brutal Impact |
Roomwide AoE |
Deals three hits of damage to all party members. The number of hits of this attack increases throughout the fight. Heal through this damage. |
|
Stoneringer: The Bludgeoning |
Point-Blank AoE |
The boss will summon a club, which it will use to create a point-blank AoE surrounding itself later on. |
|
Stoneringer: The Stabbing |
Ring AoE |
The boss will summon a sword, which will be used for a ring AoE later on. |
|
Brutish Swing |
Tankbuster |
The main Tank (when the sword is summoned) or the off-Tank (when the club is summoned) will be targeted with a Stacking Tankbuster. Both Tanks should group together to spread out the damage of this attack. At the same time, the Brute Abombinator will use the stored AoE from when it summoned the weapon, so the rest of the party will need to move to avoid these. |
|
Spore Sac |
AoEs |
Several circular AoEs will spawn around the arena. When these resolve, they will grow tendrils in two directions, creating two more circular AoEs each. Move to a safe spot and stay there for the boss’s next attack. |
|
Pulp Smash |
Stack Marker |
One player will be targeted with a Stack Marker. Group up with them in the safe area between Spore Sac AoEs. Immediately after, this attack will create several conal AoEs radiating from the stack point. Move into one of the available safe areas between AoEs to avoid. |
|
Blooming Abomination |
Adds |
After the second set of Spore Sac AoEs resolve, several Blooming Abomination adds will be summoned. Three of these will use large cross-line AoEs, while the fourth will cast a large ring AoE. Defeating the add will remove the AoE, giving you more safe spots to work with. The defeated Blooming Abominations will leave behind a body, which will be used for the next attack. |
|
Quarry Swamp |
Gaze |
The boss will target the entire arena with an AoE that inflicts Stone Curse, freezing you in place for 11 seconds. To avoid this, you’ll need to hide behind one of the Blooming Abominations, either living or dead. This will cause the adds to be petrified instead of you. |
|
Explosion |
Proximity AoEs |
The cameras around the arena will be petrified by Quarry Swamp, causing them to fall to the arena, creating three sequential proximity AoEs. Move as far as possible from each of these in the order they appear. |
|
Neo Bombarian Special |
Roomwide AoE/Knockback |
The boss will move to the center of the arena before jumping up and crashing down onto the arena, dealing damage to the party and knocking everyone back from the center. Position yourself along the north edge of the arena to be knocked onto the second platform, or else you will fall to your death. |
Once the Brute Abombinator uses Neo Bombarian Special, the fight will transition into phase two.
Phase 2
During this phase, the Brute Abombinator will cling to the walls. The phase will start with two uses of Stoneringer and Brutish Swing. However, the boss now has the ability to dash to one of the other walls immediately before using Brutish Swing, so you’ll need to track its trajectory and move accordingly to avoid the AoE.
The boss will also use the following new attacks during this phase.
|
Attack Name |
Type |
Details |
|---|---|---|
|
Glower Power |
AoE Markers/Line AoE |
Targets all players with AoE Markers and performs a line AoE to the front of the boss. Spread out from each other while avoiding the line AoE. |
|
Abominable Blink |
Flare Marker |
One of the Tanks will be targeted with a proximity-based Flare Marker. The targeted player should move to one side of the arena while the rest of the party moves to the opposite to reduce the damage they take when the Flare Marker explodes. Additionally, the Tank with the Marker should use defensive cooldowns to mitigate this damage for themself. |
|
Revenge of the Vines |
Roomwide AoE |
Deals damage to the entire party. |
|
Sporesplosion |
Circle AoEs |
Creates three sets of circle AoEs around the arena. At the same time, the boss will prepare to use Brutish Swing while moving to another wall, so keep in mind which weapon it has equipped and where it’s moving to while you avoid the circle AoEs. |
|
Powerslam |
Roomwide AoE |
The boss will crash down onto the arena, dealing damage to the whole party and breaking it away, causing you to fall to the third platform, and into the third phase of the fight. |
Phase 3
In the third phase, the edge of the arena is surrounded in a fire AoE that deals damage if you step into it. Avoid the edge of the arena as you deal with the boss’s new attacks.
|
Attack Name |
Type |
Details |
|---|---|---|
|
Stoneringer 2: Stoneringers |
AoE |
The boss will summon both a club and a sword in preparation for a Brutish Swing. |
|
Spore Sac + Brutish Swing |
AoEs |
The Spore Sac AoEs will appear around the arena, then the boss will tether to one of the walls and use Brutish Swing. Before this occurs, one of its weapons will begin to glow, indicating which it will use for Brutish Swing. |
|
Lashing Lariat |
Line AoE |
After the Blooming Abominations from Spore Sac appear, the boss will raise one of its arms in the air, then charge from its current wall to the one on the opposite side of the arena, dealing damage to the indicated side. Immediately after, it will use a Brutish Swing with its remaining weapon. |
|
Slaminator |
Stack Pillar |
A Pillar will appear in the center of the arena. Stack with it to spread out the damage of this attack. |
The boss will repeat these mechanics, as well as most of its attacks from phase one, until it is defeated. The main attack that may trip you up is Stoneringer and Brutish Swing, as it can be difficult to keep track of which weapons the boss is wielding, especially during hectic moments like when these are combined with Spore Sac and Lashing Lariat.
It may be helpful to think of the weapon’s practical range. For example, clubs are relatively short weapons, so Brutish Swing is only able to hit the area just around the boss. Conversely, swords have a longer reach, so they will hit everywhere but the closest part of the boss.
Pay close attention to each of the boss’s attacks, and you’ll do fine. Once the Brute Abombinator is down, you can continue on to the champion, Howling Blade.

Next
Final Fantasy 14: AAC Cruiserweight M1 – Dancing Green Raid Walkthrough
Here’s a complete guide to Dancing Green, the fifth opponent in the Arcadion Raid series in Final Fantasy 14.









Leave a Reply