Summary
- Optional bosses in Elden Ring, like Ancient Hero of Zamor and Bayle the Dread, offer varied challenges and testing player skills.
- Bosses like Valiant Gargoyle and Putrescent Knight have unique mechanics, massive health bars, and great damage output.
- Malenia, Blade of Miquella, showcases intense combat prowess with rapid attacks, Scarlet Rot magic, and challenging phases.
Elden Ring and its Shadow of the Erdtree expansion are both renowned for challenging boss encounters in a dark high-fantasy world. All bosses represent different aspects of Elden Ring lore, and some are required to progress further in the story. Other optional bosses provide additional trials that test players’ skills and perseverance.
These optional bosses are as varied as they are unforgiving, from terrifying speeds of blade-wielders to massive electric dragons. The following will rank the hardest optional bosses in Elden Ring, including some formidable foes from Shadows of the Erdtree DLC. The Tarnished doesn’t have to fight them, but if they choose to, they’re in for a tough battle.

Related
9 Best Elden Ring Bosses, Ranked By Most Satisfying To Beat
Elden Ring bosses are often fast and extremely challenging. Here are some of those that are both difficult and satisfying to beat.
10
Ancient Hero of Zamor
Long-Lived Warrior of Freezing Winds
- Locations: Weeping Evergaol, Sainted Hero’s Grave, Giant-Conquering Hero’s Grave
The Ancient Hero of Zamor is a nimble sword-wielder shrouded in freezing winds. Although it walks slowly toward the player, its intelligence adapts to the playstyle of the Tarnished, and it offers challenging counters.
When encountering it from afar, it will either cast a large wave of frost magic or sprint at full speed into a spinning flurry of attacks. Each hit from its sword builds Frostbite, which potentially deals a burst of damage and increases all further damage taken for a short time. This fight progresses into a second phase, and its graceful yet relentless aggression makes it a thrilling experience.
9
Elemer of the Briar
The Bell Bearing Hunter
- Nearest Site of Grace: Shaded Castle Inner Gate
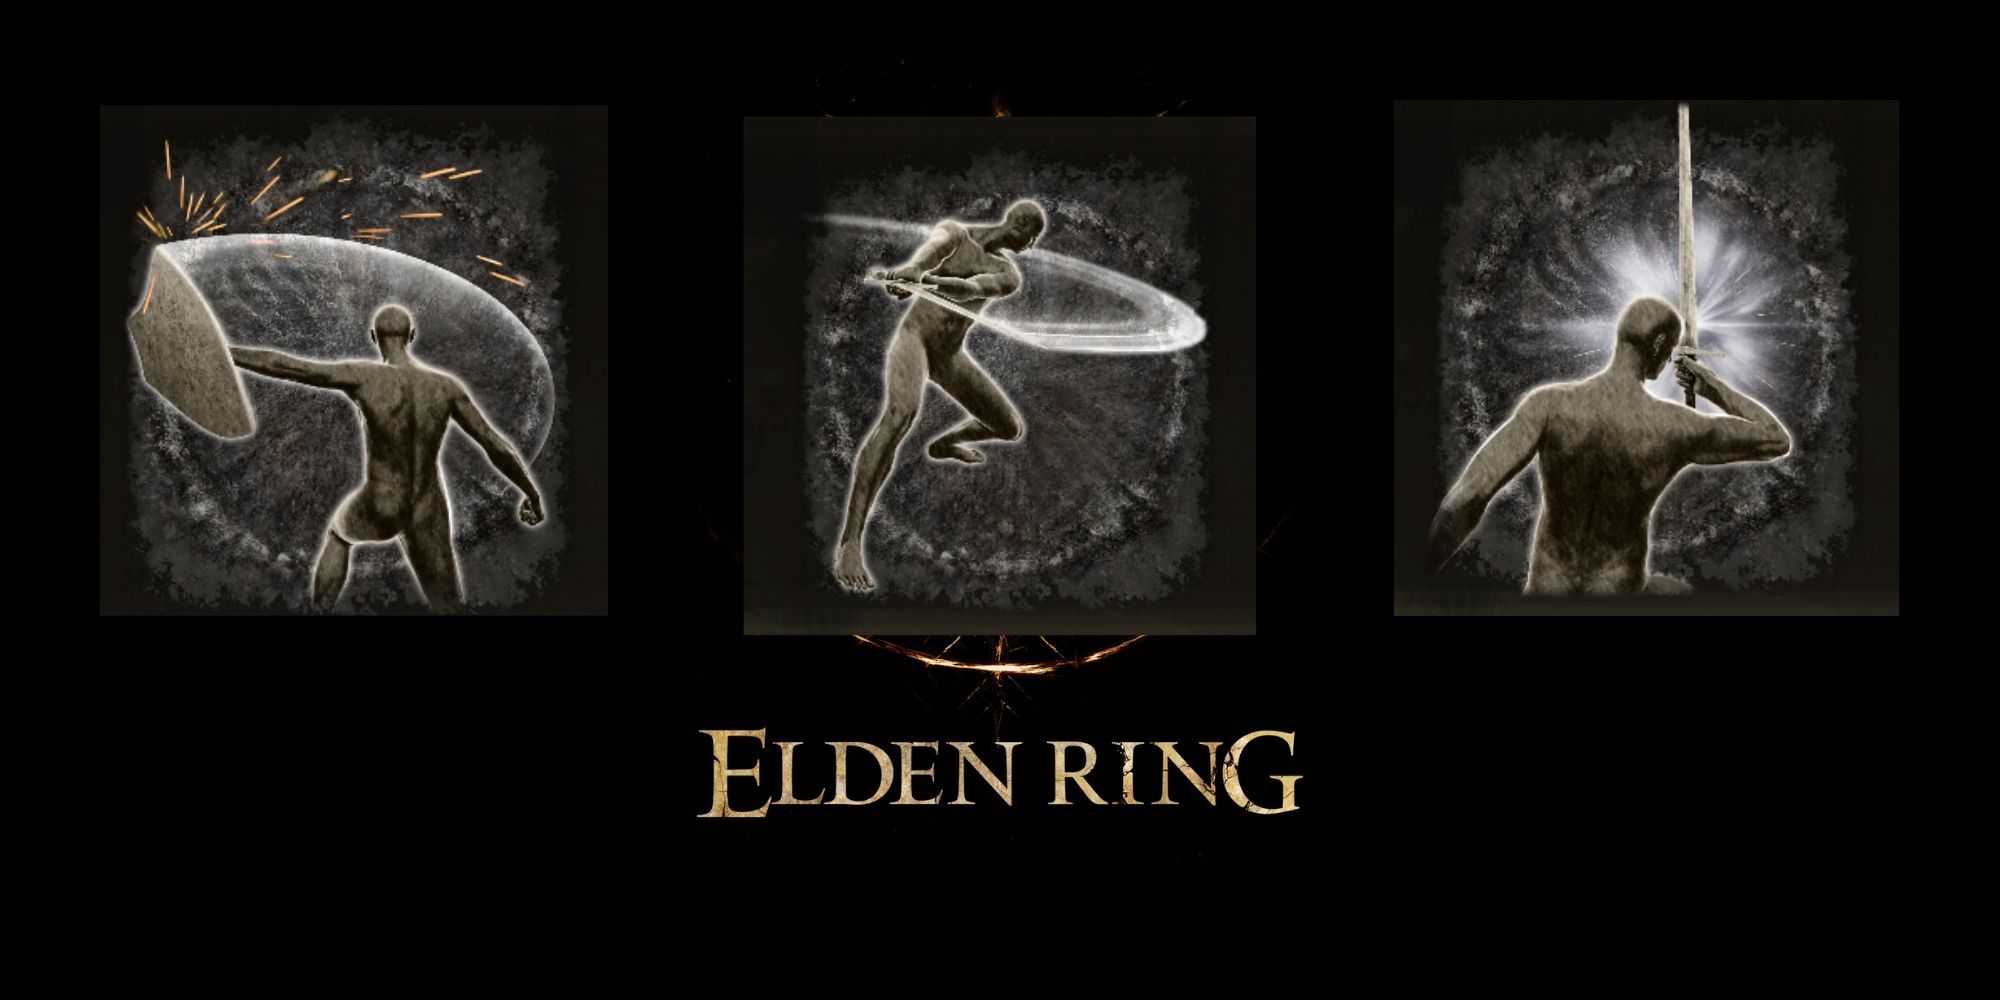
Elemer of the Briar is an extremely aggressive humanoid boss that holes up in The Shaded Castle in Altus Plateau, the site of his failed execution. He wields the Marais Executioner’s Sword, which contains the weapon skill Eochaid’s Dancing Blade; the sword is thrown forward in a corkscrew fashion.
Related
Elden Ring: 14 Best Weapon Skills, Ranked
Elden Ring’s Weapon Skills can really help a player dish out damage. Here are the best ones to pick.
Elemer can swing the sword in a wide arc, coercing players to roll and block every way they can. This fight takes place in a cramped hall, which makes his ranged attacks all the more devastating.
8
Knight of the Solitary Gaol
The Blackgaol Knight
- Nearest Site of Grace: Scorched Ruins
The Knight of the Solitary Gaol presents a formidable challenge as a humanoid enemy, and is found in Shadow of the Erdtree at the Western Nameless Mausoleum. This boss appears unassuming at first, but quickly shatters this illusion with how fast his reflexes are. He switches between a Greatsword and a Crossbow, and reacts with vigorous speed.
His Crossbow is unique in that it shoots arrows like a machine gun in a wide spray, keeping players on their toes. He tends to do jump attacks when wielding his greatsword, and is capable of a sprinting quick slash that can throw anyone off guard.
7
Valiant Gargoyle
Classic Double Trouble
- Nearest Site of Grace: Siofra River
Deep in the Siofra Aqueduct, the Valiant Gargoyles await the Tarnished to enter their lair. The fight begins with a single Valiant Gargoyle wielding a greataxe and shortsword, dealing enormous damage. Once its health drops to a third, a second Gargoyle enters the fray wielding a twinblade and greataxe, significantly increasing the challenge.
A single gargoyle is already a tough fight, as its scale does not match its dexterity. These monsters appear large and bulky, but are extremely fast. Together, the Valiant Gargoyles each have their own massive health bars and deal great damage with large AoE’s capable of staggering players. There are other Gargoyles that appear in Leyndell, but no deadly combo like the Valiant Gargoyles of Siofra River.
6
Putrescent Knight
The Decrepit Remains of Death
- Nearest Site of Grace: Fissure Depths
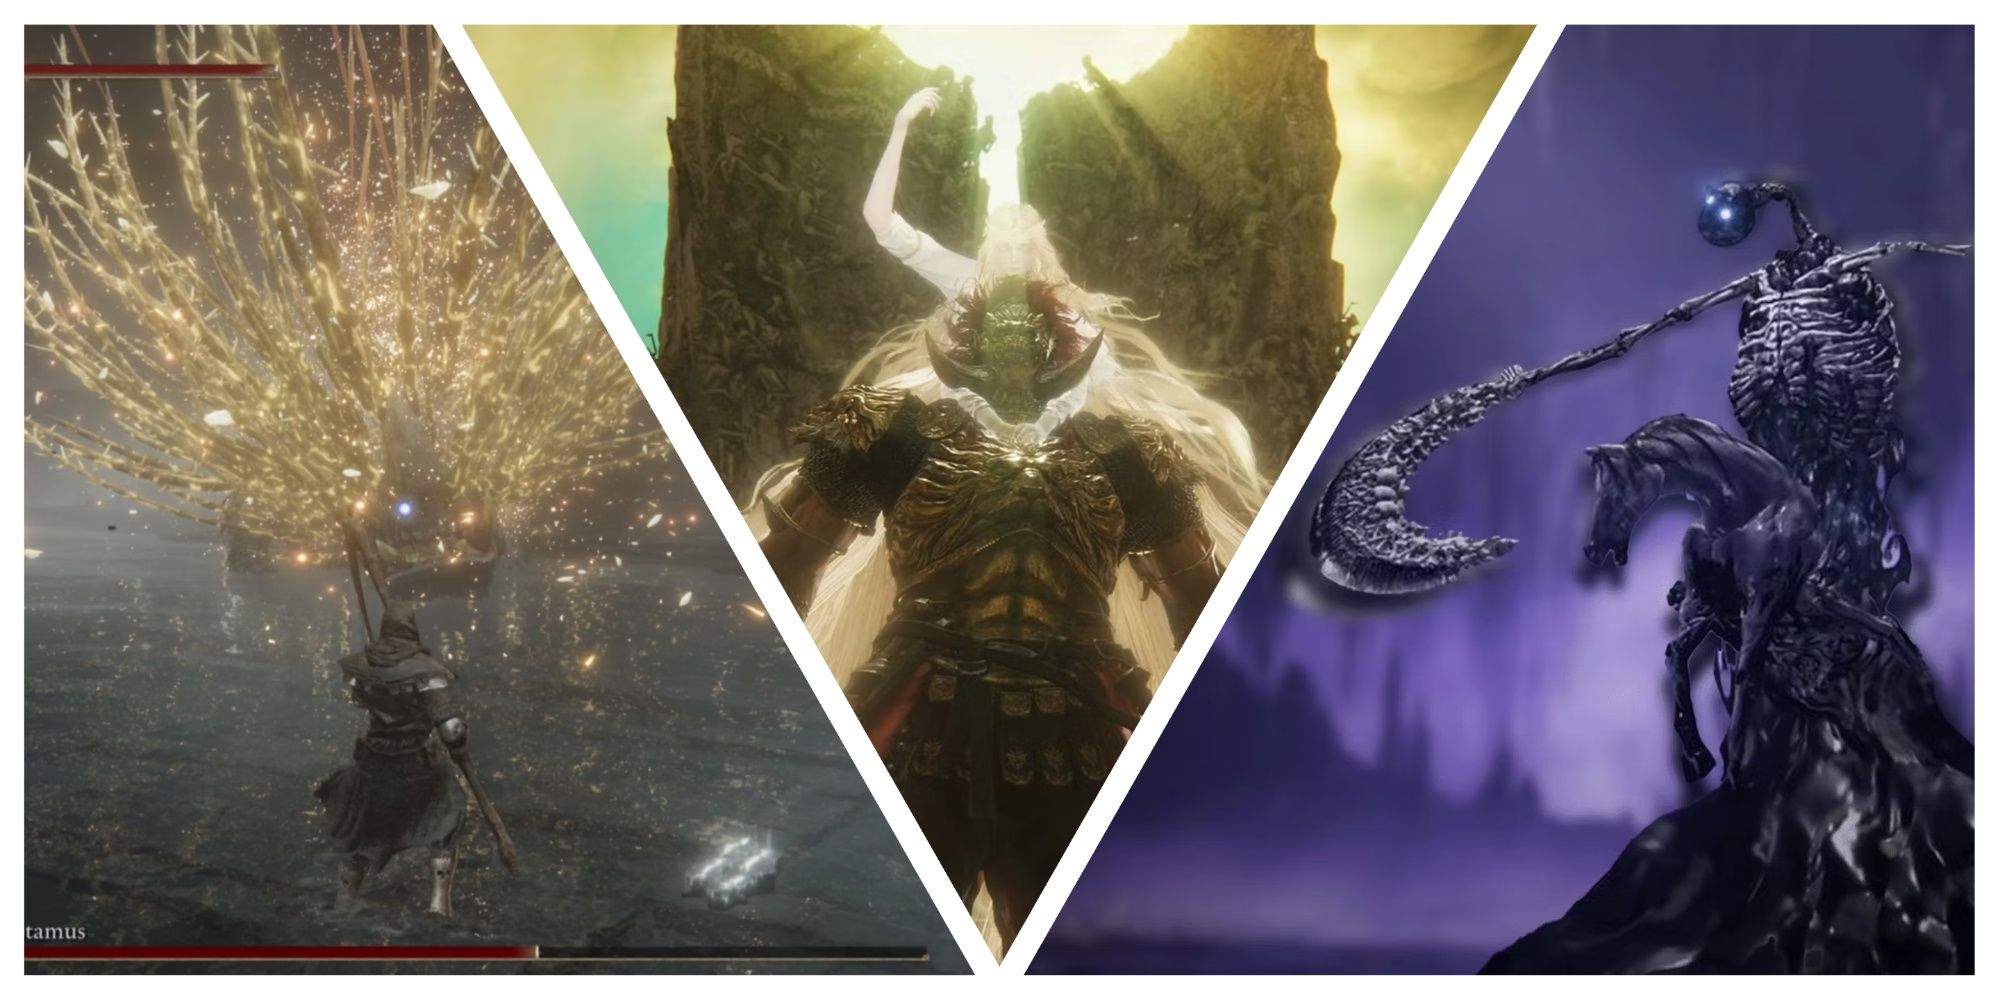
The Putrescent Knight from Shadow of the Erdtree is St. Trina’s knighted mass of dying flesh, a large skeleton wielding a cleaver and riding a steed. This boss feels chaotic with a wobbly posture and thrashing swipes from its cleaver. It tends to leap off its horse and slam the cleaver down and follow up with a series of spinning attacks, making it difficult to punish.
During phase two, the Putrescent Knight will cast a Vortex of Putrescence, which it signals by slowly rising upwards with a mass forming underneath it. It fires off several blobs of putrescence that burst into ghostflame, building up Frostbite upon hit. This boss has massive AoE capabilities, and his relentless attacking makes for a rather difficult challenge.
5
Metyr, Mother of Fingers
Gleaming Daughter of the Greater Will
- Nearest Site of Grace: Cathedral of Manus Metyr
The Mother of All Fingers is a large scorpion-like monster composed of fingers for legs with two arms in front, and an abdomen made of smaller fingers. This monstrosity is known for her powerful magic, which erupts Magic Damage across large areas and enhances some of her head-smashing attacks. When Metyr is at a distance, she will snipe players with her laser gaze. In phase two, this attack shoots three more times.
Related
Elden Ring: Hardest Bosses In Shadow Of The Erdtree, Ranked
Elden Ring’s Shadow of the Erdtree DLC is home to a plethora of challenging bosses. These, however, are the hardest ones players can face.
This boss moves slowly, but makes up for it by leaping and thrashing around. Her tail attacks can end the fight early; her Tail Orb glows purple, and she levitates before crashing down with mighty force. Metyr dominates the battlefield with a variety of abilities, putting her up there among the hardest of optional bosses to overcome.
4
Dragonlord Placidusax
Heart of the Storm
- Nearest Site of Grace: Beside the Great Bridge
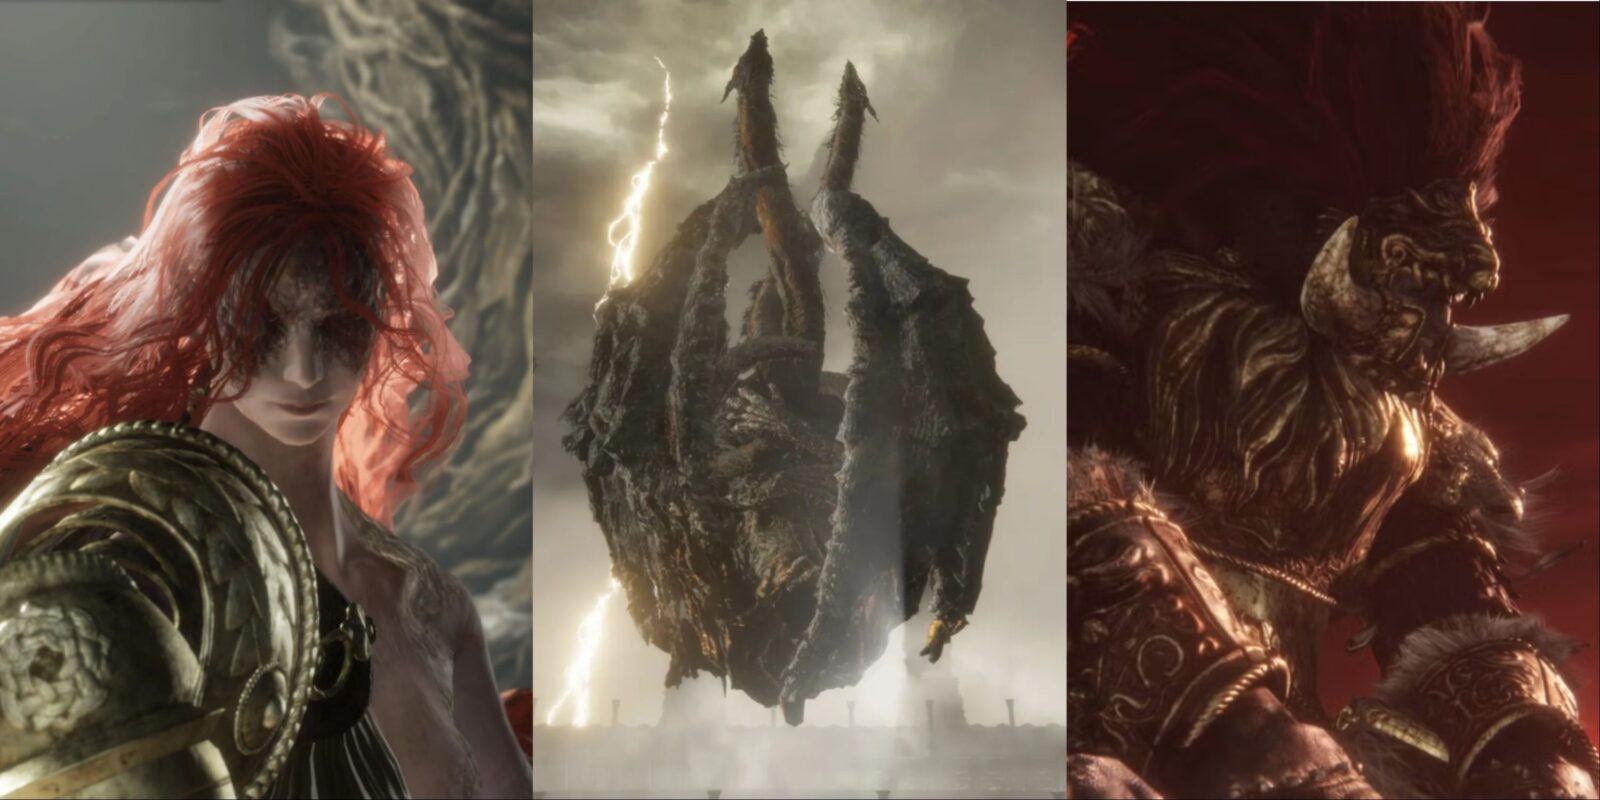
This two-headed dragon rests as the heart of the storm beyond time in Crumbling Farum Azula. Once approached, his floating body will unravel the heart-like appearance it held and begin to fight ferociously, spitting fire and scraping claws. Dragonlord Placidusax is known for his massive bolt of lightning that slams into the ground and causes waves of red lightning to emanate outwards.
Placidusax maintains a destructive distance both close and far. In phase two, he turns to mist and vanishes, returning in a red lightning cloud and swooping down to swipe more red lightning at the player. This fight challenges players to dodge his massive areas of attack and keep a sharp eye on all his moves.
3
Starscourge Radahn
The Red Lion General
- Nearest Site of Grace: Chamber Outside the Plaza
Heralded as one of the mightiest living demigods and driven mad by Scarlet Rot affliction, General Starscourge Radahn roams the vast Caelid desert upon his horse. Radahn mastered gravity magic, allowing him to ride his horse despite his massive size, summon meteors from the sky, and even launch himself as a meteor.
Solo victory in this battle is possible, but finding allies using the summon signs makes the fight more manageable. This battle is unique and memorable not only because of how difficult it is, but because of how many NPC summons there are and how much ground Radahn covers with all his abilities.
2
Bayle the Dread
Forefather of the Drakes
- Nearest Site of Grace: Jagged Peak Summit
The forefather of drakes awaits at the summit of Jagged Peak, known in legends for his flame-lightning powers. This horned beast utilizes his wings far more than any other ancient dragon, flying away to create distance and raining down fire-lightning bolts.
He can coat himself in flame-lightning and create an explosion when stomping on the ground, and in phase two, nearly every attack will cause extra explosions. Midway through the fight, the arena is covered with flame, making it difficult to find footing or respite to hit the flask. Bayle may be the most visually appealing dragon boss fight, as well as the hardest, truly upholding his name as the Dread.
1
Malenia, Blade of Miquella
The Goddess of Rot
- Nearest Site of Grace: Haligtree Roots
Malenia, twin sister of Miquella, is responsible for the power of the Scarlet Rot, which reduced Caelid to ruins and turned Starscourge Radahn feral. At the Brace of the Haligtree, she walks with her katana built into her prosthetic arm and slashes with great speed. She is known for her Waterfowl Dance attack, where she leaps into the air and lunges at the player several times while unleashing multiple flurries of slices.

Related
Who’s The Better Elden Ring Boss: Malenia Or Consort Radahn?
Malenia is the better boss by a mile. Not only does she feel better to fight, she also doesn’t reduce my framerate to 20 every time she does a fancy attack. Consort Radahn’s second phase overwhelmed me and my computer both, and while I eventually beat him in fewer tries than I did with Malenia, I still would rather not fight him again.
Her combat prowess stands solid yet graceful, and only grows stronger in phase two when she sprouts her Scarlet Rotted wings. Floating in the air, she rapidly crashes on the player using Scarlet Aeonia, a dangerous and gorgeous spell that envelops her in a bright flower and causes massive damage. Malenia’s relentless combos and Scarlet Rot magic make her the most intense optional boss encounter in Elden Ring.
- Released
-
February 25, 2022
- OpenCritic Rating
-
Mighty









Leave a Reply