The First Berserker: Khazan’s Devoured Village is another level that expands the scope quite a bit. However, not only is this mission utterly massive, but it has another standout feature: it has some of the game’s more devious hidden collectibles.

Related
The First Berserker: Khazan – Complete Skill Tree Guide
Every ability in every skill tree you can unlock in The First Berserker: Khazan explained.
We’ll take you from items precariously positioned on the rafters of dilapidated buildings to Soulstones hidden behind secret passageways to treasures sneakily tucked away under elevators. There are a ton of things that you can easily miss, so we’ll ensure that you don’t.
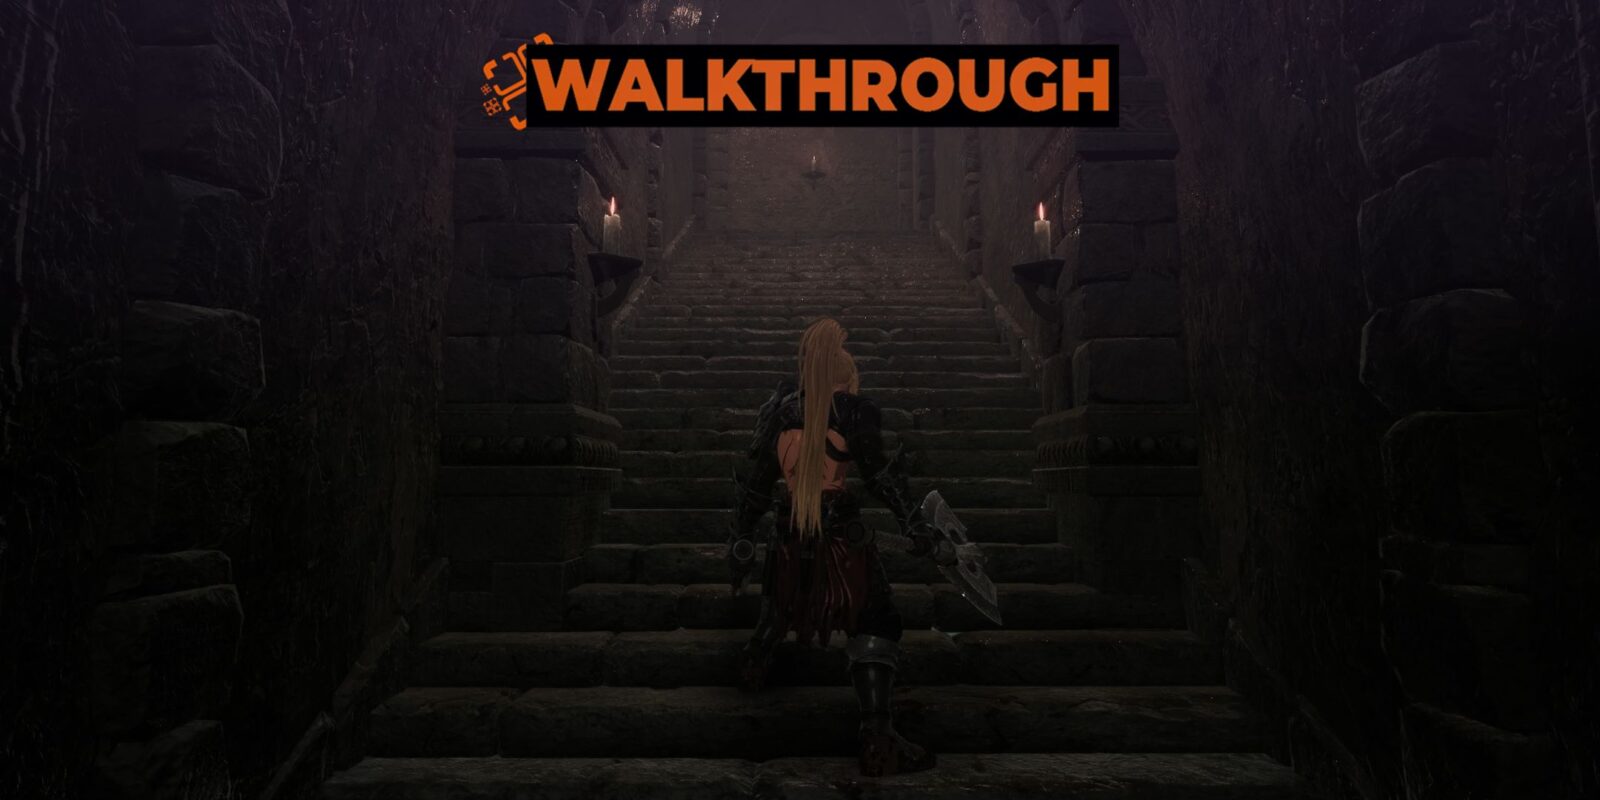
Deserted Village

This stage will begin in the Deserted Village, which is a village that has been completely wiped out. The remnants of the villagers are all now zombified Polluted Husks and their buffed-up brothers: the Plague Husk. Watch out for the glowing versions of the Polluted Husks, the Frenzied Husk. These ghouls will explode into a myst of plague. If you are caught in this explosion, you will be afflicted by the plague effect.
The First Soulstone

You’ll start the Devoured Village facing a set of stairs with the Blade Nexus in view. However, instead of running dead ahead and initiating it, you are going to turn around and head in the opposite direction. This will take you to a church where you’ll find a Soulstone (1/4) tucked around the back corner on the left side of the room. Once you’ve shattered the Soulstone, head back the way, you came, and push forward.
The Village Entrance

Once you head forward, you’ll hit a fork in the road. The main path forward is to the right, so we’re going to start by going to the left. After a Frenzied Husks rushes forward and explodes, you’ll enter a room with a set of stairs heading down and a ladder heading upward.
-
Down The Stairs…

The stairs leading to the basement have a few Polluted Husks stumbling around and a Poison Spirit’s Fuel vial sitting in the center of the floor. Watch out, there are more Polluted Husks lying down behind the barrels.
-
Up The Ladder…
Heading up the ladder will lead you to the roof. From there, you’ll hop down onto the nearby roof. Look for the massive hole in the flat section next to the roof. Try to aim for the beam as you are dropping down. The Deep Shadow Scroll is resting on this beam. You’ll need to fight a group of Polluted Husks once you jump down, so prepare yourself.
Move through the illusory wall, but prepare to be ambushed by a pair of Polluted Husks, then climb the ladder, and leave via the broken front door.


Now that we’ve gotten all the goodies, go down the right path and head Into the bar. There are a ton of Polluted Husks on both this floor and the one below – with a few Frenzied Husks sprinkled throughout. Once you’ve cleared out the first floor, open the chest behind the bar. Watch out, it will explode. There will be a Strategist’s Ring and 25x Treated Gems left in the rubble. After you grab that stuff, head downstairs. There are a few Frenzied Husks and a ton of Polluted Husks down here.
There is a room on the left that has three Citrus of Cleansings behind a barrel. At the end of the hall, on the right, there’s a Frenzied Corpse ready to explode. There are two more Frenzied Corpses hiding behind a false wall. Keep following the path downward, and you will reach an elevator: take it down.
Red-Eyes Boulder Bat Miniboss

Now, in the cavern, you can head forward, where there is nothing of note, or head through the hole in the wall on the right. Watch out, as you’ll be on a lean bridge with a Red-Eyes Boulder Bat Miniboss ready to kick you off of it. So, peek your head in through the hole, and toss Javelins at the bat clinging to the ceiling, then back away into the tunnel. Don’t hop down onto the bridge, as you will then be stuck there. Once you have lured the bat into the cavern, just be ready to dodge away from its dive bomb attack.
If you have the Dual Wield weapon equipped, put some points into the Whirlwind attack, as the ceiling is low in the cavern, which will eat the Red-Eyes Boulder Bat up.

Once you’ve killed the bat, head back to the bridge, and make your way down by dropping level to level, using the remnants of stone floors as platforms. Start by dropping down to the platform next to the hole in the wall you entered in through, then drop to the next platform, onto the beam, and then to the platform below it. Still in that same area, you’ll hop down two more platforms, and land on another bridge made of planks.
Go grab the Soul Tearstone Shard from the corpse on the other side of the bridge, head back, and you’ll need to drop two more times. The final one does have a hole on the left, so if you press up against the wall as you fall you’ll die. Just square yourself up and angle the camera so it is looking at the stone bridge below you. You’ll be fine. Once you get to the massive pipe, enter it and follow it all the way to the Underground Water Facility Blade Nexus.
Underground Water Facility

Once you get to the Underground Water Facility, if you take a right, you’ll run directly into a locked gate. There is, however, a ladder that leads down. You should take the secret third option. Next to the locked gate is a massive pipe. Drop onto that pipe, get under the platform you were just standing on, and then pick up the Necklace of Sealed Lightning. To get down from here, just jump down on the cage in the left corner of the room below you.
Once you get down to the lower level, you’ll have to contend with all the Revenants. The Revenant Devourer is a massive creature who will sink into the ground and then pop out and take a bite out of you. True to its name, it will also eat the smaller Anguished Revenants in this area to heal itself. Your best bet is to take out as many of the Anguished Revenants as possible before the big one sees you.
When the Revenant goes underground, it will pop up near you. It likes to attack with a five-hit combo. If the revenant swallows you, you’ll take massive damage. Once you’ve taken it down, head to the Back right corner to Fire Spirit’s Fuel. Climb the ladder and go into the pipe. When you hit the forking path, take a left to get the Poison Resistence Elixir, then double back and take the other pipe.
The Second Soulstone

Once you leave the pipe, go straight and unlock the gate. You’ll now have a shortcut back to the Underground Water Facility Blade Nexus. More pressingly, there is a breakable wooden wall to your left just before you reach the gate. Inside this room is the next Soulstone (2/4).
Head back to the pipe and take a right, you’re going to have to fight your way through a spider nest. There is only really one way forward, and it will take you through a couple of rooms packed with spider eggs. Touching the smaller eggs will cause them to explode, poisoning you. You can touch the bigger eggs, but if you hit them with your weapon you’ll unleash a spider.
Once you reach the room packed with eggs that has a ladder, look up. There is a Fang Spider waiting to pounce on you. So, take them out with a javelin. Now, climb the ladder and head to the right down the pipe to grab five Inner Essences. Double back and you will hit another branching pipe – while the right path is the way forward, you are going to want to go left first.

Follow the pipe going left, and you’ll encounter a Polluted Husk, but they are just a distraction, as a Frenzied Husk will ambush you. After taking those two out, you’ll walk past a few spider eggs before entering a large open area. There are two Huntsman Spiders waiting on the ceiling, ready to drop on top of you. Take them out with a Javelin. You will find another charge of Netherworld Energy in here.
Now, head back the way you came and take the other route. You’ll run into three Polluted Husks. Take them out and jump down into the pipe, kill another three more Husks, and climb the ladder. You’ll enter into another pipe, be confronted by a Frenzied Husk, climb a ladder, run past a few fires, and end up in a massive room with the next Blade Nexus.
Sinister Prison
In the room next to the Blade Nexus, you’ll battle a Lunatic Destroyer Dragonkin miniboss. He is basically the same as the ones you fought in the First Act Of Revenge mission, but he will apply the Heft status affliction to you if you are struck by his hammer. After you kill him, look for a strange contraption in one of the cells behind him.
The Heft effect will cause you to take more damage.
Throw the switch and the nearby cell doors will open. Open the chest in the cell left to the switch to get the Imperial Officer’s Spear, Guardian’s Shoes, Necklace of Resolve, and Small Spirit Ore. Climb the stairs. The doorway on the left will lead to a bridge covered in Polluted and Frenzied Husks. In the next room you can go left or straight.
For now, go straight. Flip the switch, and you’ll release the Berserk Dragon’s Talon (the Dragonkin that attacks you with their talons) and two Berserk Dragon’s Trackers (the guys with the axes who perform that spinning attack). After killing them, get the Poison Enhancer and Transmutation Myst from the cells.
You’ll go down a set of stairs, and reach a floor where there will be a room on your left and a room on your right. Both are filled with spider eggs, and both have Poison Cleanse Potions. Head down the next set of stairs and take a right. There will be a Berserk Dragon’s Sharpshooter equipped with bombs. In the room to the right of them is another Berserk Dragon’s Talon and a Tearstone Shard.

Follow the hallway down, and you’ll find Blade-Staff Dragonkin stalking the hallway on your right, and another Berserk Dragon’s Talon in a room on your left. After clearing them out, head down the main path until you end up in a room smeared with blood. Follow the blood trail down the pipe, but don’t enter the pipe yet. Instead, look to the right of the tunnel, smash the pots, and rescue the Jarling.
Travel down the blood-smeared pipe, take a left, and you’ll open the gate that leads back to the Sinister Prison Blade Nexus. Open that gate, then, with your back to the Blade Nexus, go straight and up the stairs. There is another contraption at the top. Head into the door and to your right. After a brief cutscene, follow the glowing pipe into a side room and head up the stairs. You’ll fight a few Dragonkin (a Talon and two Sentinels). Enter the room on the right and flip the switch.
The Third Soulstone
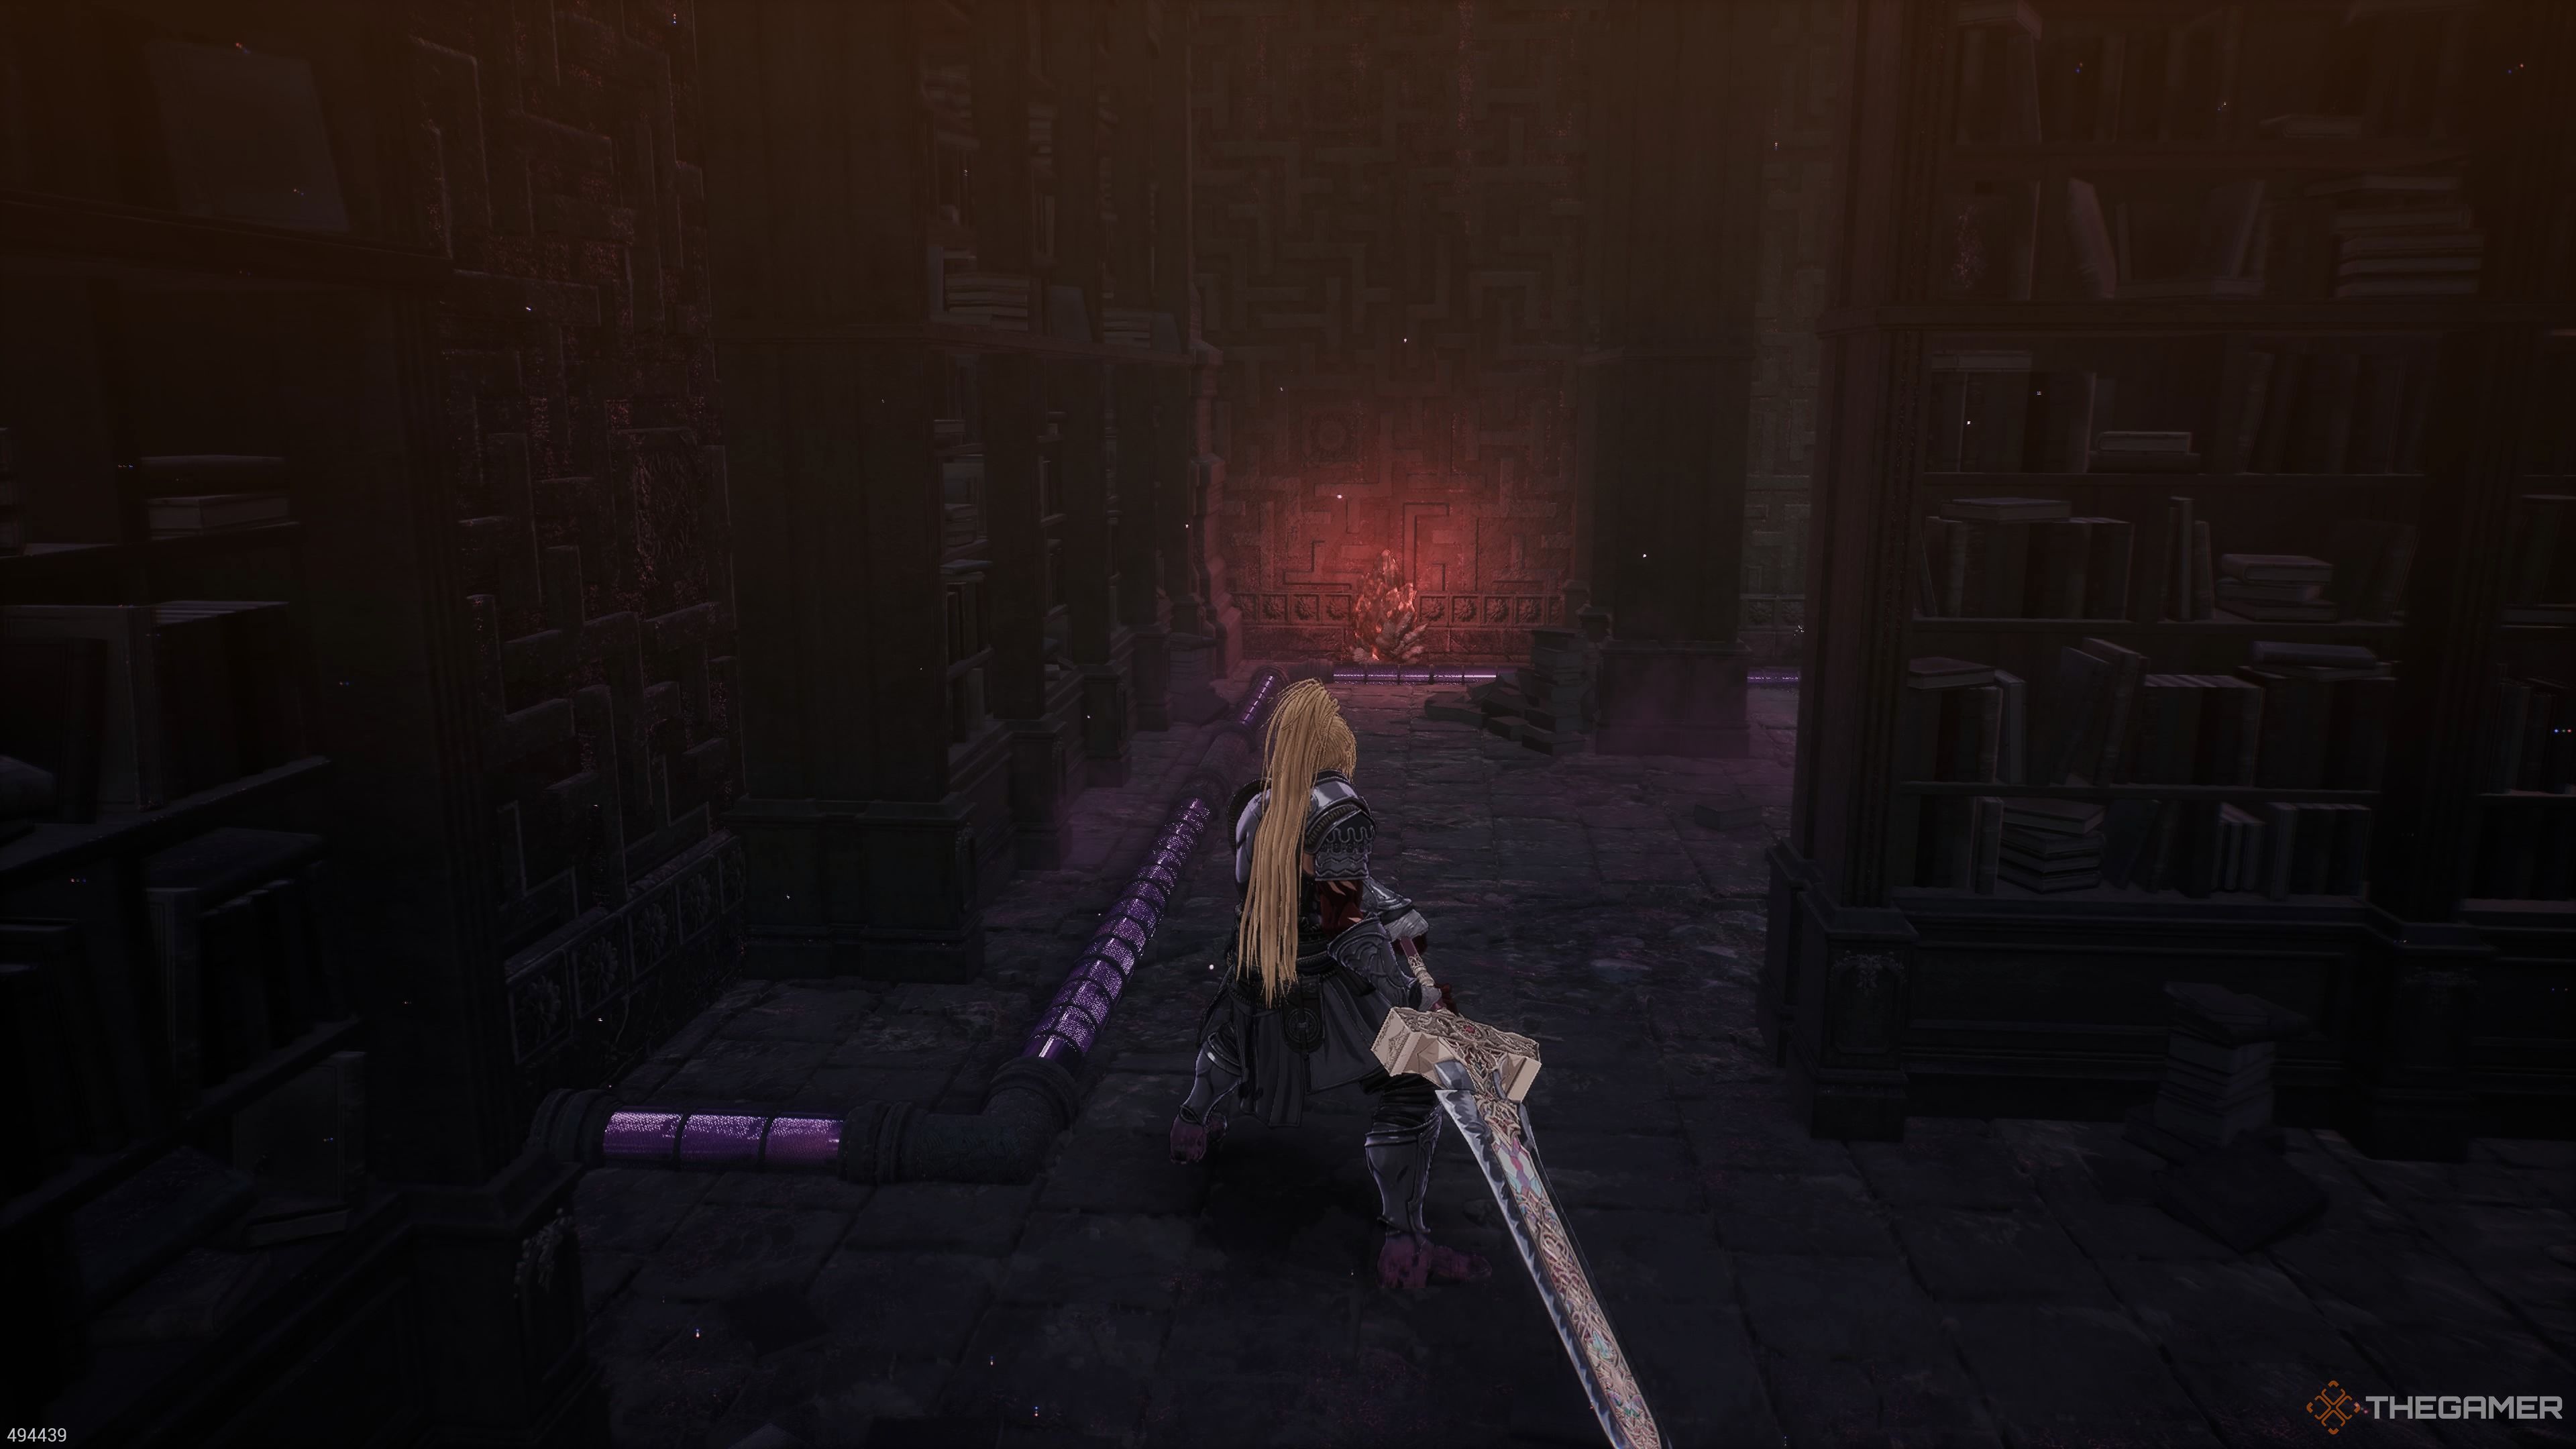
Now, look for the small alcove in the back of this room lined with bookshelves. Follow it around until you hit a dead end. There will be a bookshelf with a green book there. Interact with the book to open up a hidden room, and you’ll find another Soulstone (3/4).
Go back down to the room with Elamein, stand on the button in the middle of the room, and the platform will lower. Leave the elevator, and you will be in a massive room with a strange orb connected to all those glowing pipes. Carefully, drop down the elevator shaft and land on the platform below to get a Soul Tearstone Shard. Then, head down the stairs and interact with the Blade Nexus.
Underground Laboratory Entrance
From the Blade Nexus, go right: there will be two Trackers. Follow the path through broken door. There is a bookshelf on your right with a green book; interact with book to open up a room with two Talon and a bomb-throwing Sharpshooter dragonkin. There’s also a Water Cleanse potion in here. Interact with the contraption and turn off the lasers, then grab the Spirit Ore.

In the next room, there are massive chambers. A Devotee demon will free themselves from one, and you’ll have to fight them off. These creatures are quite evasive, like to get airborne, and can spit up an acid that will temporarily prevent you from healing yourself. Once you kill the Devotee, look for the corner with two wood panels blocking the entrance. Break them and flip the switch.
The next room has another pair of vats. There is a spider inside the one in the left corner of the room. The room after this one has a revolving turn style of lasers. Before you enter into it, throw a javelin at the Sharpshooter positioned in the back corner. There is a Berserk Dragon’s Talon in the vat as well, so prepare to square off against it.

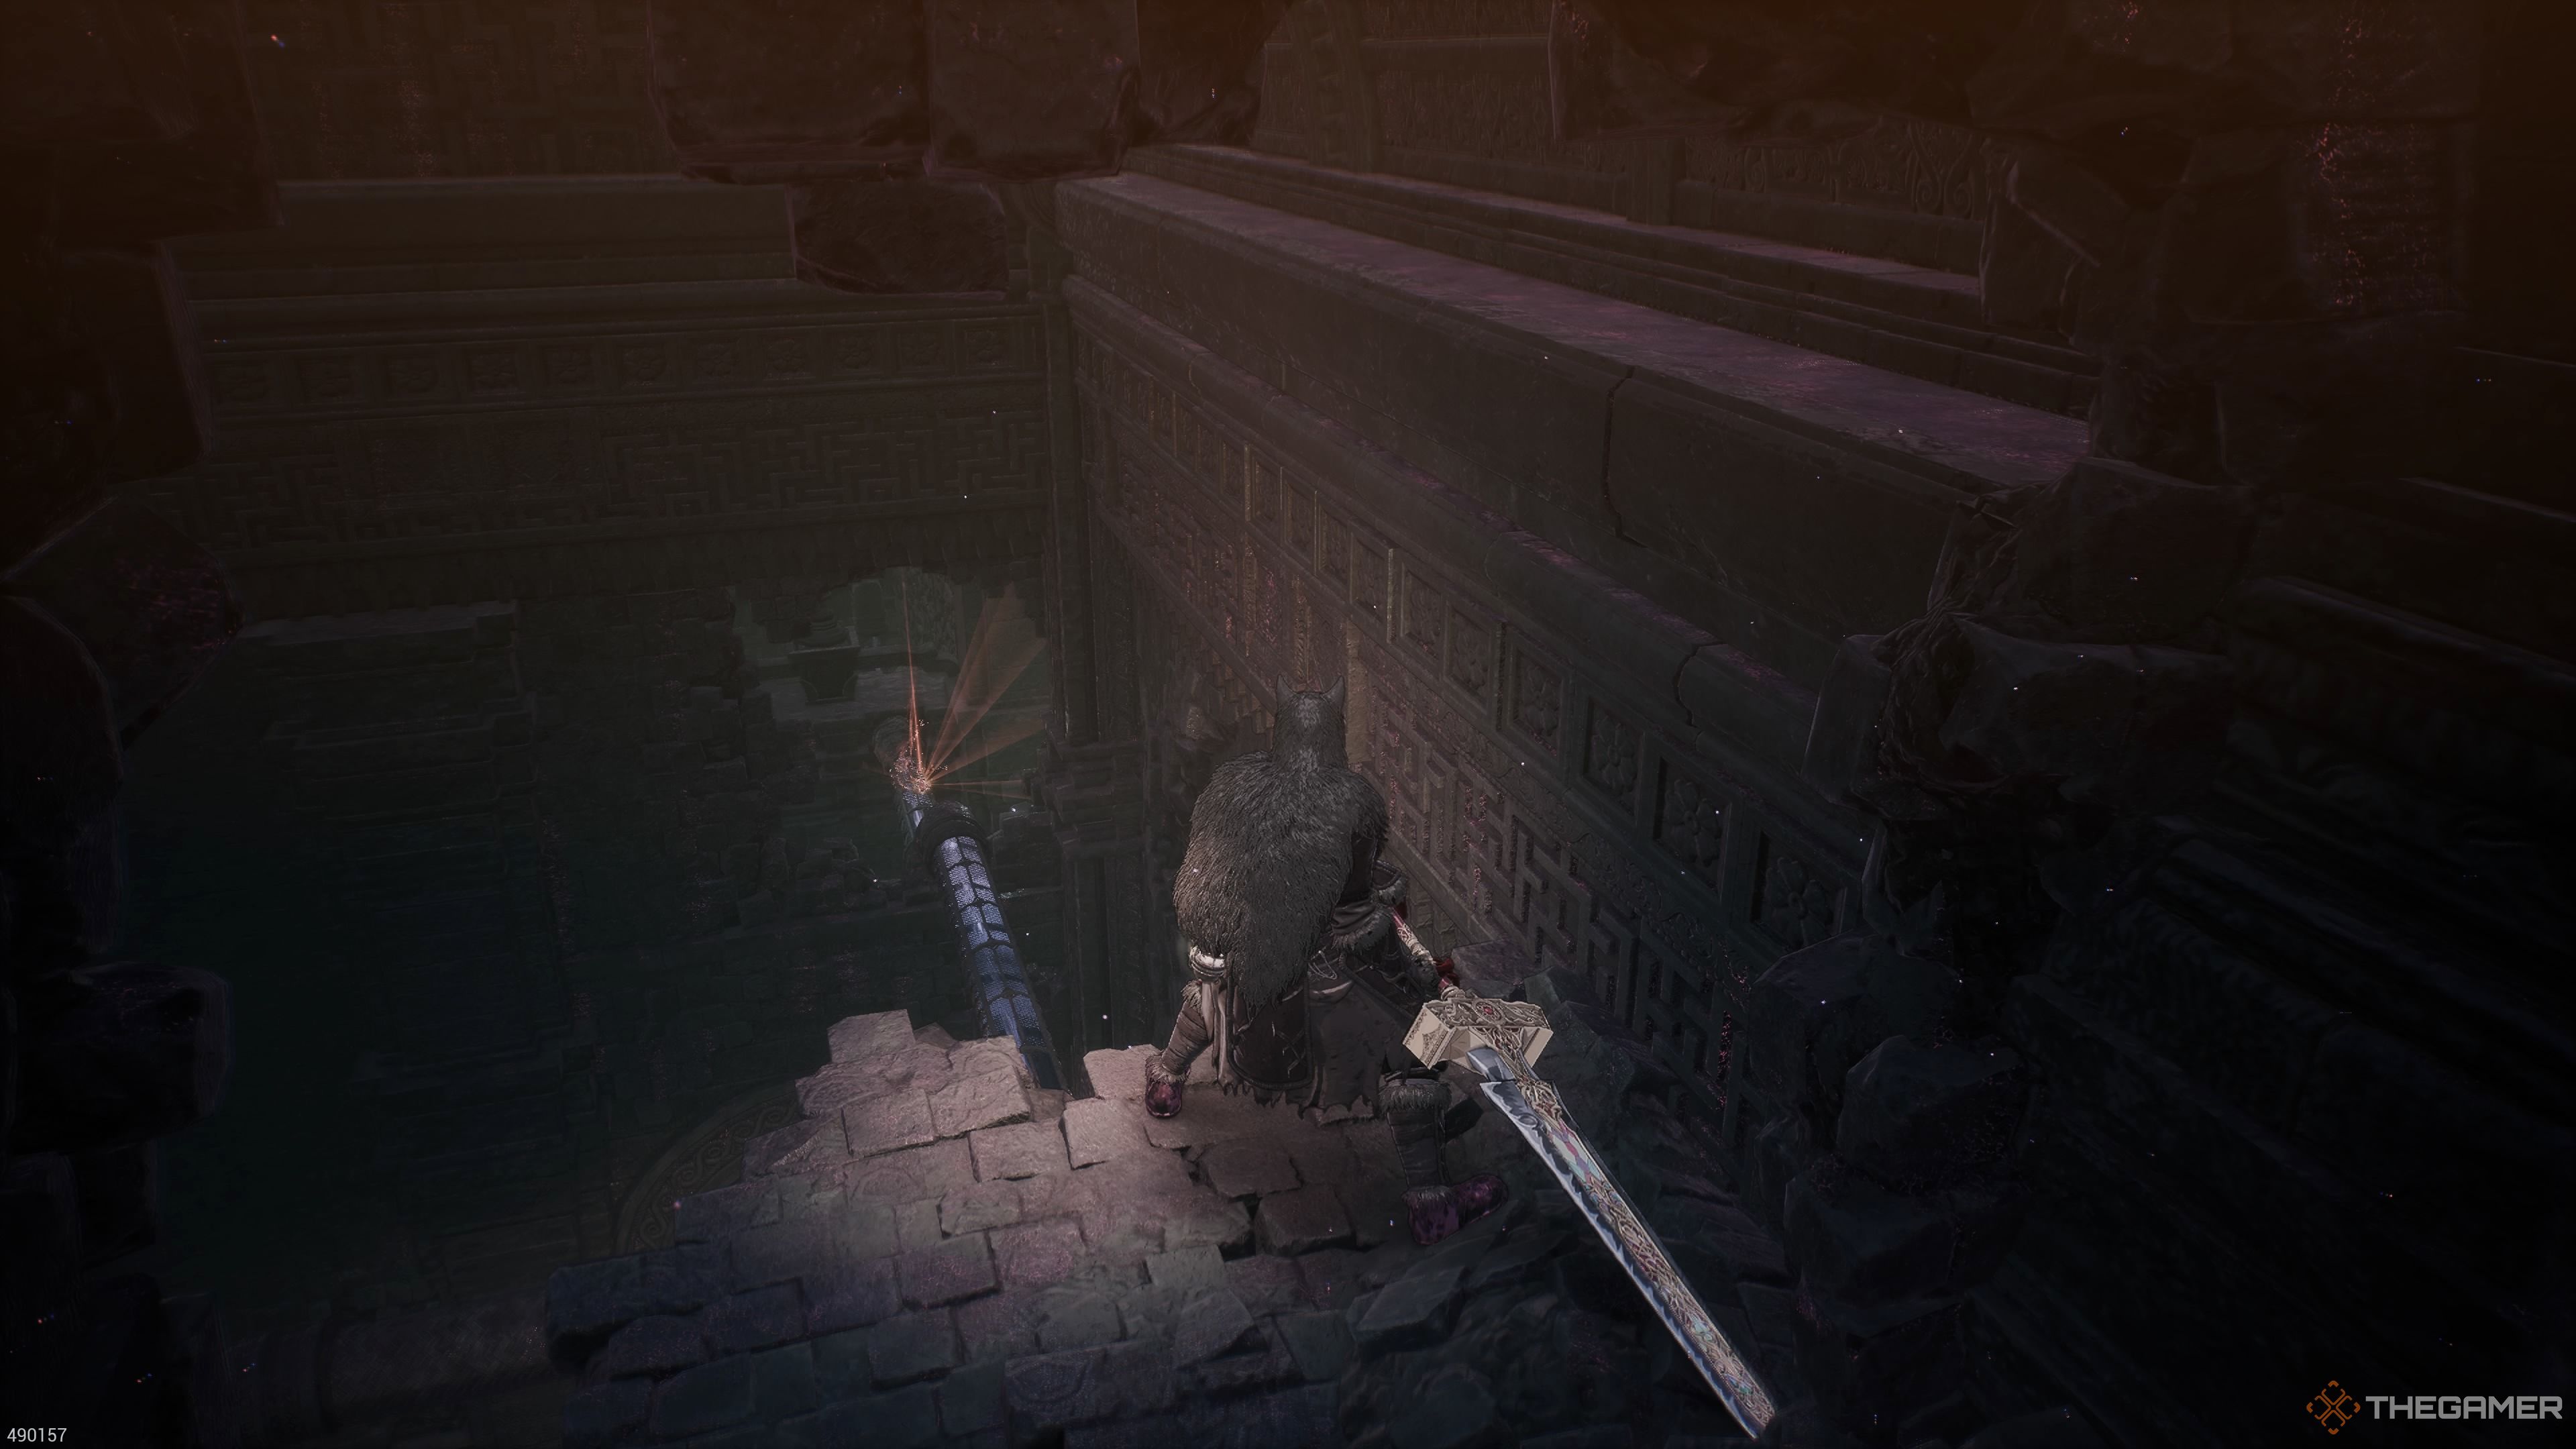
In the next room, follow the blood on the ground to the elevator, take it and you will open up the gate that takes you back to the room where you found the Jarling. You’ll also get two Vitality Spheres. As you are traveling on the elevator, you will see a hole in the wall, walk through it and you can find a load of secrets. There will be a pipe to the left you can drop down onto, and a pipe leading straight ahead.
The Fourth Soulstone And Ghost Hilt
-
The Pipe On Your Left…
This pipe will take you to the final Soulstone in this stage (4/4). You can also flip this switch to turn off the lasers in the room you were just in – the one with the spinning lasers.
-
The Pipe Leading Straight
The pipe leading straight will take you to the Ghost Hilt. Follow the pipe, and it will take you to the room with a hole in the wall. This is the main path, which means you can skip the paragraph after this one.


From the elevator, had straight and you will fight your way through a large group of Polluted Husks, Plague Husks, and Frenzied Husks. There is a spinning laser trap, but you can take a right once you enter this room, flip a switch and shut the laser down. After climbing a set of stairs, you’ll be in a room with a massive hole in the wall. Hop through that hole, and you’ll be in a circular chamber.

Enter the room with the massive test tube. Obviously, there is a miniboss inside. But before you fight them, take a right. In this sideroom there is a Bomb-Thrower at the back of the room, and a Talon in the vat. Grab the a Soul Tearstone Shard from the corpse in the back. Now, go back to the main room, approach the giant vat, and you’ll fight the Failed Creation miniboss.
This creature has a flamethrower arm. It will spread flames all over. Naturally, you can’t block without taking damage, so dodge through it. It will perform a spinning attack that will leave it on the ground, but that doesn’t mean it is no longer dangerous, as it will thrash around with its spear. If you are at its feet, you should be safe.
Its Brink Attack is a lunging strike. If you run away when you see the Brink Attack symbol, it will miss. If you have them on you, you may want to use a Flame Resistance potion before this battle. It will make this fight much easier. Stick close, circle it, and dodge when it starts spinning around. You’ll be fine.

In the next area, there is an illusory wall on your left, and a hallway to your right. Both routes will take you to the main path. Behind the illusory wall is a Lightning Disruption Parchment. If you travel down the hallway, you’ll see a room on your left. Enter it and fight the Elite Pot Belly Spider miniboss. This one is identical to the ones you fought in the swamp. Open the chest and get the Deep Shadow Paldrons, Deep Shadow Gauntlet, Deep Shadow Leggings, and a Poison Enhancer.
Back to the hall, take a left. And you’ll fight some more dragonkin. At the end of the hallway there is a room straight ahead and a ladder to your right. Climb the ladder, take out the Bomb-Throwing dragonkin from above with your javelins. Get the Poison Enhancer while you are up here. Jump down (you’ll take damage, so if you are low on health, take the ladders back down), get the Special Cleanse Potion from the right side of the room, and then head into the next room.
Fight some dragonkin, activate the contraption, get the three Lightning Resistance Elixers. In the next room you be with that giant chaos orb thing. There is another contraption here. Interact with it. This will teleport you to a room with Tanya’s Research Document 2 on the floor.
Follow the hallway up and around and open the chest to get Imperial Officer’s Spear, Knight’s Paldrons, Necklace of Resilience, and Concentrated Fire Essence. Exit the hole in the wall and you will be in the Hidden Chamber. Head through the doors to fight the boss of this stage. Hopefully we’ll be in time to rescue Elamein.

Next
The First Berserker: Khazan – Witch’s Castle Walkthrough
The Witch’s Castle is a massive stage in The First Berserker: Khazan. This guide will help you work your way through it all.