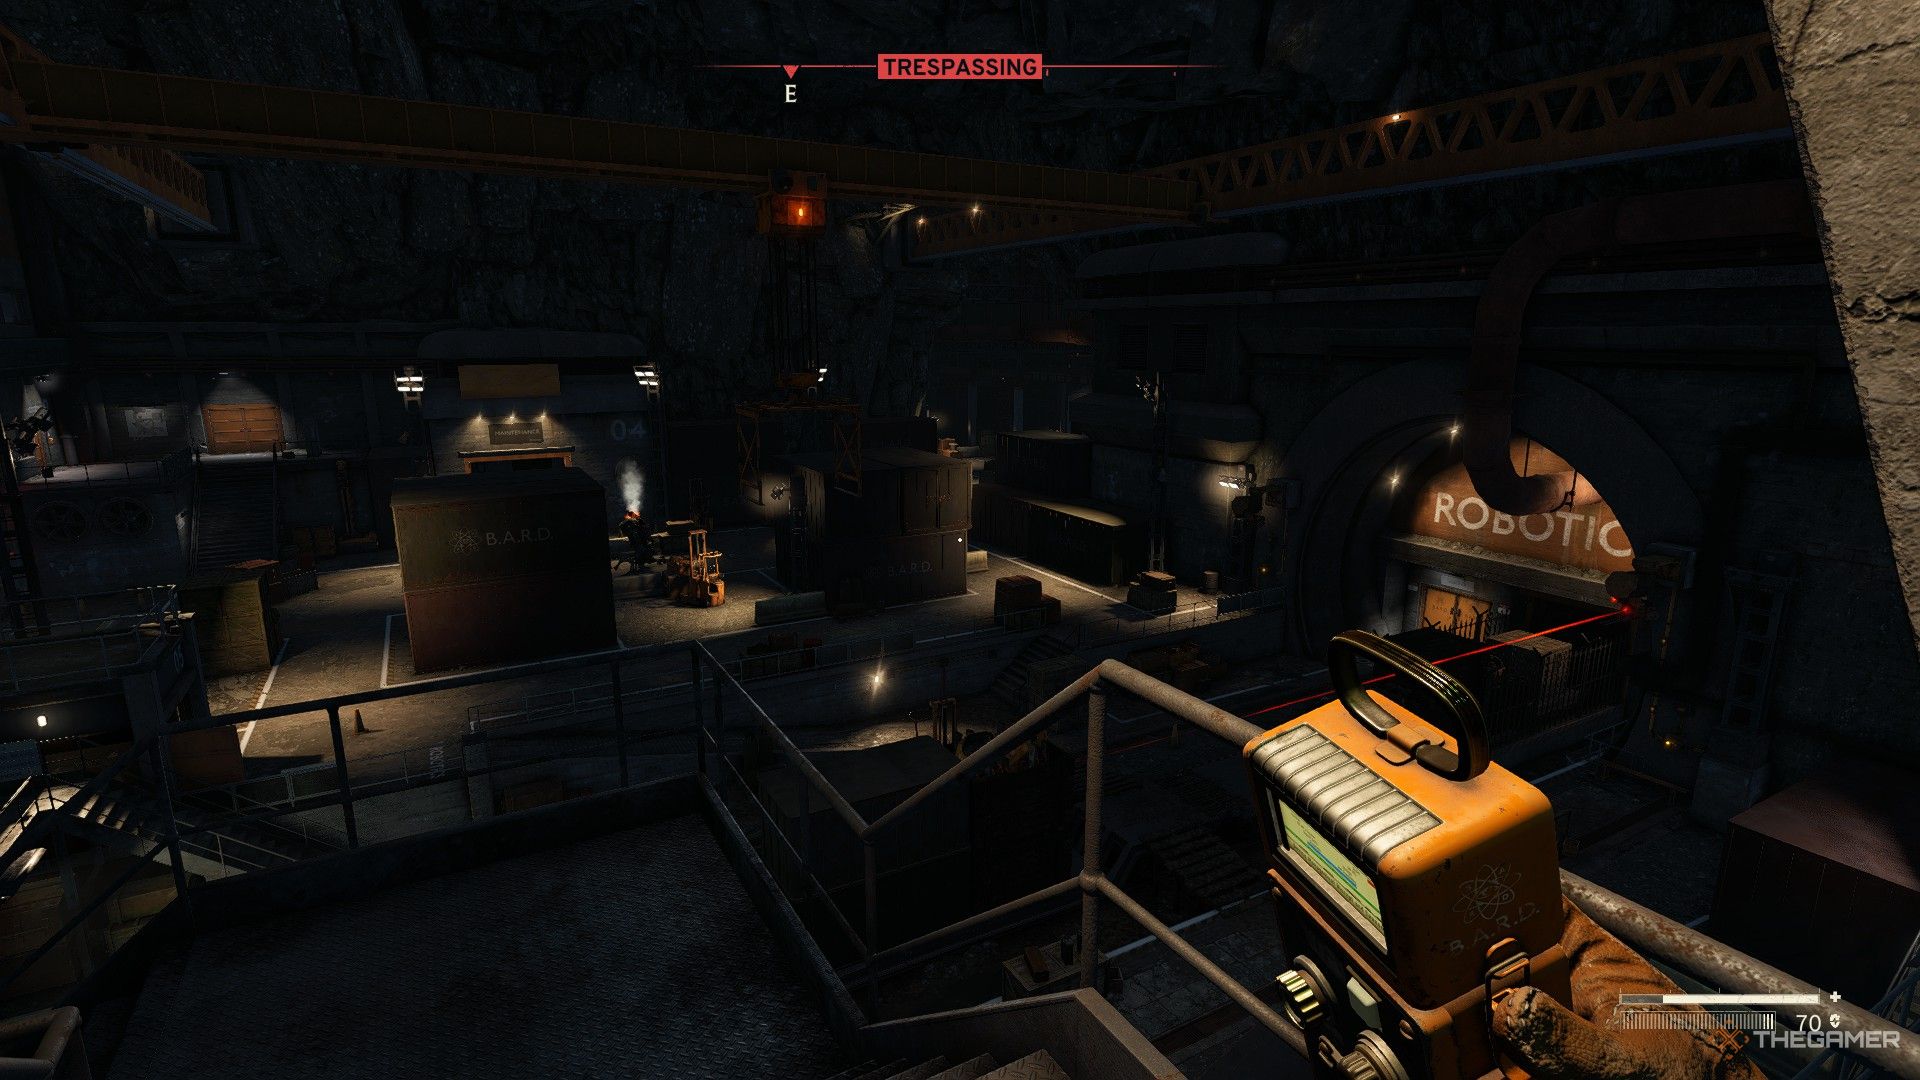
The Interchange is full of Atomfall‘s darkest secrets, and few sections of it are more heavily guarded than the Robotics Lab. As you might expect, it’s full of automated turrets and dangerous combat bots, as well as other hazards.

Related
Atomfall: Garden Gnome Location Guide
There are ten Garden Gnomes hidden around Wyndham Village in Atomfall.
The Robotics Lab can be worth the risk for the supplies hidden in its depths alone, including Training Stimulants and ammunition, but if you’re trying to get every ending you’ll need to go down there as part of Doctor Garrow’s storyline. Her research notes are in her office, and she won’t leave the Quarantine Zone without them.
How To Reach The Robotics Lab
The Robotics Lab is at the bottom of the Interchange, between Data Stores Bravo and Delta. This means that in order to access it, you’ll need to enter the Interchange from either Skethermoor or Slatten Dale.
Of the two, it’s recommended that you approach from Skethermoor; Data Store Bravo must be powered on in order to open the Robotics door, and you need a Signal Redirector, which can be obtained in either Skethermoor Prison or the Protocol Field Station.
The door is guarded by two gun turrets, and there are two robots patrolling the area nearby; one has a machine gun, and the other has a flamethrower. Avoid or defeat the robots as needed (defeating them will yield Atomic Batteries that you can use to power up other Data Stores), and get to the sides of the Robotics Lab Door to use the Signal Redirector and power down the turrets.
The dead scientist near the door has a note that seems to suggest there’s a Signal Redirector inside the Robotics Lab, but this is a wild goose chase – the documents inside the Lab will just send you back to Skethermoor to get one of the two listed above.
Preparing To Enter The Robotics Lab
Before you go to the Robotics Lab, you should make sure you have the following:
- A Signal Redirector.
- A rifle, handgun, and shotgun, and a good supply of ammo for each.
- Bandages and crafting material to make more.
- Burn Salve.
- Painkillers are optional, but very useful against machine guns.
How To Get The Control Room Keycard
Once you’re in the Robotics Lab, drop off anything you don’t need in the Storage Tube, and grab the extra ammo from the desk in the security room to the left. Follow the rail tunnel to the main area, where your first task is to get into the Control Room.
Make your way to the upstairs area on the left. The fastest way is through the Cafeteria, and there is food there to pick up, but there’s also a swarm of rats to deal with. Once you’re upstairs, go to the far end of the hall and enter Room 4 (the number is painted on the floor). Crawl through the vent on the far side of the room and get the keycard on the desk there. You can unlock the door to leave, then unlock the Control Room around the corner from Room 4.
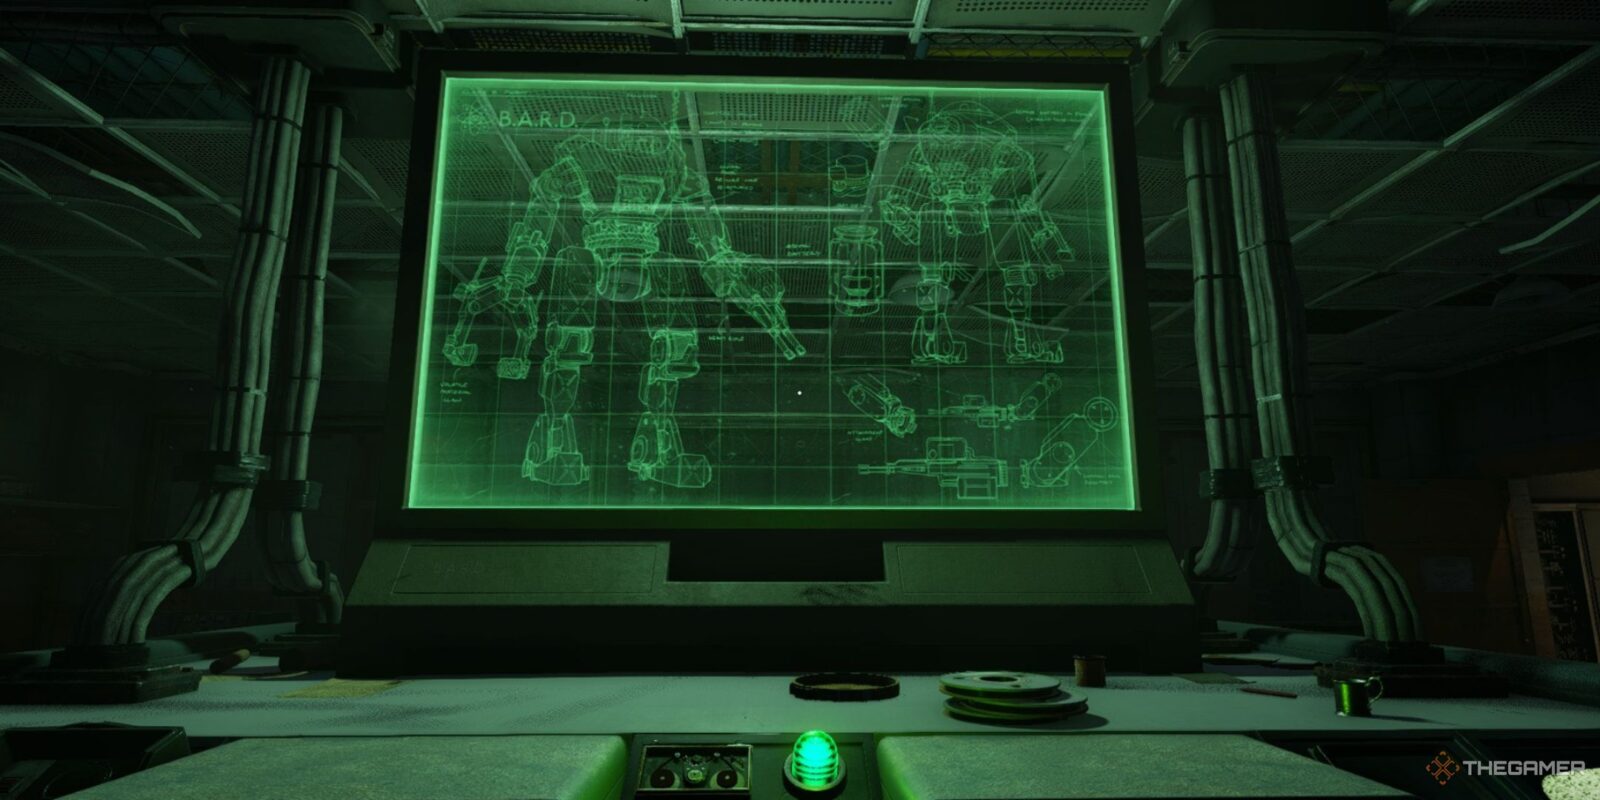
The Control Room has several supplies, including Training Stimulatns, and activating the button will give you hints to the Signal Redirector’s whereabouts if you haven’t found it already. It will also turn the power on in the rooms below, activating the turrets and deploying a machine gun robot.
How To Get The Storage Room Key
The right side of the main area, across from where you found the Control Room, houses the Robot Assembly Bay. Once the power is on, the nearest lever on the right will drop a dead scientist from a crane, yielding the key to the storage room above. This is a good way to get extra supplies, but you’ll likely have to face the patrolling robot to get there.
How To Access The Secure Lab
The security bulkhead at the far end of the room needs power from both sides of the facility. Once the power is turned back on, you’ll need the Signal Redirector at several Junction Boxes to get a current to the door.
Left Side
First, go to the switch room below the Control Room. Use the Signal Redirector on the box across from the door to power the panel, then pull the lever overlooking the area. This will send a current toward the door, but also electrify the water on the floor, making a deadly hazard.
Go around the long way back upstairs, to the top of the stairs over the electrified pool. This will put you in range to switch another Junction Box, rendering the floor safe again.
Remember, if you have trouble finding a Junction Box, aim the Signal Redirector and watch for the needle to move to the right; the further it goes, the closer you are!
Right Side
Go to the yellow doors to the right of the bulkhead; depending on the robot’s patrol route, you may need to destroy it or wait for it to pass before it’s safe to go. Look through the window and use the Signal Redirector to activate the Juncton Box on the other side; this will allow you to open the door.
Inside, go to the very back of the room and pull the lever. Then, go back the way you came and climb the crates on the right to reach the Junction Box near the ceiling, which will power the right side of the bulkhead.
When both sides of the bulkhead are powered, use the control panel to the right of it to open the way. You’ll need to slide down the broken elevator shaft, which means you can’t come back this way once you do.

Related
How To Get Doctor Garrow’s Research Notes
The bottom level has even more turrets and robots. If you need to escape and replenish your supplies, there’s also an exit tunnel to the right as you enter the lower level, which leads back to the Interchange.
The exit tunnel is your only way out, and it’s full of Ferals; that’s why bringing a shotgun is a good idea.
Whern you reach the main section of the lower lab, you can go straight ahead, or to the right; take the right-hand path. Going straight ahead will send you directly into the line of fire of the area’s turrets, which will make short work of you.
In order to proceed, you first need to activate three consoles, labeled A, B, and C. Carefully make your way counterclockwise along the right-hand path, past the locked door with three lights; deactivate any turrets you find with the Signal Redirector, and watch out for the robots.
You’ll find Console C soon after starting on the path. Once it’s activated, carefully continue counterclockwise past the stairs; Console B is in the hallway beyond. You’ll likely have to face a robot to reach it.
From there, make your way through the bathrooms until you’re directly under the last remaining turret. Use the Signal Redirector to deactivate it, but pay close attention to which Junction Box you use; there’s a second one very close by that will electrify the water on the bathroom floor, most likely frying you instantly.
Once the turrets are all down, proceed into the central room to activate Console A in one of the fenced areas. When all three are active, the yellow doors will open. Take the extra bullets from the counter to the left, and the Head Office Keycard from the dead scientist on the floor.
The Keycard opens Doctor Holder’s office up the stairs from Console B. Make your way back to the Interchange through the exit tunnel and give it to her to continue her storyline.

Related
Atomfall: Dam Data Store Guide
The Data Store at Casterfell Dam has some of BARD’s most important secrets.


Leave a Reply