Jayber is one of the most interesting picks in The First Descendant, favoring an artillery-focused playstyle. He’s essentially the game’s summoner archetype, deploying turrets that automatically heal allies or unload firepower onto enemies. It helps relieve pressure and can be a massive help in crowded areas, where the turrets can handle weaker hordes while you deal with the major threats.
While Jayber isn’t exactly the absolute premium-tier descendant, he fits the niche, passive-oriented category because of his all-rounder nature. There are more than a few ways to make him work if you can purely invest in one of his key traits, and the final result is a character you can use to improve your positional awareness.
How To Unlock Jayber
Like any descendant, Jayber has a grind-intensive unlock path, and there are two other descendants you should unlock beforehand: Enzo and Sharen. It’s not impossible to unlock Jayber without these descendants, but the grind for some materials will be significantly more challenging.
Enzo will come in handy when you’re specifically searching for the Encrypted Vaults to get the Thermal Metallic Foil. Again, having him is optional, but you must be extra vigilant when searching for clues without him.
Besides that, you’ll need Sharen to access the Void Fusion Reactors that give you the Enhanced Cells Amorphous Materials. If you want to skip unlocking Sharen, you can attempt the standard Intercept Battle in Normal mode, but at a much lower three percent drop chance.
As always, you’ll find the main materials in Void Fusion Reactor missions in Hard mode and Intercept Battles in Normal mode. The other sub-requirements (like the blue and purple-rarity items) are primarily inside Resource Boxes in mid-game areas like the Fortress and Hagios.
You can skip the reset time for each outpost by putting the game on Private mode in Albion, completing your desired outpost, going to another map section, and then returning to that outpost.
This approach can save you a fair chunk of time when you’re out farming resources to unlock Jayber.
Jayber Code
|
Drop Source |
|
|---|---|
|
Crafting Costs |
|
|
Research Time |
16 hours |
Jayber Enhanced Cells
|
Drop Source |
|
|---|---|
|
Crafting Costs |
|
|
Research Time |
8 hours |
Jayber Stabilizer
|
Drop Source |
|
|---|---|
|
Crafting Costs |
|
|
Research Time |
8 hours |
Jayber Spiral Catalyst
|
Drop Source |
|
|---|---|
|
Crafting Costs |
|
|
Research Time |
8 hours |
Jayber Abilities Explained
Turret Sync
When both turrets are summoned, gains Turret Sync.
Jayber is all about resource management and positioning, specifically with his turrets. The last thing you want is to have only one turret out in the field, which not only deactivates your passive ability but also downgrades your Ultimate ability’s output.
Turret Sync is a powerful passive that’s extremely useful mid-battle to boost your Firearm ATK and Skill Power, but any wrong turret placement will immediately block it off. The trick here is to place both turrets only when they’re available, even though the Assault Turret’s cooldown is half that of the Medical Turret.
Assault Turret
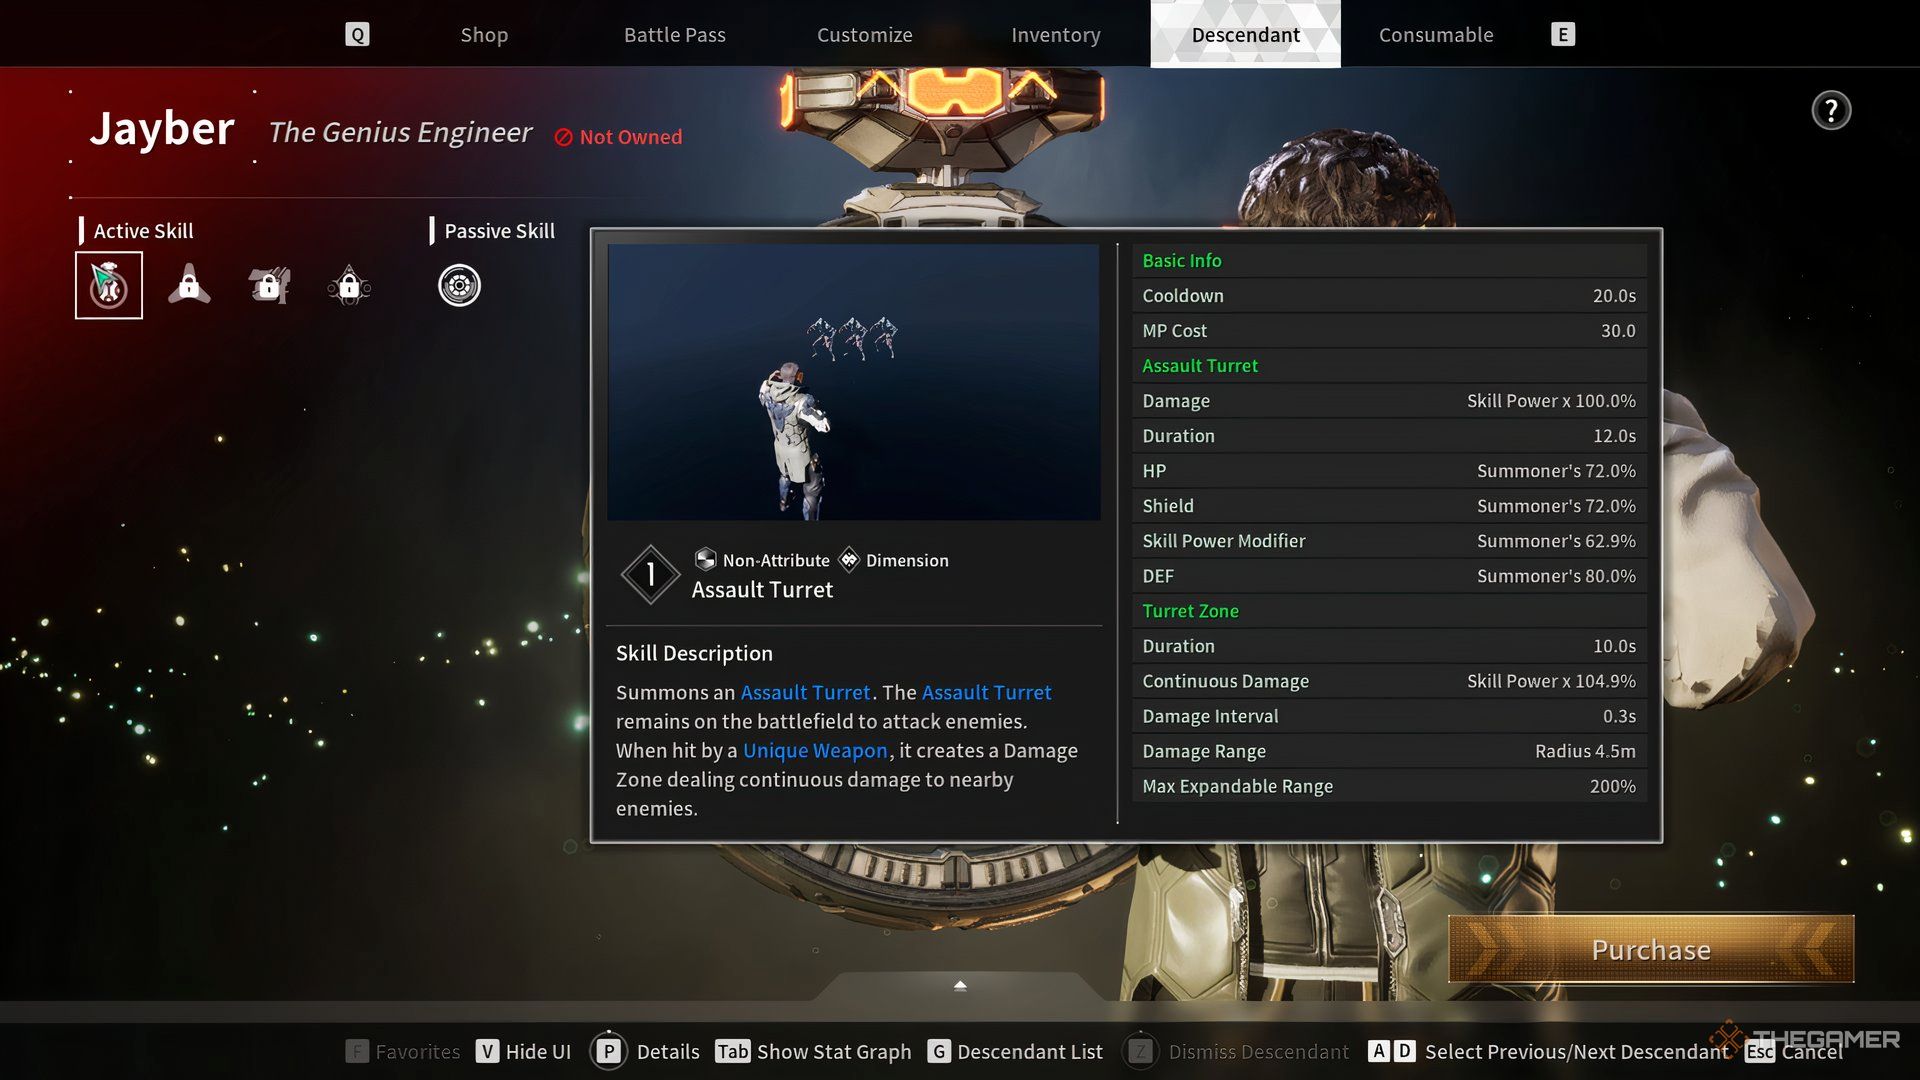
Summons an Assault Turret. The Assault Turret remains on the battlefield to attack enemies. When hit by a Unique Weapon, it creates a Damage Zone dealing continuous damage to nearby enemies.
|
Assault Turret Stats |
|||
|---|---|---|---|
|
MP Cost |
|||
|
30.0 |
|||
|
Cooldown |
20 seconds |
||
|
Damage |
Non-Enhanced: Skill Power x 100.0% |
||
|
Enhanced: Skill Power x 104.9% |
|||
|
Duration |
Non-Enhanced: 12 seconds |
||
|
Enhanced: 10 seconds |
|||
|
HP |
Summoner’s 72.0% |
||
|
Shield |
Summoner’s 72.0% |
||
|
Skill Power Modifier |
Summoner’s 62.9% |
||
|
DEF |
Summoner’s 80.0% |
||
|
Applicable Mods |
|||
|
Duration |
Range |
MP Cost |
Power |
|
Affects Duration |
N/A |
N/A |
Affects turret damage |
The Assault Turret is your lightweight, high-damage tool, scaling with Dimensional Skill Power in both forms. The normal, non-enhanced state has a visible field around it where it attacks any enemy inside, while the Enhanced version creates an extra Damage Zone that inflicts continuous damage and scales even higher with Dimensional Skill Power.
You can notice the Assault Turret reaching its Enhanced state via the purple logo appearing on it, and your goal should be to get the turret to this state as quickly as possible through Jayber’s other abilities.
Medical Turret
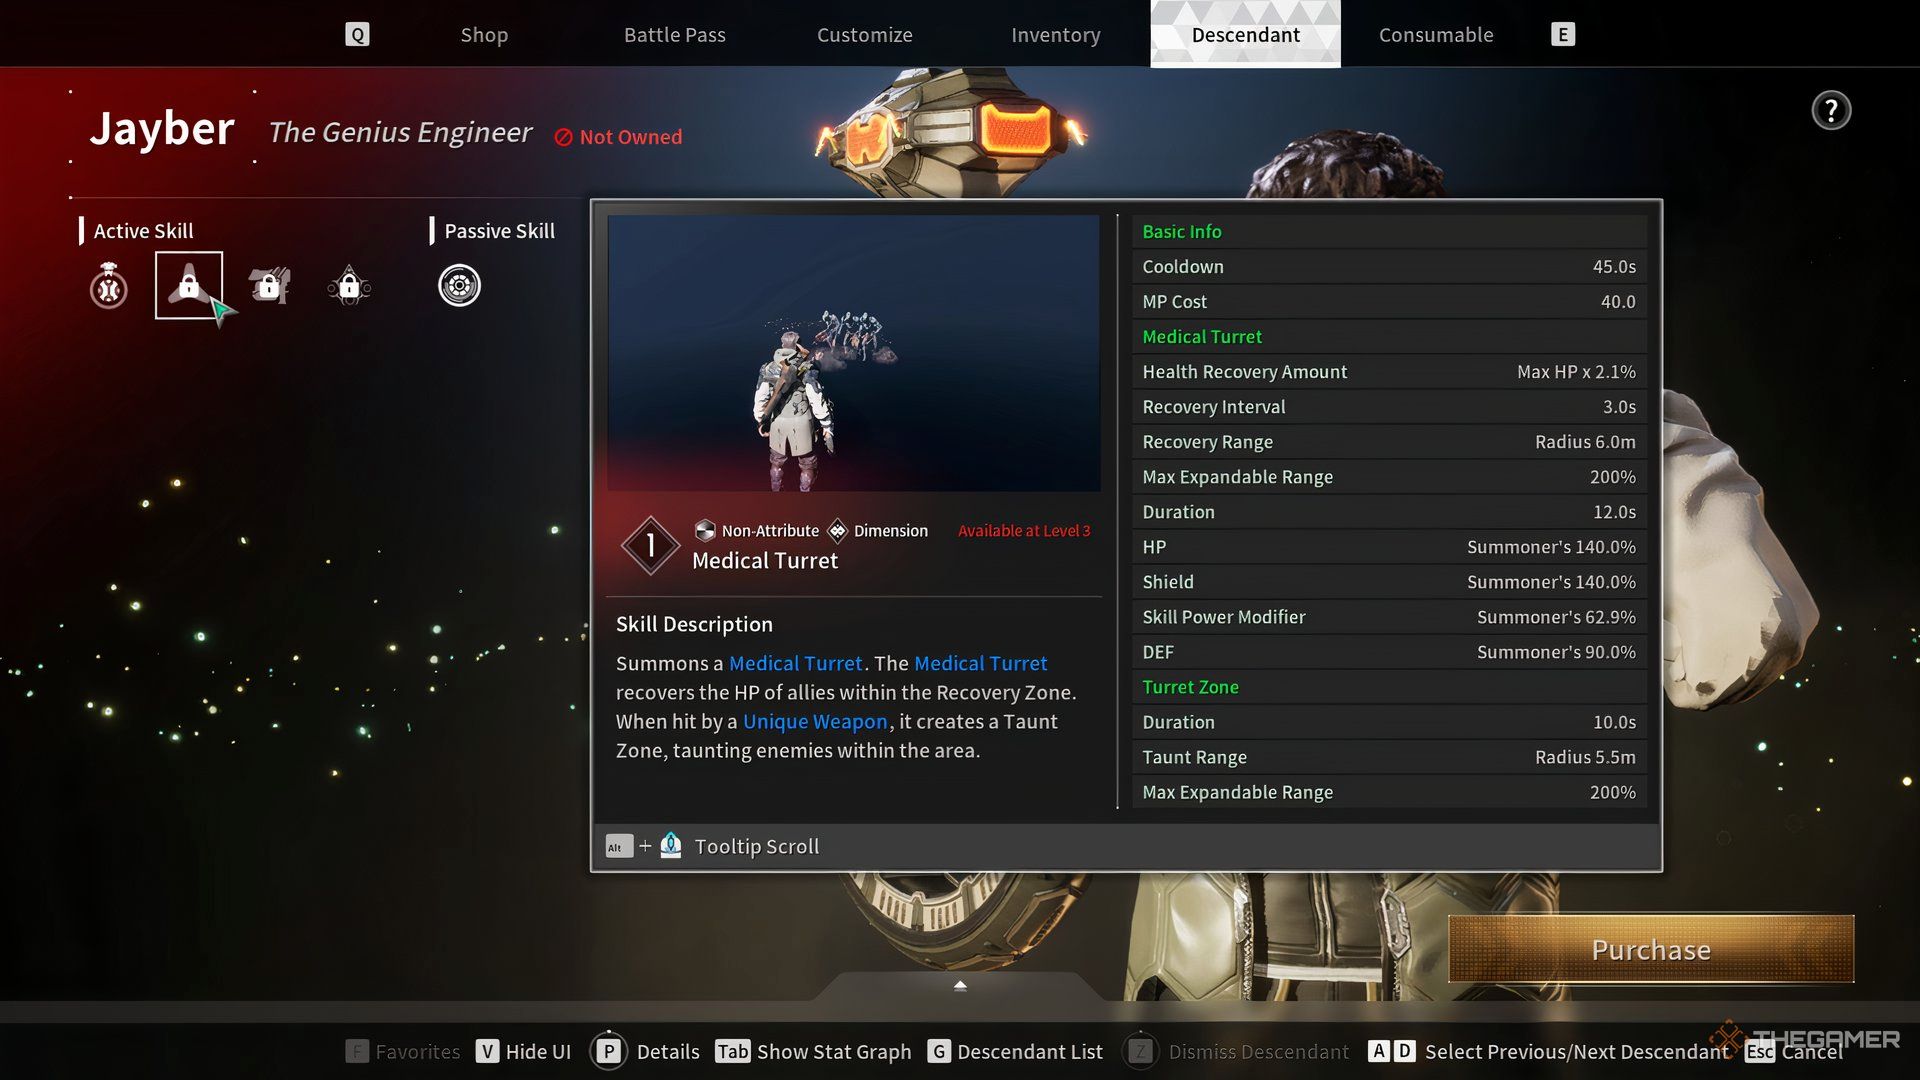
Summons a Medical Turret. The Medical Turret recovers the HP of allies within the Recovery Zone. When hit by a Unique Weapon, it creates a Taunt Zone, taunting enemies within the area.
|
Medical Turret Stats |
|||
|---|---|---|---|
|
MP Cost |
|||
|
40.0 |
|||
|
Cooldown |
45 seconds |
||
|
Health Recovery Amount |
Max HP x 2.1% |
||
|
Recovery Interval |
3 seconds |
||
|
Recovery Range (Non-Enhanced) |
6 meters |
||
|
Taunt Range (Enhanced) |
5.5 meters |
||
|
Max Expendable Range |
200% |
||
|
Duration |
Non-Enhanced: 12 seconds |
||
|
Enhanced: 10 seconds |
|||
|
HP |
Summoner’s 140.0% |
||
|
Shield |
Summoner’s 140.0% |
||
|
Skill Power Modifier |
Summoner’s 62.9% |
||
|
DEF |
Summoner’s 90.0% |
||
|
Applicable Mods |
|||
|
Duration |
Range |
MP Cost |
Power |
|
Affects duration |
Affects range |
N/A |
N/A |
This ability, despite having a cumbersome 45-second cooldown, arguably provides better value than the Assault Turret. Scaling with Jayber’s Max HP instead of his Skill Power, it creates a Recovery Zone that heals every ally inside. When Enhanced, it also adds a Taunt Zone that attracts enemies and, consequently, implements aggro switches.
This turret has roughly double the HP of its Assault counterpart, but the Enhanced version makes it far too susceptible to premature destruction in crowded areas. As such, choosing to manifest the Taunt Zone depends on your position, unlike the Assault Turret, which is always better off with its Damage Zone.
Multi-purpose Gun
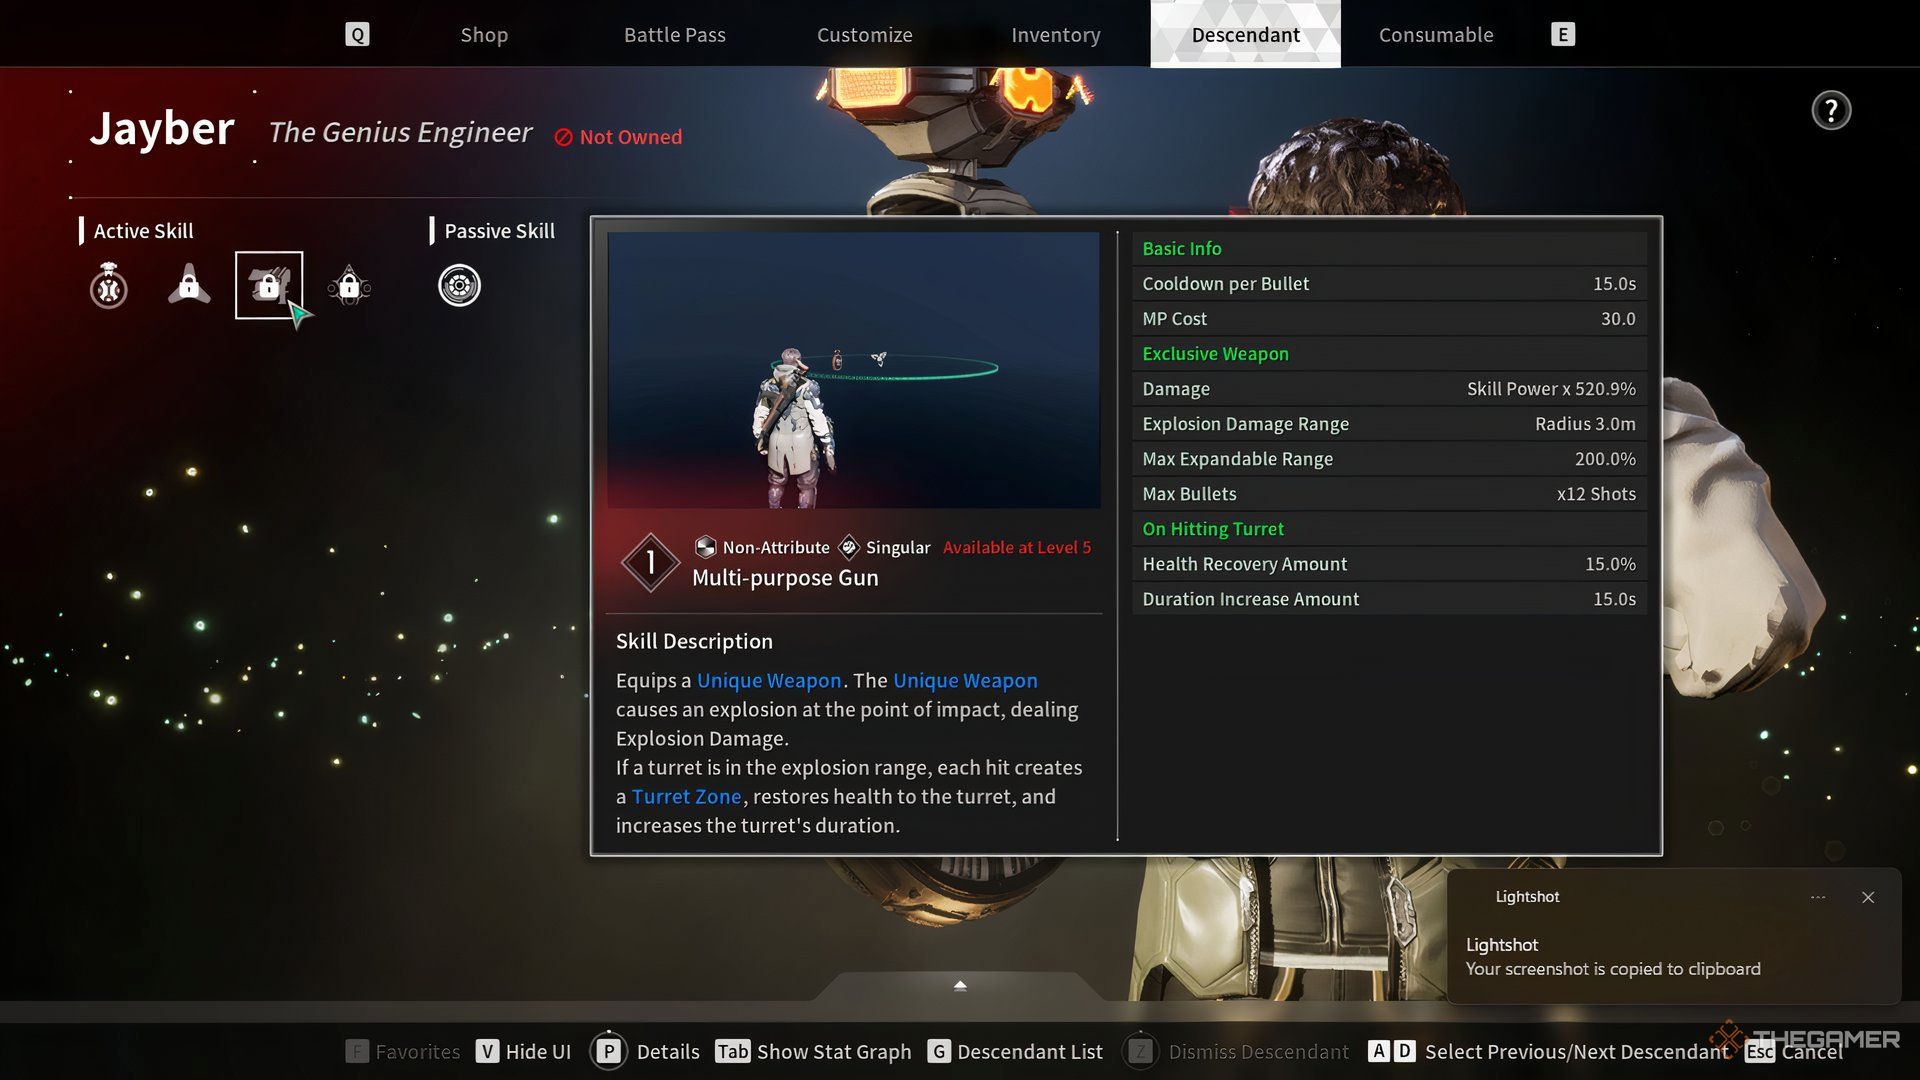
Equips a Unique Weapon. The Unique Weapon causes an explosion at the point of impact, dealing Explosion Damage. If a turret is in the explosion range, each hit creates a Turret Zone, restores health to the turret, and increases the turret’s duration.
|
Multi-purpose Gun Stats |
|||
|---|---|---|---|
|
MP Cost |
|||
|
30.0 |
|||
|
Cooldown |
15 seconds |
||
|
Damage |
Skill Power x 520.9% |
||
|
Explosion Damage Range |
3 meters |
||
|
Max Expendable Range |
200% |
||
|
Max Bullets |
x12 shots |
||
|
Applicable Mods |
|||
|
Duration |
Range |
MP Cost |
Power |
|
N/A |
N/A |
N/A |
Affects weapon damage |
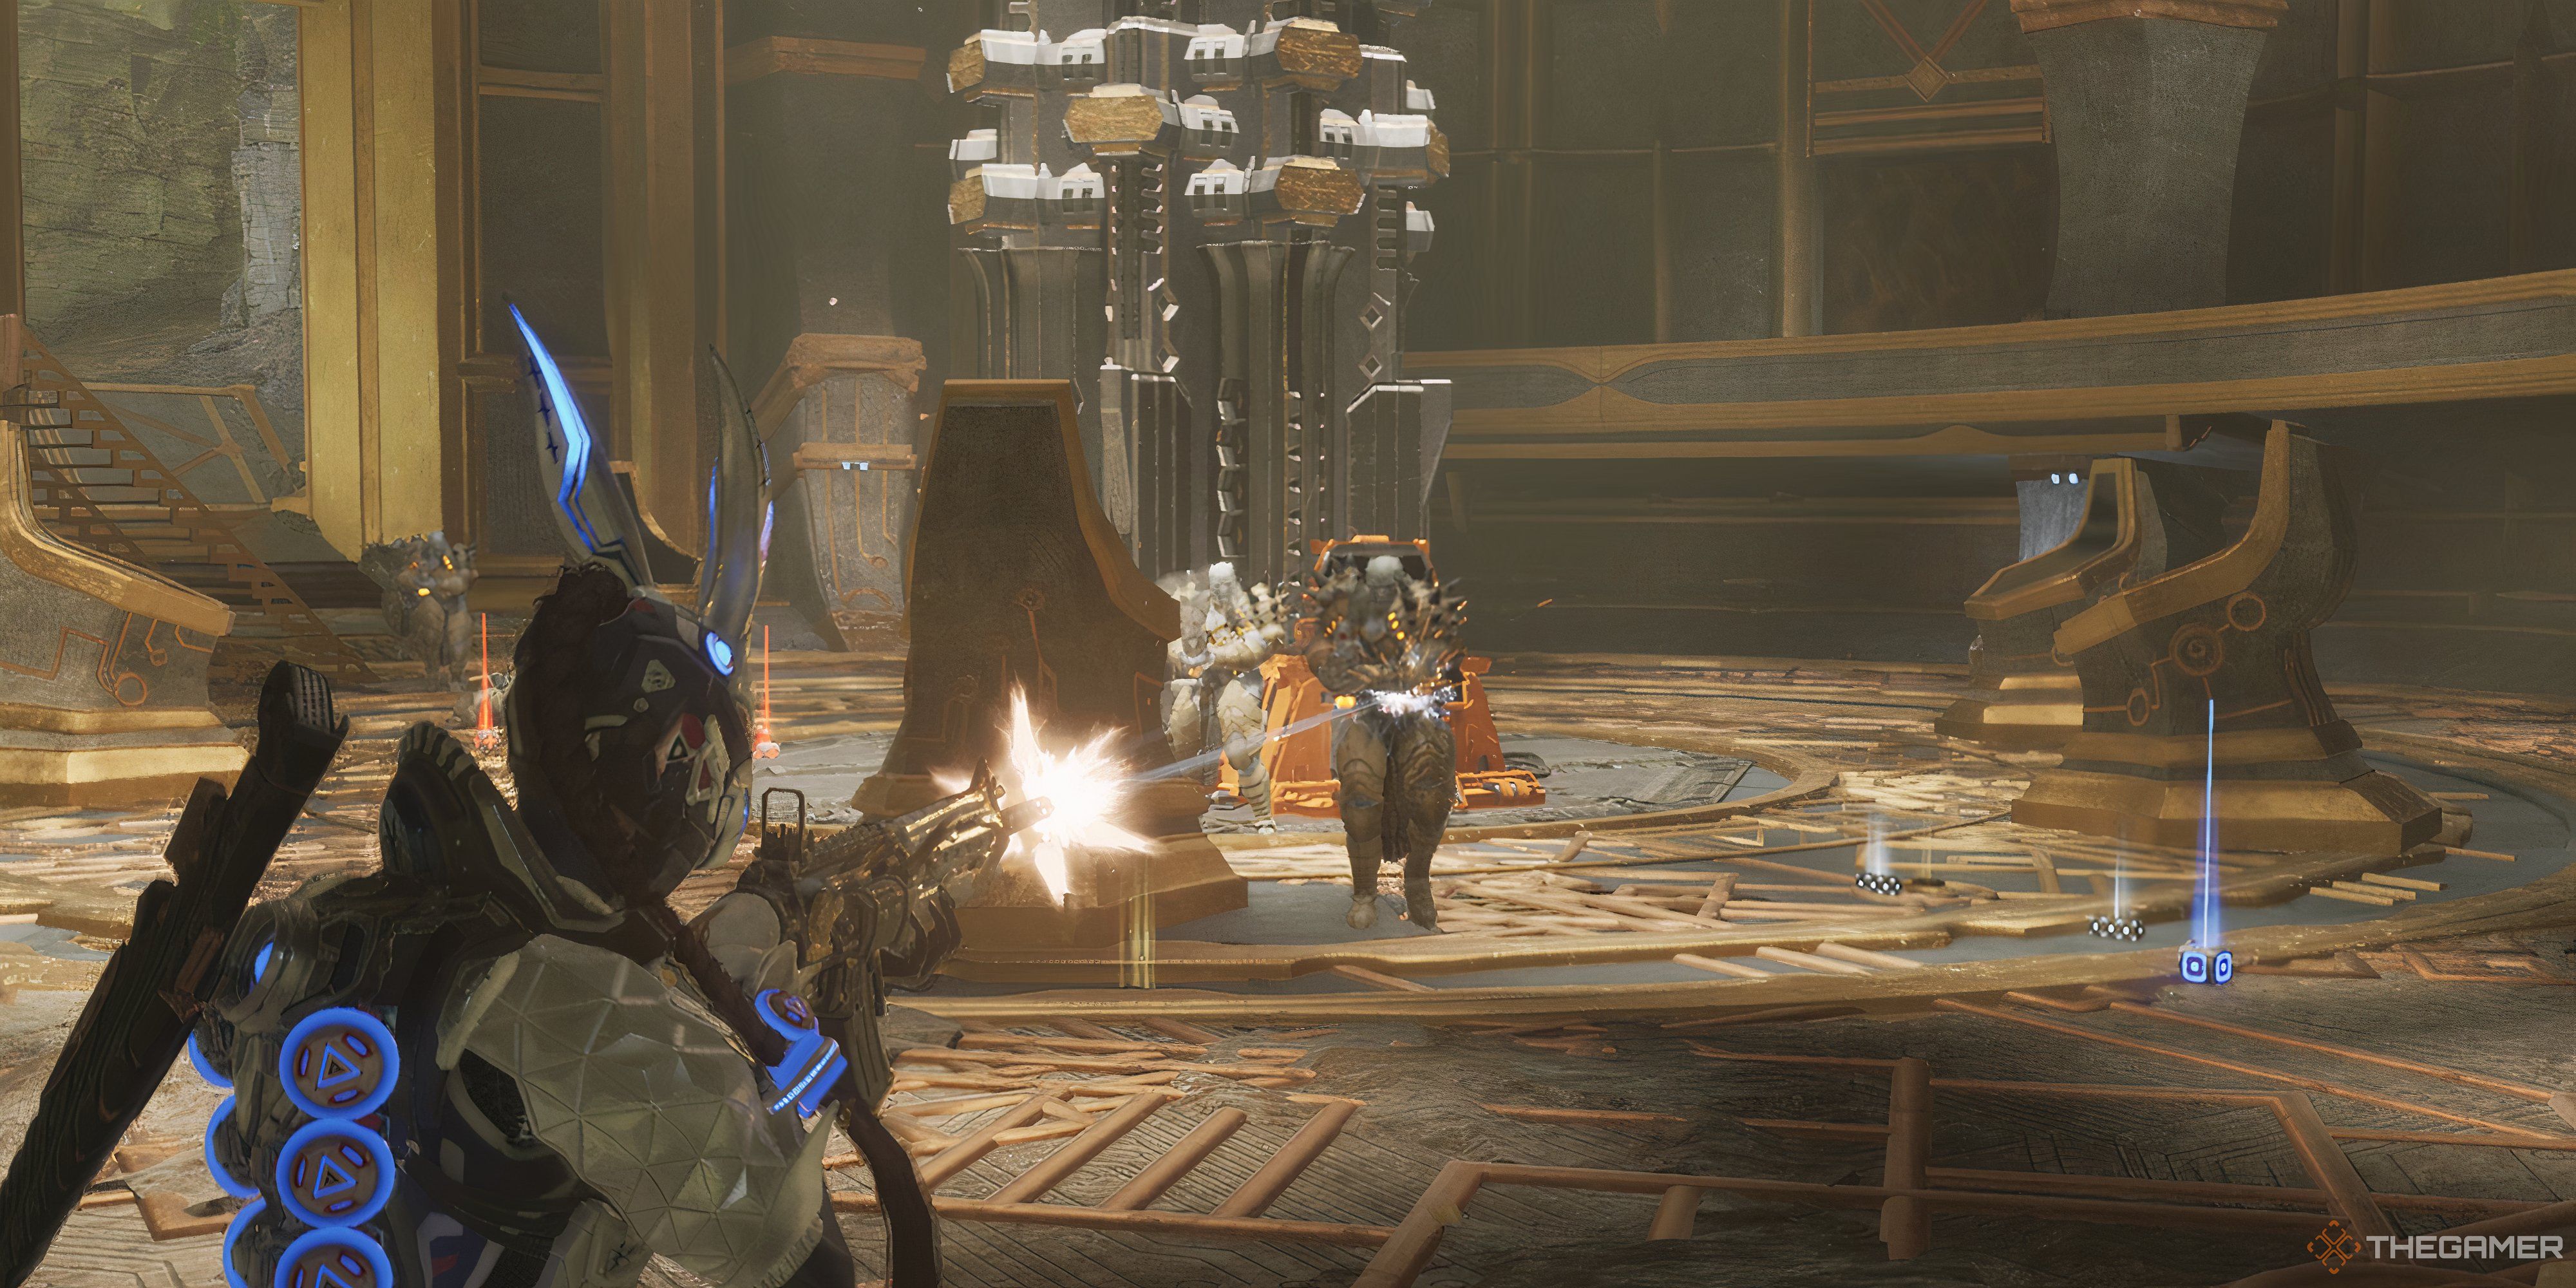
The Multi-purpose Gun is, indeed, a versatile ability you can use as both a high-power pistol and a buffing tool. On top of causing raw Explosion Damage, it can transform your turrets into their respective Enhanced state if they’re inside the explosion radius. The new turrets gain 15 percent health recovery and an additional 15-second duration.
It’s worth mentioning that the Multi-purpose Gun replacing your previously equipped weapon can be a slight downside — you’re temporarily sacrificing firepower for a chance to boost your turrets. Fortunately, the trade-off is generally worth it since every popular Jayber build relies on Enhanced turrets, but avoid triggering this ability if you’re surrounded.
Related
The First Descendant: How To Farm Ultimate Weapons
Here’s how to farm Ultimate Weapons in The First Descendant!
Reactivate
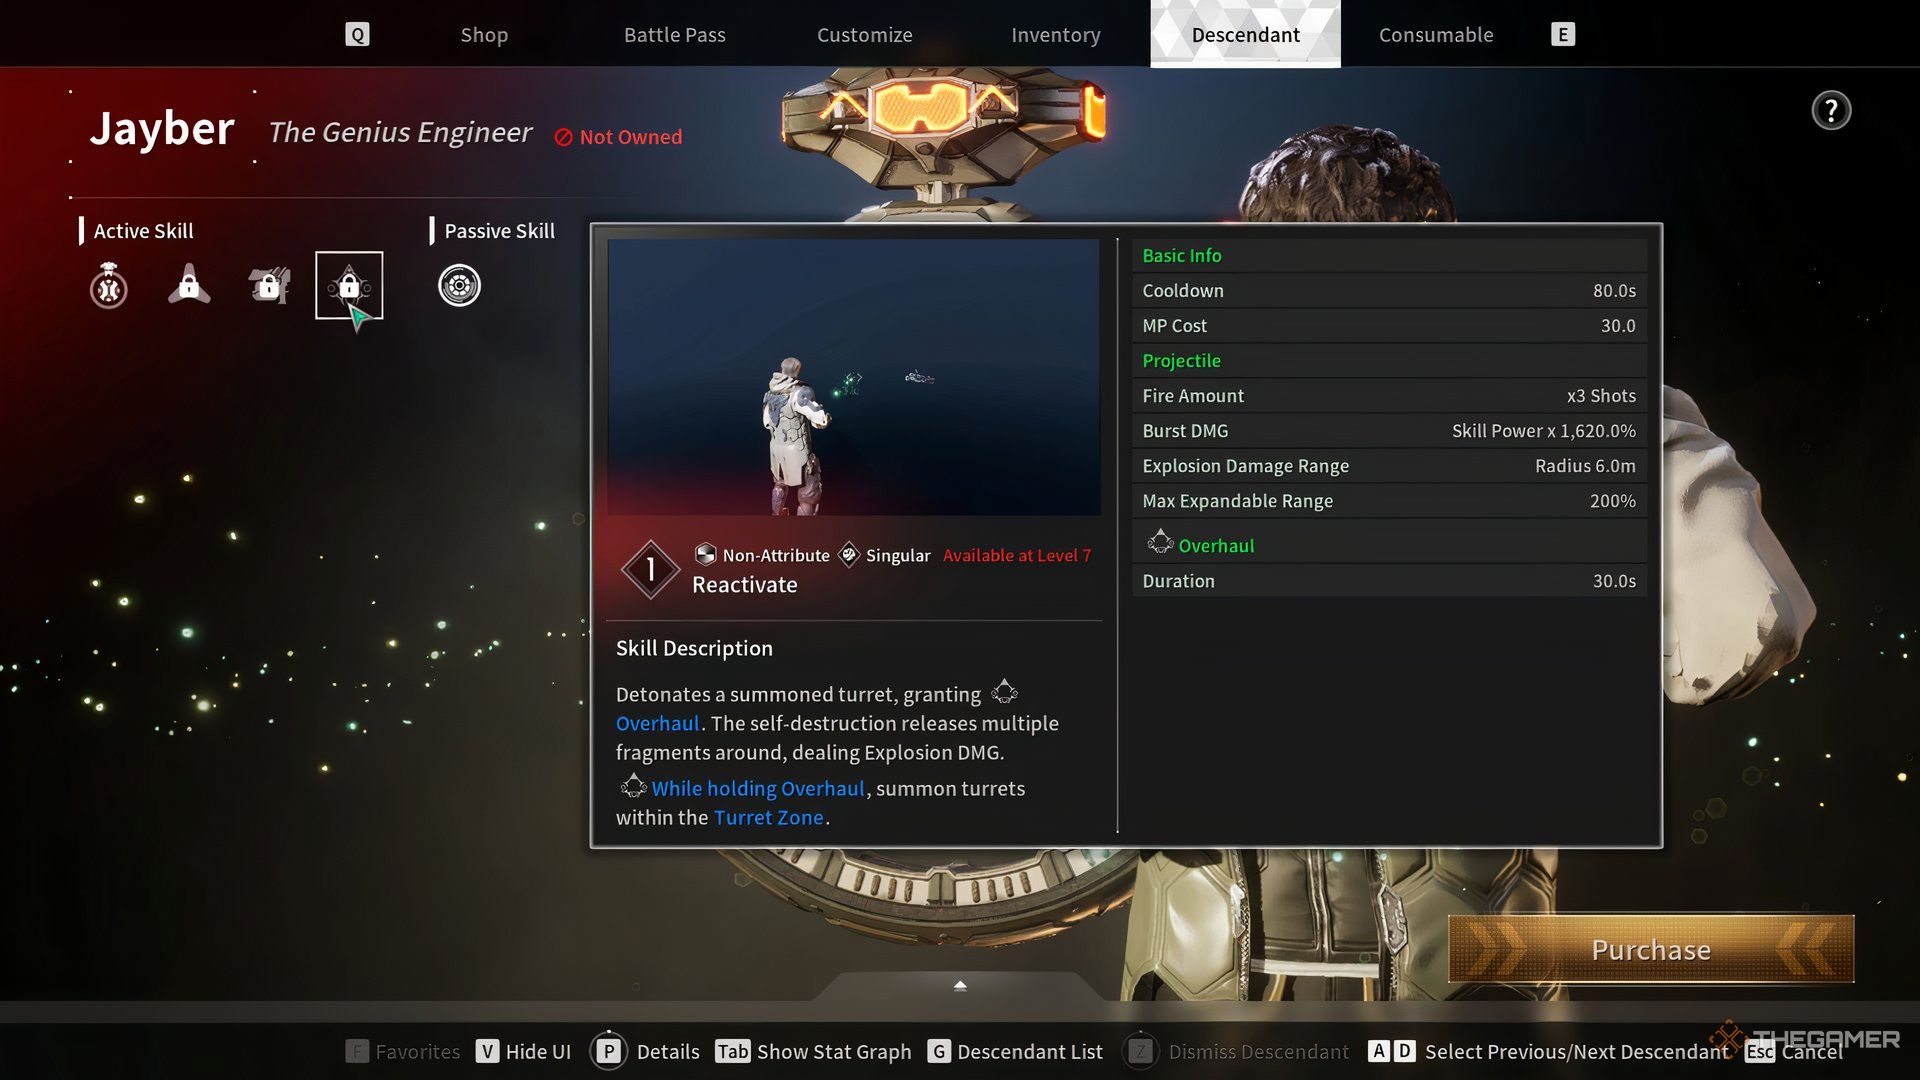
Detonates a summoned turret, granting Overhaul. The self-destruction releases multiple fragments around, dealing Explosion DMG. While holding Overhaul, summon turrets within the Turret Zone.
|
Reactivate Stats |
|||
|---|---|---|---|
|
MP Cost |
|||
|
30.0 |
|||
|
Cooldown |
80 seconds |
||
|
Burst DMG |
Skill Power x 1,620.0% |
||
|
Explosion Damage Range |
6 meters |
||
|
Max Expendable Range |
200% |
||
|
Fire Amount |
x3 shots |
||
|
Applicable Mods |
|||
|
Duration |
Range |
MP Cost |
Power |
|
N/A |
N/A |
N/A |
Affects Burst DMG |
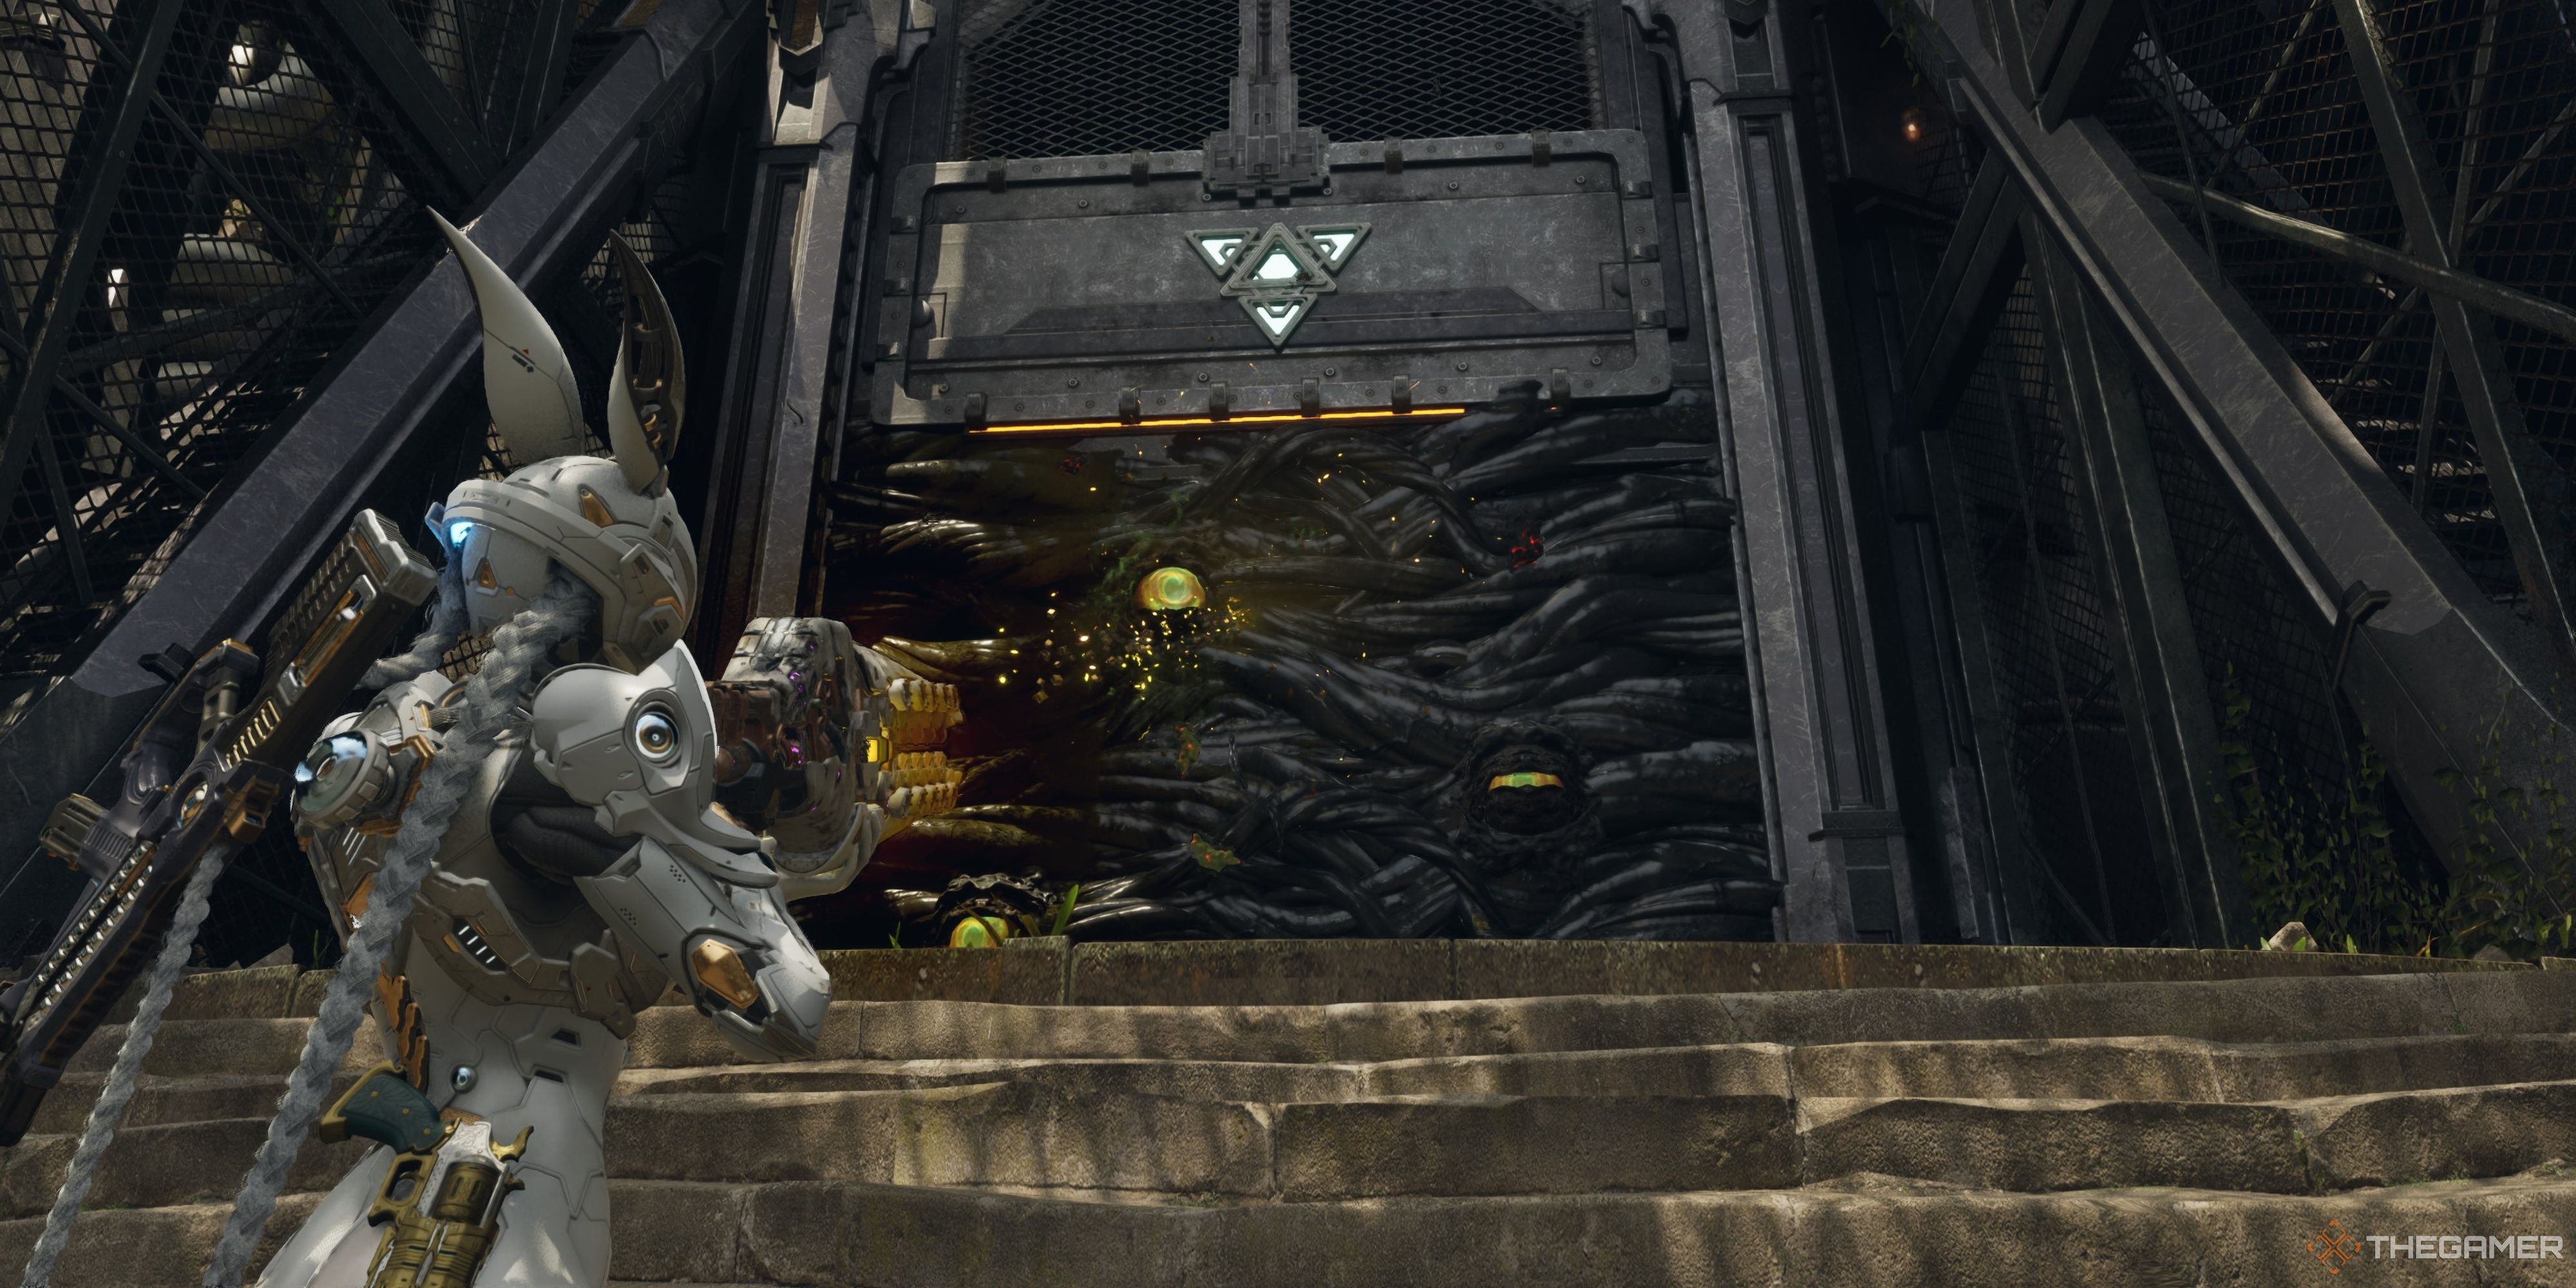
Jayber’s Ultimate infuses a powerful AoE attack with the Multi-purpose Gun’s ability to cause some lethal disruption. When activated, it detonates every active turret in a blast that deals absurd damage. On top of that, you enter the Overhaul state for 30 seconds, which lets you summon all your turrets in their Enhanced versions.
However, it’s important to note that Reactivate does not automatically reset your turret cooldowns — deploying a turret and following it up with Reactivate means you’ll have to wait out the cooldown timer before using that turret again. That said, though, you can get remarkable results with a well-timed trigger and even skip the lengthy and risky Multi-purpose Gun approach altogether.
How To Play Jayber
Jayber is one of those DPS-Support hybrid heroes in The First Descendant that feels incredibly underwhelming in the early-game phase and requires a good chunk of modules to be viable. Gameplay-wise, your best bet is to use your Medical Turrets for switching aggro, placing your Assault Turrets near enemies, and detonating both with Reactivate once a sizable horde gathers around them.
One of Jayber’s strengths is his mobility, so you can use that to your advantage to quickly deploy the turrets and reactivate them when needed.
Make no mistake — your turrets are exceptionally valuable, which is why you’ll want to use the Multipurpose Gun and Reactivate abilities to upgrade your turrets to their Enhanced state exclusively. For every mission, you have to find solid areas to deploy your turrets, and be sure to drop both turrets together so the follow-up Reactivate deals the maximum possible damage.
Contrary to the in-game description, Skill Power Modifiers don’t increase the Assault Turrets’ damage output, but Dimensional Skill Power Modifiers do. This compatibility may change in future updates.
Jayber Enhanced Turret Build
|
Crystallization Catalyst |
|
|---|---|
|
Sub Module |
Shortsword |
|
Transcendent Module |
N/A |
|
Ideal Stats |
HP, DEF |
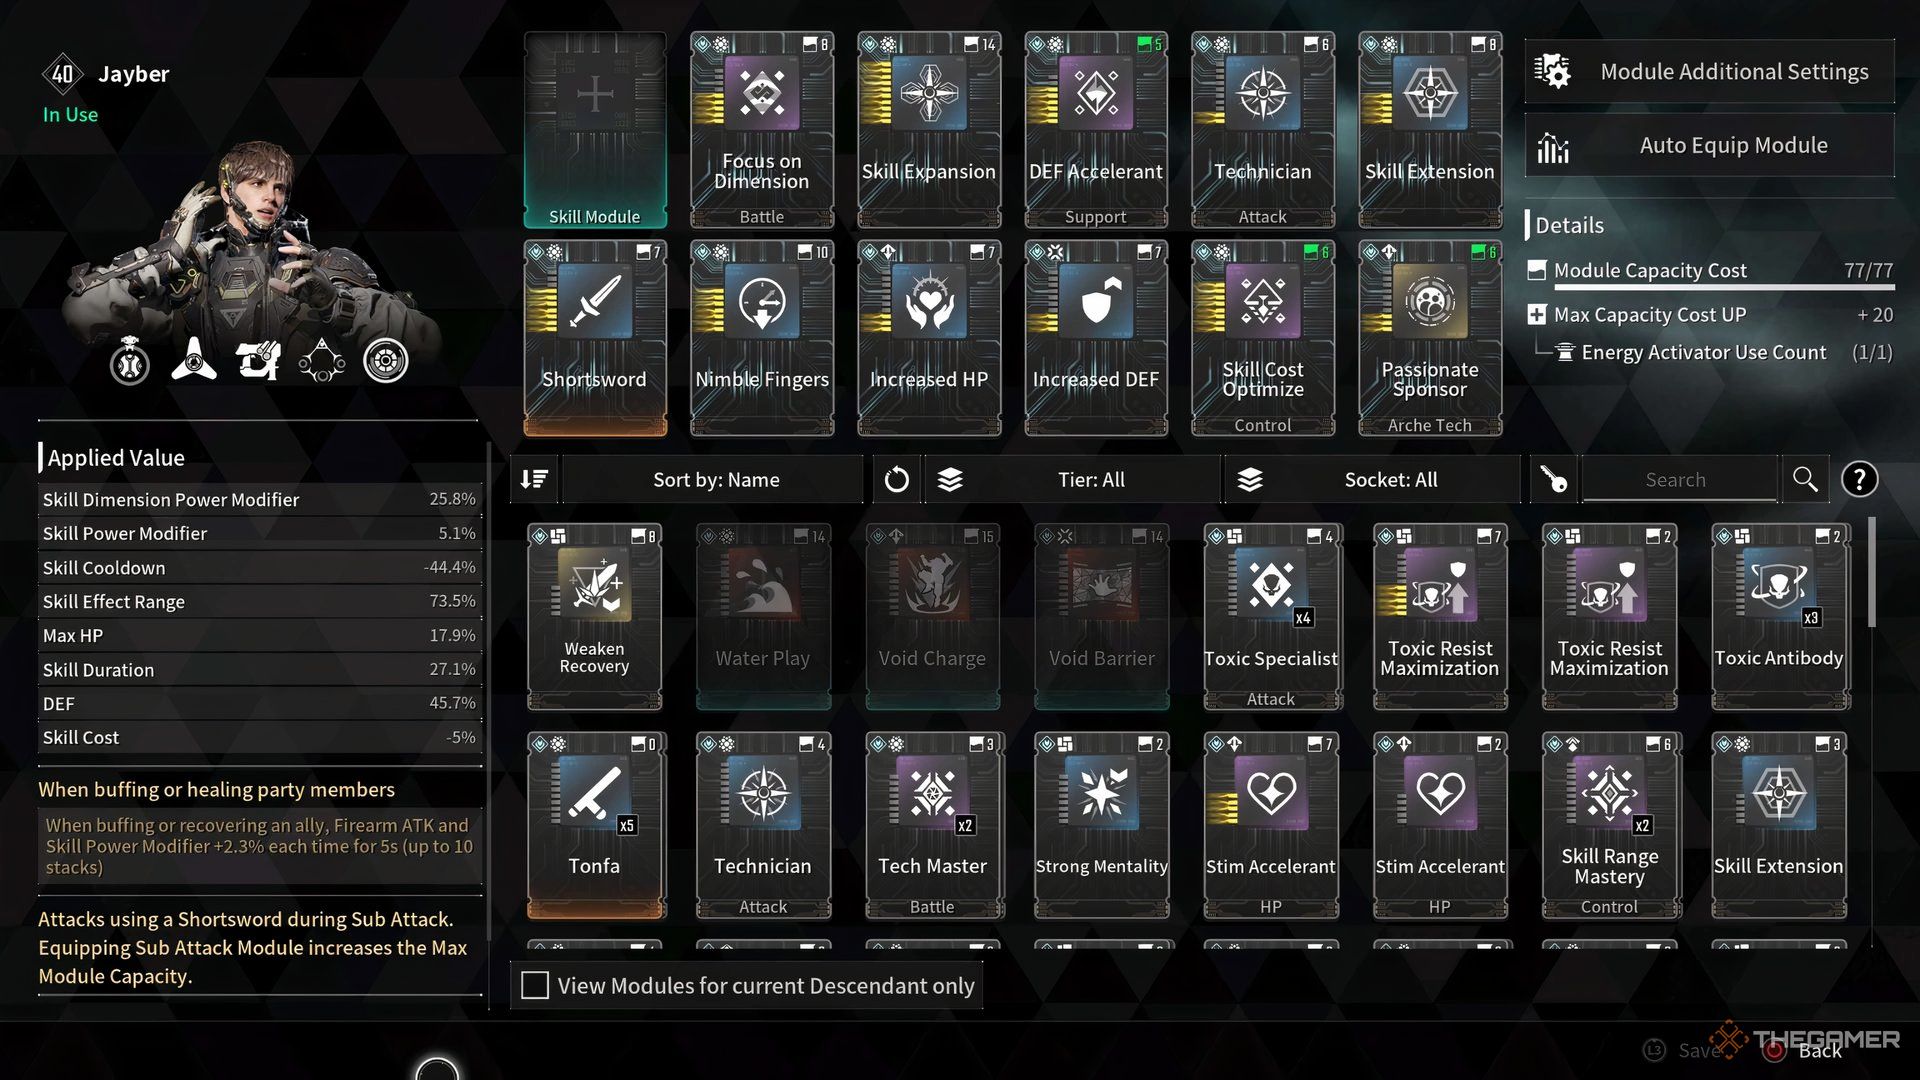
As the name suggests, this build highlights Jayber’s upgraded turrets and enhances them by any means necessary. The core attributes to increase here are DEF and HP (since they scale with the turrets to increase their longevity), which is why you’ll need their respective increases as well as the DEF Accelerant module.
Onto modules with some added technicalities, the Focus on Dimension, Passionate Sponsor, and Technician modules purely raise your Dimensional Skill Power Modifiers. These are absolute must-haves if you go for the offensive route by regularly deploying your Assault Turrets.
The most critical aspect of this build is how you can charge up and use your Ultimate ability before your enhanced turrets run out. This basically means you’ll always have your enhanced turrets active and effective all the time, letting you heal and attack to a far greater extent. You’ll get some bonus value from Reactivate’s AoE blast, which can dish out ridiculous damage.
Remember to constantly heal your allies to repeatedly trigger the Passionate Sponsor module!
Next





Leave a Reply