The little Saurian companion played an essential role in Natlan, where we unlock numerous quests related to it in Genshin Impact. Another major quest is available in version 5.5, and this one is required to be completed to unlock a new map called Ancient Sacred Mountain.
While the map looks bare at first, after completing the Frozen, Rekindling Land Quest, Travelers will further unlock the lower level of the mountain called Dragons’ Residence in the Ancient Sacred Mountain. After reaching this area, players will automatically start In Search of a Hidden Heart Quest. This article will help Travelers solve all the puzzles and find the last location of this sacred mountain called Heart of the Sacred Mountain in Genshin Impact.

Related
Genshin Impact: Frozen, Rekindling Land Quest Guide
Frozen, Rekindling Land Quest is a new quest chain related to the little saurian in a new map called Ancient Sacred Mountain.
How to Start In Search of a Hidden Heart Quest
At the Dragons’ Residence, follow the quest navigation to see multiple Secret Source Servants. One of them will be activated and instruct you to go to the Heart of the Sacred Mountain. Two new quests will be unlocked, named Once, the Sacred Seat of Judgement and Where Once There Was a Calculation Array.
How to Complete Once, the Sacred Seat of Judgement Quest
Start this quest by going north to the edge of the navigated area. Once you see a Secret Source Servant surrounded by Rifthounds, defeat all of them to free the robot. It will lower the lava inside the pond nearby and a secret door will be available.
Indwell a Yumkasaur and grab a Coagulation Pearl before throwing it into the circle on top of the gate. Once the gate is open, enter it to unlock the Chamber of Deliberation. Inside the chamber is a permit that you need to collect to enter Heart of the Sacred Mountain.
For the first puzzle, similar to how you enter this chamber, you must use a Yumkasaurus to grab the Coagulation Pearl near the entrance and throw it inside the pedestal nearby. The first two Coagulation Pearls and pedestals are straightforward enough for you to follow the navigation.
For the third Coagulation Pearl, it is behind a barrier and can’t be obtained. To unlock the barrier, you need to follow a group of Secret Source Servants and defeat any enemies holding them back from moving forward. At the end, the servants will unlock the barrier, and you can get the Coagulation Pearl.
The fourth Coagulation Pearl is hidden inside another room to the left of the pedestal. However, once you grab the pearl and try to leave the room, a barrier will hinder you from going out. To solve this puzzle, you need to exit the room first and destroy the Phlogiston rock beside it using the Special Coilgrass Sigil. After a hole is created, enter it, grab the Coagulation Pearl from behind the bar, and exit the area to the pedestal.
Once you have the Coagulation Pearl, the Phlogiston around you will harden so walking on the lava is safe.

Once the permit is unlocked, the Phlogiston barrier will sweep down from above to eradicate everything. Ignore enemies and focus on avoiding the barrier until you reach the bottom.
How to Complete Where Once There Was a Calculation Array Quest
Go to the navigated area, and you will notice an area polluted with Abyss in Genshin Impact. In addition, the area is covered with The Twisted Dark Mud, where your character will continuously lose HP, affecting their mobility. Defeat the enemy surrounding the Secret Source Servant and follow it towards a door on the lower floor.
Remove the enemies around the Secret Source Dragon Idol and resonate with it to control the mechanism. With the dragon in control, aim the beam cannon at all incoming Abyssal Corrosion and destroy the Oozing Core. Interact with the monument in the middle to get the first Phlogiston Unit.
How to Complete Where Once Force Was Reversed Quest
After completing Once, the Sacred Seat of Judgement, and Where Once There Was a Calculation Array Quests, return to the Secret Source Servant in the middle of the Dragons’ Residence and choose the option to mark the next Abyssal corrosion site. This will start the Where Once Force Was Reversed Quest.

Follow the quest navigation to the Heart of Force Inversion. The task for this quest is to clear the Abyssal Corrosion in this area. First of all, walk ahead of the waypoint and defeat the two Abyss Mages surrounding the Secret Source Servant.
Afterwards, keep following the Secret Source Servant as it will harden the Phlogiston waterfall, and you can indwell a Tepetlisaurus to climb up the now solid Phlogiston. At the top of the floating platform, stop the first mechanism of the solidification process so the Phlogiston liquid can move across the water channel. Then, move to the second mechanism and activate the solidification process so you can climb upwards.

Follow the water channel and you will be stopped by Abyssal mud. Use the Tepetlisaurus to tackle the unstable Phlogiston Crystal beside the mud to make it explode and remove all the Abyssal impurities.
Follow the little Saurian companion to find a Secret Source Servant that is stuck on a floating rock. Then, make the Tepetlisaurus you’re indwelling to step on the block on the right side. After the Secret Source robot gets into the left block, exit from the Saurian and get off the block to make both blocks to their default position. The Secret Source Servant will harden the Phlogiston waterfall for you to climb.

At the top floating rock of the Heart of Force Inversion, there is a lot of Abyssal corruption in the form of mud. Use Tepetlisaurus to dig in the ground and hit the unstable Phlogiston Crystals to destroy all the mud and complete this quest.
Make sure to pick up the Phlogiston Unit in front of the harden waterfall to complete the Where Once Force Was Reversed Quest.
How to Complete Where Once There Were Arms Aplenty Quest

Once you complete Where Once Force Was Reversed Quest, return to the Secret Source Servant at the center of the Dragons’ Residence and ask it to mark out the next Abyssal corrosion site. This will unlock the Where Once There Were Arms Aplenty Quest. Similar to the previous quest, you need to clean out Abyssal corrosion in a specific area. This quest is located in the Ruined Armament Workshop.
Follow the quest navigation to reach the center of Ruined Armament Workshop. Fortunately, there are no complicated puzzles as you only need to defeat the incoming enemies. After killing a few of them, Paimon will mention an easier way to destroy the Abyssal corruption. Indwell a Tatankasaurus that appears in the middle of the arena and smashes all the Oozing Cores.
How to Complete The End of the Road Quest

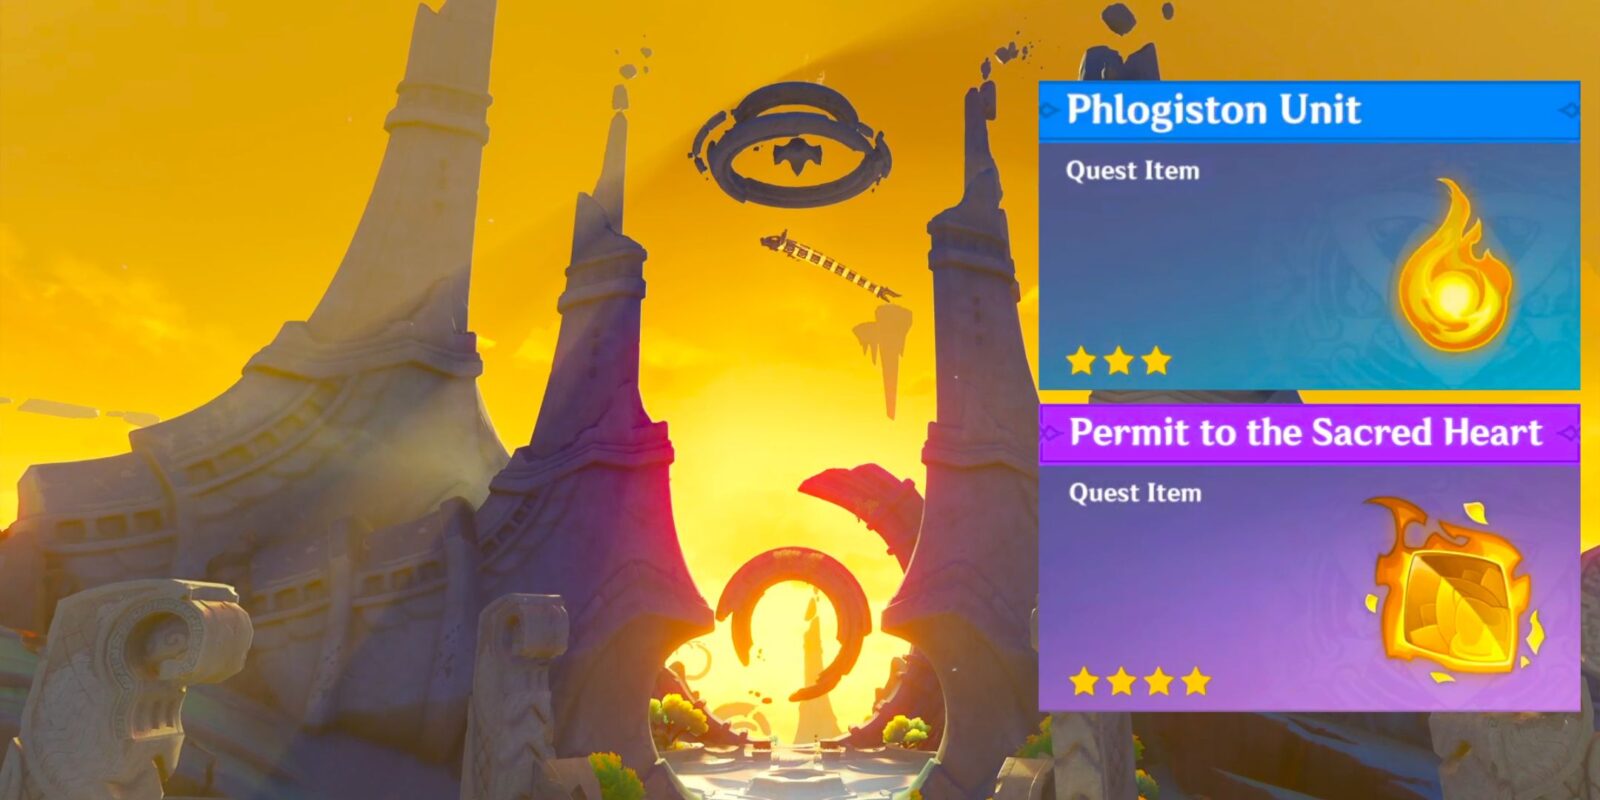
After obtaining the Permit to the Sacred Heart from the Once, the Sacred Seat of Judgement Quest and Phlogiston Units from the three related quests above, you will unlock The End of the Road Quest.

Follow the quest navigation to reach the west of Pseudostar Pedestal and activate the Secret Source Dragon Idol using the permit and the Phlogiston Units from the previous quests in Genshin Impact. The dragon will move from its initial location and reveal a huge tear on the ground for you to enter. By completing this quest, you will also complete the In Search of a Hidden Heart Quest.
There will be a follow-up quest called As the Burning Sun Sears Shadows. The task here is to defeat all enemies and eliminate all three Abyss cores covering the Astral Assemblages.

RPG
Action
Adventure
Gacha
Open-World
- Released
-
September 28, 2020
- ESRB
-
T for Teen – Fantasy Violence, Alcohol Reference
- Multiplayer
-
Online Multiplayer
- Engine
-
Unity
- Steam Deck Compatibility
-
yes
- X|S Optimized
-
yes
- PS Plus Availability
-
N/A
- OpenCritic Rating
-
Strong
- Cross Save
-
yes
- Cross-Platform Play
-
Mobile, PC, PS4 & PS5, Xbox
- PC Release Date
-
September 28, 2020
- PS5 Release Date
-
April 28, 2021
- Xbox Series X|S Release Date
-
November 20, 2024