If you spend a fair amount of time exploring the world of Assassin’s Creed Shadows, you’ll notice that there are several puzzles and POIs that can only be completed by one of the game’s two protagonists. In some cases, however, this is not readily apparent, and as you spend the majority of AC Shadows’ opening hours playing as Naoe, it can also be a bit frustrating. For many players, this will be the case with Assassin’s Creed Shadows’ Makino Kurumazuka Kofun, an underground puzzle POI that can be encountered very early in the game, but cannot be completed by Naoe alone.

Related
Where to Find All Yokai in Assassin’s Creed Shadows
Where to find each of Assassin’s Creed Shadows’ six Yokai enemies.
How to Solve the Makino Kurumazuka Kofun in AC Shadows
Unlocking Yasuke:
The first step to completing the Makino Kurumazuka Kofun puzzle in Assassin’s Creed Shadows, is to realize you cannot do it until Yasuke is available as a playable character. Once you unlock the ability to freely change characters in AC Shadows, you’ll be able to solve this rather tricky puzzle.
Where to Find the Makino Kurumazuka Kofun:

Because this Kofun offers one of the best Legendary Bows in the game, some players may wish to know where it is located. Luckily, you won’t have to go far once Yasuke is unlocked.
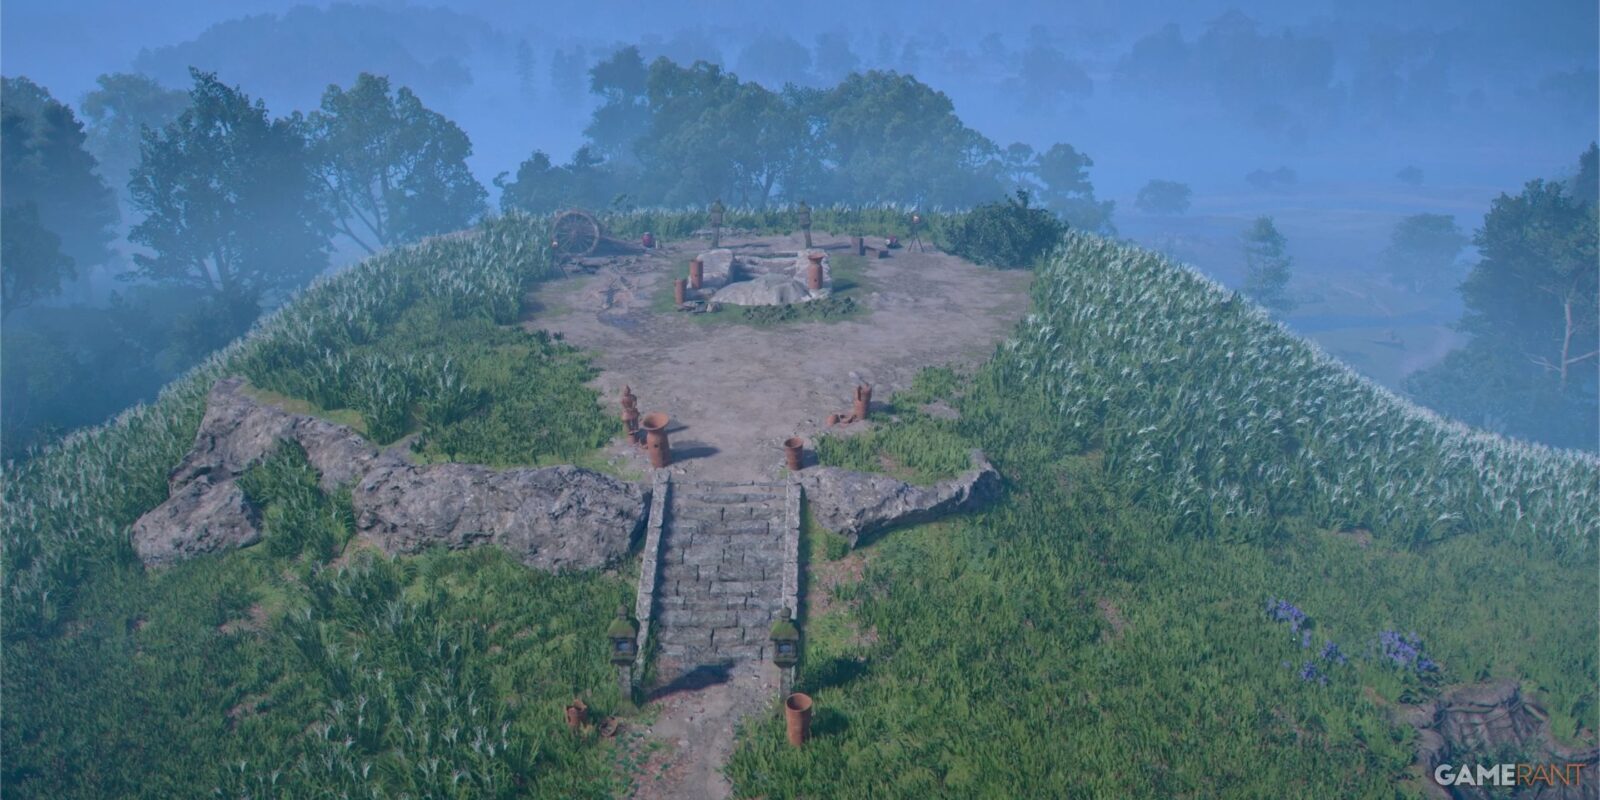
You’ll find the Makino Kurumazuka Kofun in the Yawata Plains province of Izumi Settsu, Shadows‘ starting region. The tomb itself looks like a large mound of earth, and it is located directly east of Takatsuki, directly across the river that acts as the border between provinces.
Makino Kurumazuka Kofun Solution:
As you make your way through the Makino Kurumazuka Kofun – and any Kofun or Tomb in the game – make sure to light every candle as you pass them. This will help you remember which paths you’ve already traveled, as you’ll often be required to back track after hitting dead ends, or opening new paths.
Upon arriving at the Kofun, you’ll notice immediately that the entrance has been blocked by a makeshift rock wall. To get past this, you’ll need to pick up one of the two exploding jars that sit at the top of the stairs. Only Yasuke can pick up these jars, which is one of the reasons only he can complete this Kofun.
Place the jar in front of the rock wall, then step back and shoot it with one of Yasuke’s ranged options. If you do not have a ranged weapon for Yasuke, simply purchase one from the Gear Vendor in Sakai. Get the cheapest option, as you’ll be acquiring a Legendary Bow at the end of this puzzle. Shooting the jar will clear the rock wall.
Once inside the Kofun, you’ll find a chest, and two openings blocked by large, movable shelves. Once again, only Yasuke can move these objects. If you use Observation, you’ll see that the main reward is behind the moveable object which is stuck in place. This means that you only have one path forward.
Puzzle 1 Solution:
The first section that requires a solution comes just after beginning down the main path. You’ll enter a chamber with a moveable “barrier” object blocking the exit, and a ruined staircase on the left. There are two breakable walls in this chamber, one at the top of the stairs, and one at ground level. However, there are clearly no jars.

Pull the barrier away from the exit, then continue down the path. Eventually you’ll come to another chamber with a breakable wall, and two exploding jars. Use one jar to destroy the wall (which is the reverse side of the ground-level wall from the previous chamber), then carry the second jar through the opening, which leads to the chamber you just left.

Set the jar down in front of the wall at the top of the steps, then line the barrier object up so you can walk onto it from the top level, giving you enough room to shoot the jar without blowing yourself up. Head through the opening, and you’ll find you can turn left or right. Turning left leads to a dead-end with a materials chest, turning right continues the main path.
Puzzle 2 Solution:

After turning right, you’ll come to a chamber with a pool of water in the center, and a broken bridge overhead. Simply swim across and continue through the opening. Continue along the main path, then up the stairs, and you’ll come to the broken bridge. You can see from this angle there is a rock wall across the gap. Look around the chamber, and you should see a stack of wooden crates blocking a small alcove. Destroy the crates to find two exploding jars.

Throw one of the jars across the gap, then shoot it to destroy the wall. Jump across the gap and after moving through the opening, you’ll see a small gap on the left that you can crawl beneath, or you can turn right and hit another dead end. There is an arrow station at this dead end, in case you need to refill. If not, crawl under the gap to continue.
Puzzle 3 Solution:
Next, you’ll reach a sunken chamber with a rope strung across which Naoe could cross…except Naoe’s not here. If you try to cross it with Yasuke, it will simply snap. Whether you do this, or jump, Yasuke is going into the sunken chamber.

From the sunken chamber, you’ll see only one path forward, which is to pull another moveable barrier away from an exit. Pull the barrier all the way back into the sunken chamber, then use it to climb to the upper level exit. Make sure you loot the chest that was behind the barrier before moving on. Follow the main path until you reach the final puzzle chamber.
Final Puzzle Solution:
In the final chamber, you’ll see a small ramp to the left of the southern exit, which is blocked by a moveable barrier and has an overhang above it. At the west end of the chamber you’ll see another moveable barrier just sitting in place. FInally, you’ll see a staircase heading north that leads to another blocked exit, with barriers that are stuck in place from the other side.
The first step is to move the barrier away from the southern exit, and for now, continue through the opening. Turn right and follow the path until you reach the chamber that is at the top of the previously mentioned northern stairs. You can see that you are now on the opposite side of the stuck barriers. Move the first barrier to the right, then the second to clear the path.
In this chamber, you’ll also see that there is one exploding jar. Don’t worry about it yet, just remember it’s there. Next, return to the main chamber and move the barrier at the western end of the room into place at the end of the ramp. If you look, you’ll see there is a slot where it fits perfectly. Then, you can move the barrier that was blocking the southern exit into the slot at the western end of the chamber.
Now, retrieve the jar, carry it up the ramp, jump onto the first barrier, then jump from the barrier to the overhang. From the overhang, jump to the barrier at the western end of the chamber. If you set it up correctly, you can do it all while carrying the jar. From the top of the final barrier, you’ll see a breakable wall atop the western wall. Throw the jar up on the wall, then shoot it with your bow.

Jump from the barrier and head through this final exit, which leads directly to the Legendary Chest. Once you’ve looted the chest, move the barrier blocking the exit, and you’ll be back at the entrance chamber. Simply take the stairs to exit.

Related
Assassin’s Creed Shadows: How To Get A Legendary Katana Early (Bloodshade)
Bloodshade is one of the best legendary katanas in Assassin’s Creed Shadows that players focusing on affliction builds will enjoy.
Makino Kurumazuka Kofun Rewards:

- Blush of the Earth Legendary Bow
- Extend Clear Mind Engraving
- Knowledge Point x1
- 2000 XP

- Released
-
March 20, 2025
- Engine
-
AnvilNext
- ESRB
-
Mature 17+ // Blood and Gore, Intense Violence, Language
- Steam Deck Compatibility
-
Unknown
- X|S Optimized
-
Yes
- Number of Players
-
1
- OpenCritic Rating
-
Strong
- PC Release Date
-
March 20, 2025
- PS5 Release Date
-
March 20, 2025
- Xbox Series X|S Release Date
-
March 20, 2025