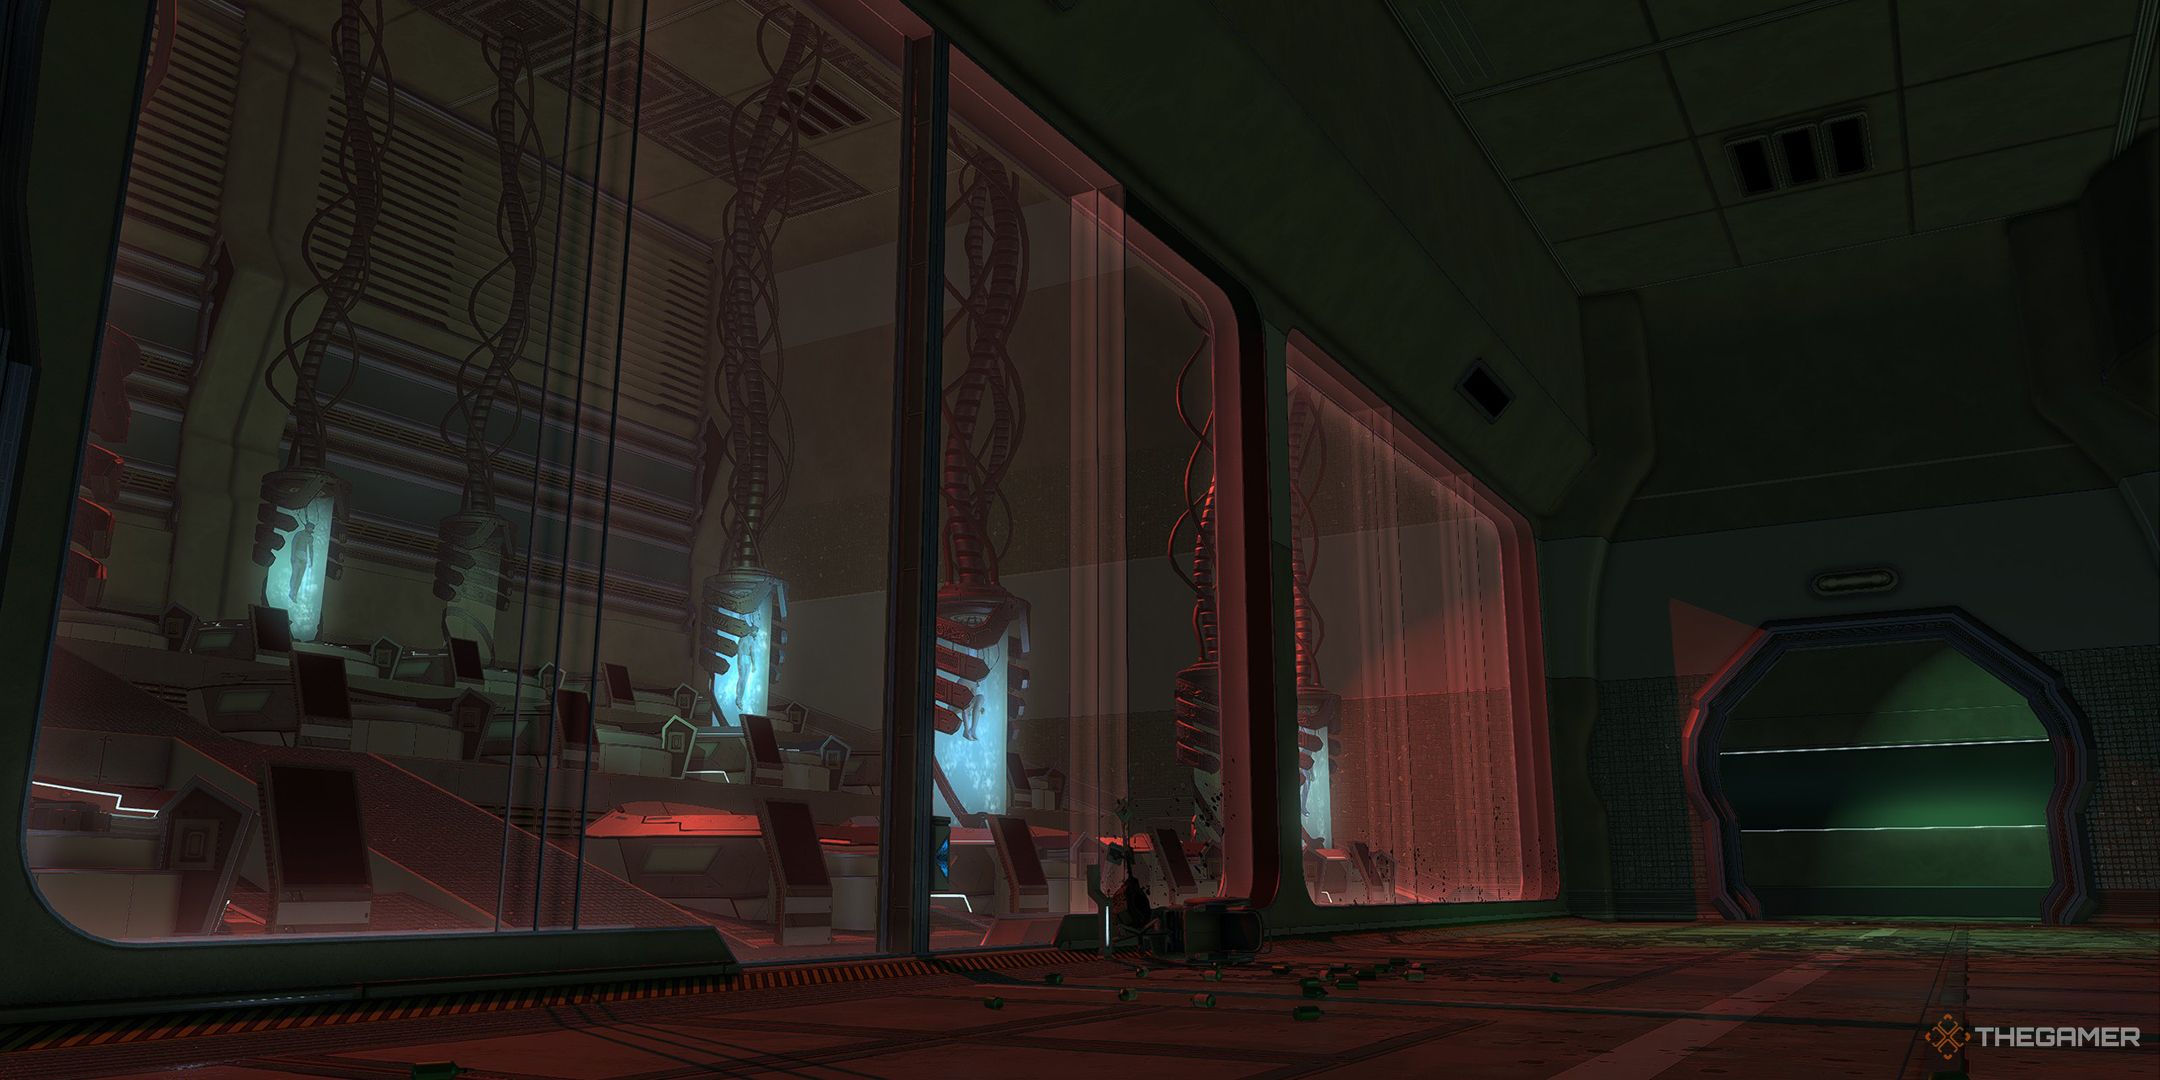
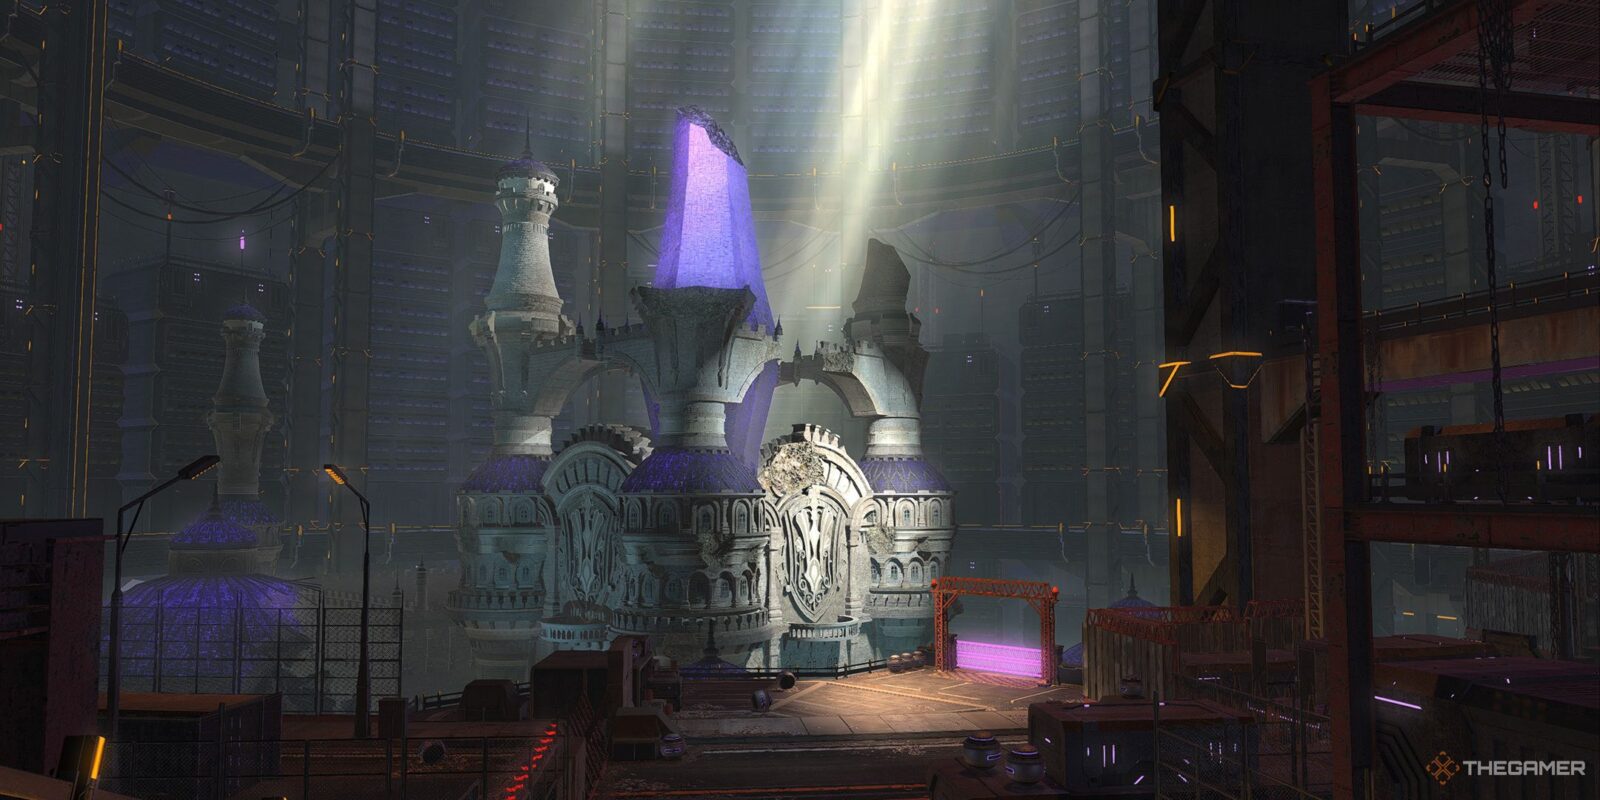
The Underkeep is a level 100 Dungeon introduced in Patch 7.2 of Final Fantasy 14. Attempting to track down clues as to the plans of Calyx and the Endless Queen Sphene, the party delves into the depths of the Everkeep, where the original castle of Alexandria is held.
Related
Final Fantasy 14: Dawntrail – Yuweyawata Field Station Dungeon Walkthrough
Here’s a complete walkthrough for the Yuweyawata Field Station, a level 100 Dungeon in Final Fantasy 14: Dawntrail.
However, to no one’s surprise, Calyx and Sphene have activated the palace’s defenses, and you’ll need to fight your way through machinery and other hostile lifeforms that have taken up residence in the ruined castle. Below, we’ll take a look at how to unlock this Dungeon, and how to beat all three of its bosses.
How To Unlock The Underkeep
The Everkeep is unlocked through the Main Scenario Quest ‘Descent to the Foundation’, which can be accepted from Shale in The Backroom in Solution Nine (X:6.0, Y:6.3). This is the sixth quest added with Patch 7.2.
An item level of 705 is required to participate in this Dungeon.
Gargant
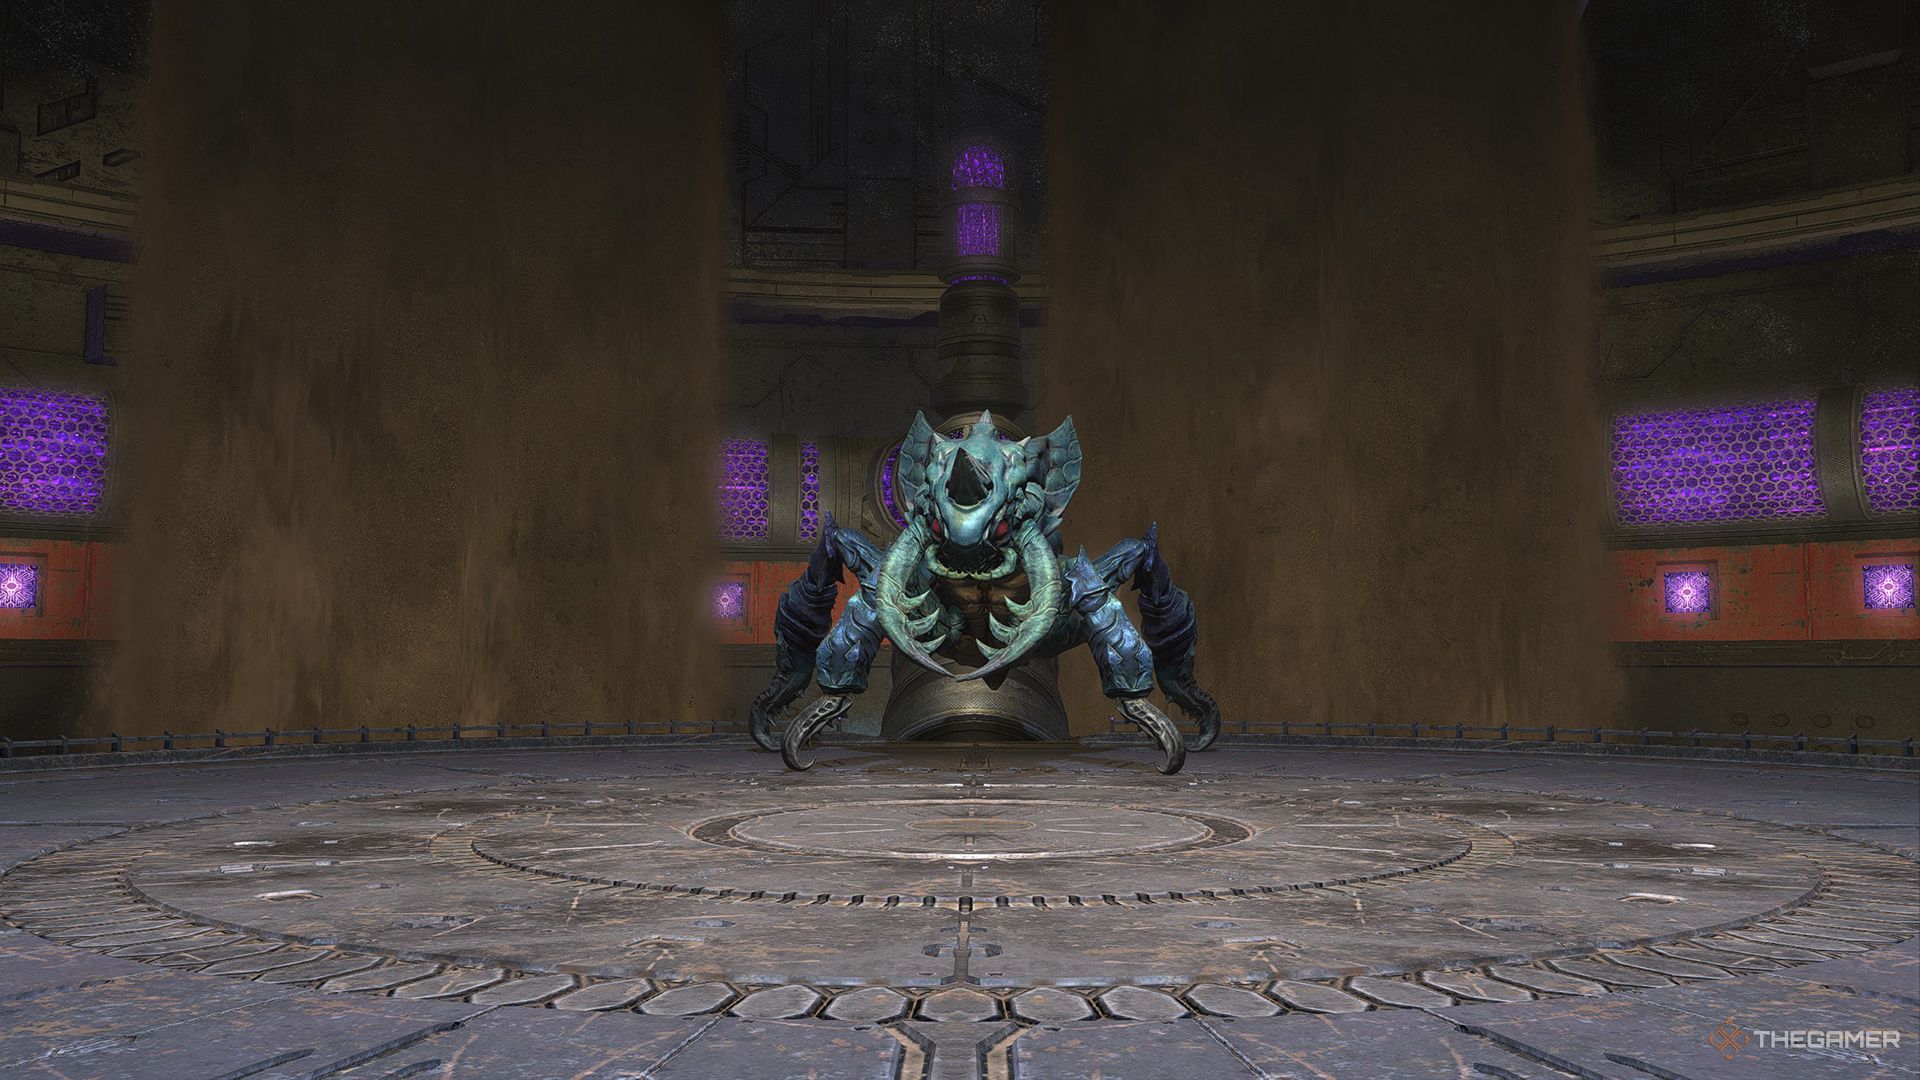
The first boss of the Underkeep is Gargant. The arena is surrounded by four tube-like pathways, which are each separated on the outer edges of the arena by waterfalls of sand. Keep these in mind, as the boss will make use of them later in the fight.
|
Attack Name |
Type |
Details |
|---|---|---|
|
Chilling Chirp |
Roomwide AoE |
Deals damage to the entire party. Recover with AoE healing. |
|
Almighty Racket |
Line AoE |
The boss will turn toward the center of the arena, then deal damage in a large line AoE to its front. This attack is only briefly telegraphed for a second before it resolves, so get out of the way when you see the cast bar appear. |
|
Aerial Ambush |
Line AoE |
Gargant will crawl away along one of the tubes, then begin crawling along the wall, becoming briefly hidden behind the sandfalls when it passes behind them. Then, it will jump through one of the sandfalls, dealing damage in a line AoE across the arena. Watch where the boss moves to predict where it will appear from. |
|
Earth Spikes |
Circle AoE |
Deals damage in large circle AoEs. This attack will occur just after Chilling Chirp, and alongside Almighty Racket. Another set of circle AoEs will appear after the first, so be ready to dodge both sets. |
|
Sedimentary Debris |
AoE Marker |
Targets all party members with an AoE Marker. Spread out to avoid overlapping these. This attack will occur at the same time as the second set of Earth Spikes, so be sure to avoid these while spreading from the rest of the party. |
|
Earthsong |
Circle AoEs |
Summons two sets of Sand Spheres that will momentarily explode in a small circular AoE. Move to a safe spot to avoid the first set, then move again to avoid the next ones. The first time this attack is used, it will be paired with Aerial Ambush. Keep a close eye on the boss as it moves around the walls of the arena while also avoiding the Sand Spheres. |
|
Trap Jaws |
Tankbuster |
Deals high damage to the Tank. Use defensive cooldowns to mitigate this damage. |
The boss will repeat these attacks until it is defeated. Overall, the mechanics of this fight are fairly straightforward on their own, but can be a bit tricky when combined later in the battle. The main one to watch out for is Aerial Ambush, as losing track of Gargant behind the sandfalls will ensure you get hit.
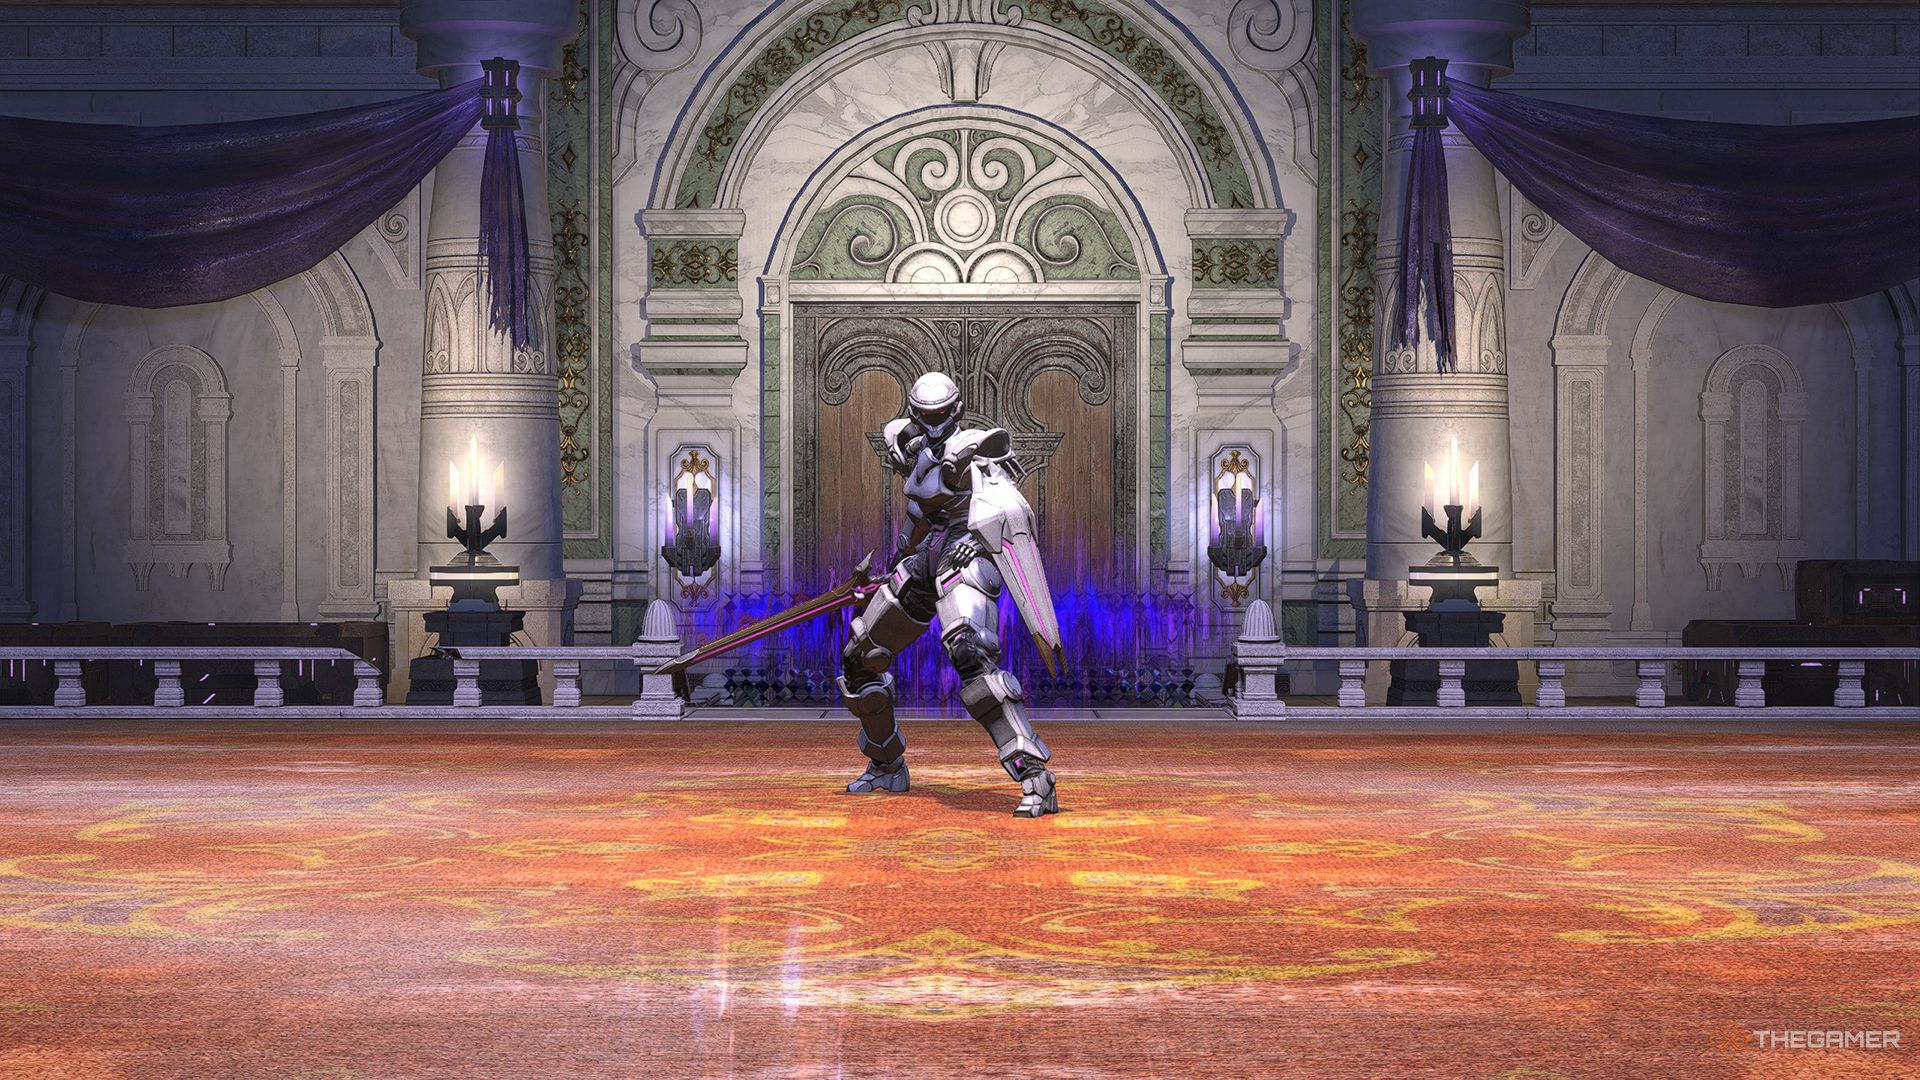
Soldier S0
The second boss of this Dungeon is Soldier S0. Here are each of its attacks and mechanics.
|
Attack Name |
Type |
Details |
|---|---|---|
|
Field of Scorn |
Roomwide AoE |
Deals damage to the entire party. |
|
Thunderous Slash |
Tankbuster |
Deals high damage to the Tank. |
|
Sector Bisector |
Half-circle AoE |
Soldier S0 will create several afterimages that are connected with a line. Each afterimage has a blue half-circle underneath them, indicating the direction of an attack. However, only the final afterimage in the chain will perform the attack. Look to where the last one is, then move to the opposite side of its half-circle to avoid the AoE. |
|
Ordered Fire |
Line AoEs |
Two sets of cannons on adjacent corners of the arena will deal damage in line AoEs, intersecting in one corner while leaving the opposite corner safe. The boss will use Static Force at the same time. |
|
Static Force |
Conal AoEs |
The boss will target the entire party with conal AoEs that move along with you from the boss in the center of the arena. Spread out to avoid overlapping these, but stay within the safe quadrant from Ordered Fire. |
|
Electric Excess |
AoE Markers |
Targets each player with a circular AoE Marker. Spread out to avoid overlapping them. |
Sector Bisector may look overwhelming at first, but it’s very easy to dodge. Simply find the last afterimage in the chain and move to the other side of it; you can completely ignore all of the other afterimages, as they don’t actually attack.
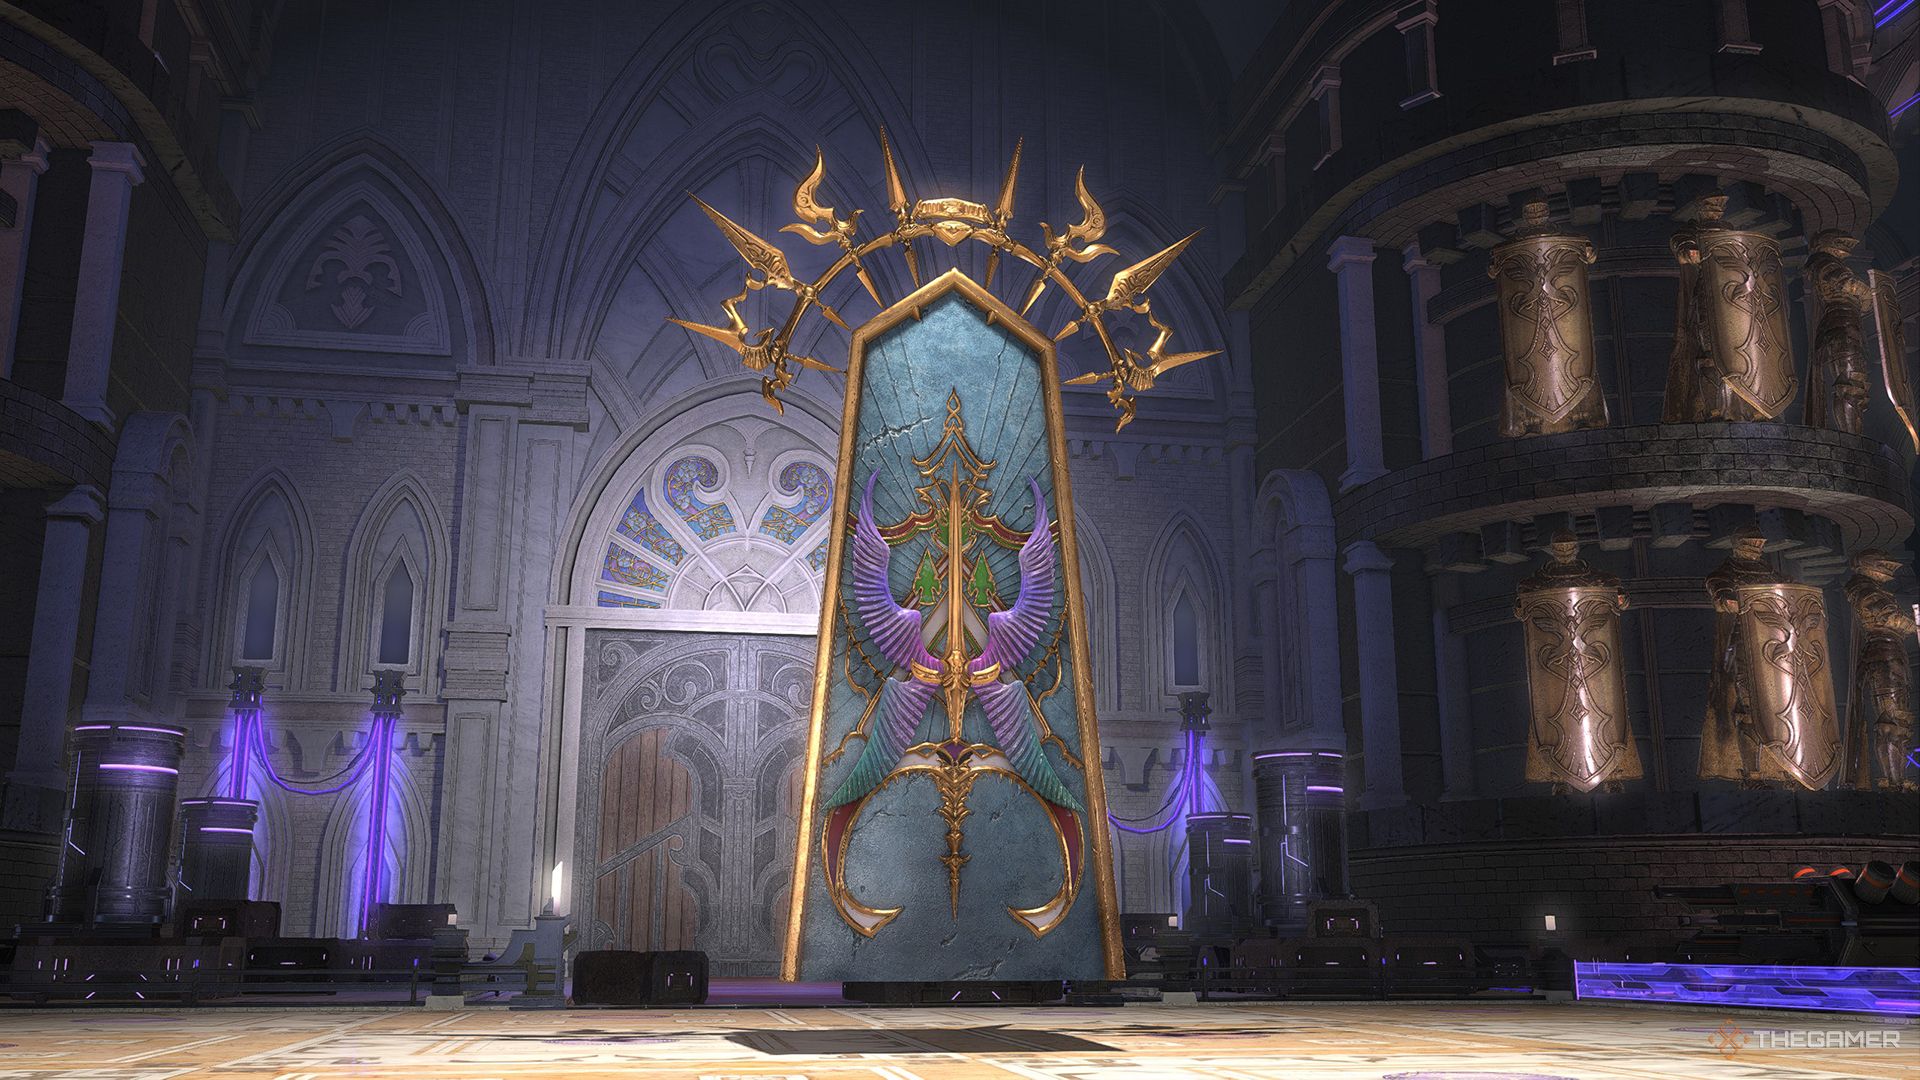
Valia Pira
The final boss of The Underkeep is the Indefatigable Defense: Valia Pira. Here are each of this boss’s attacks and mechanics.
|
Attack Name |
Type |
Details |
|---|---|---|
|
Entropic Sphere |
Roomwide AoE |
Deals moderate damage to the party. Use AoE heals to recover. |
|
Coordinate March |
Cross AoEs |
Two blue lines will appear, creating a path connecting one side of the arena to the other, and pink orbs of energy will appear on each path. Then, a purple orb of cubes will float down each path. When one reaches the pink orb, it will cause an explosion in a cross AoE. Watch the path of the orbs and move out of the way as necessary. On subsequent uses of this attack, two or more pink orbs may appear on a single path. The boss will then use Bloodmarch to move one of these to the other path. |
|
Turret Fire |
Line AoEs |
Two of the four turrets will activate and fire line AoEs across the arena. Move between the two active turrets to avoid taking damage. |
|
Electric Field |
Conal AoEs |
Several conal AoEs will appear from the boss, and each party member will also be targeted with a following conal AoE. After a second, all of these AoEs will grow in size slightly. Move between the static AoEs while avoiding overlapping your own AoEs with other players, but be mindful of the size of both as they grow. |
|
Neutralize Front Lines/Hypercharged Light |
Line AoE/AoE Markers |
The boss will turn to face a random direction before firing a line AoE to its front. At the same time, each party member will be targeted with a circular AoE. Move behind the boss, then spread out to avoid overlapping these Markers. |
|
Deterrent Pulse |
Line Stack Marker |
During a Coordinated March, one player will be targeted with a Line Stack Marker. Group up with them to spread out the damage of the attack, then get ready to avoid any remaining orb AoEs. |
Valia Pira will repeat these attacks until it is defeated. Later in the fight, the boss will combine Coordinate Mach, Turret Fire, and Neutralize Front Lines. This combo can definitely be overwhelming, so be sure to take each attack in order. Avoid the first set of orb Cross AoEs, then the turret’s line AoEs, and then any remaining orb AoEs.
Once Valia Pira is down, The Underkeep will be complete.

Next
Final Fantasy 14: All Patch 7.2 Emotes And How To Get Them
Patch 7.2 brings three new emotes to FF14. Learn how to unlock them by using this guide.
Source link





Leave a Reply