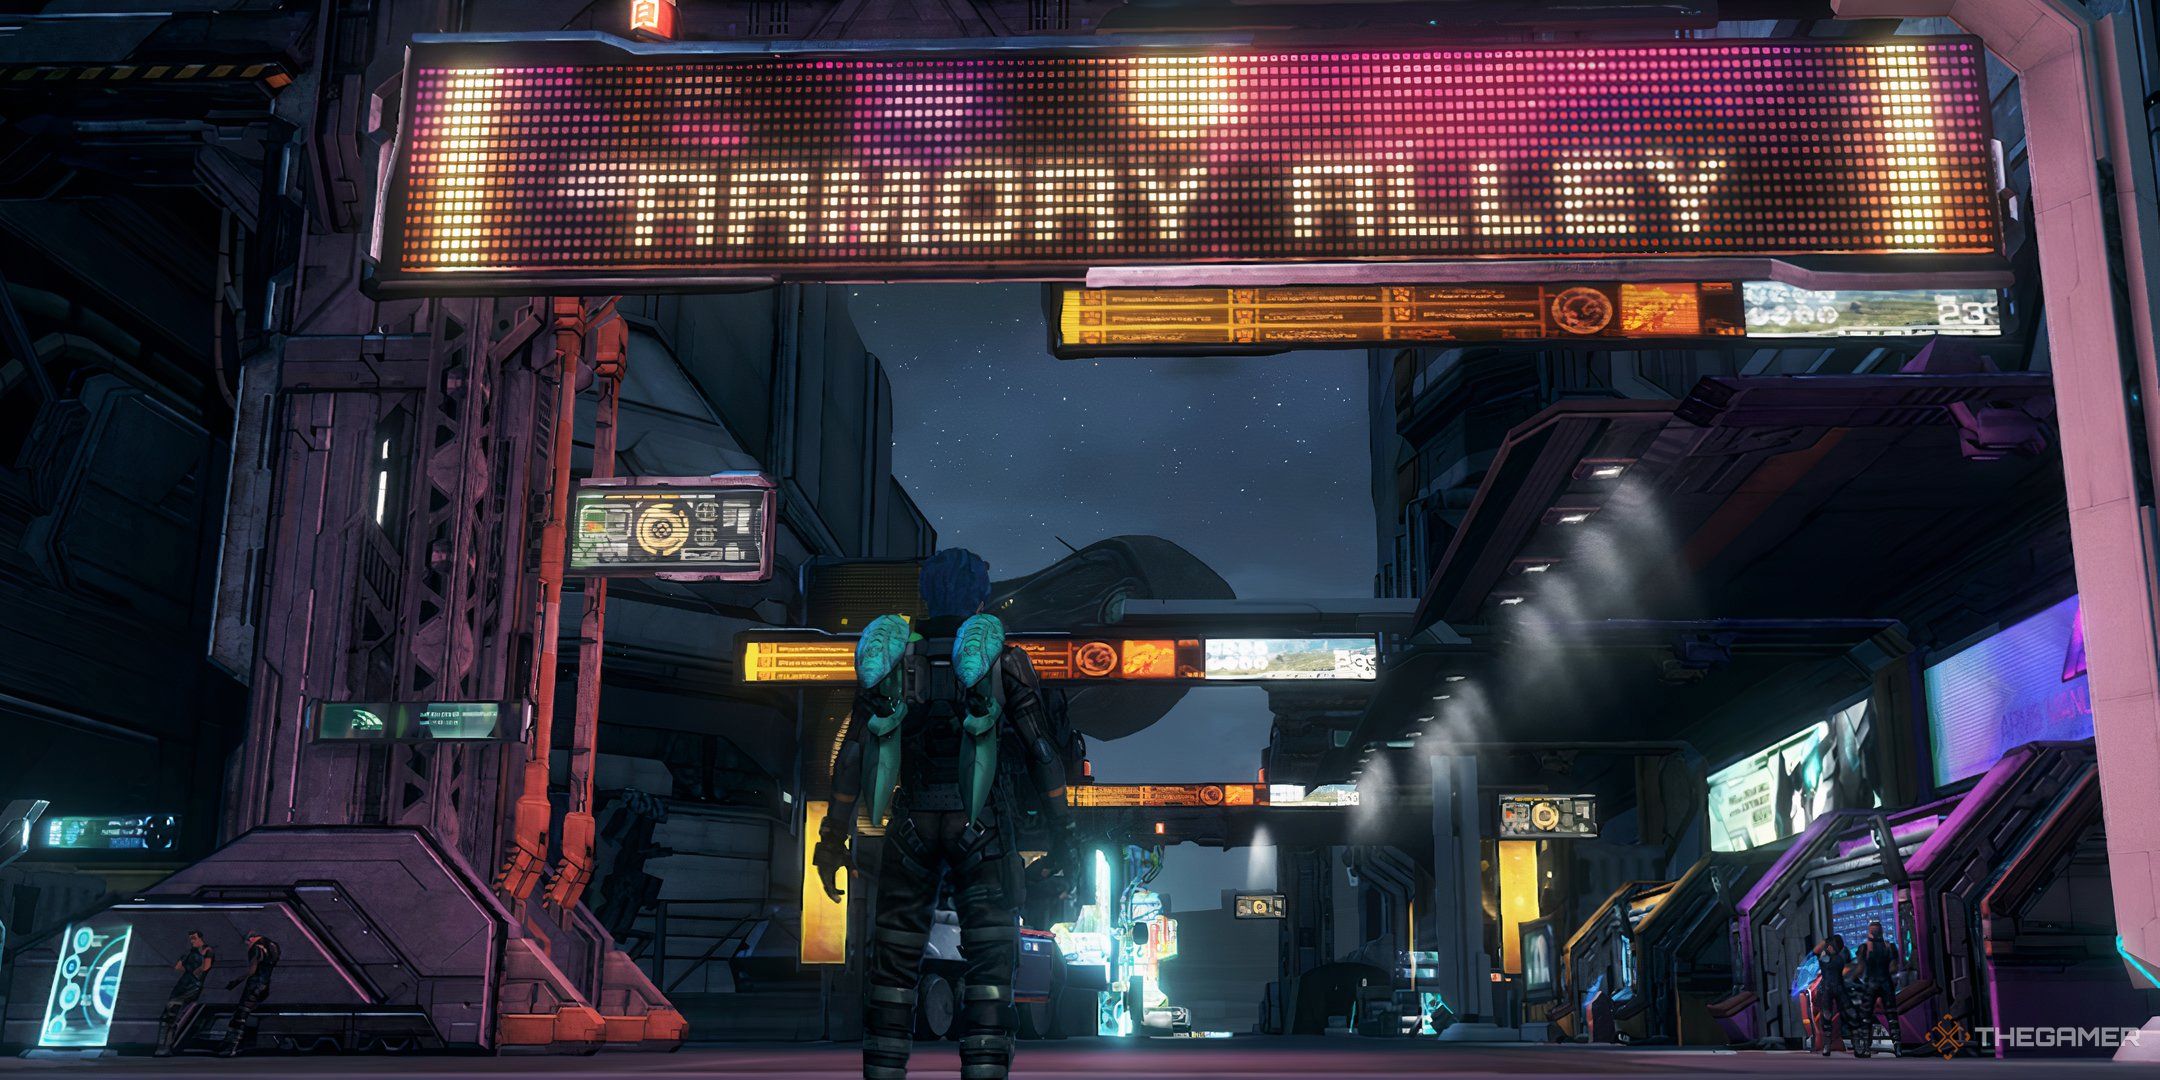
From the very first moment you step foot in New Los Angeles, Xenoblade Chronicles X: Definitive Edition shows that it’s filled to the brim with places to explore, characters to meet, and enemies to take down. But most players will be wondering one thing as soon as they reach armory alley: how do you get one of those huge robots for yourself?

Related
Xenoblade Chronicles X: Definitive Edition – How To Change Appearance
Not thrilled with your protagonist’s looks in Xenoblade Chronicles X? There’s a solution.
These robots, called Skells, are some of the most powerful tools available to you on Planet Mira, but you can’t just waltz up and grab one, you need to earn it. This guide will detail whaOt you need to do to earn your Skell License and purchase your very own Skell.
The Skell License
First, you need to earn a Skell License to obtain your own Skell, and just like owning a car in real life, you’ll have to pass a proficiency test to earn that license. But before you can even take the test, you need to prove yourself to your superior officers at B.L.A.D.E.
To do this, simply complete Chapter 6 of the main story. Upon completion of that story quest, a pop-up will appear from Commander Vandham saying that he thinks you’re ready to earn a Skell.
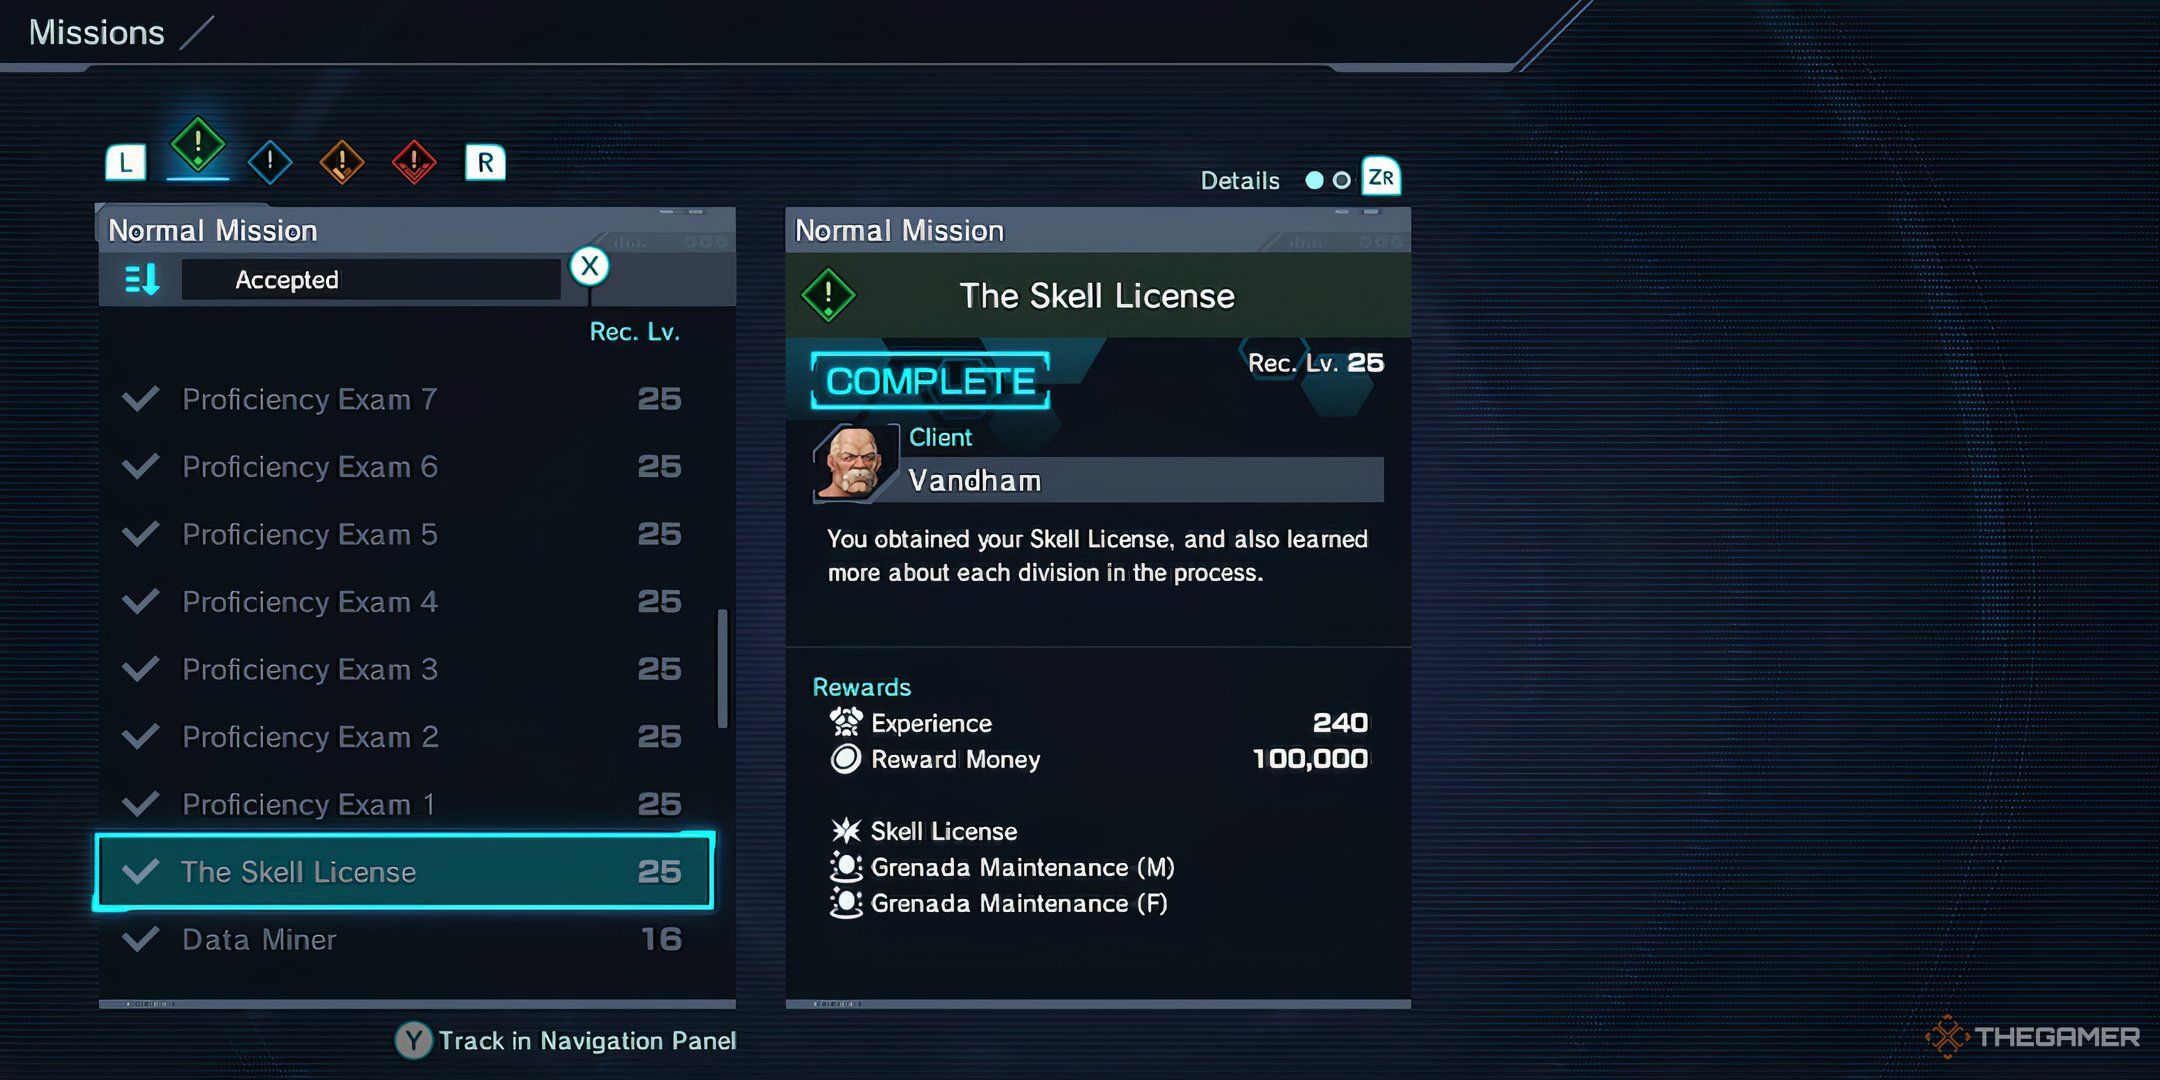
Vandham will be waiting for you inside the B.L.A.D.E. barracks, where he’ll give you the normal quest “The Skell License,” which involves completing one task for each of the eight B.L.A.D.E. divisions. Once you complete those, you will earn your license and your own Skell.
Proficiency Exam 1 – Pathfinders
The first exam is for the Pathfinders division, which tasks you with installing a data probe at FrontierNav site 117 in Primordia. This probe site isn’t very difficult to unlock, as it’s just to the east of New Los Angeles, right next to Janpath Lake.
It’s out in the open, so as soon as you enter the segment containing the probe, you should be able to find and place it relatively quickly. If you’ve been exploring the world on your own and surveying the region, you may have already done this, which will result in the quest automatically completing itself as soon as it’s assigned. That’s one test down, seven to go.
Proficiency Exam 2 – Interceptors
The second exam to earn your Skell License is for the Interceptors division, which wants you to defeat 12 Blitz Blattas in Noctilum. You can find these blitzing bugs over by the FrontierNav Site 222 landmark in southern Noctilum.
Once you head there, move southwest to find a relatively small crevice, outside which are several Blitz Blattas. There may not be 12 of them there all at once, so if you defeat all the Blitz Blattas in the area, simply reload the area by fast traveling back to the FN Site 222 landmark, and repeat the process until you’ve completed your second proficiency exam.
Proficiency Exam 3 – Harriers
For your third proficiency exam, you’ll be taking on a task from the Harriers division, which asks you to take down a tyrant known as “Shatskikh, the Flash” over in Primordia’s Northpointe Cove.
If you haven’t found the Northpointe Cove landmark yet, head over to FrontierNav Site 115 and move west to unlock the landmark. Once you’re there, take a look around for the tyrant. If it isn’t there, reload the area by fast-traveling to the Northpointe Cove landmark until it shows up.
Once you’ve found it, try to lure the tyrant onto land to fight it, as this monster has several lightning attacks that do increased damage in water. Upon defeating the tyrant, you will have completed your third proficiency exam.
Proficiency Exam 4 – Reclaimers
For proficiency exam number four, the Reclaimers division tasks you with obtaining the solar starship map in Noctilum’s Humdrum Peaks area.
The Humdrum Peaks area is located between the Tripod Rock landmark and the FrontierNav Site 221 landmark. Once you’ve fast-traveled there, simply turn on the Follow Ball and follow it until you’ve found the item you’re looking for, completing your fourth proficiency exam.
Related
Xenoblade Chronicles X: Definitive Edition – How To Get Pets
Spruce up your BLADE Barracks with friendly canines and felines in Xenoblade Chronicles X.
Proficiency Exam 5 – Curators
Your fifth proficiency exam comes from the Curators division, which tasks you with collecting three different items in three different regions.
The first request is to obtain eight rock armadillos in Noctilum. This item is a very common drop throughout all of Noctilum, so you may already have eight of them if you’ve spent enough time there. For those who haven’t, rock armadillos are easiest to find in caves such as the Whale’s Gullet area north of Potter’s Rock.
The second request is to gather three beagflea squashes in Oblivia. These are a bit rarer than the previous item but are most commonly found in lake areas such as Lake Basel, or in cave areas like the Ant’s Nest. The third and final request from the Curators is to obtain six multi-speckled ladybugs in Primordia.
These are also a rare pickup from item orbs in the region, but they can be found more commonly in the middle area of Primordia, just north of New Los Angeles. Once you’ve obtained the specified amount of each item, you will have completed your fifth proficiency exam.
Proficiency Exam 6 – Prospectors
The sixth proficiency exam, courtesy of the Prospectors division, is a bit different from the rest of the exams, in that it requires you to obtain 15,000 credits from FrontierNav in a single return.
This can be a bit tricky if you don’t understand how the different probe types in FrontierNav work, but the simplest way to go about this is to place as many research probes as possible, with those of the same level connected to each other to form chain bonuses. Be warned that probes of different levels will not give each other chain bonuses, so a Research Probe G1 cannot form a chain with a Research Probe G4.
Once the number beside “Revenue Total” in the bottom right corner of the FrontierNav screen is over 15,000, it’s just a matter of waiting until your next return to complete this quest. We recommend finishing other exams in this questline while waiting for this one to complete itself.
Proficiency Exam 7 – Outfitters
The Outfitters division is responsible for your seventh proficiency exam, with them tasking you to test out one of three weapons for them out in the field. If you’ve taken on any of the weapon-testing basic missions from the B.L.A.D.E. concourse, you know exactly how this quest is going to work.
First go speak to Tauler in Division Drive to obtain the three test weapons: a trial knife, a trial assault rifle, and a trial sword. For this exam, you only need to test out one of these three weapons, and you can use them on any character, not just your avatar.
For this exam, we recommend picking a party member who wields one of those three weapon types, equipping them with that weapon, and including them in the party while you fight the three Giant Grexes that the Outfitters want you to test these weapons on.
Once you’ve slayed the three Giant Grexes with your chosen trial weapon, you will automatically pass the certification exam, and you even get to keep all three trial weapons as a bonus, should you wish to use them.
Proficiency Exam 8 – Mediators
Surprisingly, the final proficiency exam from the Mediators division is the most involved exam out of all of them, as it requires you to complete one of three sidequests for citizens of New Los Angeles. You can choose between three quests for this exam: “The Handy Ma-non,” “The Pip-Squeak,” and “That’s In-Credible!” Completing any of these three quests will count as passing this exam.
The quest “The Handy Ma-non” can be found in the Administrative District of New Los Angeles, just to the west of Division Drive, which involves gathering items for a Ma-non named Sostenasa in order to earn their trust. Next, “The Pip-Squeak” can be found in the Outfitters Test Hangar in the Industrial District; t his quest involves trying to convince a Ma-non named Aganeba to share his scientific knowledge with the rest of New Los Angeles and B.L.A.D.E.
Last the quest “That’s In-Credible” can be found in front of the B.L.A.D.E. Tower in the Administrative District; where you must test several new weapon types for the Ma-non arms manufacturer Candid & Credible. Upon completing this and all the other exams, you will have all eight Skell License Certificates necessary to earn your Skell license.
Obtaining Your First Skell
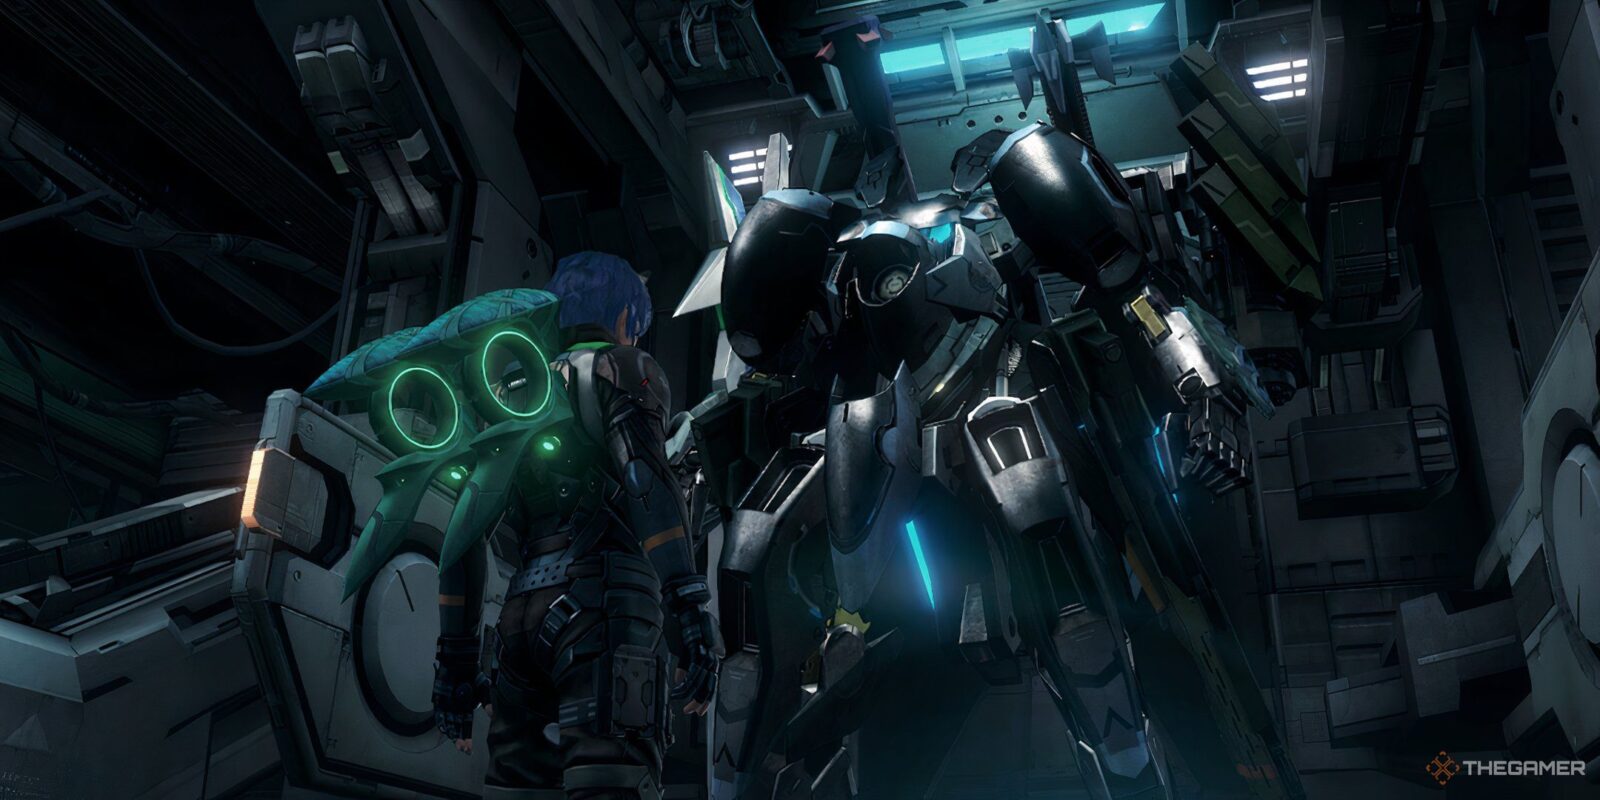
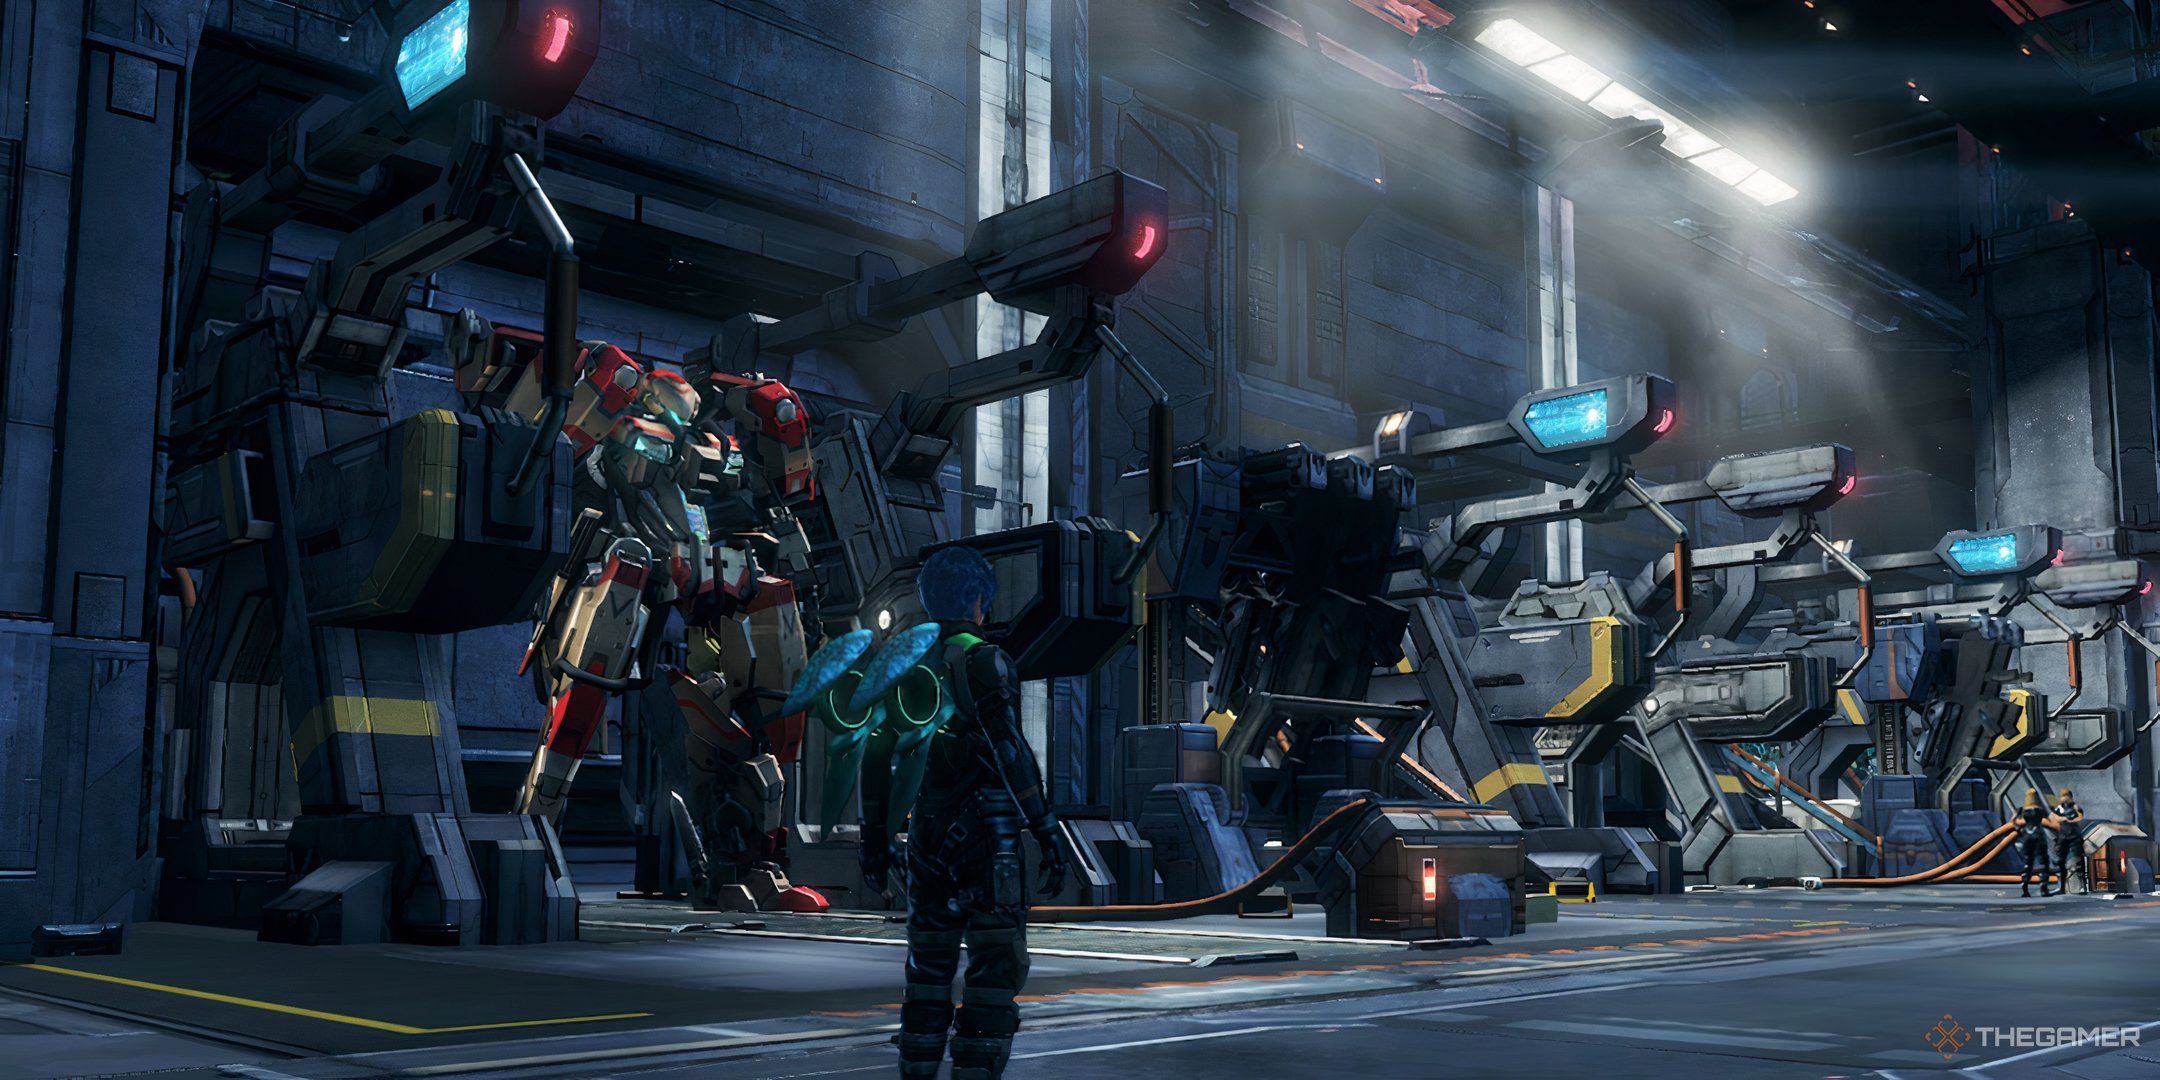
With all eight Skell License Certificates in hand, simply head to the Hangar in the Administrative District, where a B.L.A.D.E. named Walter will ask you a few questions about the quests you just completed. Once you’re done talking to Walter, head to the back of the Hangar to start a cutscene where you finally obtain your very own Skell – free of charge.
Buying Other Skells
Your player character isn’t the only one who can pilot a Skell. Once you obtain the Skell License, any character can be assigned to any Skell once you buy them. Unfortunately, you likely won’t be able to buy any Skells for a little while after getting your own Skell License, since your starting Skell is set at level 20, while the lowest level of Skells sold in Armory Alley is level 30.
Once you and your party members reach level 30, however, simply head over to the shop in Armory Alley and have your pick at any of the available Skells. You can also buy upgraded versions of these Skells once you reach level 50. Be warned, however, that if your Skell is destroyed in combat, you will need to replace it.
Thankfully, all Skells come with some level of Skell Insurance, so if your Skell is destroyed, simply head to your hangar menu in the B.L.A.D.E. barracks to have your destroyed Skell replaced. Skells provide a huge boost to your combat power and your ability to explore Planet Mira, marking the point where Xenoblade Chronicles X: Definitive Edition truly opens up.

Next
Xenoblade Chronicles X: Definitive Edition – Soul Voices, Explained
Soul Voices is an important mechanic in Xenoblade Chronicles X: Definitive Edition. Learn how to perform it and be successful with your party.






Leave a Reply