Dr. Garrow is a very serious scientist who values her research on Oberon more than the lives of most people. She’s one of the NPCs in Atomfall who offers you a way out of the quarantine zone, but she will only help you escape if you can retrieve her research notes from her office.

Related
Atomfall: How To Get The Strange Tonic Recipe (Curing Infection)
The infection that’s spread across the quarantine zone of Atomfall can be deadly. Here’s how to cure it.
Like most tasks in Atomfall, this won’t be as simple as walking in and grabbing the notebook. Instead, you’ll have to dive into the lower levels of The Interchange and deal with some very powerful robots.
How To Find Dr. Garrow In Atomfall

Dr. Garrow will be held at Skethermoor Prison in the Skethermoor region at the coordinates 41.1 E, 70.8 N on the map. You’ll need to release her from her cell, at which point she’ll leave you behind to escape through a passage to The Interchange that only she can access. As you help her stage a prison break, you’ll acquire a tool called the Signal Redirector.
Garrow will next be encountered in the Central Processor room inside The Interchange. Understandably, you’ll be upset with her for abandoning you and want answers about what’s happening in the quarantine zone. However, she’ll refuse to divulge any information until you do her a favor.
She’ll request that you recover her research notes in her office in the Robotics department of The Interchange.
How To Get Inside Robotics In The Interchange

There are a few different ways to reach Robotics, but the most common method to get to this section is by powering up Data Store Bravo or Data Store Delta. This will require you to find special items called Atomic Batteries, although you’ve likely picked up a few by this point of the game. Once one of these Data Stores has been activated, you unlock doors on the lower level leading out to a wide-open area.
The entrance to Robotics will be easy to spot, as it’ll be a pair of giant, yellow double doors with the word Robotics written above them. But since nothing can be easy in Atomfall, this entrance will be patrolled by a group of Protocol soldiers and two B.A.R.D. Robots.
One robot will be armed with a machine gun, while the other will have a flamethrower. In addition to these forces, two machine turrets will be on the walls guarding the entrance.
How you deal with these enemies is up to you. You can sneak by them, or you can take them all out. If you plan on fighting your way through, have plenty of healing items and ammo.
The machine gun turrets can be deactivated by getting close enough to them and using the Signal Redirector on the electrical box with a yellow light beneath them to shut them down. Or you can avoid being spotted by the turrets by staying out of the way of the red laser attached to them.
Get past all of this security to enter the Robotics department. Now, it’s time to find Dr. Garrow’s office.
How To Reach Robotics’ Lower Level In Atomfall
Upon entering Robotics, you’ll see a Pneumatic Tube where you can store or retrieve items. Head forward, and you’ll be in another wide-open area with plenty of places to go. At the end is the entrance to the Lower Level of Robotics, where Dr. Garrow’s office is located. Two magnetic locks keep the entrance secure, and there’s currently no power.
You’ll need to first find the Administration Office, which can be accessed by heading through the Canteen to the left. Be aware that the Canteen is infested with rats, so have a melee weapon or some Explosive Lures on you to defend yourself. Head through the Canteen and go upstairs. Keep walking straight, and you’ll come across the Administration Office. Inside there will be a vent close to the floor you can crawl through. Do that, and you’ll find the Control Room Keycard along with two Training Stimulants.

Related
Atomfall: All Garden Gnome Locations
In Atomfall, Gnomes are collectibles that are tied to the ‘Orna Mental’ achievement, but you have to destroy them to earn the trophy.
The Control Room is close to the Administration Office. Use the keycard on the card reader to get inside, and you’ll see a giant console in the middle with a green screen displaying schematics for a B.A.R.D. Robot. You can press a button on the console to get power going to the Robotics lab. This will trigger a message from a scientist named Frank Stevens, who will explain what happened in this department. Unfortunately, this will also activate a B.A.R.D. Robot, who will now begin to patrol this area, so you’ll have to either sneak around it or take it out.
Head across the room to find the Robot Assembly room. To the left will be the entrance to Power Control Alpha, which will have no power. Equip the Signal Redirector, and you should be able to reroute power by using it on the electrical box that you can see through a window.
You can now enter Power Control Alpha, where there will be a console with a level labeled Wing Power Control. Pull it, and you’ll hear a message declaring that 50% of power has been restored to the entrance.
Exit through the doors you used to enter Power Control Alpha. Above on the wall will be an electrical box you can access by climbing a crate. Reroute power, which will activate a turret above the entrance. Avoid being spotted by its laser, and reroute the power using the Redirector on the electrical box below it.
Now, walk over to the other side of the room to Power Control Beta. To the left, you can use the Signal Redirector on another electrical box through a window. This will power up the lock release. Enter Power Control Beta, pull another Wing Power Control level, and power will be restored to the entrance.
But if you thought that was it, you’d be mistaken as the now reactivated electricity is now pulsating through an exposed wire, causing the floor to become electrified due to water on the ground. You can hop on the crates to avoid being shocked and then use the Signal Redirector on the electrical box on the door. Now, you can use the lock release on a nearby console to open up the entrance to the Lower Level.
Where To Find Dr. Garrow’s Research Notes
We’re in the lower level of Robotics, but this journey isn’t over yet. Slide down the elevator shaft, and you’ll be in front of a closed yellow shutter door that leads to Robot Maintenance. Next to it will be the body of a scientist, who has a note titled “Locked Inside Weapons Testing.” This will reveal that a scientist named Rosie took the key to Dr. Garrow’s office and locked herself inside the Weapons Testing Room to the right.
Use the Redirector on an electrical box above to open up the shutter. Sure enough, this will immediately reactivate all of this area’s defenses, which include turrets on the wall, a B.A.R.D. Robot, and a flamethrower B.A.R.D. Robot. If you’re planning on taking out the robots, there are red explosive barrels located in this lab that can deal massive damage to them. It’s best to try to deal with them separately instead of fighting both simultaneously. You’ll also want to deactivate the turrets using the Redirector.
Around this lab are three computer consoles with green robot schematic screens above them. You’ll need to reach each one and press a button to turn them on. Activating all the consoles will open up the Weapons Testing Room. You’ll find Rosie’s corpse inside, which will have the Head Office Keycard.
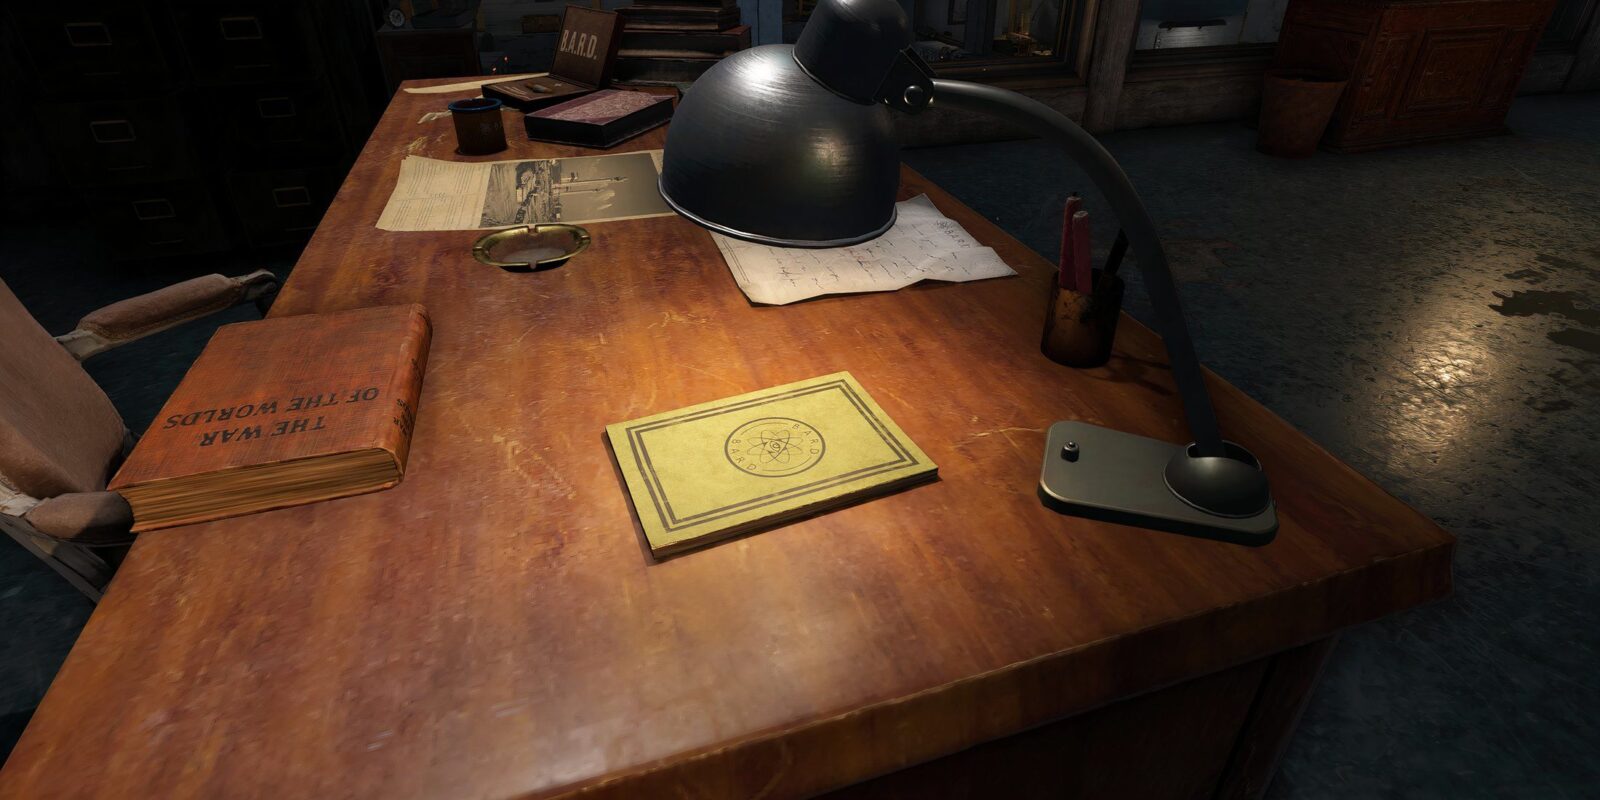
Dr. Garrow’s office is up some stairs at the back of Robot Maintenance. Head up, use the keycard, and enter the office. On the desk will be Dr. Garrow’s research notes, which you can add to your inventory.

Survival
Action
Adventure
- Released
-
March 27, 2025
- ESRB
-
Teen // Blood, Language, Violence