By now, you know what to expect in The First Berserker: Khazan, as you’ve fought your way through many complex regions while cutting down many formidable bosses. Now, it’s time to get through your biggest fears. Spiders. And lots of them, which may be the most challenging thing in this game for some of you.
The Strange Stench mission may be one of the most challenging stages in the game, culminating in one of the easiest boss encounters. That is if you explore every nook and cranny. This mission has lots to see and do, so be prepared for an endless war against Spiders and Bats!
How To Complete Strange Stench
When the mission starts, turn right and run behind the pillar to find a Poison Cleanse Potion on the ground. From here, head toward the main entrance of the Skoffa Cave and speak with Elamein. After talking with her, proceed into the cave to find the first Blade Nexus and checkpoint of the Strange Stench mission!
Destroy The First Spider Nest
Look right from the Blade Nexus to see a corpse on the ground and make your way over to it. A Spider will be here, so focus on it first. After taking down the Spider, Absorb the corpse for Lacrima and Soul Tear Dust. Directly up from the corpse will be a large spider nest covering an opening, head to it.
Using your weapon, cut through the thick layers of the web and enter the tunnel to find an enormous Spider waiting inside. With the Spider defeated, push further inside to find Explosives. Interact with it to light the fuse, causing the Spider Nest to get caved in by the rubble. This will help you out tremendously later!
Further Exploration
Go back to the Blade Nexus, then head straight ahead until you see a purple item on the right across a chasm. Follow the pathway around until you reach this item, only to be met with a handful of Spiders. Eliminate the Spiders and loot everything in the area to obtain a Pell Los Ceremonial Helm and Fire Spirit’s Fuel!
Moving On Up
Near the Blade Nexus will be a ladder; take it up to reach the top of a beam, then instantly begin guarding, as a swarm of Bats will fly into you. From here, follow the beams the entire way around until you reach a dead end with a purple item at the end of it. Scoop this item up to receive an Earth Enhancer.
Make your way back down the beams until you are above a large platform with several Spiders. Use your Javelin to pick a few off, then jump down and finish them off. With all the Spiders eliminated, Absorb the body on the ground for even more Lacrima and Soul Tear Dust!
Continuing Upward
Remain on the platform and look left to find a piece of wood in the corner that connects to more beams. Cross over the piece of wood and begin making your way up the beams. Near the top of the first beam will be more Bats, so ensure you’re guarding to avoid taking damage.
Another platform will be here and will have many Spiders on it. Take care of the Spiders just like you’ve been doing, then continue making your way up the beams. Once you reach the top again, even more Bats will appear, so guard the moment you get up there, or you will take severe damage!
Additional Netherworld Energy
Once at the very top of the beams, you will be able to go to the left or right. Head to the left and take the sloped beam up to find a yellow item. Pick it up to obtain an extra charge for your Netherworld Energy, increasing your primary healing source by one. You will also get a Fire Enhancer!
Activating The Shortcut
With your additional Netherworld Energy obtained, you can now take the right beam into the upper portion of the cave. Once here, you will see a lift on your right. Step inside the lift and activate the switch in the middle, bringing you down to the Blade Nexus at the start of the mission. This shortcut allows you to bypass everything you just did, which is a lifesaver!
Exploring The Upper Section Of Skoffa Cave
With the shortcut lift now active, take it to the top and head right to be ambushed by Spiders. Make quick work of them and continue making your way along the cliffside until you see a large Bat hanging in the distance. Use your Javelin to land a headshot on it for massive damage, stunning it in the process.
This Bat has a lot of health and can be pretty irritating, so keep peppering it with Javelins until it recovers and begins attacking you. It shouldn’t have too much health left now, so be patient, land Reflections, and only attack when it is vulnerable.
Make your way around the cliffside past where the Bat was until you reach the large wooden platform. There will be a red light illuminating from the center of the floor. Use your Javelin to hit a Worm hidden underneath the ground, one-shotting it. Push slightly forward to get ambushed by Spiders.
Eliminate all the Spiders and make your way to the end of the platform that overlooks the nearby waterfall. A Mysterious Ore will be dangling on the wall of the cave. Use your handy Javelin to destroy it!
Deeper In The Cave
To the left will be a pathway that leads further inside the cave. Follow it in to find a Zombie-esque enemy that deals Plague Damage. It won’t be hard to eliminate on its own, but it does serve as a warning of things to come. After taking the Zombie down, continue forward until you reach a sizable room filled with these monstrosities.
As you begin taking down these Zombies, more will emerge from the ground, making the situation that much more terrifying. While they are slow and don’t have much health, they will deal tons of damage to you if they can catch you, so keep your distance and only attack if you have enough Stamina.
With the Zombies taken care of, pick up the purple item in the center of the room to obtain a Fire Enhancer, then proceed into the next area!
Undead Nightmare
Once you’re in the next room, you will instantly see that it is teeming with those undead monsters, as you can see them roaming around all over the place. You must take them out slow and steady, or you will likely be overrun. We strongly recommend picking off as much as possible with your Javelin before pushing too far in.
As you begin getting deeper into the cave, more Zombies will come out of the ground, forcing you to fall back, deal with them, and then continue forward. Some Zombies will have red eyes, meaning they inflict Plague damage on contact. Try dealing with them first if you can.
Before moving on or exploring any part of this room, ensure all the Zombies are taken care of, as you do not want them catching you off guard. Especially the Plague-ridden ones!
Destroy The Second Spider Nest
With all the Zombies taken care of, look for the ladder near the backside of the room and climb it to the top. An enormous Spider will be waiting for you there, so take it out as soon as you get up there. After eliminating the Spider, look for the webbed-off wall and cut through it with your weapon.
Follow the tunnel all the way to the end to find more explosive barrels and interact with them to light the fuse. This will block off and destroy another section of nests, making the boss fight at the end of the mission much more manageable!
Clearing The Rest Of The Room
Climb back down the ladder and look to the right. There will be a staircase that leads to a platform against the wall of the cave. Make your way up these stairs and watch for a Zombie, as there will likely be one here. Eliminate them, then crack open the Chest to receive the Corrupted Dual Wield, Forgotten Warrior’s Gaitors, Archbishop’s Ring, and a Small Spirit Orb!
Through The Barricades
Make your way back toward the ladder and look to the left to see wooden barricades blocking the way deeper into the cave. Walk up to the barricades and give them a solid hit to break them apart, then continue through. You will eventually encounter a Spider underneath a bunch of bodies trapped in webbed cocoons.
Eliminate the Spider and examine the bodies closer. One of them will have a purple light emanating from it. Use your Javelin to knock the cocooned body down, revealing an item. Pick it up to obtain a Pilgrim’s Scroll and x2 Transmutation Mist!
Obtaining The Ghost Hammer
Continue further into the cave until you run into another large Spider and quickly eliminate it without breaking open the nearby nests. With the Spider gone, look up and examine the cocooned bodies. One of them will have a bright orange light. Use your Javelin to knock the body down, revealing another item.
Grab the item to obtain the Ghost Hammer, allowing you to unlock the Wulfric the Resilient Phantom the next time you rest at a Blade Nexus!
Another Shortcut
Keep following the pathway down into the cave until you reach a room with large holes in the ground and a waterfall. Navigate around the gap and look to the right to see a closed door. Make your way to the door and interact with it to unlock it, leading you directly back to the first Blade Nexus you activated!
Further Beneath The Skoffa Cave
After spending your accumulated Lacrima and unlocking Wulfric the Resilient, head back through the door you just unlocked and then head right. Follow this pathway down until you run into a large Spider that will roll at you like Sonic the Hedgehog.
Defeat the Spider, then walk to the right; there will be an extended piece of the ground that leads out over the cliffside with an item on the edge. Pick it up to obtain the Poison Disruption Parchment. From here, follow the main path until it splits, with one path leading to the left and one to the right!
Right Pathway
Run across the log on the right and into the cave, then begin guarding. A swarm of Bats will fly out of the cave, dealing substantial damage if they hit you. Once you reach the cave entrance, you will see a large Bat hanging from the ceiling deep in the back.
This Bat is an Elite enemy, so be prepared. Use your Javelin to knock it down, having it instantly fly toward you. Bait out its Burst Attacks to land devastating Counterattacks. Reflecting is also crucial here, as you must maintain your Stamina to avoid massive damage.
Defeating the Elite Bat will grant you the Hound Scroll, Mysterious Glyph Dual Wield, Butcher’s Pauldrons, Frozen Mountain Pants, Poison Cleanse Potion, and x3 Inner Essence. From here, go toward the exit of the cave and look to the right to see another pathway.
Follow this path all the way up until you see a Chest. Drop down and crack it open to receive the Spear of Inner Turmoil, Forgotten Warrior’s Helm, Necklace of Life, and Lightning Spirit’s Fuel!
Back On Track
Return to the split pathway and follow the left one until you eventually run into Dragonkin. Defeat them and continue pushing forward until a large Spider ambushes you. As you begin fighting it, more Spiders will appear, so be mindful of your Stamina.
After eliminating the Spiders, loot the item to obtain Poison Spirit’s Fuel and push a bit forward to get ambushed by another large Spider. Defeat this one as well while trying to avoid the egg sacks, then Absorb the corpse on the ground for Lacrima and Soul Tear Dust!
Very Big Spiders
Keep on the main path until you reach a narrow room with another large Spider that will roll at you with tremendous speed. Eliminate it and push onward until you reach an open room. On your left will be an enormous Spider guarding a purple item. We need this item. Unfortunately.
Chuck a Javelin at its head to aggro it, driving it toward you away from its little nook. This Spider has LOTS of health, so it will take a little while to defeat it. Reflect its attacks and focus on its Stamina Gauge. This is a battle of endurance, so don’t make any costly mistakes.
Killing the gigantic Spider will allow you to access the item. Grab it to obtain the Ring of Sealed Venom and equip it instantly. You will need it!
Descending Further
Continue fighting through the caves until you reach another sizable room with not as many Spiders in it. Eliminate them, then follow the pathway that leads underneath the wooden walkway. Once you’re here, there will be a narrow path that leads to the left. Follow it to obtain a Lightning Enhancer.
Turn around and proceed through the opening, leading you further into the cave. You will eventually reach another Blade Nexus. You can finally rest and spend your Lacrima wisely at this new checkpoint!
Navigating The Poisoned Depth
With the new Blade Nexus active, you can now enjoy your own personal hell, as this area is an absolute nightmare to get through. From the Blade Nexus, make your way down the winding ramp until you reach the bottom, then look to the right to see a Mysterious Ore tucked away in the corner. Use your Javelin to smash it.
Next, look out in front of you to see the vast, poisonous swamp overflowing with oversized Spiders and death. Isn’t it lovely? The moment you leave the ramp, you will be greeted by a large Spider, so make quick work of it before moving on!
Trudging Through The Swamp
Upon defeating the first Spider, look to the right to spot a tree trunk that has been split apart, allowing you to pass through it. Run across the poison swamp and into the tree trunk, picking up the Concentrated Fire Essence along the way. From here, take a left back into the swamp to see a large Spider in the distance.
There will be an island close to it, so make a break onto it, then attract its attention with a Javelin. Defeat the Spider, then grab the blue item it was guarding for x3 Poison Cleanse Potion. To the right of this item will be another island, this time with a corpse on it.
Sprint to this island and Absorb the corpse to get a massive chunk of Lacrima and Soul Tear Dust. However, you will trigger a formidable foe upon doing so!
Defeat The Elite Spider
If you thought the Elite Bat from earlier was challenging, the Elite Spider makes it seem like a pushover. Due to the vast sea of poison, you are at a significant disadvantage here. This Spider packs a punch, dealing massive damage with each hit. It also has tons of health and is very agile, making it truly despicable to deal with.
Since you eliminated all the Spiders up to this point, we strongly urge you to lure it back to one of the larger islands to avoid stepping into the swamp as much as possible. After that, you must capitalize on its Burst Attacks via Counterattacks and Reflect most of its attacks. This won’t be easy, so lock in.
Defeating the Elite Spider will reward you with the Mysterious Glyph Dual Wield, Butcher’s Helm, Frozen Mountain Helm, Fire Spirit’s Fuel, and x2 Inner Essence!
Exploring The Swamp
With the menace of the swamp defeated, you can now explore the area a bit, allowing you to get another excellent item. From the island where you Absorbed the body, look to the right to see more Spiders in the distance, along with some rock formations.
Make your way over there while taking out the Spiders along the way. Once you get behind the rock formations, you will see a blue and purple item near the back of the area, along with several large Spiders. These things are nothing compared to what you just slain, so you got this in the bag.
Loot the items to receive x2 Small Spirit Stone, x3 Transmutation Shard, a Spirit Orb, and the Necklace of Sealed Venom. Throw on the Necklace of Sealed Venom immediately, giving you substantial protection against the hazards of this awful swamp!
Keep Going
Now that you have your newly obtained Necklace equipped return to where the Elite Spider was and head up the ramp next to where it was sleeping. There will be some Spiders here, so take them out as you make your way up. About halfway up the ramp, look to your left to see a large Spider. Use your Javelin to insta-kill it.
From here, head up to where that Spider was to find a Chest. Throw it open to obtain the Decayed Greatsword, Slayer’s Helm, Veteran’s Ring, and Lightning Enhancer!
Finding A Familiar Face
From the Chest, turn around, head back down the incline, and follow the pathway across. You will see another descending ramp; take it and follow it up until you see a path to the right. There will be some exploding Spiders here, so guard against them to avoid damage.
Follow the right path until you see a red light emitting from the ground. Use your Javelin and throw it at the light, causing it to hit a worm hiding underground, killing it instantly. From here, drop down from where the worm was hiding and look directly across to see the Bard.
Speak to the Bard to access his Shop, which will allow you to purchase all sorts of items and consumables. Stock up on what you need, then return to the main path!
Almost There
Make your way back to where you took the right path that led you to the worm. Except this time, continue going straight until you reach the next area. There will be many pathways here, but just take the left path for now. This will lead you directly to a Blade Nexus, serving as your final checkpoint!
Ending Things With A Bang
Before you do anything else, make your way back to the entrance of this area and look straight ahead to see a pile of wood blocking off a section of the cave. Use your weapons to hack through the barricade and make your way through the tunnel.
Here, you will find the final set of explosives. Interact with them to light the fuse, blocking off and obliterating the last of the Spider Eggs. If you destroyed the others we pointed out in this guide, the upcoming boss encounter will be much more manageable!
Last Bit Of Exploration
To the right of the now-collapsed tunnel will be another poison swamp. Don’t worry, it’s not nearly as bad as the previous one. There will be an island across the way with a corpse on it. Make your way over to it and Absorb it for some Lacrima and Soul Tear Dust.
Directly to the right of this island will be an alcove with a small opening leading underneath it. Run through the opening to find the final Mysterious Ore. Smash it with your weapon, then return to the island to avoid getting poisoned!
From here, begin running through the poison swamp until you see an area on the left with some Spiders. Defeat the Spiders and pick up the item on the ground to receive x15 Transmutation Shard. Next, head back into the swamp and head all the way to the back to find a Chest surrounded by Spiders.
Take out the Spiders and open the Chest to obtain the Bard’s Wristguards, Bard’s Pants, Bard’s Shoes, and x2 Poison Cleanse Potion. Now, you can run all the way back to the Blade Nexus, cash in your Lacrima, and prepare to end this mission once and for all!
Defeat Aratra
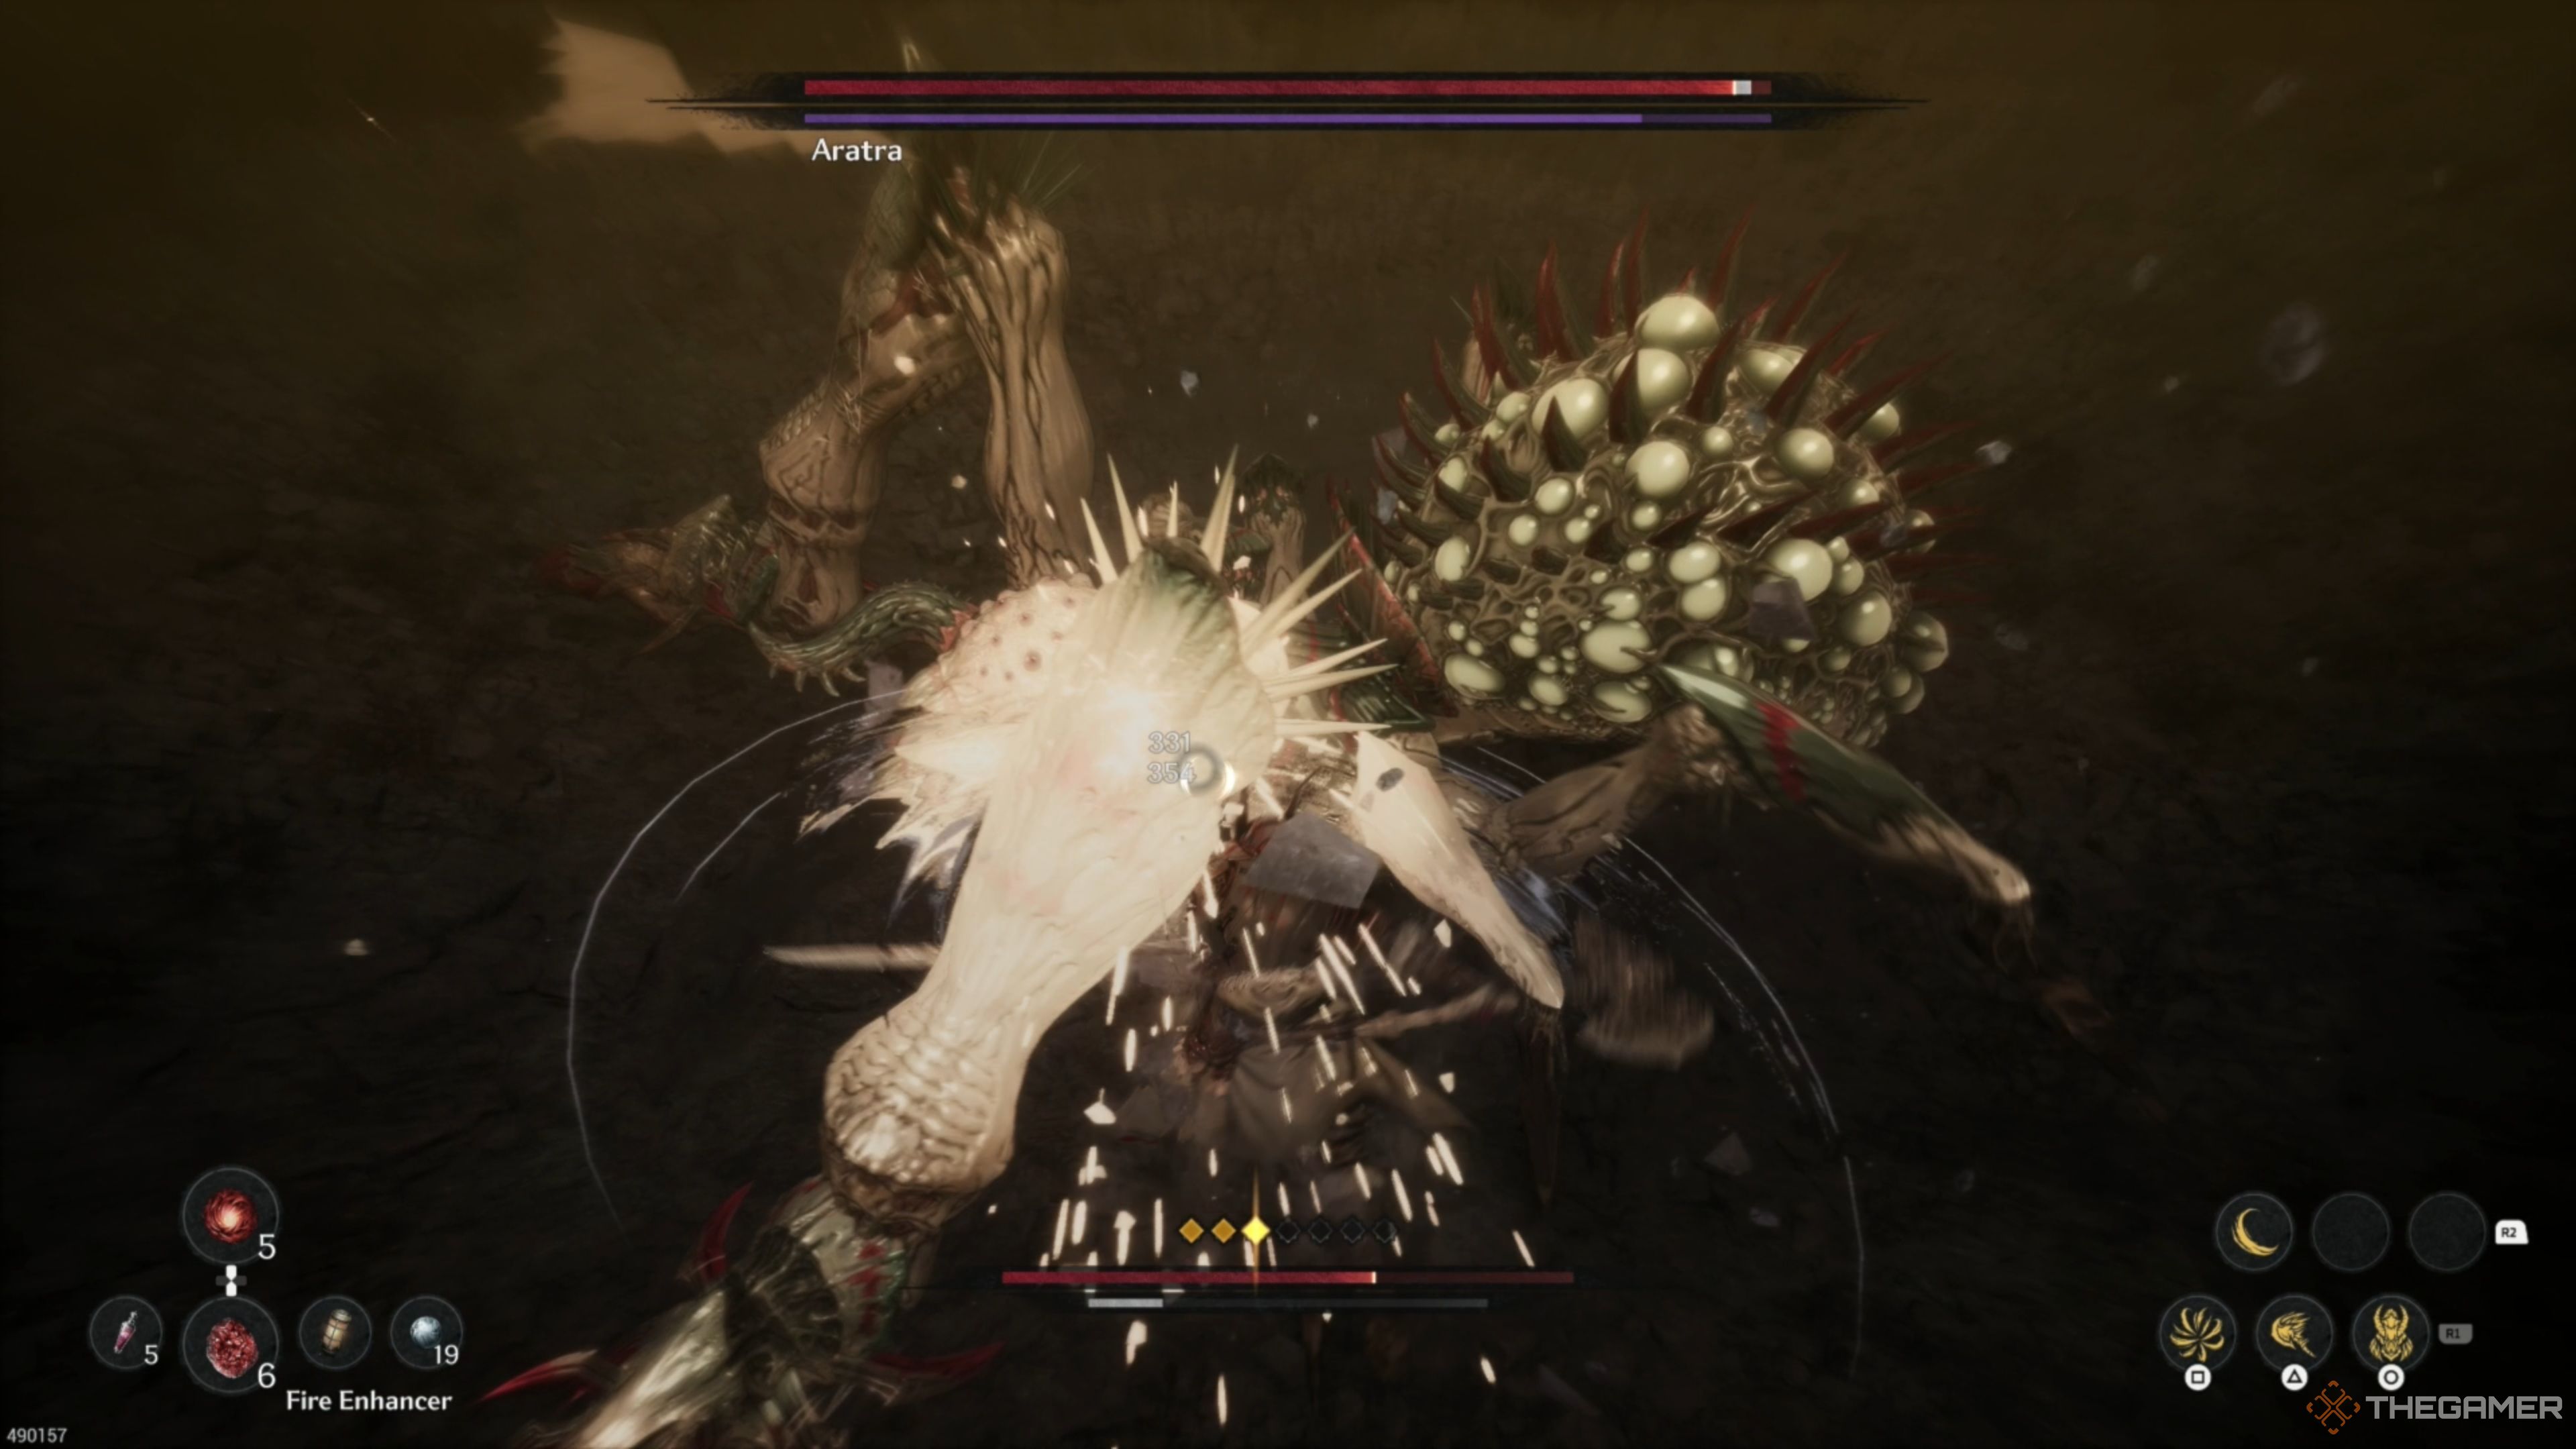
This is it. You’re finally at your last obstacle. Aratra. It’s an enormous Spider that has several tricks up its sleeve. But so do you. If you destroyed all the Spider Nests on your way here, this encounter will be substantially easier, limiting some of its more annoying tricks and evening the playing field.
For more information and strategies on how to defeat Aratra, we have your back. While this fight can still be challenging even with the Nests destroyed, any bit of help is appreciated, especially this late in the game!
4:12

Next
The Soulsborne series has influenced plenty of games, and here are some of the best indie games that took inspiration from them.










Leave a Reply