
Bleach Rebirth of Souls incorporates the best aspects of an anime fighting game — cinematography, captivating art style, and, of course, nail-biting situations. It features some of the most popular and well-recognized characters from the anime and throws you into 1v1 battles with rock-paper-scissors mechanics that ask you to be precise and make critical decisions.
Related
The 10 Best Fighting Games Of All Time
From marvelous street fights to iron ring encounters, which of these badass brawlers is the king of fighters?
What makes this title so unique is its health system; unlike traditional fighting games, Rebirth of Souls doesn’t have rounds or resetting health bars. Instead, it has a single, streamlined approach with two variables that vary in effect and importance. Fortunately, learning how they work here is simple, but understanding it more than the opponent can lend you a massive advantage.
The Fundamentals Of Health: Reishi, Konpaku, And Kikon Moves

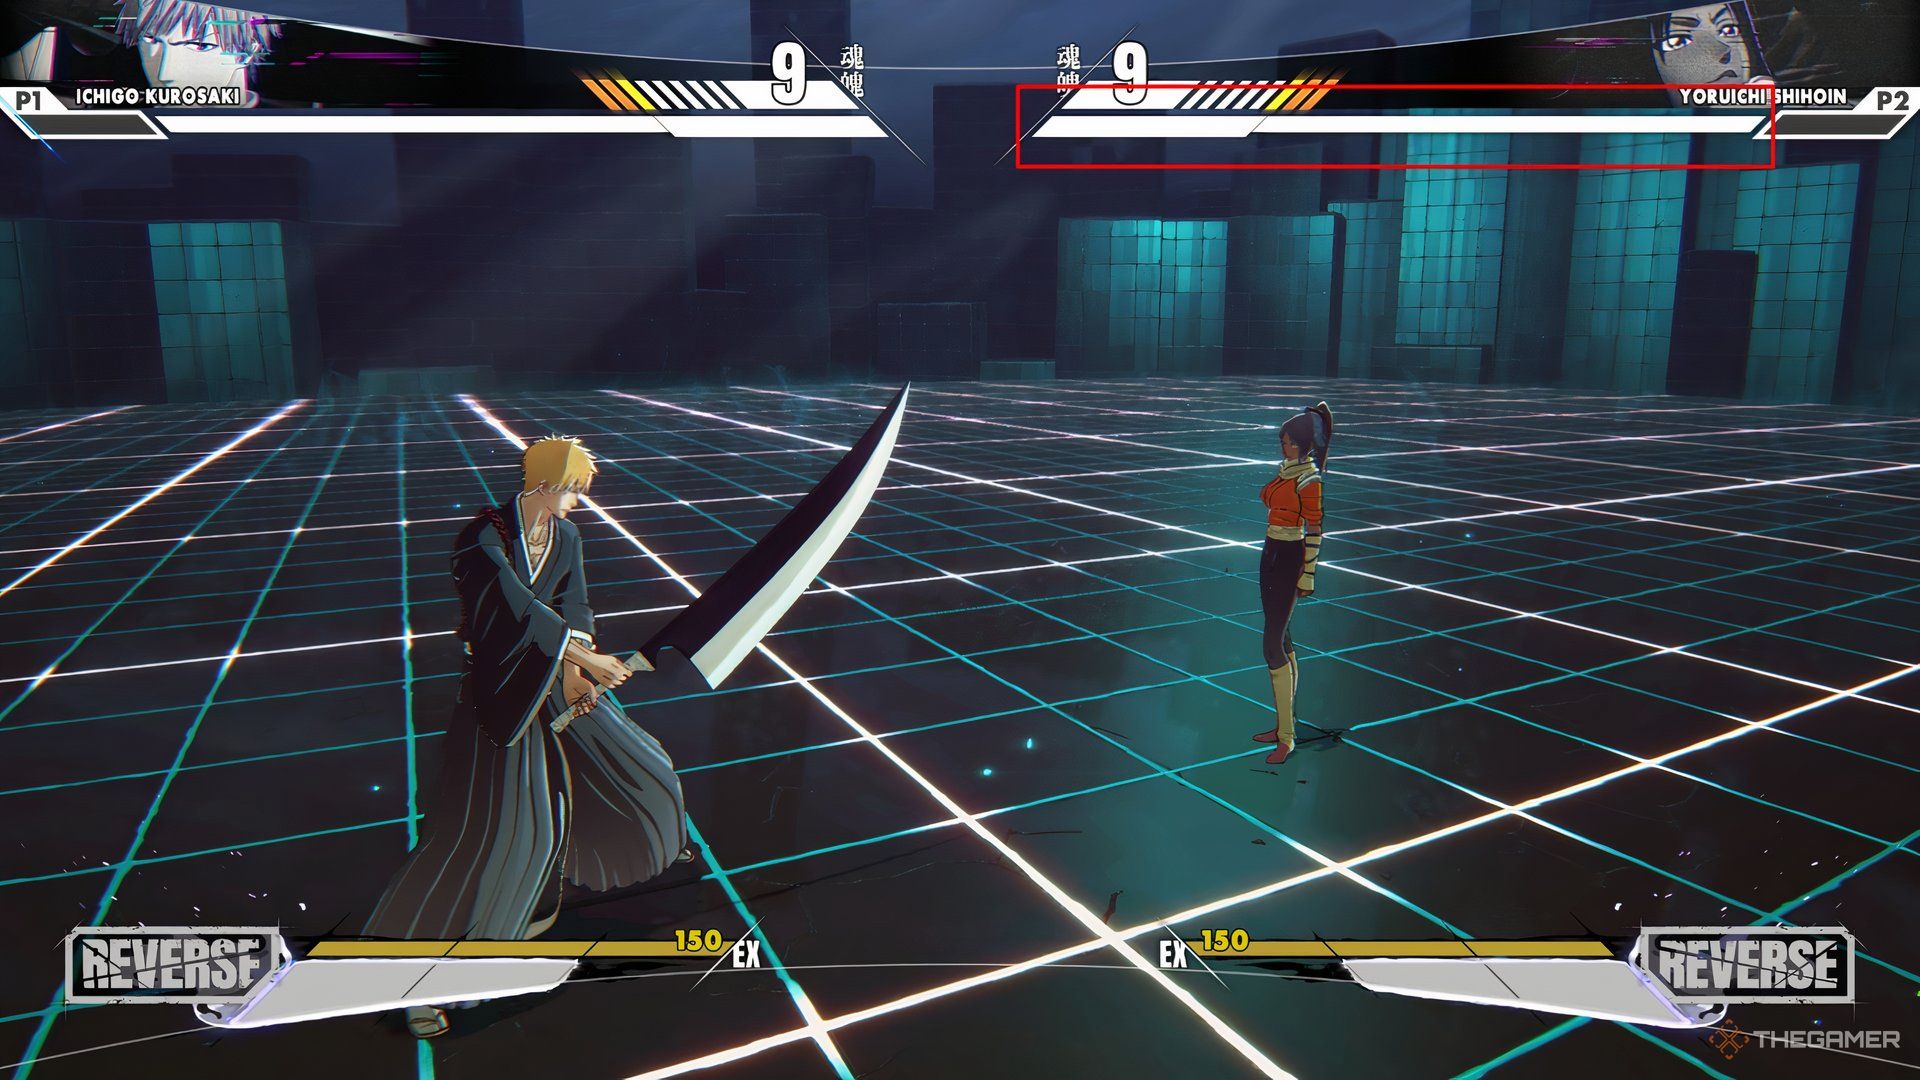
To understand how things work, it’s better to first identify the short-term and long-term health systems. When you attack an opponent, you’re typically damaging their short-term Reishi, which is the game’s health bar you can locate as a straight white line at the top of the screen.
Any successful hit you land — quick, flash, spiritual, or special — always lowers Reishi, getting you closer to a guaranteed “Kikon Move.”
Then, there’s Konpaku, the number above your Reishi, which is essentially your set of lives and the true determining factor of the fight. These can only be decreased via a Kikon Move, and when someone’s Konpaku reaches zero, they lose the game. You can roughly associate this with the lifeline mechanic from Dragon Ball: Sparking Zero and the older Budokai games, minus the Kikon Move inclusion.
In most cases, characters start with eight or nine Konpaku, and a Kikon Move, depending on your current state and the enemy’s Reishi, removes anywhere between two and five Konpaku simultaneously. Thus, your goal is clear: successfully connect Kikon Moves and lower the opponent’s Konpaku down to zero.
To maximize your Kikon Moves’ lethality, always execute them after fully exhausting your opponent’s Reishi Gauge.
How Reishi Works
Reishi is arguably the simplest part of this system. It’s a straightforward health bar that depletes with confirmed strikes other than Kikon Moves, replenishing completely only when your Konpaku takes a hit. The lower your Reishi, the easier it is for the opponent to land a Kikon Move.
However, another way to regain some lost Reishi is through a Reverse Action. By consuming two bars of your Reverse Gauge, you can activate Reverse Action and temporarily enter an enhanced state that slowly builds up a blue bar inside your Reishi Gauge. Once you exit that state, the bar converts into bonus Reishi, letting you tank a few extra hits.
It’s worth mentioning that there are three types of Reverse Action in Rebirth of Souls — Soul Reverse (White), Chain Reverse (Yellow), and Burst Reverse (Blue). In this context, you’d want to activate Soul Reverse to recover Reishi, which only triggers when you’re neither attacking nor blocking.
The Reverse Gauge generates passively throughout the fight.
How Konpaku Works
Konpaku is your life count and the main aspect that shows you how far ahead or behind you are from the opponent. Except for Aizen, Ichigo (Bankai), and Szayelaporro, every character from the base roster has nine Konpaku, meaning it’ll take at least three Kikon Moves without Awakening to eliminate them.
Unlike Reishi, there’s no way to regenerate Konpaku, so when you lose some, they’re gone forever. Beyond that, there’s nothing too unique about them; you can treat Konpaku as three consecutive rounds, where each loss brings you closer and closer to the finish line.
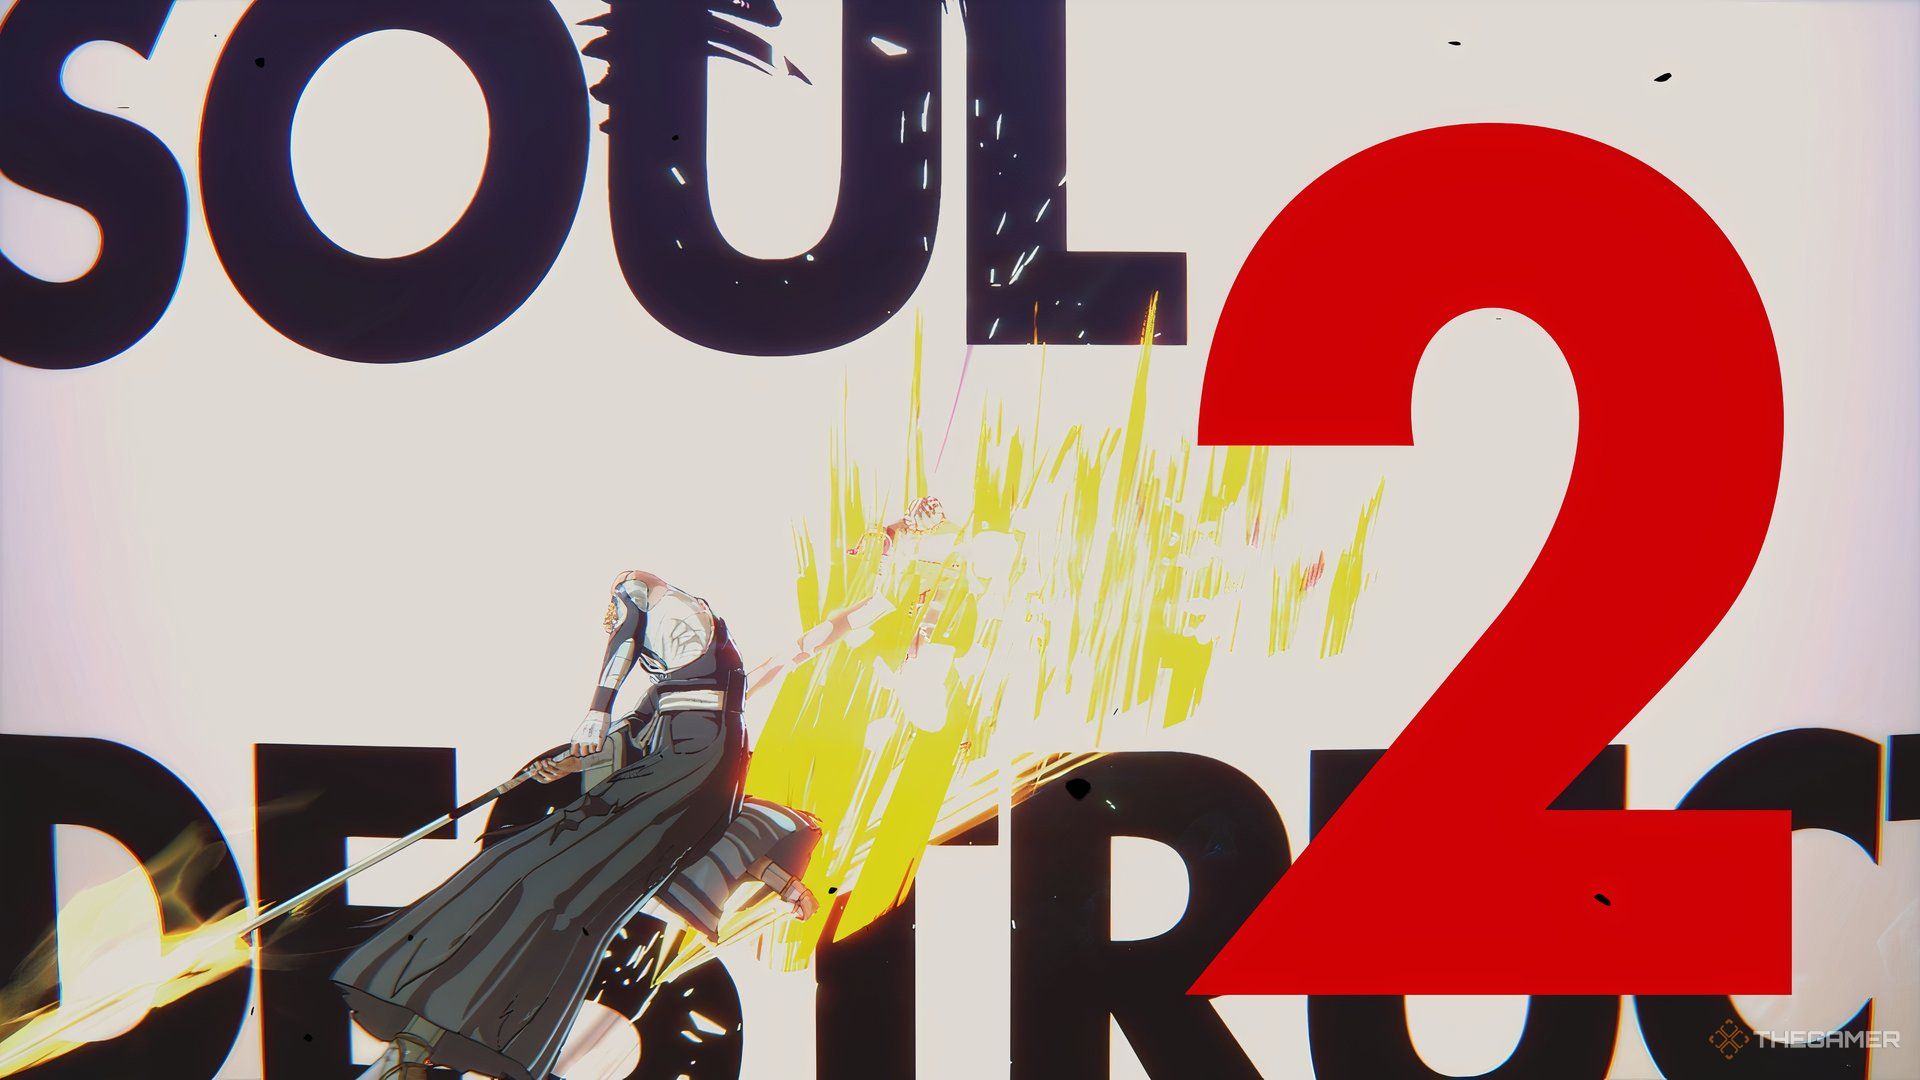
Eliminate Konpaku With Kikon Moves
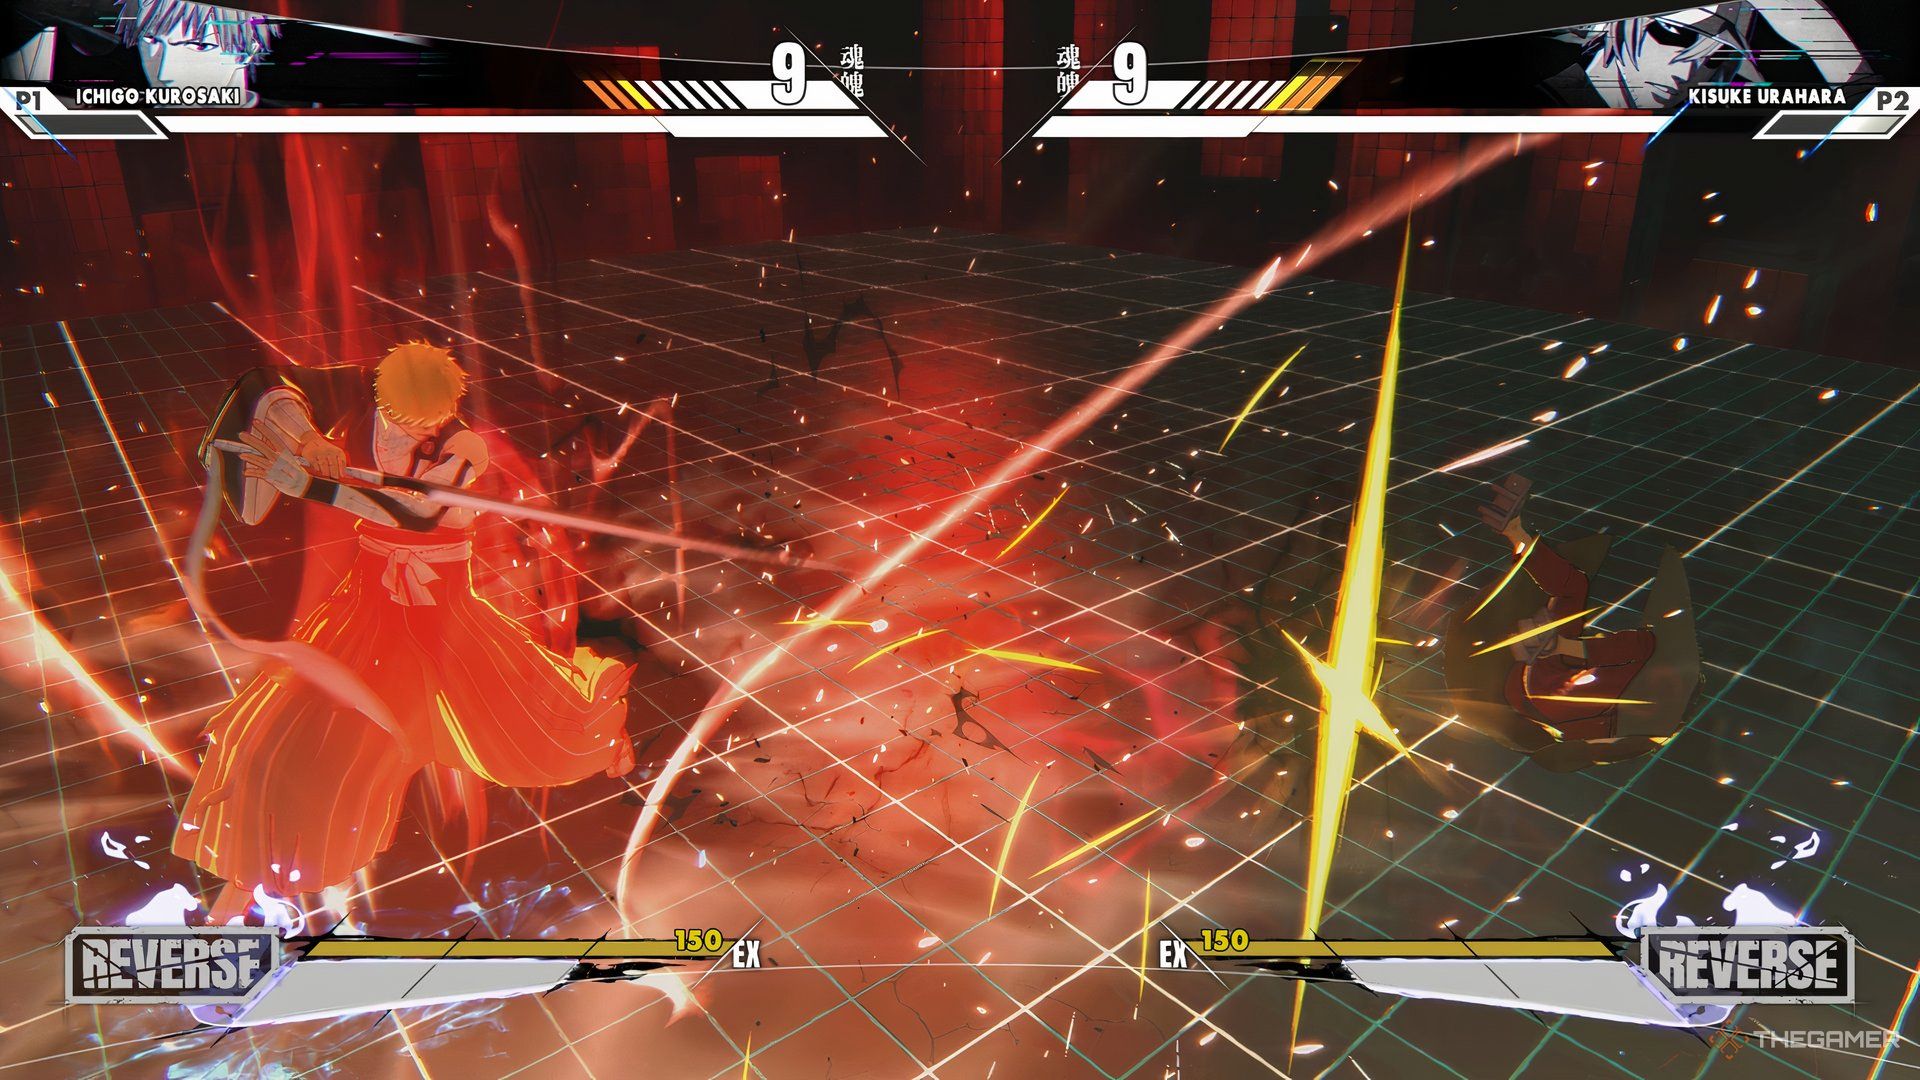
Kikon Moves are the exclusive way to destroy an opponent’s Konpaku, and you can only execute them when their Reishi Gauge is below 30 percent. Once their Reishi goes under 30 percent, their health bar turns red, and you can follow up any successful Quick Attack combo, Flash Attack combo, or Hakugeki with a guaranteed Kikon Move.
By default, every character destroys two Konpaku with a normal Kikon Move. However, if you go the extra mile and fully trim down the opponent’s Reishi Gauge, you perform a Soul Break, triggering an automatic Kikon Move that destroys an additional (totaling three) Konpaku.
Entering the Awakened state enhances your Kikon Move, and your Soul Break and non-Soul Break will take out four and three Konpaku respectively. Furthermore, if you fulfill a certain condition, you can boost your Kikon Move one last time, destroying five Konpaku with a Soul Break.
The Awakened state and its special condition vary from character to character. However, five is the absolute maximum Konpaku you can eliminate at once, meaning you can finish an opponent with two Kikon Moves if timed and positioned correctly.
The yellow and orange bars highlighting the opponent’s Konpaku show how many you’ll destroy in your current state with and without Soul Break respectively.

Next
8 Best Fights In Bleach, Ranked
Bleach has had a lot of intense showdowns, but these are the best.
Source link