Between the chaos of hiding from monsters and trying to meet your quota in each level, vanilla R.E.P.O. is a wild ride all on its own. But what if you want more than six players in a game, or to have your character wear cosmetics? For that, you’ll need to install mods.
If you want to try playing modded R.E.P.O., this guide will cover how to get and use mods, including what program you need to use to find and install them. We’ll guide you through the process step by step so you can experience the magic that mods can bring to the game.
Some mods can sometimes conflict with other mods, or cause your game to crash or not perform properly. Most times, uninstalling the offending mod should fix the issue, but be sure to properly research any mods you want to use before installing them.
How To Find Mods
If you’re new to modded gameplay, installing mods in your game may seem intimidating and complicated, but it’s actually simpler than you might think.
You don’t have to worry about searching multiple websites, downloading mod files, and then finding a mod folder to drag them to. You can actually use a platform made for installing mods directly into the game.
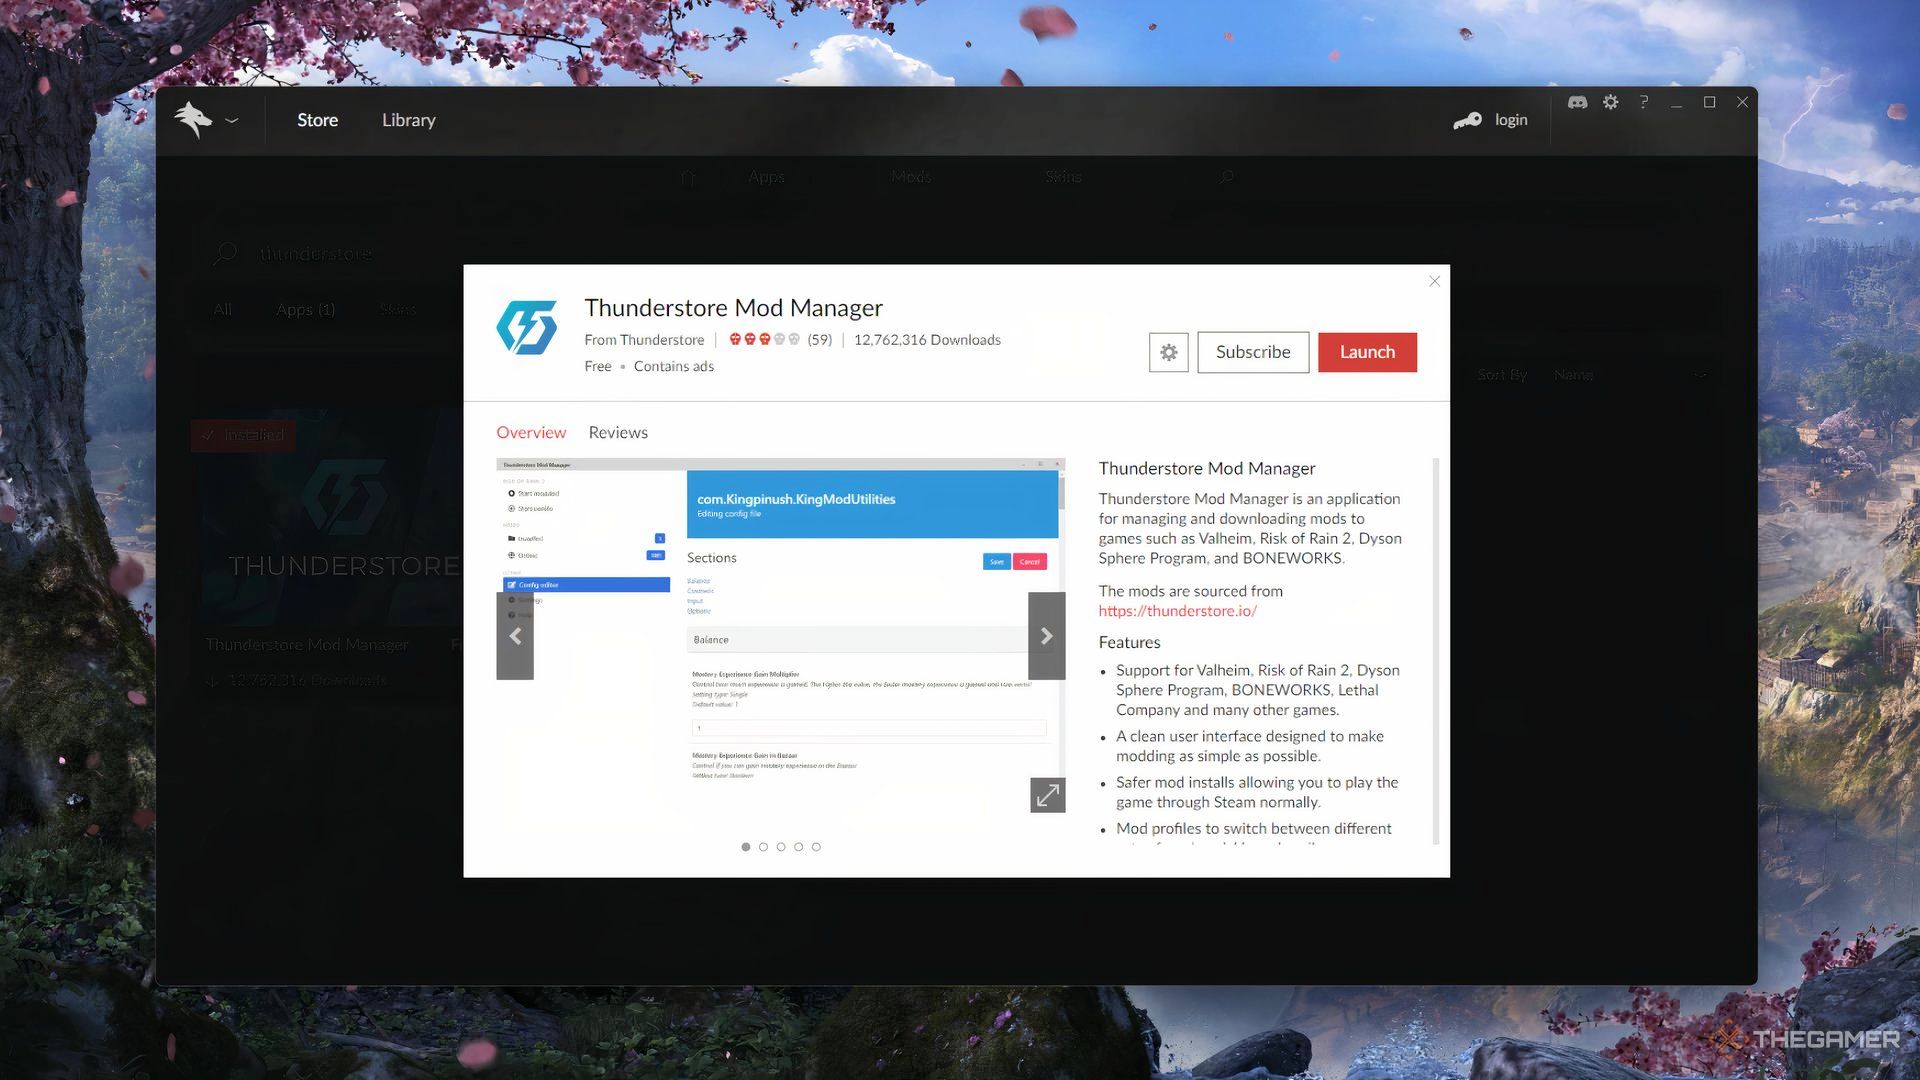
The Thunderstore Mod Manager, made by Overwolf, is the platform you’ll use to install and run mods in R.E.P.O. To get it, you must first download the Overwolf client, and then from there, install Thunderstore. The process is simple and should only take you a few minutes.
How To Install Mods
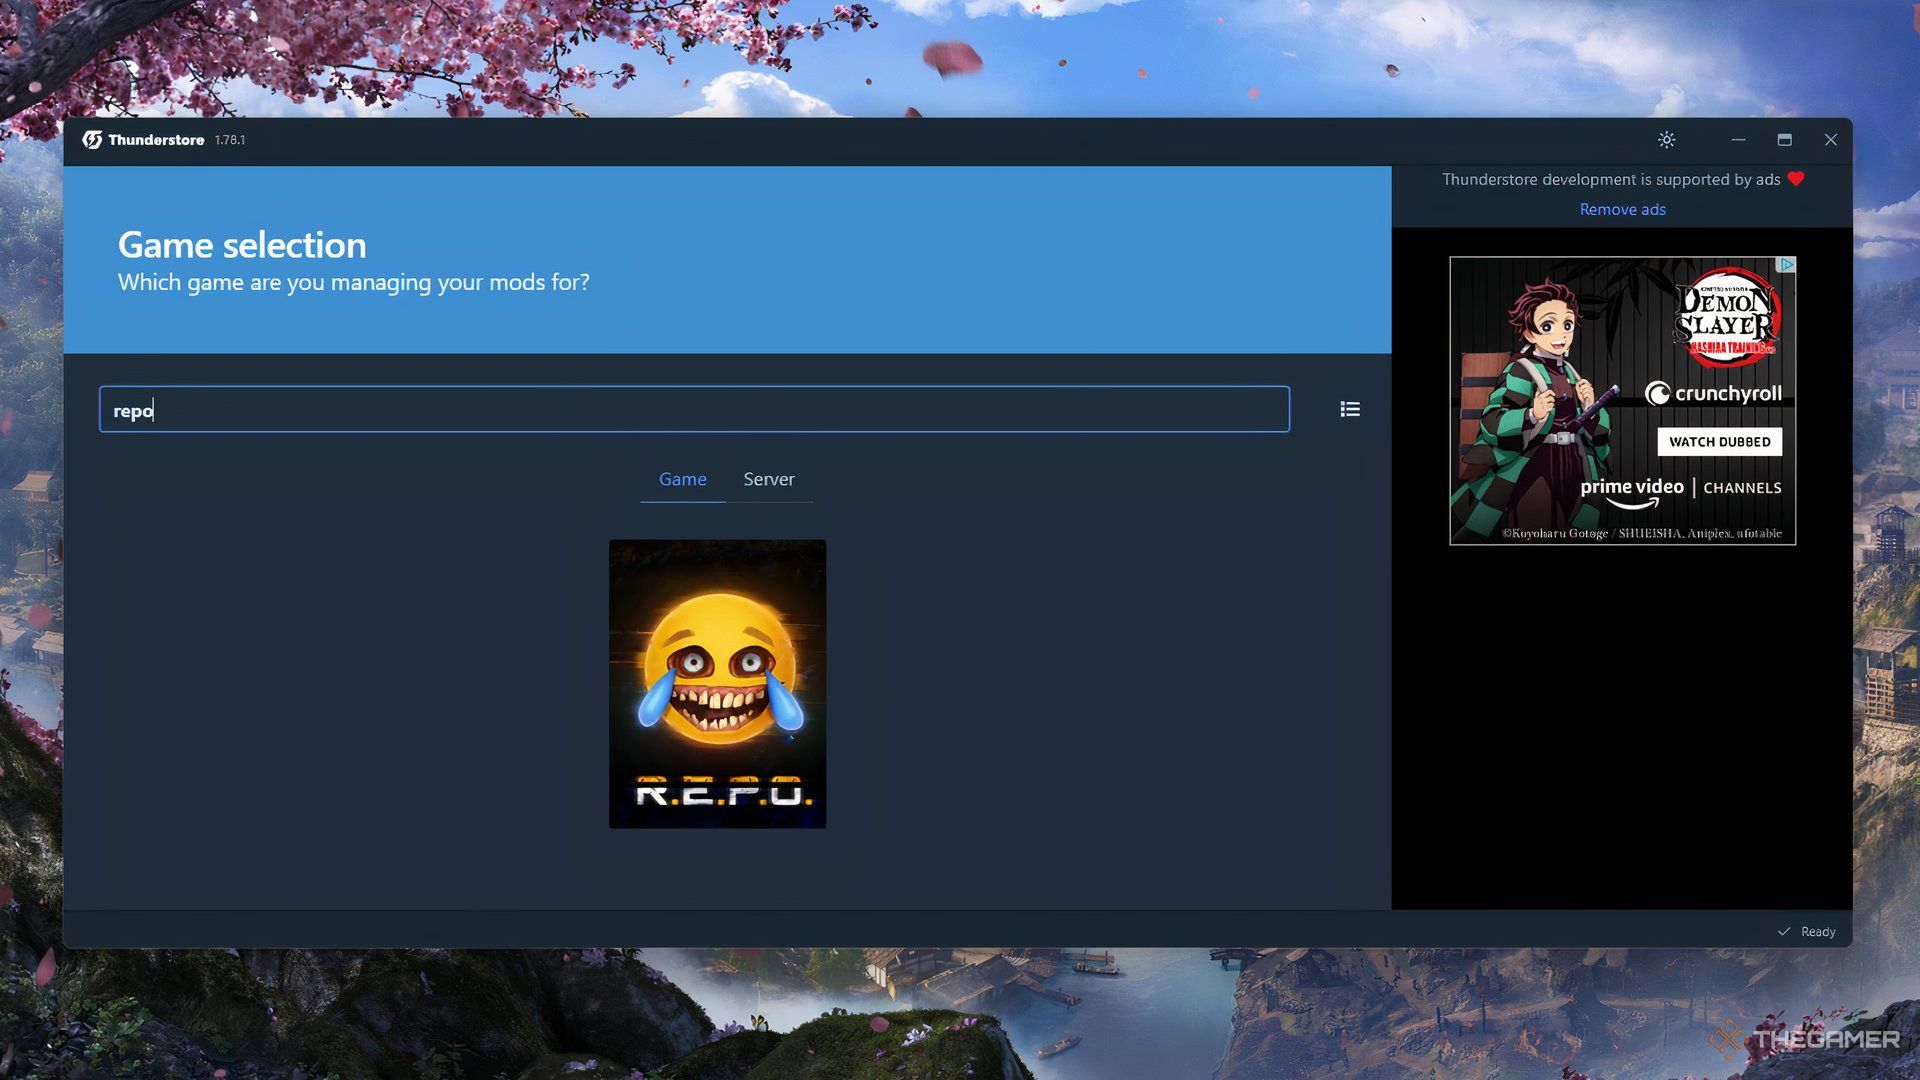
Once you have Thunderstore up and running, search for R.E.P.O. (with or without the periods), then click on it. This will bring you to the default mod profile.
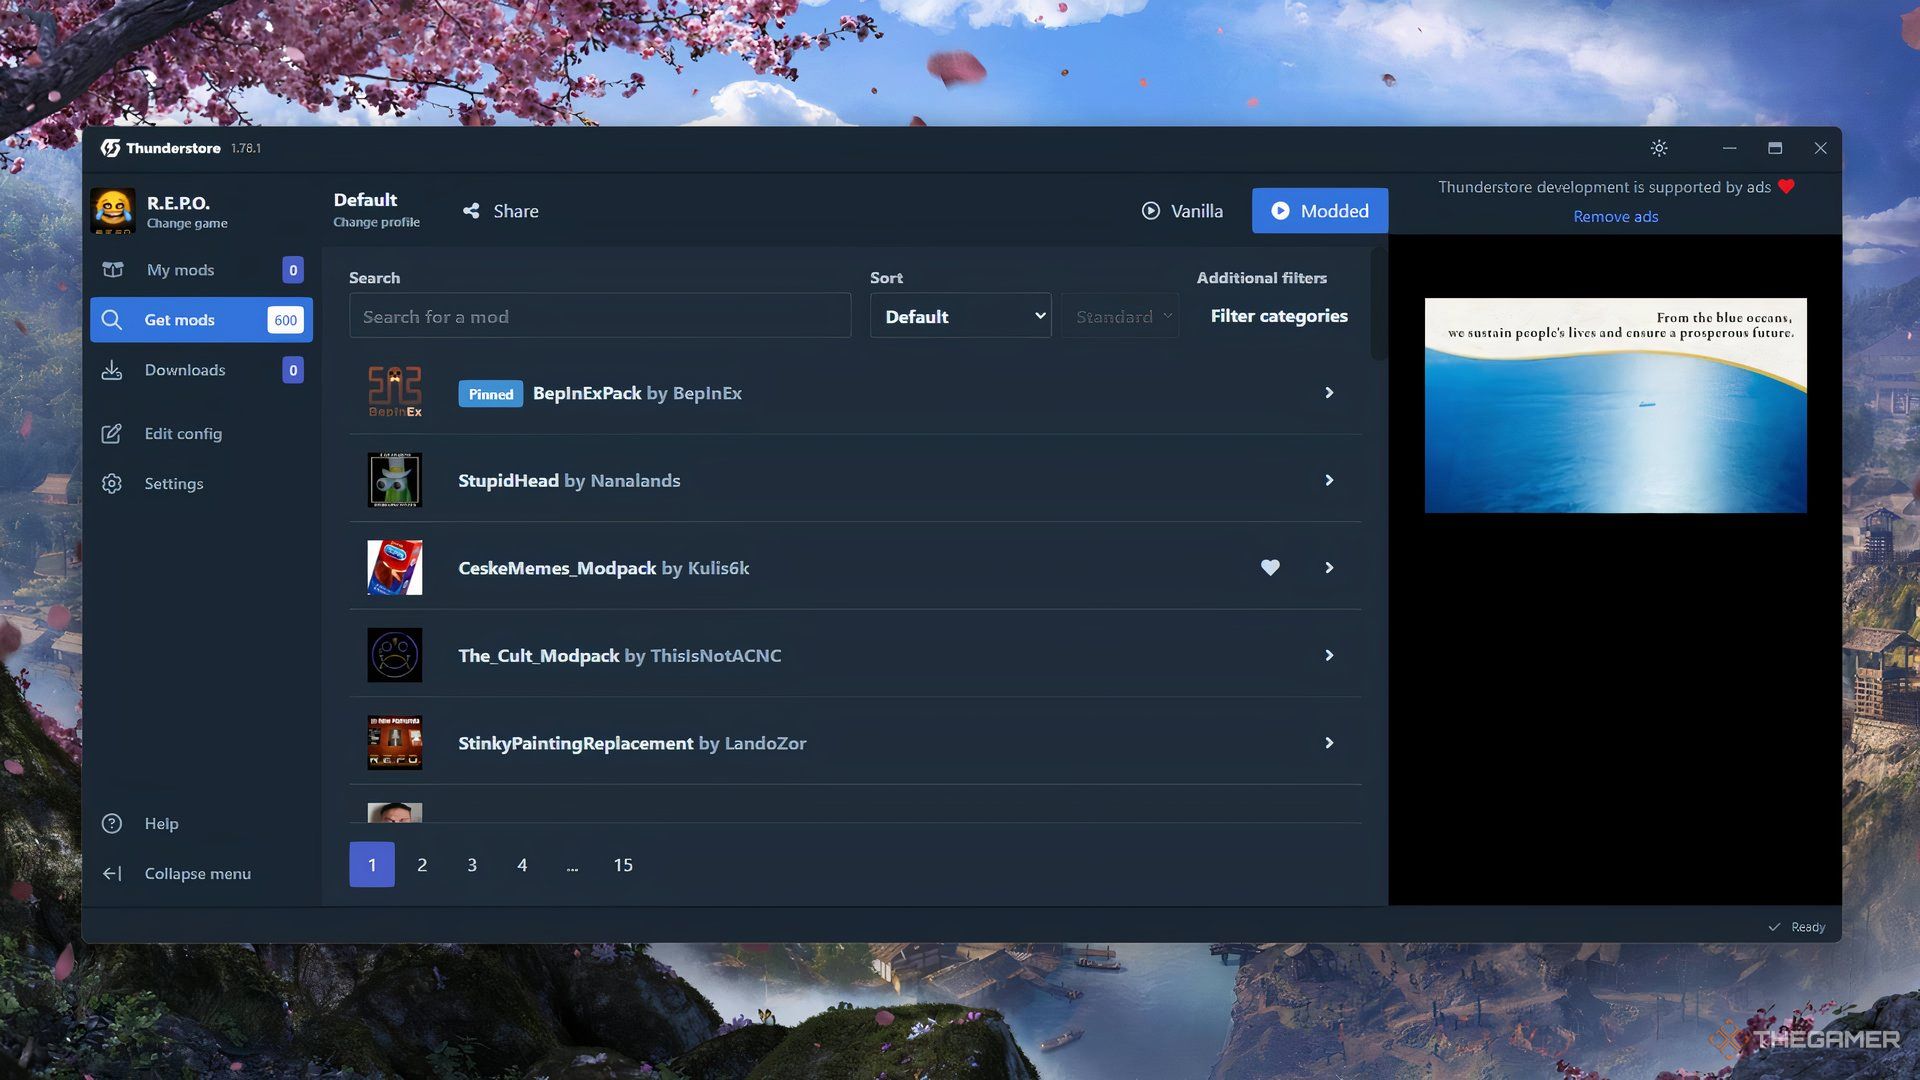
From here you can search for and install any mods currently available for R.E.P.O., see the list of mods you have installed, and launch the game using those mods.
Here is the step-by-step process to search for, install, and use mods:
- Click on the Get mods tab. Here you can browse mods and use filters to look for a specific category. If you know a specific mod you’re looking for, you can type it in the search tab.
- Click on the mod you want and select Download.
- The window that pops up will tell you to select the version. It’s recommended to always choose the latest version of any mod. When you’re ready, click Download with dependencies.
- Once the mod is finished installing, it’ll show up under the My mods tab.
- To launch the game using the mods you’ve installed, click the blue button in the upper right corner that says Modded.
Every single mod available for R.E.P.O. depends on a mod called BepInExPack, which will be pinned in the Get mods section. Without this mod installed, you won’t be able to use any other mods and will get an error message if you try to launch the game.
How To Play Modded Multiplayer
One of the great things about Thunderstore is that it makes it super easy to play multiplayer with mods. All you have to do is click on Share at the top of the window, and you’ll be given an alphanumeric profile code to give to your friends.
Direct your friends to install Thunderstore, then guide them through the process of installing your profile:
- Have them click on Change profile.
- Then they’ll need to click Import/Update.
- Click on From code.
- Paste in your profile code.
- Choose to create a new profile with these mods, or update an existing profile with these mods.
- The mods will then be installed for them, then all they have to do is launch the game through Thunderstore.
This can be especially useful if you’re using multiple mods, as your friends won’t have to install them one by one.

Next
Repo: How To Get And Use Energy Crystals
Save yourself from re-buying items with these energy crystals!






Leave a Reply