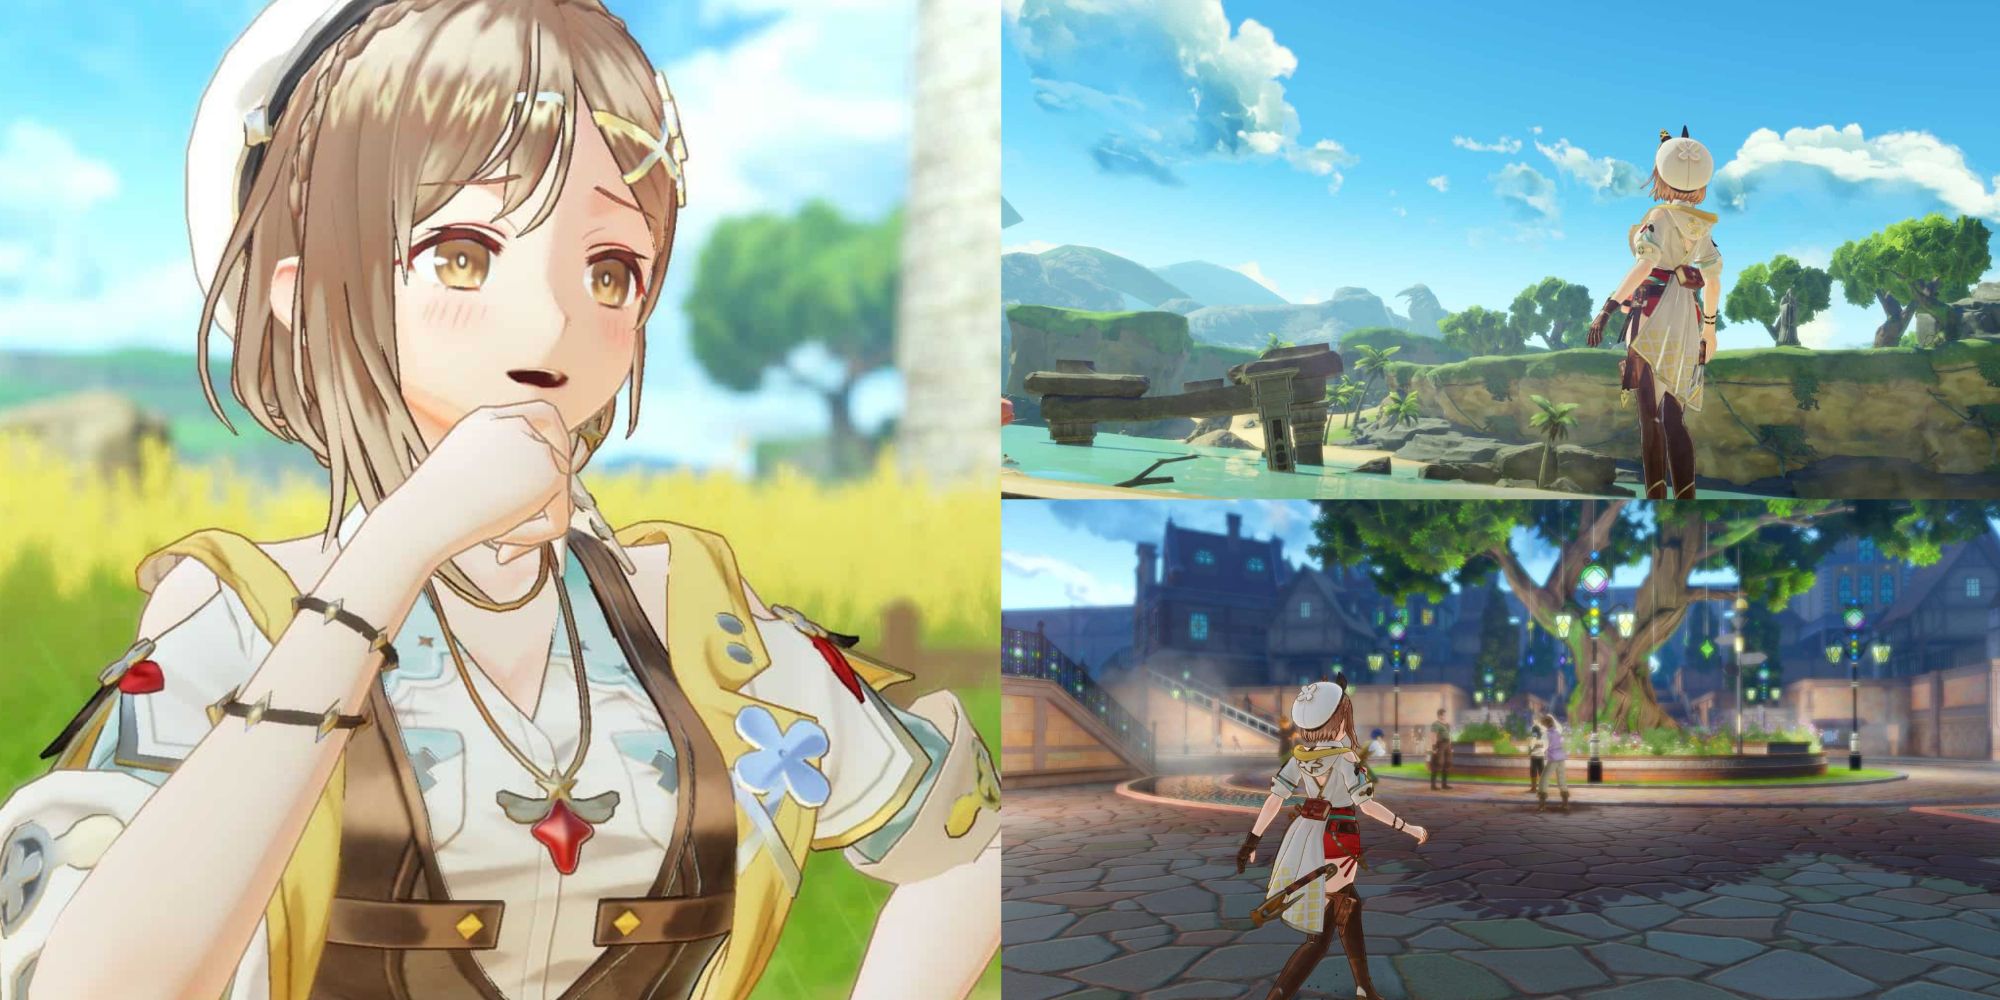
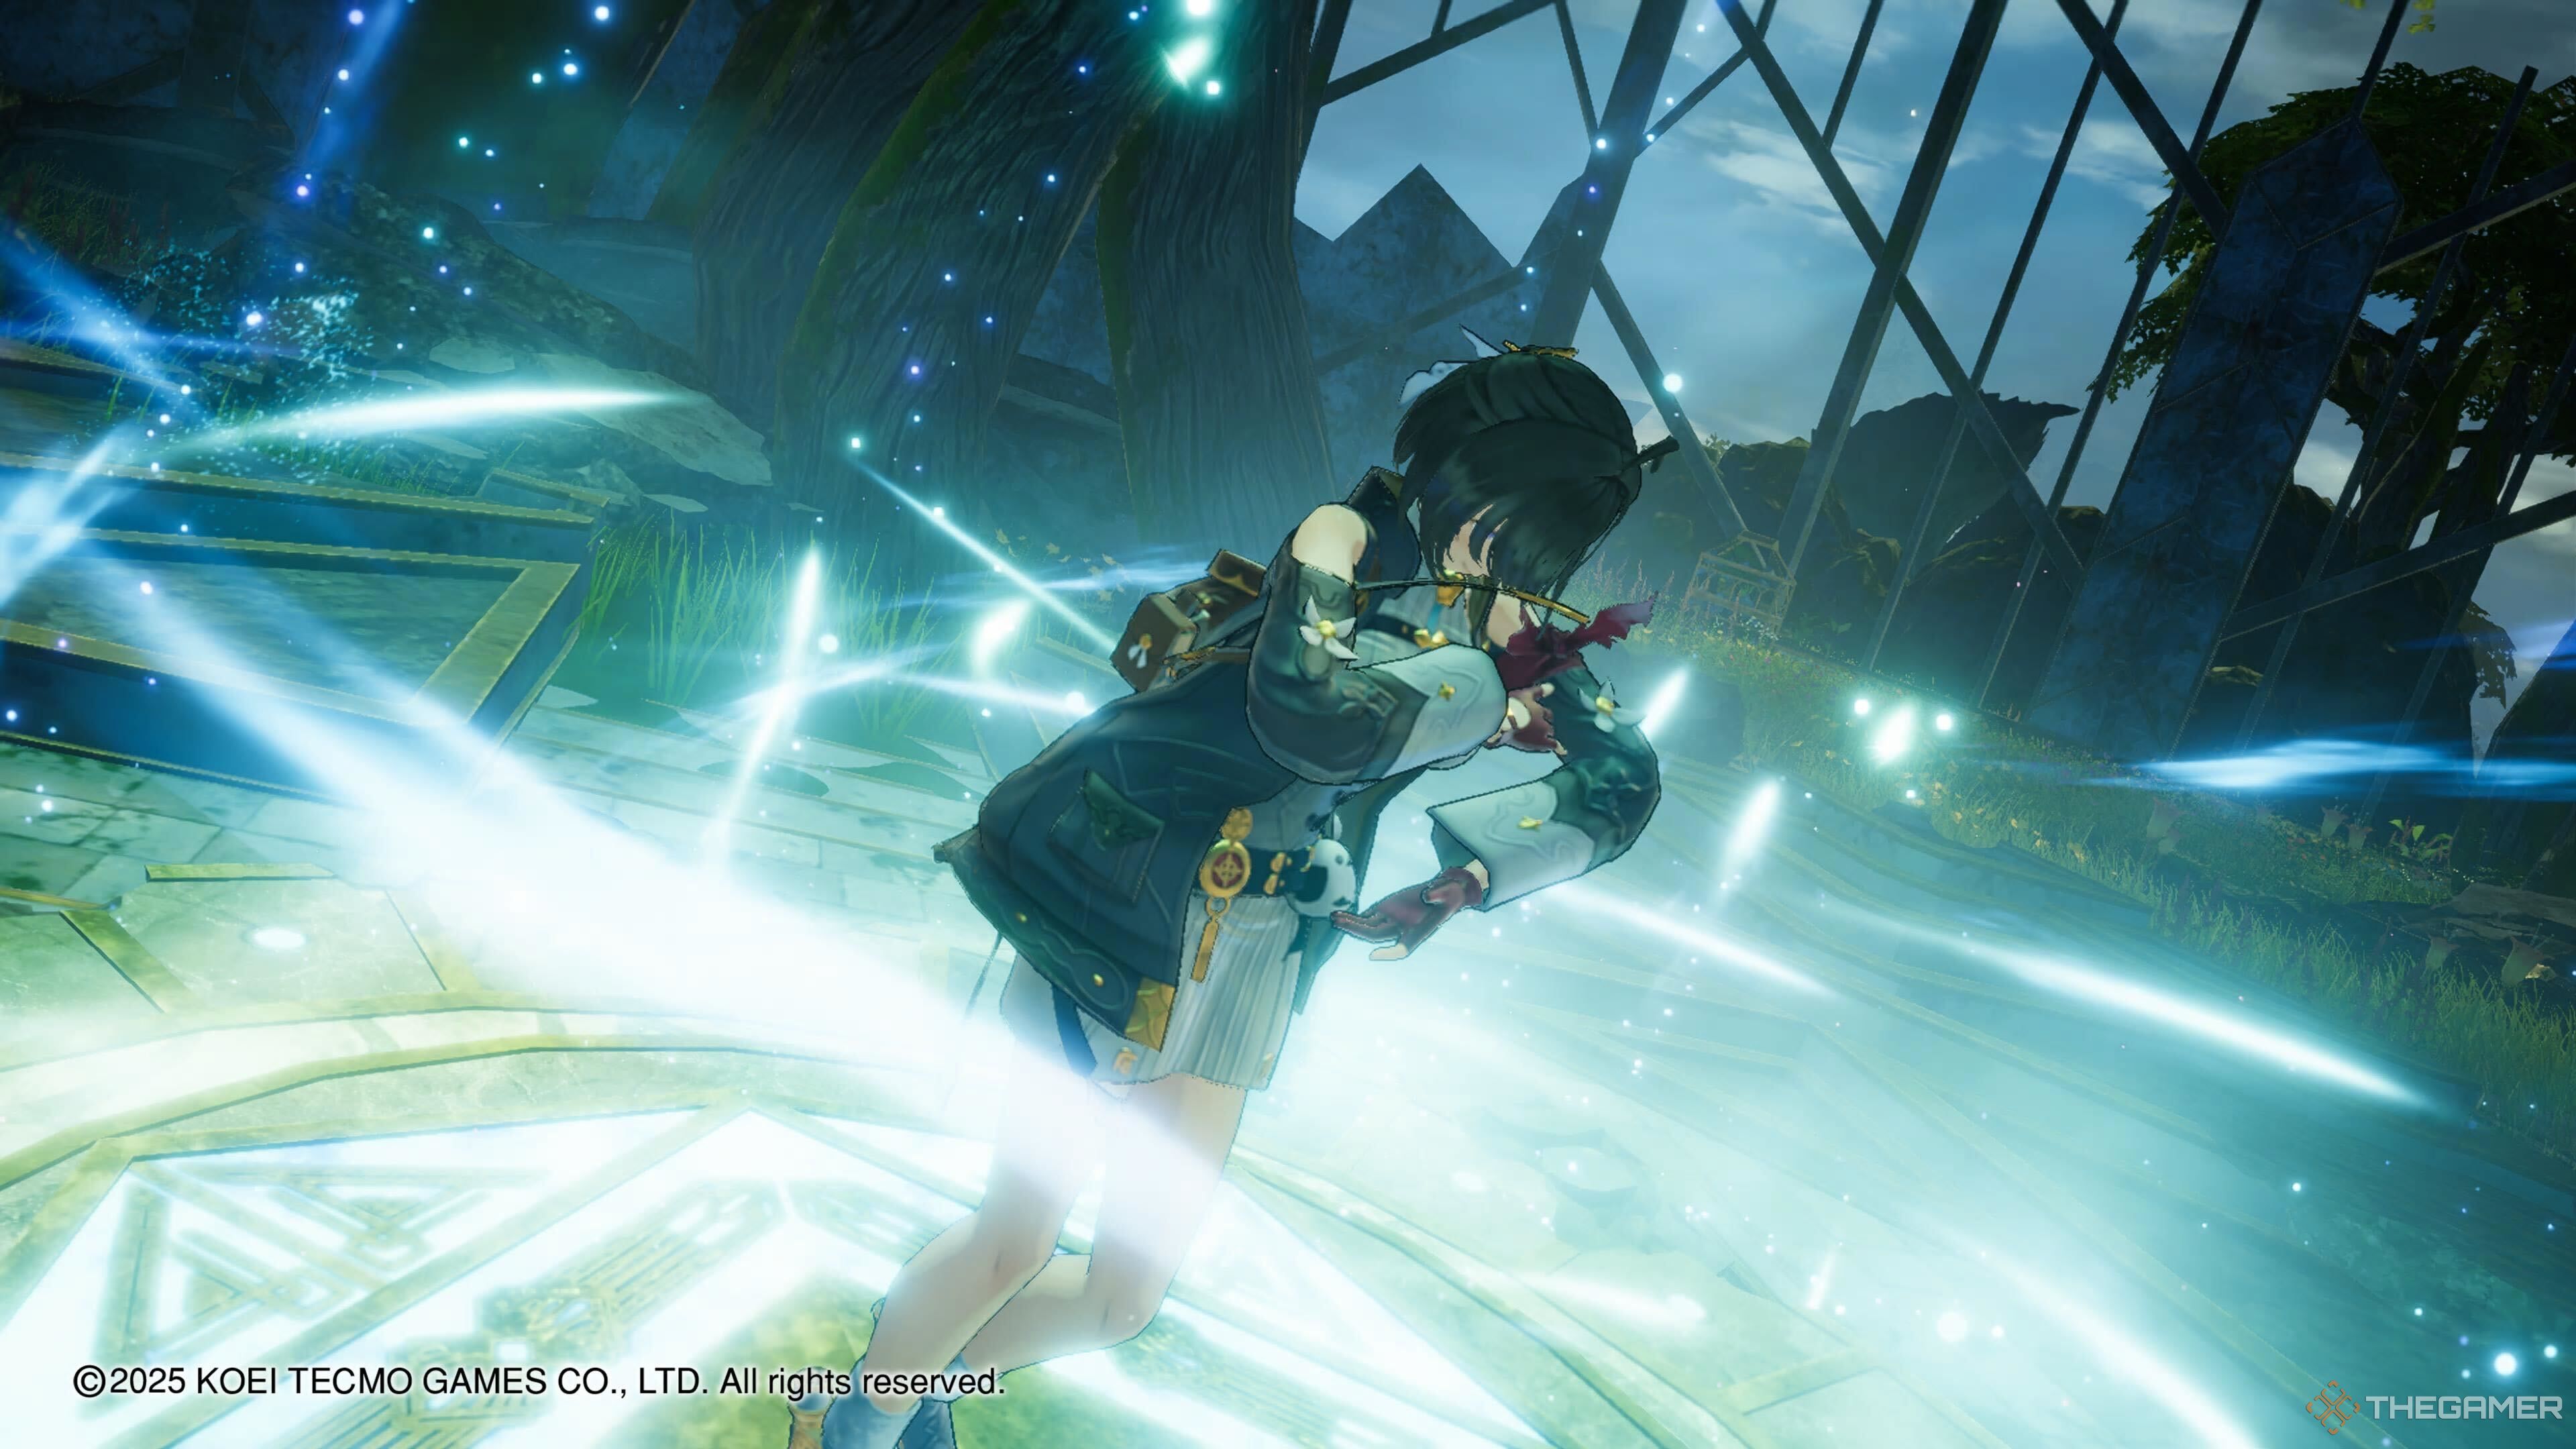
It won’t be long before you’re introduced to your first Manabound Area in Atelier Yumia. Your mission will be to reach a lighthouse and becalm a distorted zone of considerable size. As you’ll soon find out, this is hardly the last time such a deed must be done. Indeed, the Research Team will rely upon Yumia thereafter.

Related
Atelier Ryza 3: Alchemist Of The End & The Secret Key – Complete Guide To Quests
There are several different Quest Types in Atelier Ryza 3: Alchemist of the End & the Secret Key. Here’s what you need to know about each of them!
Here are some tips on how to make the most of your Manabound exploration. Or perhaps more accurately, how to survive it. Our thoughts may help you well past the lighthouse job, as you explore Sivash and beyond in your quest to unravel this continental mystery.
Manabound Areas, Explained
When you arrive at the perimeter of a Manabound Area, a quick reddish glow will surround Yumia. More notably, a party member will comment. But you’ll have an equally useful indicator ahead of time, as Manabound Areas will be covered in fog on the world map.
That doesn’t mean all three non-Ligneus regions are nothing but Manabound Areas, as may appear to be the case before you reach the second region. What you’re seeing at that point is fully clouded areas denoting regions which cannot yet be reached. The “fog” is akin to the foggy areas within Ligneus itself, prior to your goals in those places.
Whenever you’re in a Manabound Area, your goal will be to reach the source of the distortion, a significantly larger location marker on your map, and then interact with the central mechanism to dispel the the stifling Mana and essentially purify the land.
The mechanisms will require you to spend 20 percent of your Energy Meter, so you’ll always need at least that much remaining in the tank upon reaching them.
The Difficulties With Manabound Areas
While in a Manabound Area, your Energy Meter will steadily diminish. If it reaches zero, it’s essentially a miniature game over, as your exploration will cease until the problem is resolved. Thus, reaching those sources of distortion is pivotal, and should always be your primary goal here.
You can, after all, go back and more thoroughly explore the Manabound Areas once they are no longer, in fact, Manabound Areas. Don’t get too bogged-down.
This is a potent dilemma early on, when your Energy Meter has not been upgraded, and so only has its normal 100 percent maximum. And that’s exactly where our advice comes in: whenever you activate a Shrine of Prayer, strongly consider spending Energy Prisms to upgrade your Energy Meter.
Ignore the fall damage reducer category altogether, or at least, until you’ve maxed out the Energy Meter increases. Frankly, fall damage, which merely depletes the Energy Meter a bit, is very rarely a major concern. It just doesn’t drop as much as you might think it would.
Once you’ve cranked the Energy Meter up to around 250 percent or so, your Energy Meter depletion problems will largely be erased. You’re still on a “timer” of sorts, but finding the flowers that restore your Energy Meter slightly should be more than enough to keep things running smoothly.
If you do encounter issues, you can always fast-travel outside the Manabound Areas. This is something you’ll likely be doing quite a bit prior to those upgrades.
You can ugprade to 400 percent, which is pretty overkill when you’ll want to spend Energy Prisms for other things as well. If you wind up with tons of spare Energy Prisms, though? Sure, go for it.


Leave a Reply