In Atelier Yumia: The Alchemist Of Memories & The Envisioned Land, you get a pretty good idea of how a solid number of things operate reasonably early in the game. But you also lack context on a handful of things that we feel could have conveyed a bit better, and what’s more – as with most games – there are things that are less “tutorial” and more “oh, we’re glad we tried that, because it works swimmingly”.
Whether the following tips belong in the former category or the latter, we reckon you’ll get some pioneering mileage out of them all.
Go Ahead And Jump
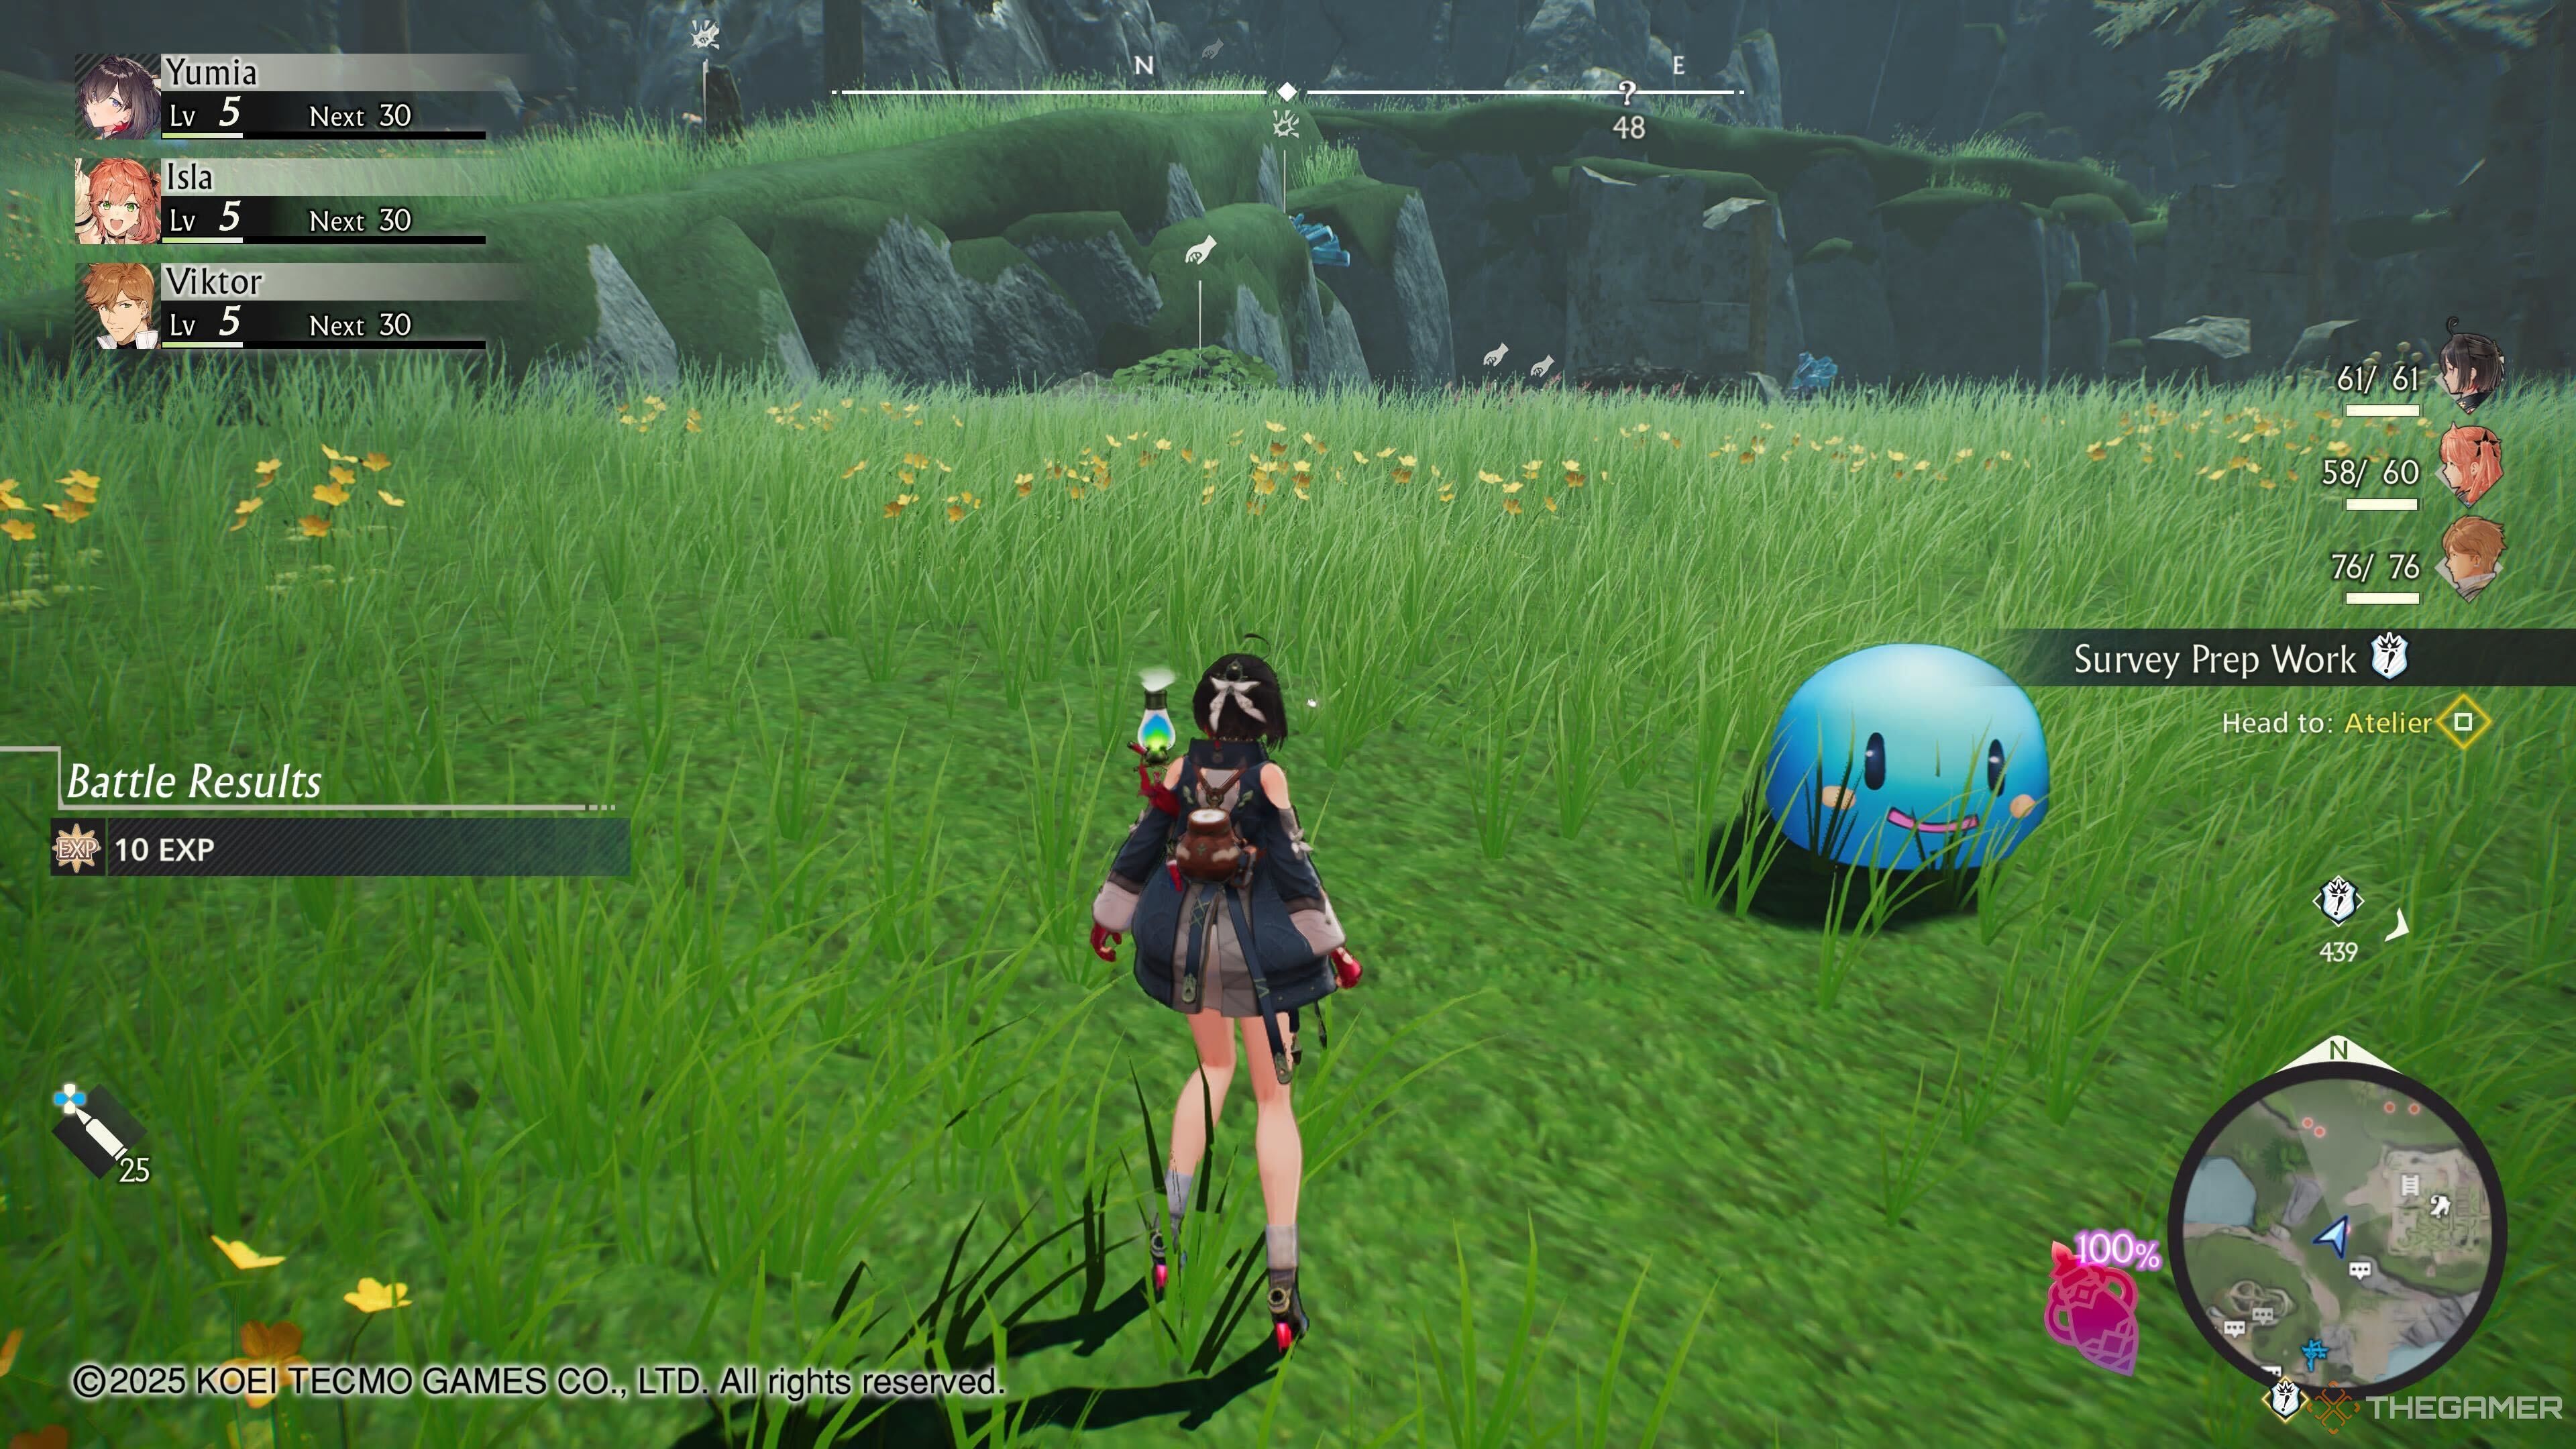
If there is one thing you take from our guide, we hope it’s this: whenever you are exploring, you ought always to be jumping. OK, “always” is clearly a bit of an exaggeration, but maintain that mentality nevertheless.
The quick tutorial dungeon lets you know that you can jump a second time when close to walls, but what it doesn’t make so clear is that far more often than not, those hills, cliffsides, and mountains that you’ll be seeing in the open world are equally scaleable.
Unless you’re looking at either a completely flat surface of substantially imposing height, or the odd juncture where the story is prohibiting your passage, spam the jump button several times, and there’s a pretty good chance that Yumia will get to the peak faster than a mountain goat.
Follow Those Phantom Question Marks
Atelier Yumia is a highly vertical video game. Which is to say, while the world’s several regions are each of impressive width, there is quite a bit of “multiple-floor” level design. A canopy, a towering hill, a cave leading to a subterranean lake – that sort of stuff.
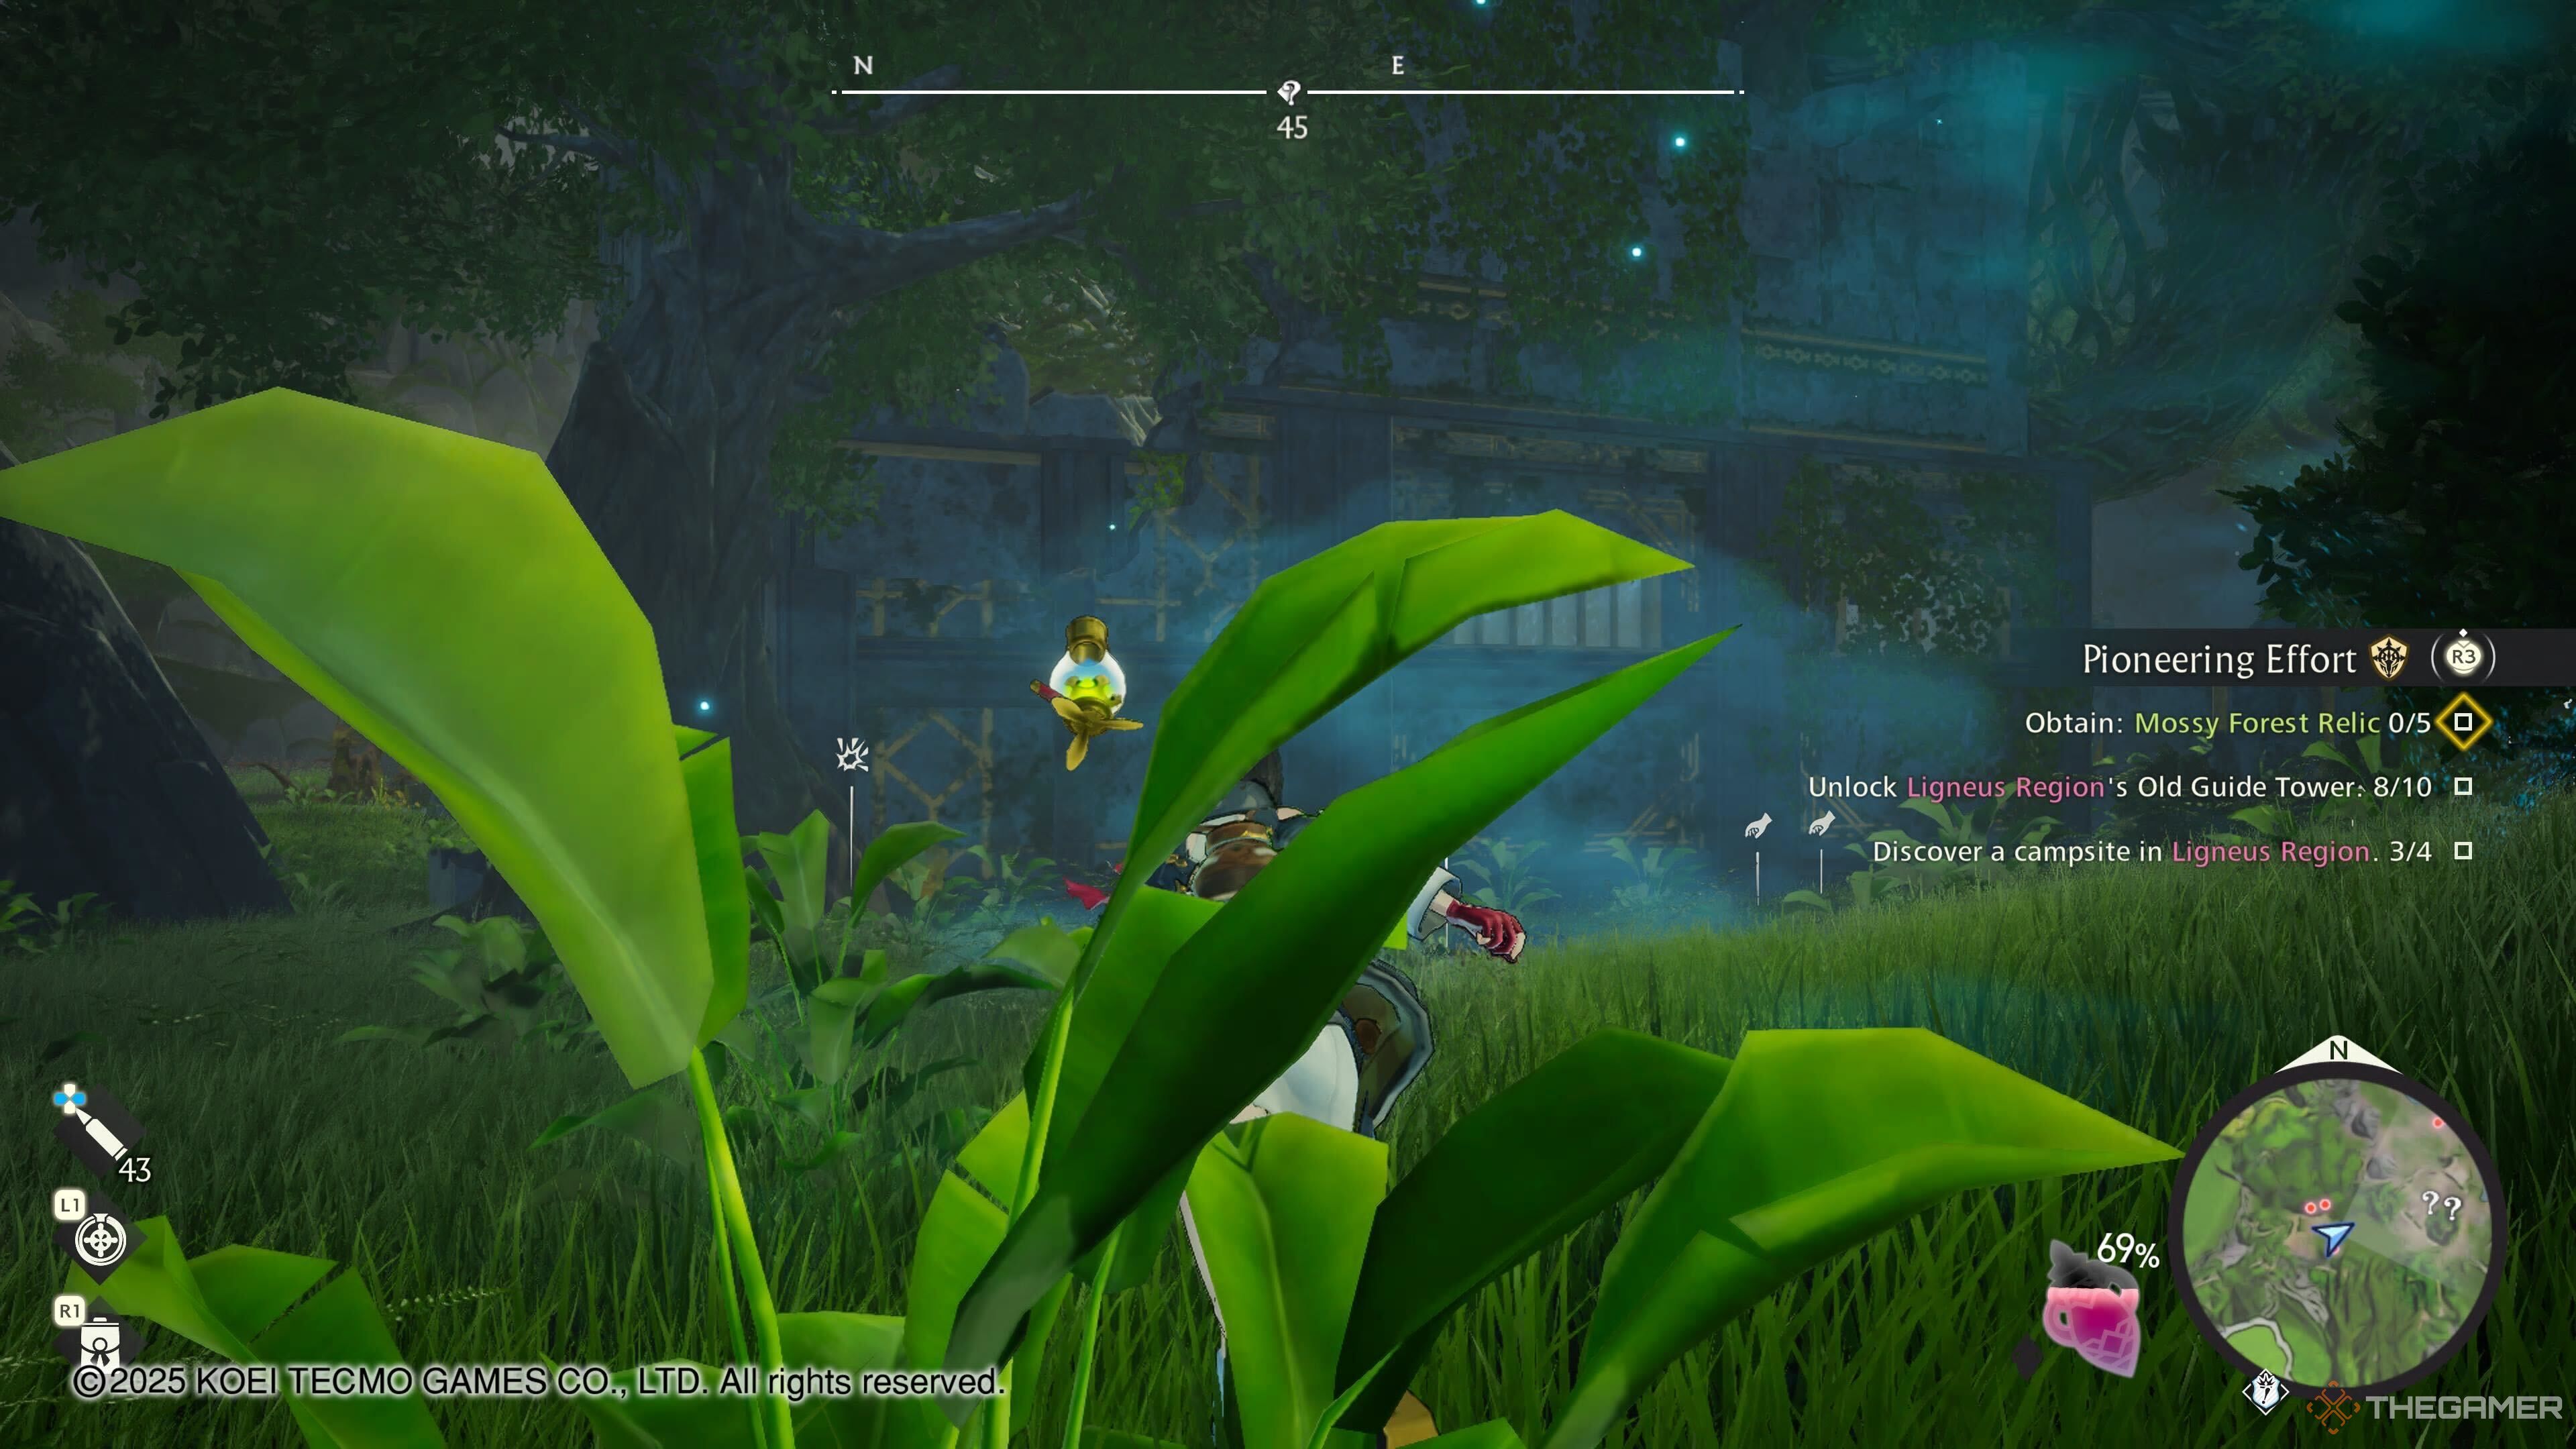
Unfortunately, as is the case with many games’ maps, Atelier Yumia’s map doesn’t handle verticality particularly clearly. The result, then, is that we must rely on context clues when searching the many question marks scattered across the land, which denote points of interest.
The thing is, the question marks will only appear on your mini-map when you’re on the same “level” as they are. Keep tabs on the mini-map for any question marks that’ll disappear as quickly as they arrived, as it means you should go back to the level you were at when it was visible.
For instance, the mini-map won’t alert you to a small shrine situated along the rock face deep within a ruins-filled cave if you’re on a lower or higher floor within those ruined buildings than the shrine box location.
Don’t Forget About Crouching
The crouching mechanic doesn’t spring up often outside enclosed structures (like the spots where Yumia removes manabound wards during the main quest). But it does spring up. Hollowed-out logs and small sewage grates are just two examples of this uncommon occurrence.
When you’re exploring, it can be easy to just glue your eyes to the mini-map, or soak in the pretty sunsets. Just remember, every now and then, this will happen. And, when it does, it can lead to ingredients that cannot be found elsewhere.

Related
Kingdom Come: Deliverance 2 – 9 Random Encounters To Look Out For
Look out for these random encounters in Kingdom Come: Deliverance 2.
Automatic Synthesis Is Your Friend
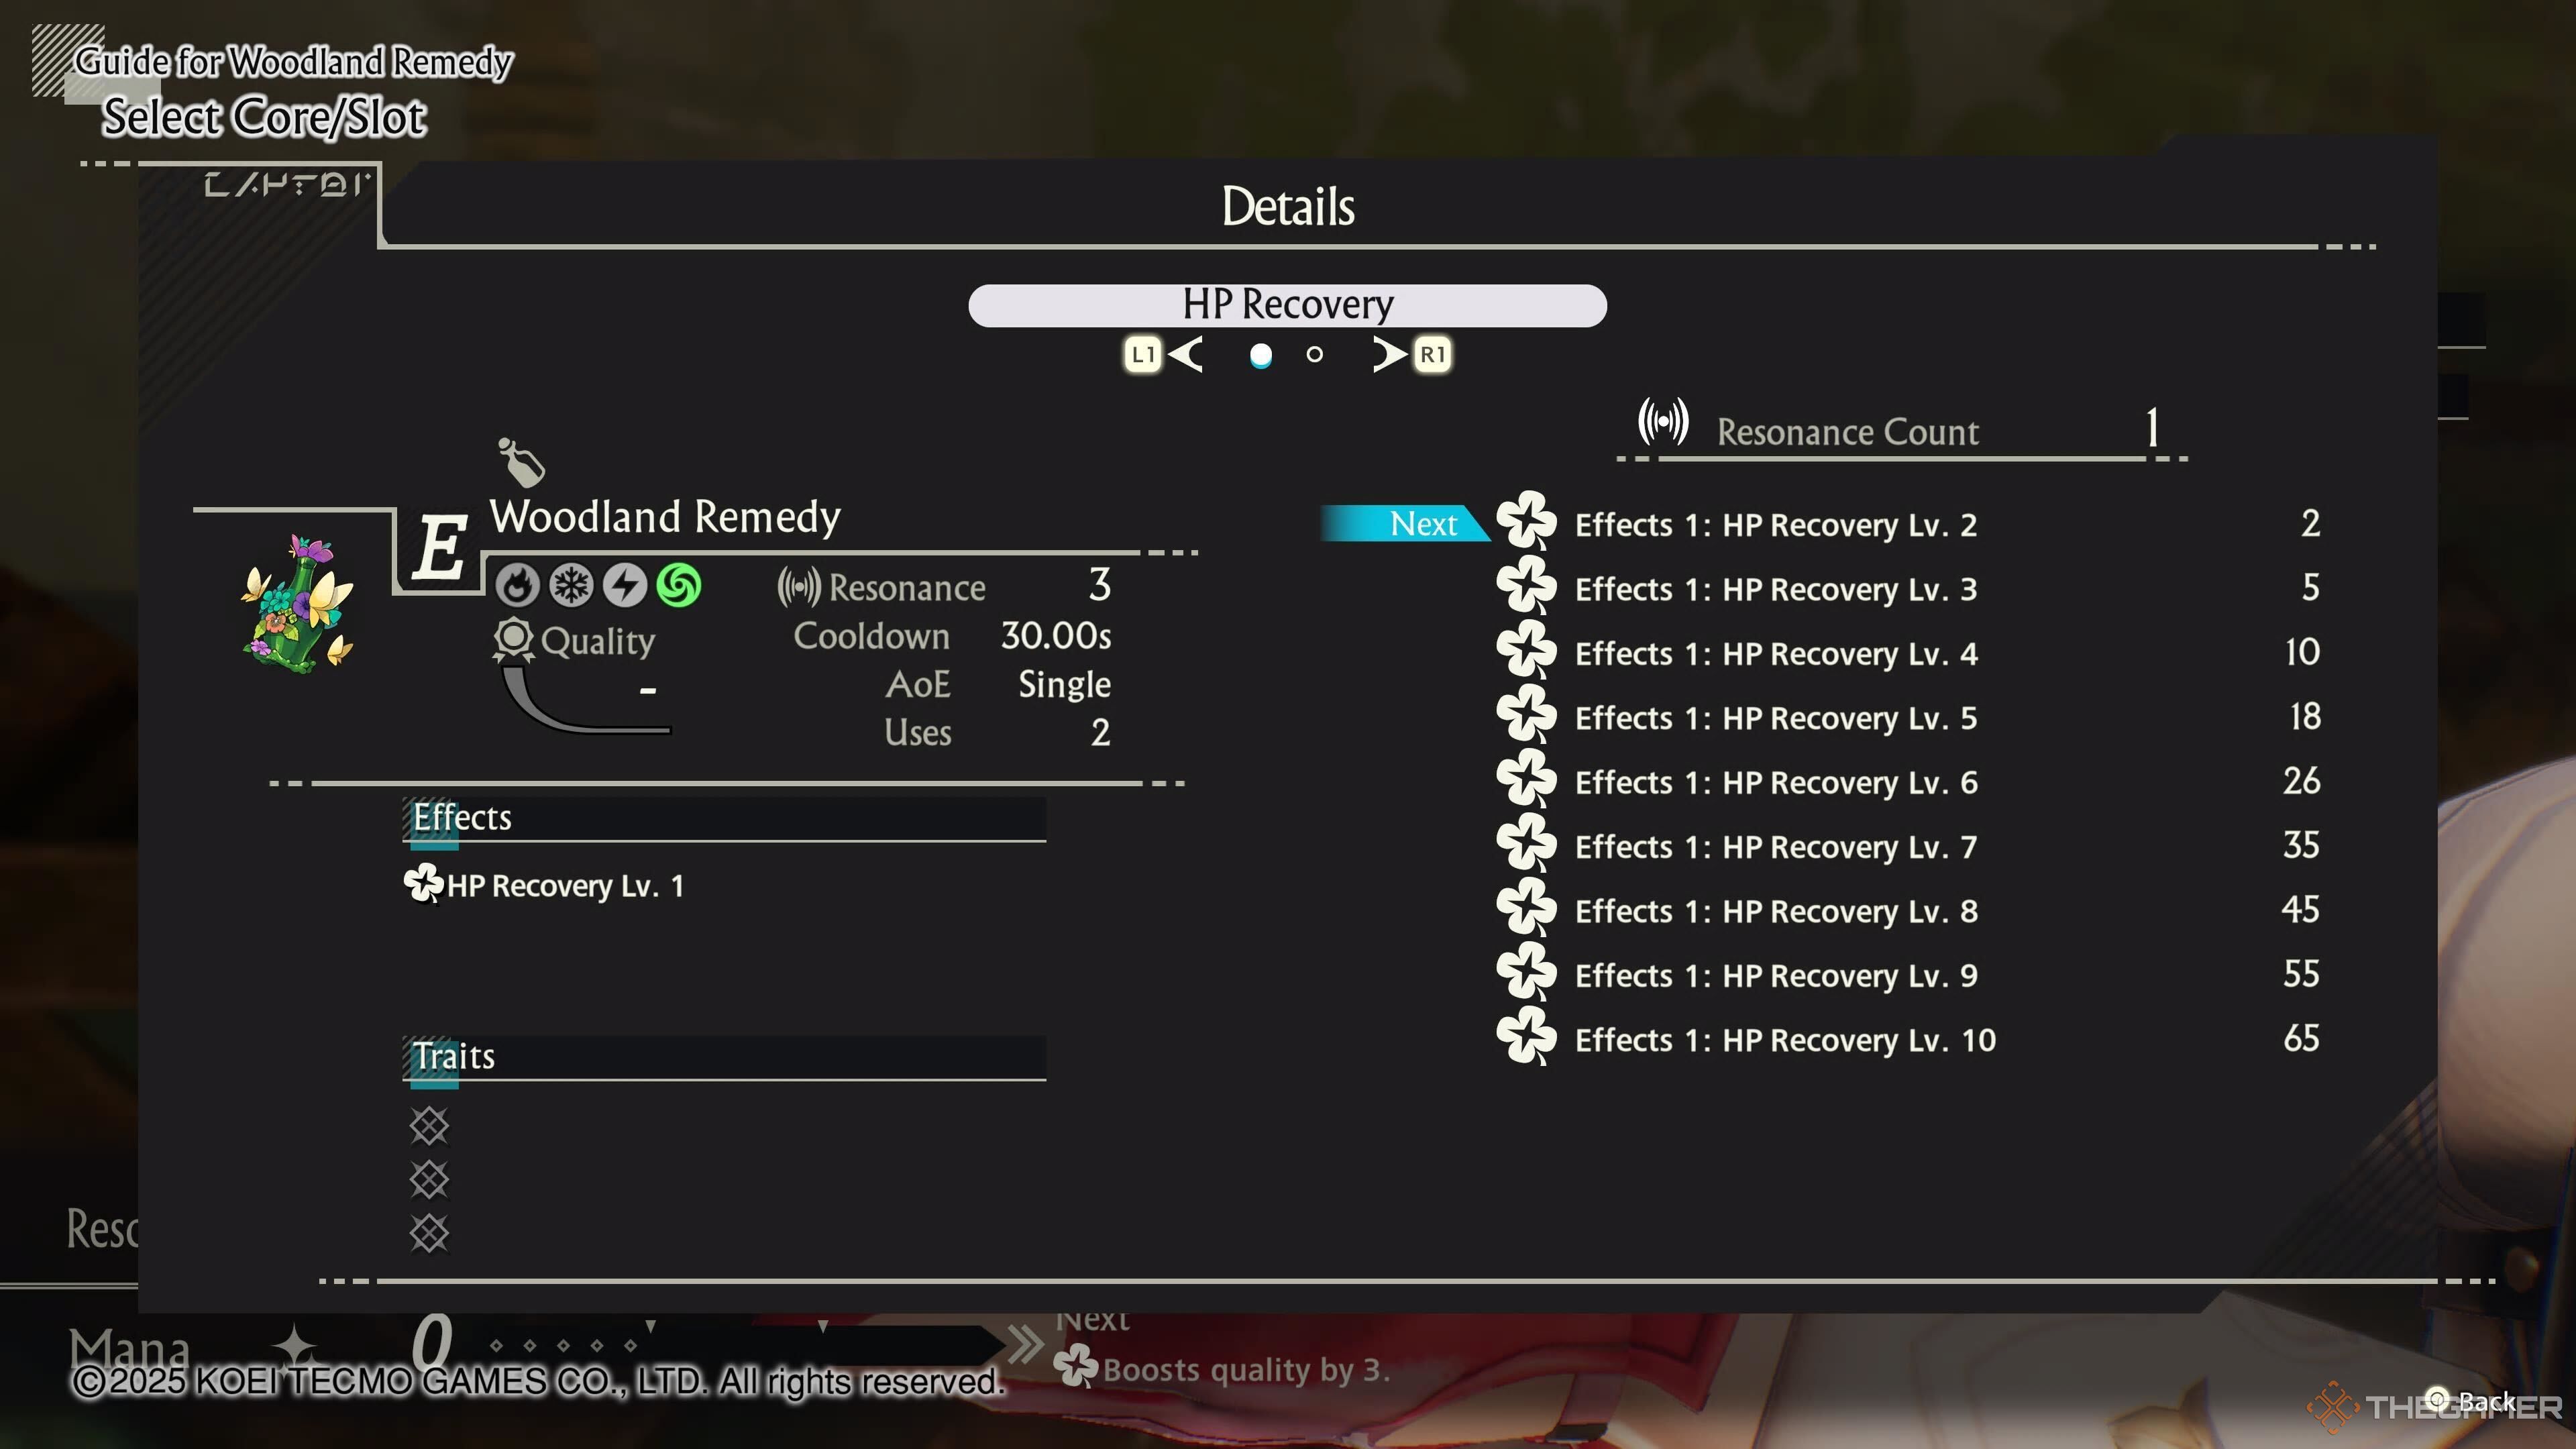
Ultimately, it will behoove you to perform synthesis manually. You’ll come away with stronger results to show for your efforts. Whether you’re a first-time Atelier player or a grizzled veteran, there’s a decent chance you already figured that’d be the case. Otherwise, why use automatic synthesis?
Early on in Atelier Yumia, allowing the synthesis system to automatically select ingredients for your various cores is actually a pretty good idea. It’ll save you time without much, if any, detrimental effect while the scope of your potential recipe-strengthening acumen remains limited.
And frankly, synthesis can be overwhelming at first, anyway. There’s value to be found in watching the game select everything for you, as you may get a firmer foothold on how it all works in the process.
If you’re on PS5, the colour scheme for the prompt to select automatic synthesis can be hard to parse, as every button prompt will be grey. If you’re as bewildered as we were, the pad button is what you’re looking for here.
Related
Tales Of Graces F Remastered: All Hourglass Events
If you aren’t careful, you just might miss out on something special.
Beeline Bag Space And Energy Meter Size
Once you have unlocked the skill tree – that’ll happen early in the story, for the record – you can start using Skill Points and, in some cases, Energy Prisms, in order to achieve a great many things. Briefly, the Skill Tree is split into three categories:
- Synthesis, which aids you therein;
- Combat, which boosts your stats and such;
- Exploration, which has a great many elements
Exploration is how you’ll increase the size of your bag, which is where important items like Bandages, Food Ingredients, Ziplines, and Repair Kits are stored. We reckon you’ll appreciate the difference it will make when your bag has expanded to its maximum size, so aim for that ASAP.
Along similar lines, Shrines of Prayer can be interacted with once they’re reactivated. Doing so gives you a few more choice ways to spend Energy Prisms. The one you’ll want to emphasize is the first in the list, which increases the size of your Energy Meter.
You’re going to find yourself exploring plenty of vast manabound areas which will siphon your Energy Meter at a relatively rapid clip. Raising the maximum amount of Energy stored within the device means fewer trips to safety while fulfilling mission objectives.
Make Trips To The Atelier A Regular Part Of Your Routine
Every hour or two, head back to the Atelier in order to synthesize more stuff. Atelier Yumia’s difficulty scales far less with your characters’ levels, and far more with the relative strength of your arsenal, be that in weapons and other gear, in magic items, or in anything else that applies.
It can be tempting, or at least, it was for us, to hold off on these return trips for the full length of a play session. And, since we write guides for video games, those play sessions can be substantial.
This results in robbing ourselves of potentially dramatic power increases, so learn from our mistakes, and make the Atelier a part of your routine.
If At First You Don’t Interact…
Most of the time, Atelier Yumia is perfectly normal about the simplicity of interacting with the world around you. Yet, there are instances that may try your patience, such as attempts to speak with shopkeepers (once you’ve unlocked those), or even select NPCs.
Our golden rule is: if it seems like you should be able to interact with it, wiggle around a bit until the prompt appears. This will usually be pretty apparent – again, the shopkeepers, with their laid-out rugs of supplies, are the most devious example.
You’ll know you’re on to something if you keep seeing rapidly vanishing flickers of an interaction prompt. That’s not the game engine going wild; that’s Yumia not standing precisely where she needs to.

Next
Atelier Ryza 3: Alchemist Of The End & The Secret Key – Kurken Island Memoir Guide
Here are the locations and requirements of all 30 Memoirs for the Kurken Island region in Atelier Ryza 3: Alchemist of the End & the Secret Key!




Leave a Reply