Summary
- Baldur’s Gate 3 offers the option to avoid combat encounters with strategic gameplay.
- Some boss fights can be won through stealth or tactical approaches rather than straight combat.
- Difficult encounters in the game require strategic planning and proper positioning for success.
Baldur’s Gate 3 doesn’t want to force you into combat encounters — you can avoid them altogether if you play your cards right. Still, fights happen. You’ll get dragged into a bloodbath you desperately hoped to avoid — some being far more difficult than others.

Related
8 Tips For Playing Baldur’s Gate 3 Co-Op
Playing with friends can be a lot of fun, but it also brings some interesting problems along the way. Check out these tips to avoid them.
You don’t have to fight every boss in Baldur’s Gate 3 — some can be taken down with stealthy moves or tactical know-how. Some force you into corners and then give you the fight of your life. Then, when you finally win (maybe with the help of a bit of save-scumming), you feel waves of triumph.
Updated on March 19, 2025, by Alfredo Robelo: Baldur’s Gate 3 has plenty of difficult fights, even if you won’t see all of them in a single playthrough. We’ve updated this article to include even more grueling encounters, from ambushes in Act 1 to the final showdowns of Act 3.
14
Inquisitor Ch’r’ai W’wargaz
The Underdark is known for housing many dangers, but taking the mountain pass at the end of Act 1 can be just as dangerous. This is mostly due to the Githyanki Creche you can find within, filled with elite fighters that are on a quest to find the very artifact that protects you and your companions.
Leading the Creche is Inquisitor Ch’r’ai W’wargaz, a fearsome warrior capable of making your allies vulnerable and teleporting around with Misty Step, while being aided by four other Githyanki just as strong as he is. Being nice to him and delivering the artifact won’t win you any friends, since neither him nor his lich queen plan to let you leave this place alive.
If you’re just trying to complete the Blood of Lathander questline, you can avoid the fight with W’wargaz by not talking to him and moving straight into the secret exit.
13
Orin The Red
Orin is a shapeshifter and one of the main antagonists in Baldur’s Gate 3, so it’s no wonder she’s one of the toughest fights in the game. She can even kidnap one of your party members and kill them permanently if you don’t play your cards right, making her a threat even before you roll initiative.
The fight can happen in one of two ways, depending on if you have the Dark Urge origin or not. Without it, you’ll have to fight her as an avatar of Bhaal, entering the Slayer form and being made nigh immortal by her cultists; as a Dark Urge, you can challenge her to a duel, something that can be easier said than done if you have a squishy class.
12
The Netherbrain
While Gale can end this fight with a single orb-stabbing move, most players will opt to fight the Netherbrain rather than not. This will have you fighting the full might of the Mind Flayers, nightmarish copies of your party (or the Dream Guardians if you ticked off The Emperor) and a mind-controlled Red Dragon, among other dangers.
This is such a large number of enemies because your goal isn’t to fight them, but to subdue the Netherbrain with the Netherstones. This means that you’ll have to be extra tactical when dealing with the encounter, but still have enough fuel left in the gas to finish the Netherbrain off before it ends you.
11
Priestess Gut, Dror Ragzlin, Minthara, And The Goblin Camp
The goblin fight upon your arrival at the Emerald Grove’s gate was just the warm-up. You’ll soon be sent into the Goblin Camp on a rescue mission, and it will also mean turning the entire camp against you and eliminating its three leaders — Priestess Gut, Dror Ragzlin, and Minthara. It’s quite the tough early-game feat that sets the tone for future boss fights.
The good news is that you don’t have to take them all on at once and will have to clear the camp room by room. Regardless, they have a lot of backup goblins that you have to fight, which can make things overwhelming, especially if the drums summon further reinforcements. Priestess Gut and Ragzlin are the harder of the three, with Minthara a lot easier to manage.
Always remember to destroy any goblin drums you see in boss areas, and watch out for the hazardous bridge in Minthara’s room, which is easily destructible and will send you and your companions to your deaths.
10
Bulette
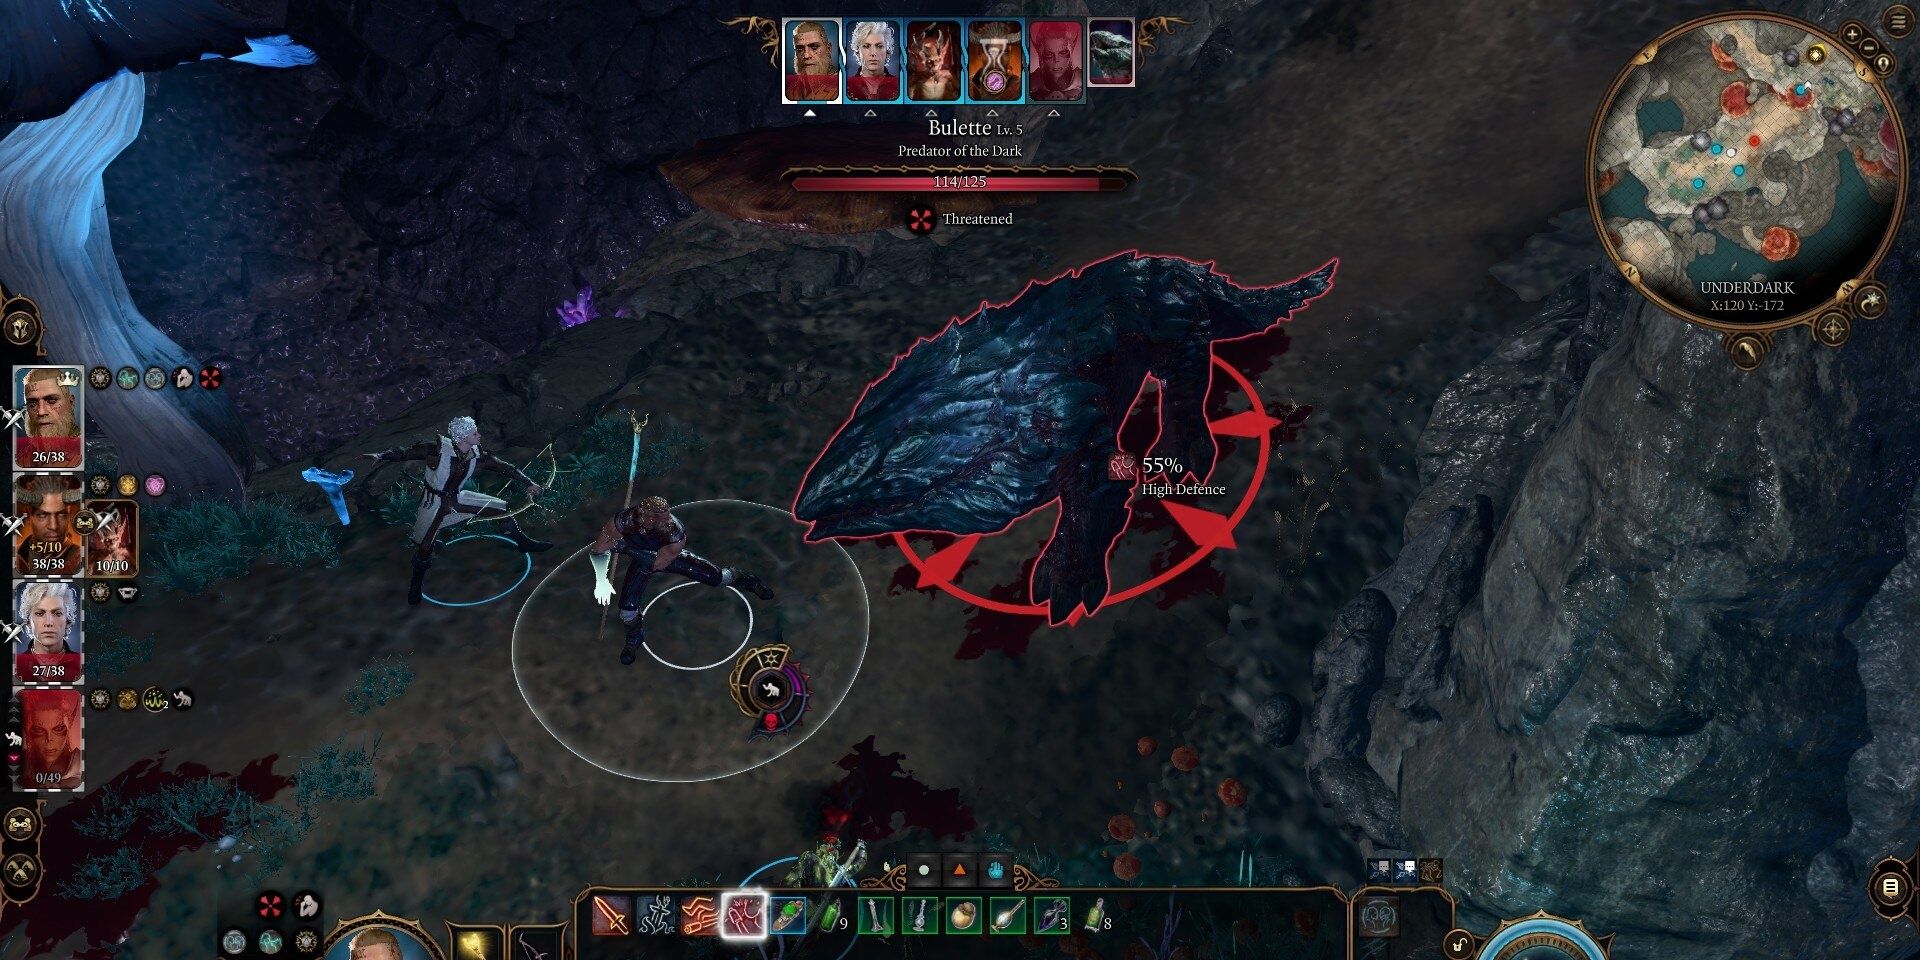
When you make it to the Underdark, you know right away that this is not a safe area. The Temple of Selûne entrance will automatically see the protective beams zapping a Minotaur coming your way and, just a few steps away, is already a Spectator that will absolutely crush you. Then, there’s this beauty called Bulette that also will ruin your Underdark stay.

Related
Baldur’s Gate 3: 12 Things You Should Do While In The Underdark
Don’t let the Underdark get over your head.
Bulette has quite a chunk of health at 125 and the ability to dive underground during combat while also throwing you and your companions from ledges with its mighty leaps. It’s definitely one of the more perilous nail-biting fights for the claustrophobic and burrowing area alone.
9
The Spectator
Hey, speaking of. Do you want to have even more of a bad time? If you want to meet a Beholder/Spectator, there are two ways to do that: one, to stumble upon one in the Underdark, and two, to open up a strange iron flask you find in a locked chest like a chump. Either way, you’re not going to have fun.
The Spectator doesn’t have much health or anything; it’s just that it is extremely capable of hindering your party, whether through fear or a paralyzing ray. At least they’re avoidable.
8
True Soul Nere
You could wait for True Soul Nere to die naturally in that poisoned pocket he’s stuck in, but then you’d be letting down the Deep Gnomes. Worse, you’d be letting down your buddy Barcus Wroot, and frankly, that’s unforgivable. So, after a bit of searching, you come back with some rune power, set to free this True Soul, and the Gnomes stuck with him.
Then, once you refuse to acquiesce to his demands, you fight him. And, if you didn’t play your cards right with the Duegar, you’ll fight them all, too. This fight can be made easier if you convince some non-believing Duegar to rebel, which lends you some much-needed muscle. If not, you may be stuck fighting many enemies, including Nere, who will make your life hell. At least you get a cool sword from it if you succeed.
7
Grymforge Guardian
It’s not that the Grymforge Guardian is that hard. It just has a bit of a learning curve. You can’t defeat this massive, mechanical creature in straightforward combat — you must use the space around you to the fullest. This can be difficult, considering there are no high places to perch, and your party sometimes runs into the lava basin to get a better shot.
You’ll need to lure the Guardian to the forge’s anvil and have a party member drop it. This only harms the boss when it’s superheated, so it requires a lot of strategizing to ensure everyone is in the proper position to strike. Add in some Magma Mephits, and you’re really cooking with gas.
6
Auntie Ethel
Can you simply shove Auntie Ethel, the hag that haunts the woods in Act 1, into a pit? Yeah, you totally can. But you’ll lose out on some quality loot — and a fun, if challenging, battle. Ethel clones herself after a turn or two, and each clone shares her full abilities, though they, thankfully, go down in one hit.

Related
Baldur’s Gate 3: 7 Ways To Increase Movement Speed
Learn the best ways to increase your movement speed in Baldu’s Gate 3!
Keeping track of the Ethel copies surrounding the arena while positioning your characters in the right places can be a lot more complicated than it seems. Especially if you’re trying to save Mayrina, too. But, the satisfaction of taking Ethel down is immense.
5
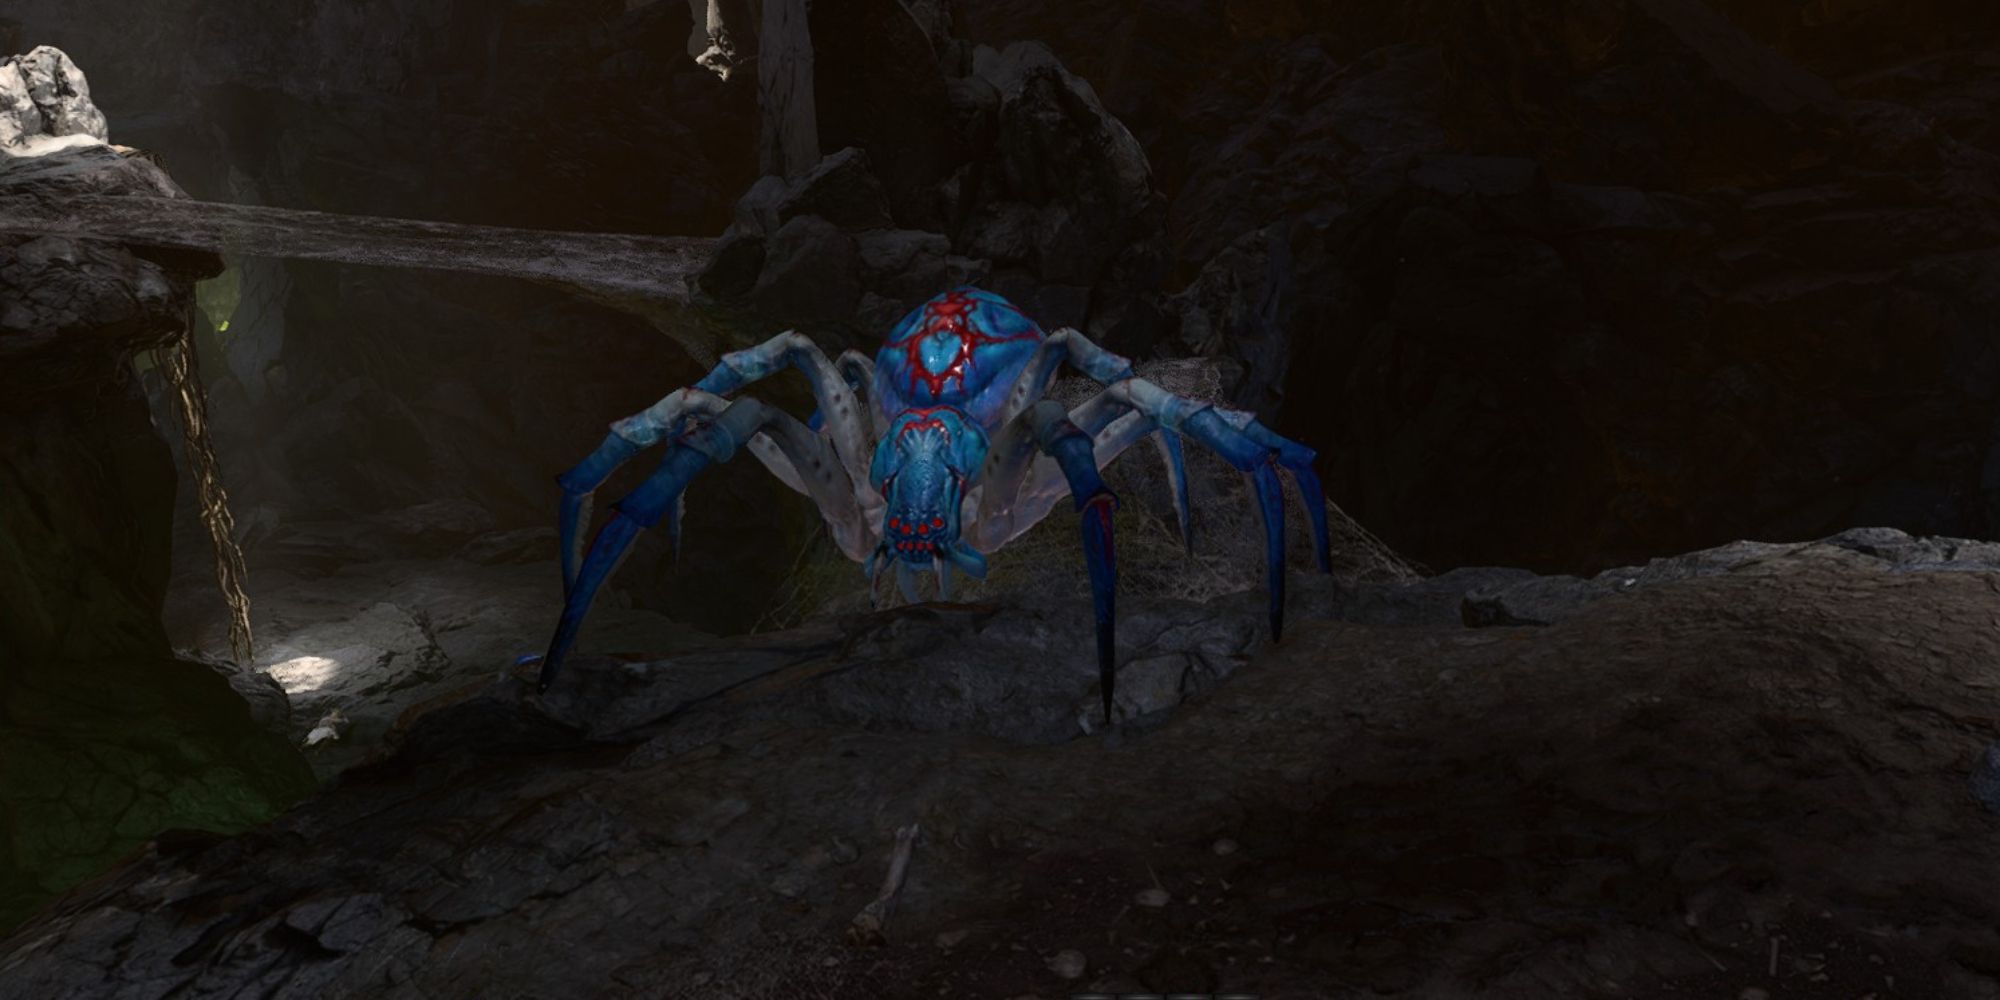
Phase Spider Matriarch
Be ready to quicksave more times than you can count when confronting this beastie. You’ll find more than a few Phase Spiders patrolling in the Whispering Depths. The webs around your party make traversal difficult, and the Phase Spiders are more than happy to exploit that.
The Matriarch is the worst of them, and not just because you’ll likely encounter her accidentally early in the game. She hits hard and can awaken clutches of spider eggs to act as a vanguard. Accompanied by two other Phase Spiders, the Matriarch will bring your party to its knees if you’re not careful. Sometimes, the best move is to run. Just don’t get trapped in a spiderweb on your way out.
4
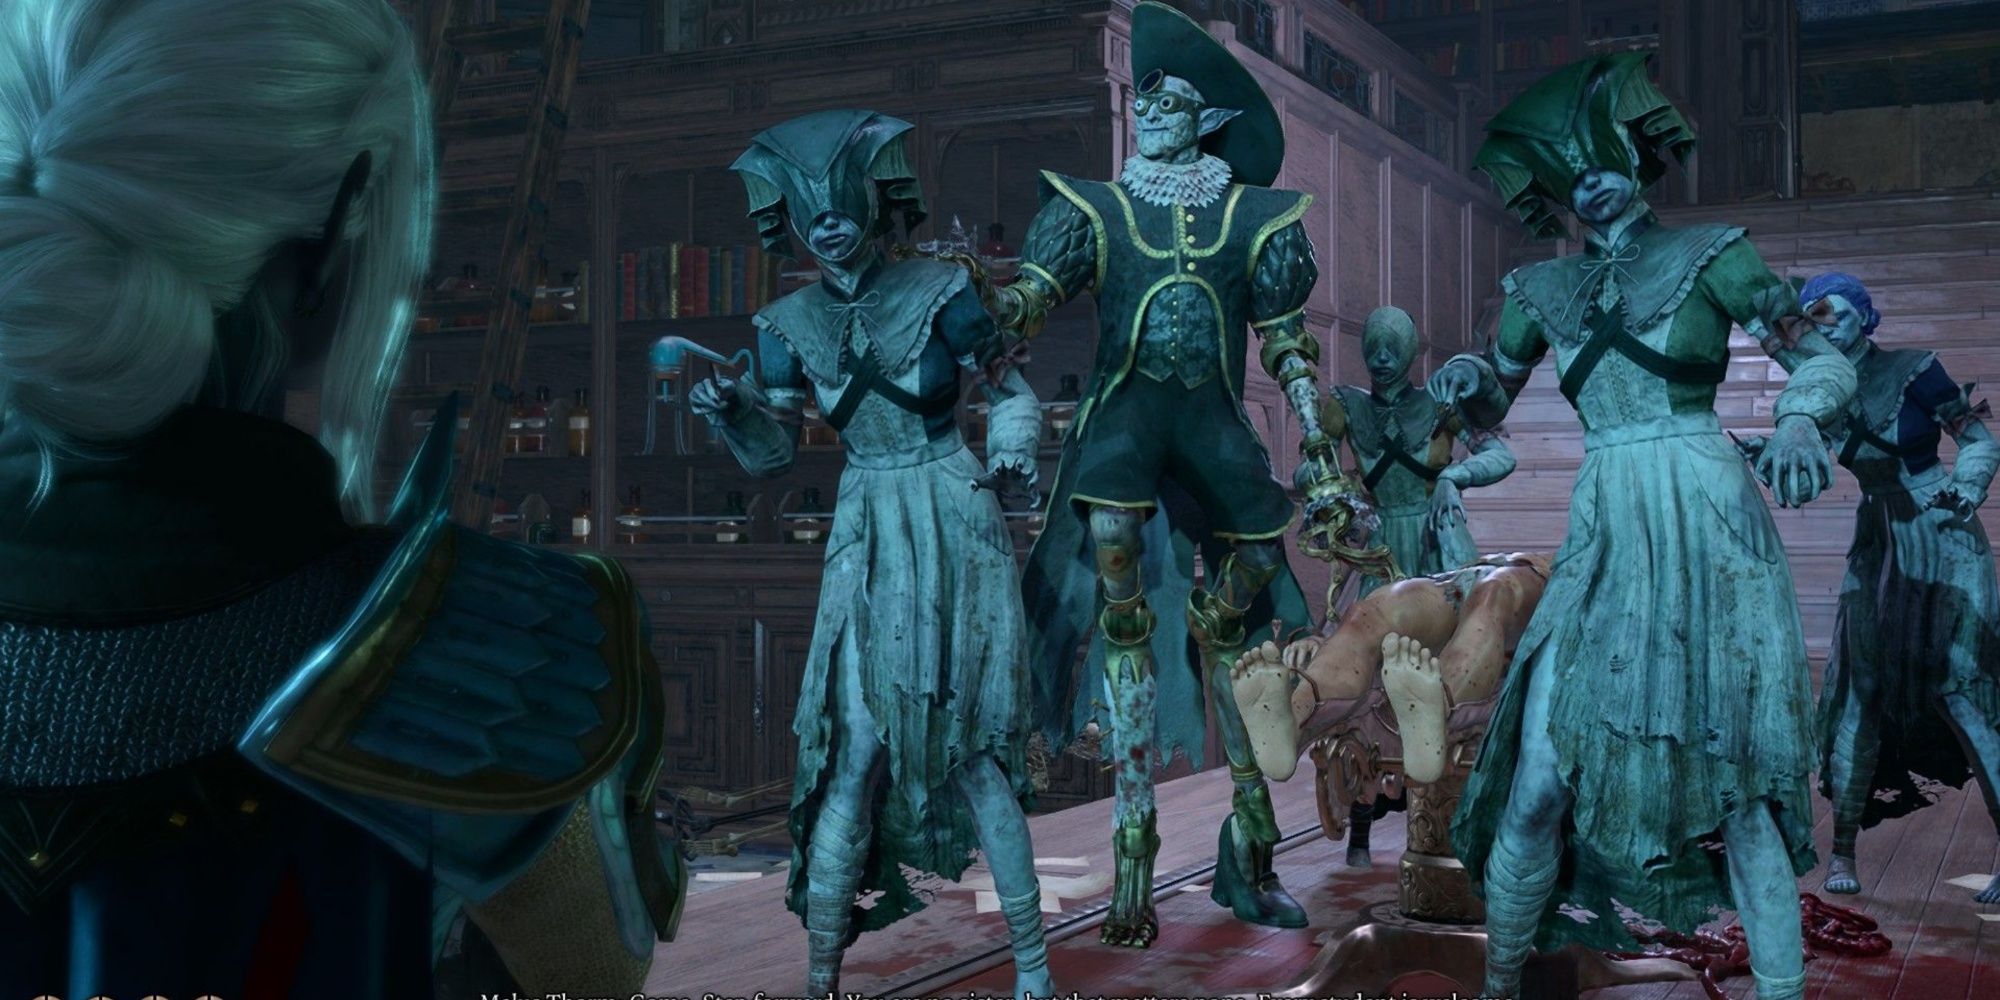
Malus Thorm And The Sisters Of Healing
You don’t have to fight Malus Thorm if you pass a persuasion check. This undead ‘doctor’ surrounds himself with undead nurses who long to learn his ‘medicinal’ ways. You can convince him to let the Sisters kill him as a demonstration, eliminating him as a threat and keeping all the Sisters non-hostile. Or, you can fight him.
The room you find Malus in practically screams boss battle, a medical theatre that gives you ample space to move around. It’s not just that Malus has a ton of health, either — the Sisters are handy fighters and can easily overwhelm you with sheer numbers. Maybe bring Shadowheart, loaded with a Turn Undead spell — it could help you.
3
Yurgir
Raphael, the ever-sneaky devil, tasks you with eliminating the Orthon that lives in the bowels of  The Gauntlet of Shar
. In exchange, he offers to tell Astarion what the Infernal runes carved onto his back mean — a decent boon for those who want to progress the vampire’s companion quest — as well as being an unavoidable part of the Gauntlet.
Related
14 Best Armor Sets In Baldur’s Gate 3, Ranked
Whether you want to look stylish or you want to be practical and powerful, there’s an armor set for you.
But the fight is rough. You can use charisma checks to make the battle exponentially easier — getting Yurgir to eliminate his leagues of Merregons, his Displacer Beast and even himself. But, if that fails, you might end up fighting all of them. It’s possible to take Yurgir out quickly, but his team of minions and Displacer Beasts can throw your whole battle sideways.
2
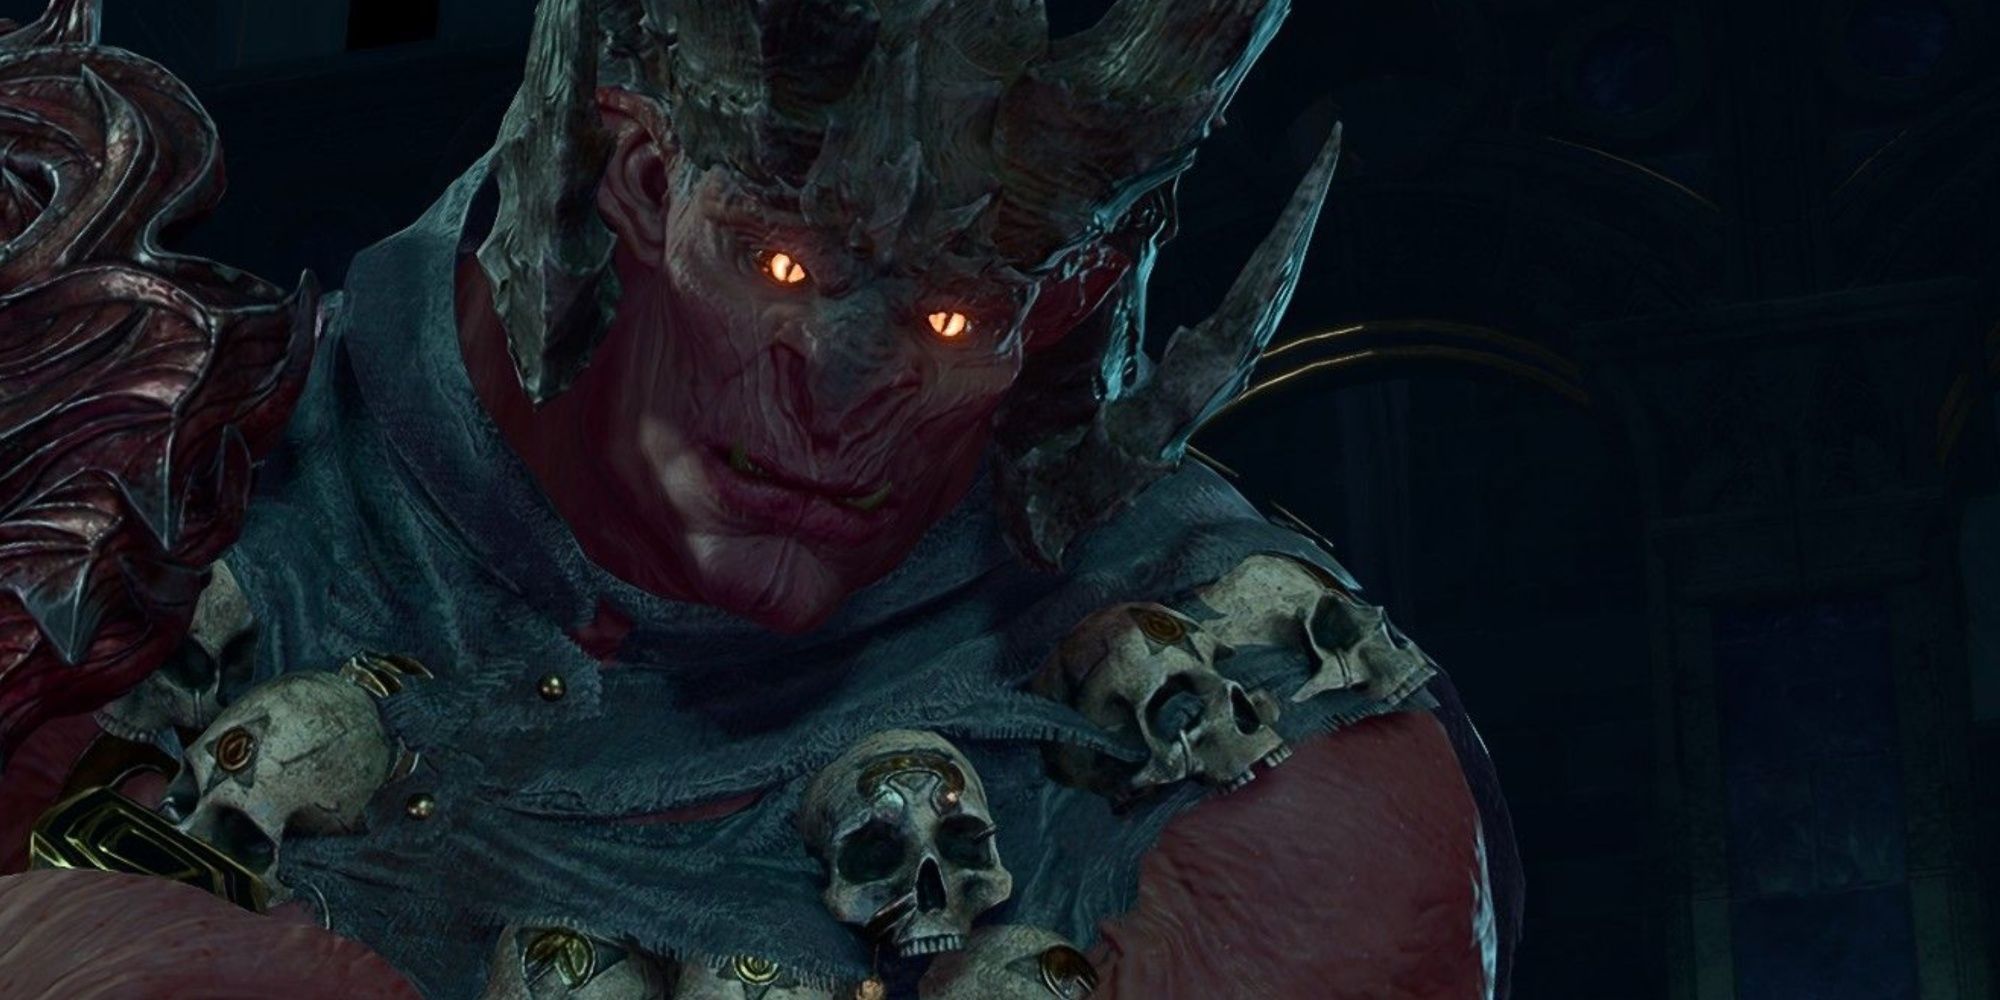
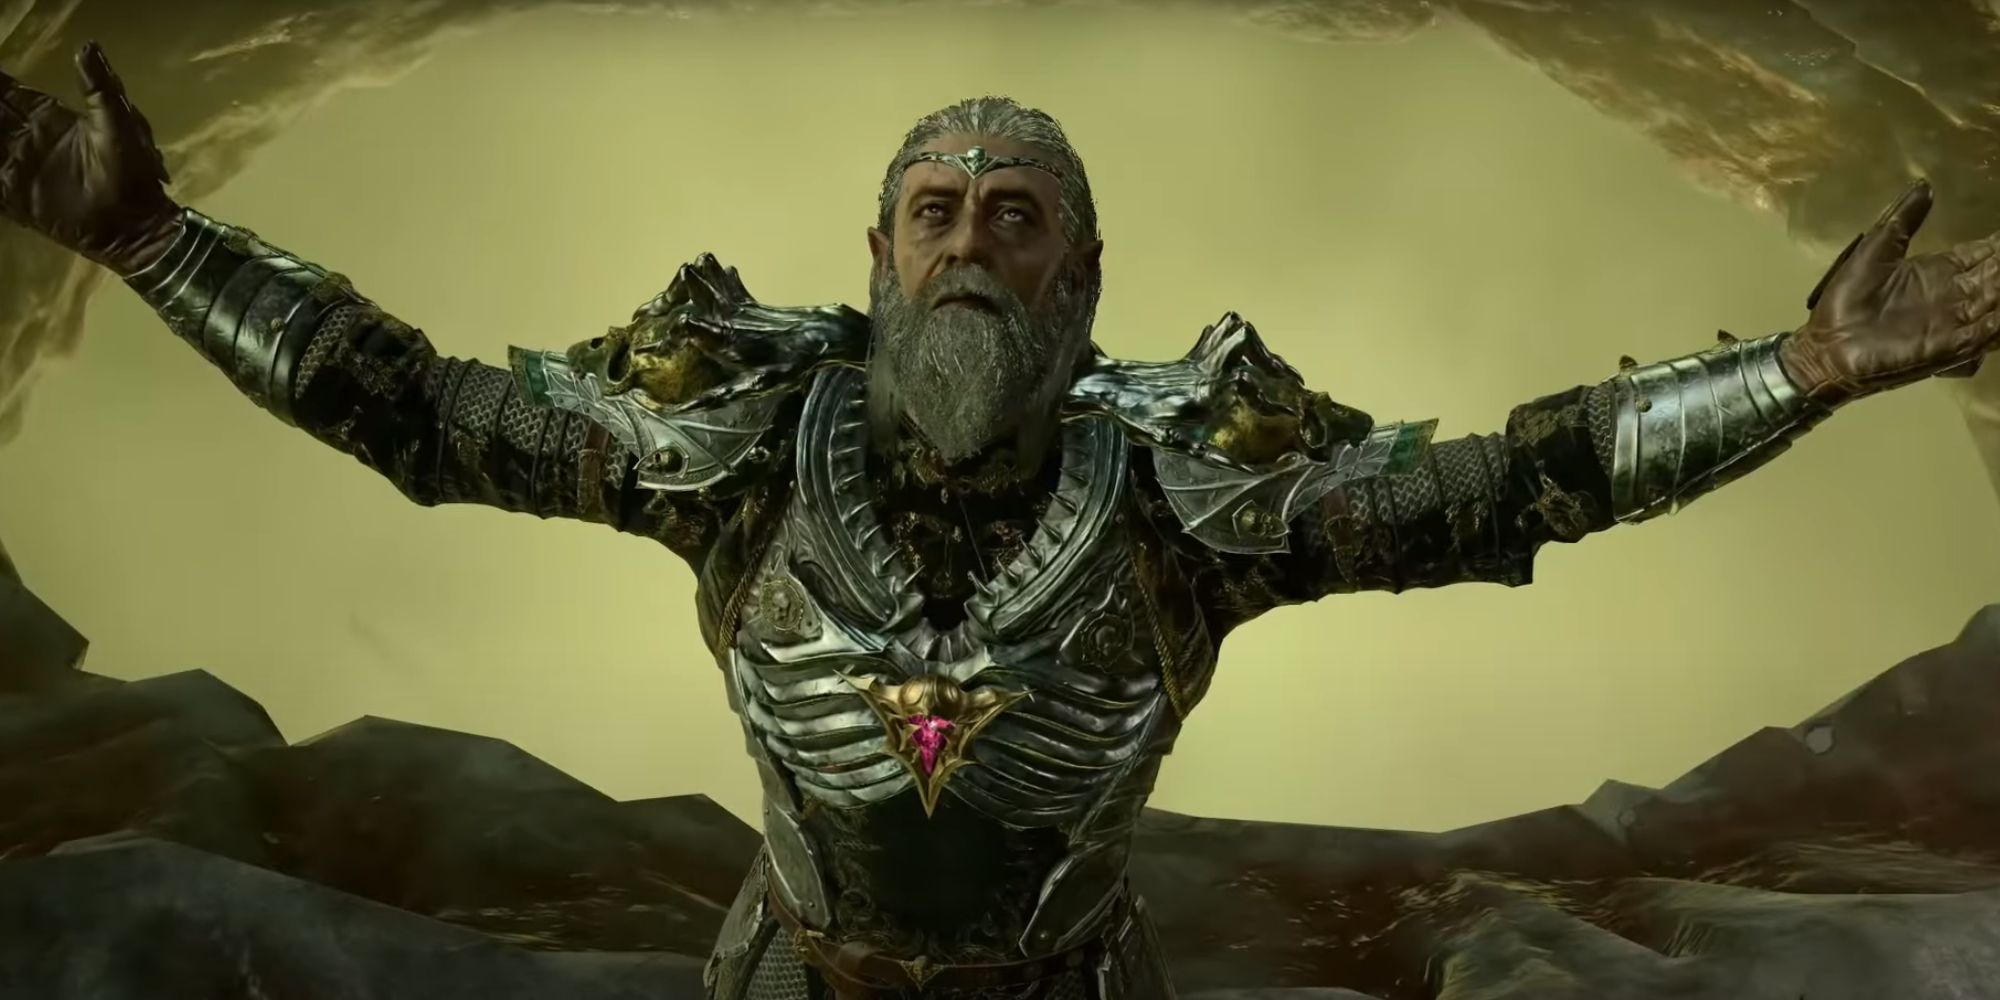
Ketheric Thorm
This battle can be more difficult if you didn’t free The Nightsong. Ketheric is supported by the Cult of the Absolute and undead creatures he has bent to his will. He packs quite a punch, though he will flee you once you’ve caused enough damage, forcing you to follow him into the depths of Moonrise Tower, where a Mind Flayer colony flourishes.
Confronting him in the bowels of the colony is hard enough — especially if you’re feeling low on health. And, once he’s down to low health, he transforms into an Apostle of Myrkul. Just when you thought the fight was over, you find yourself clinging to the last shred of life you have. Hopefully, you have the Nightsong with you to make things much more manageable. If not… good luck.
1
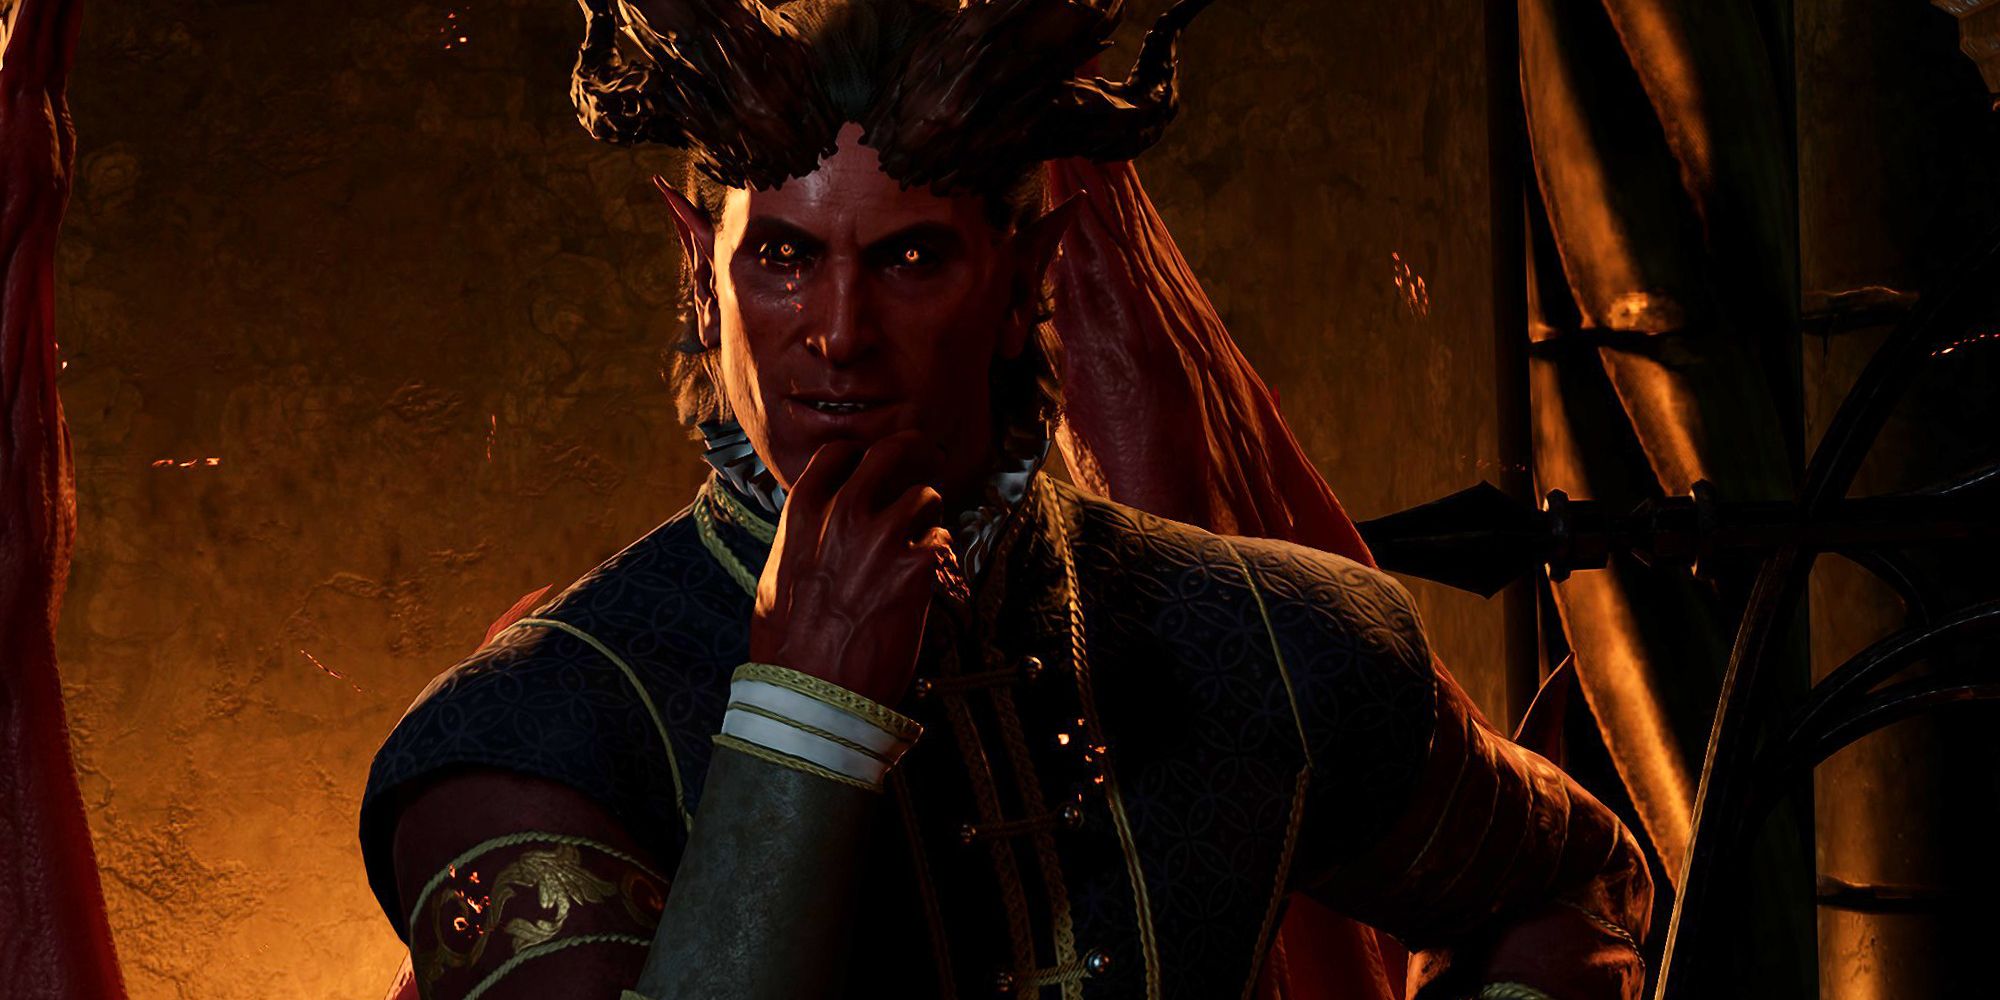
Raphael
Wherever you go, expect Raphael to be close by. This cambion has a vested interest in your comings and goings and can always be counted on to stick his nose into your business. But, perhaps by Act 3, you’ve had enough of his deals and devilish tricks, and you’re ready to take him down, once and for all.
Confronting Raphael in the House of Hope leads to a fun, if not grueling, boss fight. Cambions will be in the mix, and you’ll have to focus on pillars that lend Raphael more power. This fight is optional, but we hope you have some healing spells ready, or else you’re in for a hell of a time.









Leave a Reply