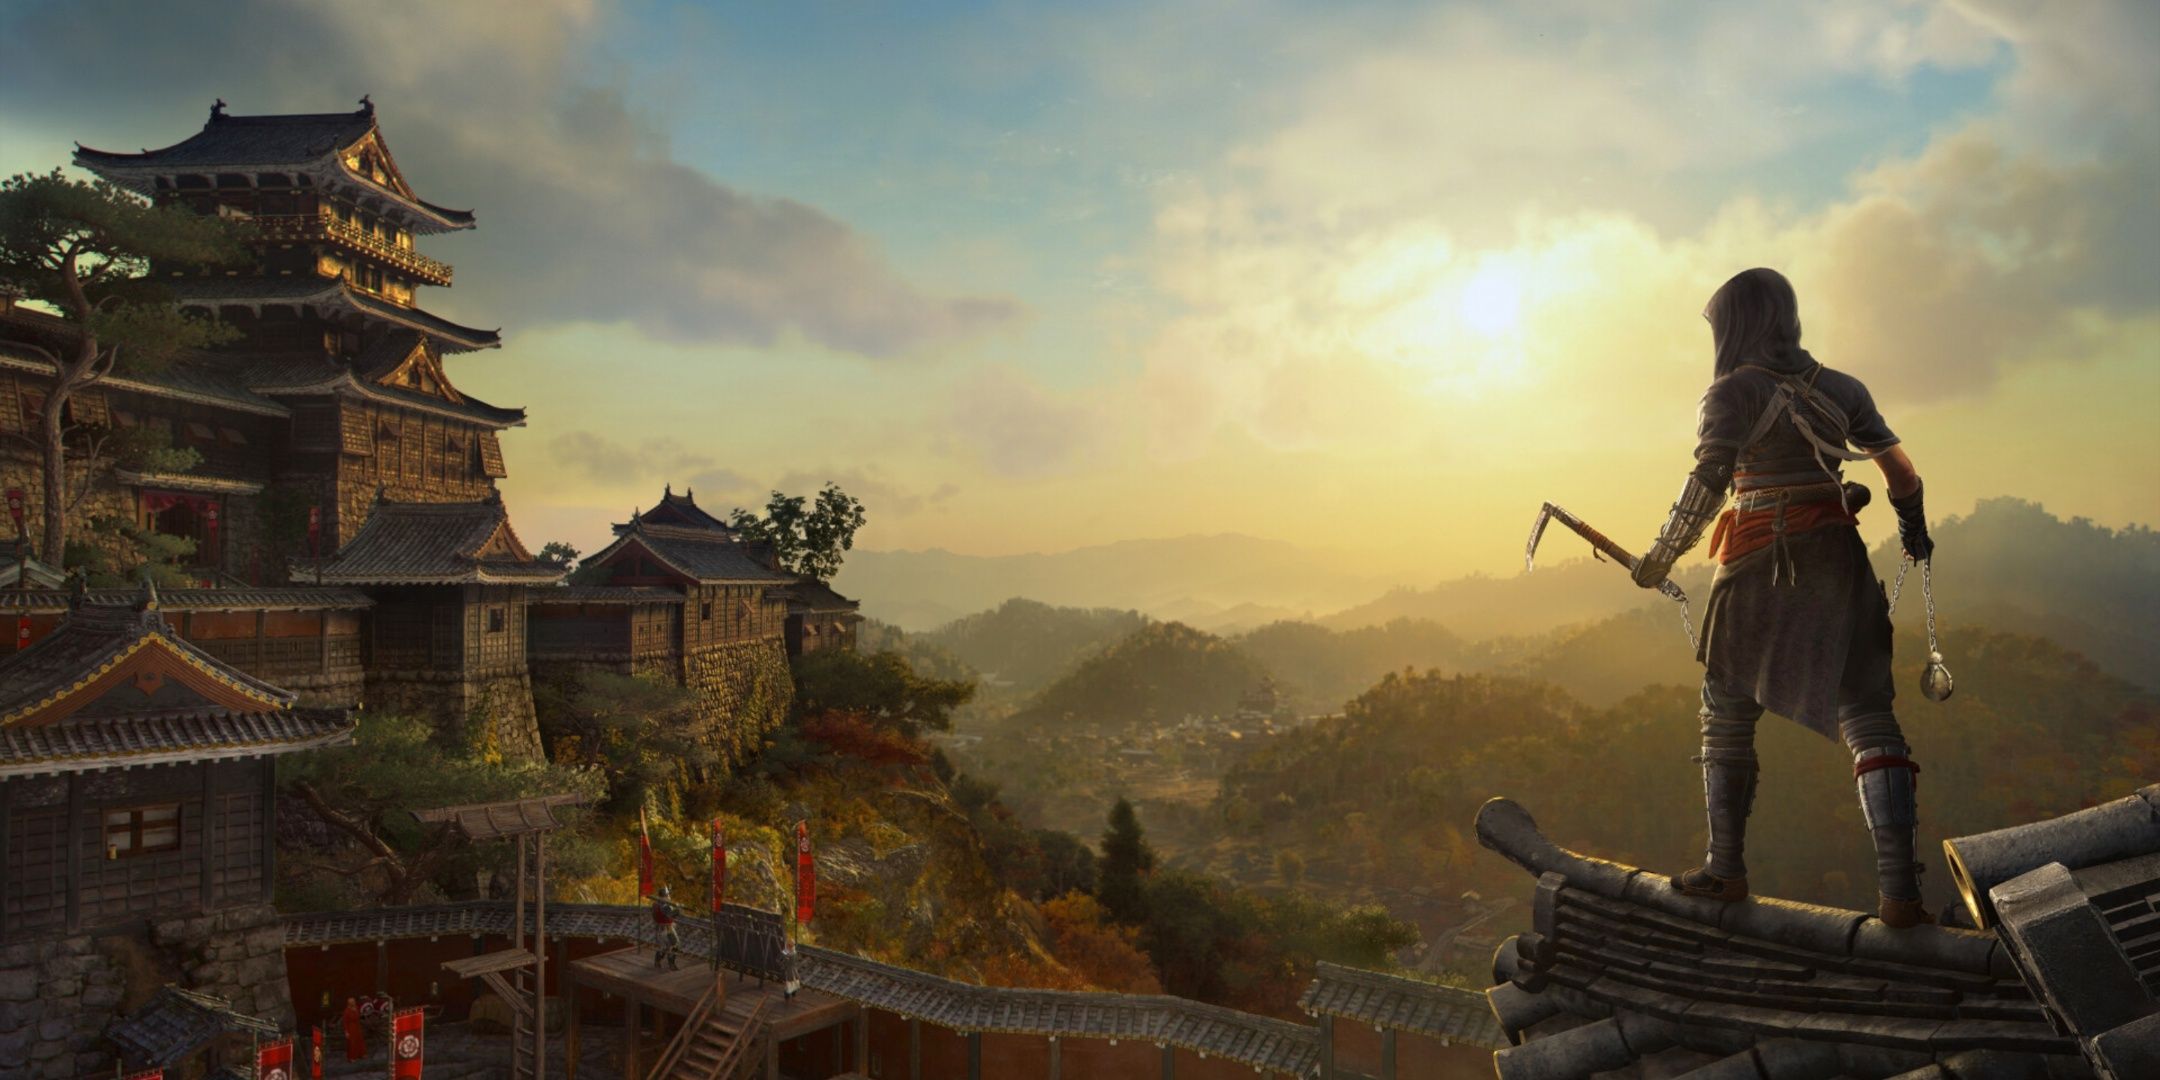
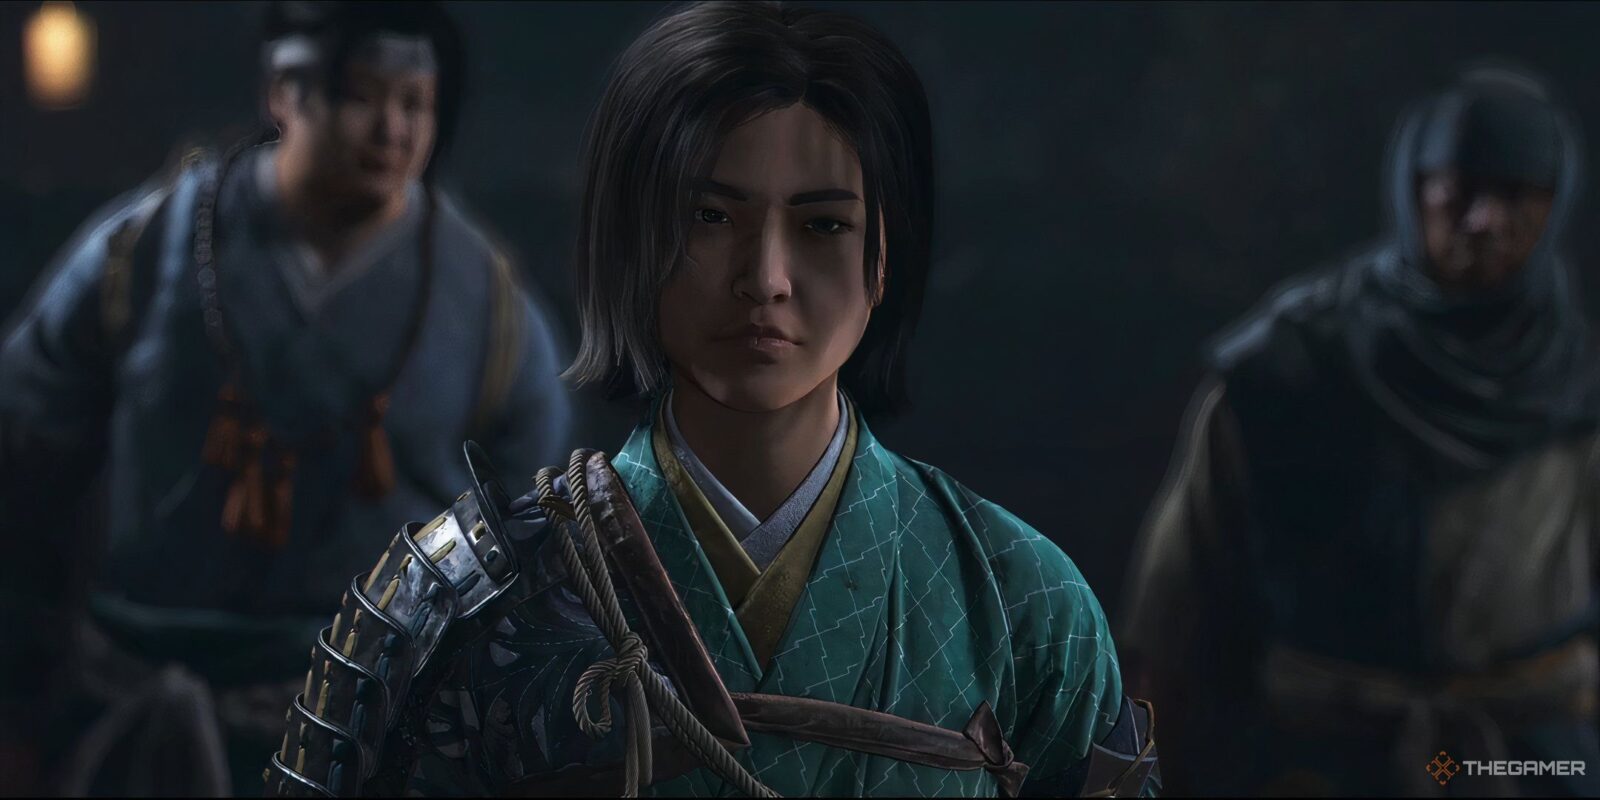
Once you’ve made it past the surprisingly long prologue in Assassin’s Creed Shadows, Naoe’s quest for revenge will have her going up against 11 mysterious figures, all of whom need to be assassinated.
Related
Assassin’s Creed Shadows Leaking Isn’t Good For Anybody
Ubisoft’s open world stealth adventure is out in the wild, and now the damage control begins.
While you’re generally able to tackle these missions however you like, the first two targets act as a bit of a tutorial for what to expect and can only be done with Naoe. Here’s how to take down the first target, The Wounded.
The Fatherless Monk
How To Find Kyonyo
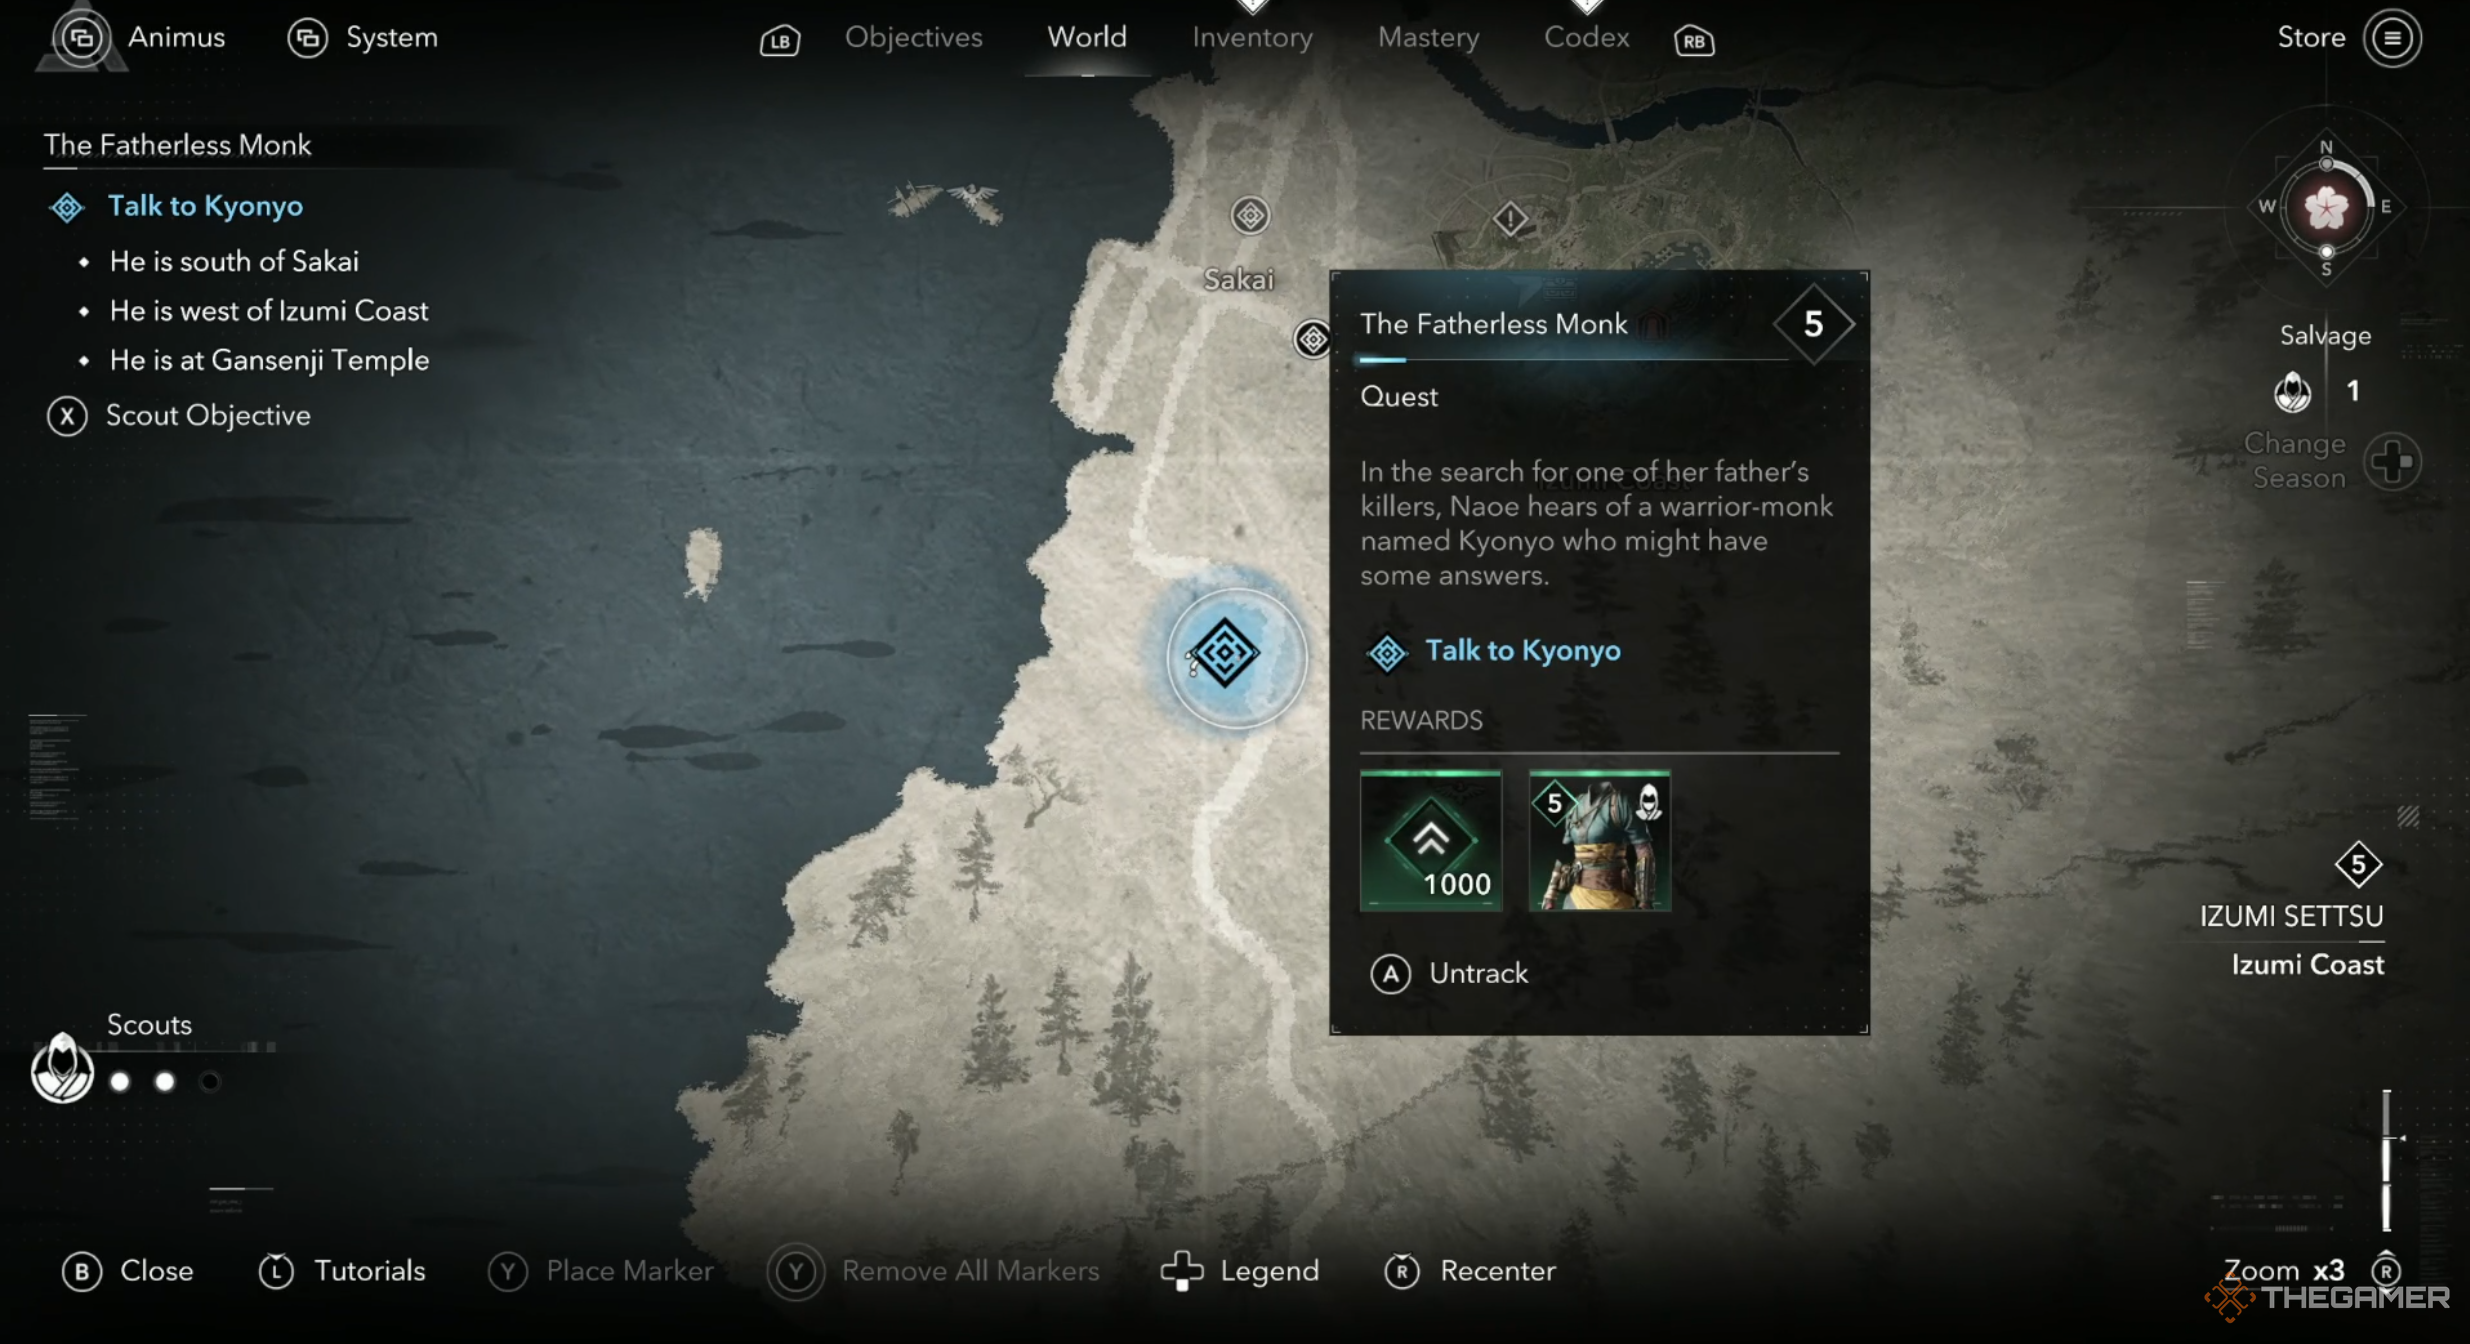
Once you’ve been given your first two targets, head over to the objectives menu and highlight the one on the right, known as The Wounded. This will open up his mission page for you and unlock The Fatherless Monk. This mission takes place South of Sakai and you can send Scouts out to find the exact location of its starting point, or just look at where we’ve marked on the map above.
Head to Gansenji Temple to find Kyonyo and help him out in battle against a few low-level enemies. This part should be no problem since most of the enemies here are already engaged in combat. Simply charge up some Posture Attacks and let them rip. Finishing this quest introduces you to Yaya and unlocks a piece of light armour and the next part of the mission – The Killing Field.
The Killing Field
How To Find And Kill The Executioner
The next part of your quest to find The Wounded will lead you to an area called Nanatsumatsu, which is marked by a blue objective point in the image above. Once you get close to the objective, Naoe will note that you need to take out the executioner without being seen or else he’ll kill the prisoners in front of him. You can choose to go it stealthy if you like, but really all you need to do is get his attention.
It doesn’t seem like there’s much punishment if he does execute the civilians, though, as it’s not part of the mission objective to save them.
The Executioner is a fairly standard heavy Samurai enemy, but he does have a big health bar. He’s reliant on using heavy attacks so make sure you’re dodging them and parrying whenever you get the chance to get an opportunity to attack him. He’s an easy enough target, but be careful of the enemies surrounding him, as they’ll quickly overwhelm you if you don’t take it one by one or stealth kill them first.
Completing this quest will unlock some uncommon headgear for you and the next mission, which is the lead-up to the final assassination.
Stolen Faith
Where To Find Mitsumune
By now you should probably have guessed that before starting the mission you’ll need to find your target, Mitsumune. Use your scouts to pin it down, or take a look at the map above to find the exact area to head towards. Mitsumune is in a camp at Nunobiki Falls, and he’ll tell you to retrieve a lost statue for him in order to progress in the quest.
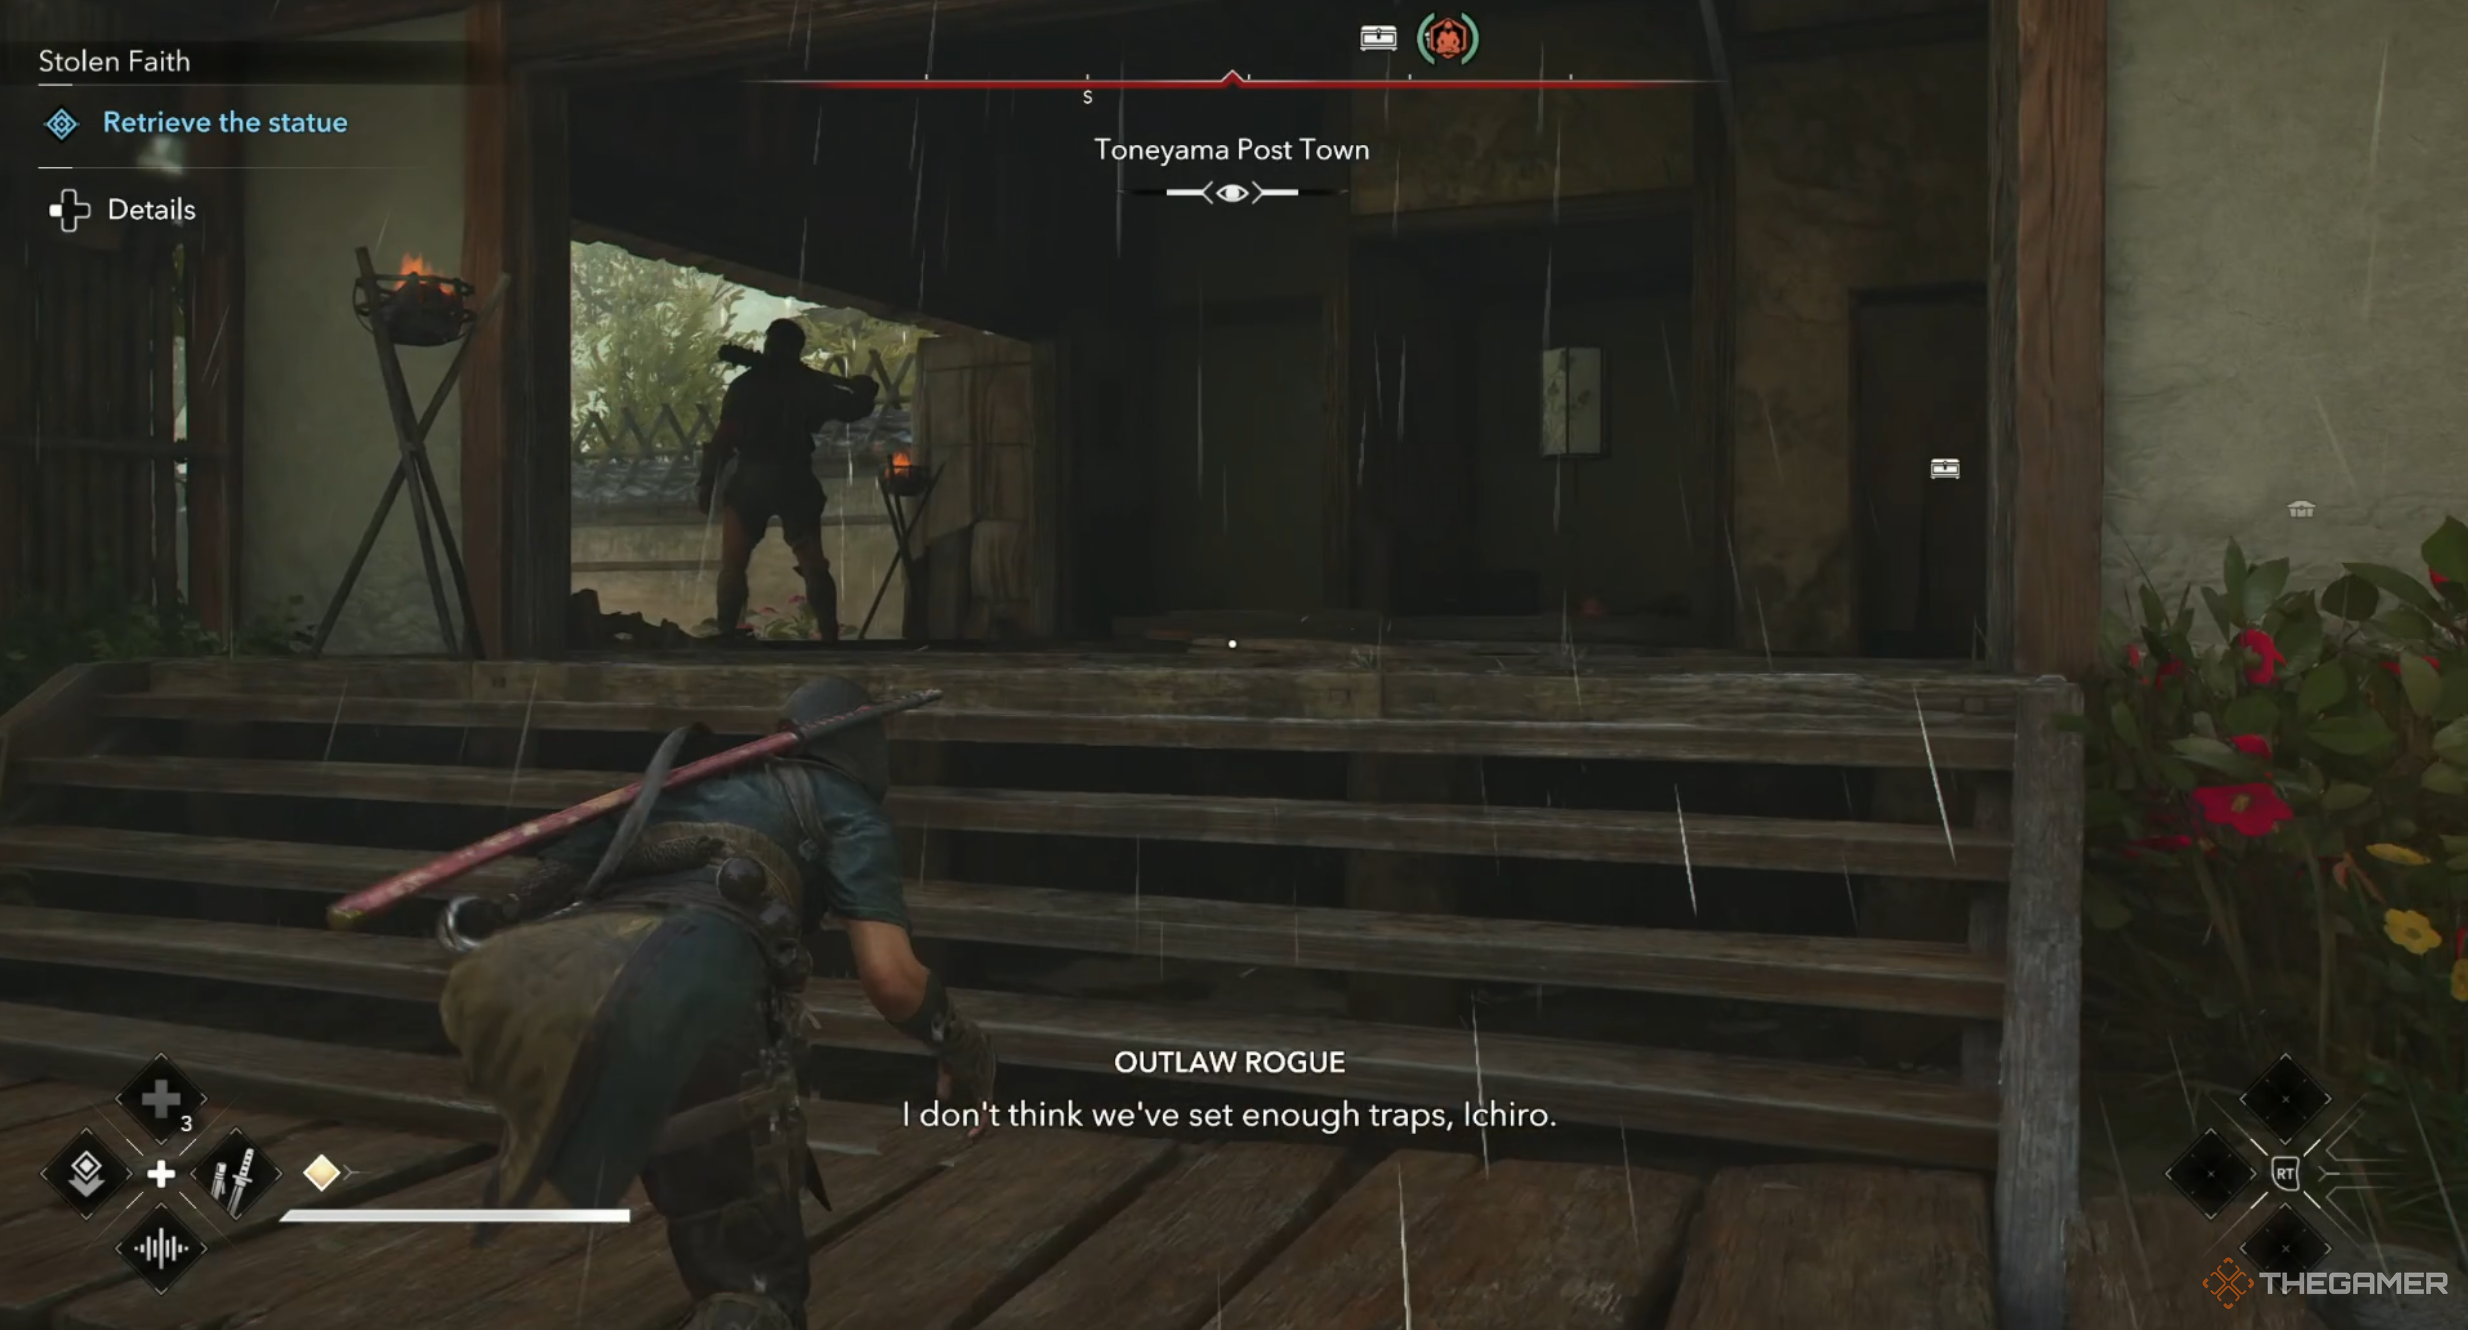
Once Mitsumune has asked you to find the statue, head to the Synchronisation Point near Senri Hills, which is very close to the statue’s location at Toneyama Post Town. Once here, you’ll find a village full of enemies to take down, most of which can be done stealthily. The statue’s location isn’t marked on the map, but you’re looking for an area guarded by a heavy enemy with a mace.
The easiest way to find the statue is by going on a roof and looking for the building pictured above, which is near a big fire pit and some treasure chests in a nearby room.
Once you’ve acquired the statue, head back to Mitsumune and hand it to him to finish the quest and move on to the final part of The Wounded’s assassination missions.
Heads Will Roll
Assassinating Wada Koretake
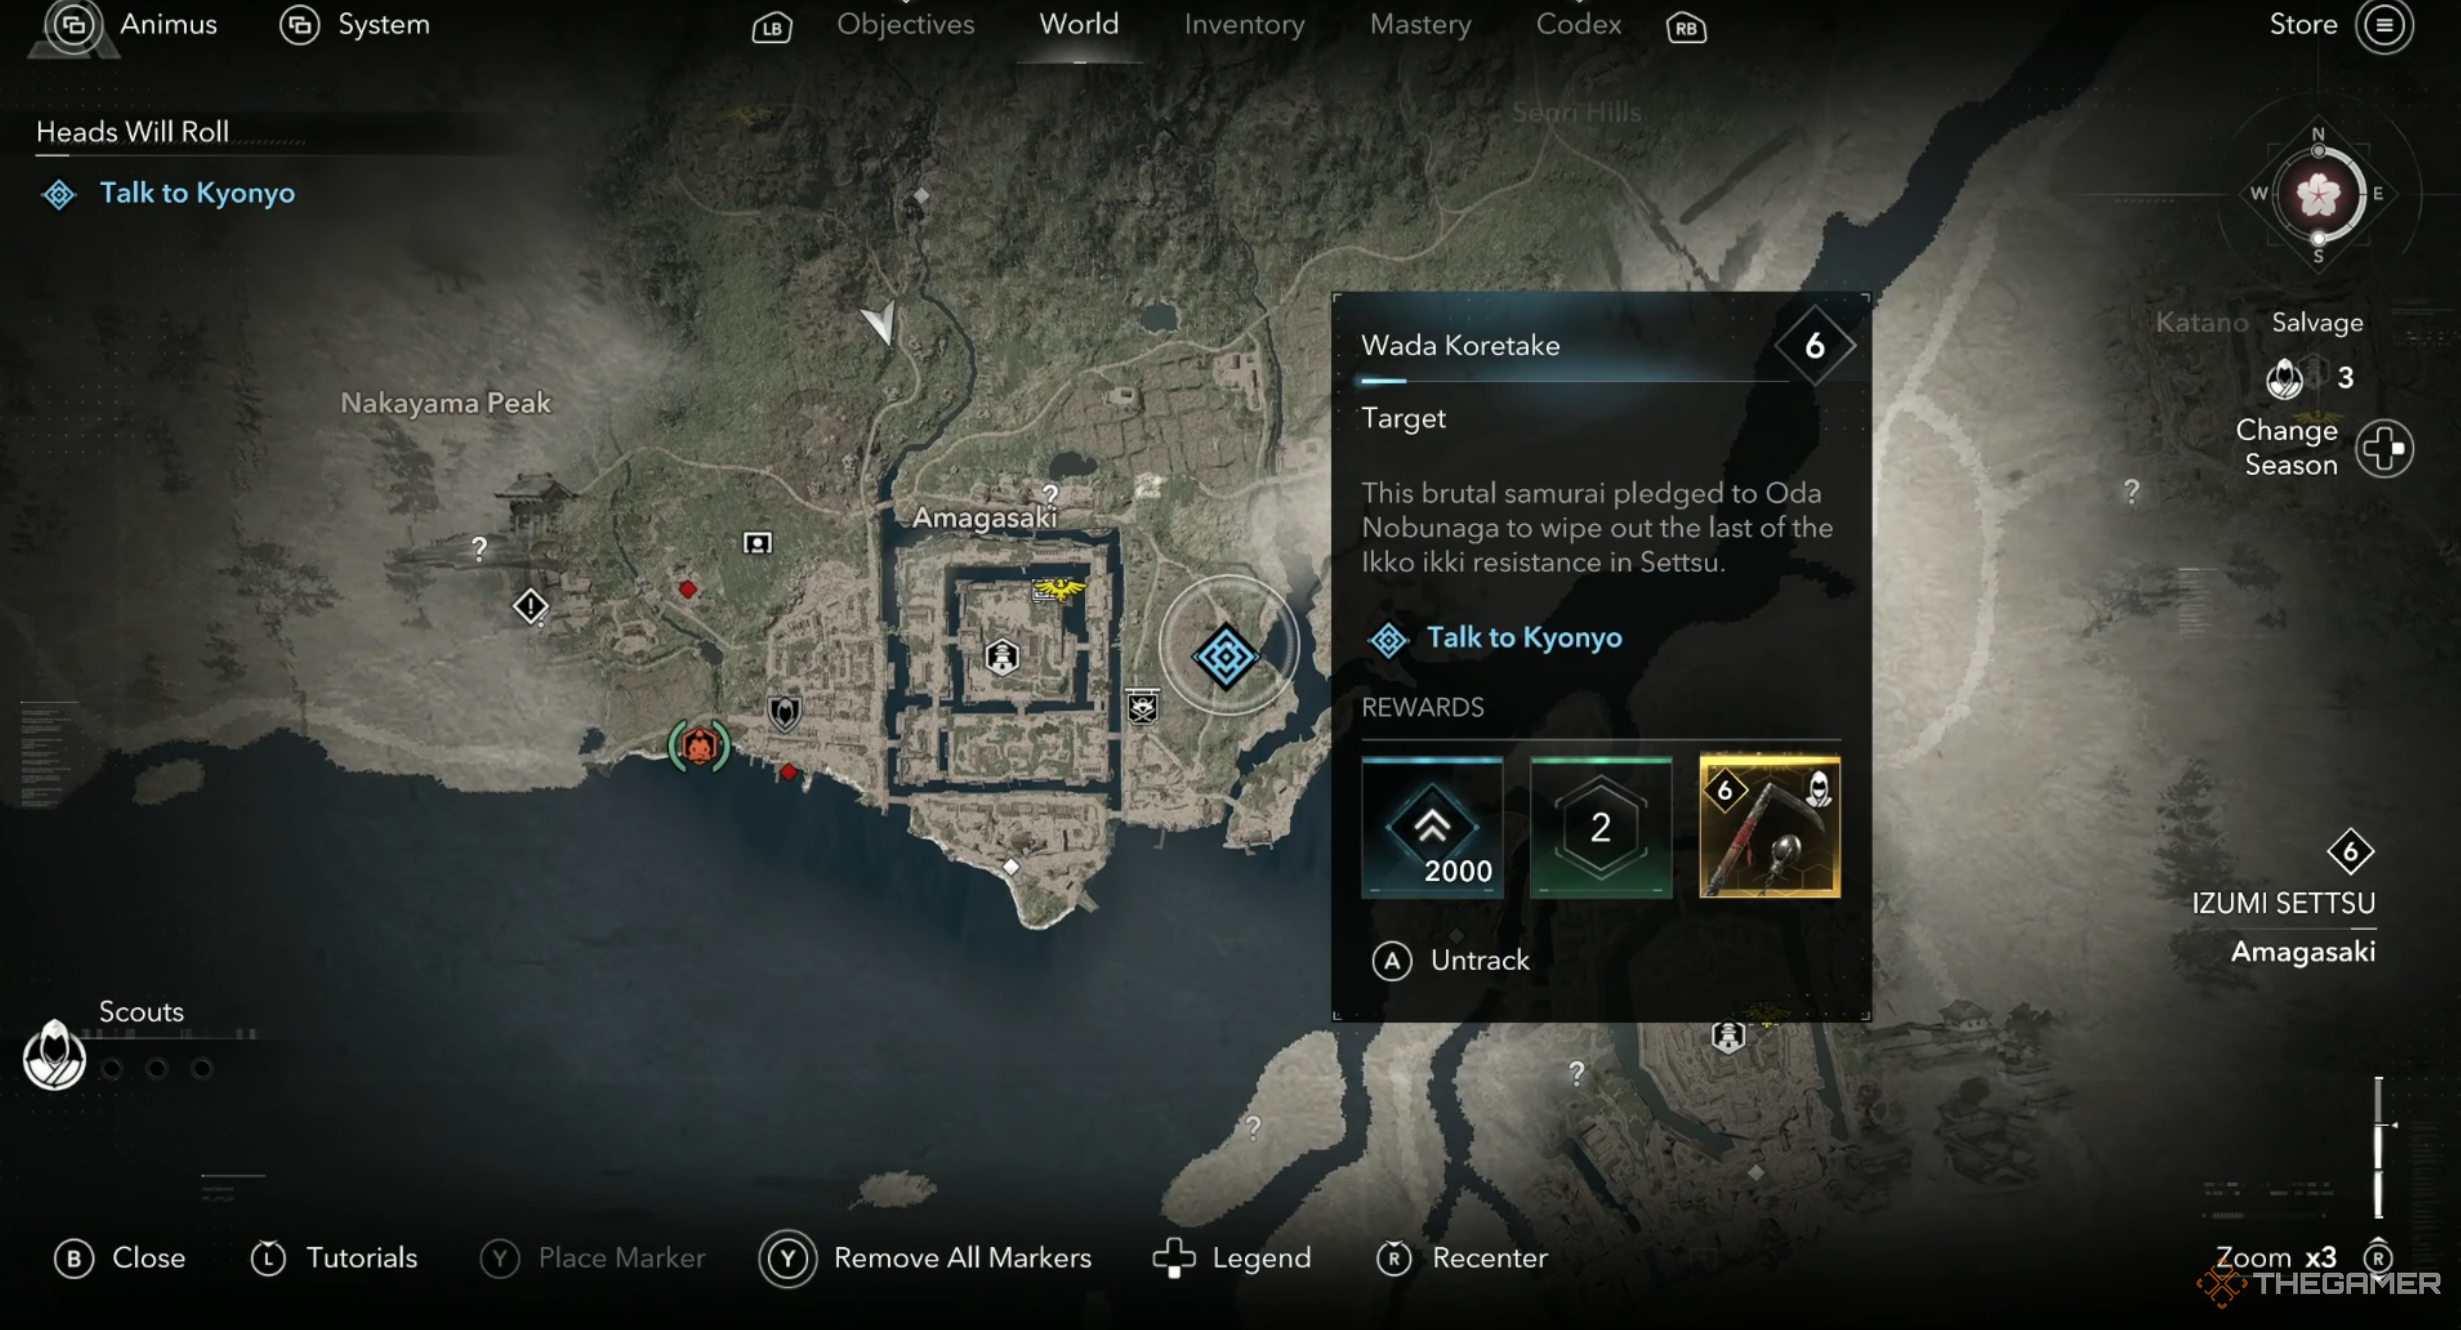
Now that all of the prep work has been completed, you’re ready for the final part of the assassination mission, which is a siege on Amagasaki Castle. This mission will be marked on your map for you, so there’s no need to worry about getting lost or using Scouts to find it. We’ve still shown it above so you know where to head.
Once you’ve reunited with your allies, the mission will begin and Naoe will need to take out the snipers at the gates. This should be fairly easy, as they can be found by holding LT or L2 and looking around. Once you’ve defeated these enemies that should be no match for you by now, you’ll be able to assassinate Wada Koretake.
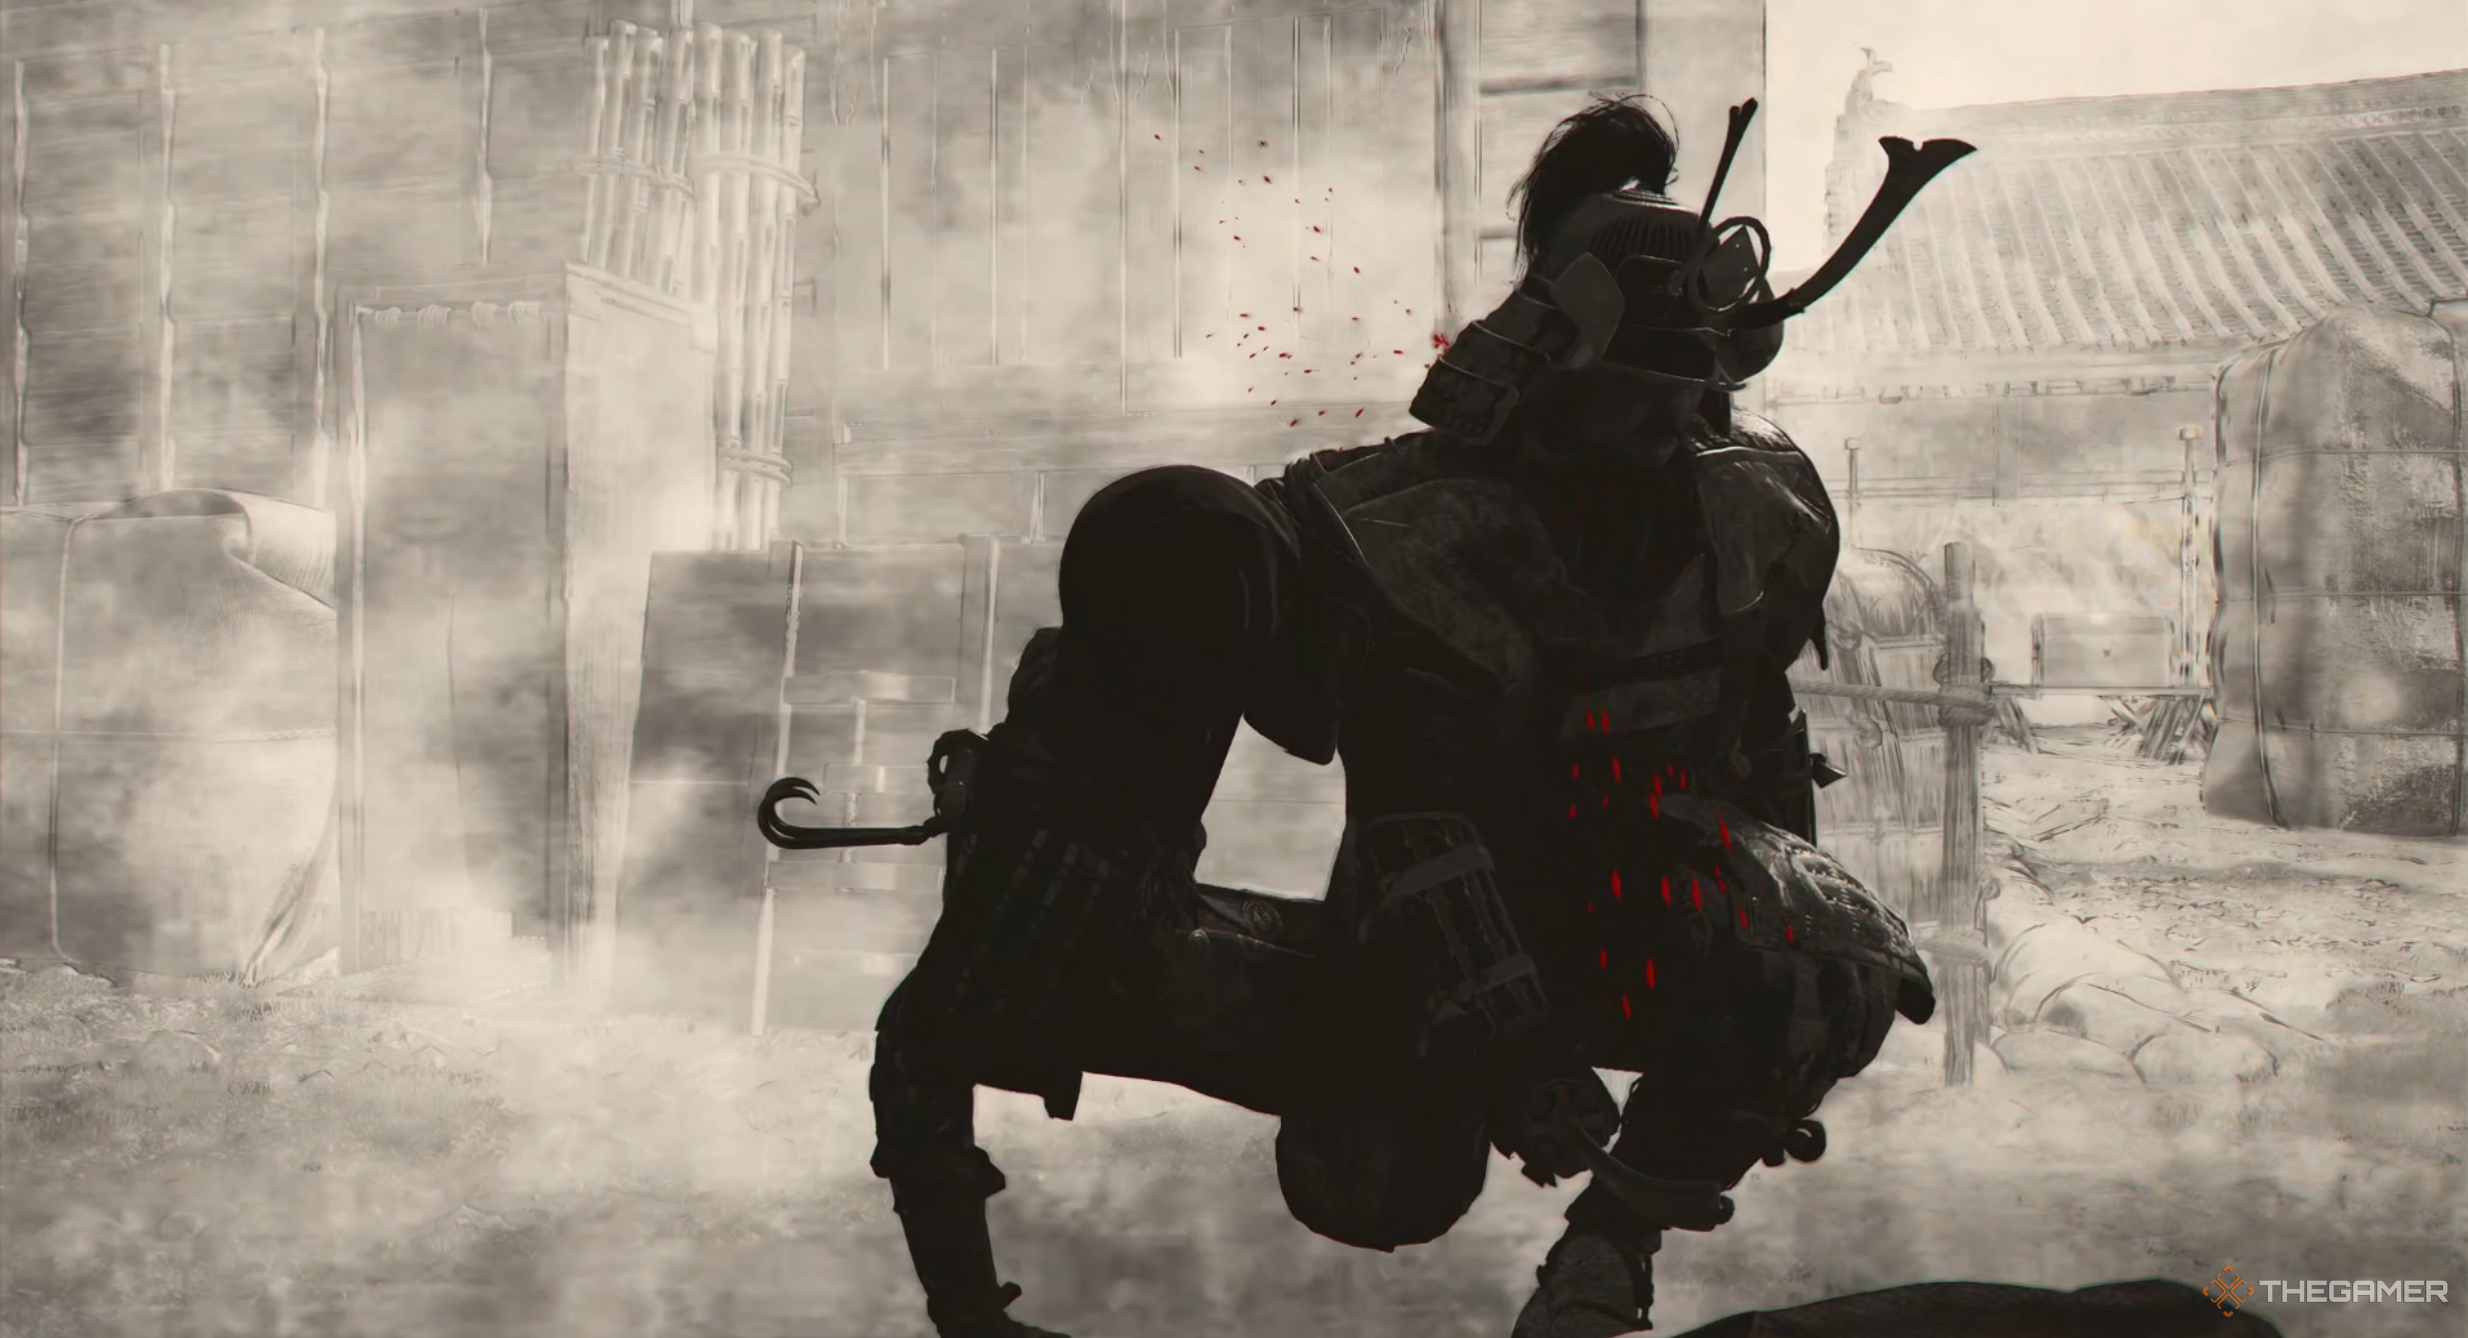
Koretaka can be found nearby in the Castle’s courtyard and is easily identified by holding LT or L2 to tag him. He’ll be wandering around and shouting about the battle and, while you can just attack him head-on, the best way to approach it is by going into the long grass and whistling him over for a quick and simple assassination.
A cutscene will play after the assassination where the player is offered a dialogue choice. Only one of them appears to matter, so choose to forgive the enemy to please Yaya, who can be an ally later in the game.
Completing this mission not only clears one of the targets off of Naoe’s list, but also rewards the player with a Legendary Kusarigama, the Death Whisperer. This will be your first chance to wield the weapon and will unlock a whole skill tree for it. It’s very powerful and can deal damage to crowds of enemies, so it’s well worth getting used to.
Next








Leave a Reply