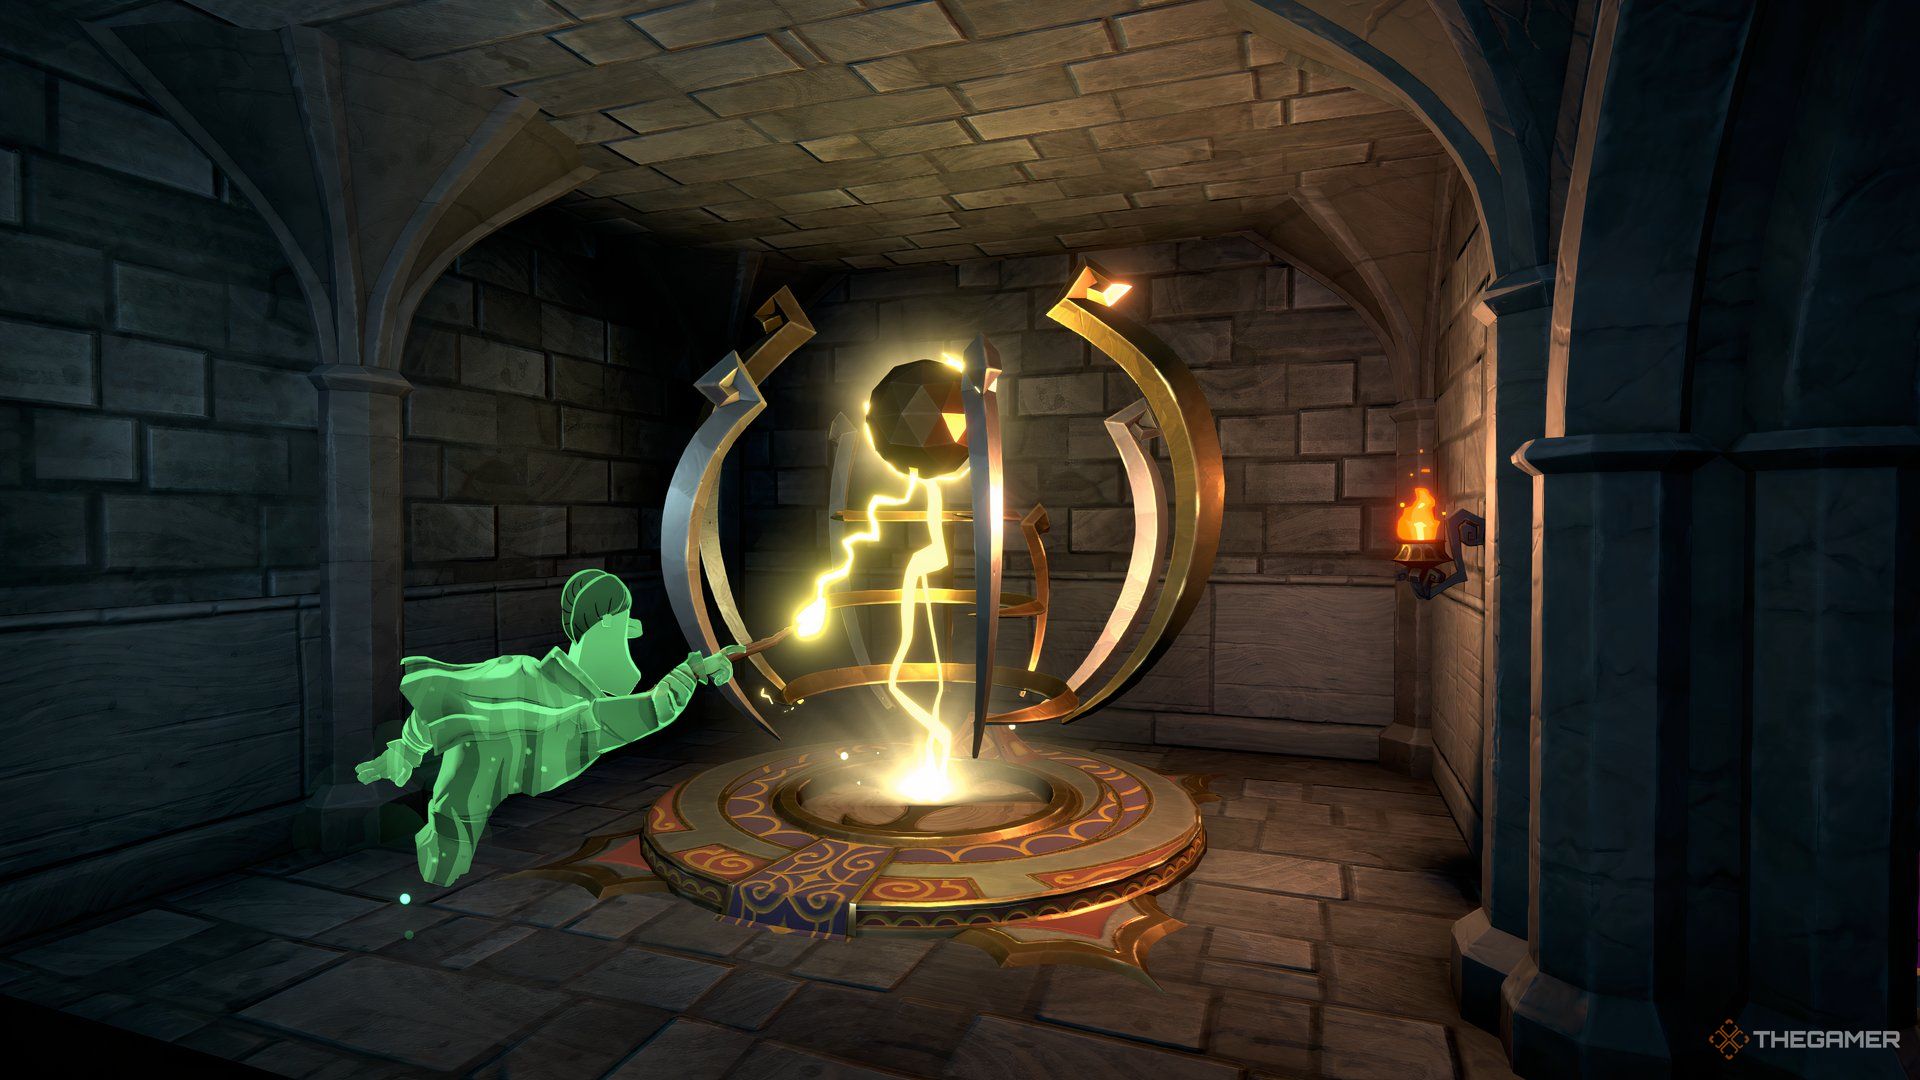
Mind Over Magic’s underground dungeon contains most of the non-management gameplay. Running the school will become increasingly difficult as time passes unless you are also making progress through the various chambers and bossfights of the underschool. The game’s final boss awaits at the lowest levels.

Related
Mind Over Magic: Race Traits And Stats, Explained
We cover how Stats and Race Traits work in Mind Over Magic.
On top of needing to clear it to win the game, the underschool also offers lots of useful tools and ritual rooms you can’t build for yourself. Upgrading wands, rerolling relics and trading your excess resources all require you to delve deep into the underground.
All Underschool Facilities
The underschool is divided into a sequence of biomes, each of which gives you an extra source of crafting materials and a few useful rooms you can’t build for yourself.
To avoid long walks, you can place chests in the underschool rooms containing whatever is needed for their rituals: wands, motes and portents have no uses above ground.
|
Facility |
Biome |
Usage |
|---|---|---|
|
Wand Transfigurator |
Stone Ruins |
You’ll need these to upgrade your mages. There is one transfigurator each for level two and three wands and they need to be used in order. |
|
Voidcap Farm |
Fungal Cavern |
This room will always grow a supply of voidcap mushrooms and is isolated to prevent mages accidentally walking through it. |
|
Warded Rooms |
Any |
Warded rooms allow you to refight encounters from that biome and level range. They’re especially useful for combat trials and warding trials and drop some biome appropriate loot. |
|
Ember Dragon Roost |
Lava Mines |
The dragon will trade your excess resources to cover up shortages. The exchange rates are steep but manageable (runewood is the easiest to farm at high levels). The lava dragon is also able to send your mages on quests but will be unavailable for trades while travelling. |
|
Altar Of Fate |
Nexus |
For a modest price you can reroll the abilities of a relic, the trials on a student or the relic slots on a mage. When you’re at the late game this price is trivial and the benefits are astounding. |
|
Infinite Halls |
Nexus |
These two areas serve as repeatable dungeons with different level ranges. Opening the halls gives you a sequence of rooms that you have 24 hours to clear in exchange for gnosis, mystic motes and experience. |
The underschool gives you extra space for building your base and the rooms come pre-arranged with useful keywords such as private, silent and grounded. It does have downsides that limits your ability to use the space:
- You aren’t able to resize the rooms and cannot place new walls and doors.
- You aren’t able to build wall fixtures, preventing you from making a room that requires blackboards, incense burner or window.
- The underground spaces will erode the conviction of nature and darkness mages that need exposure to natural light.
This curtails what you can do below ground but leaves several applications open:
- Refining beasts which have no specialised room
- Underschool rooms won’t summon oozes or similar monsters from being poorly kept, so a messy storage room is better kept underground.
- The Sculpture Studio needs to be on or under the ground floor but has no wall requirements.
- Simple workshops don’t need wall fixtures or decorations. In the early game space is a rare commodity.
Depending on your difficulty settings, the required keywords for rooms may change making underground spaces more or less viable.
All Underschool Bossfights
All of the game’s bossfights occur in the underschool, giving the player full control over when to engage them. You’ll want to progress with some haste to keep up with the weight of malice, but will have enough time to rest between each fight and craft any consumables you need.
All bossfights can be refought any number of times, but give limited experience. They will provide a small amount of encounter loot each time you win, so the bosses can be farmed if you have a team of mages able to quickly win the fight. The burrower larva is a reliable sources of extra smokepearls, which are difficult to gather in large quantities.
If you plan to refight a boss repeatedly, it can help to place a mana lantern right outside the effigy.
|
Boss |
Location |
Strategy |
Elemental Weaknesses |
|---|---|---|---|
|
Burrower Larva |
Lava Mines |
This boss heals five percent of its health every turn. It’ll win against any team that doesn’t have the power to kill it quickly or the mana to keep up the pressure. Will burrow every few turns and become untargetable. Use this time to cast buffs and prepare your front row to block the next attack. |
Weak to water. |
|
Burrower Spitter |
Fungal Cavern |
The spitter brings frontline minions and resummons them when bloodied. Using a lightning mage to hit it in the backrow can trigger the second phase early and means the minions only need to be defeated once. |
Resists all (use abjuration to invert its resistances!) |
|
Ancient Seal |
Nexus |
The entranceway to the final bossfight requires you to collect four seal fragments. These can be obtained from the dragon questlines, or crafted by a level eight mage in each element. The seal fragments you use will determine the guardians you need to face: The shattered key will face you against a shattered mage, a nature guardian will use thorn spells, etc. |
The race seals give an easier fight than most of the element guardians. Especially avoid elements that have area attacks or can hit the backrow. The guardians will closely mirror what your own mages are capable of, in terms of elements and spells. |
|
Wretched Embodiment |
Nexus |
The wretched embodiment can attack mages in any position and is invulnerable while its minions are present. Plan accordingly. If you have level eight mages with strong combat spells, such as polarise, lance or tornado, you’ll be able to chew through its hitpoints quickly enough to largely ignore your own defences. Its the final boss so there’s no reason to save those daily spells for later. |
This boss has no weaknesses or resistances. Use the abjuration “nowhere to hide” to make it weak to everything. |
Defeating the wretched embodiment lifts the weight of malice conviction penalty from all mages: You’ll no longer suffer a time based penalty to mood and will be free to continue running the school as you like. You’ll also obtain a level 25 relic that any mage can equip, giving a large skill boost and letting them float through walls like your founding ghost.

Next
Mind Over Magic: 8 Beginner Tips
Here are some helpful tricks to help you run your school in Mind Over Magic.


Leave a Reply