
FragPunk’s 5v5 ranked mode has its own set of Shard Cards that can be picked and, when you reach Diamond+, banned. This tier list covers all the available ranked Shard Cards and allocates them a ranking based on their usefulness for both attack and defense, as broadly speaking, the cards can be allocated either attack or defense utility.

Some of these cards are highly situational, and there are also ways to counter-pick and counter-ban your opponents, and your card strategy should change on the fly depending on the state of the game.
Best Ranked Shard Cards In FragPunk

Here are the best Shard Cards to pick in the ranked mode of FragPunk. Some of these are situational, but overall we’ve tried to select the generically-best cards from the list to give you an idea what you should be picking and banning if you’re the Card Captain.
You will unlock Shard Cards as you play the game. However, if other players have already unlocked the cards they will be available to use.
|
Offense Defense (Attack), Site Deletion (Defense), Explosive Shot, Big Heads, Infernal Hounds, Iron Head, Return to Sender, Headshot Master, Vampire Night, Extra Site (Attack), Small Heads, Pull The Plug, Barrier Destruction, Reaper’s Scythe. Life Saver, Itchyt Triggers, Homing Projectiles, Dullahans, Death’s Embrace, Hard Rain, Tick Tock (Defense) Weapon Morph, Weapon Or Life, Piercing Bullet, Bad Knees, Dimensional Travel |
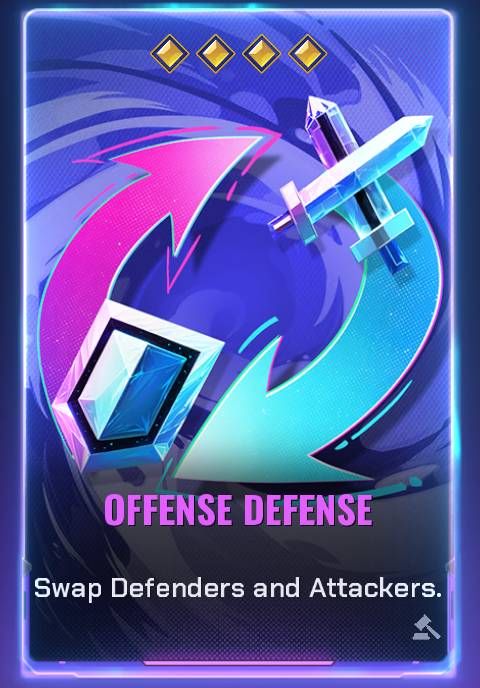
Offense Defense
-
Offense Defense swaps the attacking and defending sides. Defense is usually the much better side to play, and although this can depend on the map, you’re more likely to get a victory by defending than attacking. On some maps, like Dongtian or Black Market, the defense side is massively favored. In a game where every round matters, having the opportunity for an extra defense round can swing the game in your direction.
4 Shard Points
-

Site Deletion
-
Site Deletion is an excellent defensive Shard Card as it means all your team can simply stack on one bomb site without worrying about a rotation to the other site. You should still be wary of flanks from the middle lane or around the back of your spawn, but if you play correctly, this should be a guaranteed win.
5 Shard Points
-


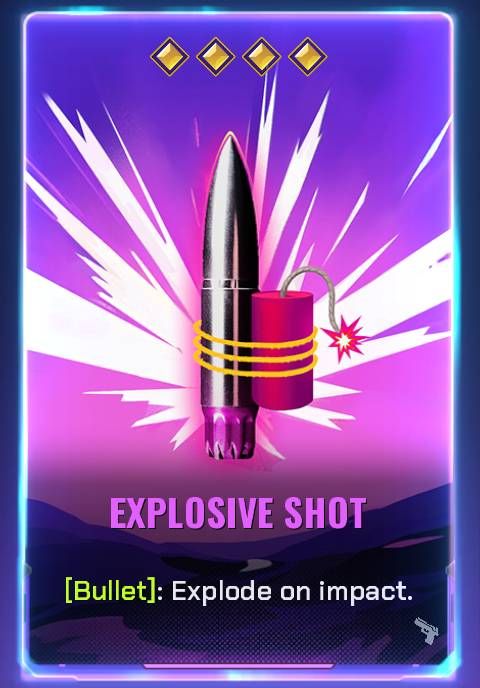
Explosive Shot
-
Explosive Shot is excellent for both attack and defense – bullets do more damage as splash radius, ideal for enemies that are bunched together or doing damage behind barricades. We love to take an LMG when this card is active and just spray down the corners and cover.
4 Shard Points
-

Big Heads
-
Big Heads is extremely powerful as your opponent’s heads really do get very large, which makes landing those extra headshots much easier. Headshot damage is extreme in FragPunk, so this card is pretty much a must-pick (or a must-ban). A weapon like the Fever is great while this card is active as it really relies on headshot damage to outgun your opponents.
5 Shard Cards
-


Infernal Hounds
-
Infernal Hounds is a powerful card as you get a hound (that will respawn) that will attack enemies in front of you and explode in a pool of fire when killed. Enemies will need to shoot the hound before they shoot you, and quickly move if they don’t want to get fried – this gives you the opportunity to kill them first. While this card is active on the attacking side, you can rush positions quickly as a team. Five dogs is better than one.
5 Shard Points
-


Iron Head
-
Iron Head is a direct counter to a card like Big Heads, but it’s also a great pick to help your team survive more fights. Less headshot damage means you’re less likely to get two-tapped by a Fever or hit in the head and instantly killed by a Resolver. This card also makes holding very specific spots on the map much easier, and a Lancer like Nitro with her walls can make use of this for tricky positioning.
4 Shard Points
-


Return To Sender
-
Return To Sender is an interesting card. For defense, it can be used to give you some freedom to push the enemy team as the moment you’re shot you just get sent to spawn. For attack, it allows you to clear people off a site, or quickly rush the spawn for easy kills when people are teleported there.
5 Shard Points
-


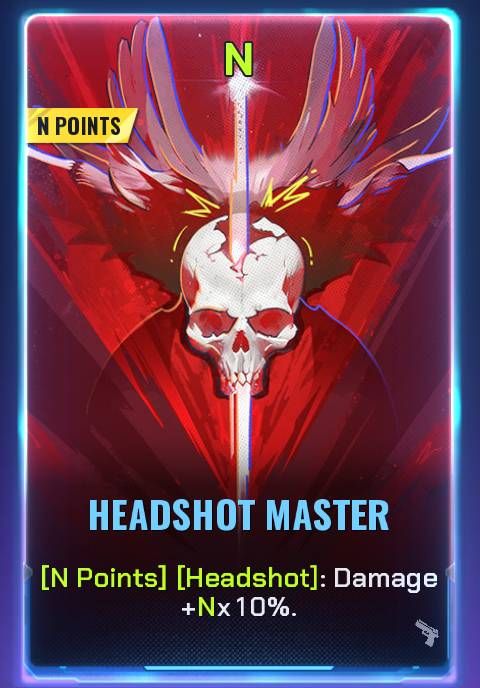
Headshot Master
-
Continuing the theme of headshots, Headshot Master is an excellent card. It increases your headshot damage significantly, and it’s pretty much a must-pick if you get the option to.
N Points
-

Vampire Night
-
Vampire Night grants your team extra HP and lifesteal after accruing just 200 damage. This makes it one of the best cards to pick as it essentially combines the uses of several other Shard Cards into just one card. It promotes a slightly slower style of play, as you want the power to be active before you fully engage.
5 Shard Points
-


-
Extra Site is a great attack card as it will add a new C bomb site to the map, in the middle lane. It gives your team another angle of attack and can allow for some unpredictable plays. Often the additional site is located directly in the middle of the map, so it allows you to rush that spot and plant quickly. Once the bomb is down the attack turns into defense, allowing you to hold angles as players approach from the other sides of the map.
3 Shard Points
-


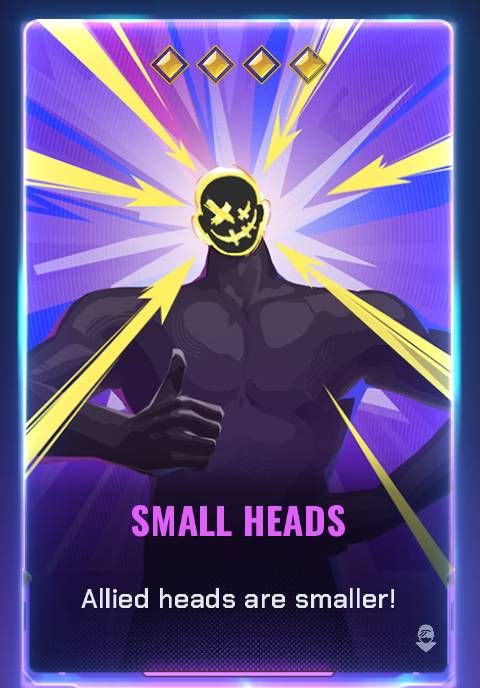
Small Heads
-
Small Heads is literally the opposite of Big Heads. It’s a great counter-pick to any headshot-boosting card and just generally a great card, as a smaller head means you’re harder to hit for big damage. You can play slightly more aggressively when this card is active.
4 Shard Points
-

Pull The Plug
-
Pull The Plug removes all Shard Cards from play. Not the most exciting card, but at least it keeps things simple. Usually there’s a sort of bait-and-switch while picking and banning this card. If you’re the card captain, try to get the enemy team to spend their points on it rather than yours.
4 Shard Points
-


Barrier Destruction
-
Barrier Destruction lets you play off some really fun plays on both defense and attack. While picking it on the attack side, use it to quickly rush one of the bomb sites. On defense, you can get better angles on attacking players. Make sure to pick a side to attack by communicating with your team. You’ll need to all shoot the barrier as fast as you can to optimize your clear speed.
4 Shard Points
-


Reaper’s Scythe
-
Reaper’s Scythe is just a horribly broken card, and we can imagine that it might be toned down a little in a future patch. It allows you to fire penetrating scythes through the entire map. Very hard to deal with on either attack or defense. If all players grab the scythe right at the start of the game, you can start whittling away players’ HP immediately. Be wary of rushing players though, as you can be caught off guard.
4 Shard Points
-


Life Saver
-
This is just another unbelievably strong card. Life Saver lets you bring any teammate back to full health. This means you can grab your allies when they go down rushing a bomb site, or quickly reset to attempt another push somewhere else. A must-pick/must-ban. This card promotes a slightly slower style of play. Always try to revive your teammates if you’re able to do so, as it provides an enormous advantage over the enemy team.
4 Shard Points
-

Itchy Triggers
-
Alongside Reaper’s Scythe, Itchy Triggers is probably the most annoying card in the game. We’d even go as far to say that it is the worst card to have played against you. It makes sneaking anywhere basically impossible, and you’ll waste a bunch of your ammunition just firing random shots every few seconds. This is particularly bad if you’re the last player alive on the team, as you will be the only one that the card triggers on. You might as well just give up.
4 Shard Points
-


Homing Projectiles
-
Homing Projectiles makes all your thrown grenades and weapons like the Blaster or Burner perfect. Land a shot even just near an enemy, and you’ll find that the projectile will latch on to them. It works very well when paired with other projectile-based cards. We recommend grabbing a Blaster while this card is active. You can use the map to see where your projectile will land to line up the perfect shot on grouped-up enemies.
3 Shard Points
-


Dullahans
-
Dullahans is one of the strongest cards in the game. It makes you completely invulnerable to headshot damage. Considering headshot damage is so important in FragPunk, this card is a must-pick. It allows you to play very aggressively while this card is active. Make use of spots where only your head is visible. Nitro’s walls can make this quite easy while defending or attacking.
5 Shard Points
-


Death’s Embrace
-
Death’s Embrace is a great card as even though the enemy team will be prepared to dodge the swinging scythe of death, it often still catches people out. The damage applies to any enemy caught in the swing, which means it’s excellent for attacking grouped-up enemies. If the card is played against you, you can use your charged knife lunge to quickly escape the radius of the scythe.
3 Shard Points
-


Hard Rain
-
A slightly more situational card, Hard Rain is nonetheless still great, as it adds a shield of 25 HP that regenerates if you’re in the rain. Obviously, this doesn’t apply if you’re inside a building, but you can dip in and out and replenish the shield. The shield will only regenerate when you’re not in a fight. The usefulness of this card also largely depends on the map. A map like Black Market, for example, has a lot ifn
5 Shard Points
-


Tick Tock
-
Tick Tock is probably the best defensive card in the game. It removes the ability for your opponents to plant the bomb, which means you can just sit tight and wait for the round to end, or run around the map on a wild goose chase until it times out. Enemy teams might also play more recklessly while this card is active in an attempt to plant the bomb before the timer is up. Hold your angles and try not to push if you’re playing on the defense side.
5 Shard Points
-


Weapon Morph
-
Weapon Morph is an excellent card while playing defense, but it can also be useful for attack. During the defense phase you can use the shop to place multiple turrets around the bomb site by purchasing then dropping weapons. The turrets do a lot of damage and must be destroyed by players attacking the sites, giving you a chance to get the drop on them. Try to set up as many weapons as you can. You can pick up the weapons from the floor.
5 Shard Points
-


Weapon Or Life
-
Get killed, drop your weapon, return to health with one HP. Weapon Or Life is a fantastic card but it has to be used properly, so ideally you want to have some way of healing (a healing card or Pathojen) to get your HP back. You can also destroy Treasures to get a med kit. You can also pick up weapons off the floor to get back into fighting shape.
5 Shard Points
-


Piercing Bullet
-
Piercing Bullet allows you to shoot through walls. Yep. It’s a good card. Great for defense and attack, it allows you to get sneaky shots on hiding players or to use your bullets as a method of finding out where players are lurking. We love to take the LMG while this card is active as you’ll get more ammunition to spray through walls with.
4 Shard Points
-


Bad Knees
-
Bad Knees might look like a bit of a situational card, but when you realize that enemies take fall damage every single time they jump, you start to see why this card can be useful. It will often mean your enemy will have a few less dozen HP by the time you fight them, which is enough to turn the fight in your favor more often than not.
4 Shard Points
-

Dimensional Travel
-
Dimensional Travel is an absolutely wild card. Being able to flick between two separate planes of existence pretty much means any round with this in play is total chaos. It can be very useful if you know how to use it, but really it’s a tricky card to properly pull off.
4 Shard Points
-


Picking And Banning

At the start of the game, your team will select a Card Captain. This person will be responsible for picking and banning cards to play during the round.
This is a big responsibility that requires a good understanding of the power levels of different cards. A poor Card Captain can make a game difficult to win, as some of these cards are just so important and game-changing.
During the game, your team will accrue Shard Points by getting kills, assists, planting the Converter and defusing the Converter. You can also collect additional Shard Points by destroying Treasures around the map, which have a chance to drop one Shard Point.
During rounds while your team is unable heal due to enemy card selection, Treasures will only drop Shard Points. Gather as many as you can to give your team an advantage in the upcoming rounds.
The Attacking team gets to pick the first card as they are at an innate disadvantage while trying to attack. Keep this in mind if you are playing as the Card Captain on the defending team. Each team can pick up to three cards, although they will be restricted by the number of Shard Points you have.
Shard Points also get reset between the swap over between attack and defense so make sure to spend all your points before you swap sides, otherwise they’ll be wasted.
Sometimes it makes sense to grab a single point in an N points card to prevent the enemy team from taking the card. Try to use your Shard Points as optimally as you can.
