Treasure Traitor is an armored tortoise boss that you can encounter in Split Fiction during Chapter Five: Rise of the Dragon Realm. The encounter begins after Mio and Zoe’s dragons roar into the horns and open the gate to the Treasure Temple.

Related
Split Fiction: How To Beat The Dragon Slayer
Learn the Dragon Slayer abilities, weaknesses, and some tips against him in this Split Fiction guide.
As Mio and Zoe, you’ll need to dodge rolling steel traps and solve various puzzles while chasing the tortoise to its lair in the Royal Palace. This guide covers Treasure Traitor’s abilities for both of its phases there, as well as how to counter them and the battle strategies to defeat it.
Phase One
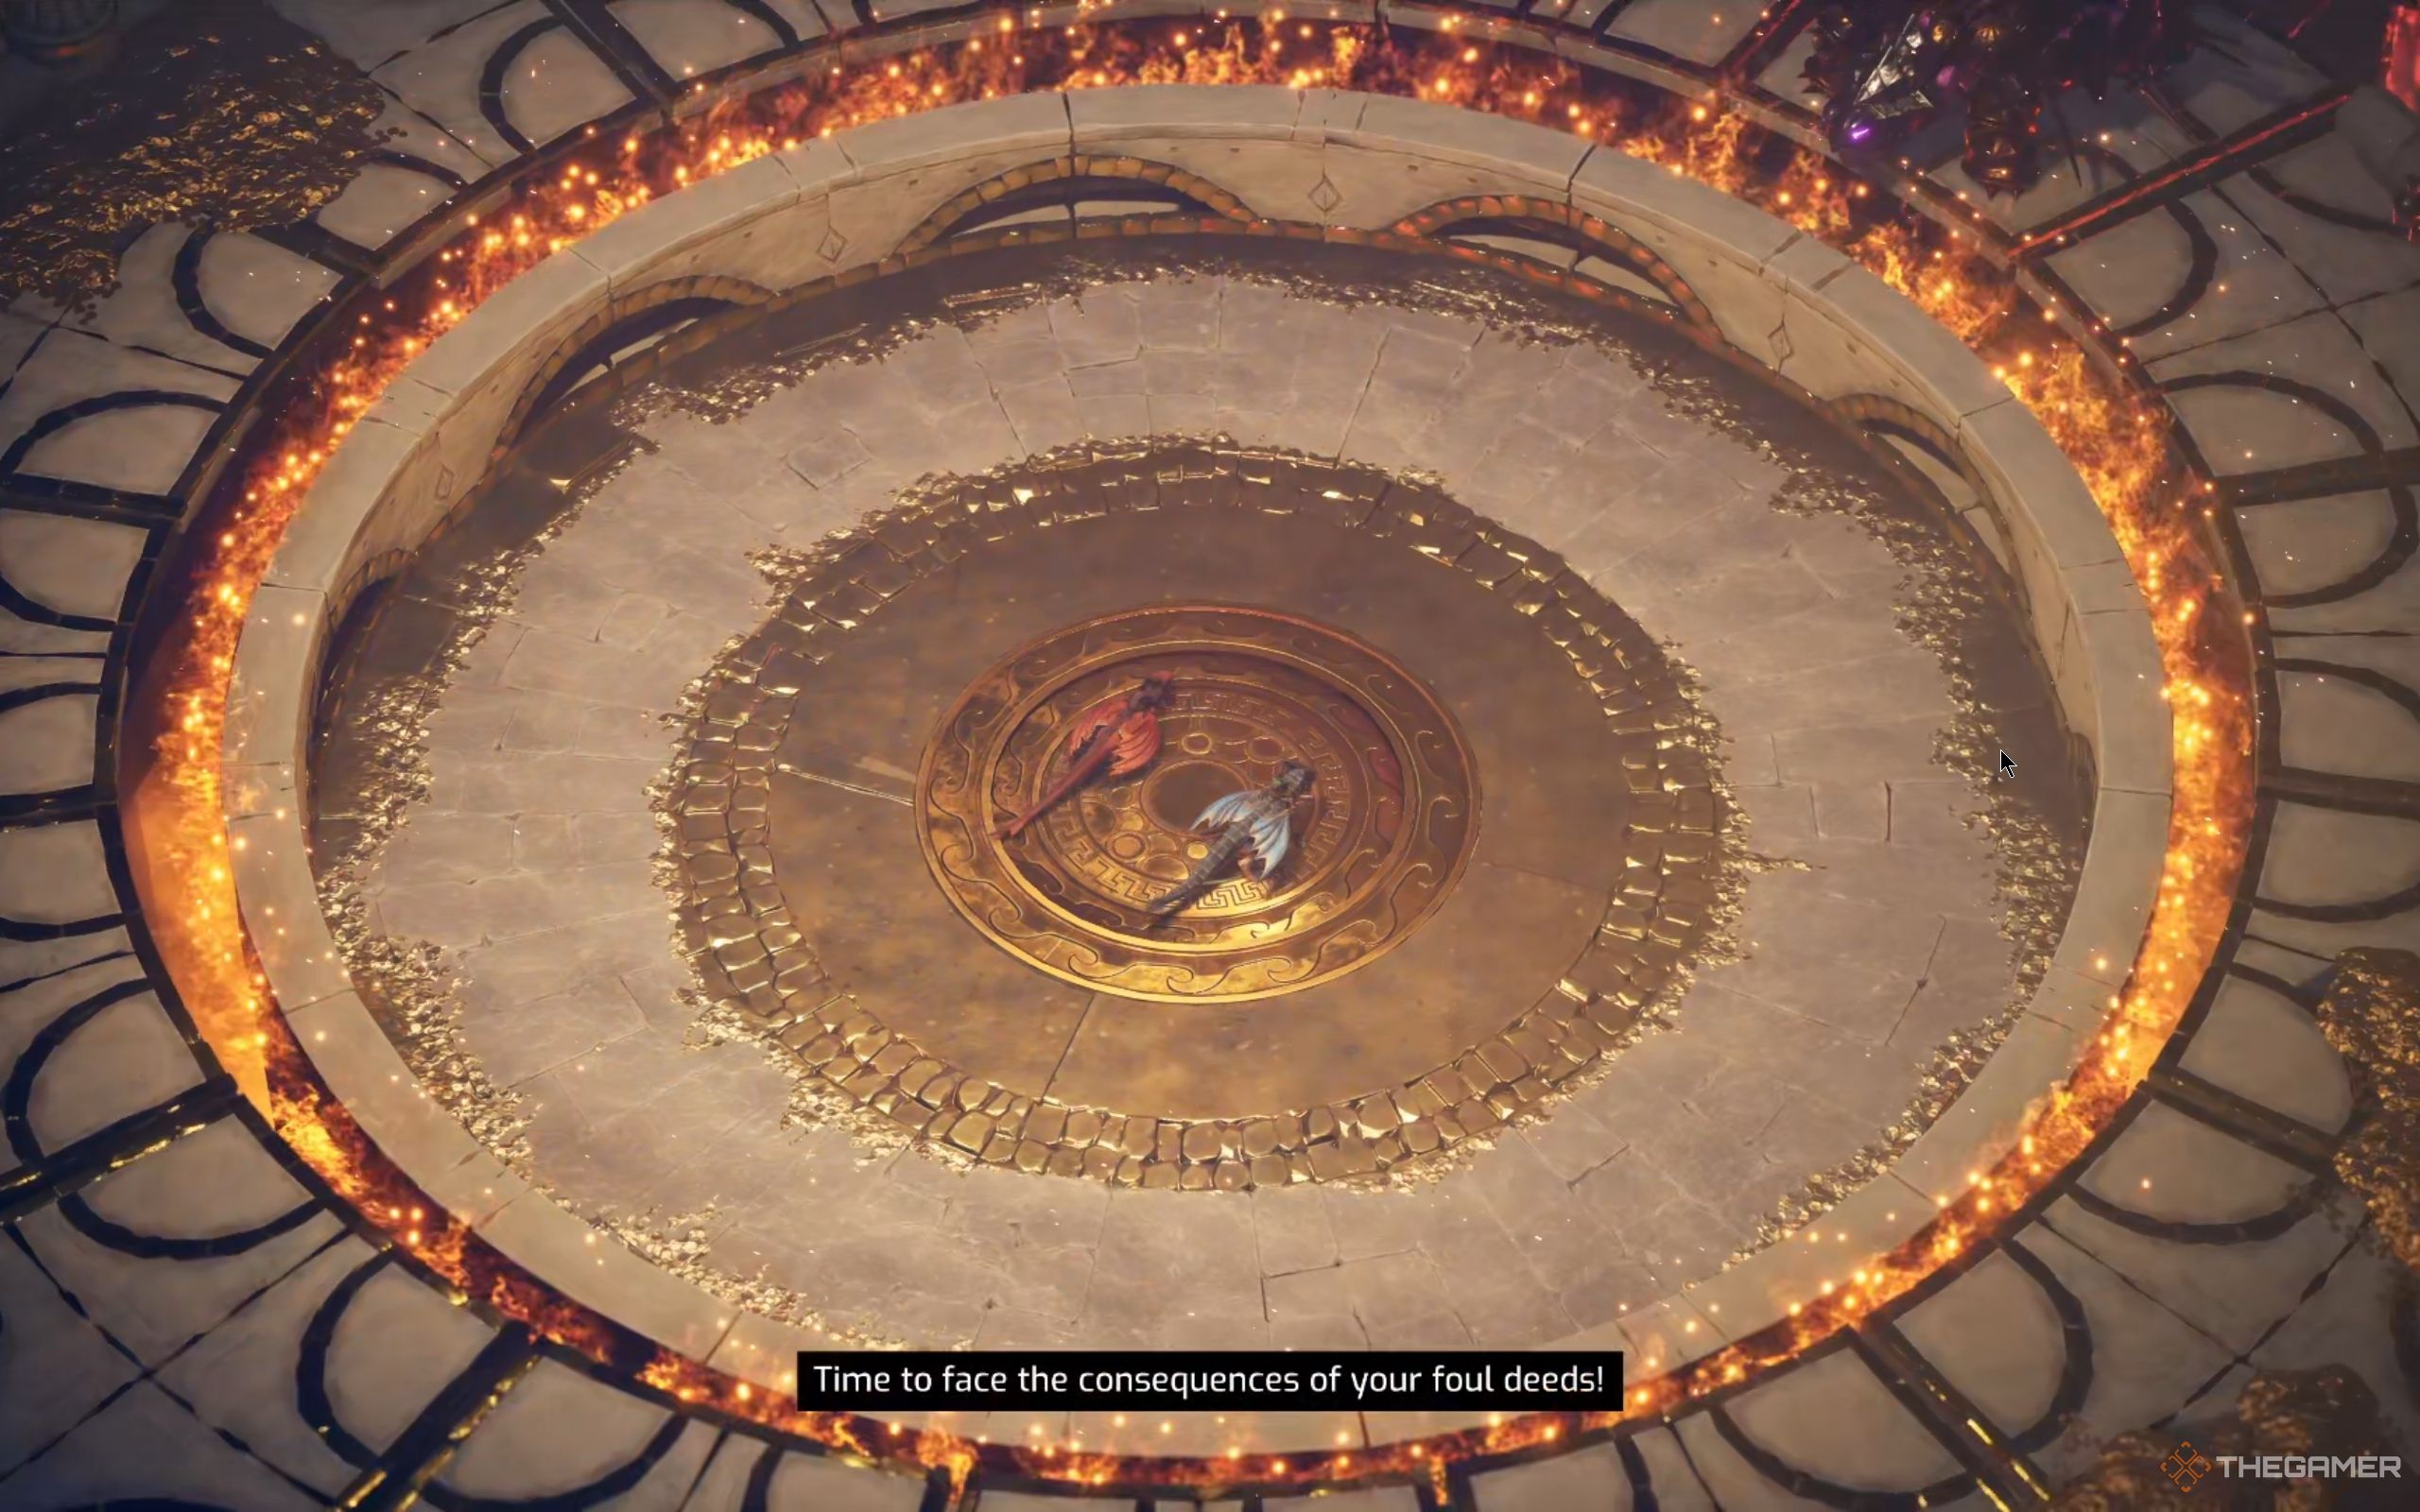
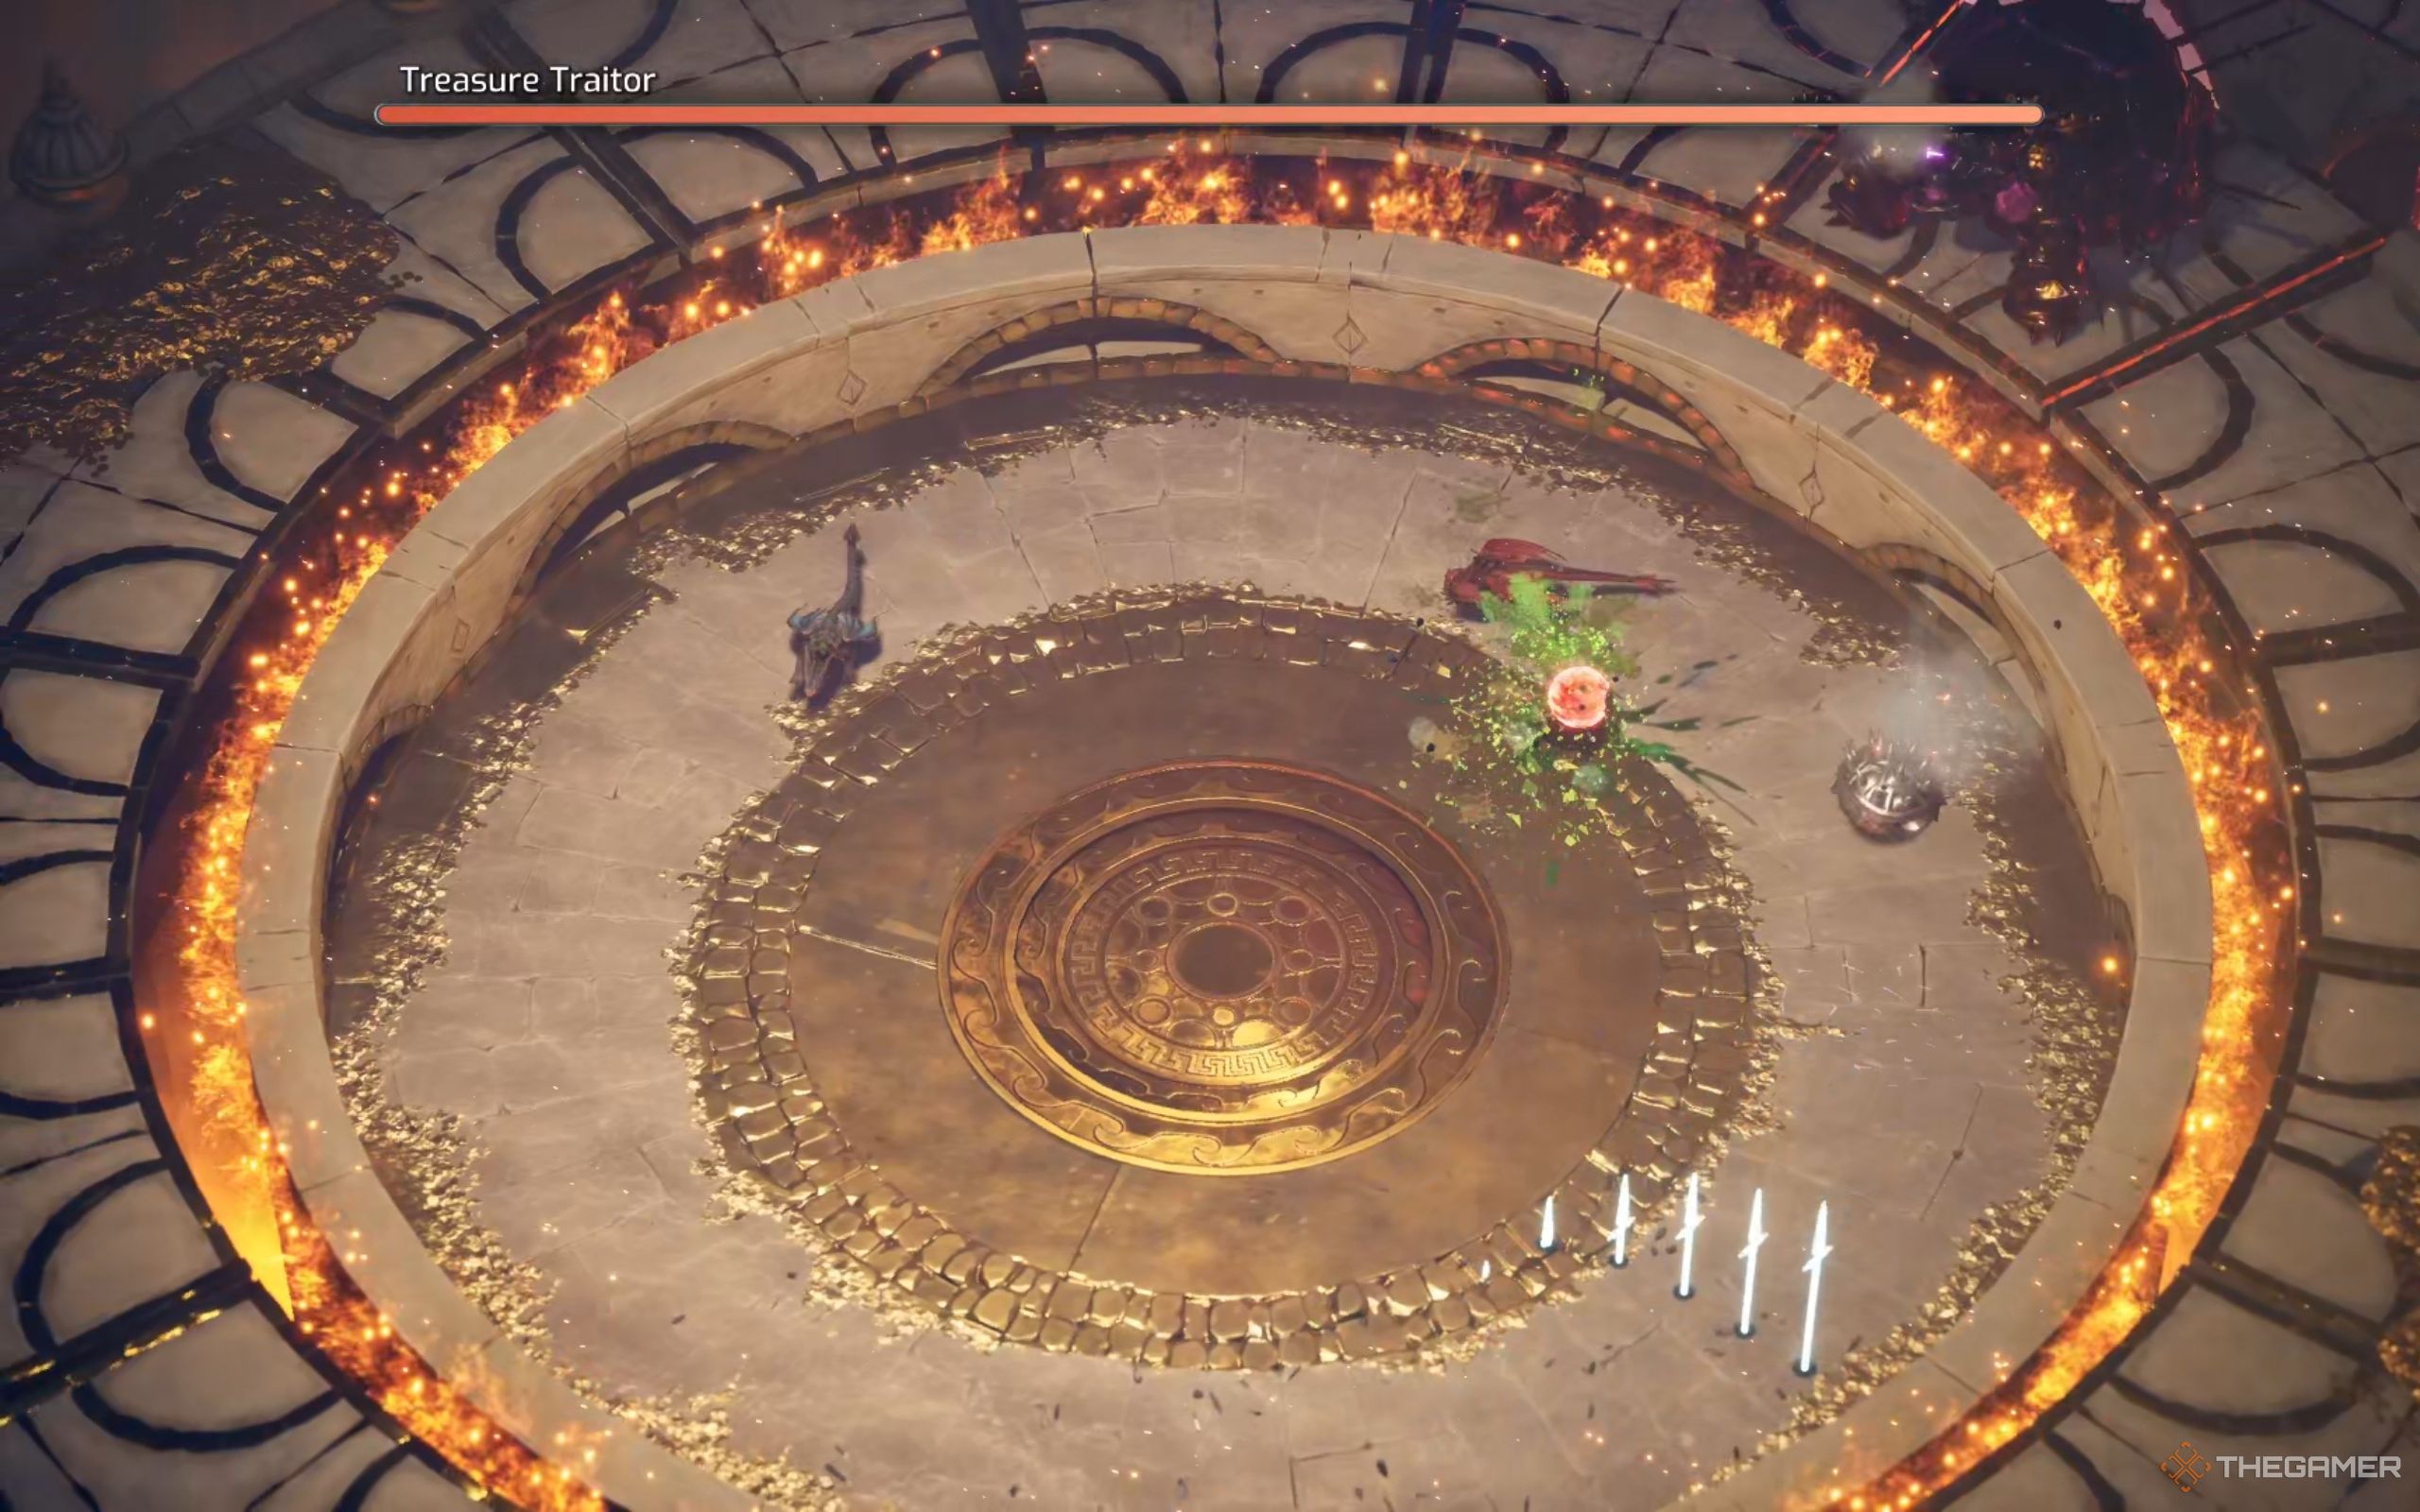
The first phase of the battle against Treasure Traitor begins with Mio and Zoe trapped in a round arena surrounded by fire. You won’t be able to spit acid or roll directly into the tortoise to deal damage as usual, but there’s another way to take it down.
Throughout the fight, the Treasure Traitor releases various spiky metal shells that spin around. Touching them while their metal shells are still intact will damage you. However, these shells are also the main mechanic of defeating the tortoise.
Mio should use her red dragon to spit acid and melt the metal shells, revealing purple explosive cores inside. Zoe then needs to deal damage by using her blue dragon to hurl these explosive balls at the armored tortoise.
The good news is that the purple explosive cores automatically lock onto the Treasure Traitor. So, no matter where you aim or throw them, they’ll always find their way to the boss. Now that you know how to damage the Treasure Traitor in Split Fiction, it’s time to take a look at its other abilities:
|
Ability |
Description |
How To Counter |
|---|---|---|
|
Water Spikes |
Treasure Traitor triggers water spikes in the arena in different patterns. |
The water spikes move in predictable patterns, so pay attention to their movements and stay out of their way. |
|
Transformation Projectile |
Treasure Traitor fires a homing projectile at one of the players. You’ll know that you’ve been chosen if a pink circle starts closing in beneath your feet. Upon impact, Zoe and her dragon will turn into a snake-like metal statue. Mio will transform into a pink crystal. In this state, you won’t be able to attack, and your movement speed will be heavily impaired. |
To break free, Mio must spit acid on Zoe’s metal form, while Zoe needs to roll into Mio’s crystal form to remove the stun. |
|
Golden Laser Contraption |
Treasure Traitor summons a golden device in the middle of the arena, shooting out three rotating laser beams. During this stage, the Treasure Traitor still spawns metal spiked shells. |
To avoid damage, jump over the lasers as they rotate. Continue melting the spiky metal balls and hurling the purple cores at the boss to deal damage. |
The Treasure Traitor can use various abilities at once, so be mindful of your surroundings.
Focus on teamwork and timing. With patience and coordination, you’ll successfully push Treasure Traitor into its second phase.
Phase Two
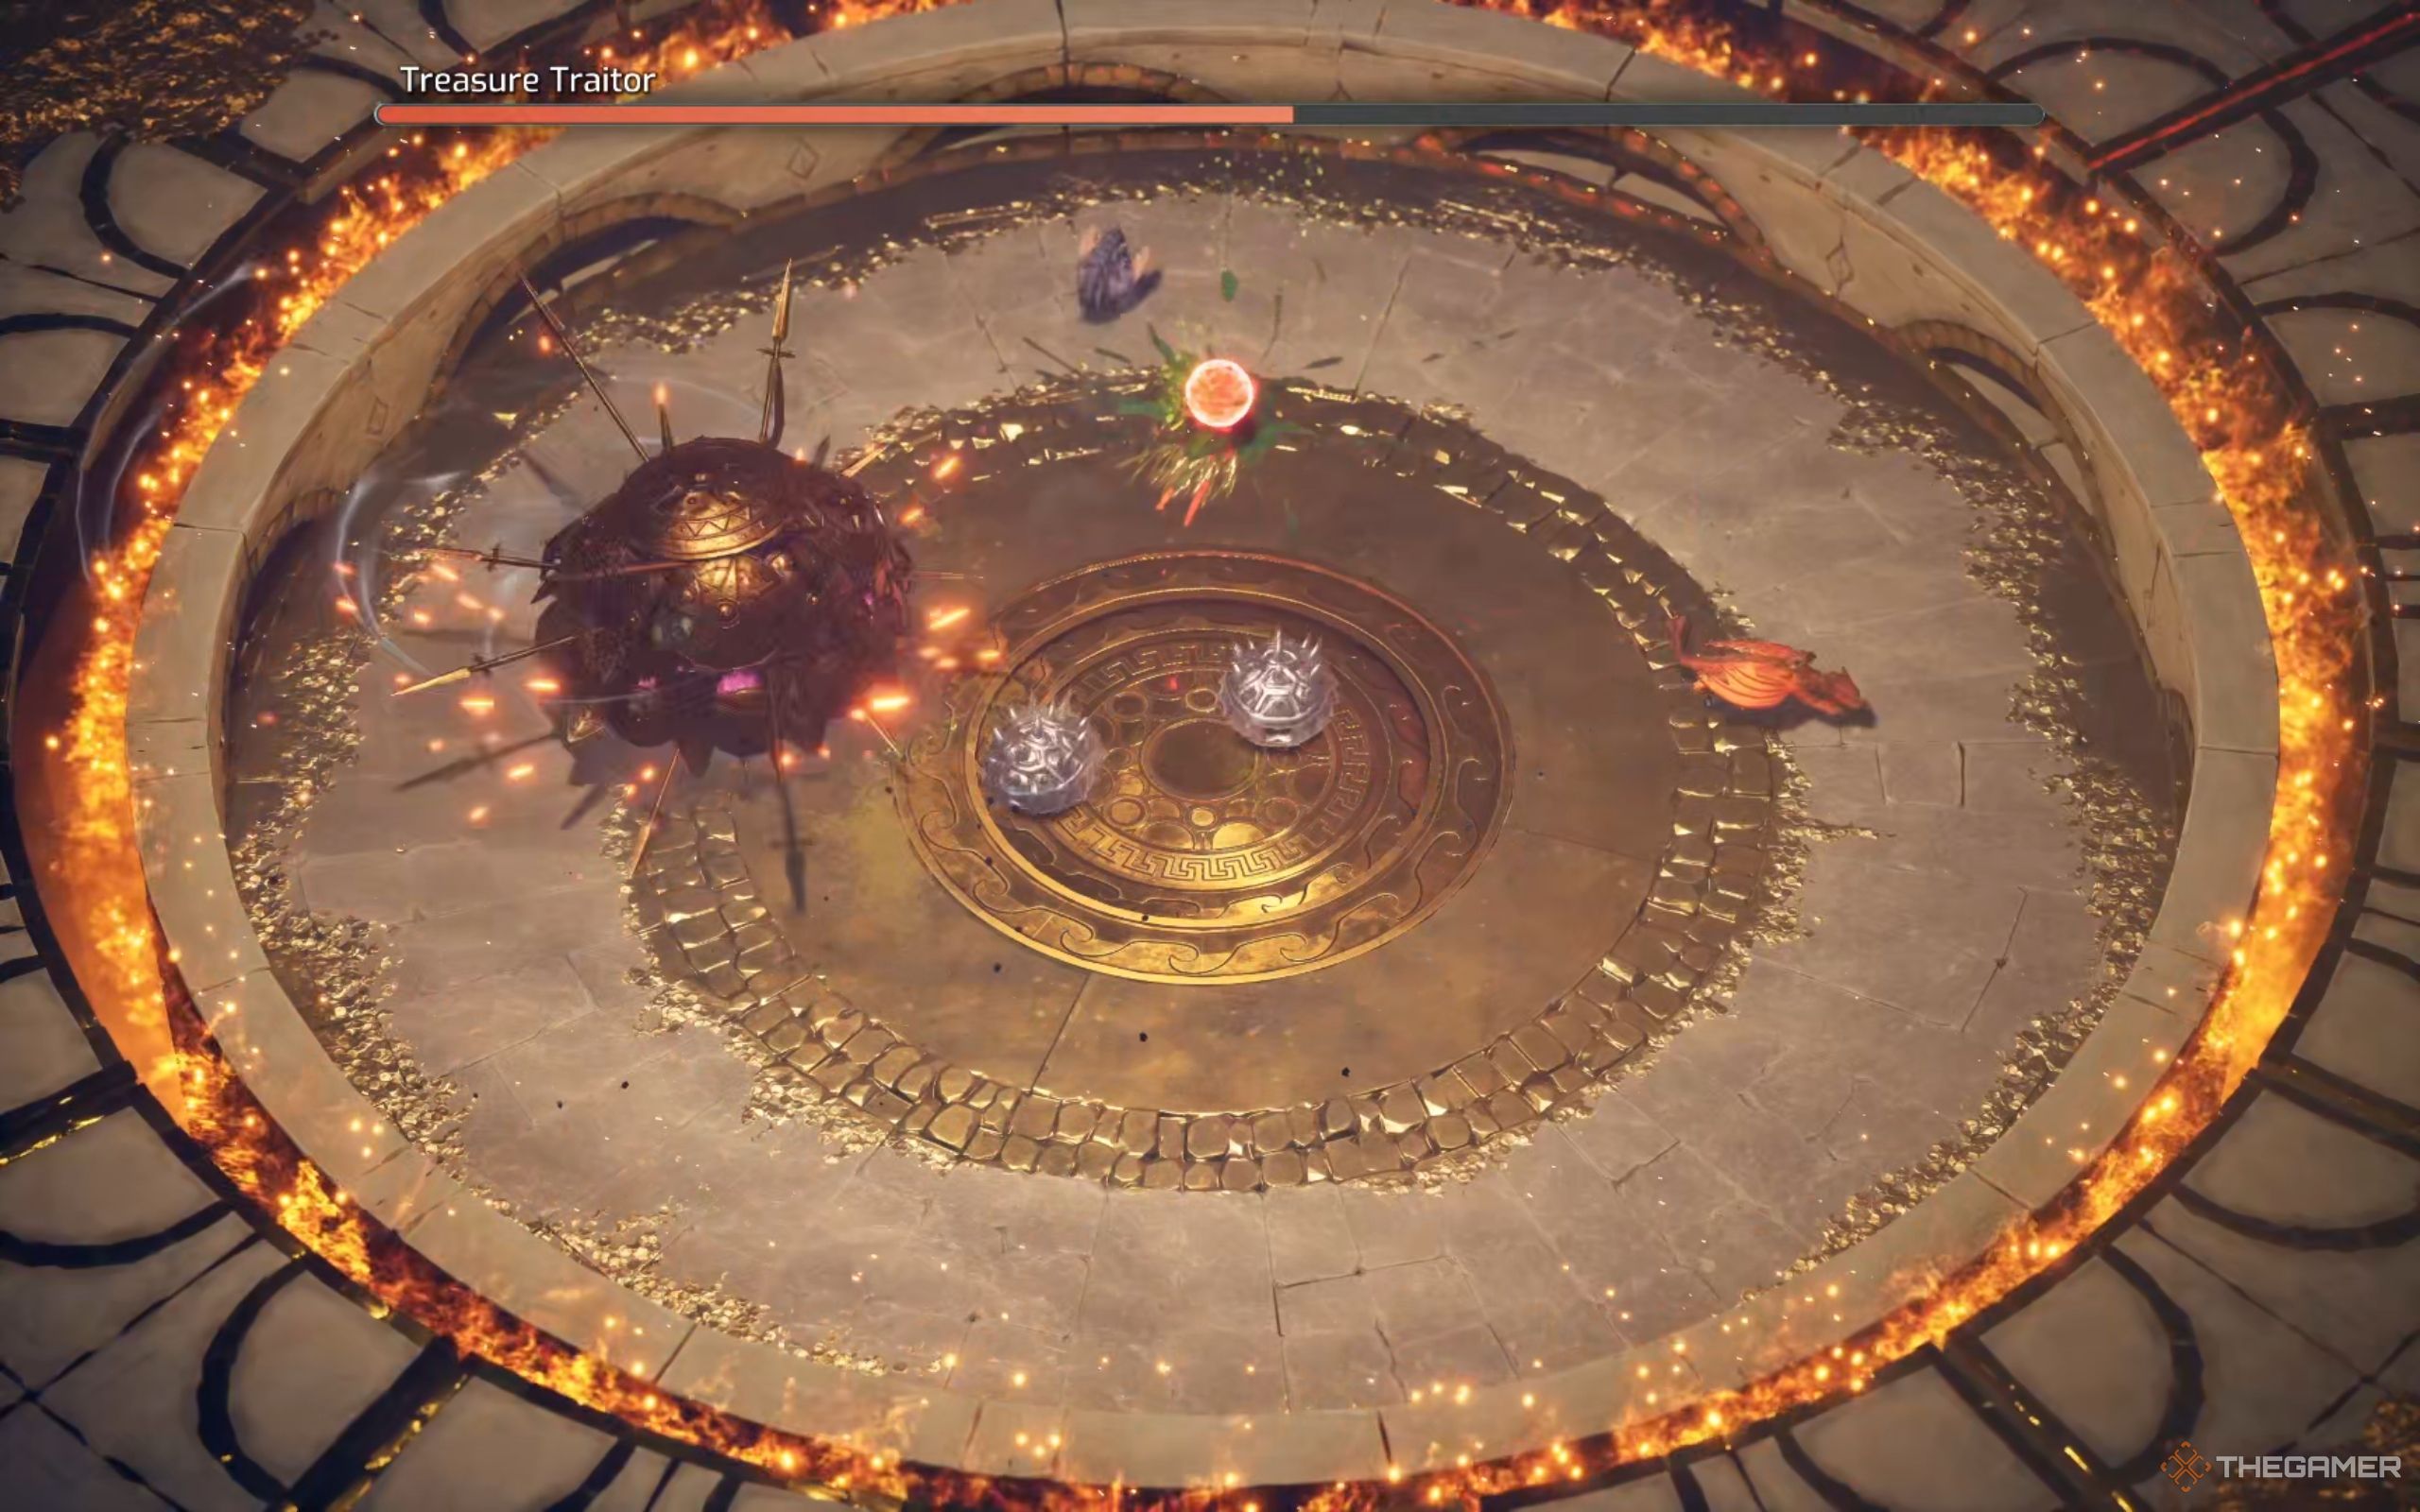
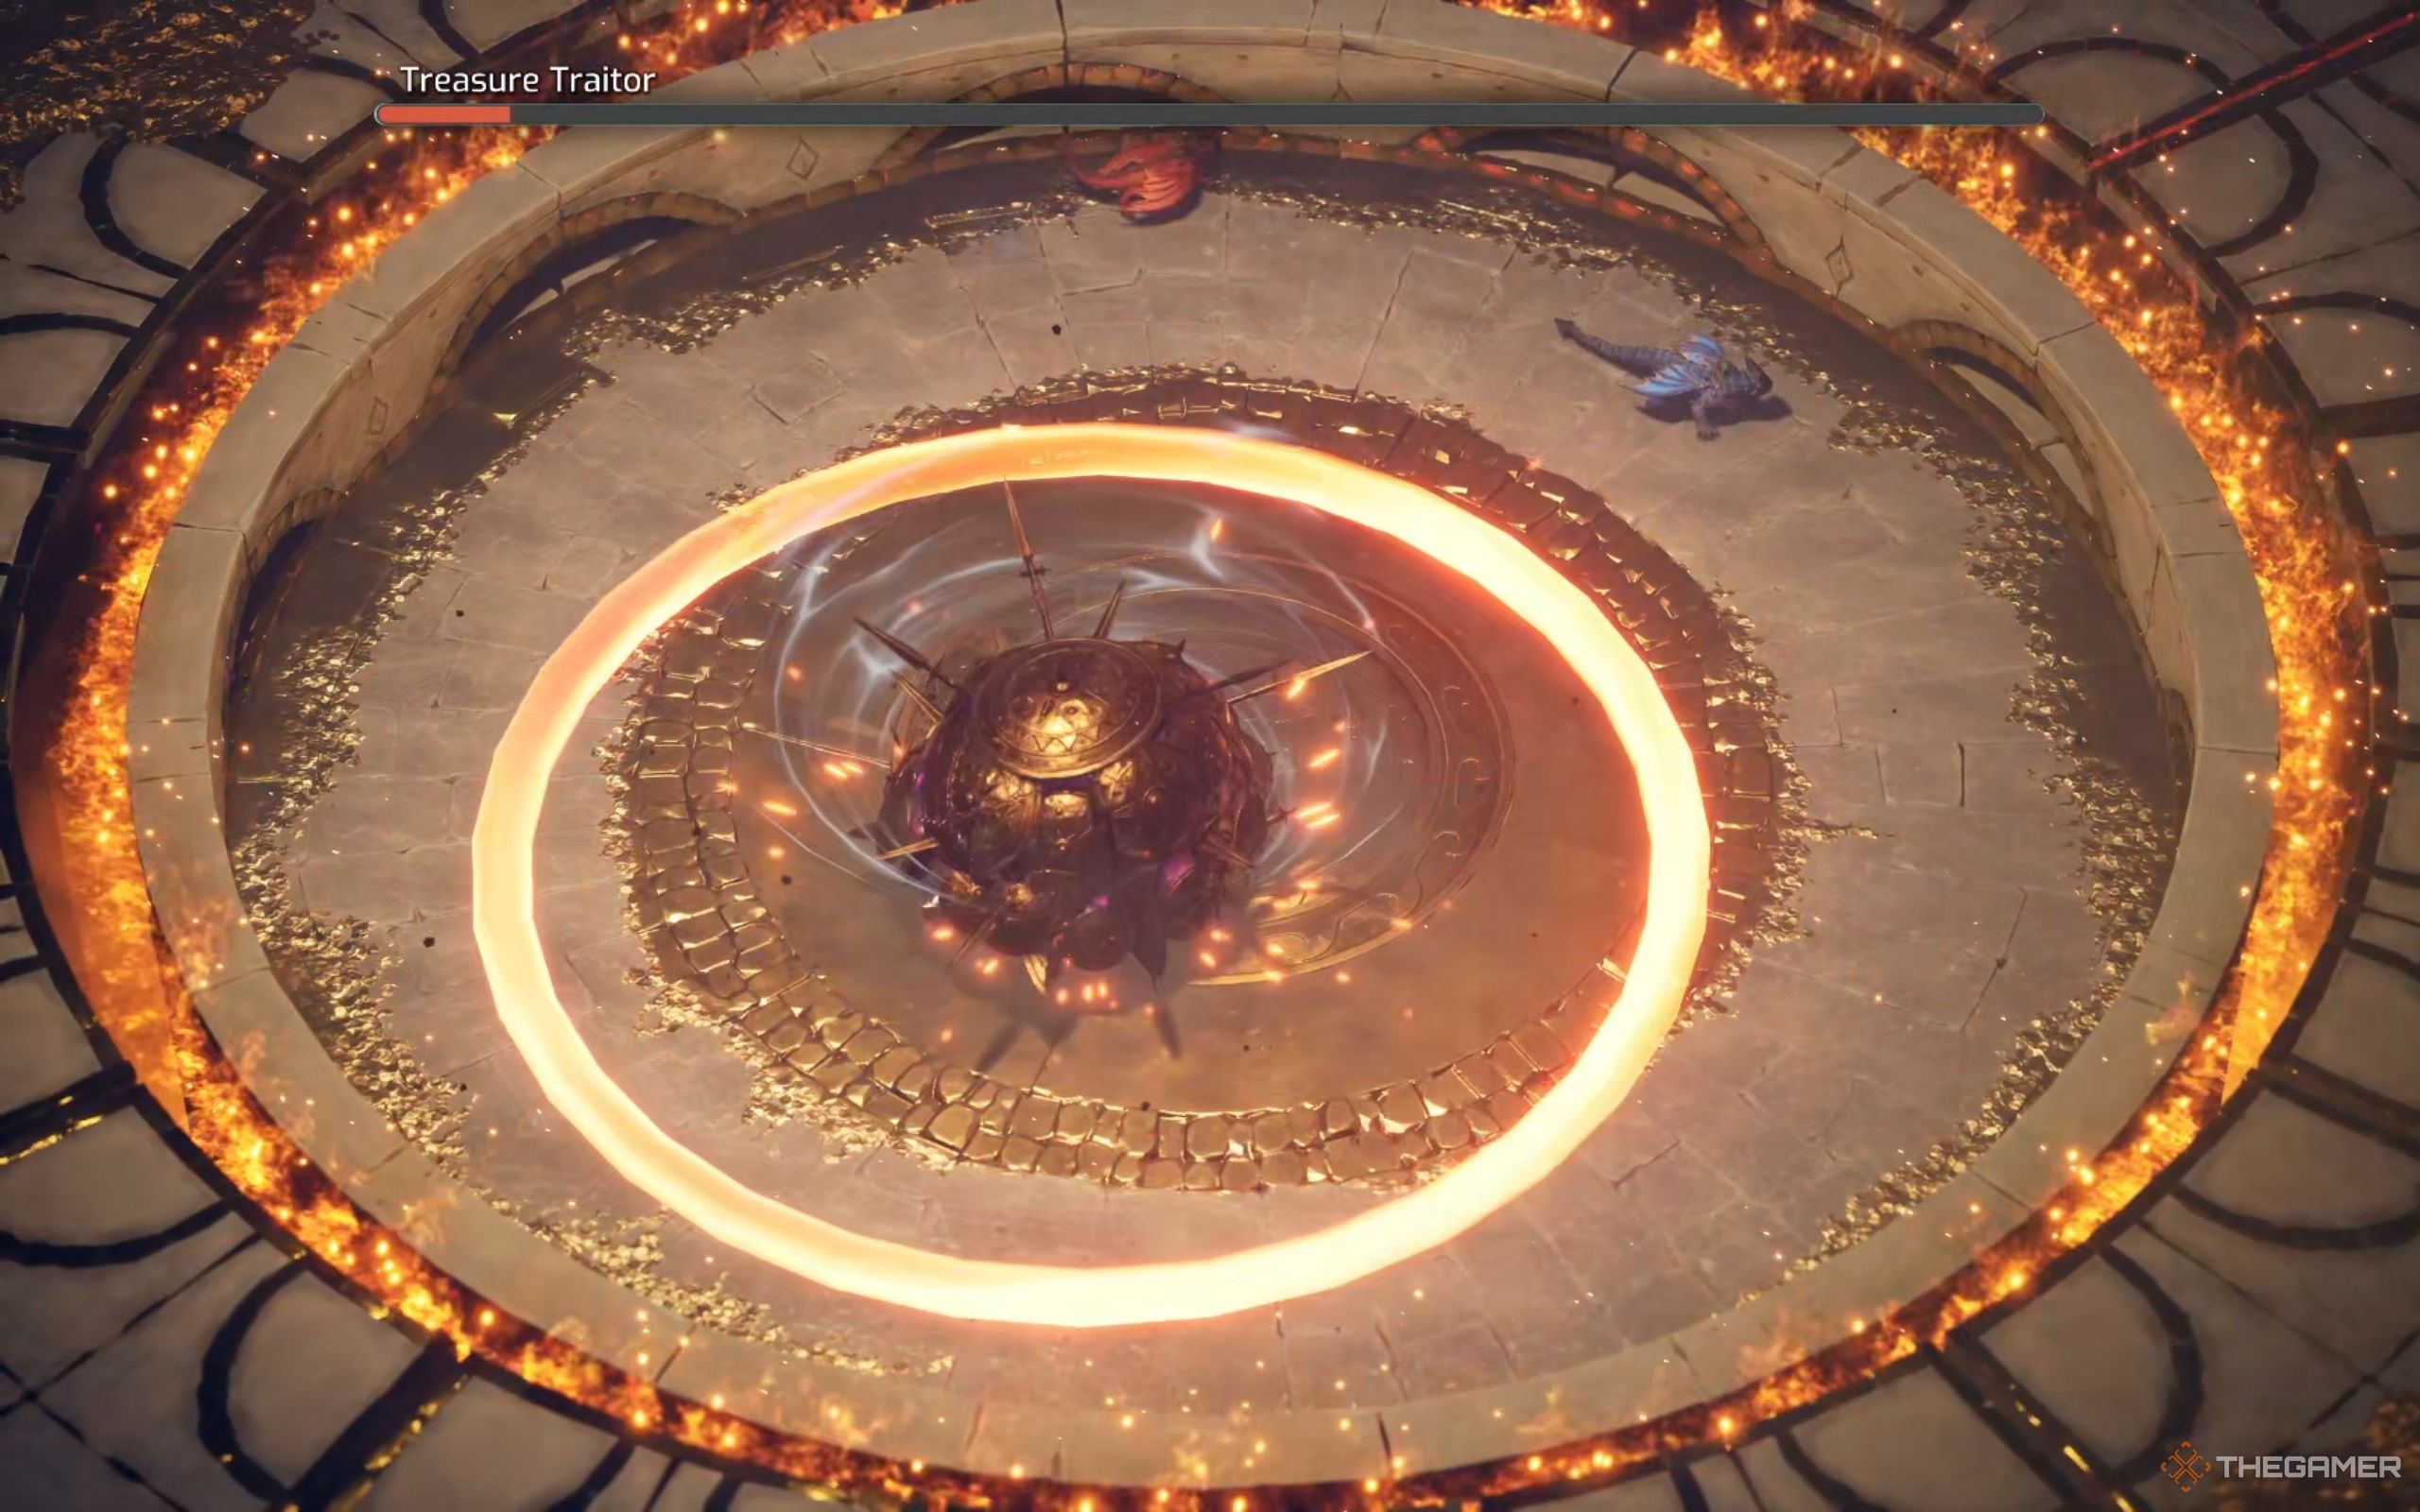
The second phase of the Treasure Traitor battle starts when the boss’s HP drops to half. At this point, the armored tortoise leaps into the circular arena to face Mio and Zoe head-on. It’ll create a fire ring on impact, so jump to avoid it.
The Treasure Traitor then transforms into a spiked ball and spins around the arena, dealing damage and spawning metal spiked shells. You should run or dash out of its way.
Stay away from the arena walls. The spinning tortoise picks up speed when it gets close to them.
Just like in phase one, your main source of damage is the metal spiked shells. Once you’ve dealt enough damage, around two-thirds of its health bar, the Treasure Traitor will fall and become stunned.
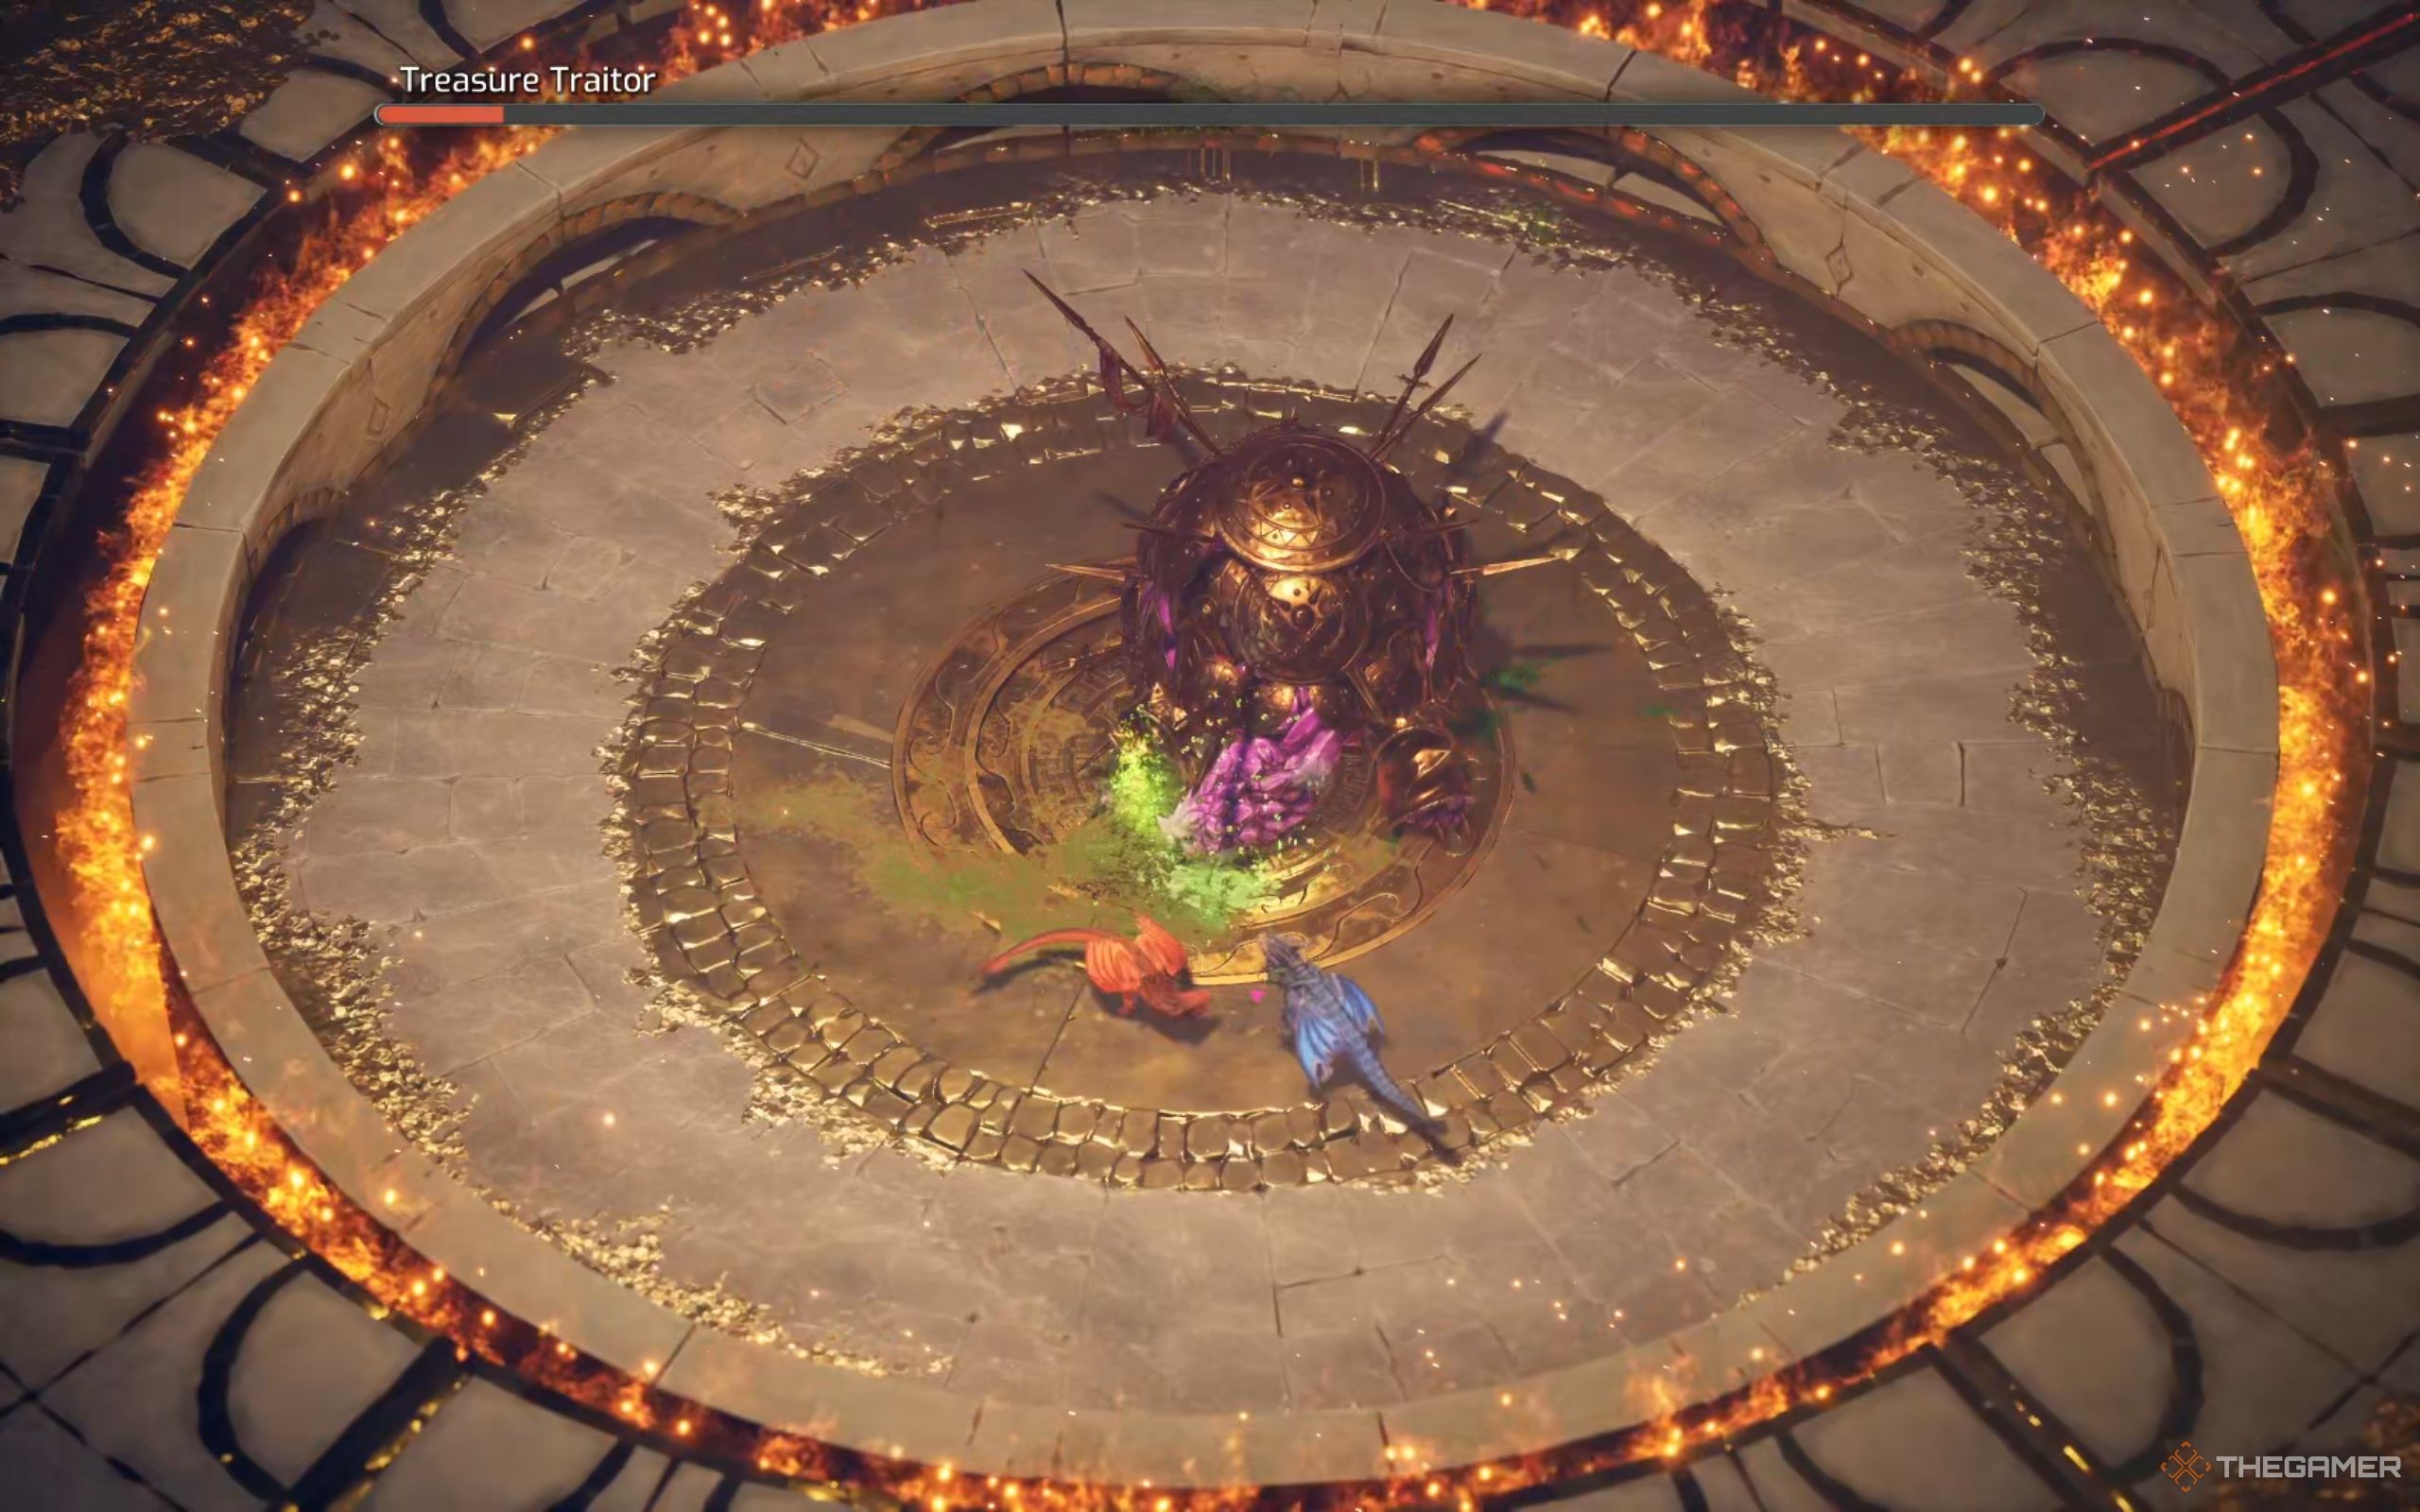
This is your chance to strike. Mio should spit acid at the tortoise’s metal face armor to expose the pink crystallized head beneath. Then, Zoe needs to roll into the crystal to deal massive damage.
Once recovered, the Treasure Traitor will retract into its shell and spin in place, releasing rings of fire that spread across the arena. You should stay near the edge of the arena to give yourself more reaction time and jump over the fire rings to avoid damage.
After that, the tortoise will spin around the arena at higher speed while spawning more spiked balls. Use them as before to damage the boss.
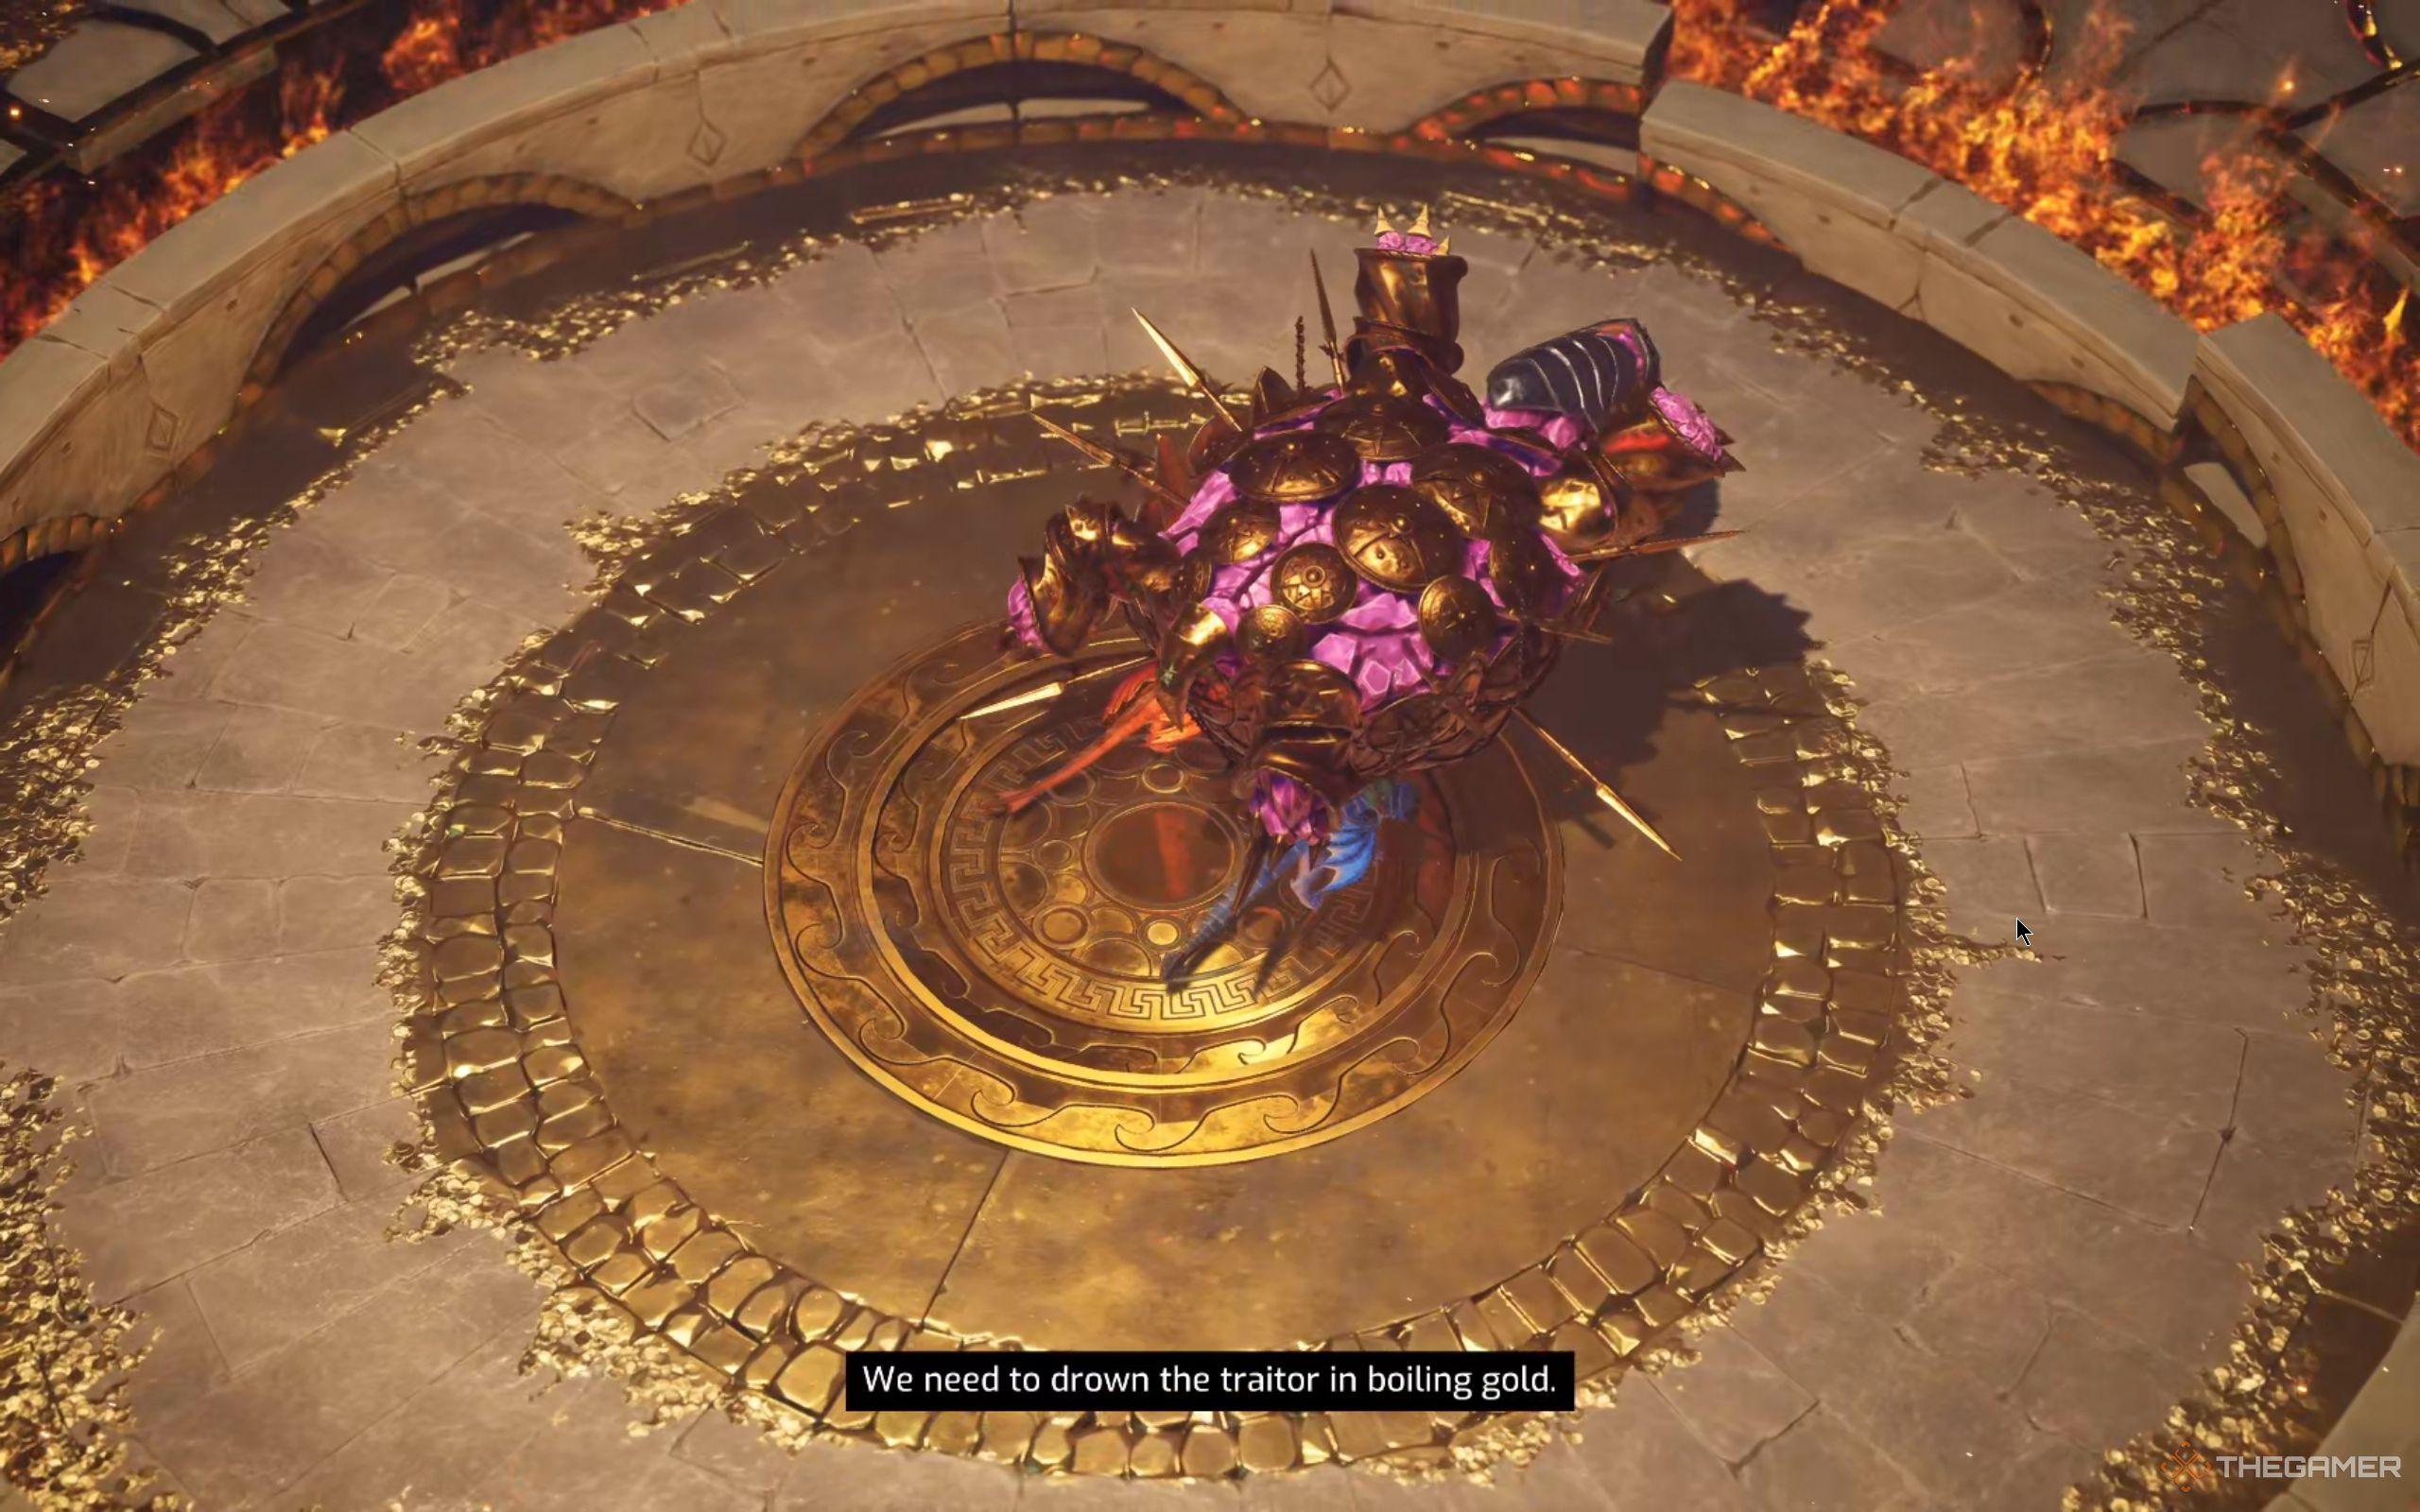
Once you’ve dealt enough damage, the tortoise will fall once again. Melt its metal head and destroy the crystal just like you did earlier. The boss will be flipped onto its back, and its fate is now in your hands.
Approach the stunned tortoise and interact with it to push it into the giant cauldron of molten gold.
Watch the cutscene to claim your golden swords and unlock the final forms for your trusty dragons. With the fall of the Treasure Traitor, now you’re ready for the final boss of this chapter, Megalith!

Next
Split Fiction: How To Beat Overseer
The Overseer’s abilities, how to counter, and tips to defeat this giant turtle robot in Split Fiction.







Leave a Reply