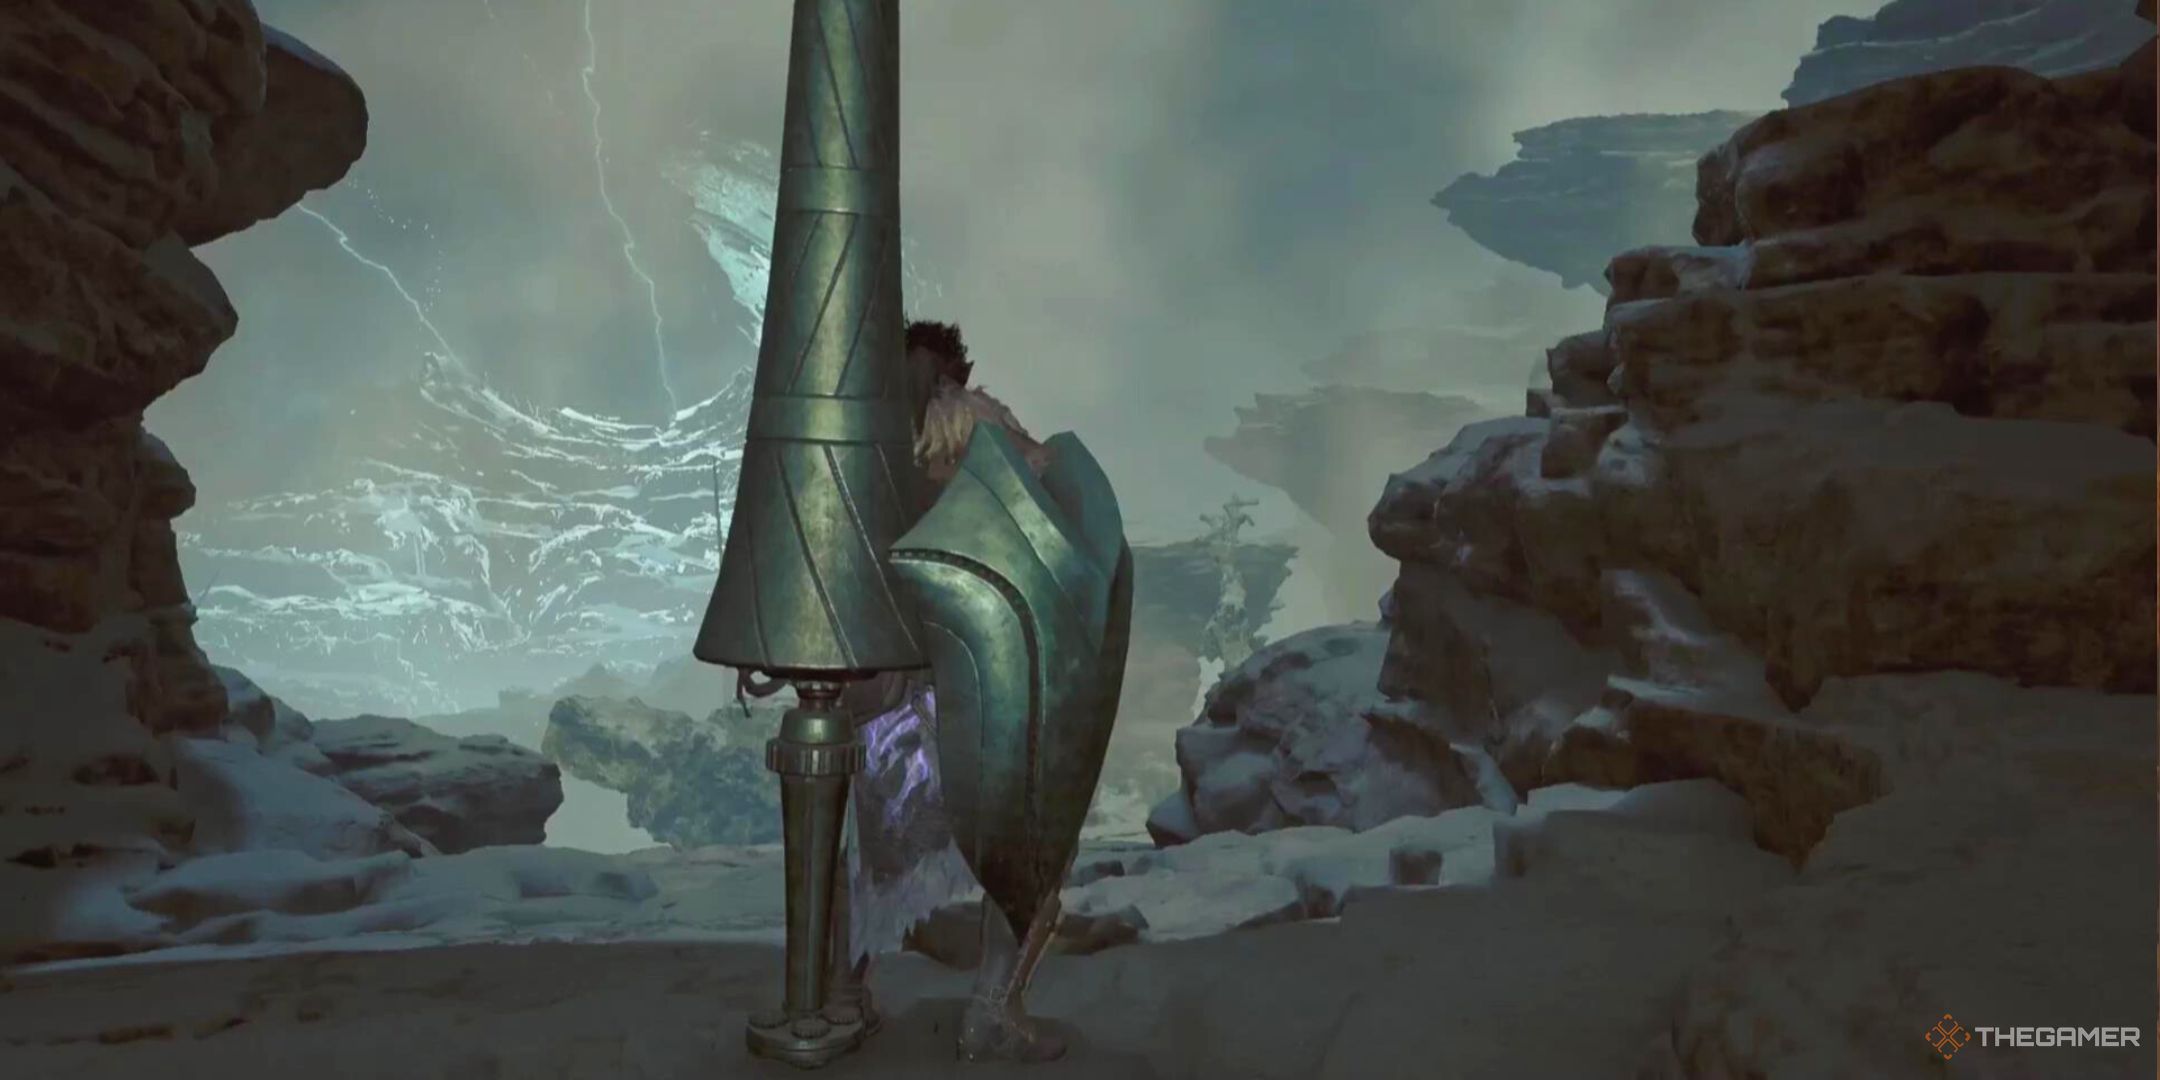
Most weapons in Monster Hunter Wilds either have simple mechanics and are easy to use, or have complex mechanics and are difficult to use. The Heavy Bowgun is a notable exception to this, with very simple mechanics, while being difficult to use against certain monsters.

Related
Monster Hunter Wilds: Lance Build Guide
If you’re looking for a great Lance build for Monster Hunter Wilds, here’s our recommendation.
At its best, the Heavy Bowgun is one of the highest-damage weapons in the game. But, it’s going to require the right support, in terms of both playstyle and build. We’re going to bring a few different skill effects that are going to make all the difference, taking your Heavy Bowgun from good to great.
Builds and ideas are still developing in Monster Hunter Wilds, meaning no build is going to be a definitive best build; not yet, if ever. But, this build will provide a good foundation for your Heavy Bowgun, allowing you to experiment further from here.
Heavy Bowgun Build Overview
This build relies heavily on not losing any health, and relies somewhat on not losing any stamina, either. This is going to be made much easier by staying on the back of your Seikret as much as possible, which is a tactic that’s more effective using the Heavy Bowgun than many other weapons.
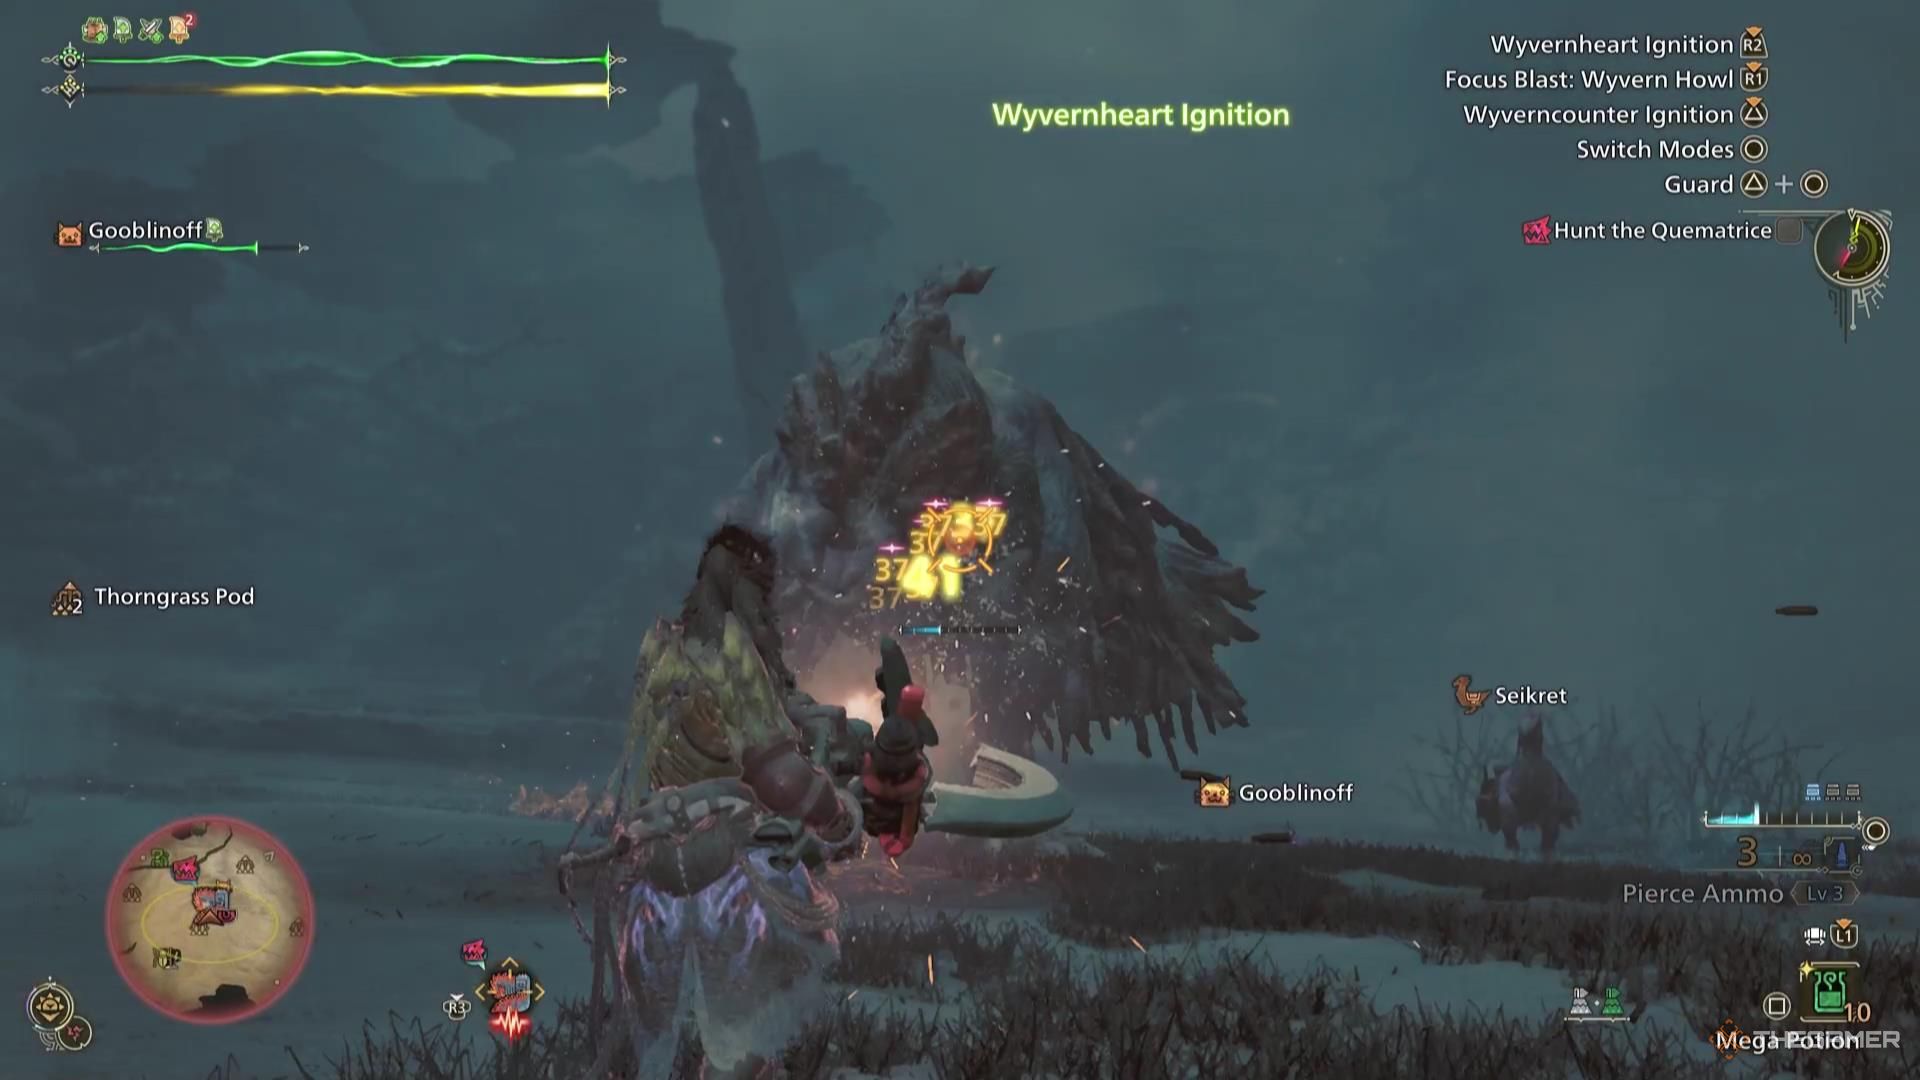
While we can’t use our Ignition Mode on the back of our Seikret, we will be able to fire our Pierce Ammo from the back of it, as well as use our Focus Strike. When the moment is right, we’ll be dismounting, and all in all, we should have our skill effects up for the majority of the fight.
Heavy Bowgun Build Overview
This build is going to be using armor from a couple of different sets: the Uth Duna b set, and the Rey Dau a set. The bonus skills these armors provide aren’t going to be integral to this build, but their equipment skills will be.
|
Slot |
Item |
Effect |
Decoration |
|---|---|---|---|
|
Weapon |
Artian Heavy Bowgun |
Pierce Ammo Powder | Ignition Mode Upgrade | Wyvernheart Ignition | Wyvernblast Ignition |
Opener Jewel | Opener Jewel | Opener Jewel |
|
Head |
Rey Sandhelm a |
Latent Power II | Evade Extender I | Thunderous Roar I |
|
|
Chest |
Rey Sandmail a |
Maximum Might II | Stamina Surge I | Thunderous Road I |
Medicine Jewel | Medicine Jewel |
|
Hands |
Duna Windbraces b |
Peak Performance I | Quick Sheathe I | Protective Veil I |
Chain Jewel | Medicine Jewel | Physique Jewel |
|
Waist |
Duna Windcoil b |
Peak Performance II | Protective Veil I |
Chain Jewel | Physique Jewel |
|
Legs |
Duna Wildgreaves b |
Peak Performance I | Protective Veil I |
Chain Jewel | Physique Jewel | Physique Jewel |
|
Talisman |
Unscathed Charm |
Peak Performance I |
For our Mantle, the Mending Mantle is going to be the clear best choice, considering we’ll need to be at full health to get the most out of this build.
Skill Effects
This combination of armor and decorations is going to give us these skill effects:
|
Peak Performance V |
This will significantly increase our attack when our health is full. This is one of the key aspects of this build, and it’s going to be important to make sure it comes into effect. |
|---|---|
|
Latent Power II |
This is going to increase our affinity either after we take a big portion of damage (not ideal) or after we’ve been fighting a monster for a short period of time (ideal scenario). |
|
Evade Extender I |
This will increase our evasion distance. We’ll ideally be on the back of our Seikret when taking damage is a possibility, but on the off-chance you do need to evade an attack, this can’t hurt. |
|
Maximum Might II |
This is going to increase our affinity once our stamina has been full for a short time. Since our stamina should be full more or less all the time, this is going to be active often. |
|
Stamina Surge I |
This is going to speed up our stamina recovery. |
|
Burst III |
This is going to increase our attack for a short period after landing hits. We’ll be landing hits regularly with our normal attack, but this is really going to shine once we’re using the rapid-fire attack in Ignition Mode. |
|
Recovery Up III |
This is going to increase the amount that we heal. Since we need our health full as often as we can manage it, this is going to make a noticeable difference. |
|
Constitution IV |
This, again, won’t be pivotal, but will reduce the stamina that we exert when we do things. When in a situation where we have to guard against an attack, this is going to help us not wipe out our stamina bar right away. |
|
Opening Shot III |
This skill effect is going to make a huge difference to our quality of life. This increases the speed of our reloads, which is going to increase our damage-per-second considerably. It also increases the attack of our bullets when we’re fully loaded. |
These skill effects work together very simply: keep your bars full, and you’re going to deal significantly more damage. Get hit, and you’re going to be on the defensive.
How To Play This Heavy Bowgun Build
As mentioned before, it’s best to stay on your Seikret as much as possible with this build, especially if you’re playing solo. If you’re playing with other Hunters, it’ll be less of an issue because they’ll be sharing aggro. But when you’re on your own, you’ll be exerting stamina and risking too many hits for this build to come into its own.
If you stay on the back of your Seikret as much as possible, firing your Piercing Ammo at the monster repeatedly and keeping out of range, you’ll be inflicting a constant chunk of damage to the monster. Over time you’ll start inflicting wounds, and that’s when we’re really going to go on the offensive.
Once you have inflicted a wound, use a Focus Strike. If the monster becomes incapacitated, immediately leap off your Seikret, and switch to Ignition Mode. Use your rapid-fire on the monster, which is going to deal extreme damage, particularly with our Burst/Peak Performance combo.
Giving your Palico something like a sleep or paralysis weapon is going to create extra opportunities for you to safely use rapid-fire, as well.

Next
Monster Hunter Wilds: Great Sword Build Guide
Here’s our best build recommendation for being a Great Sword user in Monster Hunter Wilds.


Leave a Reply