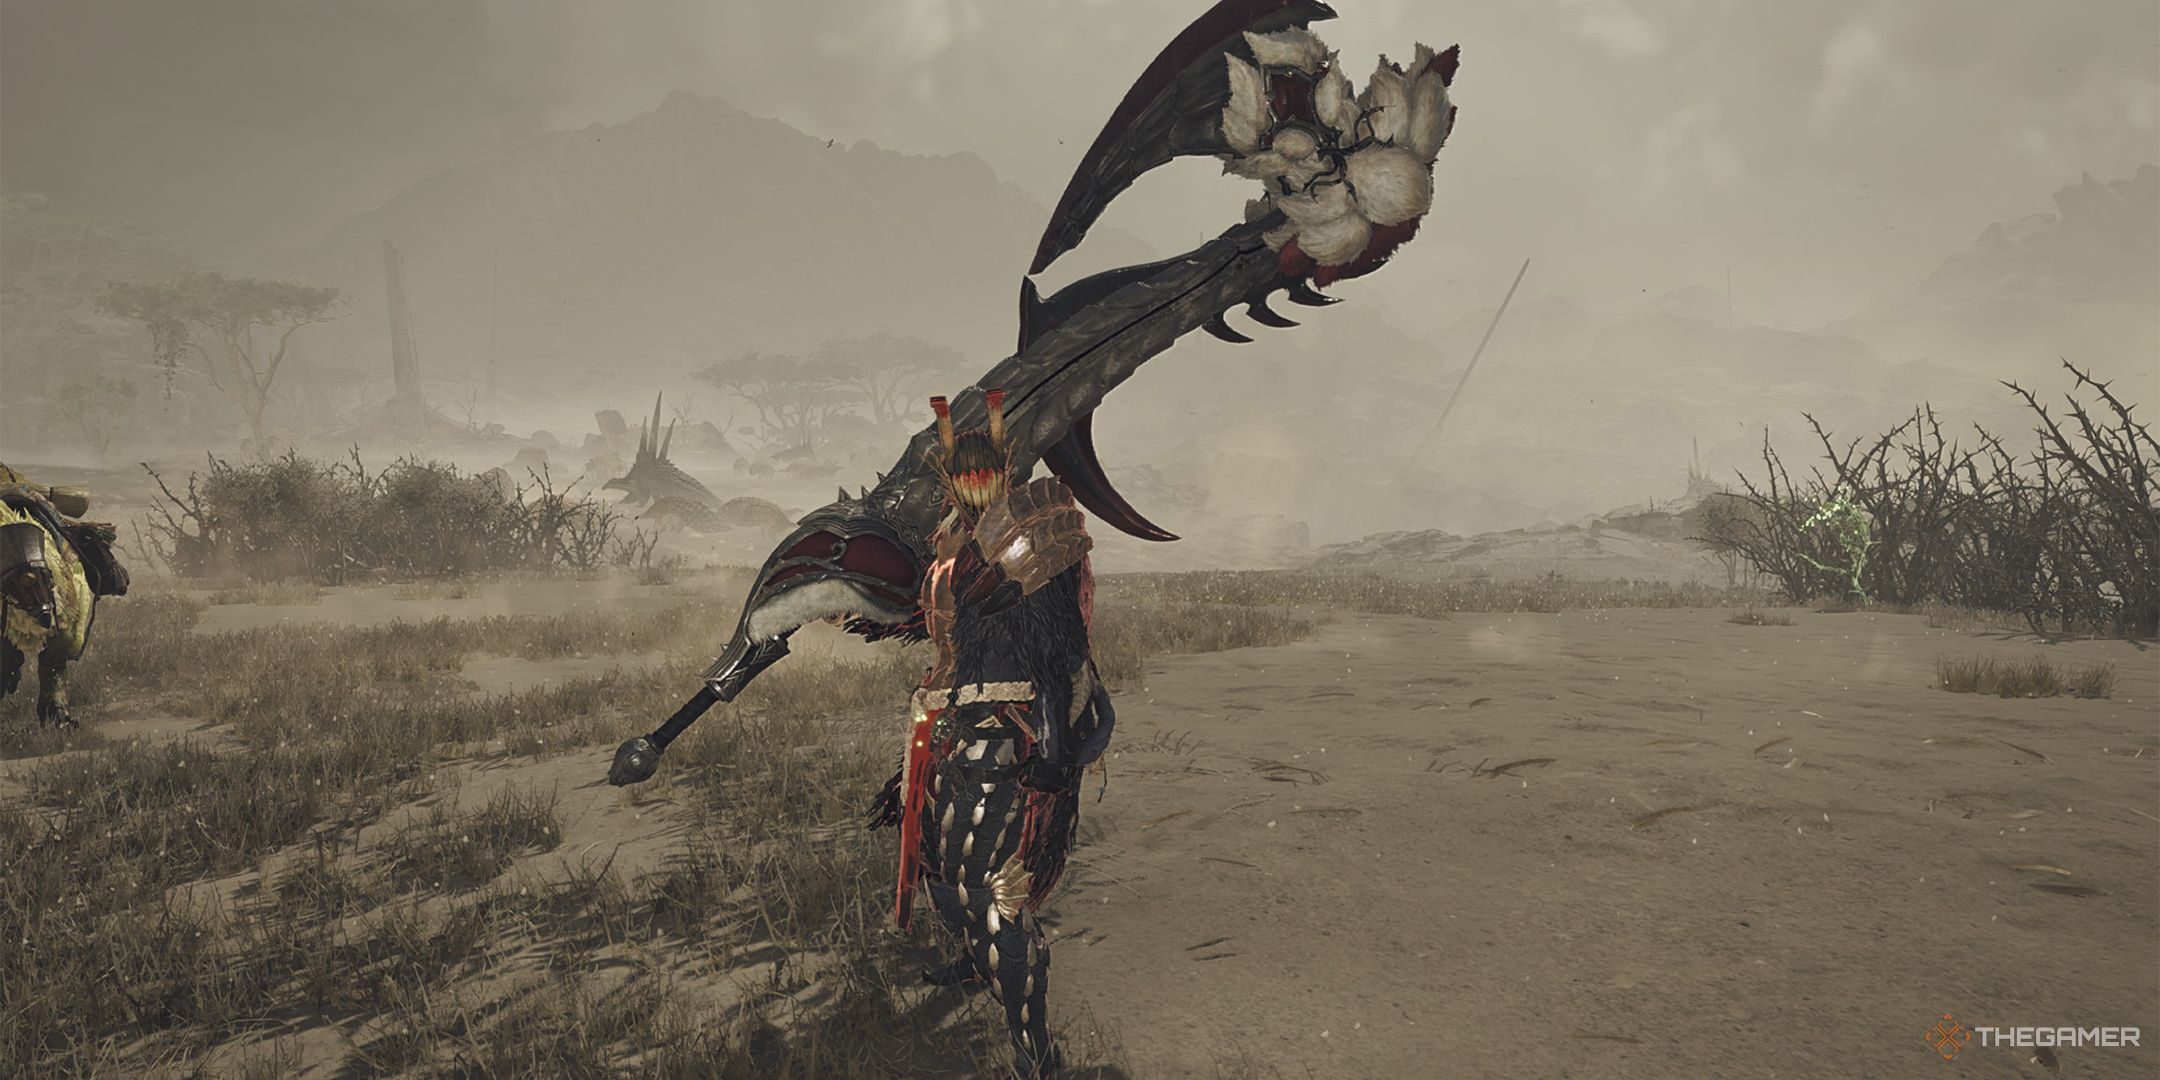
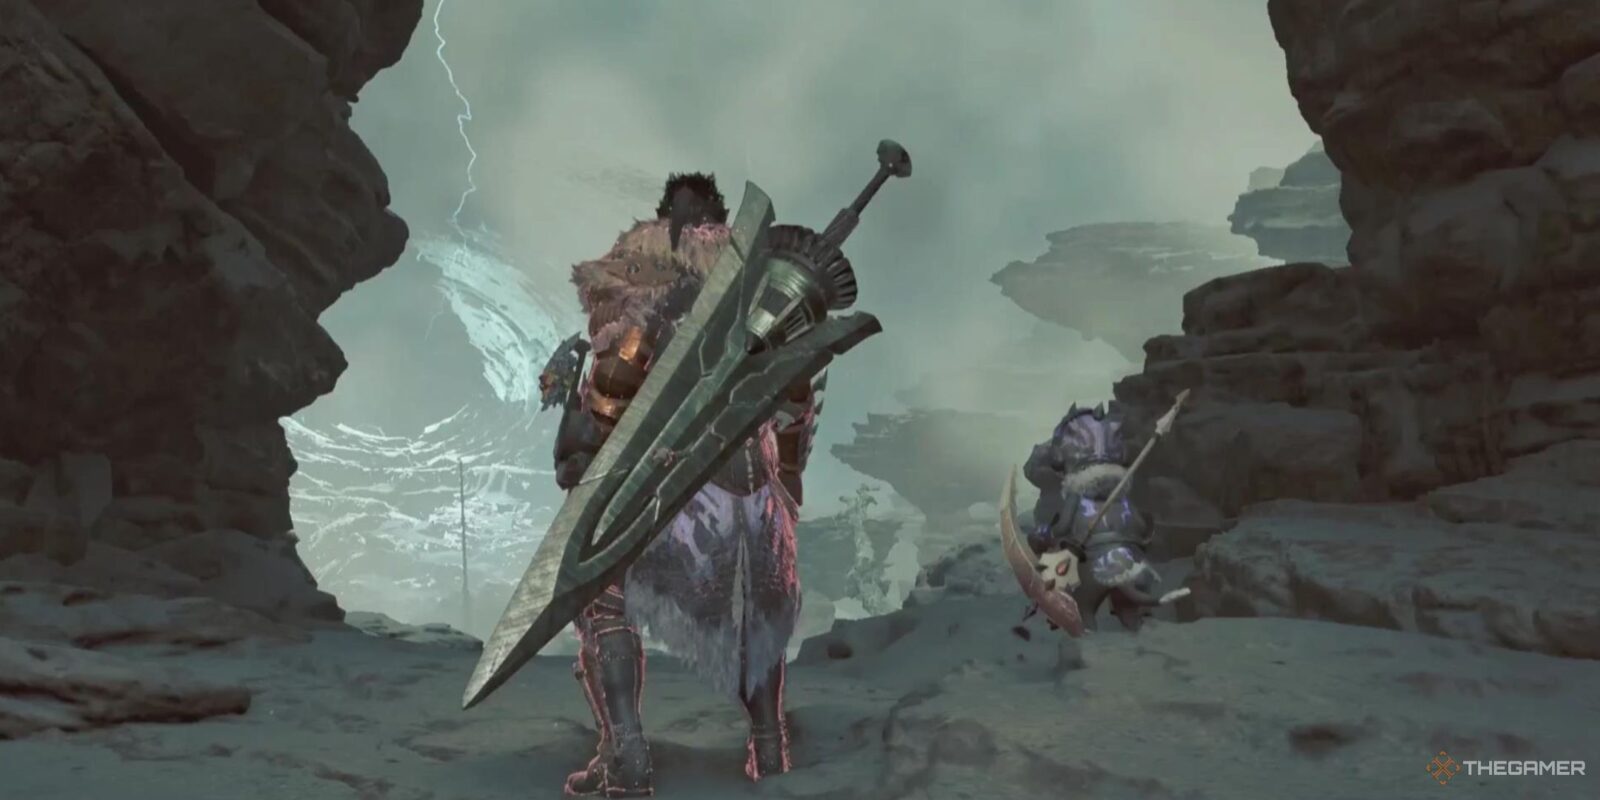
There’s a ton of build variety in Monster Hunter Wilds, which is a large part of the game’s massive success. There are so many different ways you can play every weapon, and with so many different skill effects and armor effects to choose from, it’s unlikely anyone will ever try every possible build.

Related
Monster Hunter Wilds: Charge Blade Build Guide
Here are the best weapons and armor to use for the Charge Blade in Monster Hunter Wilds.
For the Great Sword’s part, many builds hinge upon maximizing the damage it does in every blow. This makes sense; it’s one of the slowest-hitting weapons, but also one of the hardest-hitting. You want to get as much value out of every hit, because you won’t be landing constant hits, like you would while using Dual Blades.
Builds and ideas are still developing in Monster Hunter Wilds, and so this build cannot be touted as the one Great Sword build to rule them all. It is, however, a good build that provides a foundation for the Great Sword, allowing you to experiment with more builds from here.
Great Sword Build Overview
For this build, we’re going to be going off the deep-end when it comes to risk/reward. This is going to be one of the most punishing builds around, not just for the monsters that you face, but for you, as well. You’re going to be operating in extremely risky scenarios, but when you pull it off, it’s going to be to thunderous applause.
That being said, this is not going to be a build for everyone, and certainly won’t be a build for players that are still finding their footing. One mistake with this build is going to result in fainting, and you can only faint so many times before failing a hunt.
But in the hands of a seasoned hunter, this build is going to be one of the highest damage-per-hit builds in the game, ensuring that when you hit a monster, no matter what monster it is, that monster is going to feel it.
Great Sword Build Guide
This build revolves around getting the maximum damage out of your critical hits, as well as buffing your damage in high-risk scenarios. The armor set we’ll be using for this is the Guardian Doshaguma ‘b’ set; we’ll need four of these to gain the maximum Bonus Skill from this set, but equally important is the Heroic skill effects that come with it.
|
Slot |
Item |
Effect |
Decoration |
|---|---|---|---|
|
Weapon |
Artian Great Sword |
Affinity Focus | Damaging Elemental Effect |
Critical Jewel | Critical Jewel | Ironwall Jewel |
|
Head |
Guardian Doshaguma Helm b |
Heroics I | Doshaguma’s Might I |
Mighty Jewel | Refresh Jewel | Physique Jewel |
|
Chest |
Rey Sandmail a |
Maximum Might II | Stamina Surge I |
Physique Jewel | Physique Jewel |
|
Hand |
Guardian Doshaguma Braces b |
Heroics I | Doshaguma’s Might I |
Refresh Jewel | Destroyer Jewel | Physique Jewel |
|
Waist |
Guardian Doshaguma Coil b |
Heroics II | Doshaguma’s Might I |
Partbreaker | Defense Jewel |
|
Legs |
Guardian Doshaguma Greaves b |
Constitution I | Heroics I | Doshaguma’s Might I |
Partbreaker | Defense Jewel |
|
Talisman |
Defense Charm I |
Defense Boost I |
The ‘b’ variant of this set comes with more decoration slots, which will allow us to customize this build to our liking. The ‘a’ variant does not have skill effects that would come in as useful to this build.
Skill Effects
This combination of gear and decorations is going to provide us with the following skill effects:
|
Maximum Might III |
This is going to increase our affinity by 30 percent when we’ve had a full stamina gauge for a short amount of time. This is going to be made easier by some of our decoration slots down below. |
|---|---|
|
Powerhouse II |
This is going to gain us a considerable attack boost after a successful power clash or landing an offset attack. The Great Sword is capable of both of these; while it might not come into effect often, the extra damage will be a nice bonus when it does. |
|
Stamina Surge II |
This is going to increase our stamina recovery speed by 30 percent, helping keep our stamina gauge full more often, and helping Maximum Might come into effect quicker. |
|
Heroics V |
This is one of the premiere skill effects for this build, amplifying our attack by 30 percent when our health is at 35 percent or lower. This is part of what’s going to amplify our damage so heavily, and what makes this build so high-risk. |
|
Constitution V |
This is going to reduce our stamina drain for actions by 50 percent, and combine with Stamina Surge to help keep our stamina gauge full more often, in order to make use of Maximum Might. |
|
Partbreaker III |
This is going to increase the damage that we deal to a monster’s wound, and increase the speed at which we break monster parts. |
|
Defense Boost III |
This is going to boost our defense by both a percentage and a flat increase. It’ll help keep us alive when we absorb a hit while already below 35 percent health, though certain hits are still going to finish us off. This could be replaced with a Divine Blessing, though in that case, you’ll be rolling the dice on damage avoidance. |
|
Critical Boost II |
This is going to increase the damage our critical hits deal by an extra percentage; combined with Maximum Might and Heroics, this is going to make for some incredible damage numbers. |
When we’re able to keep our health below 35 percent and our stamina full often enough to make good use of Maximum Might, this build is going to deal some incredible damage. Partbreaker is going to ensure we’re breaking parts and creating wounds more often, and staggering monsters by Focus Striking them is going to create opportunities for free damage.
Great Sword Choice
For this build, we’ve decided to use a Great Sword that’s focused on affinity and extra elemental damage; in this case, Dragon Damage. The important thing is the affinity bonus, which is going to help us gain more critical hits, though when using the elemental effect to attack a monster’s weakness, it’s going to help this weapon shine even more.

Related
Monster Hunter Wilds: Switch Axe Build Guide
Maximize the Switch Axe’s damage output with this build in Monster Hunter Wilds.
How To Play This Great Sword Build
This build is going to be a bit of a nerve-wracking build to play, without a doubt. We’ll ideally be spending much of our time on more or less the brink of death, and oftentimes, one mistake is going to spell our doom.
But once you get into a rhythm with the Great Sword’s slow attacks and are keeping yourself just out of the way of attacks, this build is really going to come into its own.
With our stamina bonuses, guarding and dodging are both going to cause less stamina drain than usual, and that stamina is going to burst right back to full much quicker.
If we can use that to our advantage and keep the pressure on a monster, we’ll be making heavy use of Maximum Might; combine that with Heroics and Critical Boost, and the occasional Powerhouse bonus, and we’re going to wonder just how high these damage numbers can go.
When it comes to your Palico, loading them up with either a sleep or paralysis effect is going to create extra opportunities for you to unleash risky, high-damage attacks without fear.
To help with both evasion and damage, the Evasion Mantle is going to be possibly the best choice. It’s going to make evading easier, making our low health a bit more forgiving, and the attack boost that we receive on a perfect dodge is going to push those incredible damage numbers even further.

Next
Monster Hunter Wilds: Every Fish And How To Catch Them
Here is every fish in Monster Hunter Wilds, where to find them, and how to catch them.


Leave a Reply