Each weapon in Monster Hunter Wilds has a distinct personality, and they all tilt toward certain tactics and builds being particularly effective. This makes for a lot of armor sets, decorations, and more being sought after for different reasons, especially among Hunters that are maining different weapons.
Related
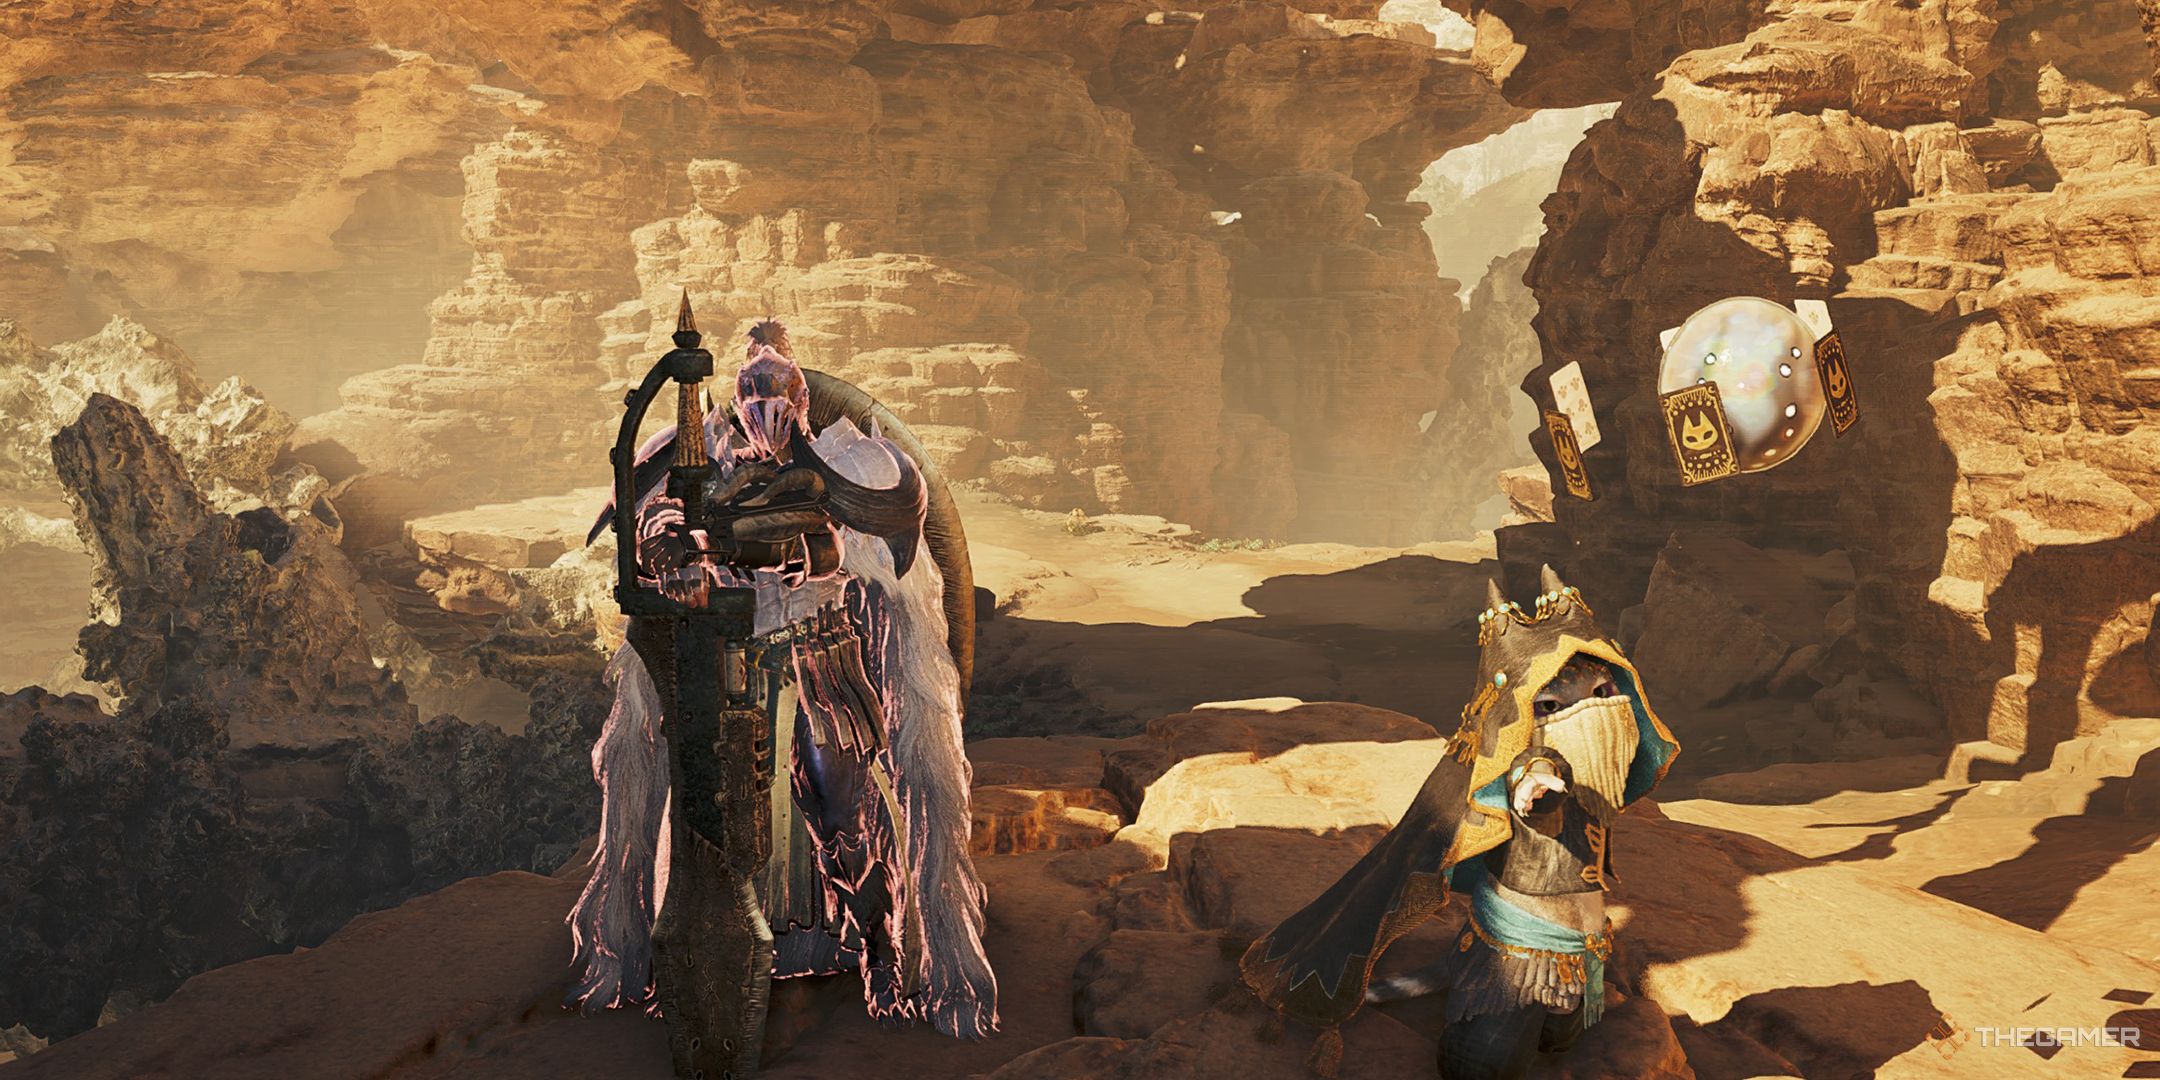
Monster Hunter Wilds: Charge Blade Build Guide
Here are the best weapons and armor to use for the Charge Blade in Monster Hunter Wilds.
For the Lance’s part, it’s equal parts offensive and defensive minded. It might not be a very popular weapon, but that’s not for lack of power. In the right hands, the Lance can help you get through hunts more or less unscathed, without sacrificing much, if anything at all, in the way of damage.
Builds and ideas are still developing in Monster Hunter Wilds. Because of that, this build is not intended to be a blanket statement ‘Best Build’, but is going to provide a good foundation for the Lance, and be a build that will be functional in nearly every situation.
Lance Build Overview
The Lance comes with a shield as well, and that shield is going to get heavy use. This is for a couple of reasons: the Lance lessens the efficacy of your dodge, and because some of your best attacks are going to come after use of the shield.
While you’ll be spending a lot of time guarding, you’re still going to be able to get a flurry of attacks in when you want to, because the Lance is actually not too far behind in terms of speed. It can put attacks out in quick succession with the right combo, and that means Burst is going to be an extremely effective skill.
But, Burst isn’t going to be the only damage mechanic this is structured around. Because the Lance can afford you a lot of defensive potential, we’re going to allow ourselves to take a little bit of damage without worry. With the right armor set, we’ll use that to unleash an incredible amount of extra damage, making for a build that is going to outpace many others.
Lance Build Guide
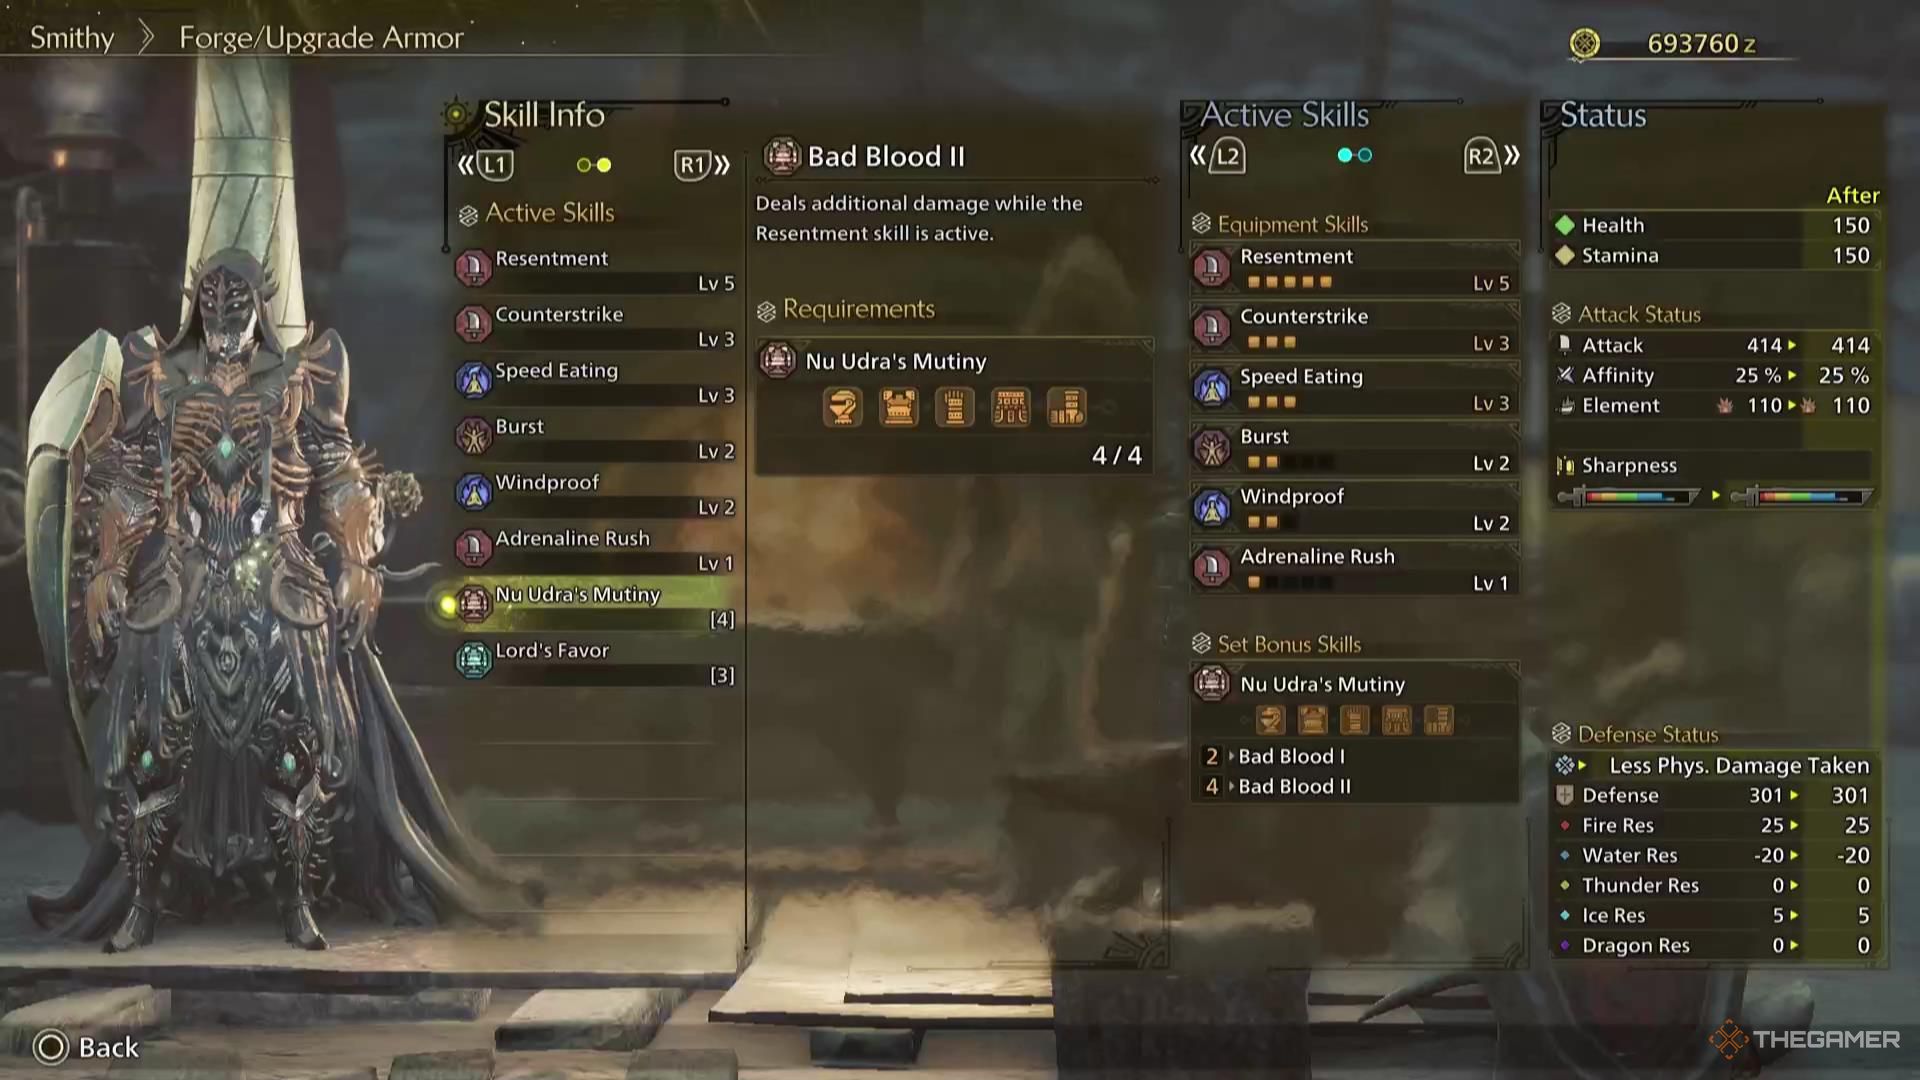
This Lance build is focused around the Nu Udra ‘a’ armor set, which is a seven in rarity. You’ll be able to use other lower-rarity armor to create a makeshift version of this build, but until you unlock this armor set, the Set Bonus is going to be missing, and that’s going to push this build quite a bit further than it goes otherwise.
You can use the Nu Udra ‘b’ variant set as well, which will get rid of some of the secondary skills in this build and give you more level 3 decoration slots instead. But, this build revolves around many of the skills only present in the ‘a’ version, so if you’re trying to follow this build, you’ll just be using decorations with the same skills anyway.
|
Slot |
Item |
Effect |
Decorations |
|---|---|---|---|
|
Weapon |
Artian Lance |
Attack / Blast Focus |
Attack Jewel | Attack Jewel | Attack Jewel |
|
Head |
Udra Mirehelm a |
Resentment II | Counterstrike I |
Physique Jewel | Physique Jewel |
|
Chest |
Udra Miremail a |
Resentment I | Burst I |
Physique Jewel | Physique Jewel |
|
Arms |
Udra Mirebraces a |
Counterstrike II | Speed Eating II |
Refresh Jewel |
|
Waist |
Udra Mirecoil a |
Resentment II | Speed Eating I |
Refresh Jewel |
|
Legs |
Udra Miregreaves a |
Windproof II | Burst I |
Chain Jewel |
|
Talisman |
Chain Charm |
Burst I |
When it comes to our choice of Mantle, the Mending Mantle is going to be a good choice here. It’ll help us recover from our intentionally-taken damage without using a potion.
Skill Effects
This combination of armor and decorations is going to give us the following skill effects:
|
Resentment V |
This is going to increase our attack considerably while we’re in the middle of recovering after being hit; specifically, while we’ve still got a portion of our health bar that’s red. |
|---|---|
|
Bad Blood II |
This is going to improve the attack buff we get from Resentment considerably, further improving our damage for a short while after being hit. |
|
Burst IV |
This is going to increase our attack for a short period after landing multiple hits. Since the Lance can hit fairly quickly, this is going to be up almost all the time. |
|
Counterstrike III |
This is going to increase our attack for a short period after being knocked back. Combined with Resentment and Burst, this is going to create an astronomical amount of extra damage. |
|
Speed Eating III |
This increases the speed at which we can eat food, or otherwise consume items. This is going to be important for quickly recovering our health once our window for increased damage has closed. |
|
Windproof II |
This is the least important skill effect for this build, but it will decrease the damage and effects of wind. |
|
Stamina Surge I |
This is going to increase the rate that our stamina regenerates, which is going to be very important in allowing us to constantly block attacks with our shield. |
|
Constitution IV |
This is going to lessen the amount of stamina that it takes to block against attacks with our shield, serving very much the same purpose as Stamina Surge, and filling out the defensive capabilities of this build. |
|
Attack Boost III |
This is going to be a flat attack increase for our weapon. |
The crucial bit of this build is going to seem a little bit counter-intuitive: it’s good to get hit, at least as long as you don’t get hit too hard. As long as that hit isn’t entirely debilitating for you, allowing you to take a small hit from a monster is going to allow you to come right back at that with your Resentment and Bad Blood skill combo, with Burst tagging along.
Lance Choice
For our Lance here, there are plenty of options: we’ve chosen to bring along an Artian Lance with a blast effect, and an Attack focus. The Lance hits quick enough that the blast effect is going to come to fruition pretty often, which will increase our damage, particularly over extended periods of time.
The Attack focus means we’re going to get fewer critical hits, but the higher default attack of our weapon is going to go hand in hand with our attack increases that we get from our skills, giving us an extremely high attack floor.
Related
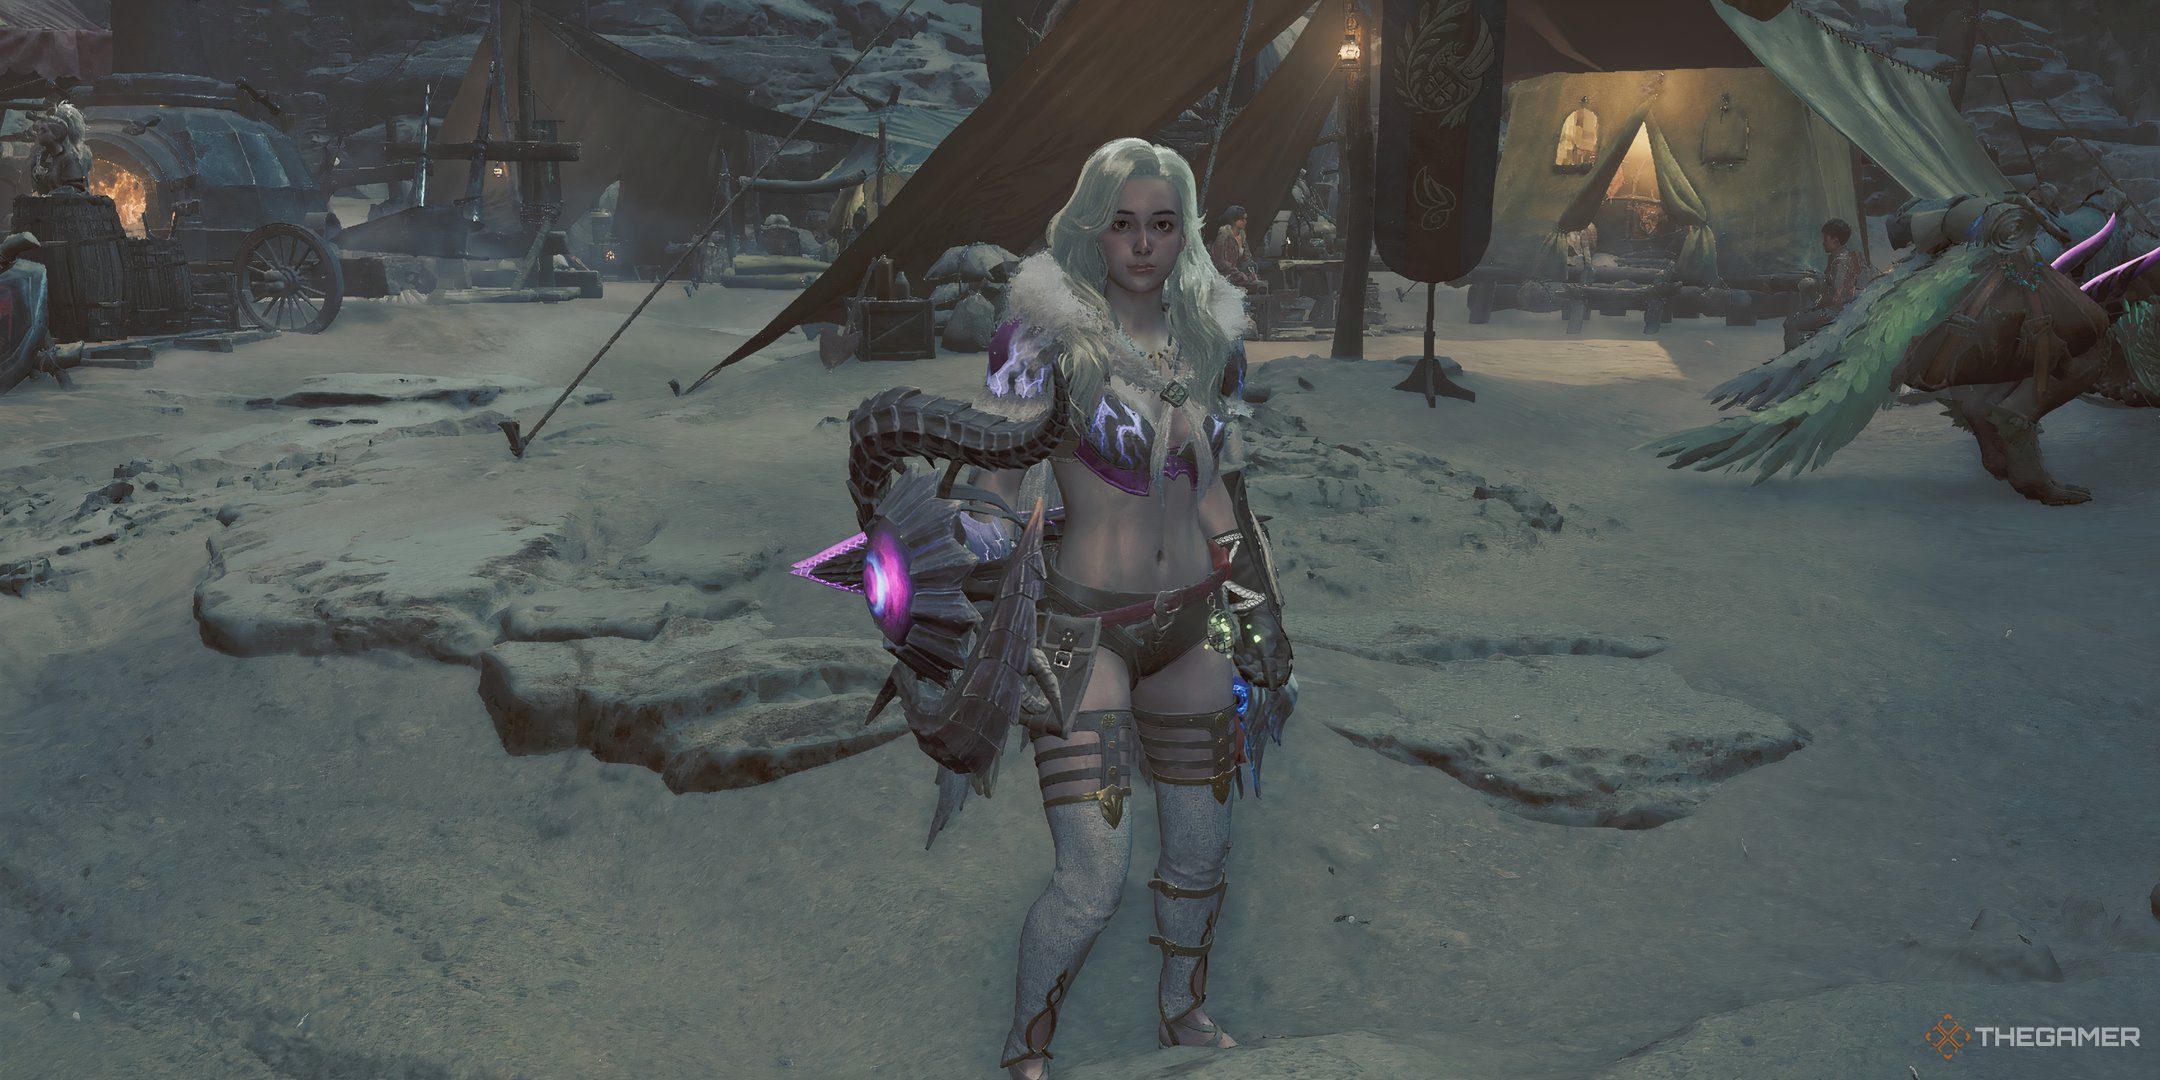
Monster Hunter Wilds: Sword & Shield Build Guide
The Sword & Shield is a simple but incredibly effective weapon in Monster Hunter Wilds, especially with this build!
How To Play This Lance Build
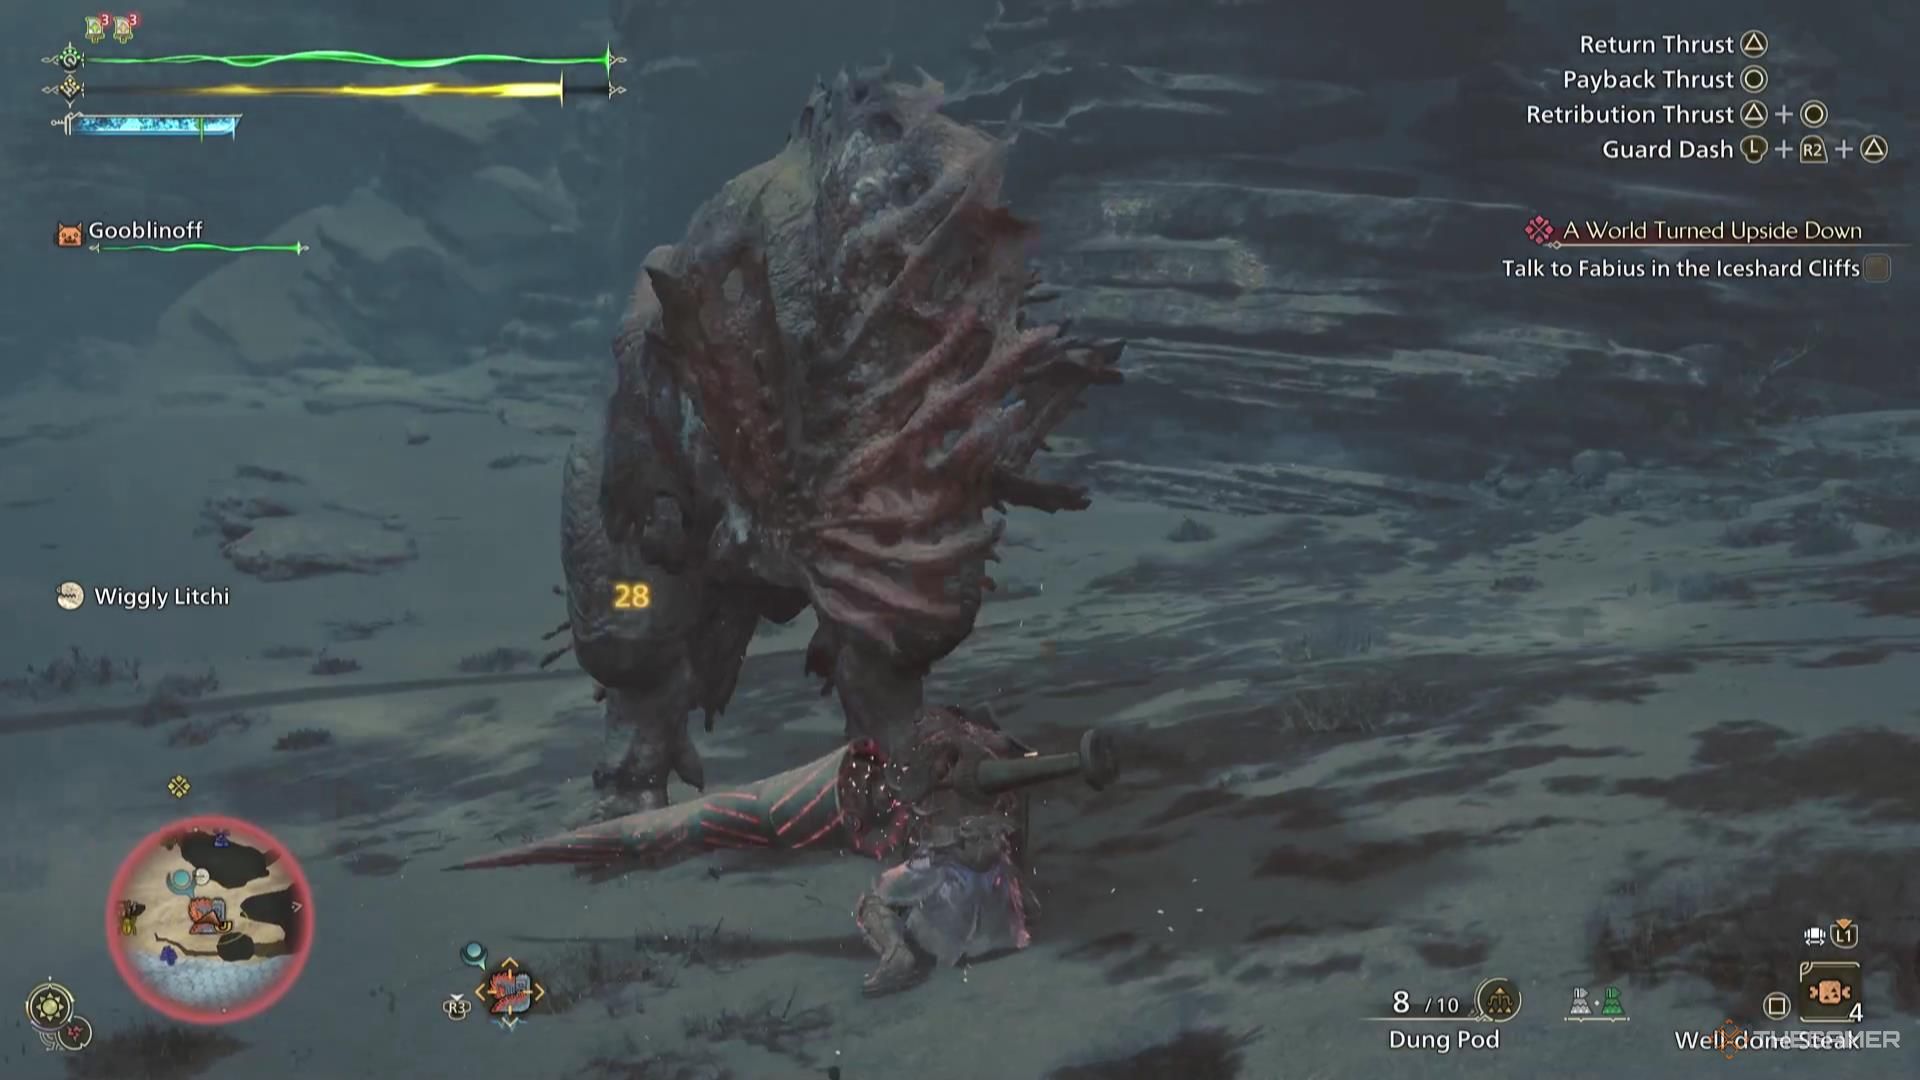
This Lance build is going to require knowing a bit about a monster’s attack types; knowing when we can afford to let ourselves get hit in order to score some extra damage and when to guard to ensure we don’t get decimated is going to be crucial.
For the most part, we should try to keep our health one or two hits from full.
Let a monster attack, tank a blow that isn’t going to deal absurd damage, and take the opportunity to deal an extremely increased amount of damage. Our multiple skill effects are going to combine here for some very large numbers, and we should be making use of that for as long as we see red in our health bar.
Once that red in our health has disappeared, it’s usually a good idea to have a quick drink; our healing is going to happen a lot faster because of Speed Eating, and that means we won’t have nearly as much downtime to heal as we would, otherwise.
Because of this, it’s usually possible to time a quick heal in-between a monster’s attacks, rather than needing to create some distance.
Even when Resentment and Counterstrike aren’t coming into effect, Burst is going to do some heavy-lifting when it comes to damage. If you’re in a situation where you don’t want to take an extra hit, it’s still going to be increasing your attack power.
Next
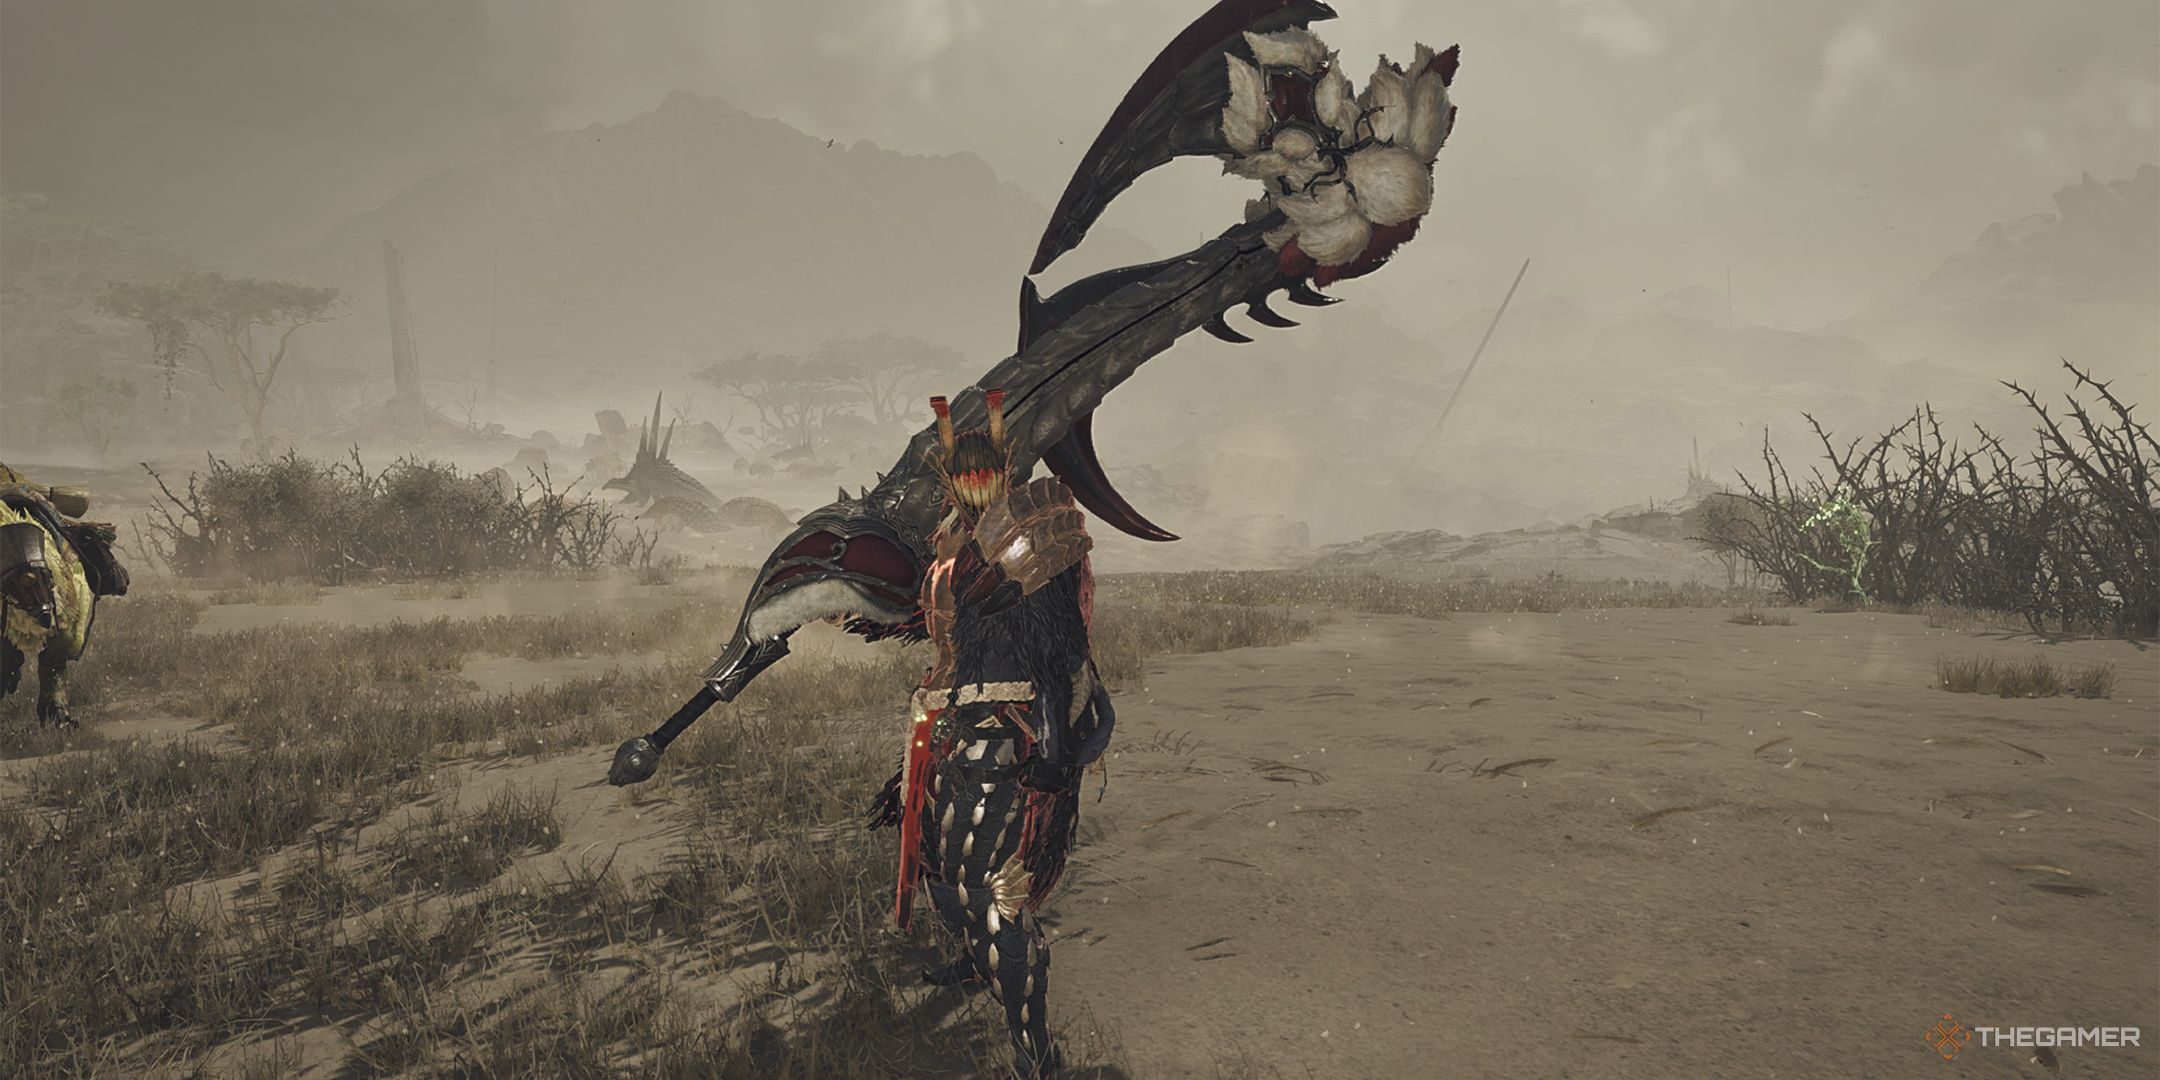
Monster Hunter Wilds: Switch Axe Build Guide
Maximize the Switch Axe’s damage output with this build in Monster Hunter Wilds.




Leave a Reply